
The Sofa-to-Art Proportion Guide: Sizing Large Wall Decor
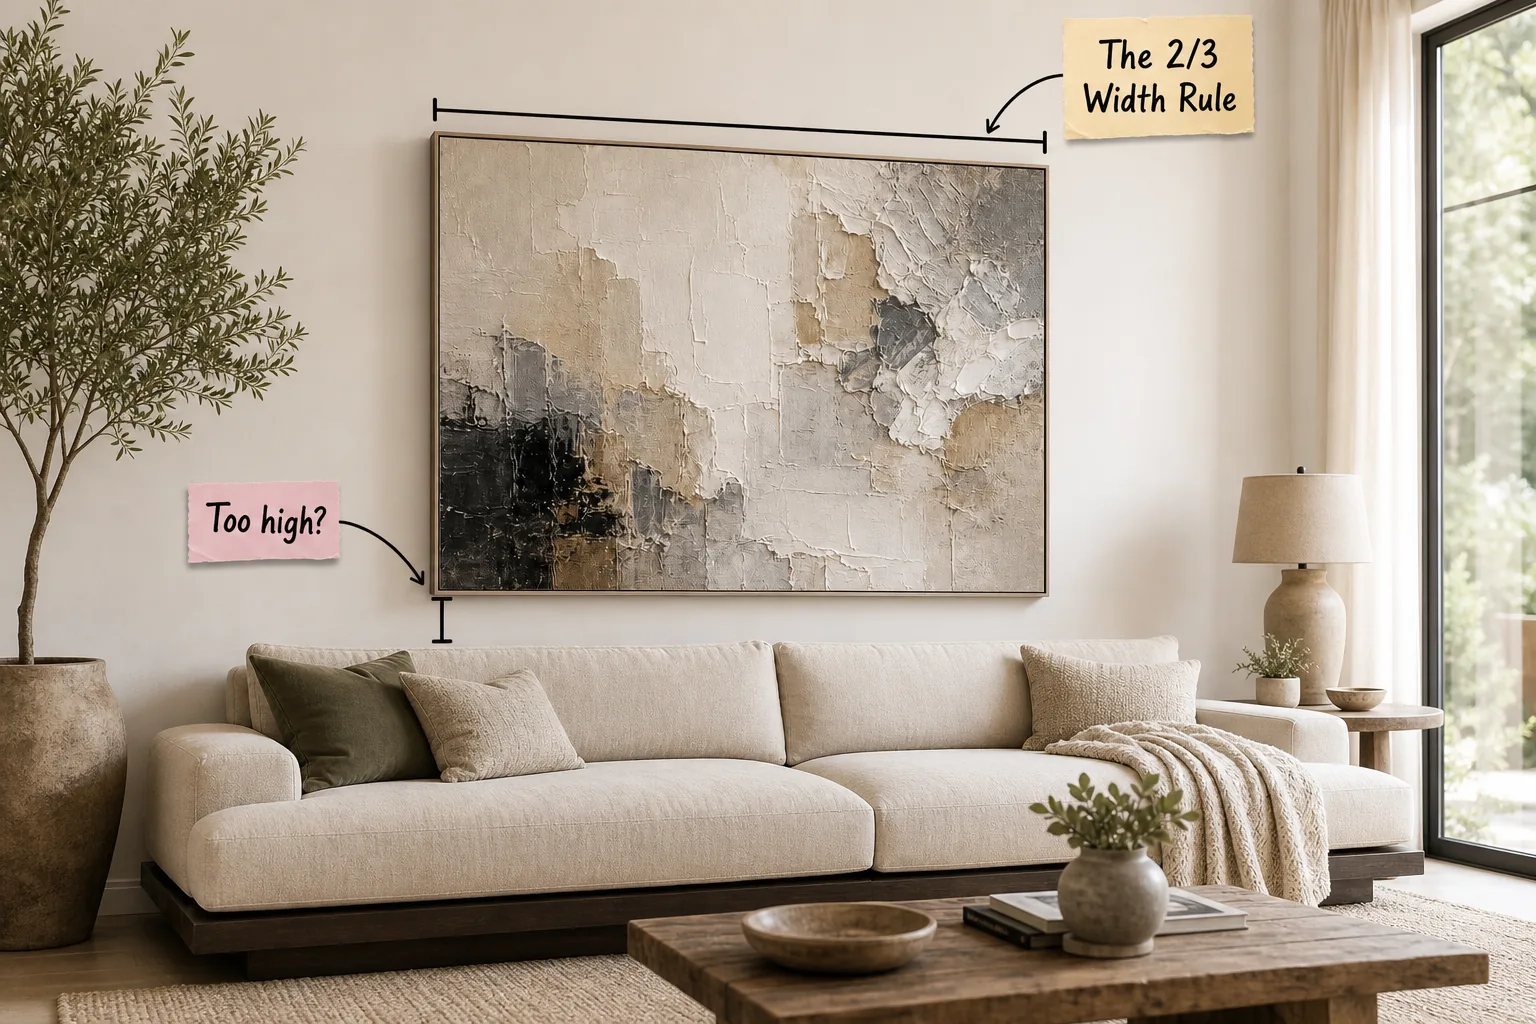
Stop guessing where to hang your oversized canvas; use our exact Sofa-to-Art Proportion Guide to calculate the perfect two-thirds width and vertical hanging height for your living room. You will be able to measure the ideal dimensions for your artwork and mark the perfect placement above your furniture.
The Complete Sofa-to-Art Proportion Guide
Perfect placement relies on three intersecting measurements: the horizontal width ratio, the vertical wall gap, and the true eye-level center. Mastering these exact proportions ensures your modern large wall decor feels intentionally integrated with your seating rather than randomly floating in empty space.
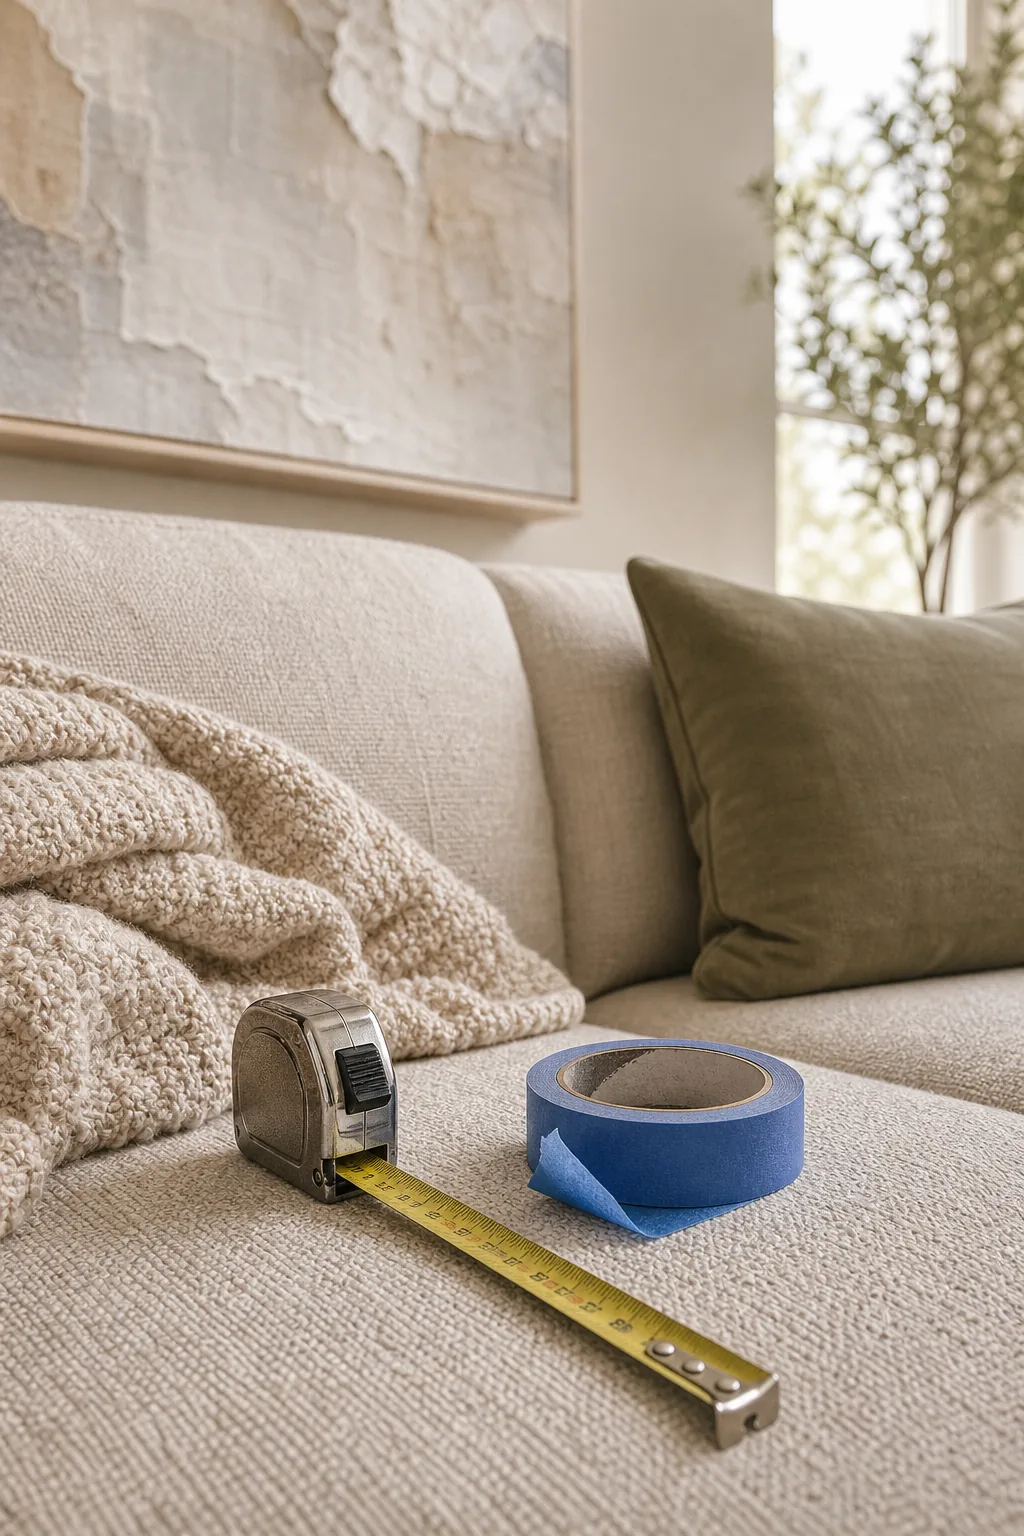
Before calculating your specific dimensions, gather these precision tools to mock up the placement on your wall. Marking the outer boundaries with easily removable materials prevents costly mistakes and unnecessary drywall repairs.
Verifying Your Wall Space Capacity
Accurate installation requires a clean workspace and a clear understanding of your underlying structural supports. Before applying any painter’s tape, you must identify where your heavy-duty anchors can safely bite into solid wood framing.
- Clear all temporary floor lamps, side tables, and decorative rugs from the immediate installation area.
- Use a high-quality magnetic stud finder to locate and mark the structural wall studs at standard 16-inch intervals.
- Patch, sand, and paint any existing drywall holes left from previously hung artwork to ensure a pristine backdrop.
Completing these preparatory physical steps ensures your final hardware anchors securely into the wall, preventing massive canvases from tearing through unsupported drywall under their own weight.
Defining Your Sofa’s Anchor Zone
The most crucial measurement starts with your furniture, as the Anchor Zone relies on the physical center of the sofa rather than the architectural center of the entire room. Ignoring this rule creates a disjointed layout where the seating and art compete for attention.
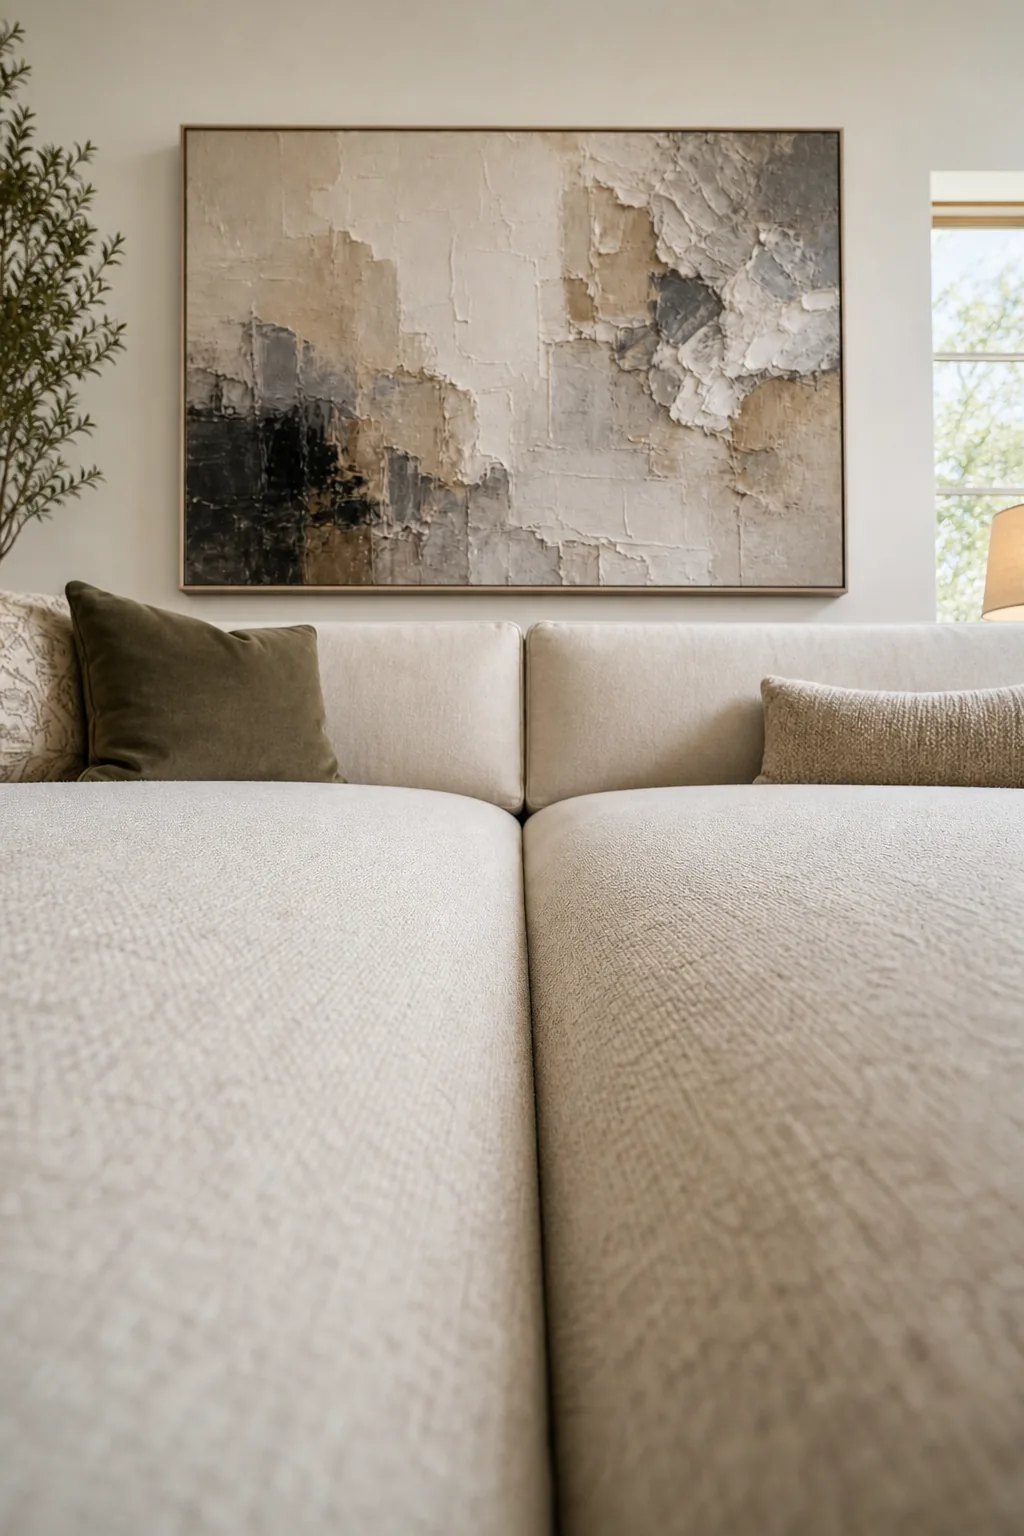
For a standard modern two-cushion sofa, the deep center seam provides the exact vertical plumb line for your artwork. Aligning the exact middle of your canvas to this physical furniture anchor creates intentional room symmetry and immediate visual balance.
Mapping the Vertical Plumb Line
Finding this exact center point prevents the artwork from visually drifting toward the corners of the room. Measure the total width of the sofa frame from arm to arm, divide that measurement precisely in half, and run a piece of painter’s tape vertically up the wall from this midpoint.
Calculating the 2/3 Width Rule
The The 2/3 Width Rule dictates that your canvas should span exactly sixty-six percent of your sofa’s total width to maintain spatial harmony. This golden ratio ensures the artwork is substantial enough to anchor the wall without completely eclipsing the furniture below it.
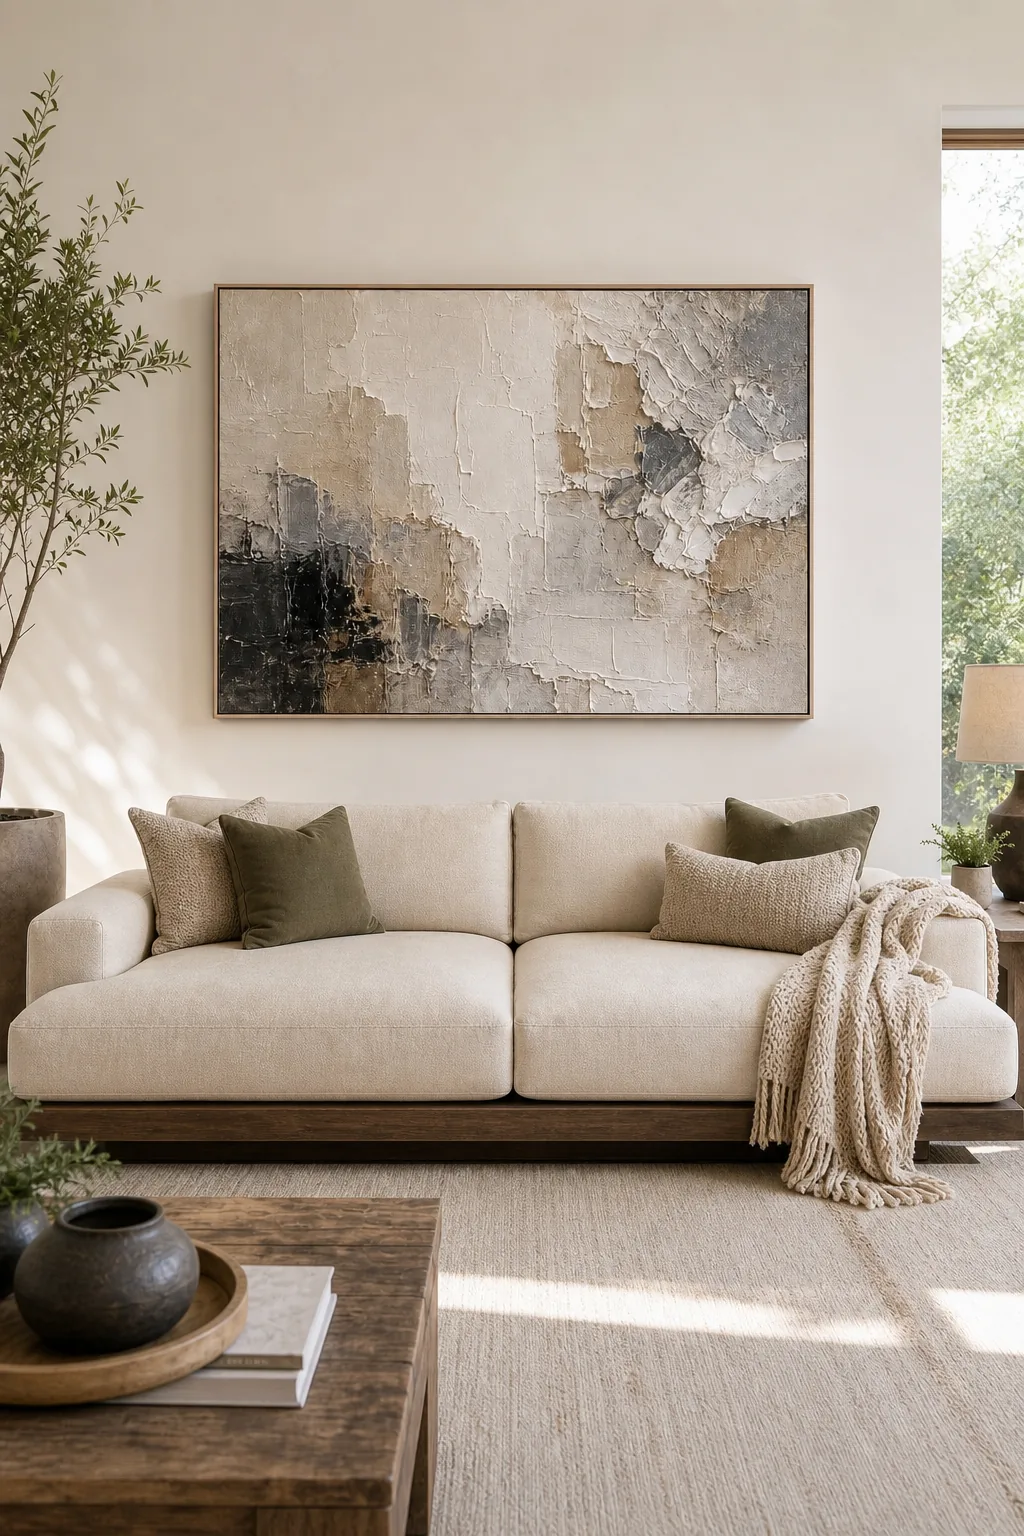
Multiply your sofa’s total width in inches by 0.66 to find your ideal horizontal canvas size. If your calculated number falls between standard frame sizes, always round down to the nearest available dimension to preserve negative space on the flanks.
| Sofa Width | Ideal Art Width | Minimum Width | Maximum Width |
|---|---|---|---|
| 60 inches | 40 inches | 30 inches | 45 inches |
| 72 inches | 48 inches | 36 inches | 54 inches |
| 84 inches | 56 inches | 42 inches | 63 inches |
| 96 inches | 64 inches | 48 inches | 72 inches |
| 108 inches | 72 inches | 54 inches | 81 inches |
| 120 inches | 80 inches | 60 inches | 90 inches |
Sizing Artwork for Sectional Sofas
When dealing with an L-shaped sectional, only measure the width of the primary seating run positioned directly against the display wall. Ignore the projecting chaise lounge section, as factoring it into your math will force the artwork drastically off-center from the main backrest.
The “Too High” Hanging Mistake
The most frequent layout error involves floating the art far above the furniture, creating a disconnected visual relationship. Too high? Maintaining a strict 6-to-8 inch vertical gap is essential to visually anchor the artwork to the furniture below it.
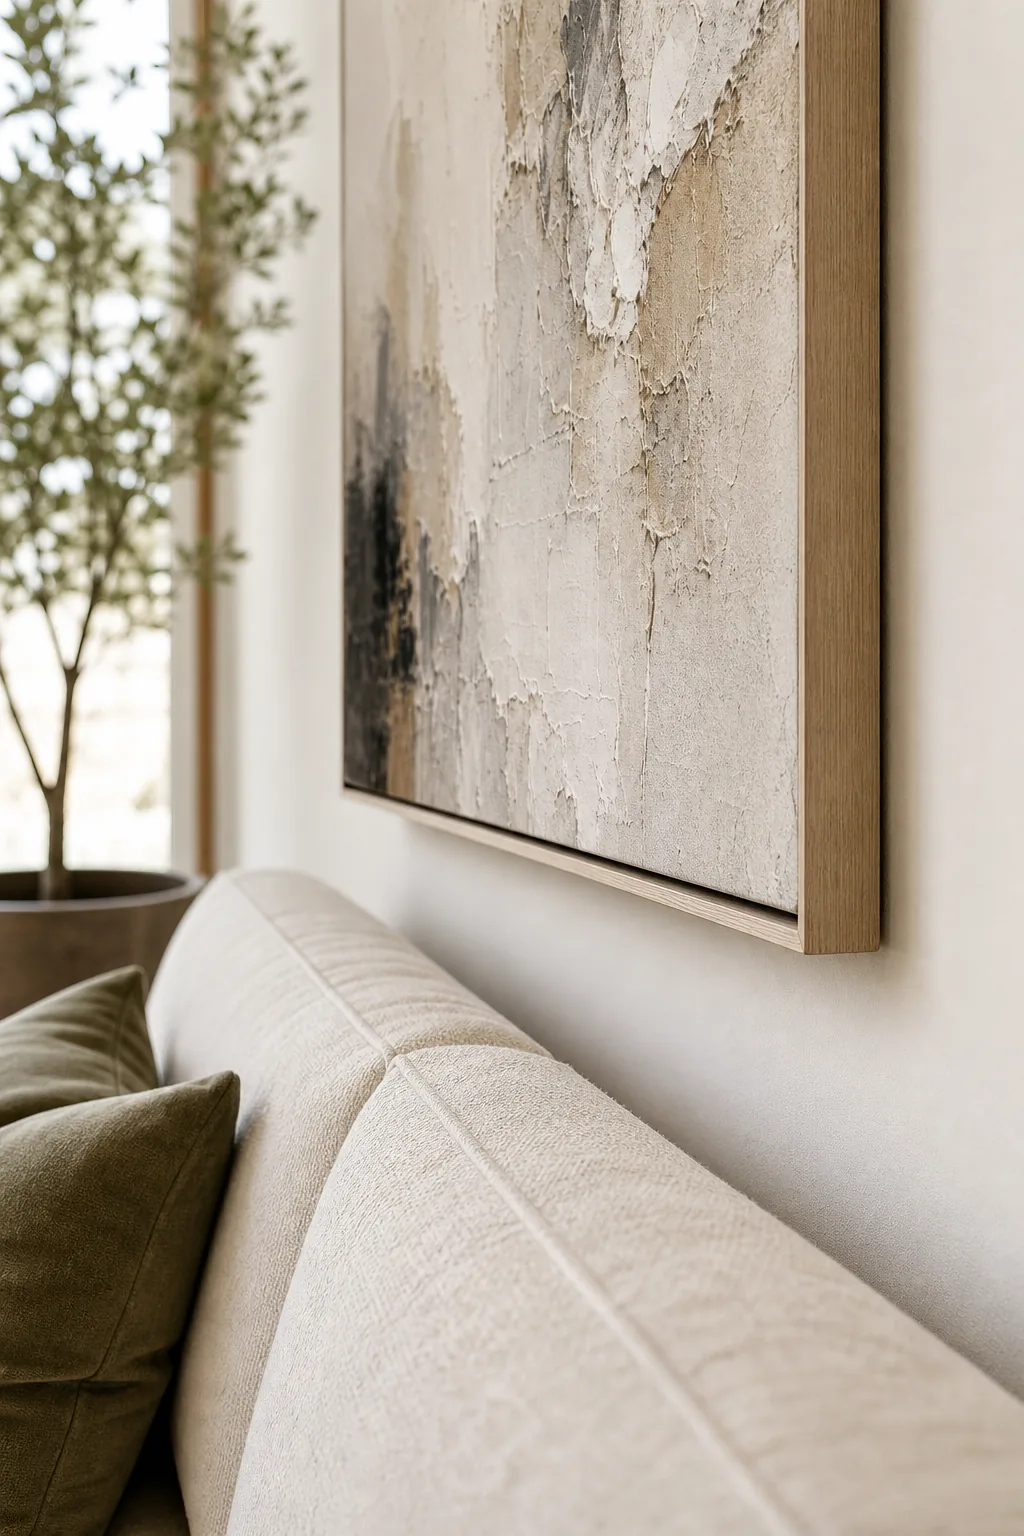
Even with the perfectly calculated canvas dimensions, these common placement errors will instantly throw off your room’s carefully planned proportions. Correcting these spacing issues is the fastest way to elevate a basic living room into a professionally designed space.
Measuring the Vertical Wall Gap
The strict installation rule dictates that the bottom edge of your frame should sit exactly 6 to 8 inches above the highest rigid point of the sofa back. This tight proximity ensures the heavy artwork and the seating area read as a single, cohesive design unit.
Tape a temporary horizontal line at this exact 6-inch mark to represent the absolute lowest boundary for your canvas. You will use this baseline to calculate where to drill the holes for your specific hanging wire or French cleat.
Hitting the Eye-Level Center
The Eye-Level Center standard requires the exact physical middle point of your large canvas to sit approximately 57 to 60 inches from the floor. This universally accepted gallery height ensures the artwork remains comfortably visible for a person standing in the room.
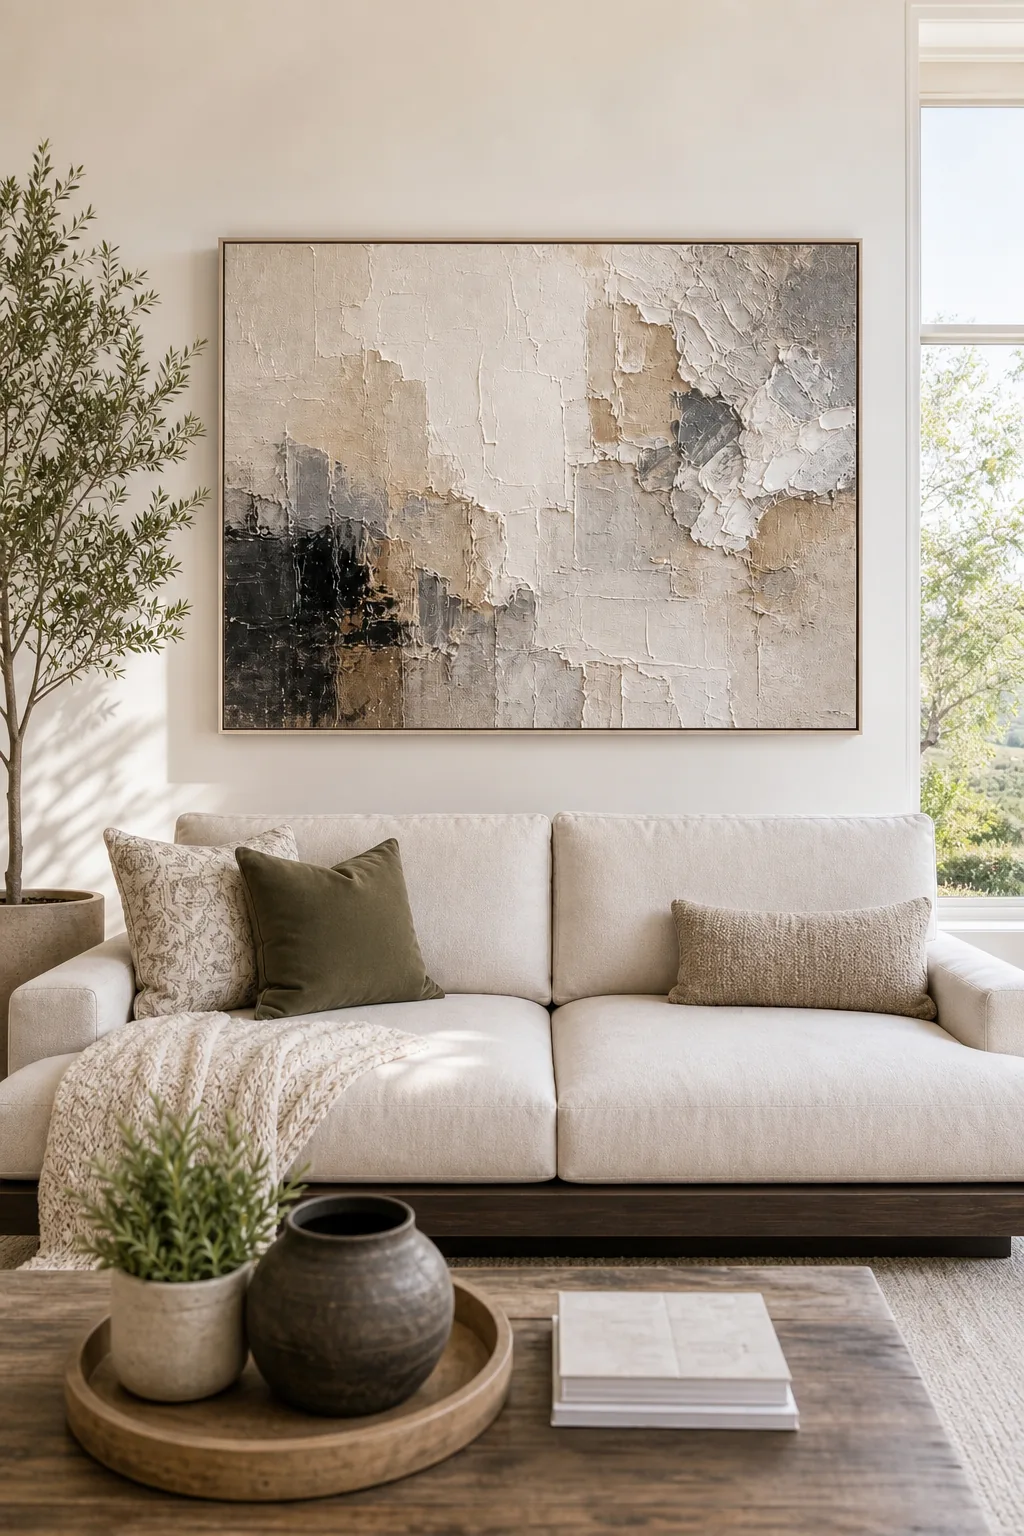
This traditional standard adapts slightly if your low-profile modern sofa forces the mandatory 6-inch gap rule to pull the artwork’s center lower. Always prioritize maintaining the tight furniture gap over hitting the exact 60-inch gallery mark.
Reconciling Conflicting Height Rules
When the 6-inch gap rule and the 60-inch center rule conflict, allow the center point to drop to 54 inches for very low modern sofas. Grounding the artwork to the seating creates a significantly stronger visual impact than rigidly adhering to an arbitrary gallery height.
Elevating the Space with a Textured Canvas
A massive canvas requires significant physical depth, known as a Textured Canvas, to avoid looking flat and lifeless on an expansive wall. Without tangible surface variation, an oversized solid print can easily resemble a commercial billboard rather than fine art.
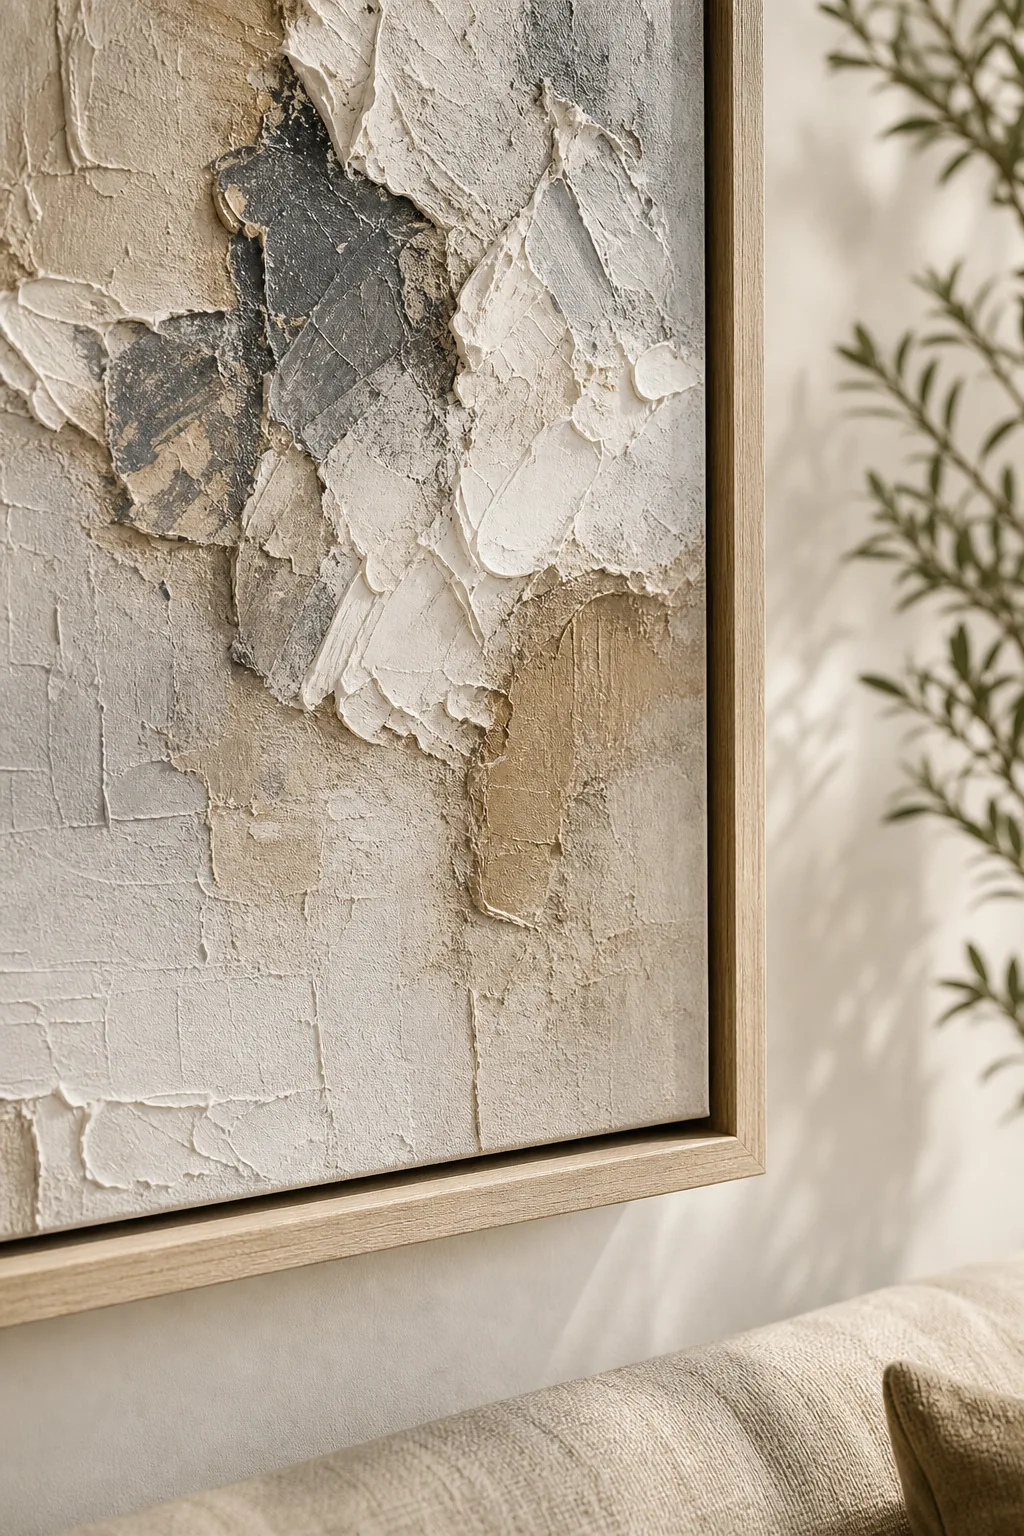
Thick impasto paint strokes physically catch ambient light, adding necessary architectural interest to a minimalist living room. These sculptural surfaces transform a basic color field painting into a dynamic focal point that shifts character as the sun moves.
Selecting the Right Acrylic Mediums
Artists achieve this dramatic three-dimensional effect by mixing heavy gel mediums or modeling paste directly into their acrylic paints. Look for original pieces featuring heavy palette knife applications, where the paint stands at least a quarter-inch off the underlying canvas surface.
Finishing with a Thin Floating Frame
Large-scale modern art requires rigid structural support without the heavy visual weight of a traditional matted border. Heavy ornate framing easily overwhelms a minimalist room and distracts from the organic texture of the impasto paint strokes.
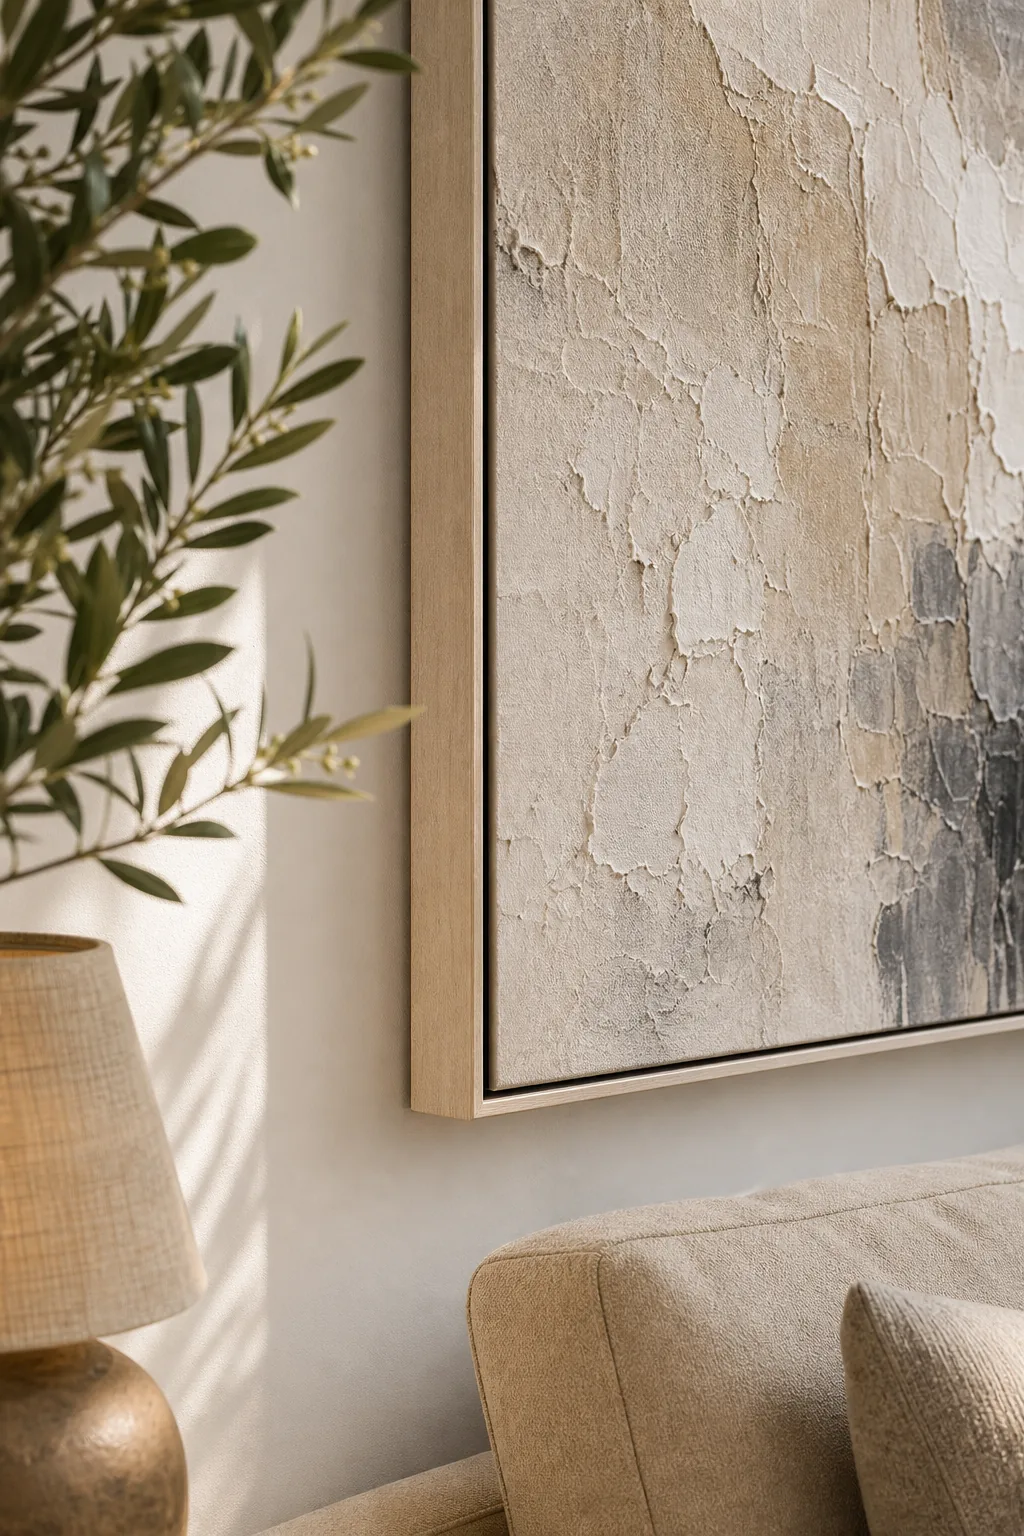
We recommend specifying a minimal 1/4-inch to 1/2-inch floating frame to protect the fragile canvas edges while maintaining a sleek aesthetic. The deliberate shadow gap between the canvas and the frame creates the premium illusion of suspended artwork.
Matching Frame Finishes to Room Elements
The selected frame material should subtly reference other architectural or furniture finishes already present in your living space. Select natural white oak to complement pale hardwood floors, or choose matte black metal to echo modern light fixtures and steel window mullions.
Illuminating Your Large Wall Decor
Proper directional lighting is essential to highlight the massive scale and physical peaks of your newly placed textured artwork. Relying solely on overhead recessed lighting often washes out the subtle depth of the gel mediums.
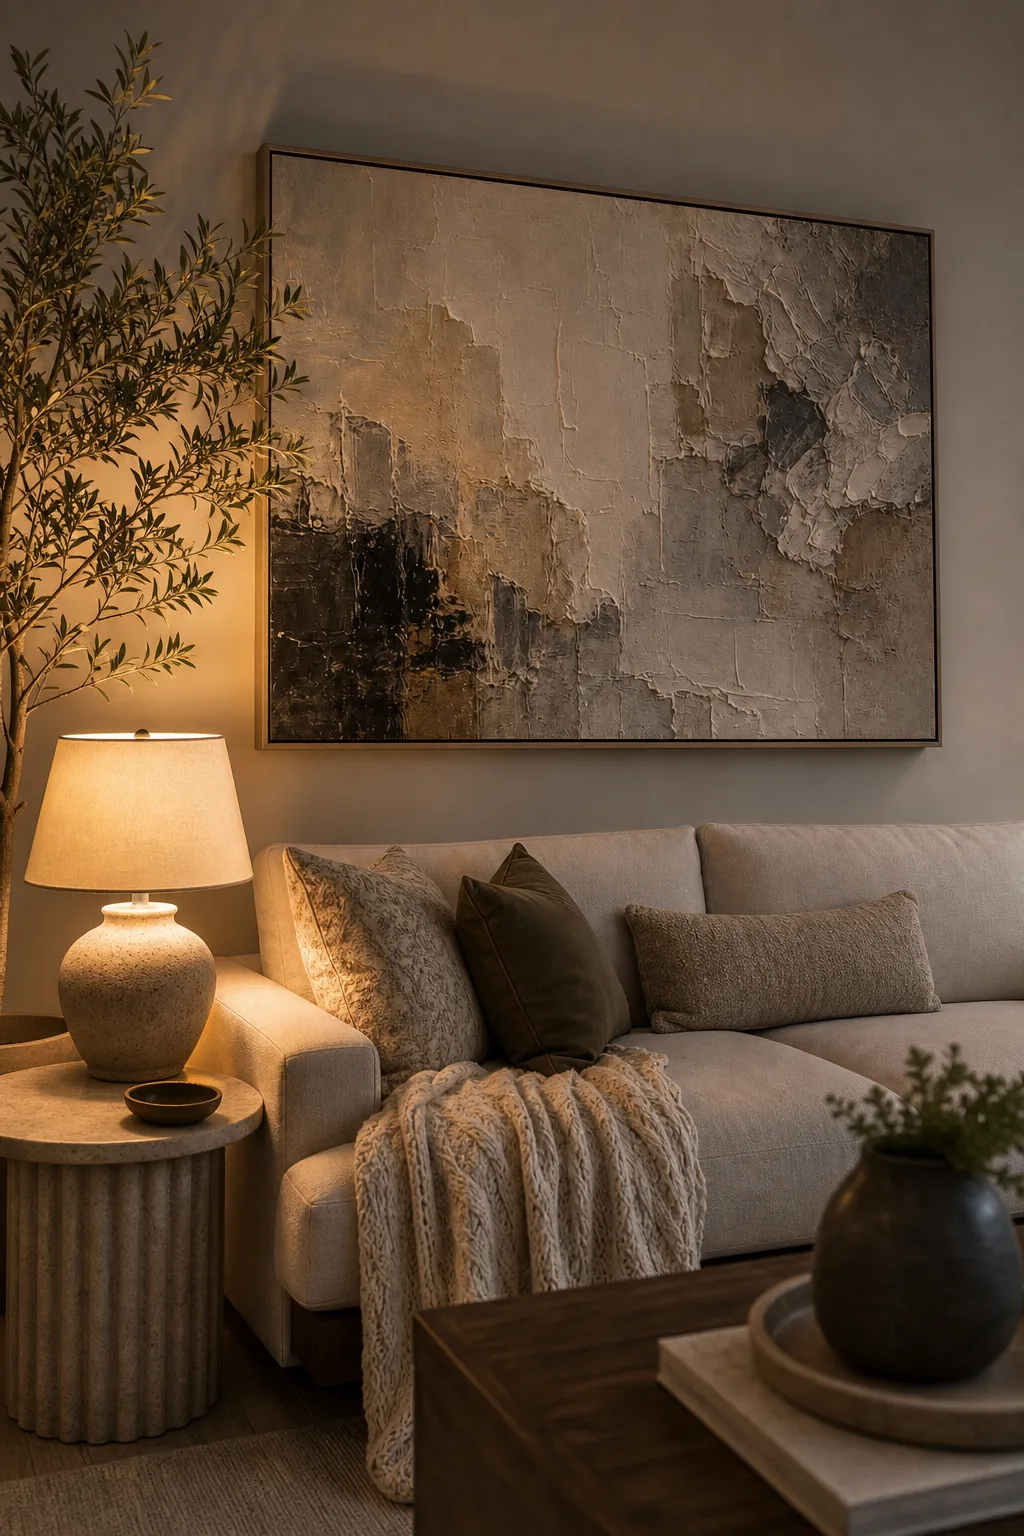
Placing a side table lamp nearby casts warm, sharply angled shadows across the heavy impasto strokes during the evening hours. This localized illumination enhances the three-dimensional quality of the canvas and completes your perfectly proportioned wall display.