
Easy Backyard Graduation Party Setup Plan and Prep Timeline
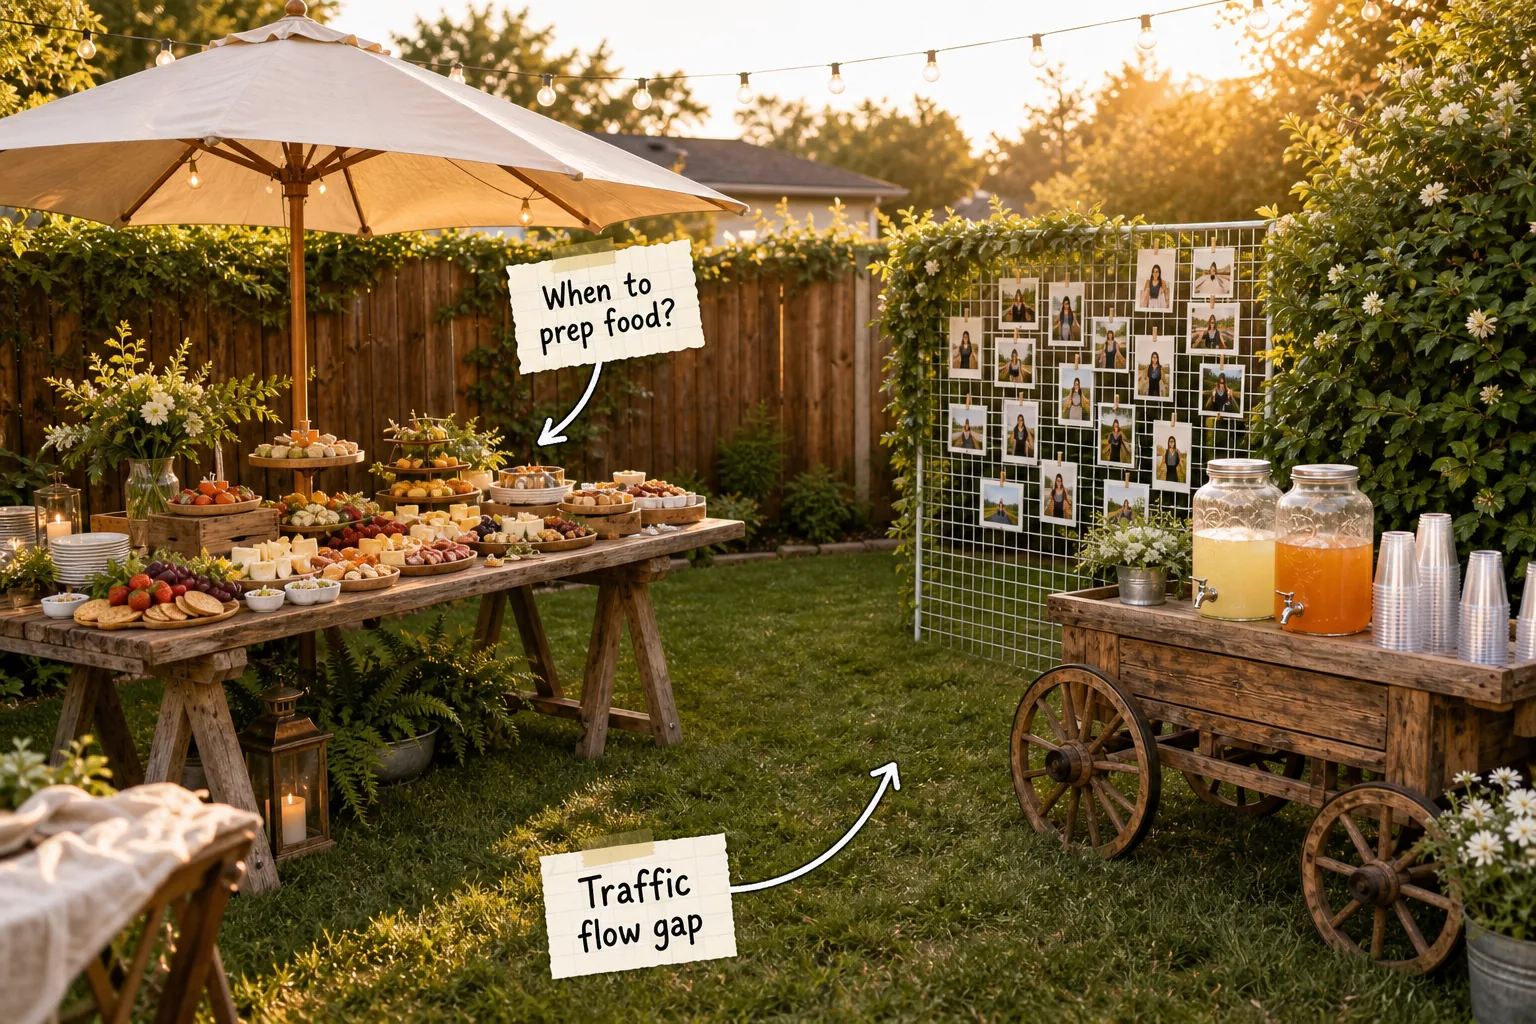
Planning an outdoor grad celebration requires a solid layout guide and a strict prep timeline to ensure everything runs smoothly. Grab our complete backyard setup checklist below so you can confidently arrange your party zones and time your food prep for a stress-free afternoon.
The Traffic Flow Gap
Start your layout by establishing a clear physical separation between your main attractions to prevent inevitable bottlenecks during the celebration. Maintain a minimum of six feet of empty grass space between the food table and the drink cart to ensure guests can comfortably line up.
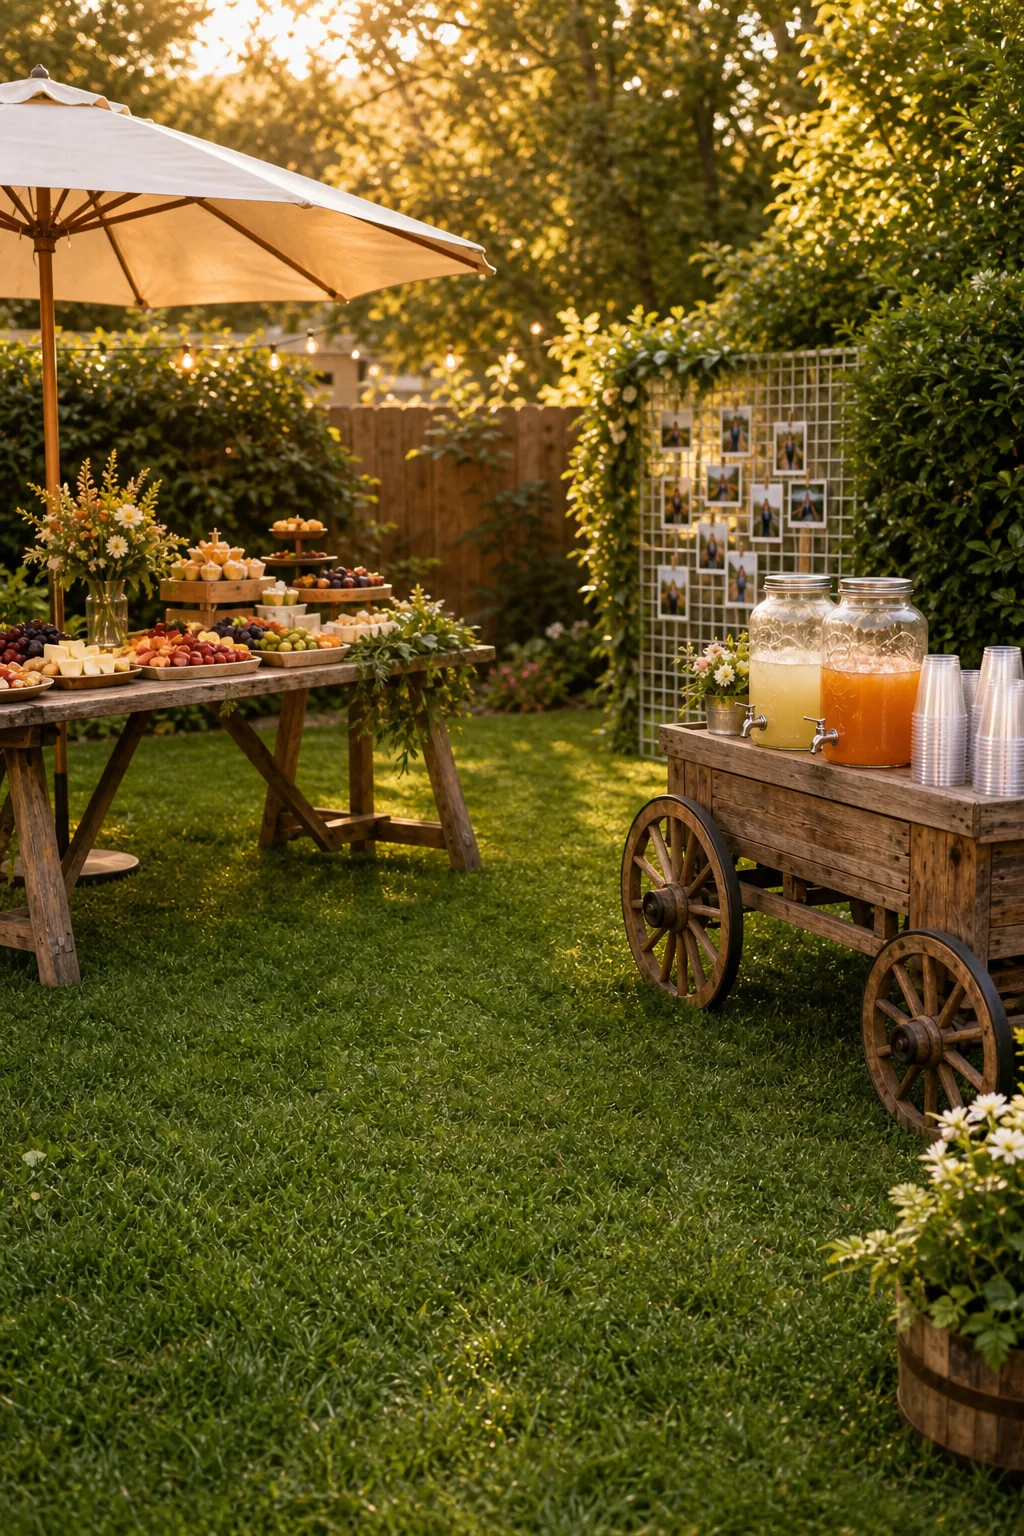
Keeping this central artery completely clear is critical for yard movement, but it also provides the perfect strategic location for your essential waste management. Placing utilities here prevents unsightly garbage piles from ruining the carefully curated aesthetic of your main dining and beverage stations.
Selecting the Serving Tables
Before assembling the individual stations, secure the correct foundation furniture to safely support heavy platters and liquid dispensers. A heavy wooden trestle table works best for food, while a separate rolling cart with locking casters provides the ideal base for heavy batch beverages.
Setting the Shade Anchor
Protecting the delicate food from direct sunlight is absolutely crucial for an afternoon party. Position a large, 9-foot canvas umbrella directly over the center of your grazing table to establish a reliable shade anchor for the entire duration of the outdoor event.
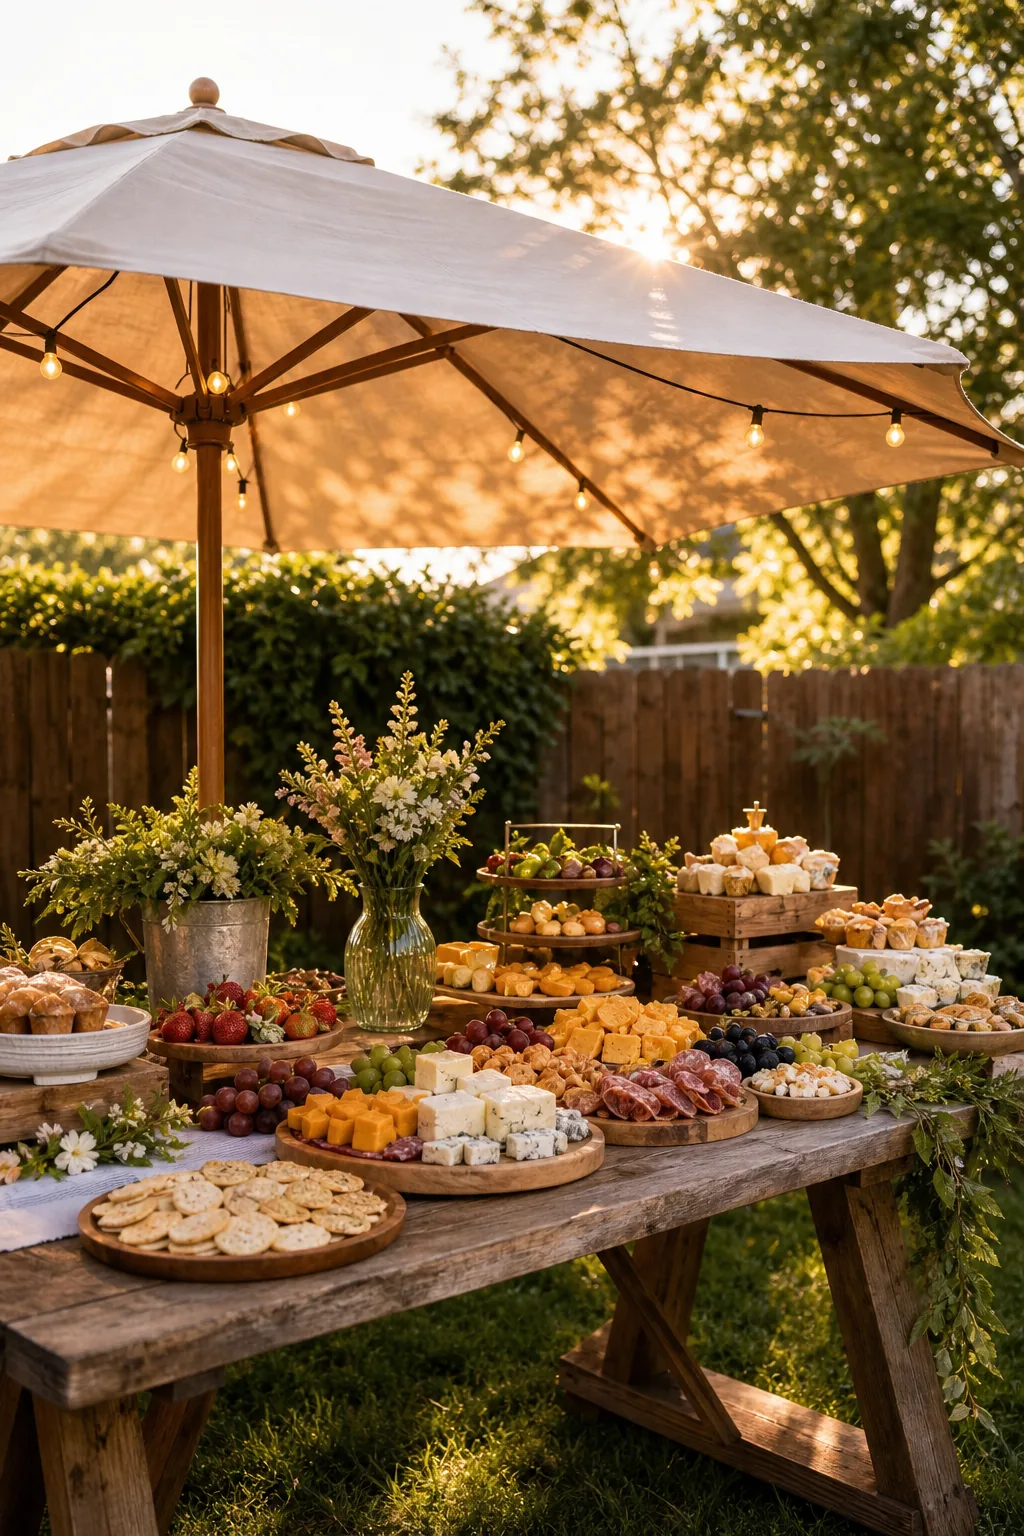
Calculate the specific sun angle for your targeted party start time, and tilt the canopy mechanism to cast a deep shadow entirely over the perishable cheeses and meats. Canvas blocks radiant heat significantly better than thin, synthetic umbrella fabrics during peak summer hours.
Securing the Umbrella Base
A large canvas canopy catches unexpected afternoon wind gusts easily, making a heavy, properly filled stand non-negotiable for backyard safety. An unstable umbrella can easily topple over, destroying your carefully arranged grazing board and potentially injuring guests lingering near the food table.
The Self-Serve Drink Station
Move the beverages entirely away from the main dining area to a dedicated wooden cart. Equip this isolated station with two 2-gallon glass dispensers for different batch cocktails or lemonades, and stack sturdy plastic cups nearby to encourage easy self-service.
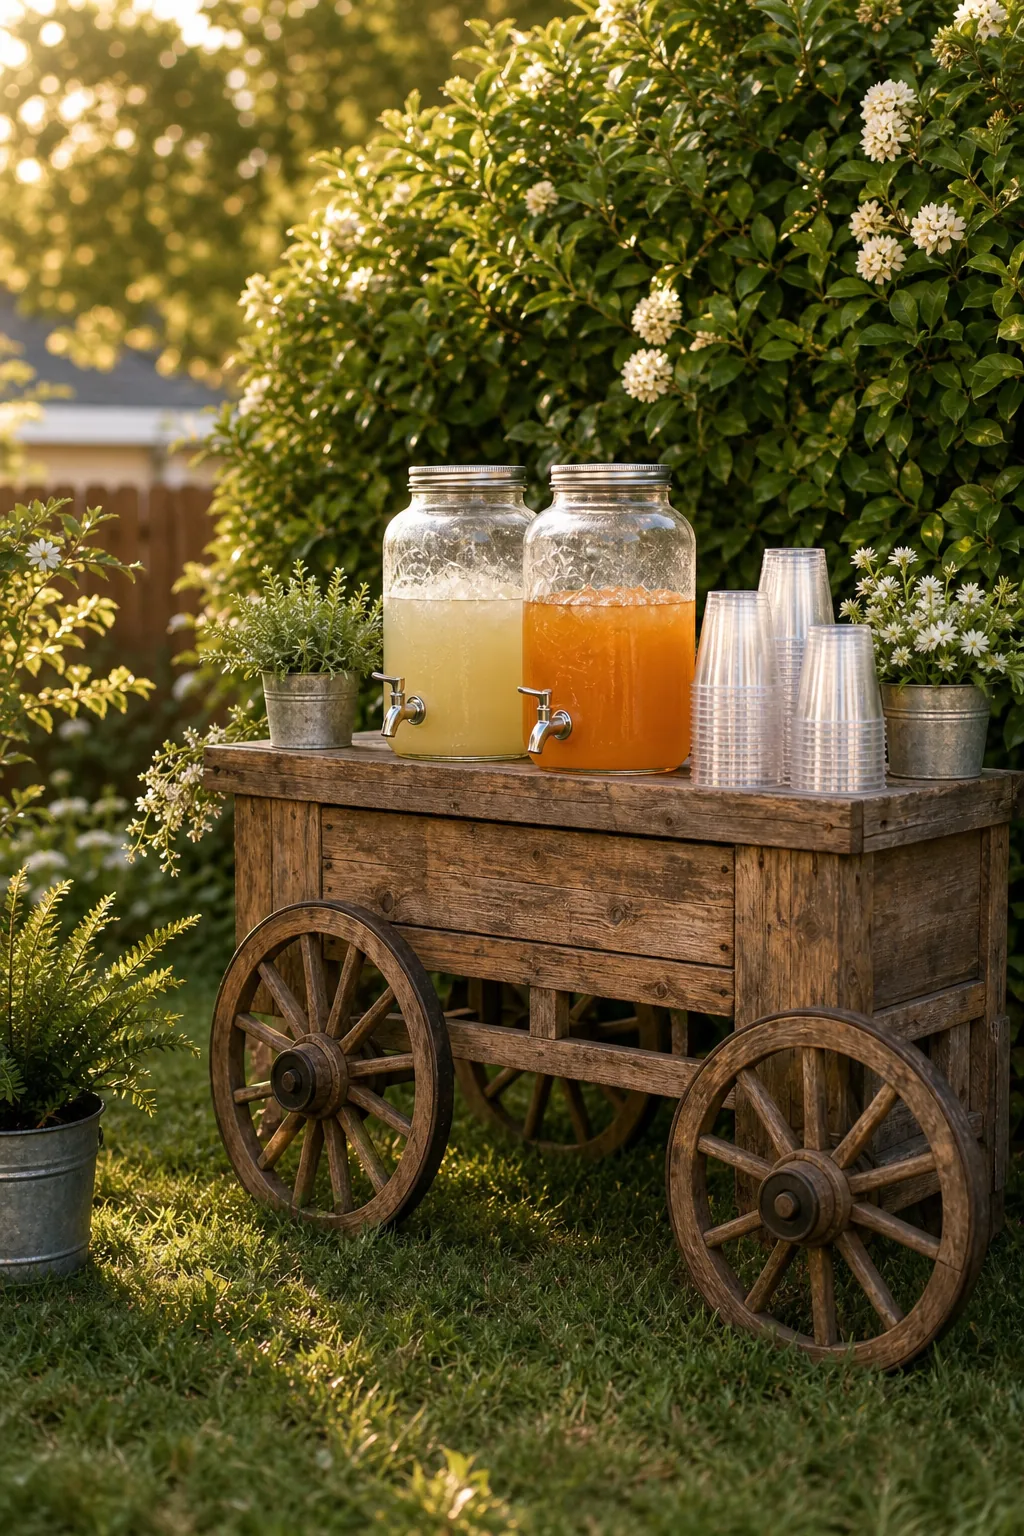
Elevating the heavy dispensers on a stable cart makes pouring significantly easier for guests and keeps inevitable sticky spills completely off your primary food table. Position the cart near a garden hose access point to make quick cleanup effortless after the party ends.
Calculating Beverage Quantities
Running out of cold drinks midway through a warm summer afternoon is a common hosting error that immediately disrupts the celebration. Use a structured consumption formula to guarantee you purchase exactly enough liquids and ice to keep everyone hydrated.
| Guest Count | Batch Lemonade | Iced Tea | Ice Needed |
|---|---|---|---|
| 20 Guests | 2 Gallons | 2 Gallons | 20 lbs |
| 30 Guests | 3 Gallons | 3 Gallons | 30 lbs |
| 40 Guests | 4 Gallons | 4 Gallons | 40 lbs |
| 50 Guests | 5 Gallons | 5 Gallons | 50 lbs |
| 60 Guests | 6 Gallons | 6 Gallons | 60 lbs |
Always pre-fill your glass dispensers halfway with fresh cubed ice before adding the room-temperature liquids to prevent immediate melting and dilution. Store the remaining backup ice in a heavily insulated cooler tucked discreetly underneath the wooden beverage cart for quick refills.
Building the Grazing Table
Use your heavy rustic trestle table as the primary food staging area. Instead of relying on flat platters, use sturdy wooden crates and tiered metal stands to build distinct vertical height, drawing the eye upward and making the spread look incredibly generous.
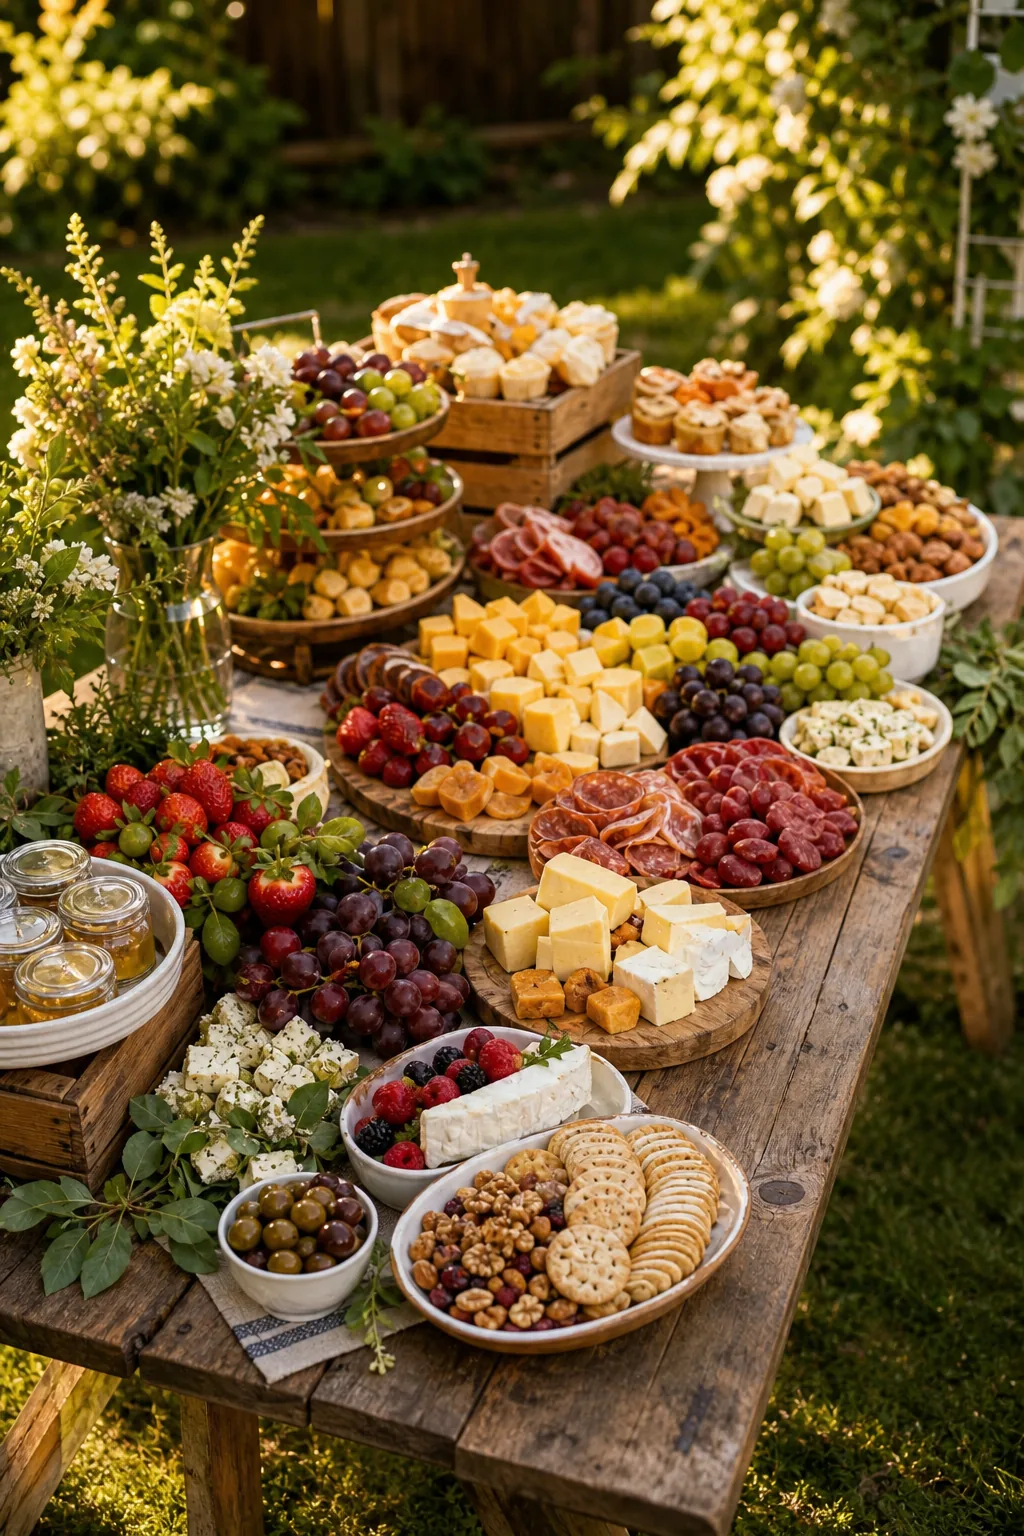
This strategic layered approach maximizes the usable surface area of a standard 6-foot table and makes the entire charcuterie spread look abundant and highly photogenic from every angle. It also prevents guests from awkwardly reaching over delicate items to grab popular cheeses.
Layering the Platters
Constructing a professional-looking grazing board requires assembling the individual ingredients in a very specific structural order. Following a strict sequence ensures your heavy items anchor the display while delicate berries remain uncrushed, maintaining both physical stability and maximum visual appeal throughout the afternoon.
- Place your largest anchor items like whole brie wheels, honey jars, and clustered grape bunches first.
- Fold the cured meats into tight ribbons and tuck them securely around the heavy cheese borders.
- Fan out sturdy crackers and sliced baguettes in sweeping curves along the wooden board edges.
- Fill the remaining empty gaps with varied mixed nuts, dried apricots, and fresh seasonal berries.
- Garnish the final arrangement with fresh rosemary sprigs to add vibrant pops of green color.
Keep a backup supply of these dry goods in sealed plastic containers tucked neatly under the main table. This allows you to quickly replenish the empty spots as guests eat, ensuring the grazing board looks completely full for late arrivals.
When to Prep the Food?
Timing the grazing board requires a strict schedule to maintain proper food safety. Set up the physical boards, serving bowls, and dry goods like crackers and nuts directly on the table up to two full hours before your first guests are scheduled to arrive.
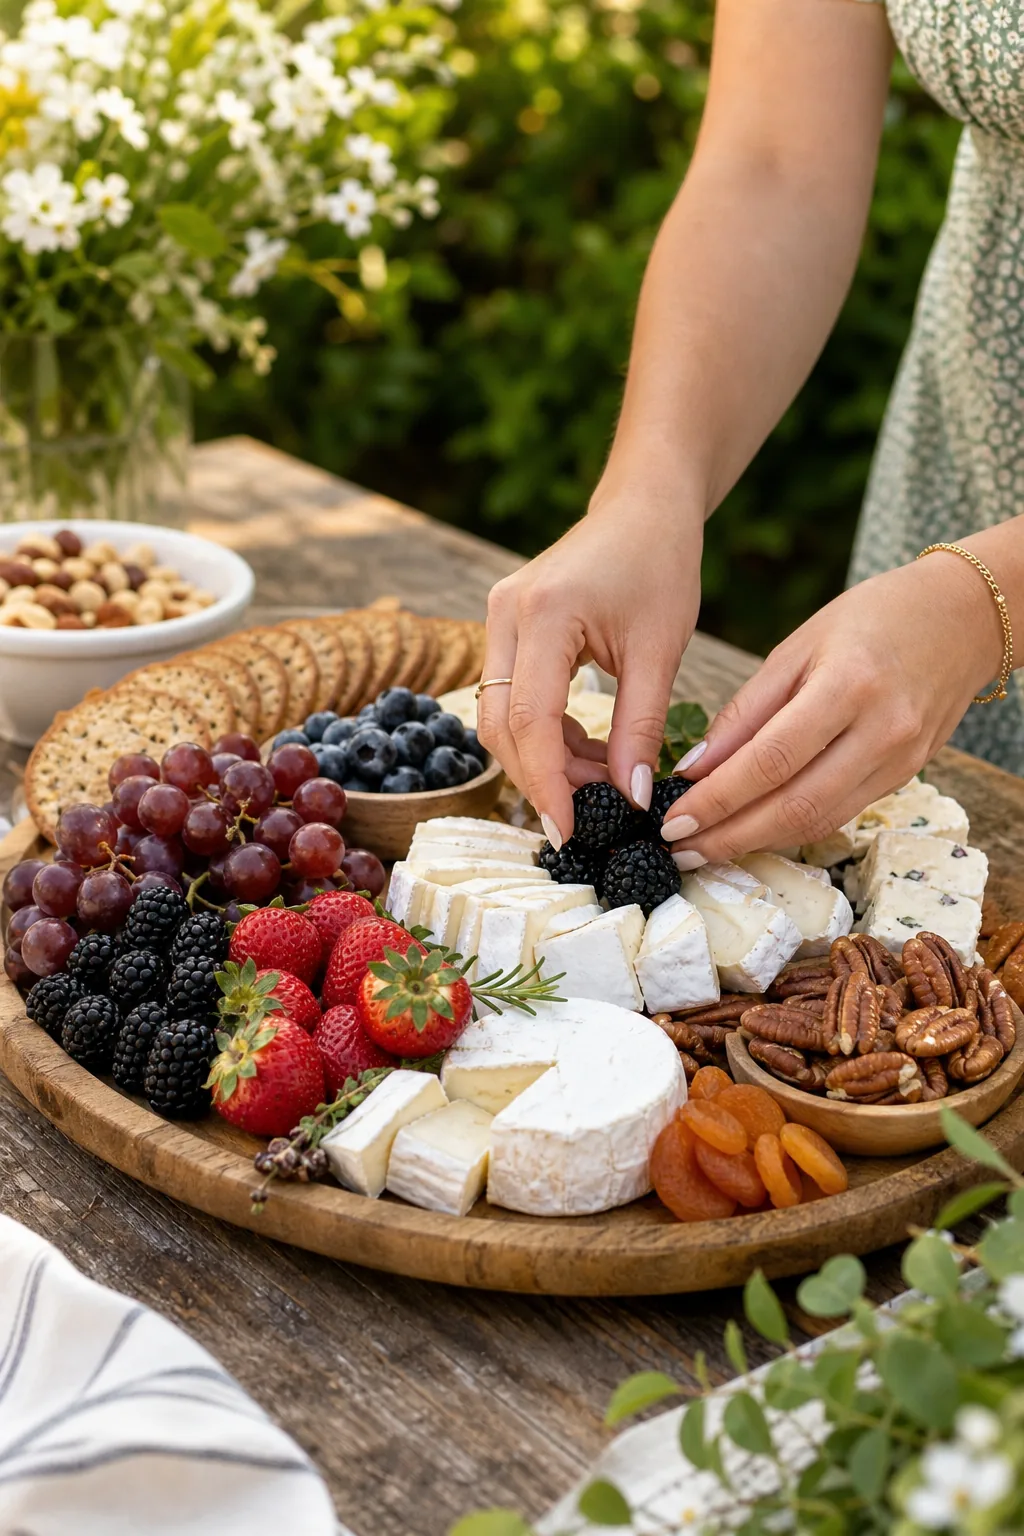
Wait until exactly 30 minutes before start time to pull the sliced meats, soft cheeses, and cut fruit from the refrigerator. Assembling these sensitive perishables at the very last moment guarantees they remain beautifully fresh and safe to consume during the outdoor party.
Food Safety Timers
Perishable dairy and meat products should never sit outside in summer temperatures for more than two hours. Set a discrete phone alarm to remind yourself to swap out warmed cheese platters for fresh, chilled replacements directly from the kitchen to protect your guests.
The Memory Lane Display
Create an emotional visual focal point using a freestanding rustic wire grid. Measure a 5-by-6 foot metal grid and weave fresh greenery or faux ivy tightly around the outer edges to soften the industrial frame and blend it naturally into your backyard landscaping.
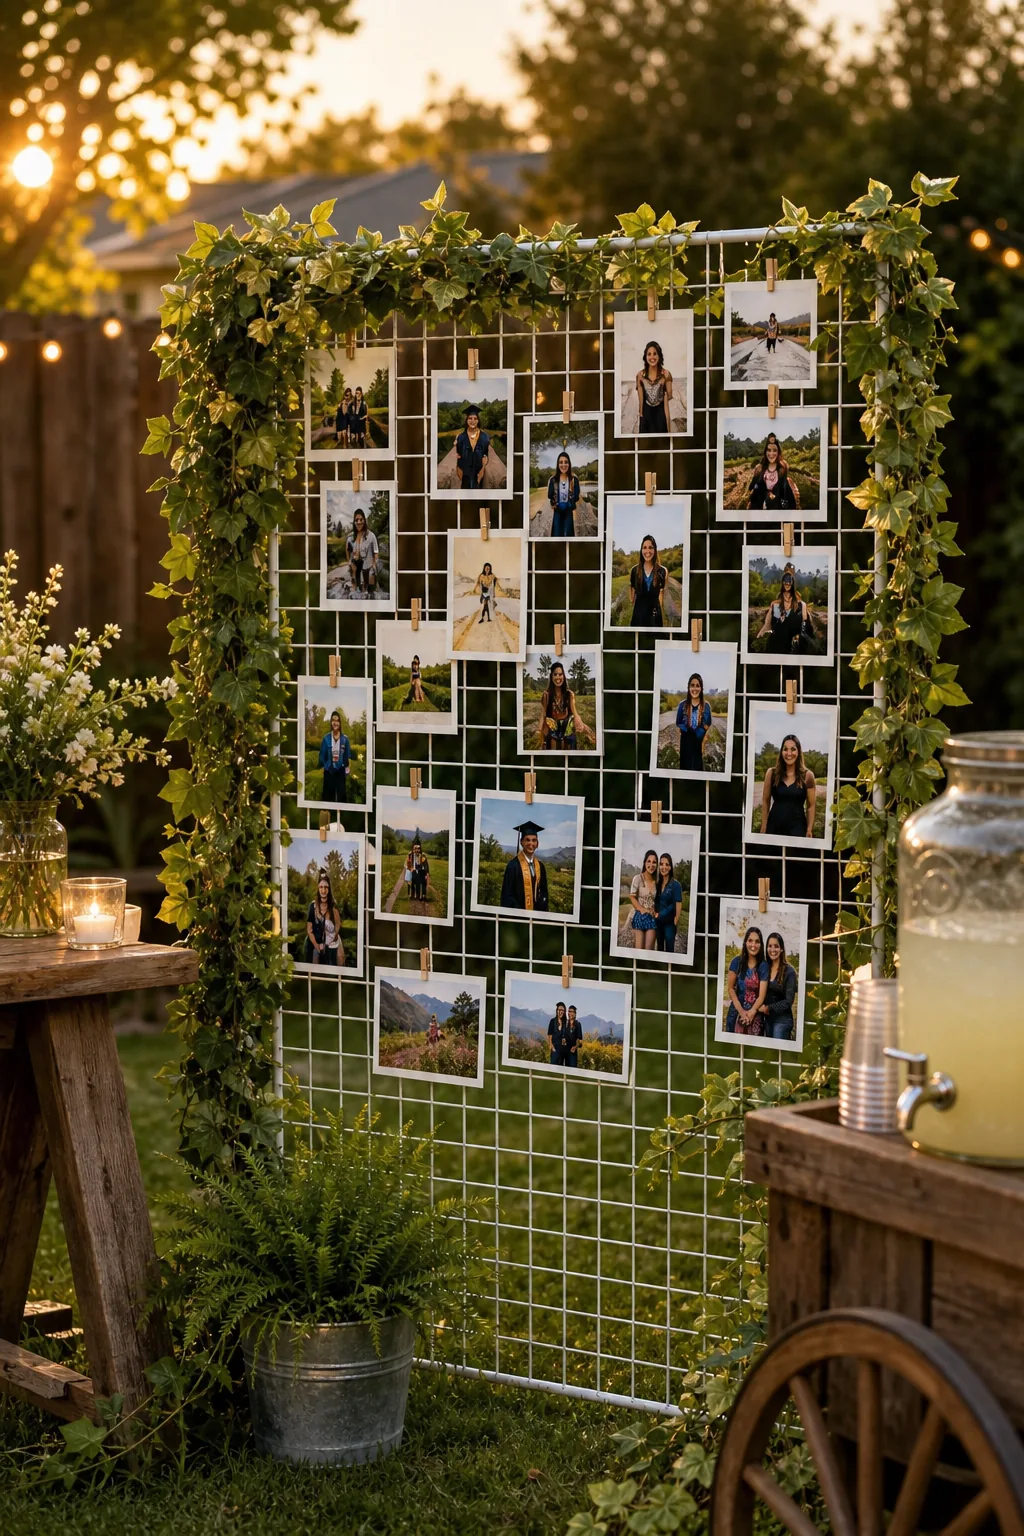
Use mini wooden clothespins to attach standard 4×6 printed photos, spacing them evenly across the metal wires to chronologically highlight the graduate’s journey. This creates an interactive destination that encourages guests to mingle while sharing memories away from the busy food table.
Printing and Sizing the Photos
Order your photos printed with a classic white border to help the images stand out clearly against the busy background foliage. Select a matte paper finish rather than glossy to completely eliminate distracting sun glare during the bright afternoon viewing sessions.
Lighting the Evening Transition
As the afternoon slowly turns to dusk, overhead lighting keeps the graduation party going safely. String 48-foot commercial-grade globe lights in a wide zigzag pattern directly above the main gathering space to provide a warm, inviting glow that encourages guests to stay.
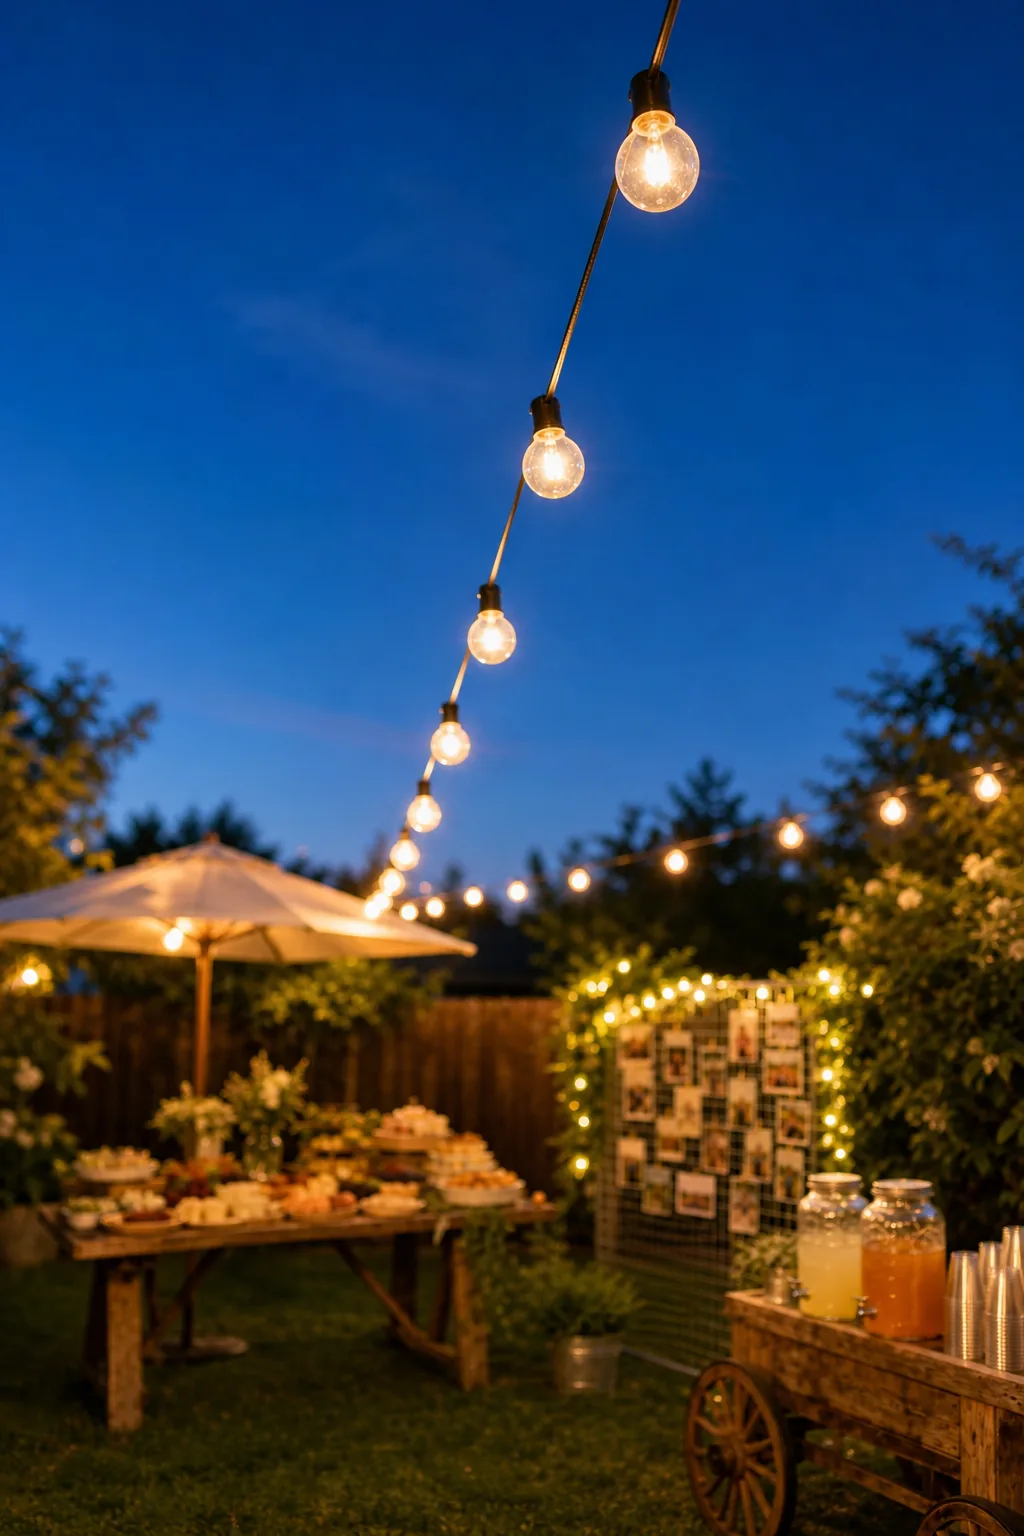
Anchor the heavy light strands securely to the house eaves on one side and sturdy 10-foot wooden posts driven deep into the lawn on the other. Ensure the lowest dipping point of the wire hangs at least eight feet above the grass.
Managing Extension Cords
Run heavy-duty outdoor extension cords strictly along the perimeter fences rather than across the open grass. Secure any unavoidable lawn crossings with metal landscape staples to prevent dangerous tripping hazards as the natural sunlight fades and guests move between the different party zones.
Your Backyard Setup Checklist and Timeline
Pulling off this ambitious layout requires following a strict day-of schedule. Start arranging the heavy furniture and wire grid at 10 AM, hang the string lights by noon, and set out the dry drink cart supplies by 1 PM to stay completely on track.
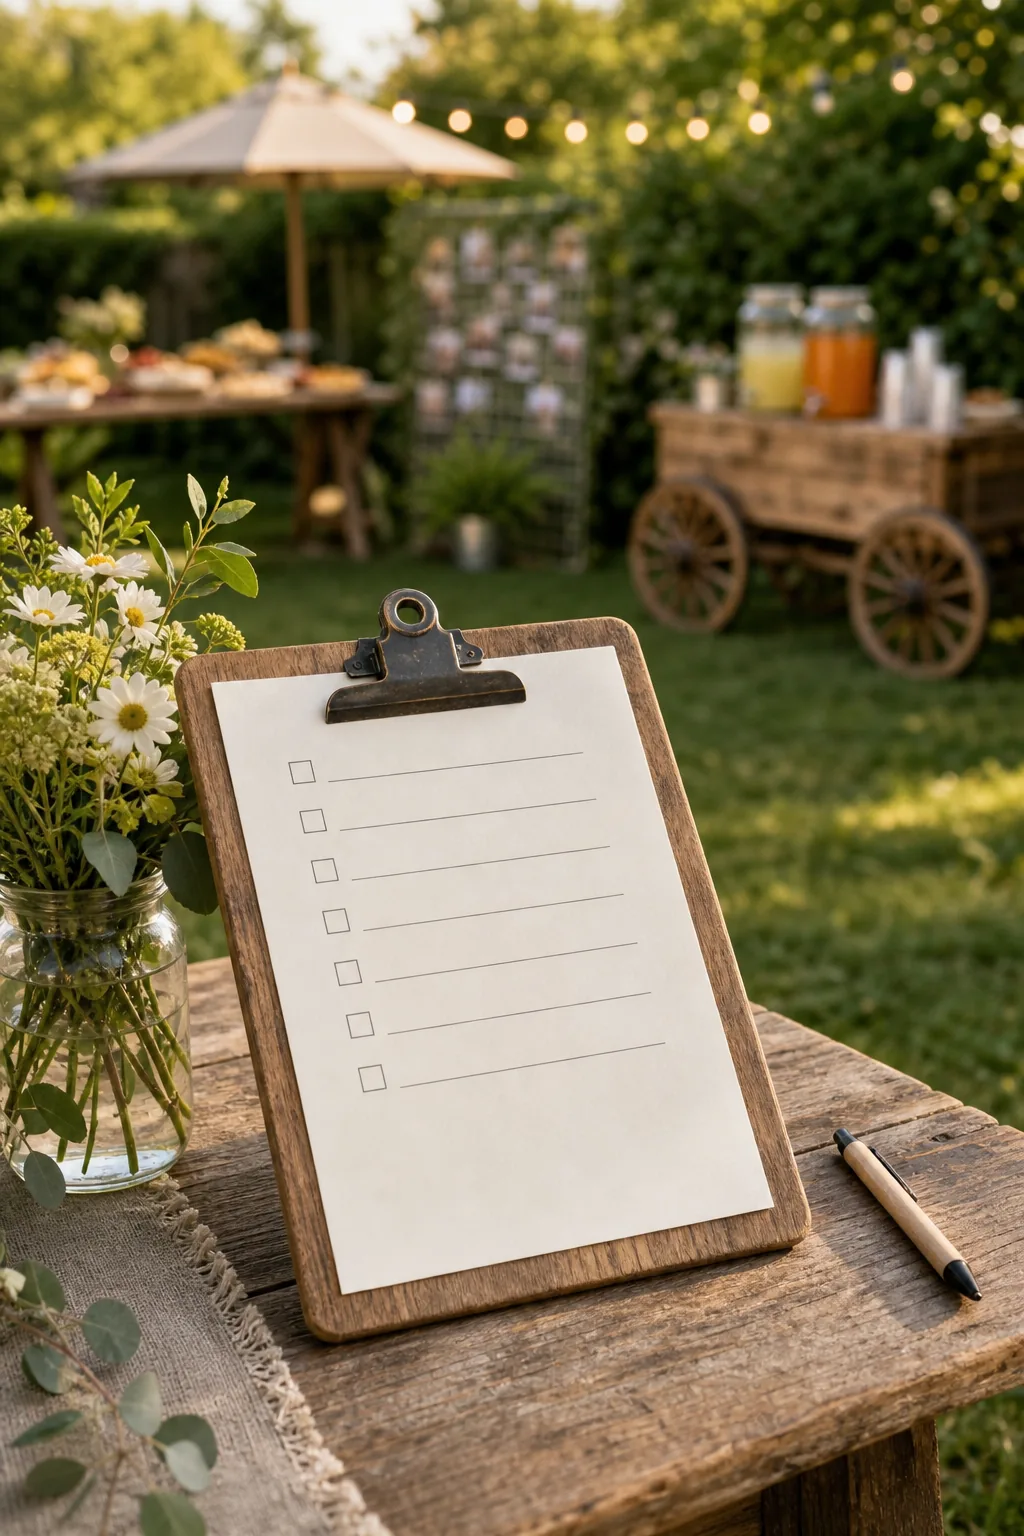
Use our complete timeline to ensure every zone is perfectly ready before the first guest walks through the gate. Run through this final structural sweep right before your party officially begins so you can transition from working host to relaxed celebrant.