
Kitchen Island Seating: The Exact Measurement Guide
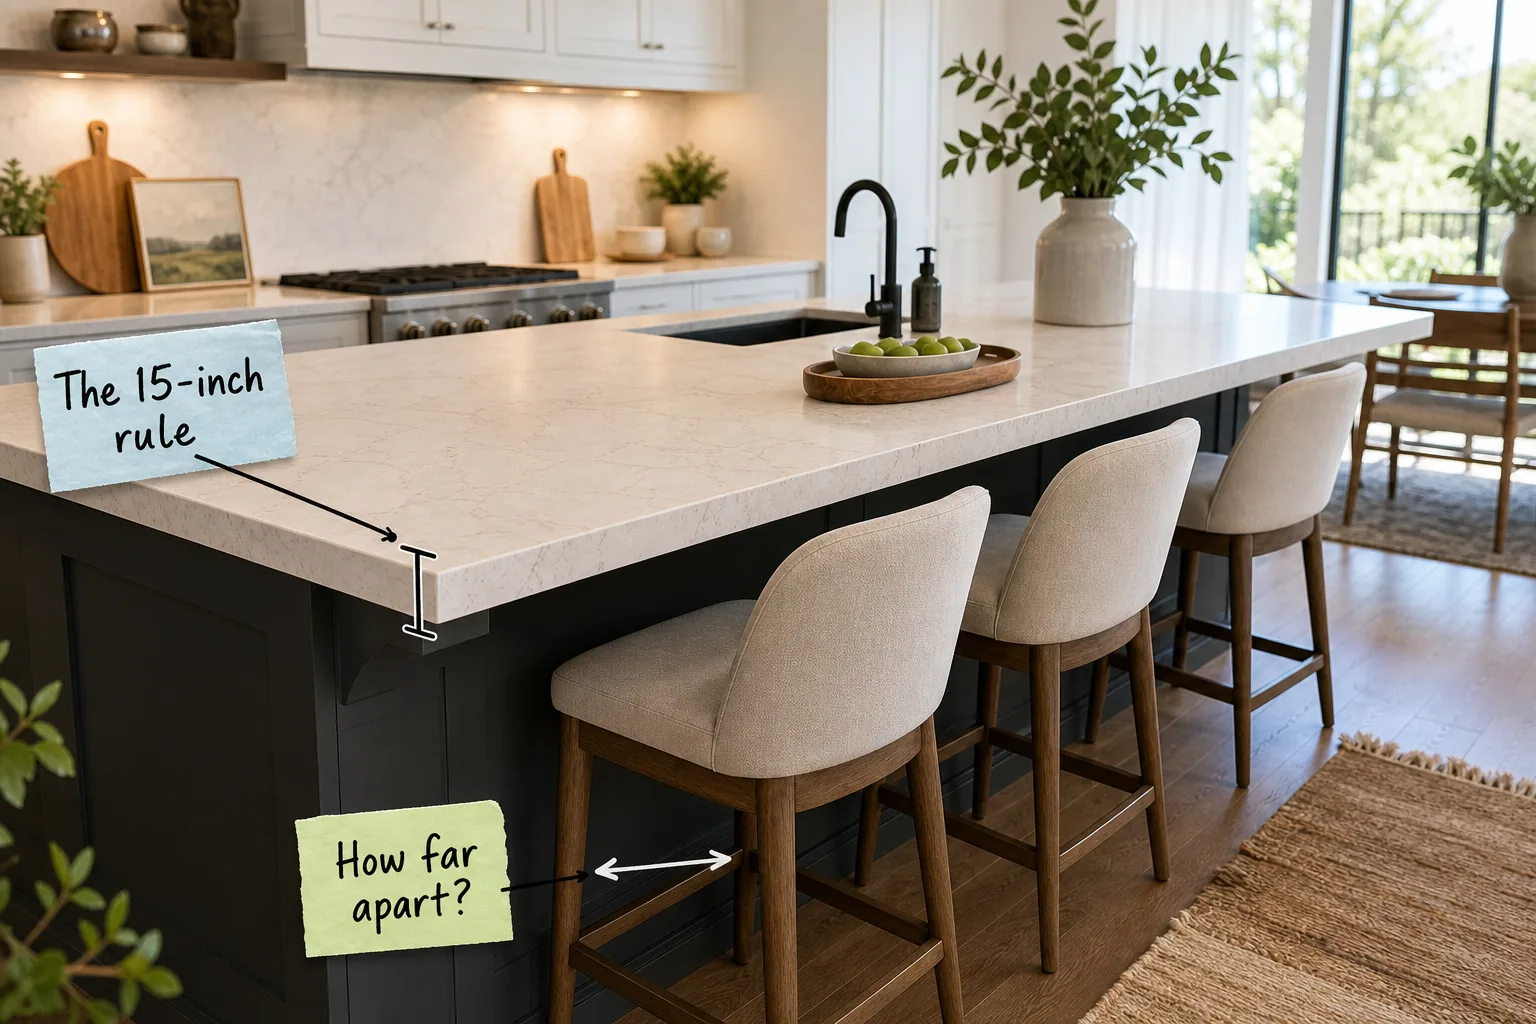
Planning a complete kitchen remodel requires precise dimensions to ensure your new layout functions beautifully for years. Use this exact measurement guide for island overhangs, stool spacing, and walkway clearances to calculate your perfect ergonomic setup before ordering your expensive stone.
Defining the Prep and Dine Zones
A successful layout visually and functionally divides the deep island surface into working and social areas, establishing a distinct Prep vs. Dine zone. This clear separation ensures your seating area never overlaps with active cooking tasks, hot pans, or dangerous sharp knives.
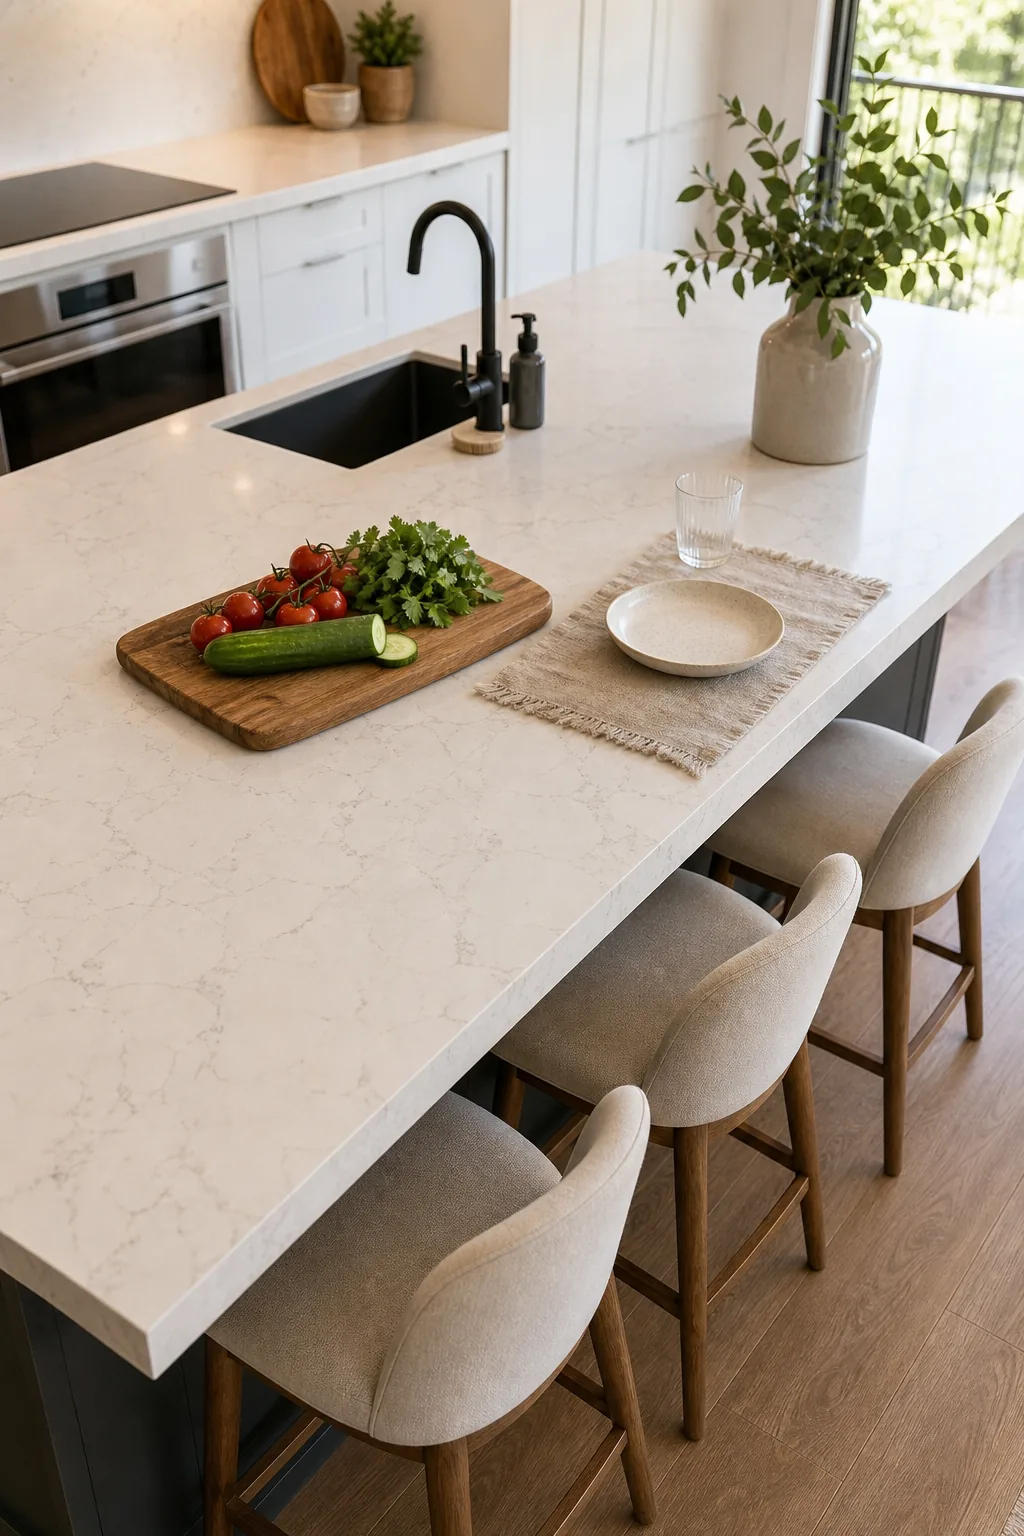
For a standard 36-inch to 48-inch deep island, allocate the front 24 inches for a dedicated prep zone with your sink or cutting boards. Follow these three sequential steps to map out your functional zones before finalizing the cabinetry layout with your builder:
- Measure 24 inches inward from the active kitchen-facing edge to establish your primary prep zone for chopping and washing.
- Reserve the remaining 12 to 24 inches of depth exclusively for the safe dine zone where guests can relax.
- Align your overhead pendant lights directly above the dividing line to visually separate these zones without building a physical barrier.
Material Transitions for Visual Separation
If your island depth exceeds 48 inches, consider using two different countertop materials to reinforce the functional boundary. A durable butcher block on the prep side paired with an elegant quartz on the seating side naturally guides guests toward the safe dining perimeter.
The 15-Inch Rule for Overhangs
The ergonomic necessity of a 15-inch drop for comfortable seating dictates that guests need adequate knee depth to avoid sitting sideways. Kitchen designers universally rely on The 15-inch rule to ensure legs do not awkwardly bump against the base cabinets during long meals.
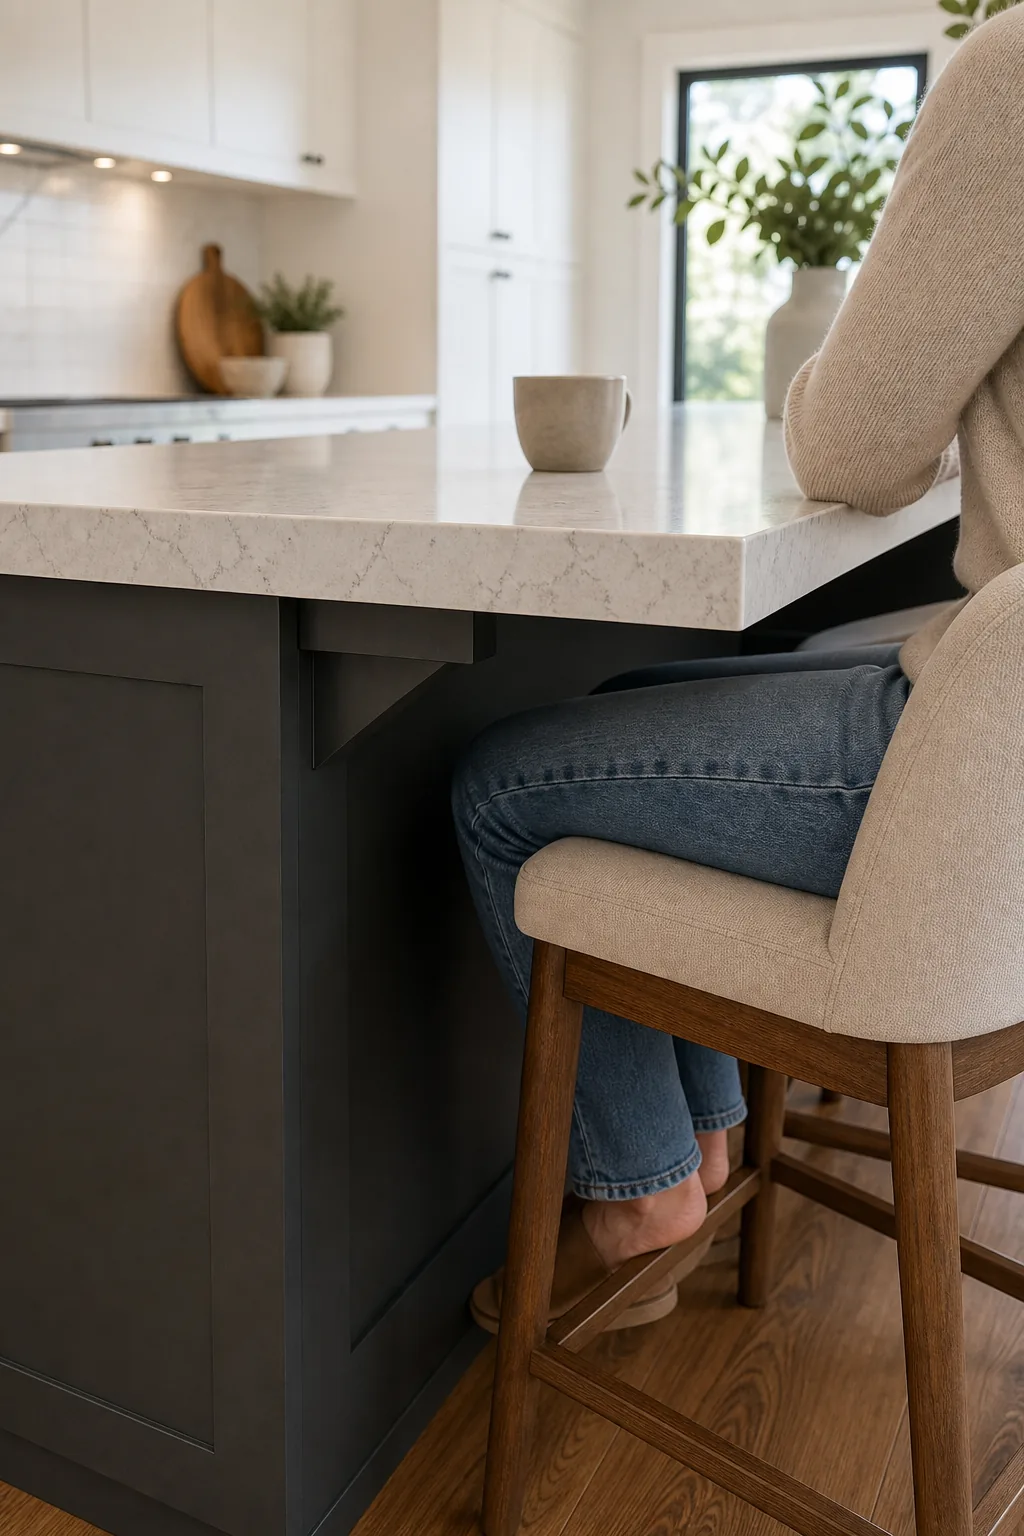
For a standard 36-inch high kitchen counter, the National Kitchen and Bath Association formally recommends a minimum 15-inch deep overhang. This exact measurement provides enough clearance for adult knees and allows backless stools to tuck away completely when the seating area is empty.
Adjusting Depth for Taller Guests
While the standard 15-inch drop works perfectly for average heights, households with exceptionally tall family members should increase the overhang to 18 inches. This expanded dimension prevents taller individuals from feeling cramped, though it requires heavier structural reinforcement beneath the extended stone surface.
Hiding the Support Brackets
The structural requirement for steel brackets on stone overhangs becomes mandatory once the material extends past 10 inches. A hidden support bracket prevents heavy quartz or granite from catastrophically cracking under the concentrated weight of leaning elbows and heavy ceramic serving platters.
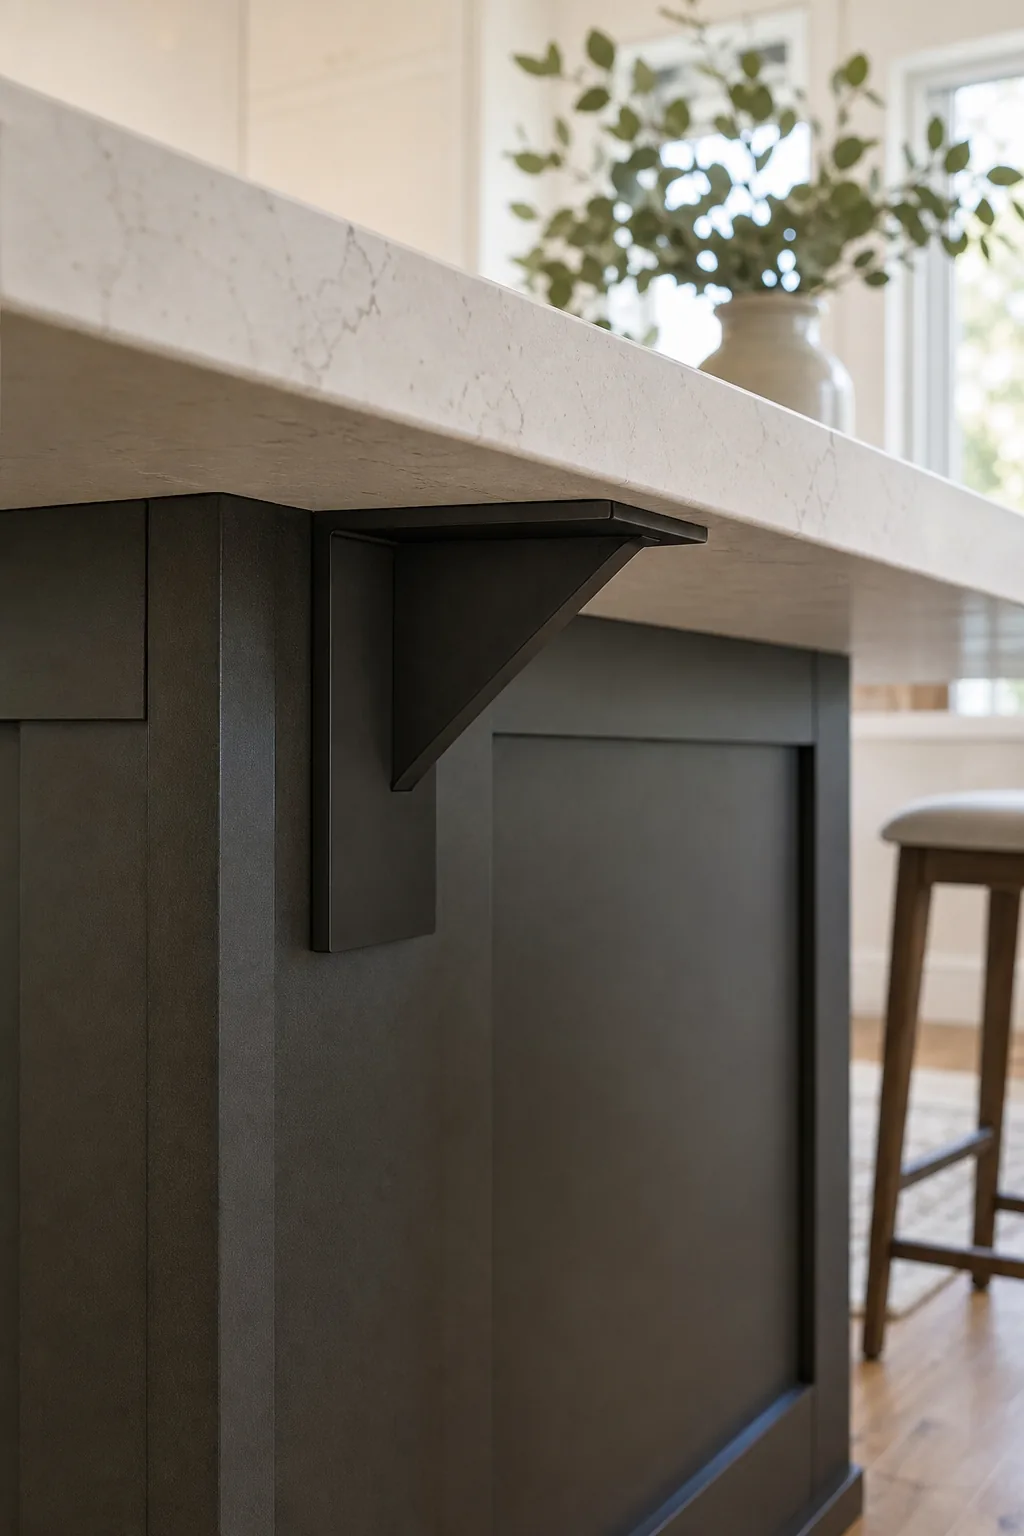
Choosing the right heavy-duty hardware keeps the seating area completely safe without sacrificing valuable legroom. Install these hidden steel braces spaced every 16 to 24 inches along the entire length of the island base to properly distribute the immense weight of the stone.
Reinforcing the Cabinet Base
Before installing those hidden steel plates, your contractor must reinforce the back wall of the island cabinets with solid wood blocking. Standard half-inch plywood cabinet backs cannot safely anchor the heavy steel brackets required to cantilever hundreds of pounds of engineered quartz.
Calculating Stool Spacing
The 24-inch linear width rule for spacing individual seats answers the critical question of exactly how far apart your chairs should sit. Generous spacing prevents elbows from clashing during meals and allows guests to comfortably slide out without trapping their immediate neighbors.
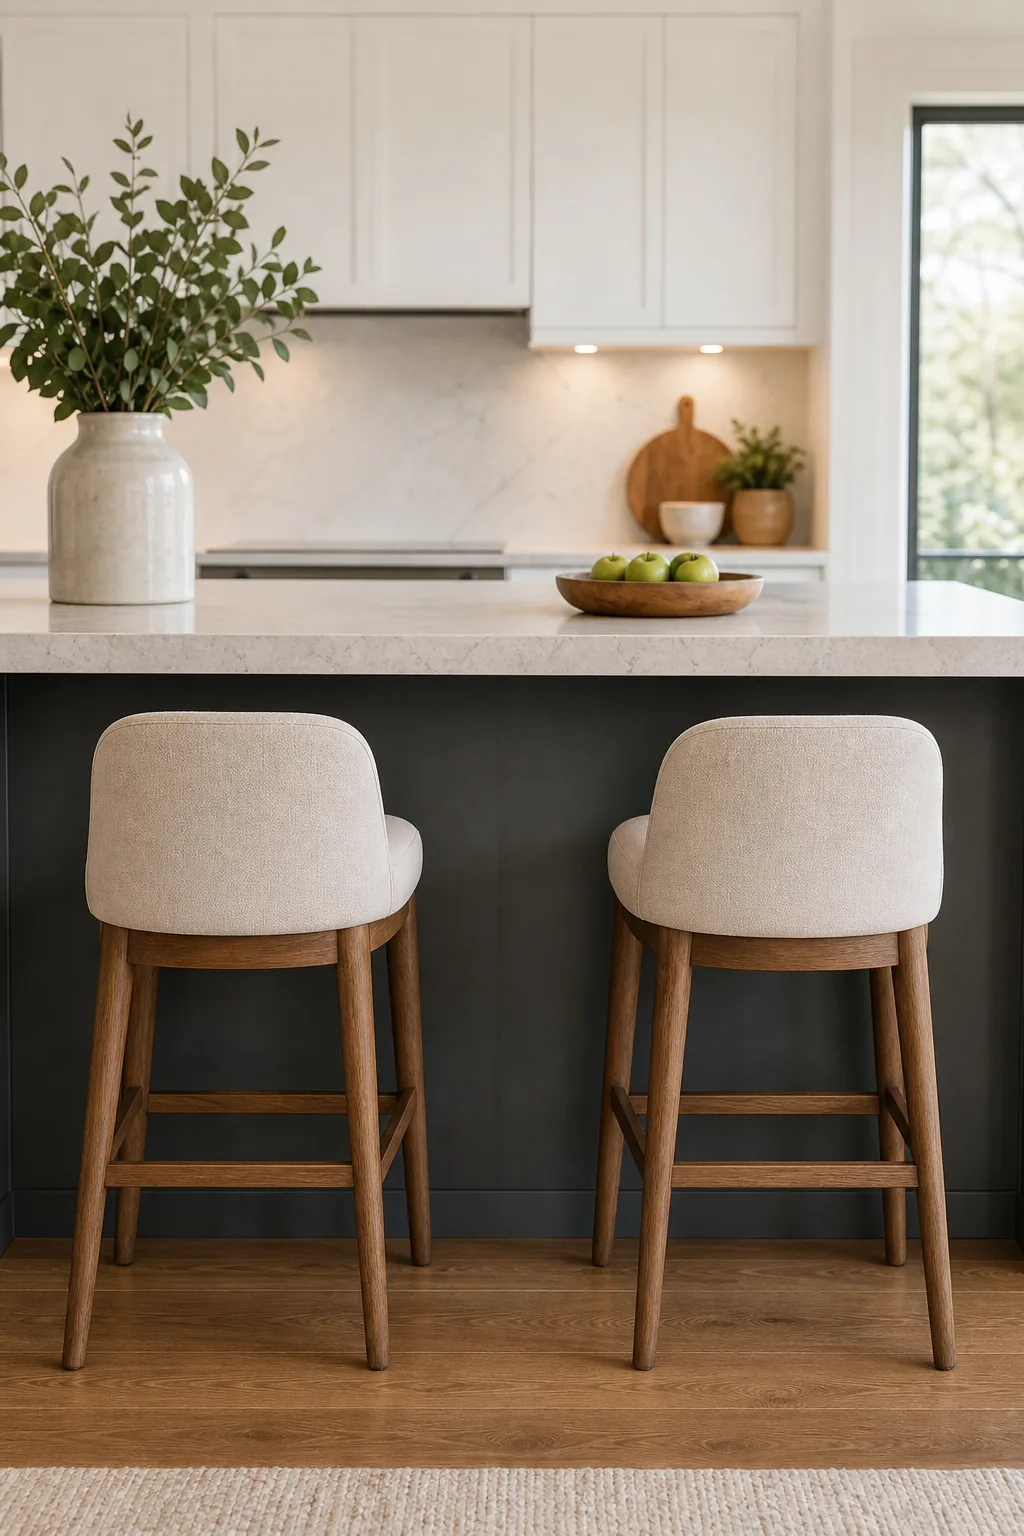
To determine exactly how many stools will fit without crowding, assign 24 inches of linear counter space to every seat. For a 72-inch long island, divide the total length by 24 to confirm that the space comfortably accommodates exactly three standard counter stools.
Managing Elbow Room at the Corners
If you plan to wrap seating around an outside corner, you must carefully calculate the overlapping knee space beneath the stone. Leave at least 12 inches of empty counter space extending from the corner before placing the first stool on either adjoining side.
Matching Stool Height to the Counter
The distinction between counter-height and bar-height stools is crucial for maintaining an ergonomic posture at a standard 36-inch island. Purchasing the wrong chair height will either trap your guests’ legs against the quartz or force them to reach awkwardly up to their dinner plates.
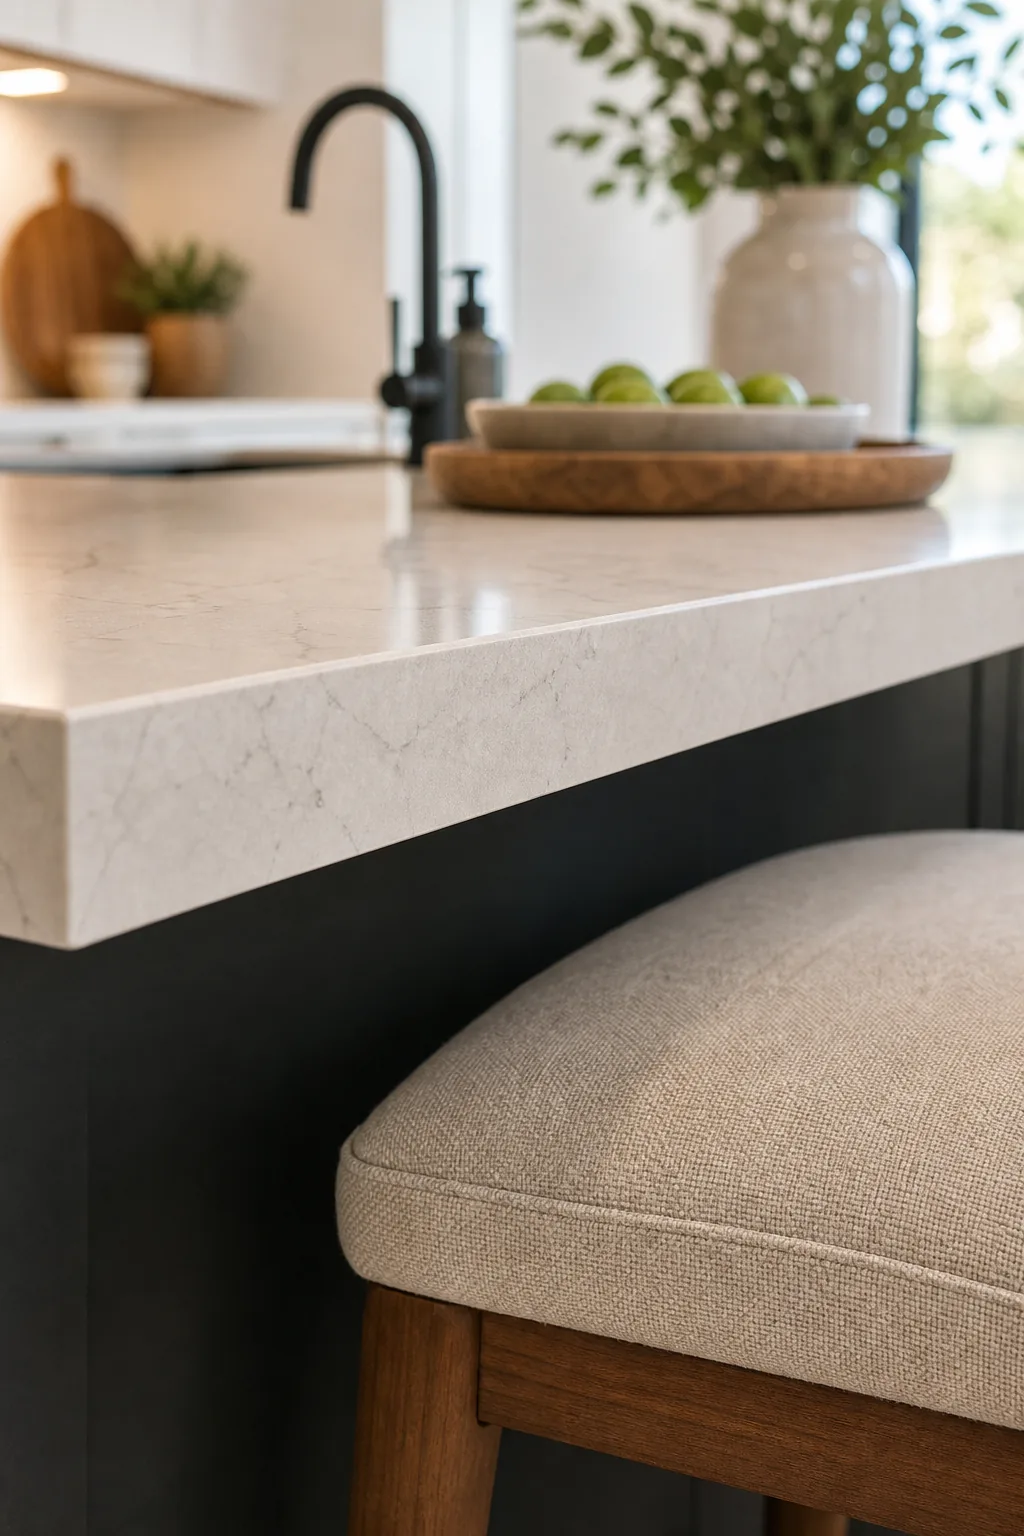
Standard kitchen islands require counter-height stools featuring a seat height of 24 to 26 inches off the floor. Do not buy bar-height stools, which sit at 28 to 30 inches and are designed exclusively for elevated 42-inch high surfaces common in commercial bars.
Selecting the Right Footrest Height
Because counter-height seats suspend legs high above the floor, a built-in footrest is absolutely essential for maintaining lower back comfort. Look for chairs with a sturdy footrest positioned exactly 16 to 18 inches below the seat cushion to prevent legs from dangling uncomfortably.
Planning the Traffic Clearance
Calculating the necessary floor walkway dimensions behind seated guests ensures the room remains functional even when fully occupied. This dedicated traffic clearance allows family members to easily edge past the island without disrupting whoever is currently eating or working at the counter.
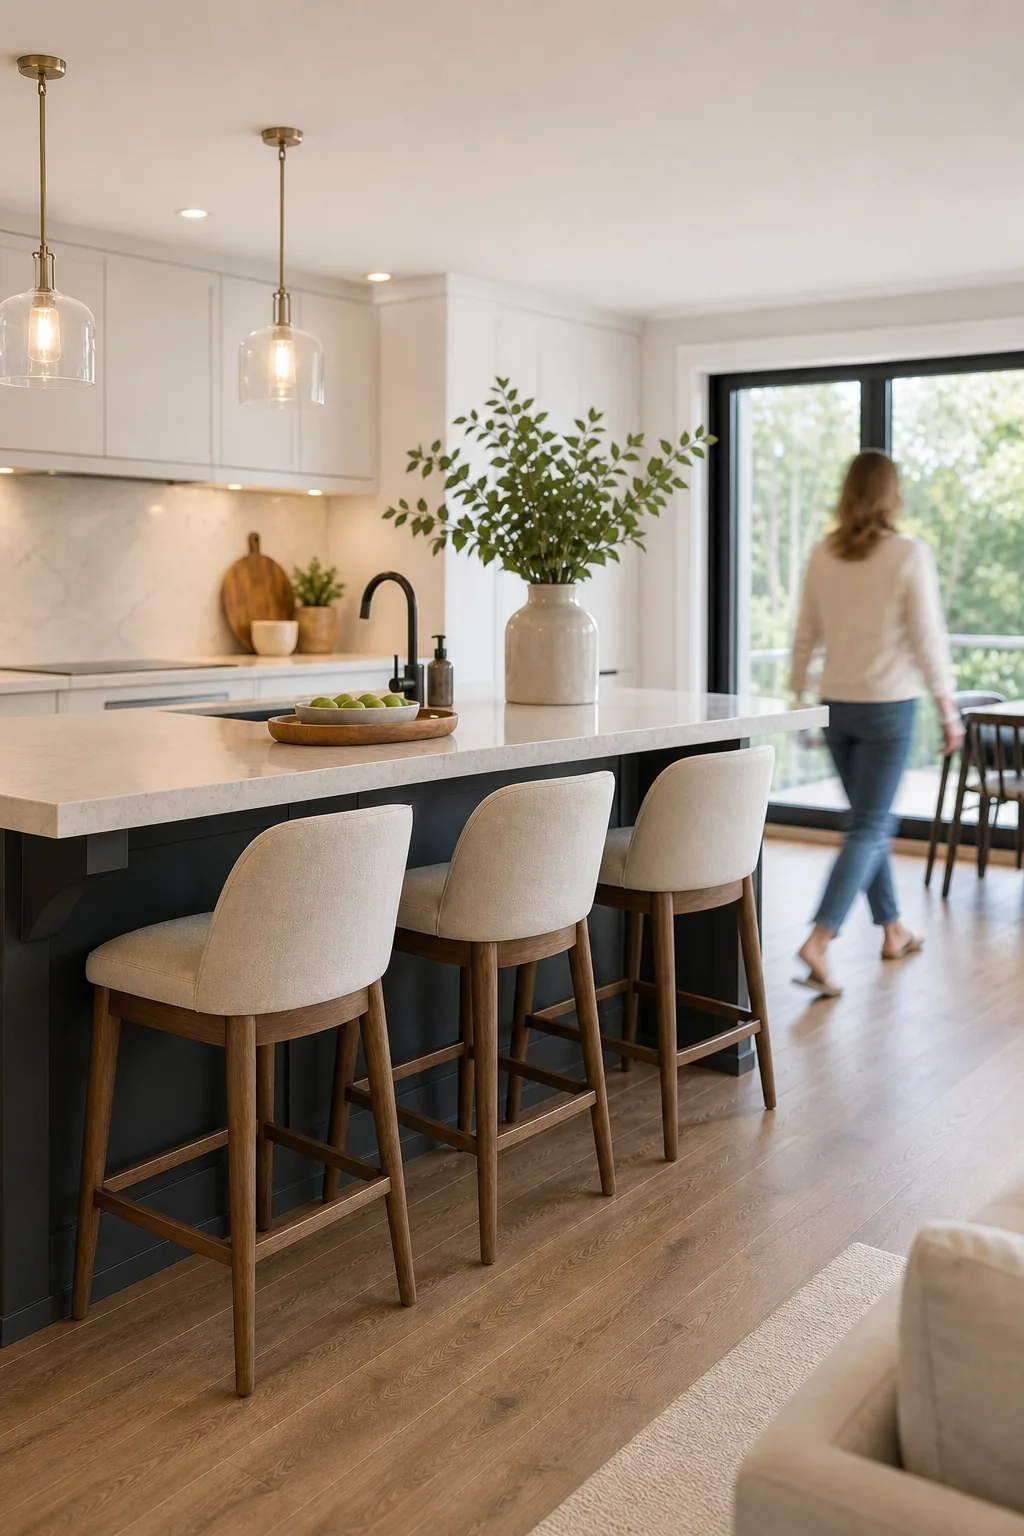
Leave a minimum of 36 inches of clearance between the counter edge and the nearest wall or dining table. If this walkway serves as a main thoroughfare to a door or the refrigerator, increase this critical clearance to 44 to 48 inches.
Accommodating Open Appliance Doors
When mapping the walkway behind the seating zone, always account for the physical swing arc of nearby appliance doors. An open dishwasher or refrigerator requires at least 21 inches of forward space, which must not overlap with the footprint of a pulled-out stool.
The Complete Island Spacing Guide
The consolidated reference sheet of all necessary island measurements serves as your master blueprint when finalizing the kitchen layout. Using this exact measurement guide prevents costly structural mistakes before the fabricator cuts your quartz and ensures a perfectly functional space for your family.
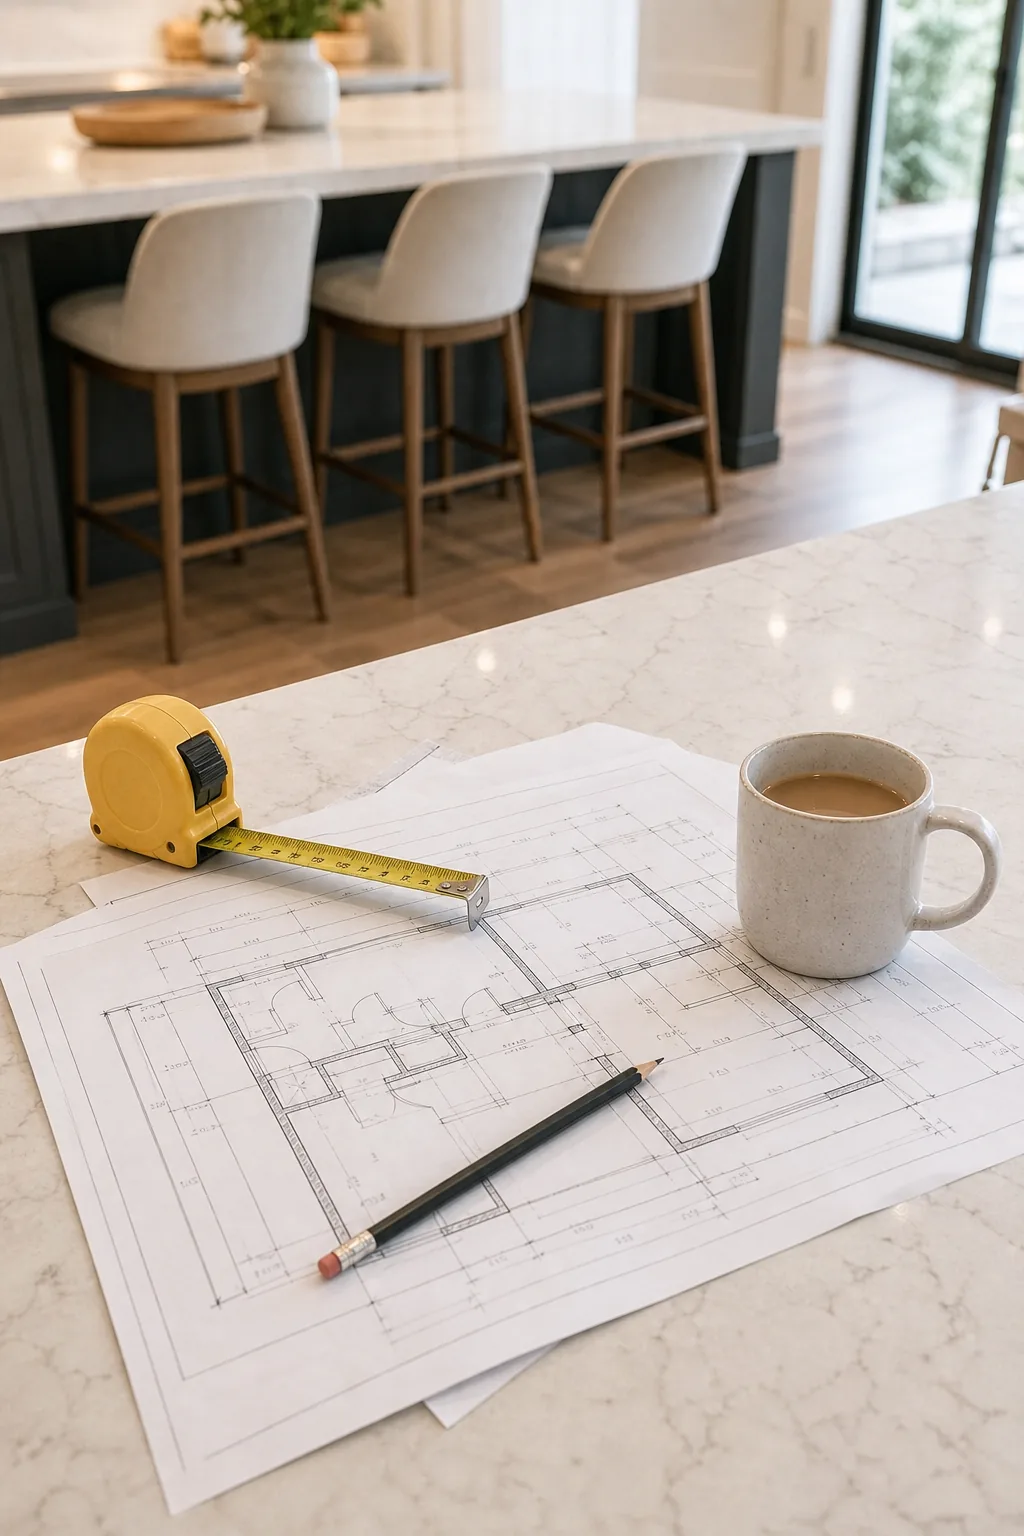
Provide these precise dimensions to your cabinet maker and stone templater so everyone works from the same ergonomic standards. Reference this quick matrix to verify that your planned layout meets all minimum residential spacing guidelines before signing off on the final design.
| Design Element | Standard Dimension | Minimum Clearance | Measurement Point |
|---|---|---|---|
| Counter Height | 36 inches | 35.5 inches minimum | Measured from finished floor to top of stone surface |
| Seating Overhang | 15 inches | 12 inches minimum | Measured from the cabinet face to the outer stone edge |
| Linear Spacing | 24 inches | 21 inches minimum | Measured as the width allocated per individual stool |
| Stool Seat Height | 24 to 26 inches | 24 inches minimum | Measured from the finished floor to the seat cushion |
| Traffic Walkway | 44 to 48 inches | 36 inches minimum | Measured from the counter edge to the back wall |
Integrating Electrical Outlets
Building codes require accessible electrical receptacles on fixed kitchen islands, but they cannot be placed randomly in the seating zone. Install these mandatory outlets on the side panels or just beneath the overhang to prevent dangling appliance cords from tangling with seated guests.
Final Checks Before Installation
The physical tape-out test allows you to verify all clearances and test the flow of the room before installation begins. It is much easier to adjust the cabinet placement on the subfloor now than after the heavy stone is permanently glued down.
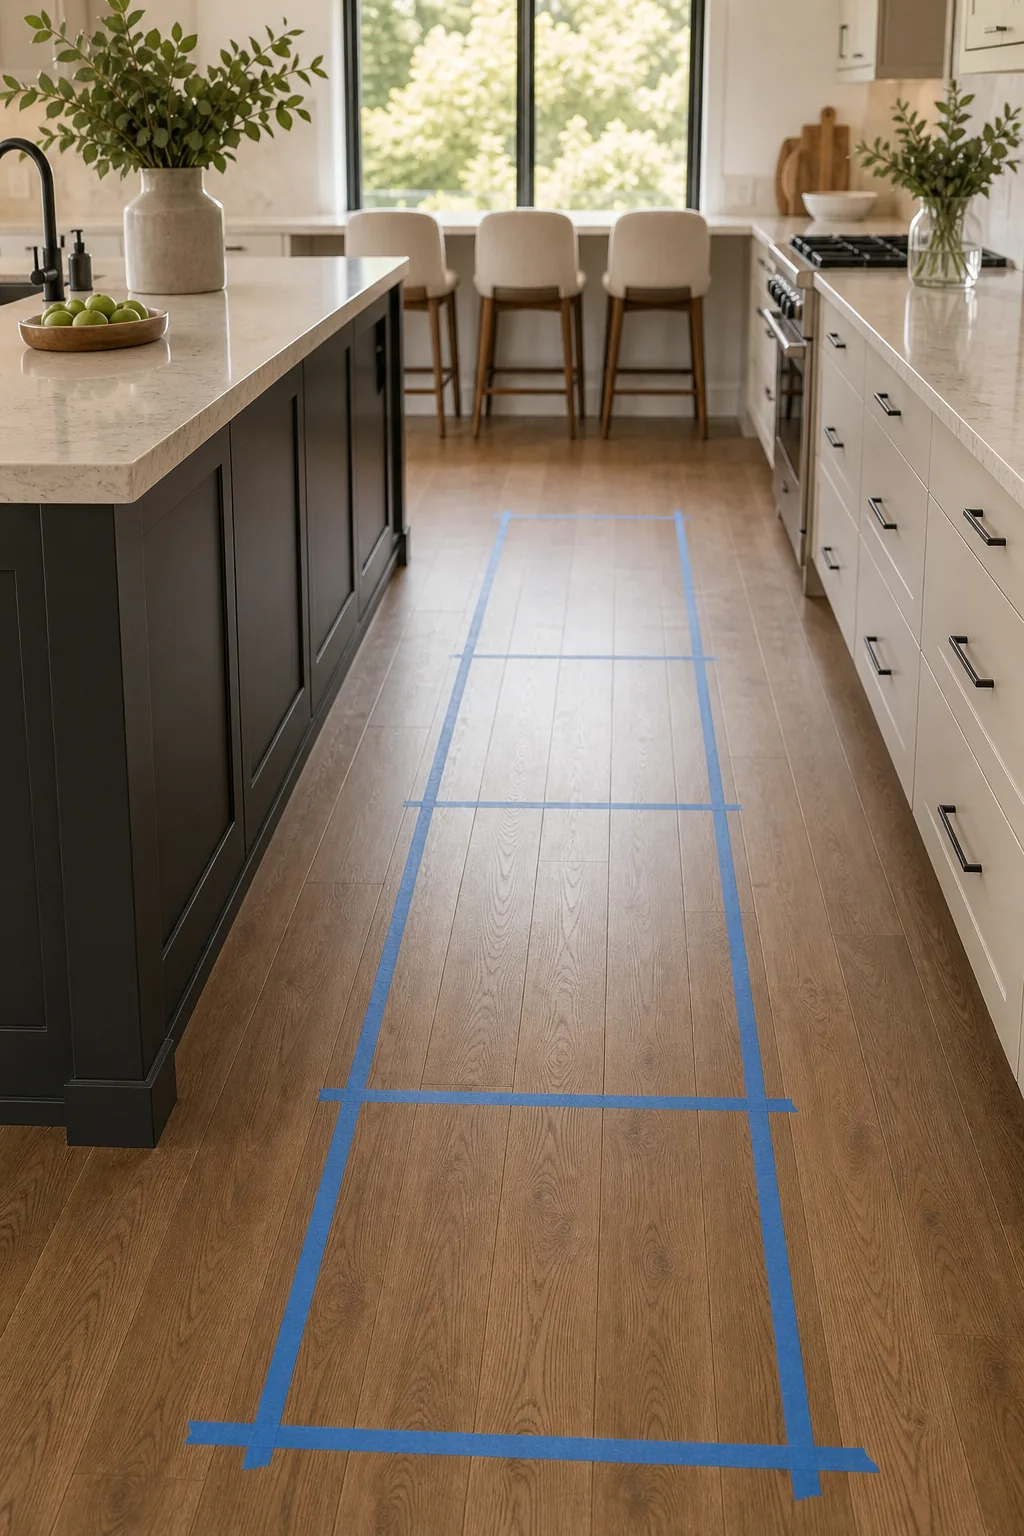
Run through this quick verification list before signing off on the final templating to ensure no ergonomic details are overlooked. Taking ten minutes to physically measure these zones guarantees your new kitchen island will be as comfortable as it is beautiful.