
Room Decor Secrets: The Step-by-Step Layering Guide
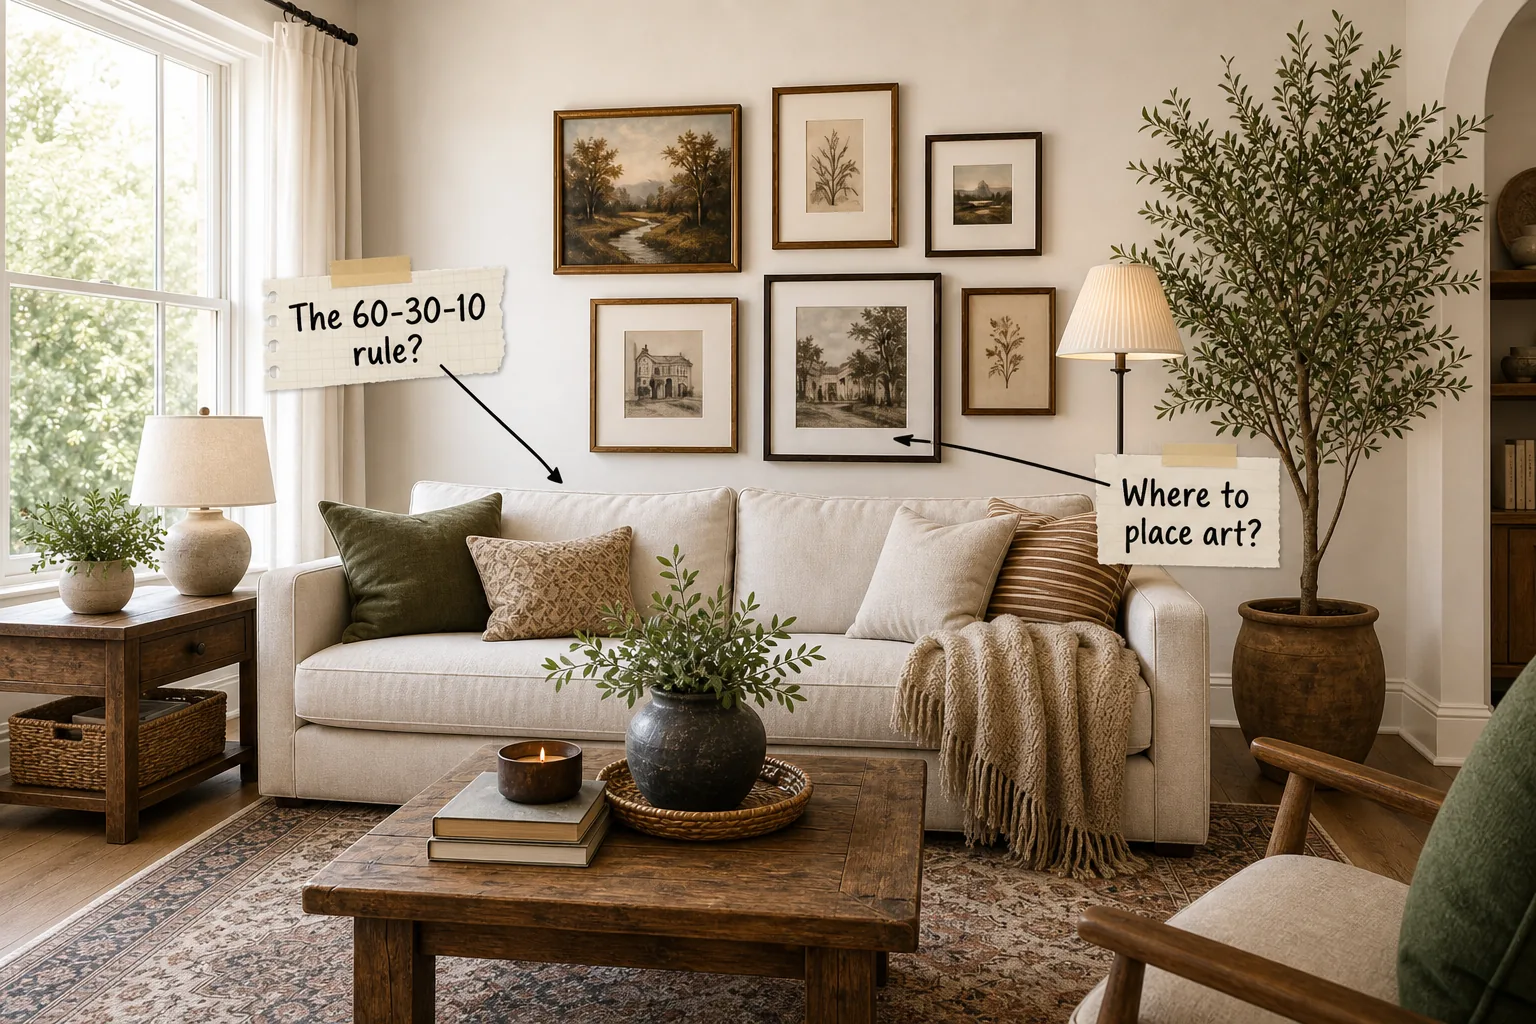
Welcome to the step-by-step room decor layering guide and placement cheat sheet, where you will learn exactly how to arrange your furniture, hang art at the correct height, and layer textiles using a proven chronological formula designed by interior professionals to guarantee a balanced space.
Start With the Anchor Piece
Every well-styled room begins from the floor up, utilizing the area rug as the foundational anchor piece that visually defines the main living zone and physically connects the disparate furniture elements into one cohesive, intentional gathering space that feels incredibly grounded.
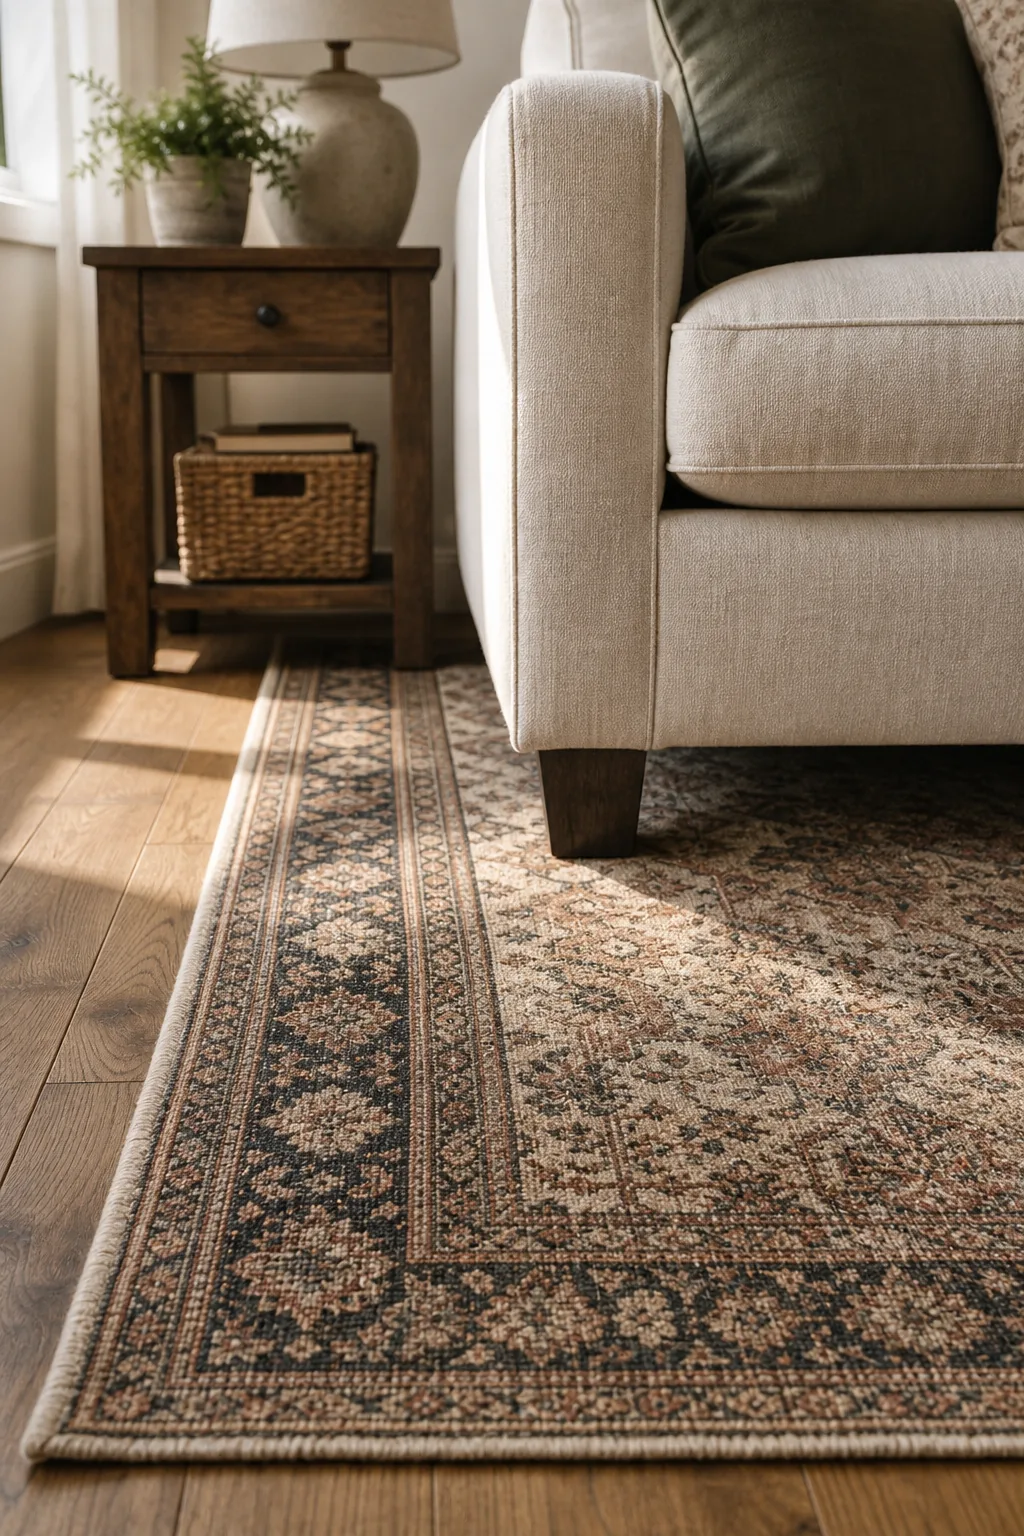
For a truly cohesive look, ensure the rug is large enough that the front legs of the sofa and accent chairs sit at least 6 to 8 inches over the woven edge, preventing the furniture from looking like it is floating aimlessly.
Size the Rug for Your Space
Choosing the correct dimensions prevents the room from feeling disjointed or cramped, so always measure your entire seating arrangement rather than just relying on the empty floor dimensions when shopping for your foundational layer to ensure the proportions perfectly match your furniture.
| Placement Method | Furniture Position | Best Room Type |
|---|---|---|
| Front Legs On | Front legs overlap by 6 to 8 inches | Standard enclosed living rooms |
| All Legs On | Entire furniture frame sits inside edges | Large open-concept spaces |
| Float Center | Only the coffee table sits on the rug | Narrow or unusually shaped rooms |
Use masking tape to outline these exact dimensions on your floor, ensuring you leave at least 12 to 18 inches of bare hardwood or tile exposed around the perimeter of the room to frame the arrangement beautifully and highlight your architectural details.
Master the 60-30-10 Color Rule
Achieve a balanced palette by dividing your room’s colors into three distinct percentages, dedicating 60 percent to a dominant neutral like the wall color, ceiling paint, and large upholstery pieces such as your primary linen sofa to establish a calm, quiet background.
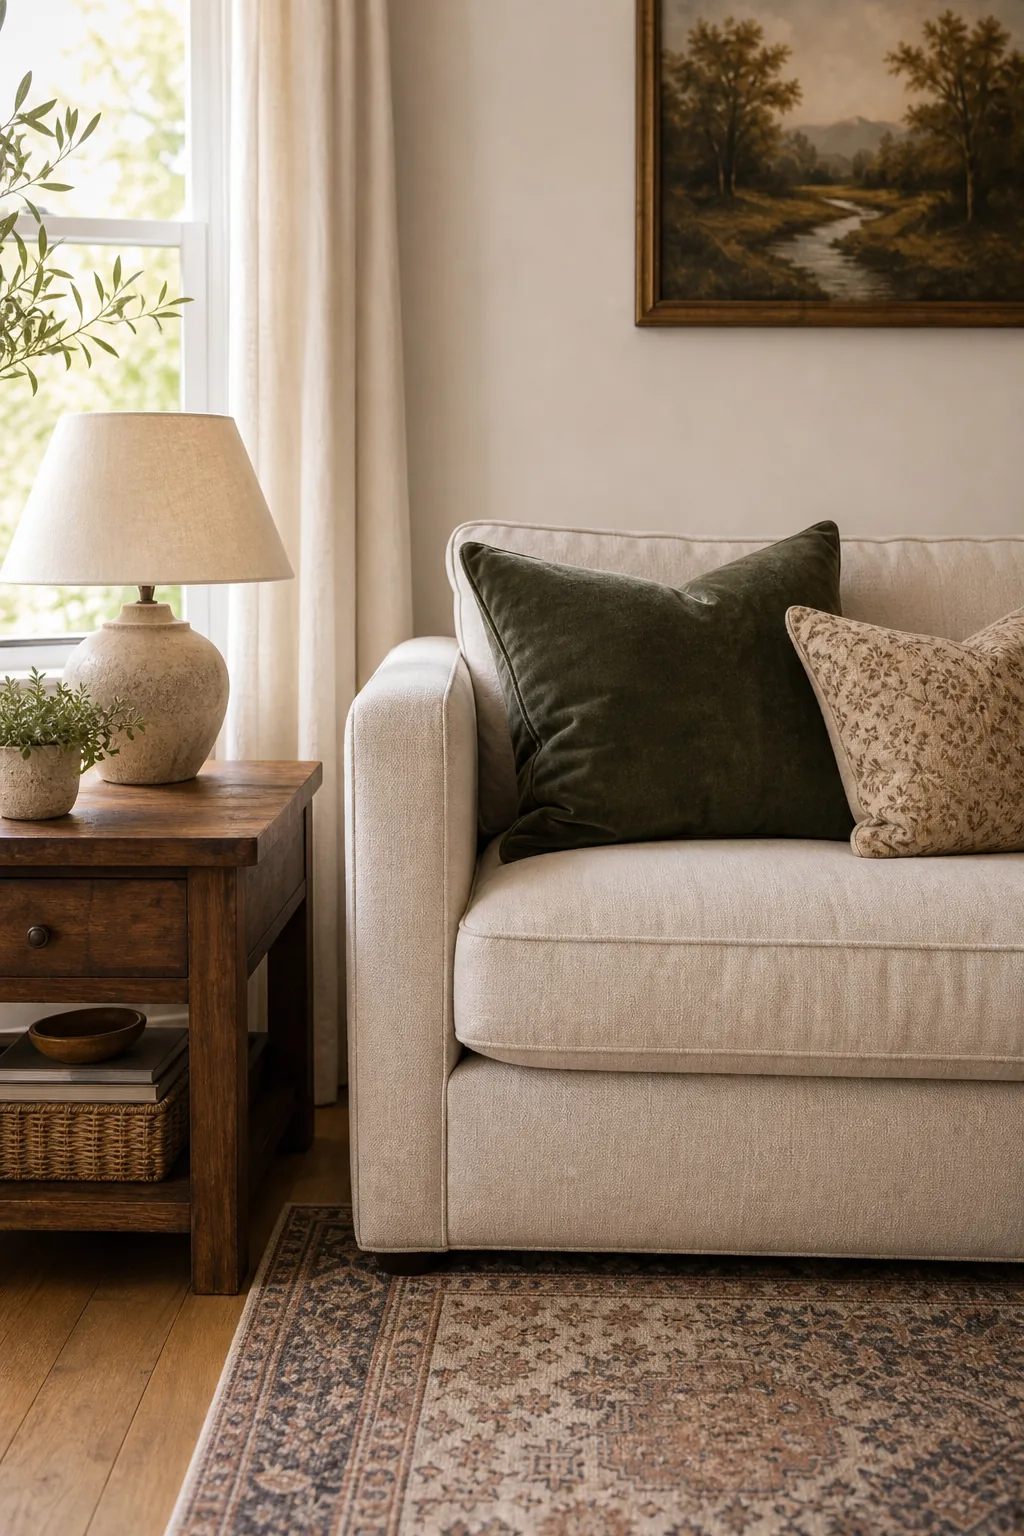
Allocate 30 percent to a secondary tone like earthy greens or warm architectural elements, and reserve the final 10 percent for a darker accent color that provides necessary visual depth through small, easily interchangeable accessories that keep the eye moving gracefully.
Select Your Secondary Wood Tones
While the formula seems strict, you can easily adapt it by evaluating the natural materials already present in your space rather than feeling forced to buy entirely new decorative textiles to meet the exact mathematical color requirements of a professional design plan.
Establish the Primary Furniture Layout
Once the rug and sofa are securely placed, position the coffee table to create a comfortable traffic flow that invites easy conversation without trapping guests or forcing them to squeeze awkwardly between heavy pieces of furniture when navigating the seating area.
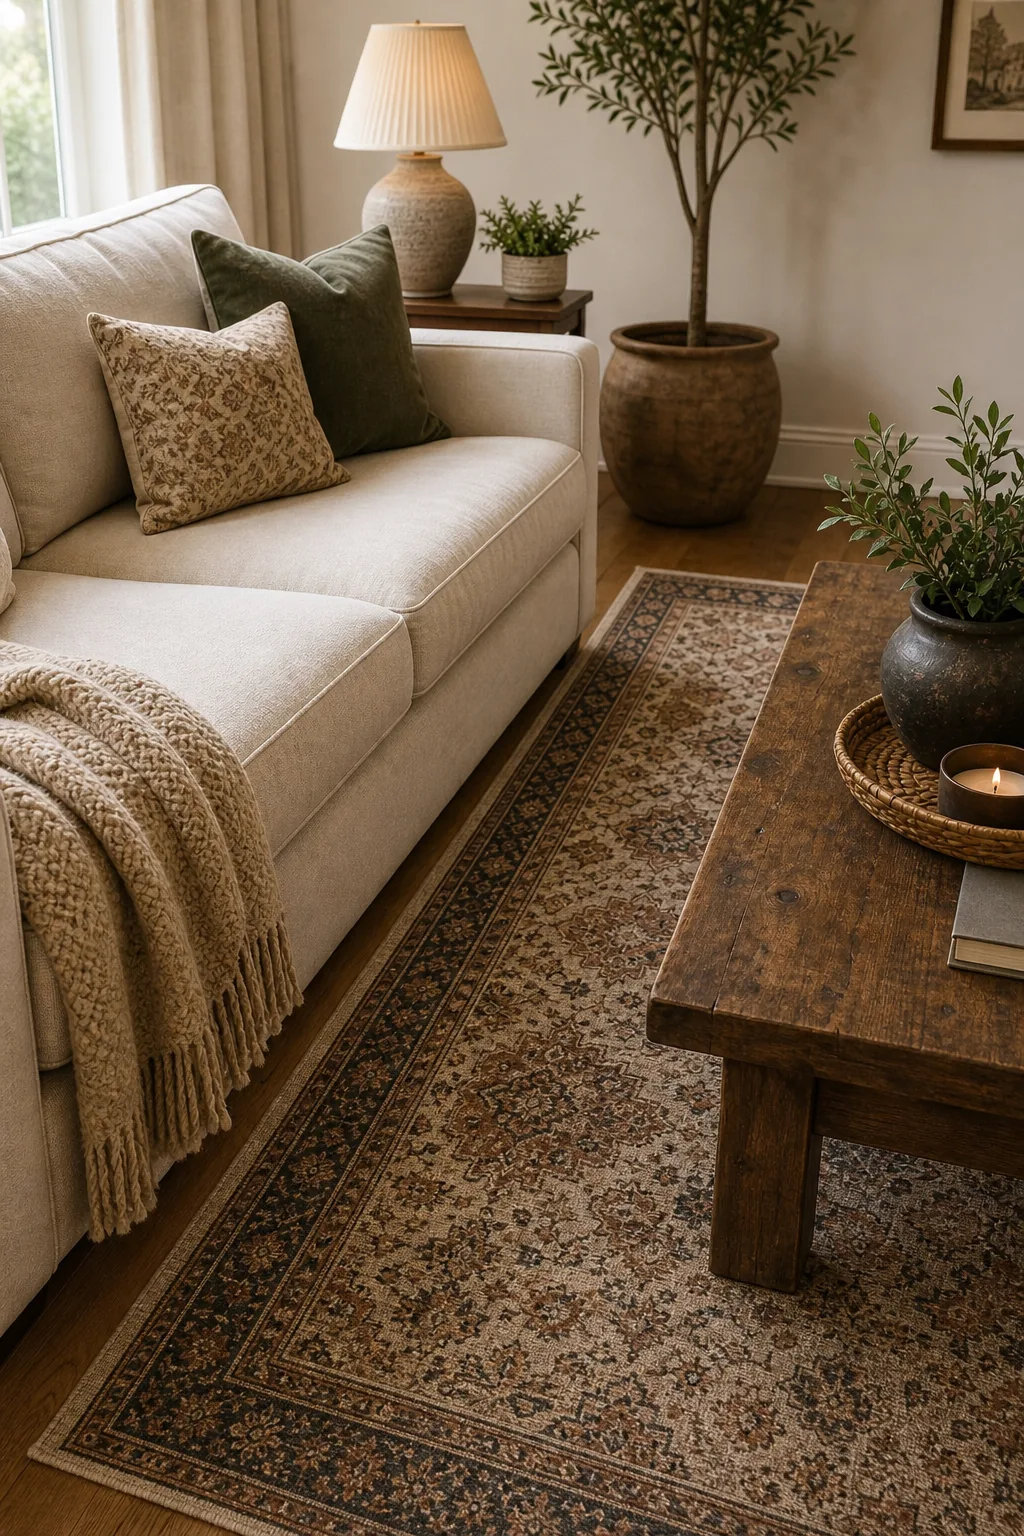
Leave exactly 14 to 18 inches of clearance between the inside edge of the sofa and the coffee table so drinks remain perfectly reachable but long legs still have ample room to stretch and move comfortably without bumping into hard wooden corners.
Optimize Secondary Seating Distances
A functional living room requires proper spacing between secondary seating pieces so family members and guests can interact naturally without straining to hear one another across a massive, empty expanse of unused floor space that ruins the intimate atmosphere.
- Keep accent chairs within 8 feet of the primary sofa to maintain an intimate, cozy conversation zone that feels naturally connected.
- Allow a 30-inch minimum pathway for main traffic routes entering and exiting the living room to prevent irritating bottlenecks.
- Place side tables within easy arm’s reach, typically 2 to 3 inches away from the chair arm for comfortable drink placement.
Testing these invisible pathways by physically walking through the room helps you identify frustrating bottlenecks or awkwardly tight corners before you commit to the final placement of your heaviest, most difficult-to-move furniture pieces, saving you hours of unnecessary physical exertion.
Where to Place Art
Hanging artwork too high is the single most common decor mistake, leaving many frustrated homeowners to ask exactly where to place art? to avoid the dreaded floating-frame effect that disconnects the piece from the room and strains the viewer’s neck.
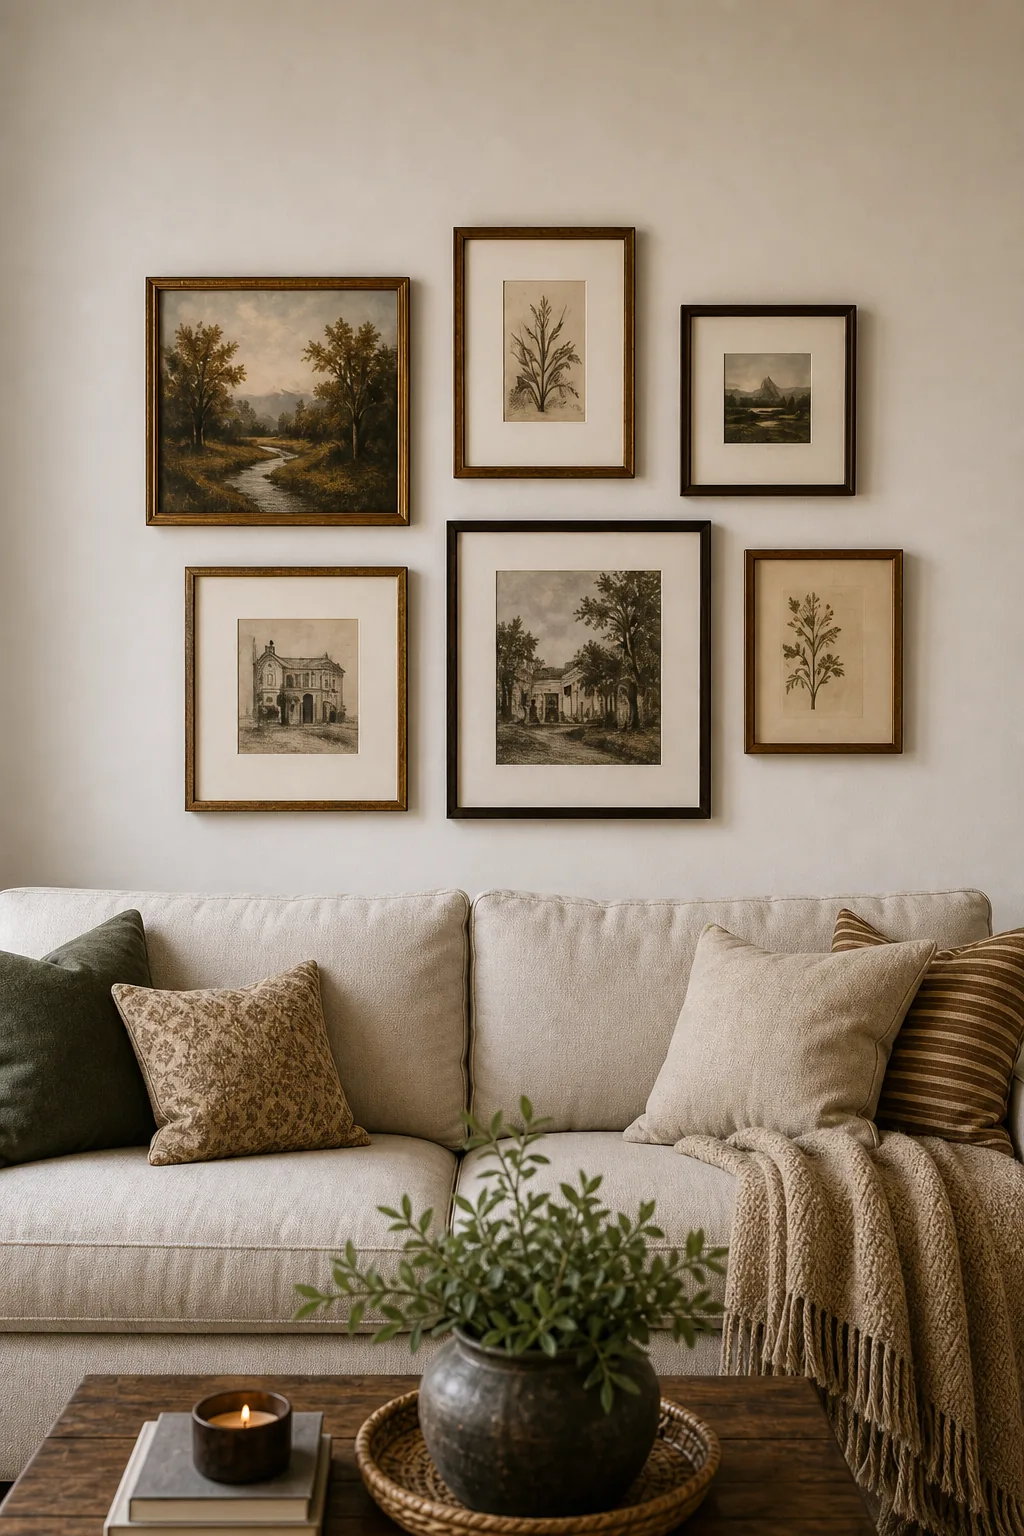
Whether you are hanging a single large canvas or planning a complex multi-frame gallery wall, the center of the entire arrangement should sit exactly 57 to 60 inches from the floor, matching the average human eye level for optimal daily viewing comfort.
Scale Art to the Wall
Selecting the right size artwork prevents the piece from looking completely lost on an expansive wall or visually overwhelming a delicate piece of furniture positioned directly underneath it, ensuring the proportions remain perfectly balanced and harmonious throughout the entire living space.
- Measure the total width of the sofa or console table anchoring the space directly beneath the planned art installation.
- Multiply that exact width by 0.66 to find the ideal minimum span for your artwork to ensure proper visual scale.
- Ensure the bottom edge hangs roughly 8 to 10 inches directly above the back of the furniture to bridge the gap.
Treating a multi-frame gallery grouping as one single large art piece allows you to apply these exact same scaling calculations to complex arrangements, ensuring the total footprint remains perfectly proportional to the surrounding furniture without requiring advanced mathematical formulas.
Build a Visual Triangle
Prevent a corner from feeling flat by arranging objects of varying heights to force the eye to move dynamically across the different vertical planes, creating a sense of layered architectural interest that makes the room feel taller and far more intentional.
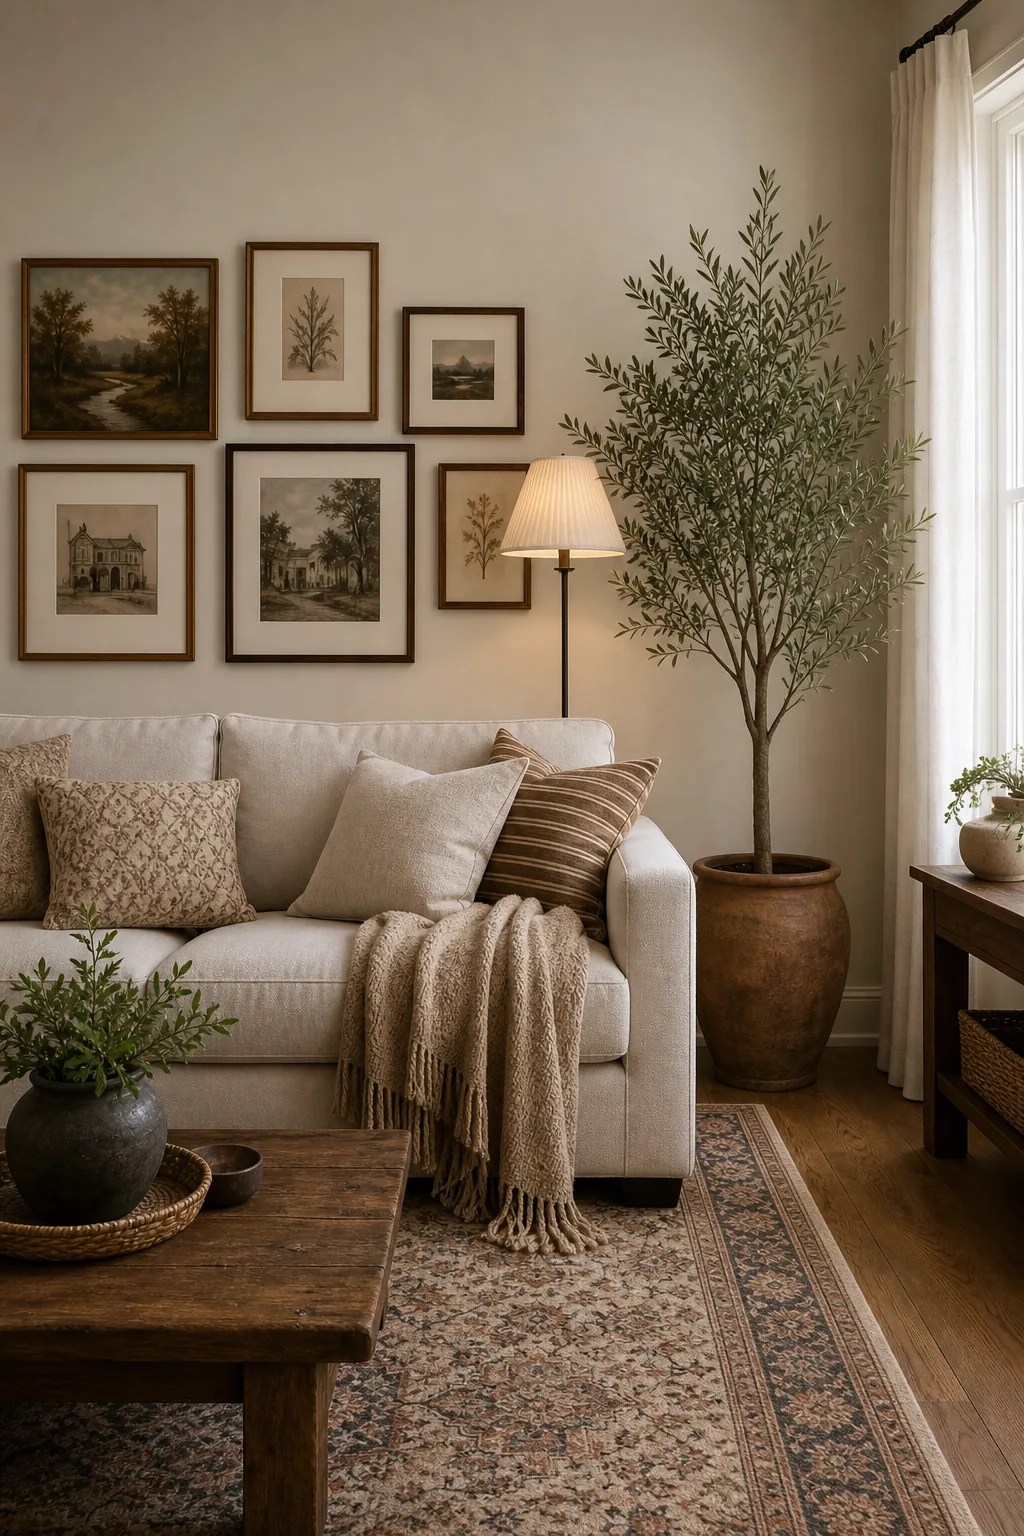
Position a tall potted olive tree, a medium-height floor lamp, and the lower edge of the gallery wall to form an invisible, stabilizing visual triangle that anchors the empty corner and balances the room’s overall proportions with effortless, organic geometry.
Direct the Eye Upward
Incorporating tall vertical elements like indoor trees, arched floor lamps, or floor-to-ceiling drapery panels naturally draws attention toward the ceiling, making standard rooms feel significantly more spacious, elevated, and intentionally designed by an expert who understands how to manipulate visual scale.
Layer in the Texture Mix
When working with a predominantly neutral color palette, tactile differences become your primary design tool, introducing a rich texture mix that prevents the room from feeling sterile, flat, or resembling a generic catalog showroom completely devoid of personalized character and warmth.
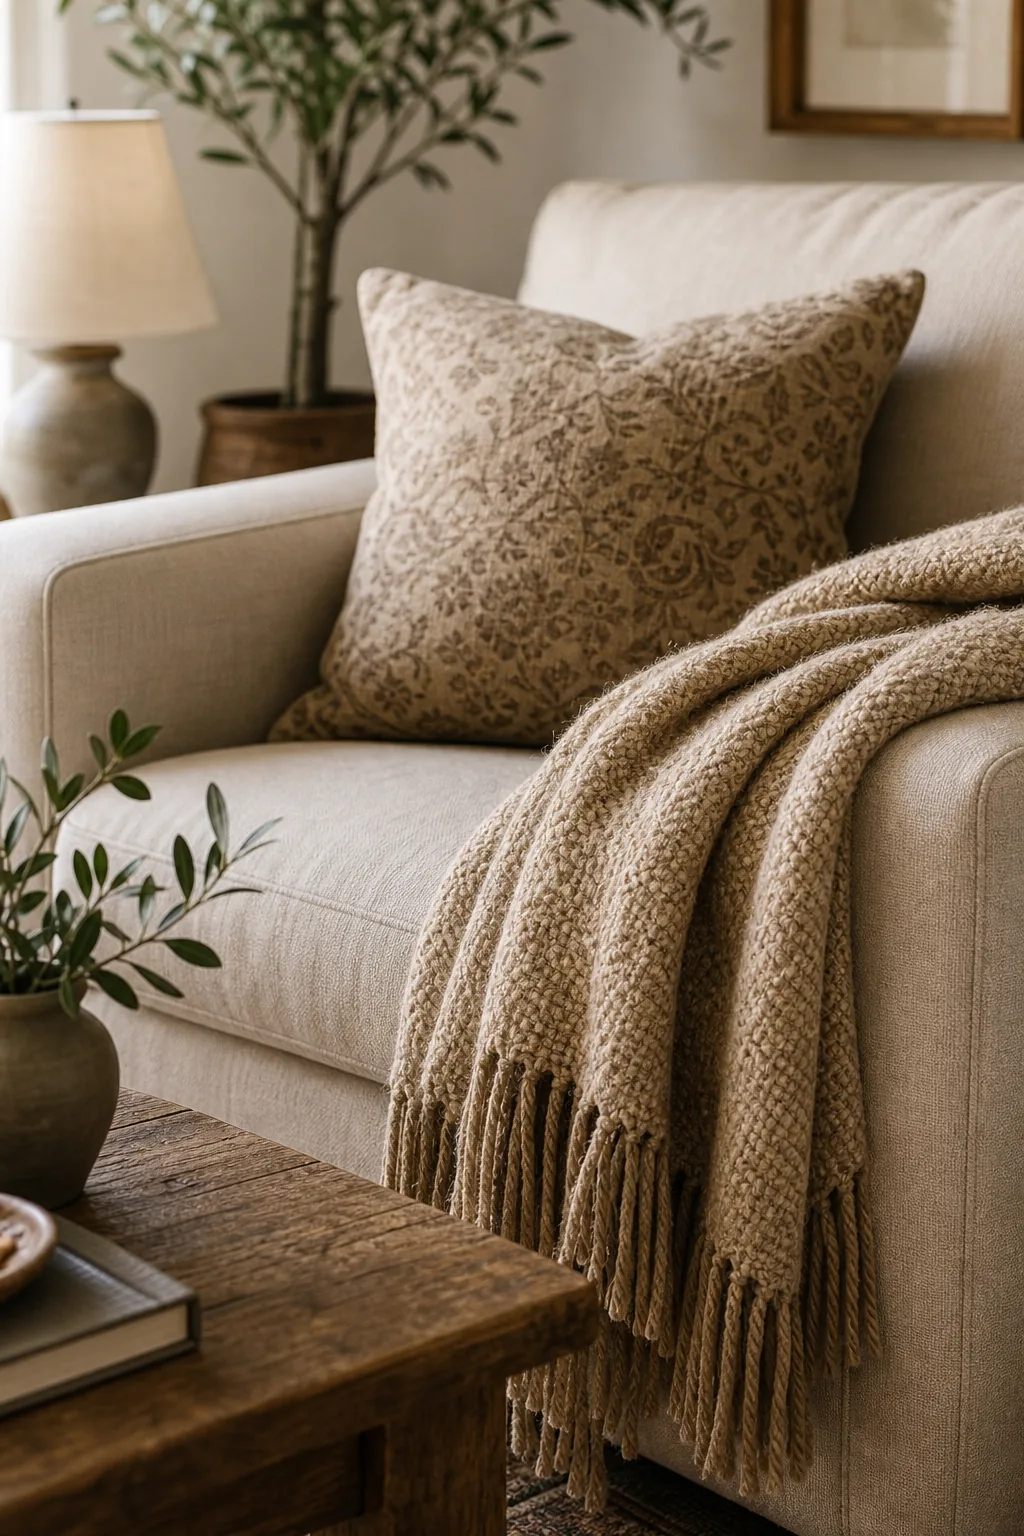
Drape a heavy woven or fringed throw blanket casually over the smooth linen sofa arm, and pair it with a diverse mix of matte cotton and subtly patterned accent pillows to build inviting, touchable layers that immediately soften the heavy furniture silhouettes.
Choose Complementary Fabric Weights
Balancing heavy, nubby knits with smooth, cool materials like polished leather or crisp cotton creates immediate cozy depth that invites guests to sit down, relax, and actually use the beautifully styled seating arrangement rather than treating it like a delicate museum exhibit.
Balance the Coffee Table
Finish the center of the room by grouping small decor items so they establish a curated, intentional focal point rather than feeling like scattered, disconnected household clutter abandoned carelessly on the coffee table surface after a long, exhausting day of work.
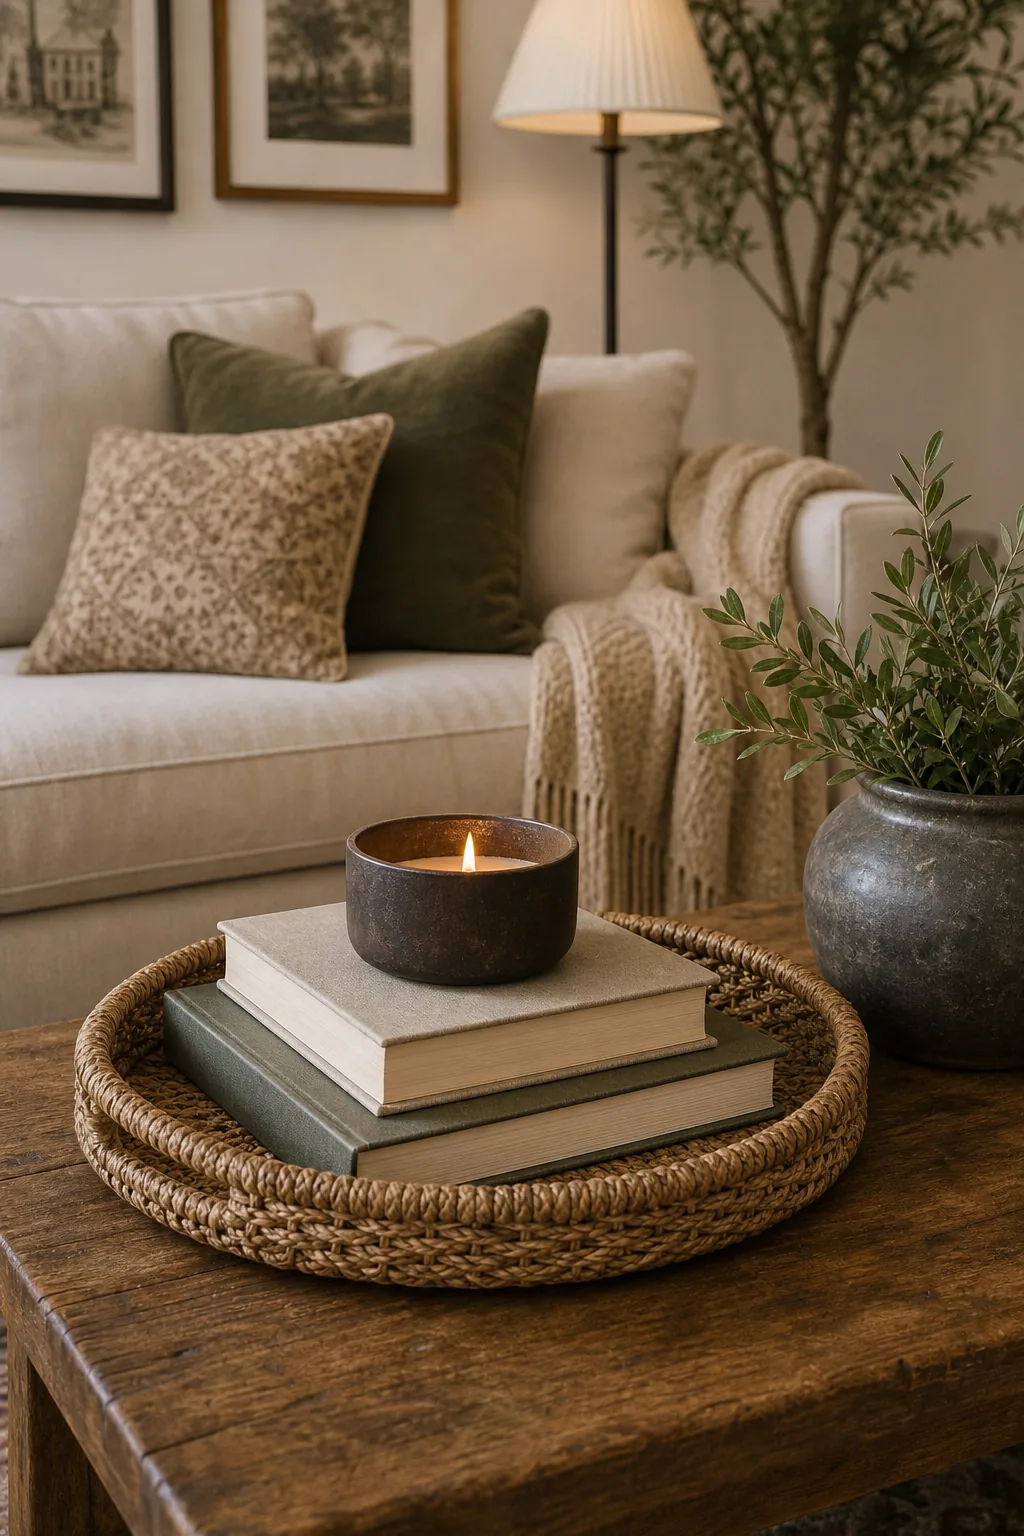
Use a shallow round woven tray to instantly break up the hard rectangular lines of a wood table, and stack two or three hardcover books to elevate a small ceramic bowl or glowing candle, creating miniature levels of visual interest.
Group Items by Odd Numbers
Arranging accessories in clusters of three or five creates a subtle, organic asymmetry that the human eye naturally finds far more engaging and relaxed than perfectly mirrored, rigidly even pairings placed symmetrically on either side of the coffee table or console.
The Step-by-Step Styling Cheat Sheet
Pulling the entire room together requires strictly following the correct order of operations, starting with the largest footprint items and systematically working your way down to the smallest decorative accessories to avoid frustrating rework and guarantee a beautifully cohesive final result.
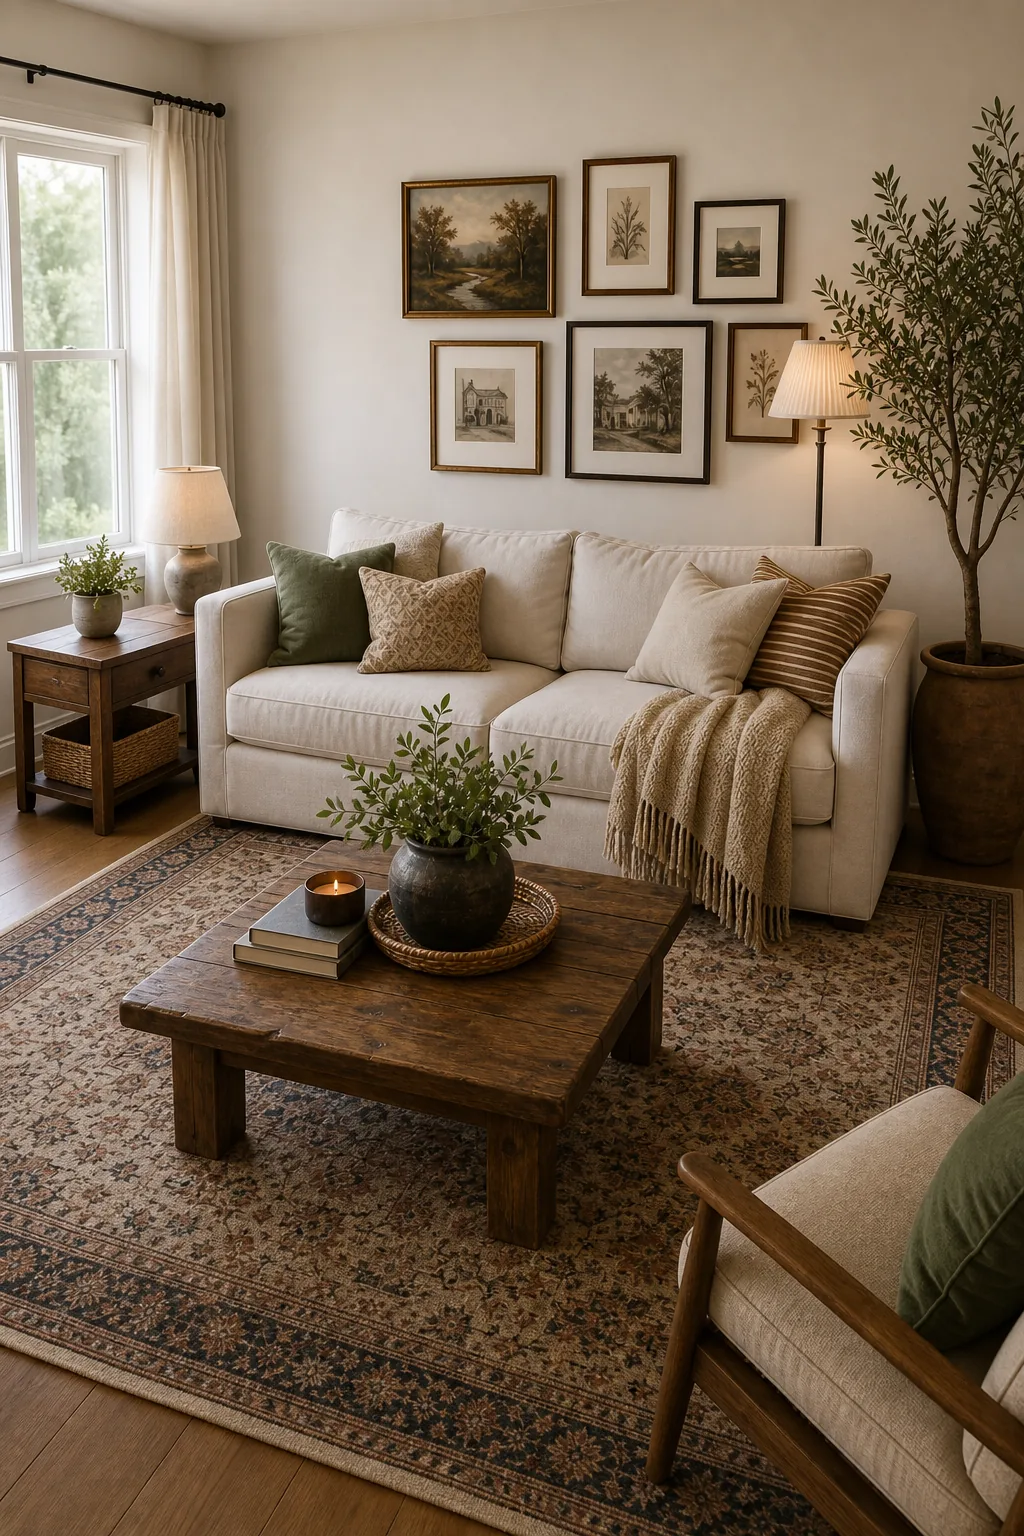
To guarantee a balanced result without endless rearranging and heavy lifting, follow this exact sequence every single time you attempt to refresh a room or start a completely new design project from scratch, ensuring nothing feels out of place.