
Smart Outdoor Kitchen Layout Rules: The 3-Zone Guide
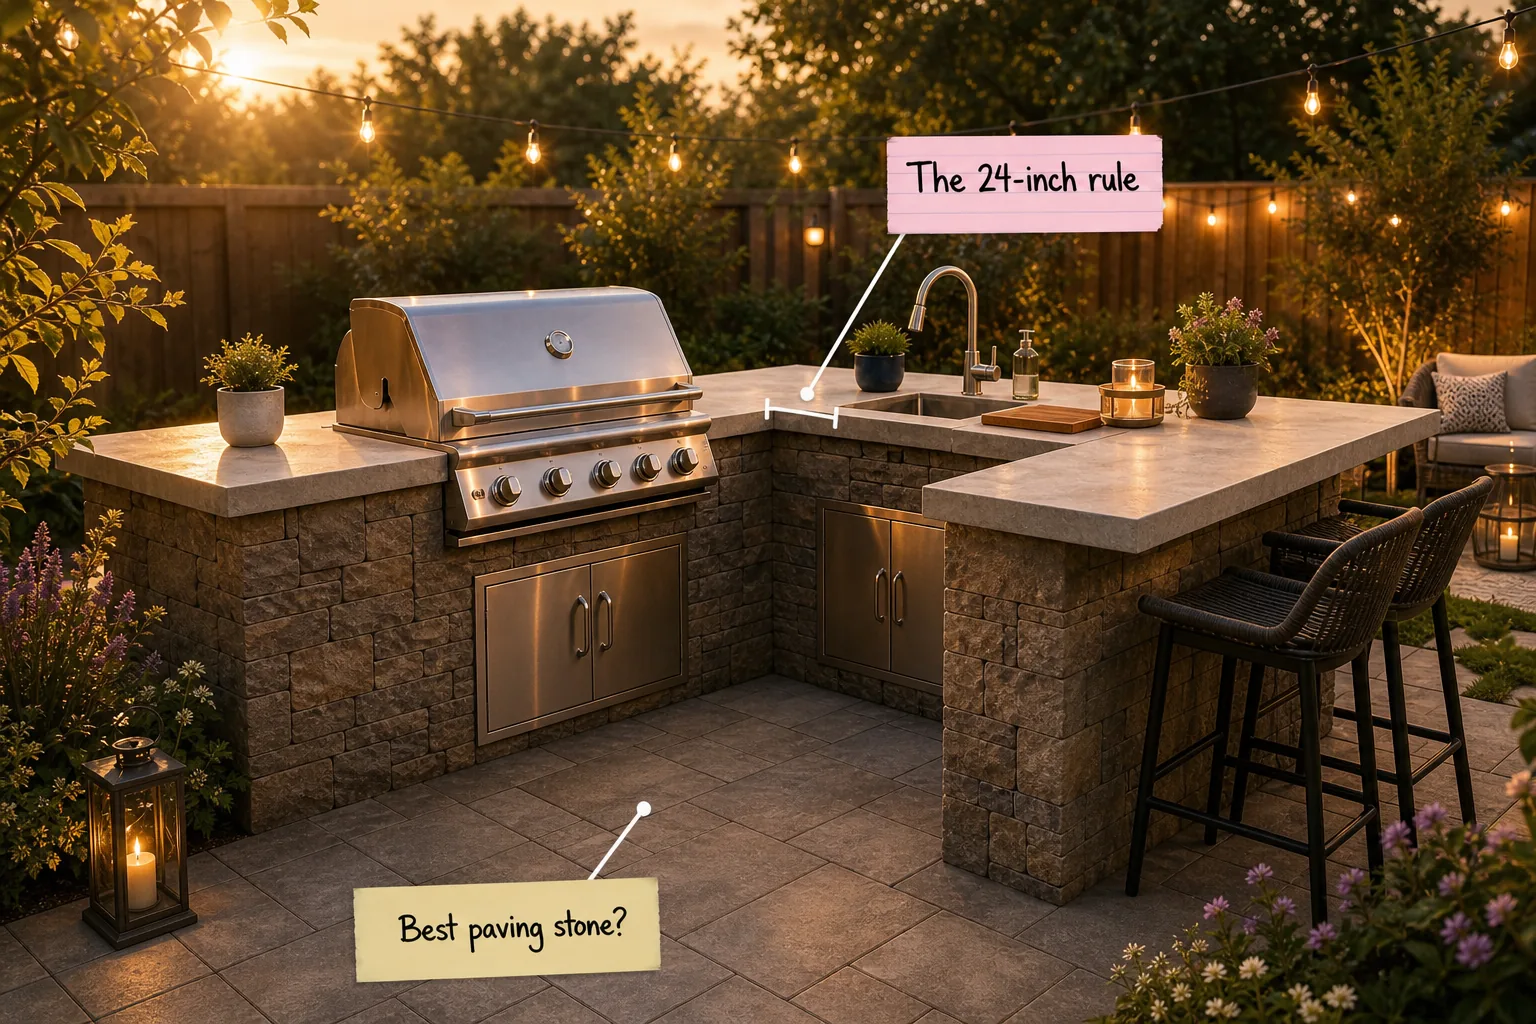
You can map out your perfect backyard cooking space today using our complete 3-zone layout guide and exact spacing measurements. This layout framework ensures you choose the right heat-safe materials and position every functional station for safe, highly social entertaining.
The 3-Zone Layout Framework
The most efficient outdoor kitchens divide the footprint into distinct hot, cold, and dry zones to completely prevent dangerous bottlenecks. Keeping the primary grill isolated from the sink and refrigeration ensures multiple people can cook and prep simultaneously without crossing paths.
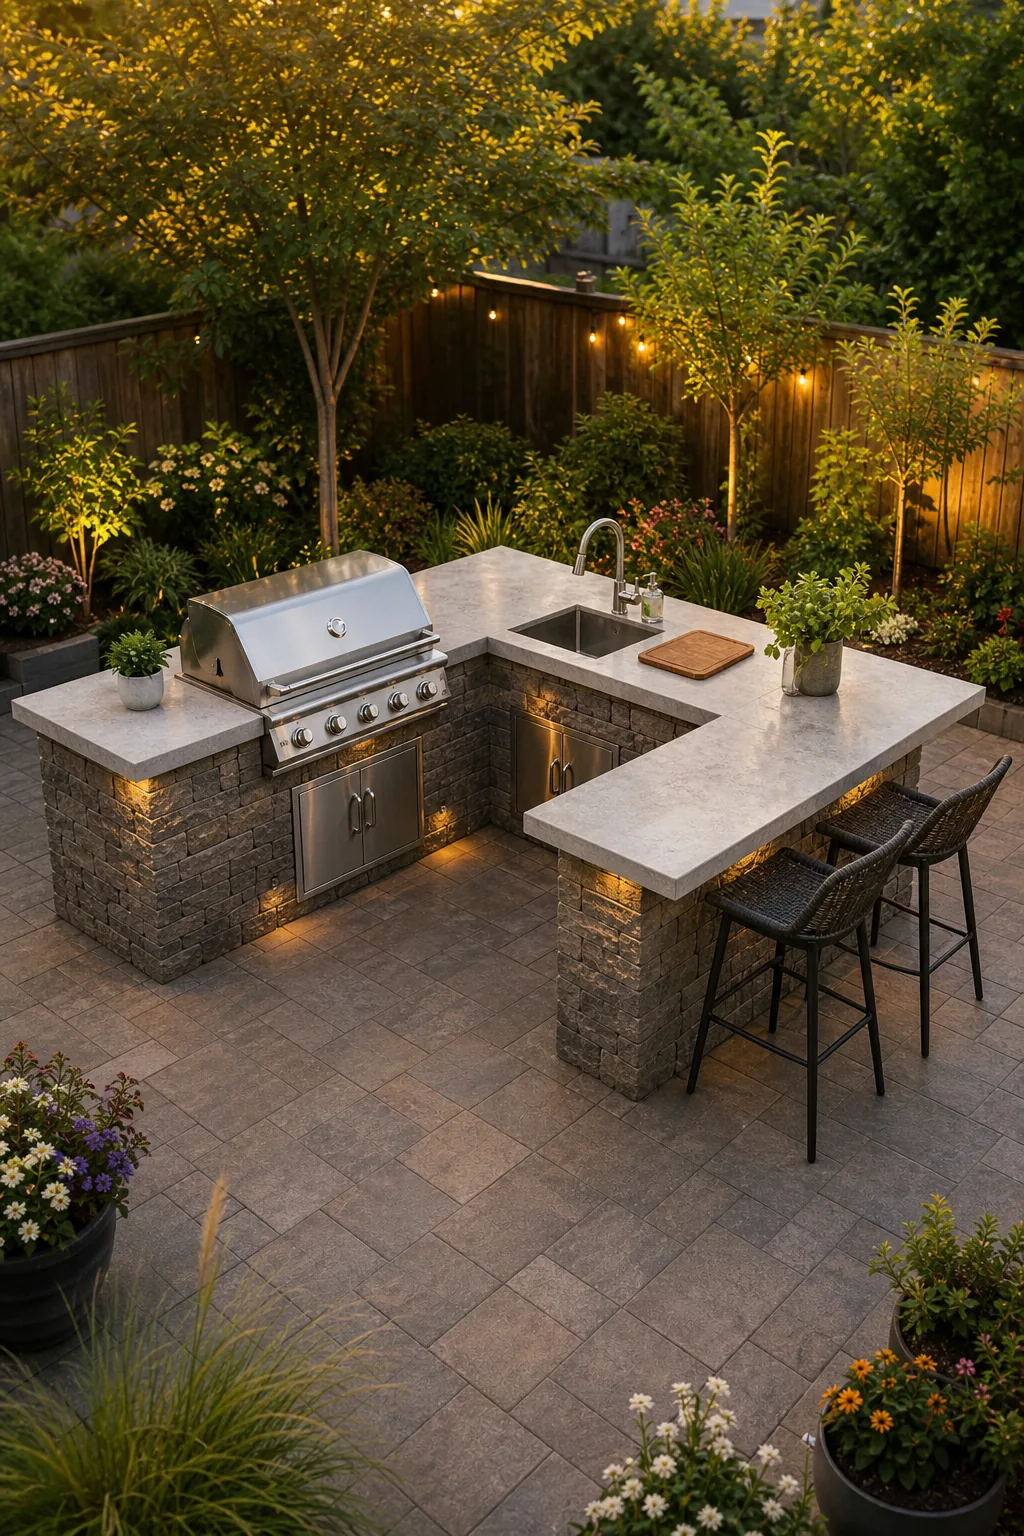
Before pouring concrete or laying a single stone, you need to map out exactly how people and food will move through the space to avoid costly utility mistakes.
Mapping Underground Utilities
Running new plumbing and gas lines dictates exactly where your hot and cold zones must live, making it the most expensive phase of construction. Always hire a licensed professional to trench these critical supply lines below the frost line before you begin framing.
- Mark the main gas supply tie-in at your home’s exterior foundation wall.
- Trench the shortest possible straight line directly to the planned grill location.
- Run a dedicated 20-amp electrical circuit specifically for your outdoor fridge and outlets.
Finalizing these utility locations early prevents the disaster of having to tear up newly poured concrete to fix a misplaced water line.
Foundation: Choosing the Best Paving Stone
Build your foundation with large-format porcelain or dense natural stone like granite because they resist dropped grease and wine stains far better than porous concrete. These incredibly durable, low-absorption materials easily wipe clean after a heavy weekend barbecue.
Soft limestone might look beautiful in a showroom, but it requires constant chemical sealing to survive the harsh reality of an active outdoor cooking environment.
Calculating Your Patio Footprint
A functional cooking space requires enough square footage to accommodate the island depth plus safe walking clearances directly behind the chef. You must leave a minimum of 48 inches of clear walking space between the grill face and any patio furniture.
| Layout Type | Minimum Depth | Minimum Width | Best Use |
|---|---|---|---|
| Straight Island | 30 inches | 72 inches | Small patios |
| L-Shape Layout | 30 inches | 108 inches | Corner spaces |
| U-Shape Kitchen | 96 inches | 120 inches | Full entertaining |
Selecting the right layout shape ensures your guests can circulate freely without trapping the cook in a narrow, overheated dead end.
Structure: Heat-Safe Masonry
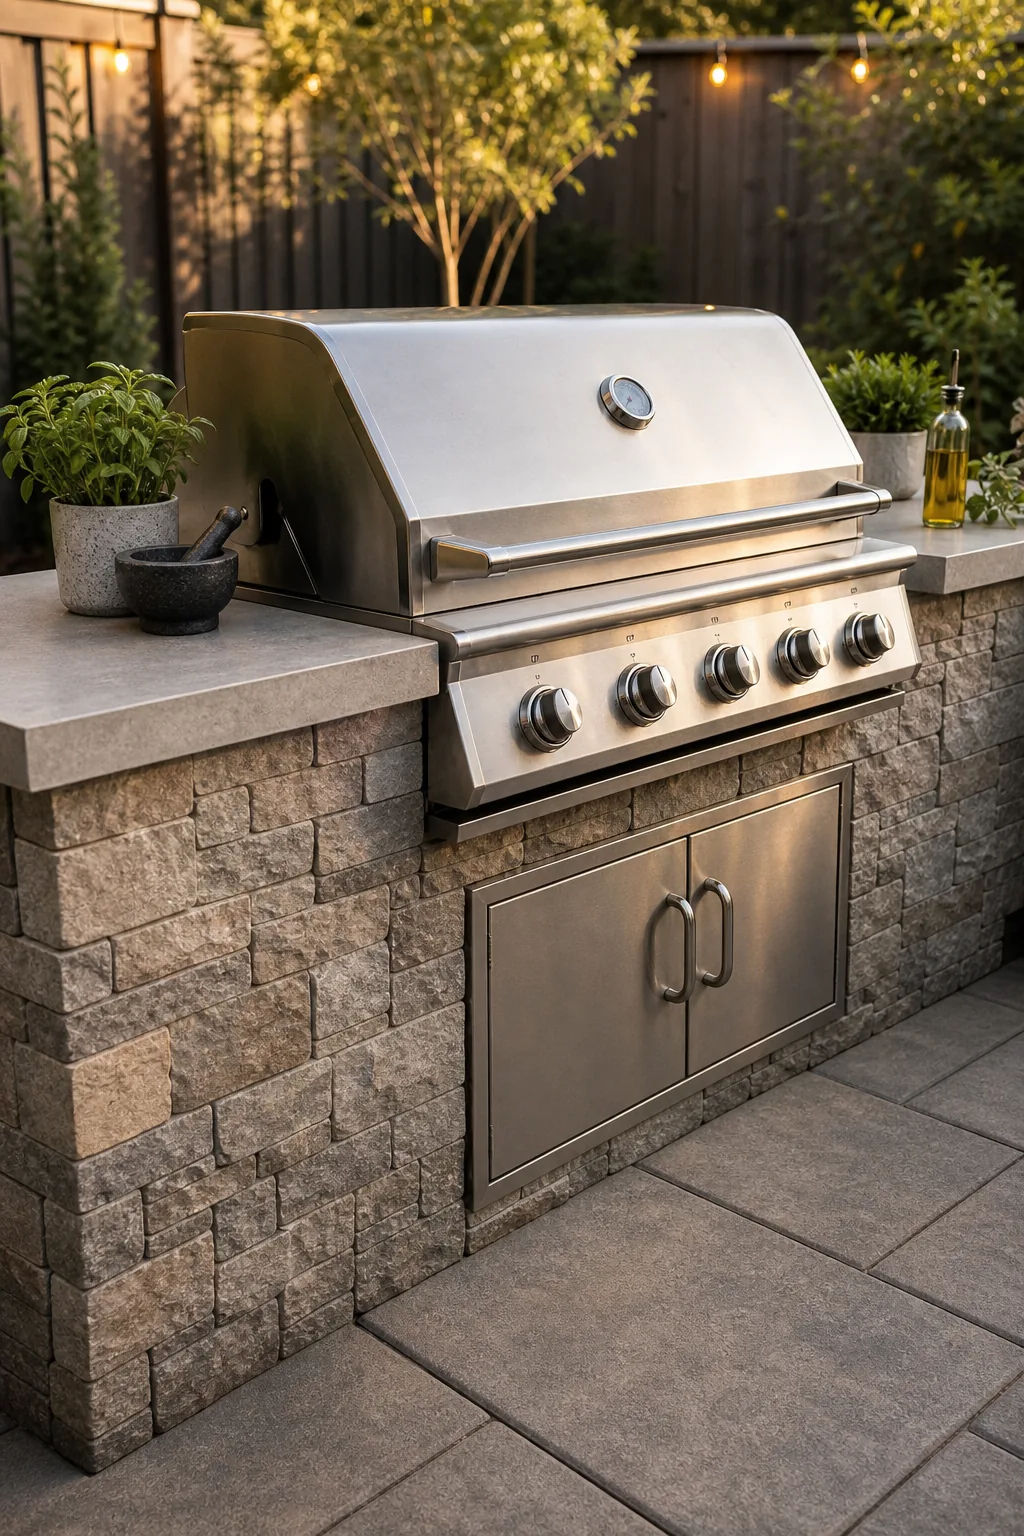
Constructing your island base entirely from concrete block and stone veneer provides natural heat resistance and superior longevity against the elements. If you must use combustible wood framing, building codes strictly require installing a specialized insulated grill jacket to prevent catastrophic fires.
Leaving adequate ventilation gaps in your masonry structure prevents dangerous gas buildup inside the enclosed island cavity in the event of a line leak.
Venting Your Island Base
Propane is significantly heavier than air and will pool dangerously at the bottom of an enclosed cabinet if a fitting suddenly fails. You must install stainless steel vent panels every 48 inches along the lowest course to guarantee continuous passive airflow and prevent explosive accumulation.
Zone 1: The Prep & Land Counter
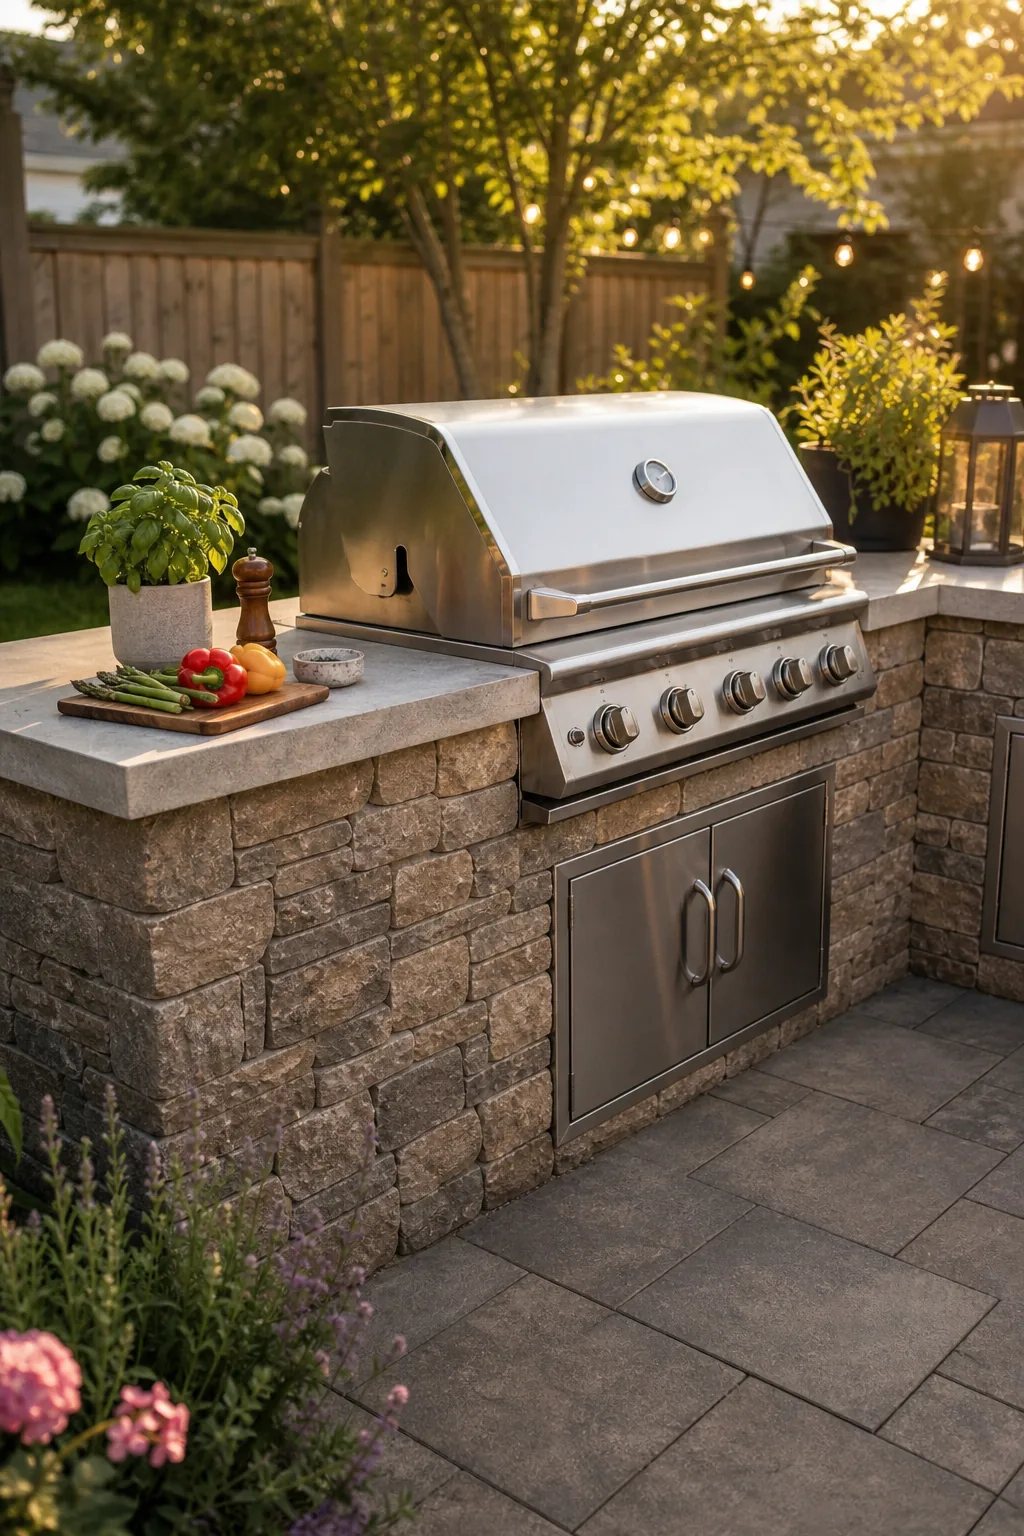
Your dedicated dry zone requires at least 36 inches of continuous, uninterrupted counter space immediately adjacent to the grill. This critical landing area provides a safe place to handle raw food and rest heavy cast-iron platters without crowding the open flames.
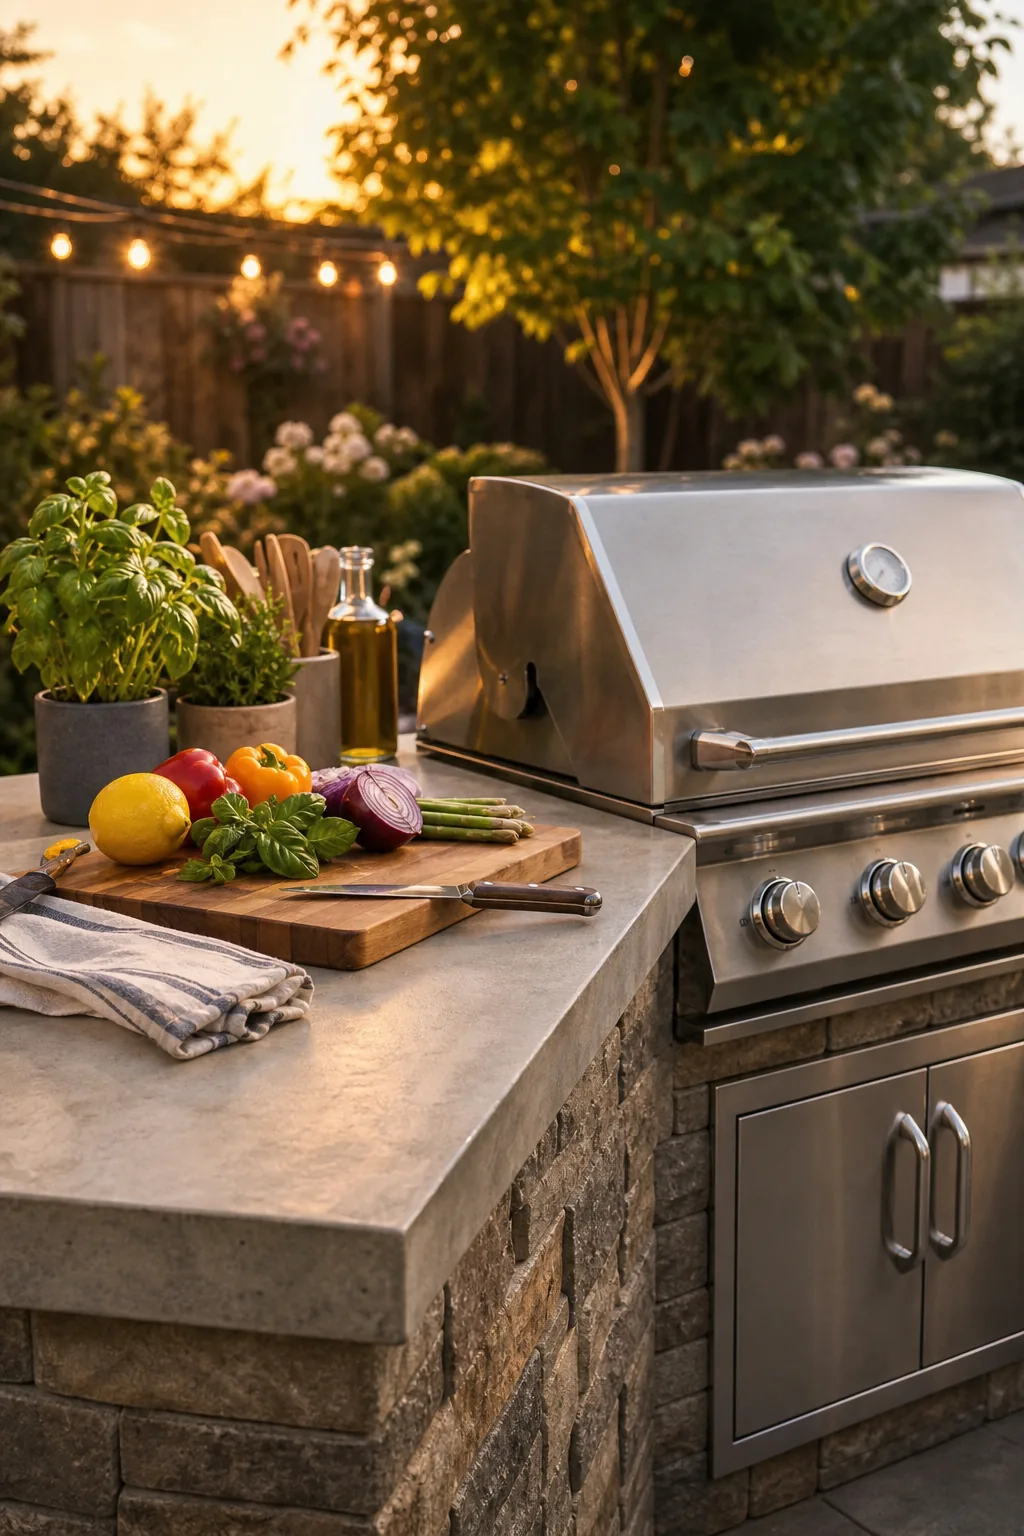
Keeping this landing zone completely clear of decorative items guarantees you always have immediate, safe space to drop a burning pan.
Selecting Durable Countertop Materials
Outdoor surfaces face brutal temperature swings, UV radiation, and acidic spills, meaning standard indoor quartz will quickly yellow and crack. You must select highly UV-stable materials like dense granite that can withstand direct summer sun and freezing winter nights without degrading.
Sealing your natural stone surfaces twice a year prevents stubborn grease splatters from permanently penetrating the porous material.
Zone 2: The Cooking & Grill Station
Position your primary grill well out of high-traffic paths and ensure it sits perpendicular to the prevailing winds in your backyard. This strategic placement ensures heavy smoke naturally blows away from your main dining and seating areas during long afternoon cooks.
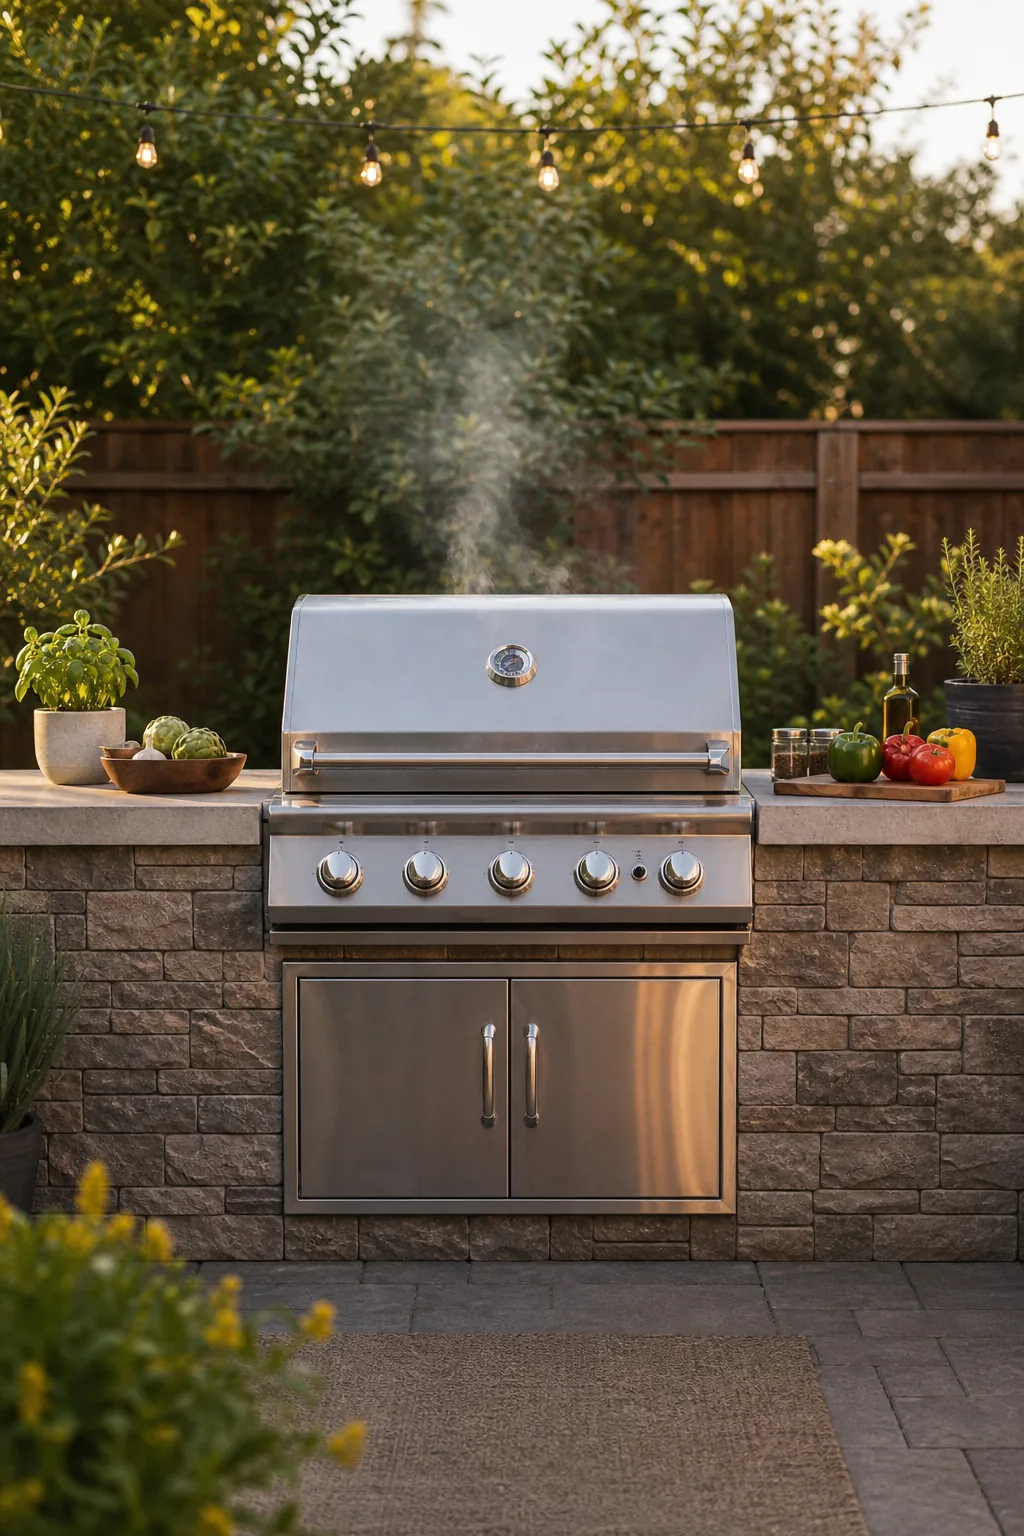
Leaving ample clearance space around the hot zone protects your gathering guests from unexpected grease splatters and intense radiant heat.
Sizing Your Primary Grill
A standard 36-inch built-in gas grill provides roughly 600 square inches of primary cooking space, which easily feeds a typical family of six. If you frequently host large neighborhood gatherings, upgrade to a 42-inch model to comfortably accommodate multiple briskets or dozens of burgers.
The 24-Inch Rule for Sinks
You must leave exactly 24 inches of continuous counter space between the edge of your grill and the edge of the outdoor sink. This strict measurement prevents soapy water from splashing onto hot cast iron and creates a necessary buffer zone.
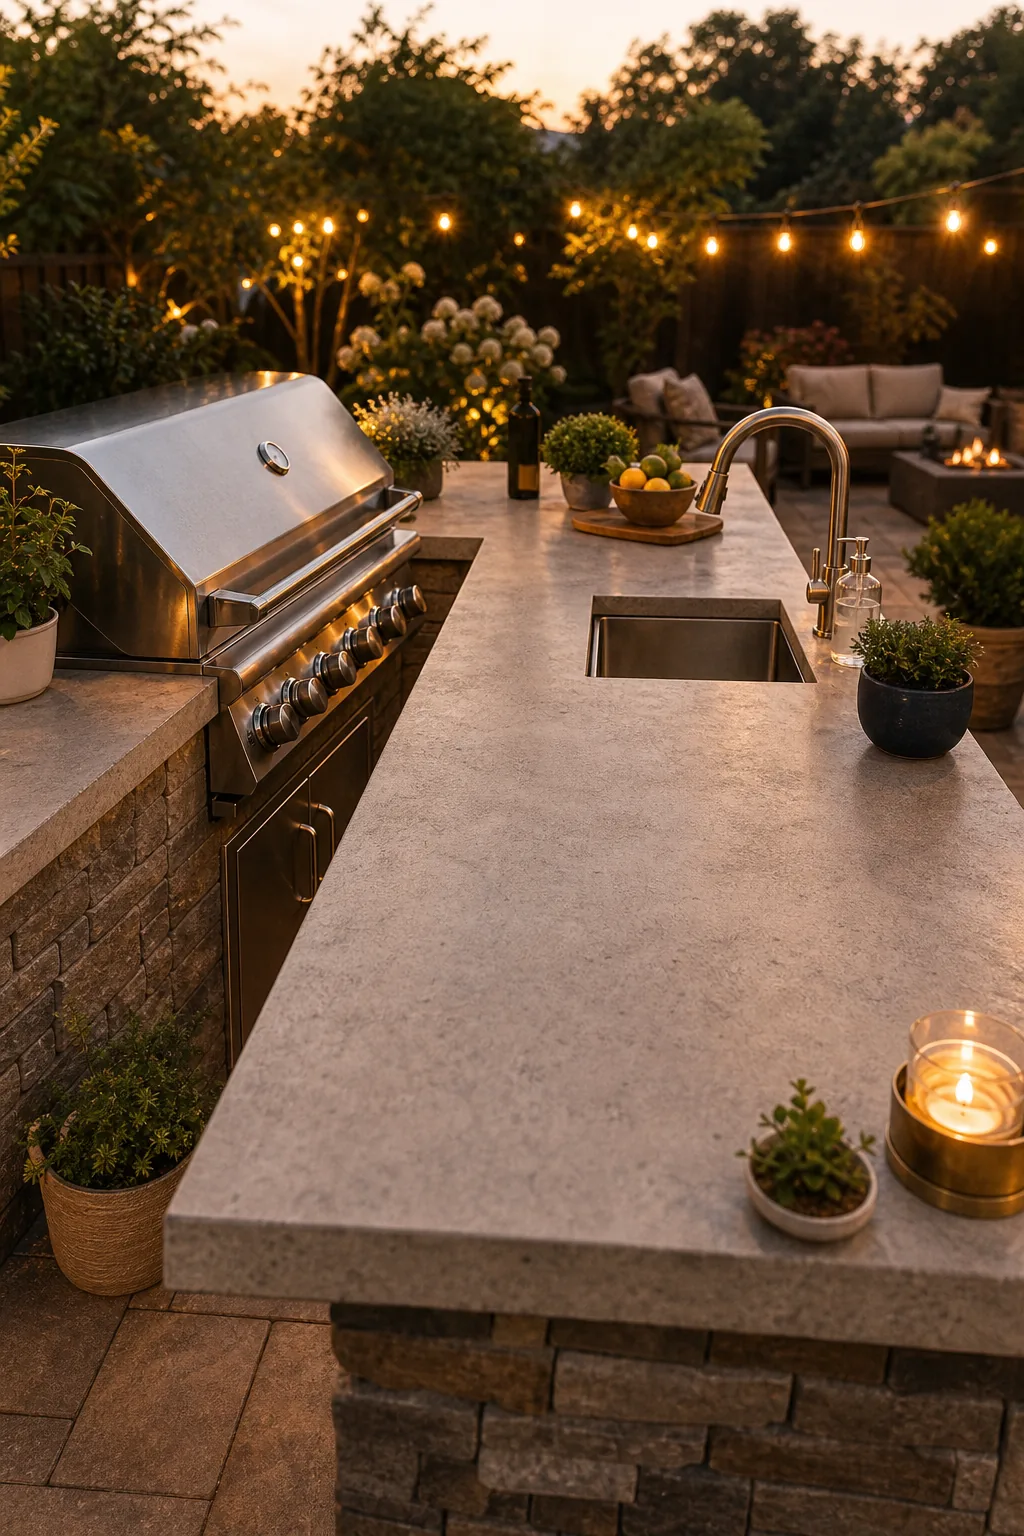
Getting the distance right between your fire and water sources is the most critical safety measurement in your entire layout.
Managing Outdoor Drainage
An outdoor sink requires a dedicated drainage solution, which typically means tying directly into your home’s existing sewer line or a permitted dry well. Never drain soapy gray water directly into your garden beds, as the heavy phosphates will quickly destroy your expensive landscaping.
Zone 3: Social Seating & Raised Bars
A standard raised bar sits exactly 42 inches high, which perfectly hides the messy prep counter from your guests’ view. This elevated barrier also keeps seated friends safely away from hot cooking surfaces while maintaining easy conversation with the chef.
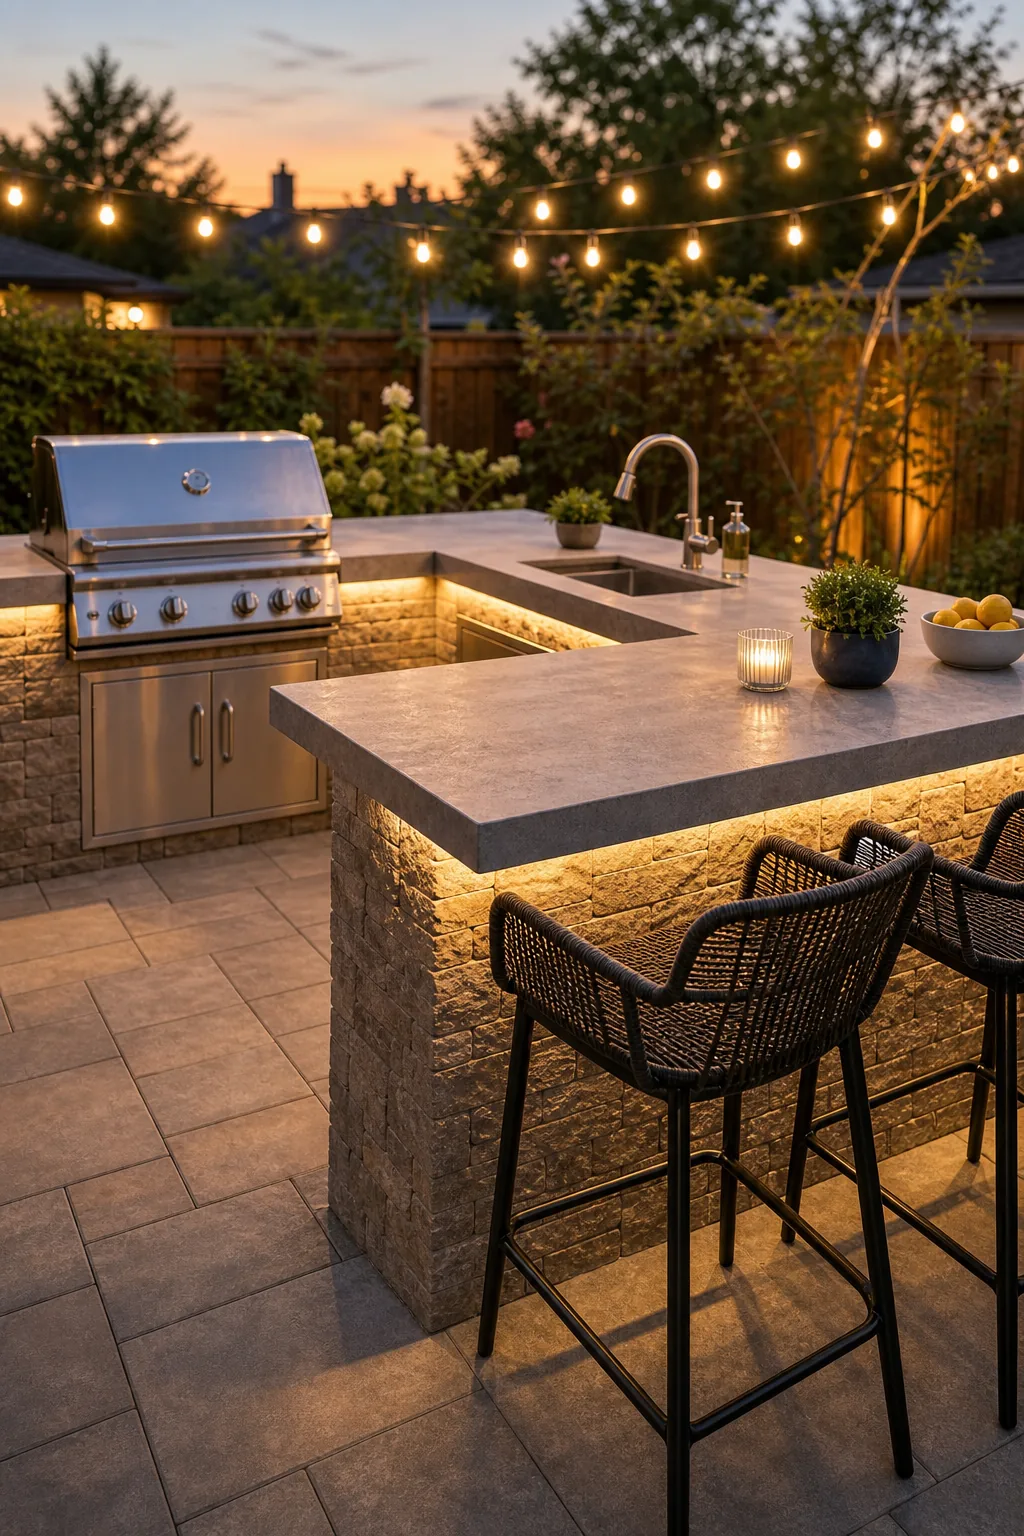
Allowing 24 inches of width per stool ensures guests can eat comfortably without bumping shoulders or feeling trapped against the masonry wall.
Calculating Knee Clearance
A raised social bar requires a minimum 12-inch countertop overhang to provide adequate knee clearance for standard outdoor bar stools. If you plan to use bulky, heavily cushioned seating, extend that overhang to 15 inches to prevent guests from kicking the stone veneer.
Lighting the Three Zones
After sunset, layer soft ambient string lights over the social seating zone to create a warm, inviting atmosphere for late dinners. Pair this gentle overhead glow with bright, targeted task lighting under the counters and inside the grill hood for safe nighttime cooking.
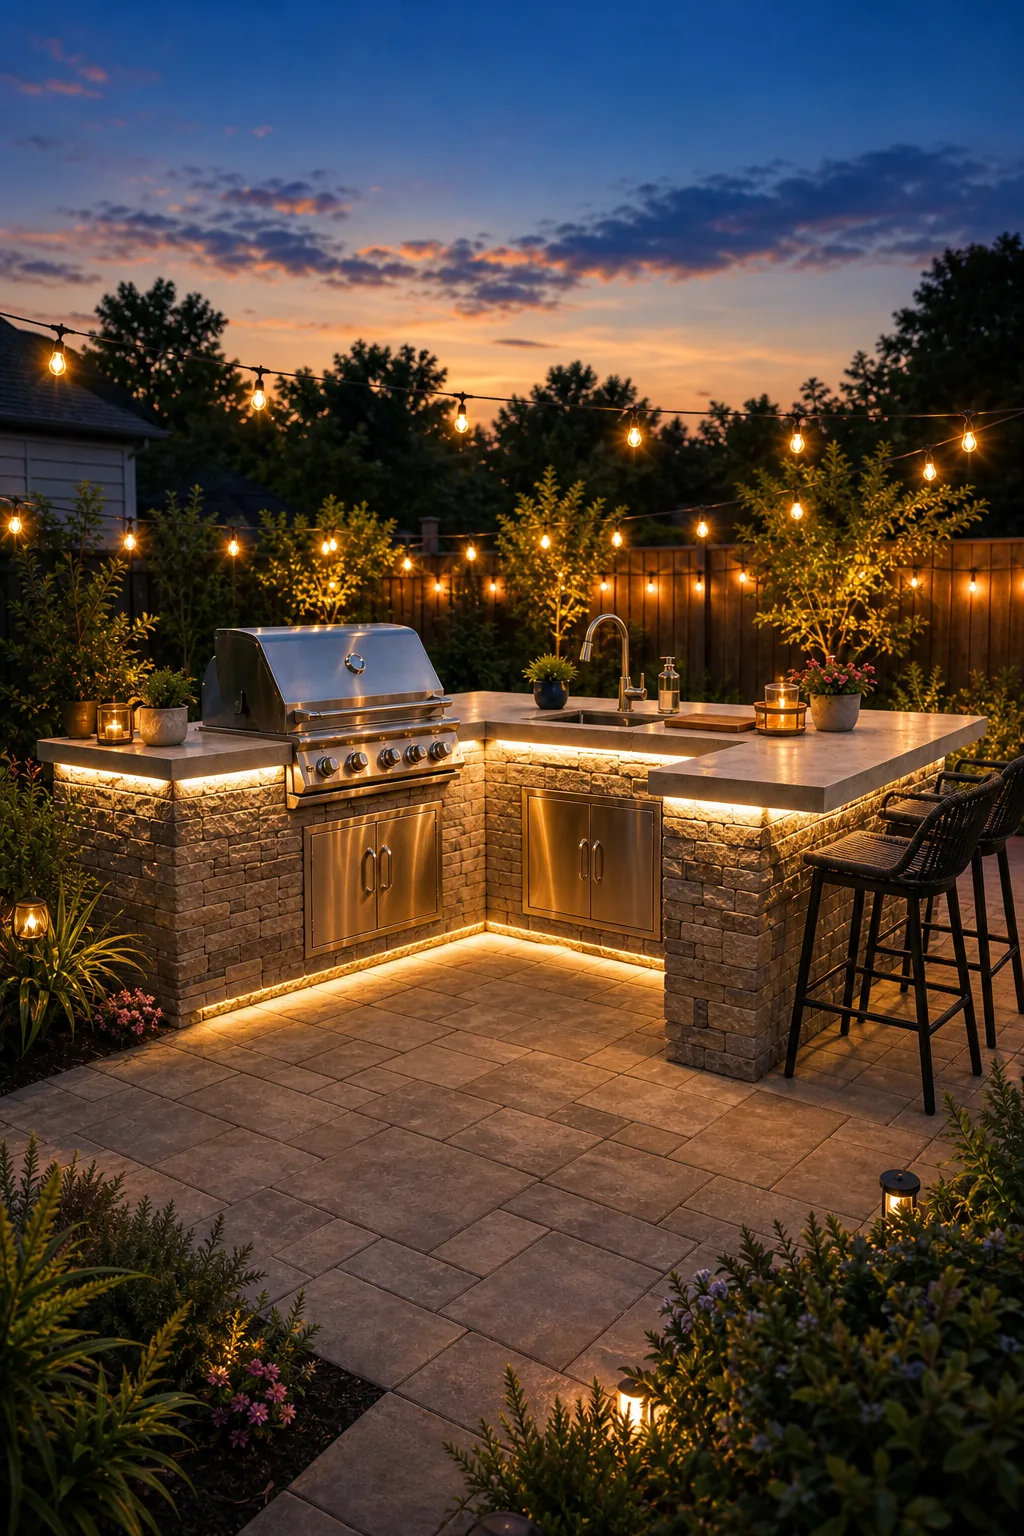
Installing separate dimmer switches for your task and ambient lighting gives you total control over the patio mood once the cooking is finished.