
DIY Wood Slat Wall: Cut List, Spacing Chart & Layout Guide
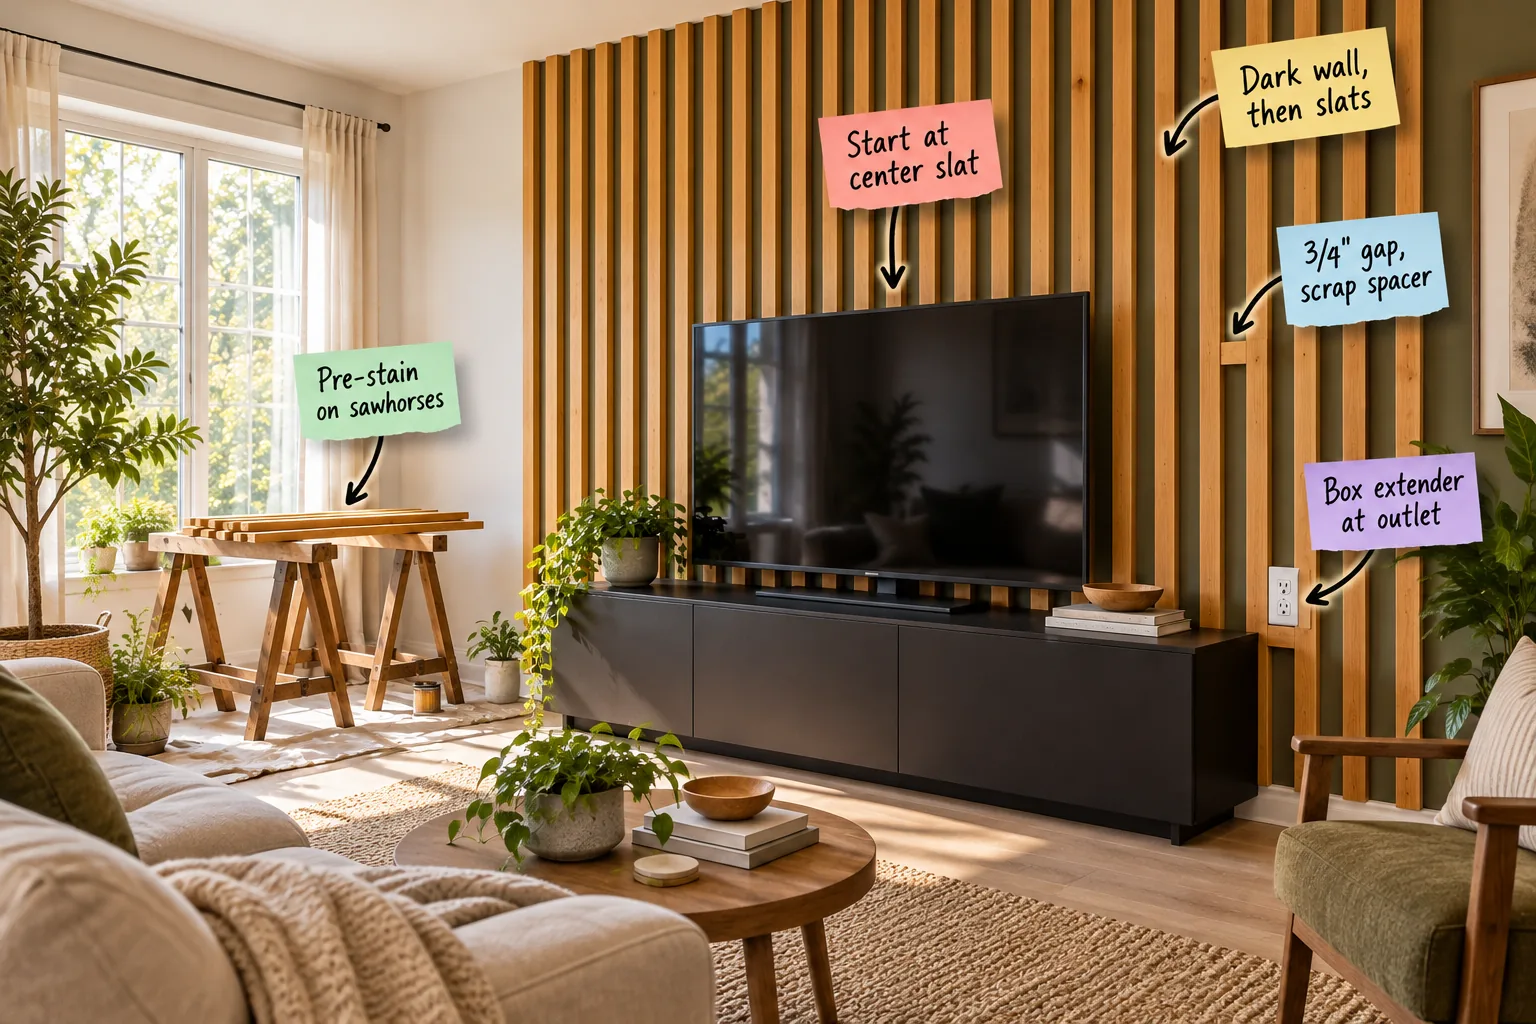
You will be able to calculate your exact slat count, space strips perfectly from the center out, and safely extend your wall outlets. Grab our printable slat count and spacing chart to build a stunning floor-to-ceiling accent wall this weekend.
Remove Existing Trim and Hardware
Before touching any paint or wood, carefully pry off your existing baseboards and remove all electrical cover plates. Creating a completely blank canvas ensures your new vertical wood slats will sit perfectly flush against the drywall from floor to ceiling.
Patch and Sand the Drywall
Fill any old nail holes, deep scratches, or dents with a quick-drying spackle, then sand the surface completely smooth. Even though the wood strips cover most of the surface, noticeable drywall flaws will still cast ugly shadows between the gaps.
Paint the Backing Wall First
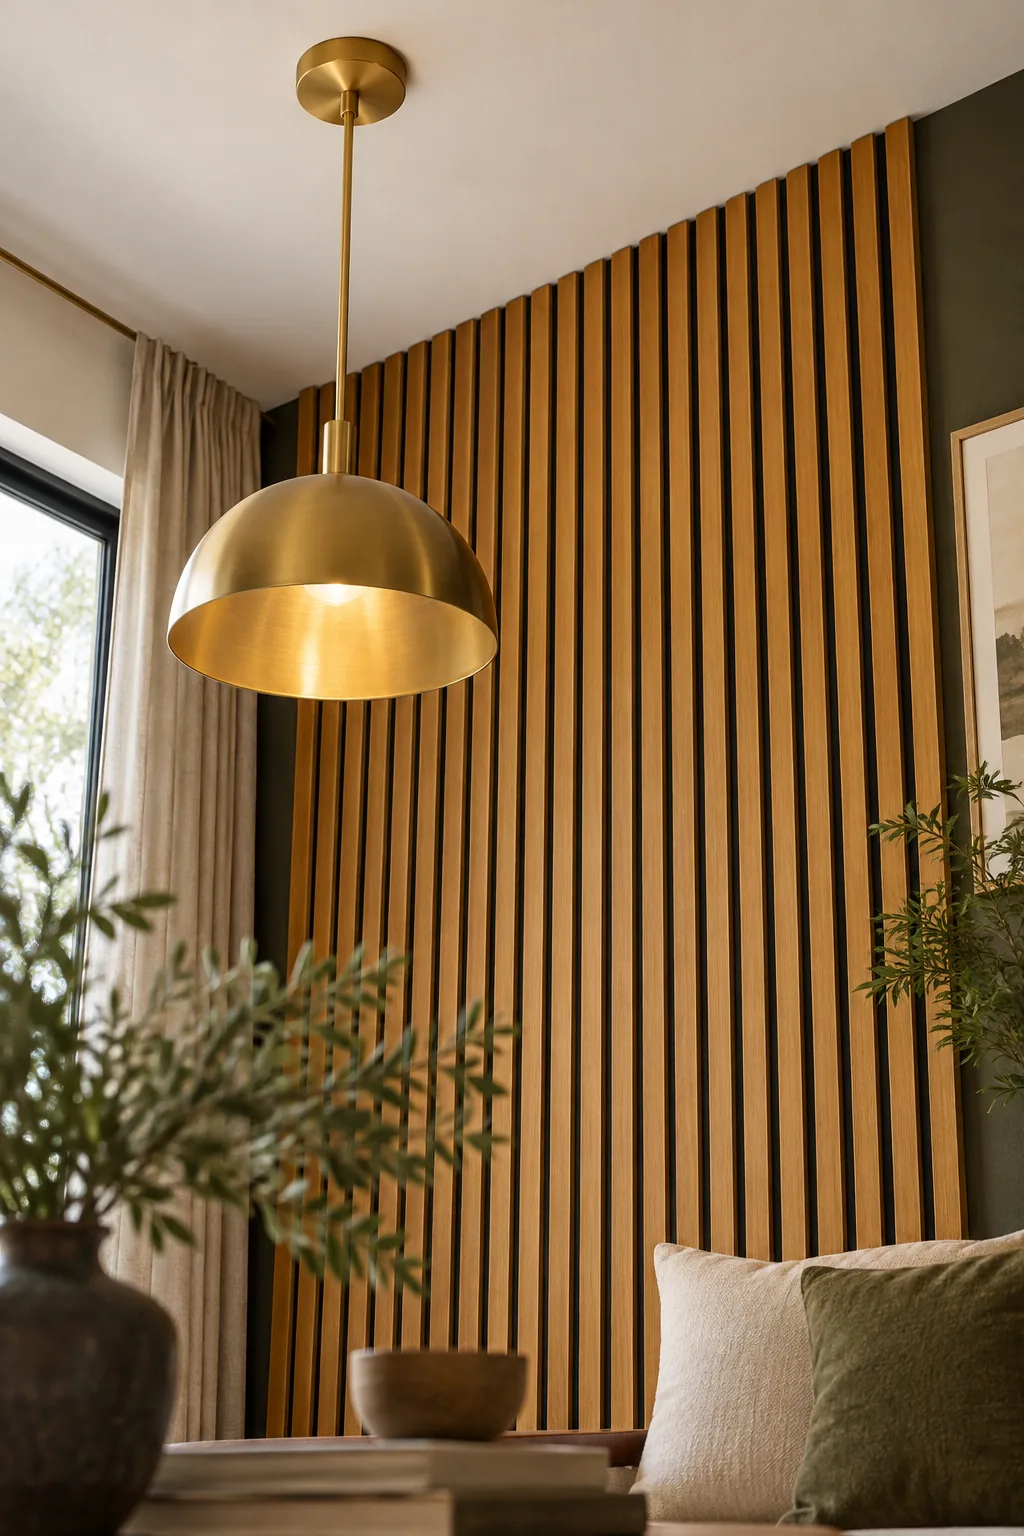
Painting the wall a dark color like deep olive creates the necessary shadow line before any wood goes up. The bold contrast immediately makes the warm, natural wood tones pop beautifully while hiding any minor surface imperfections.
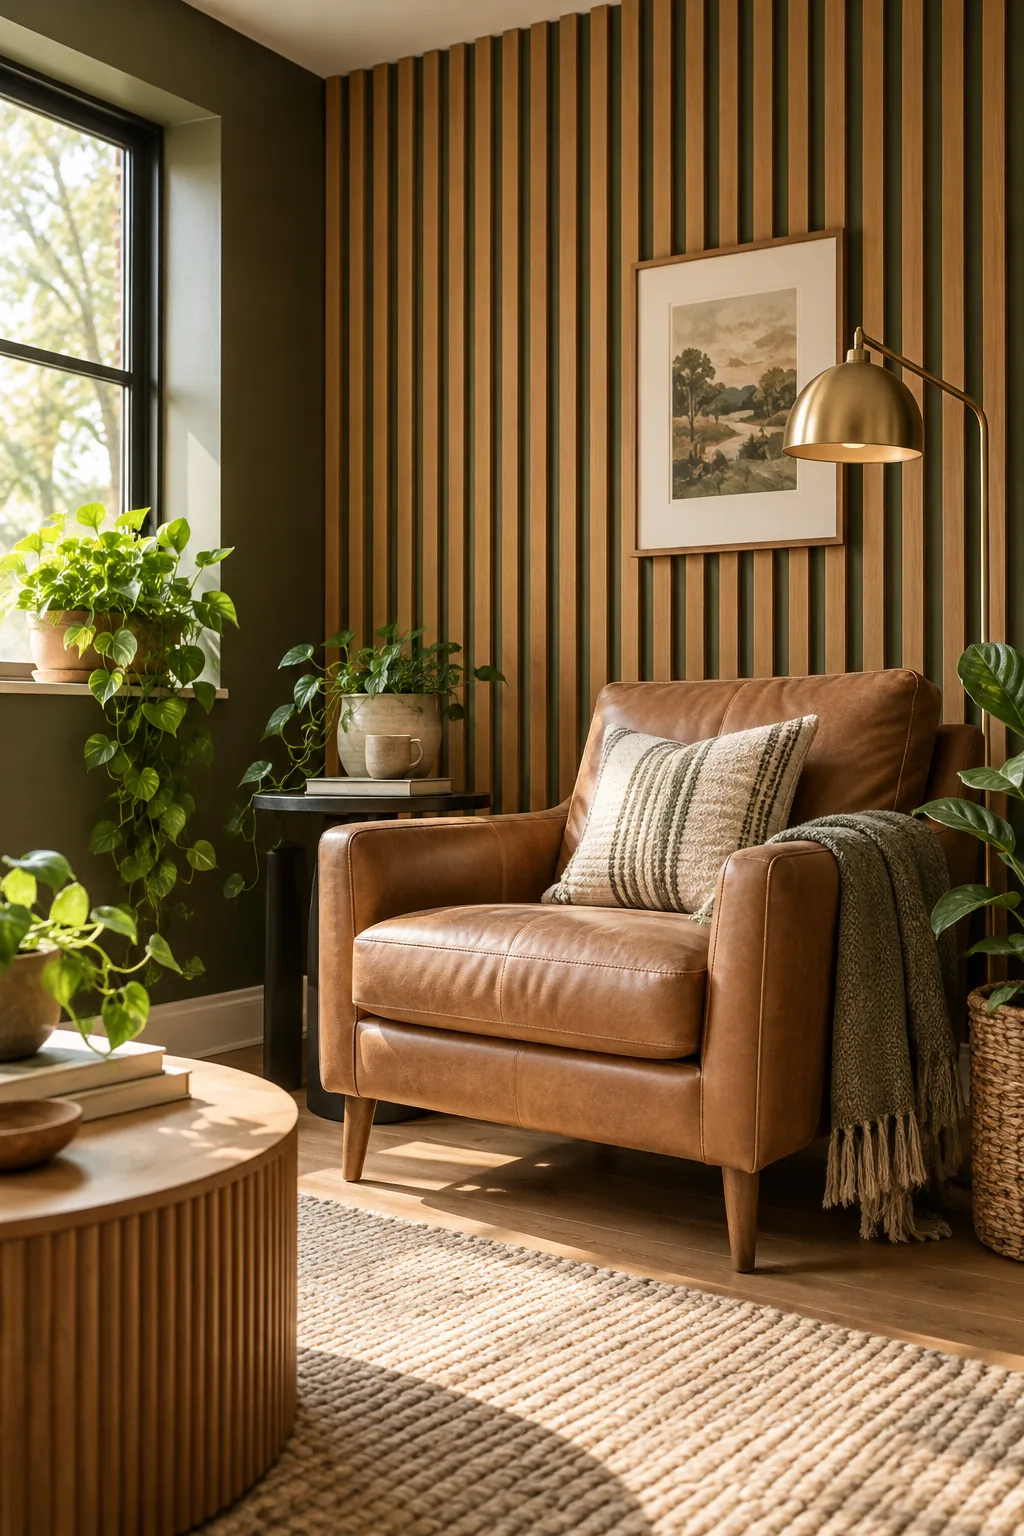
It is nearly impossible to squeeze a paint roller between 3/4-inch gaps once the strips are permanently mounted. Getting this dark base layer finished early saves you hours of frustrating, tedious touch-ups with a tiny artist brush later.
Select Straight Pine Boards
Take your time at the lumber yard and sight down the edge of every single board to check for severe bowing or twisting. Starting with perfectly straight 1×2 pine strips makes the entire alignment process incredibly smooth and stress-free.
Sand the Cut Edges Smooth
Lightly run a medium-grit sanding block over the sharp factory edges of your pine boards to remove any splintered fibers. This quick preparation step ensures the stain absorbs evenly and gives your affordable lumber a premium, custom-milled appearance.
Pre-Stain the Wood Strips
Always stain your 1×2 pine strips on sawhorses in a garage or yard before bringing them inside the house. Let them dry completely in a well-ventilated area so the strong fumes dissipate before you start the indoor installation.

This simple prep step prevents wet stain from dripping onto your freshly painted backing wall or ruining your living room floor. It also guarantees you achieve flawless, full color coverage on the sides of every single slat.
Apply a Protective Clear Coat
Brush on a thin layer of matte polyurethane over the dried stain to protect the wood from daily dust and moisture. A smooth topcoat makes it dramatically easier to wipe down your finished accent wall with a microfiber cloth.
Your Slat Count & Layout Sheet
I always measure twice because my first slat wall required a frantic mid-project lumber run, so use this formula: divide your total wall width by 2.25 for 3/4-inch gaps. Here is your center-out spacing cheat sheet for standard 1x2s.
| Gap Size | Slat Width | Total Unit Width | Divide Wall By |
|---|---|---|---|
| 1/2 inch | 1.5 inches | 2.0 inches | 2.0 |
| 3/4 inch | 1.5 inches | 2.25 inches | 2.25 |
| 1 inch | 1.5 inches | 2.5 inches | 2.5 |
Before buying materials, measure your total wall width in inches to determine exactly how many wood strips you need. Use this quick breakdown to finalize your weekend hardware store run so you have absolutely everything on hand.
Locate Your Wall Studs
Sweep a reliable stud finder across the painted drywall and mark every wooden stud with a small piece of painter’s tape. While the construction adhesive provides the primary hold, hitting a stud with your brad nails guarantees maximum stability.
Mark the Exact Center Line
Measure the total width of your room and draw a faint vertical pencil line straight down the exact middle of the wall. This central axis dictates the layout for the entire project and prevents awkward, uneven cuts at the edges.
Anchor the Center Slat First
Find the exact center of your TV console and mount the first slat perfectly plumb using a long spirit level. This single foundational piece dictates the vertical alignment for the entire room, so take your time getting it right.

Working outward from this single center point ensures the final rips at both corners will be completely equal in width. The resulting flawless symmetry instantly makes the DIY installation look like it was built by a professional carpenter.
Check Plumb on Every Board
Place your level against the side of every fourth or fifth board to verify the vertical lines are not slowly leaning. Catching a slight drift early allows you to make microscopic adjustments before the error becomes visually obvious across the room.
Cut Your Custom Spacer Block
Chop a spare piece of lumber down to a comfortable four-inch length to create a pocket-sized template for your gaps. Having a dedicated, physical measuring block is infinitely faster and far more accurate than trying to read a tape measure repeatedly.
Use a Scrap Wood Spacer
Turning a scrap piece of 1×2 sideways creates a reliable, perfectly sized 3/4-inch spacer block that fits comfortably in your hand. Just wedge it snugly between the previous slat and your new one before you pull the nail gun trigger.
Sliding this block down the wall as you nail keeps the gap perfectly parallel from top to bottom without repeated measuring. It speeds up the installation dramatically while entirely eliminating the risk of frustrating human error.
Load the Brad Nailer Properly
Connect your air compressor and load the nail gun magazine with galvanized fasteners that are long enough to pierce the drywall securely. Test the firing pressure on a piece of scrap wood to ensure the nail heads sink slightly below the surface.
Secure with Adhesive and Brads
The adhesive does the heavy lifting while the brads hold the wood firmly flat against the wall while the glue cures. Follow this exact sequence for every single strip you install to guarantee a permanent, rattle-free bond.
- Apply a continuous zigzag bead of construction adhesive down the back of the slat.
- Press the slat firmly against the drywall, checking your spacer block for accuracy.
- Shoot 2-inch brad nails every 18 inches at alternating downward and upward angles.
Even with the best construction adhesive, securing the slats requires careful nailing to keep the wood completely flush against the drywall. Avoid these common installation errors to ensure a seamless, professional finish across the entire wall.
Wipe Away Excess Glue Immediately
Keep a damp rag in your back pocket to immediately wipe up any construction adhesive that squeezes out from behind the boards. Dried glue is incredibly stubborn and will completely ruin the clean, sharp shadow lines you worked so hard to create.
Turn Off the Room Breaker
Walk out to your main electrical panel and flip the breaker switch that controls the living room outlets before touching any wires. Verifying the power is completely dead with a voltage tester is a mandatory safety step before modifying the receptacle boxes.
Install Outlet Box Extenders
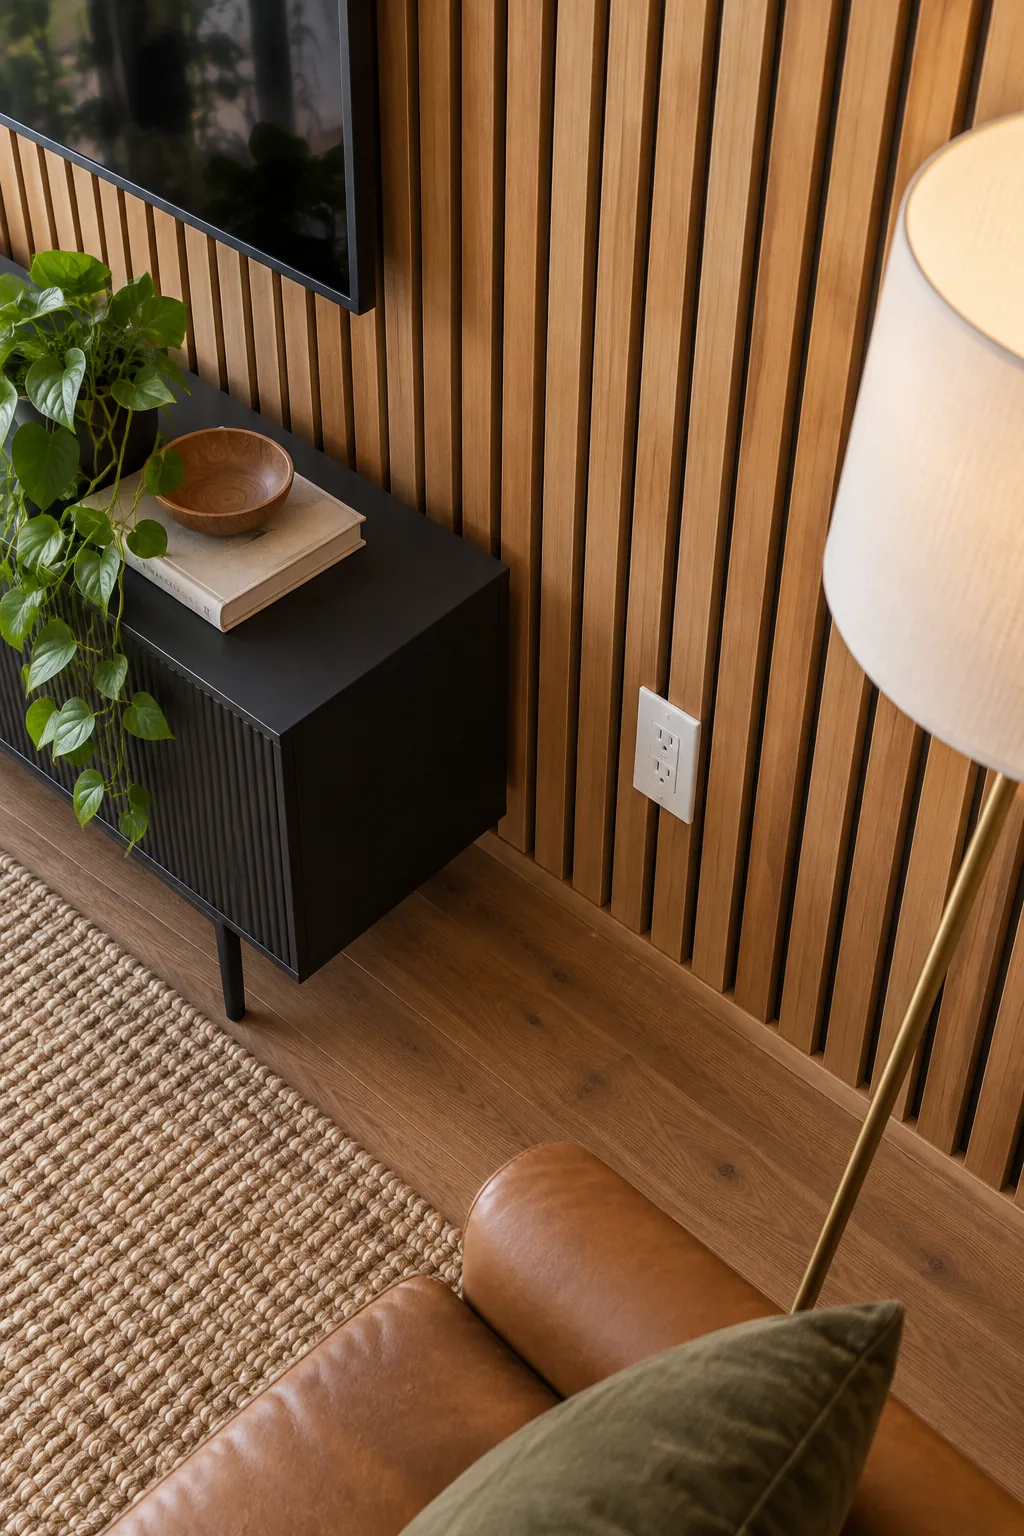
I used to be terrified of electrical boxes until I learned how easy it is to safely bring wall outlets flush with the new 3/4-inch slat depth using plastic box extenders. Always double-check that the power is off first.
This simple hardware addition ensures the cover plates sit perfectly flat on the wood face rather than sinking dangerously into the gaps. It is a small, inexpensive detail that makes a massive visual difference in the final room.
Reattach the Electrical Faceplates
Use the provided extended screws to secure the plastic faceplates tightly against the newly extended receptacles so nothing wiggles when you plug in a cord. A crisp, flush outlet cover proves you cared about the structural details just as much as the aesthetics.
Measure for the Final Corners
When you reach the adjacent walls, measure the remaining gap at the top, middle, and bottom to account for unlevel framing. Drywall corners are rarely perfectly square, so you will likely need a custom width for the very last board.
Rip the Corner Slats to Width
Run your final pine boards through a table saw to trim them down to the exact custom width required for the corners. Sand the freshly cut edges thoroughly before staining them to match the rest of your beautiful vertical installation.
Fill the Visible Nail Holes
Dab a tiny amount of color-matched wood putty into each brad nail depression using your fingertip to camouflage the shiny metal heads. Wiping the excess putty away immediately leaves a flawless, uninterrupted wood grain texture from floor to ceiling.
More Slat Wall Styling Ideas
Explore how different wood tones and paint colors can completely change the mood of your room.
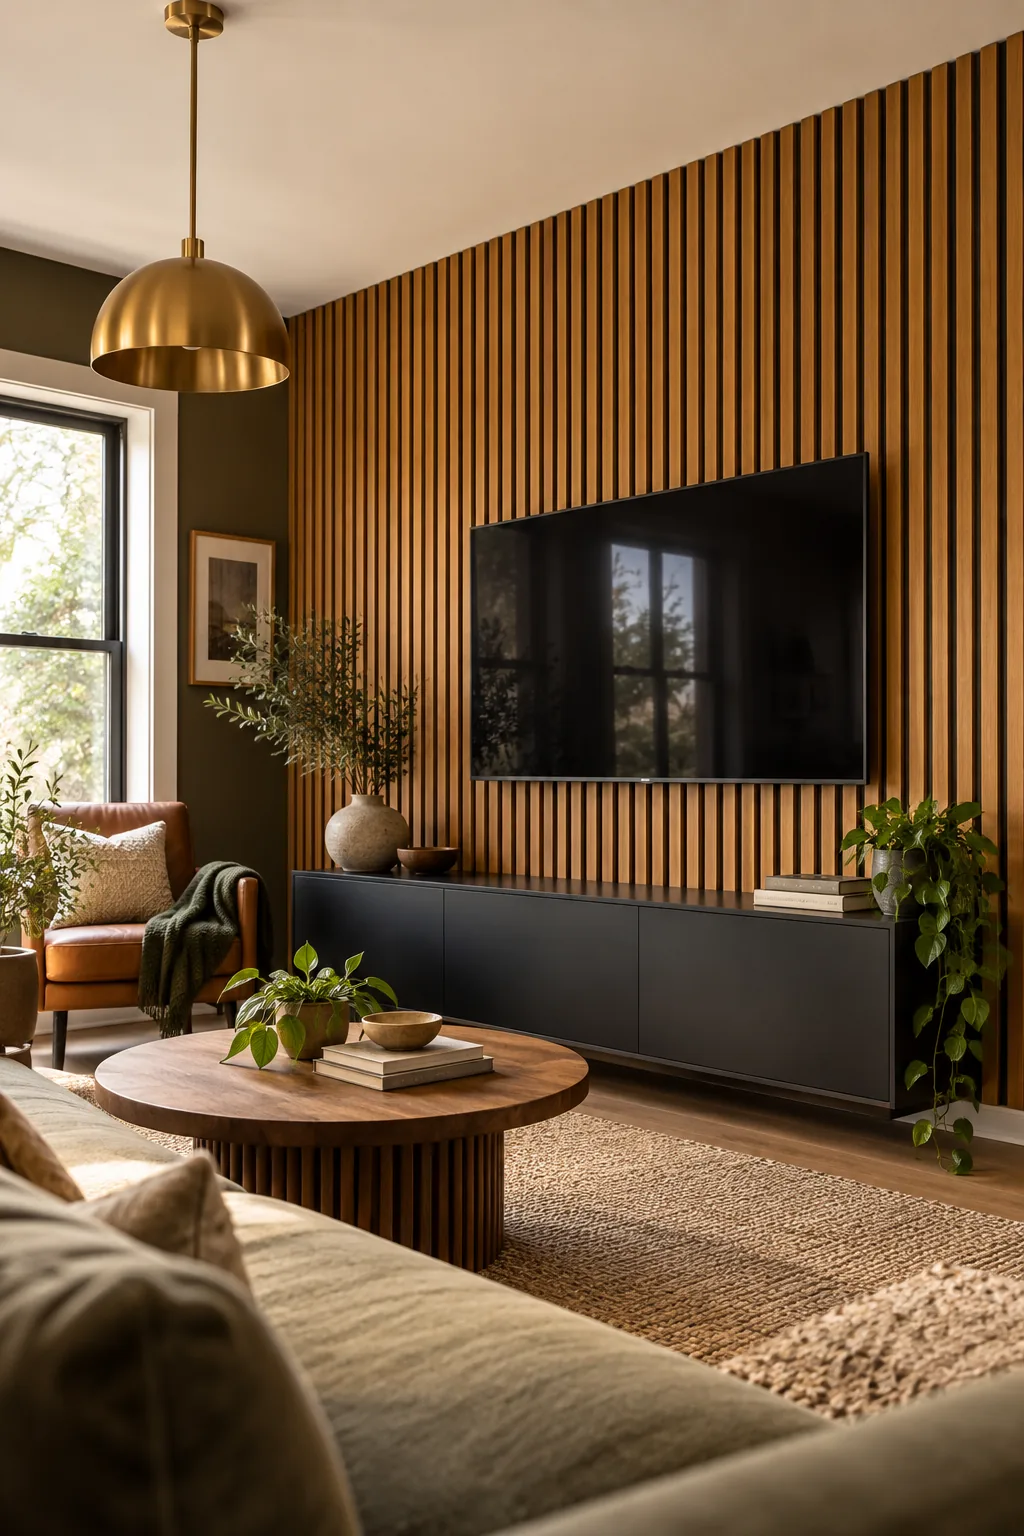
Moody walnut and matte black: Darker wood tones paired with a black backing wall create an intimate, sophisticated atmosphere perfect for a primary bedroom.

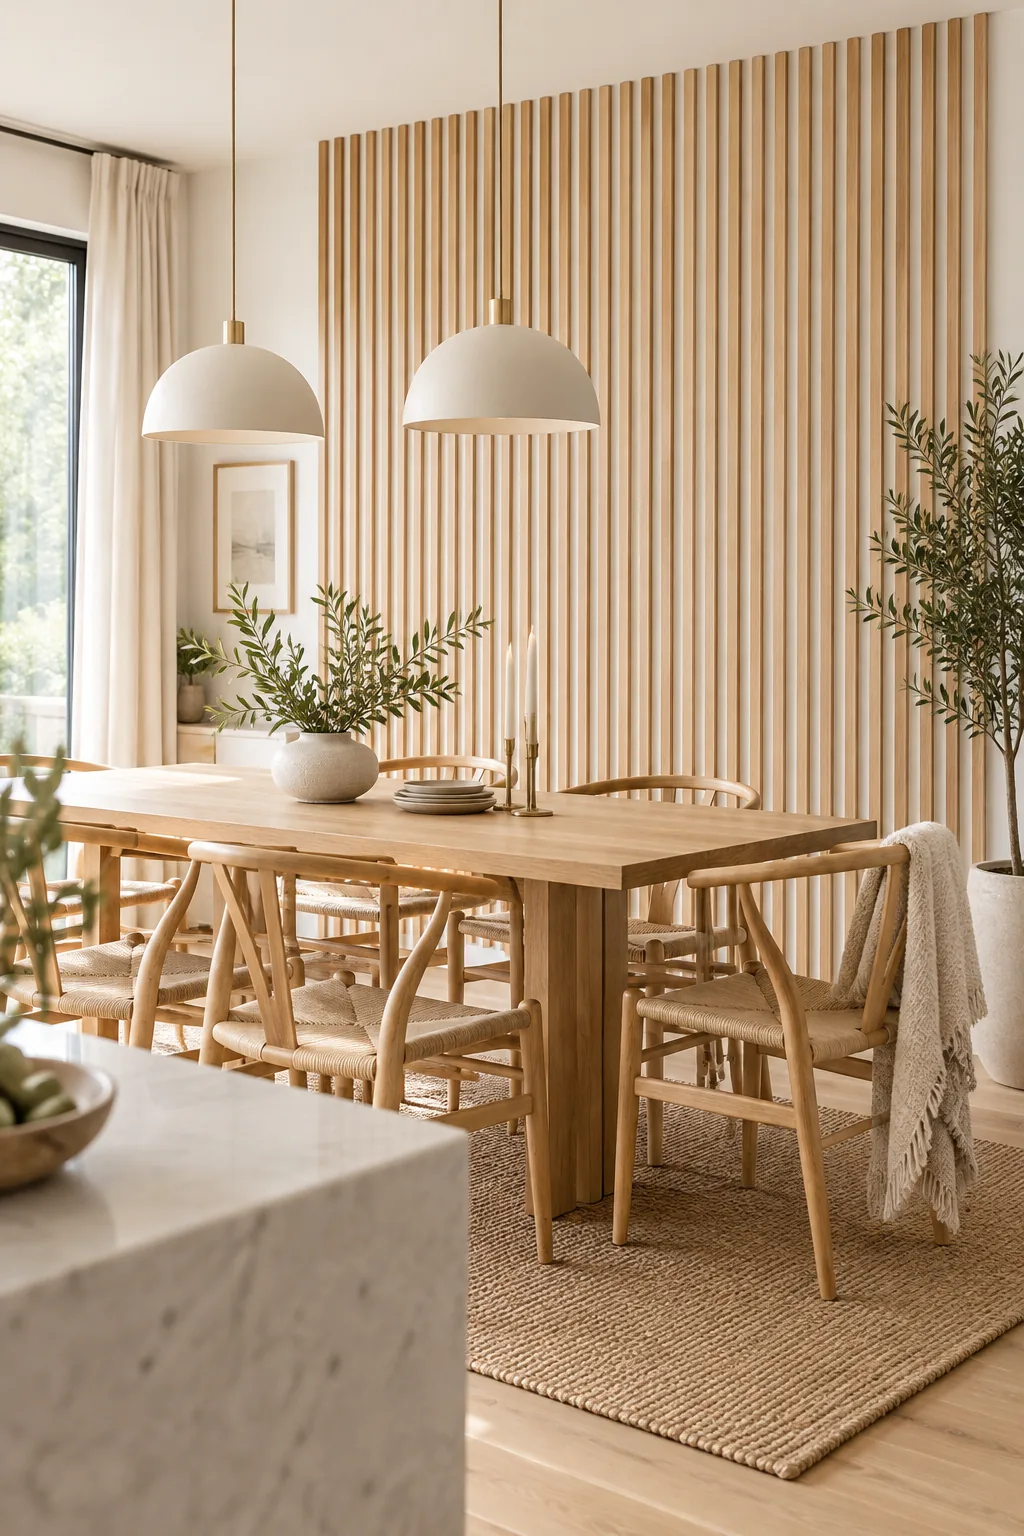
Airy Scandinavian white oak: Matching pale oak strips with a crisp white background adds incredible texture without darkening a sunlit dining space.
Monochromatic painted navy blue: Painting the slats the exact same color as the wall delivers striking architectural texture while keeping the color palette calm.

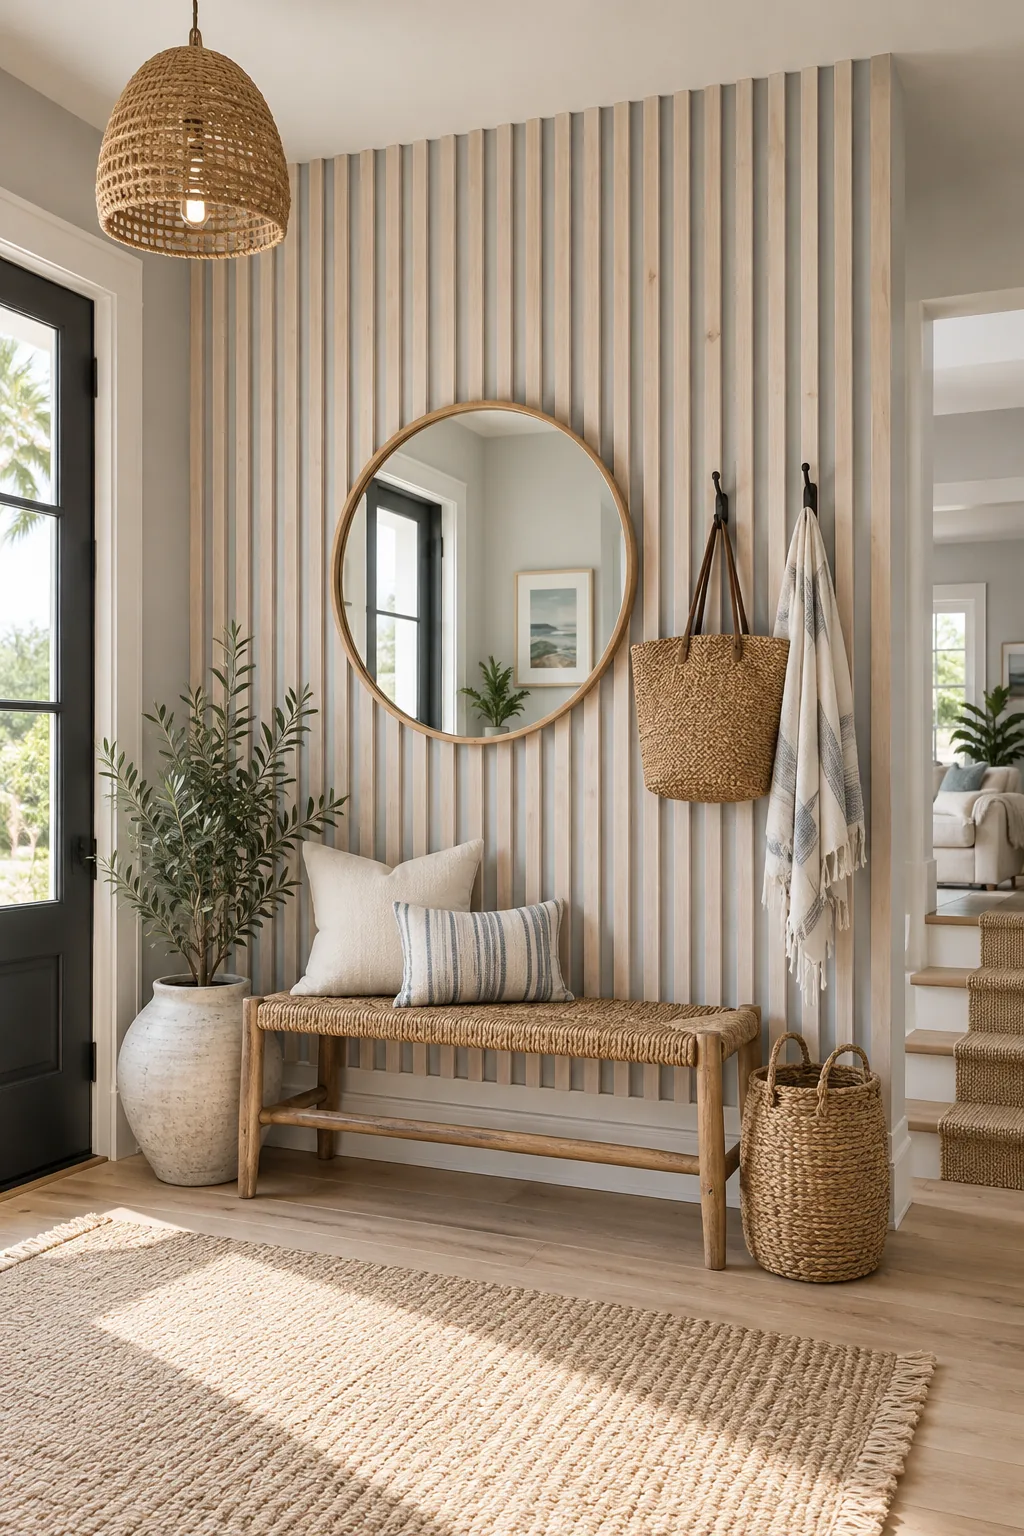
Coastal whitewash and soft gray: A light whitewash allows the wood grain to show through while blending beautifully with soft gray walls for a relaxed coastal vibe.
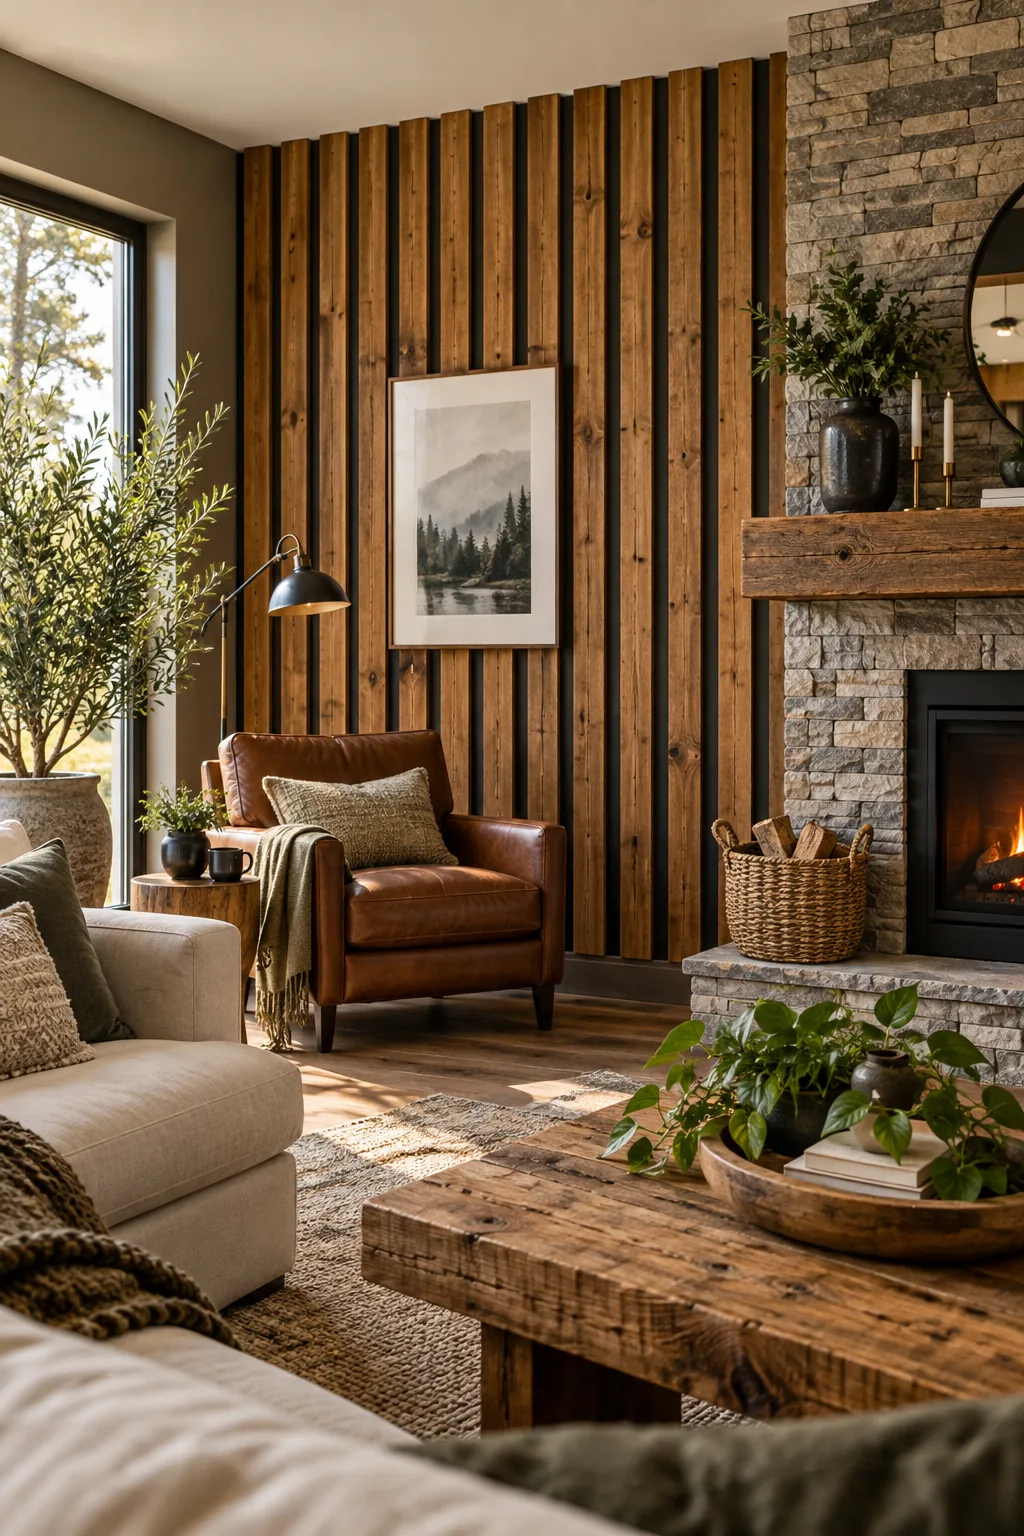
Rustic cedar and dark charcoal: Using thicker, rough-sawn cedar strips adds heavy, rustic dimension that holds its own next to natural stone features.
Finish at the Baseboard and Ceiling
When I finished my own living room, leaving a 1/4-inch expansion gap at the floor and ceiling created a clean, floating look that completely forgave my uneven drywall. You never want the wood wedged tightly against the adjoining surfaces.
This small shadow gap handles seasonal wood movement perfectly so your beautiful new accent wall stays completely flat year-round. It is the perfect finishing touch that ensures your weekend project remains structurally sound for decades.