
Powder Room Wallpaper Guide: Roll Count & Hanging-Order Sheet
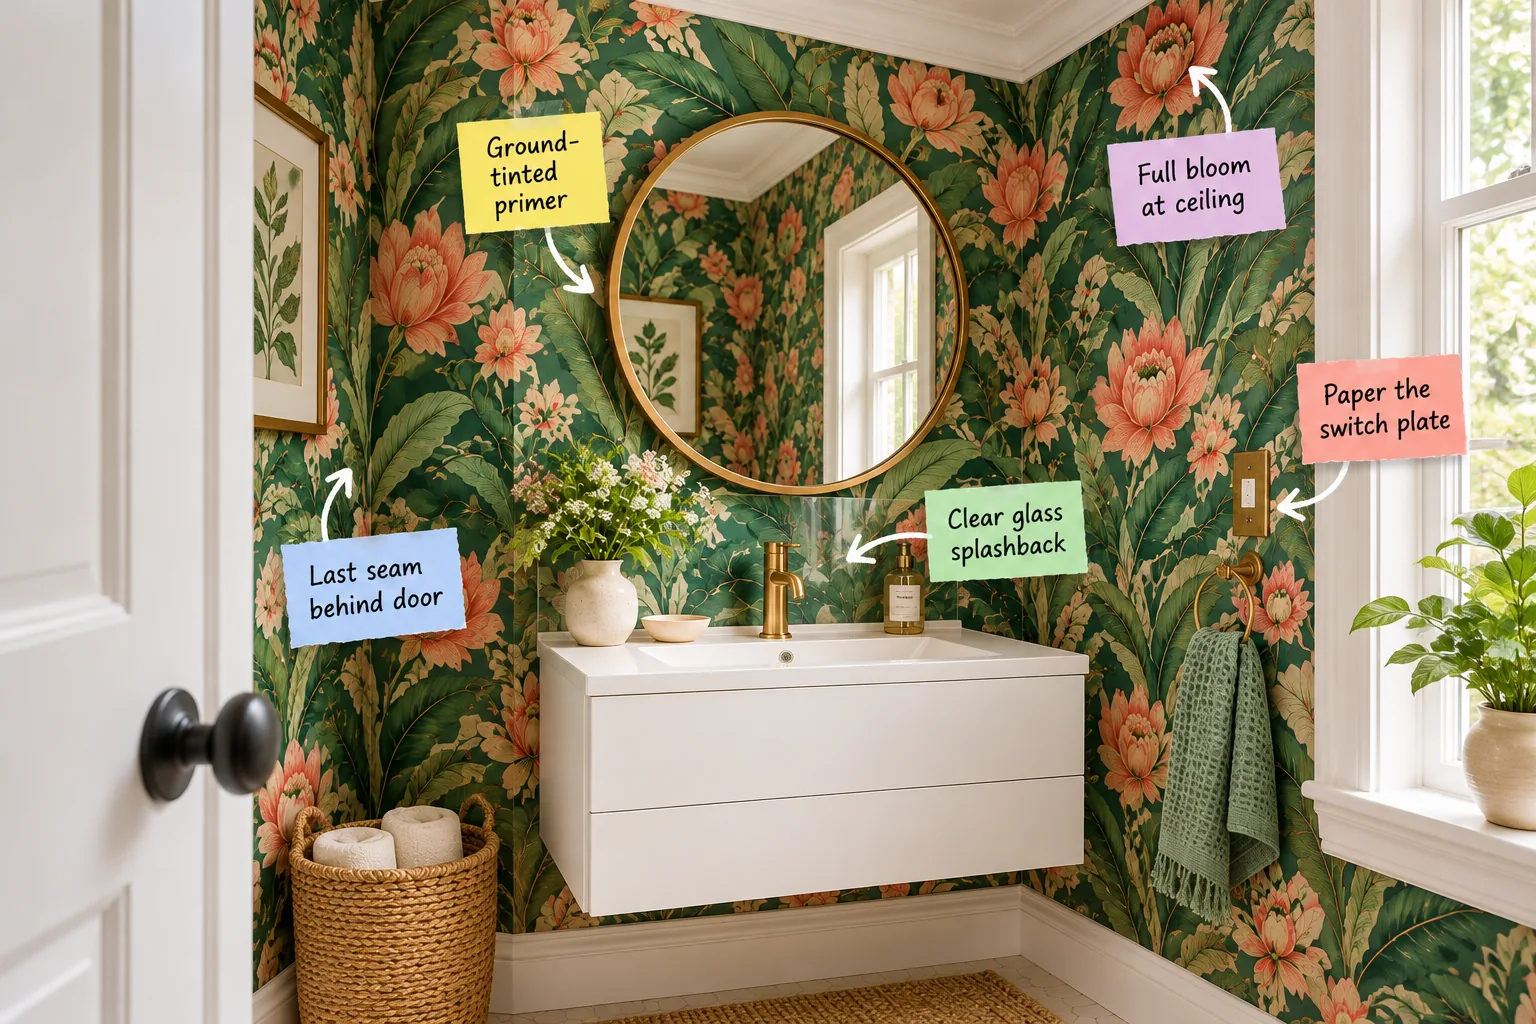
A small half-bath is the perfect canvas for dramatic pattern, and I’m sharing my printable Powder Room Wallpaper Roll Count & Hanging-Order Sheet so you can calculate your exact materials and map a flawless hanging sequence.
Embracing Large-Scale Botanicals
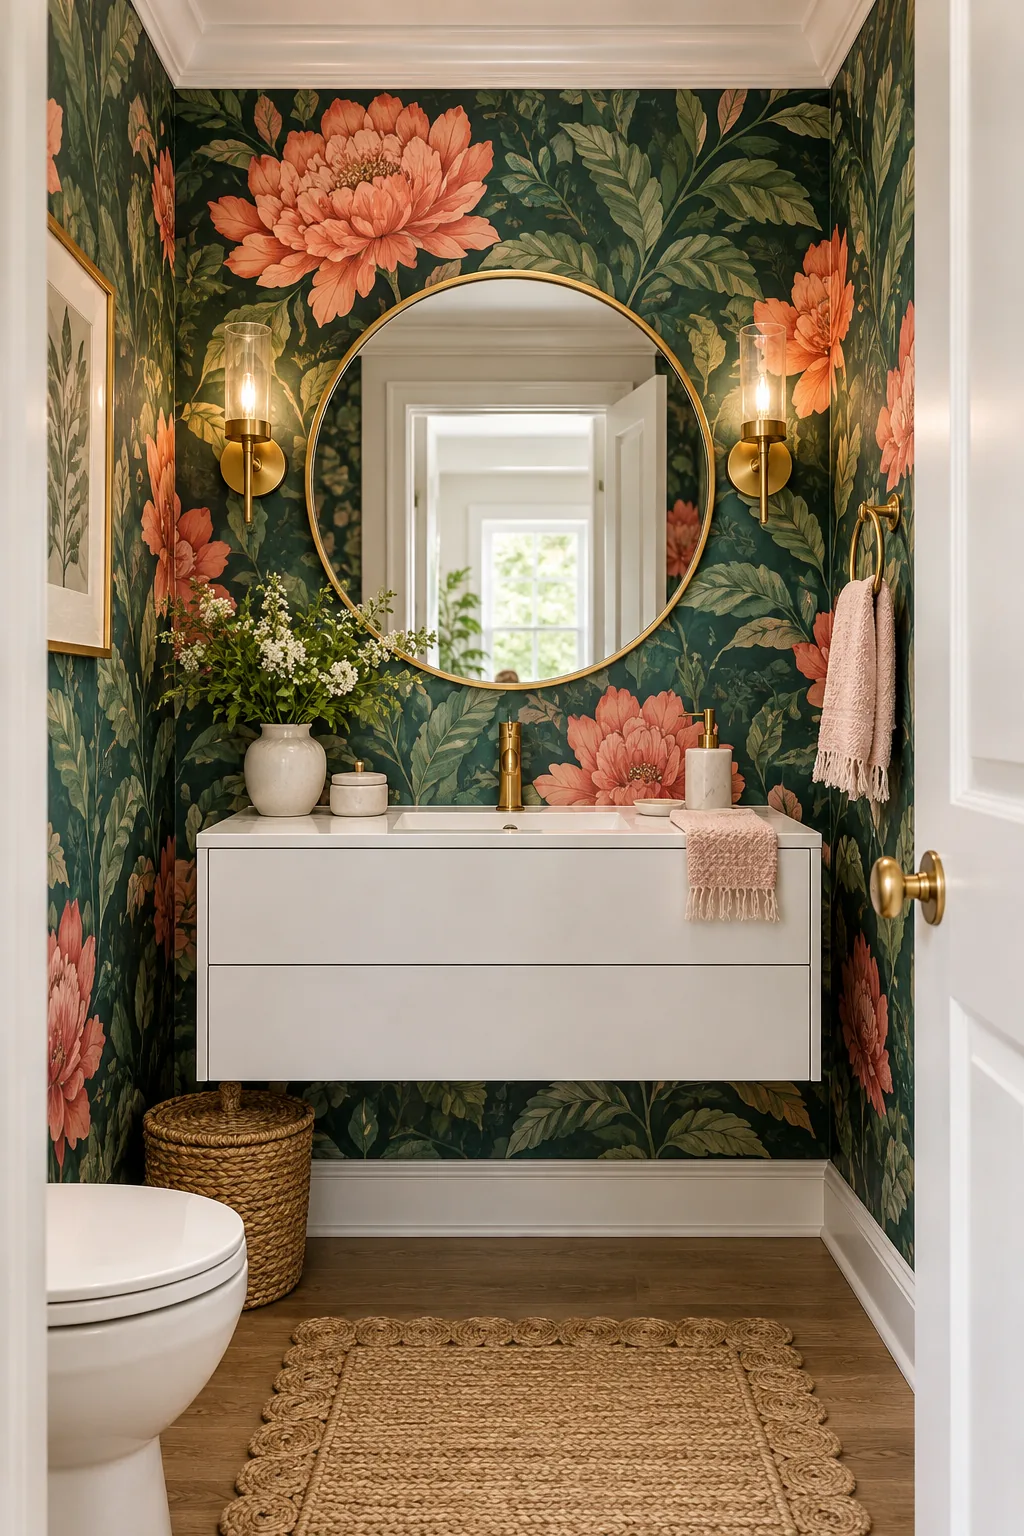
Committing to a large-scale, dark-ground botanical print in a confined space instantly transforms the room from a cramped, utilitarian closet into a highly curated, visually expansive jewel box that captivates every guest.
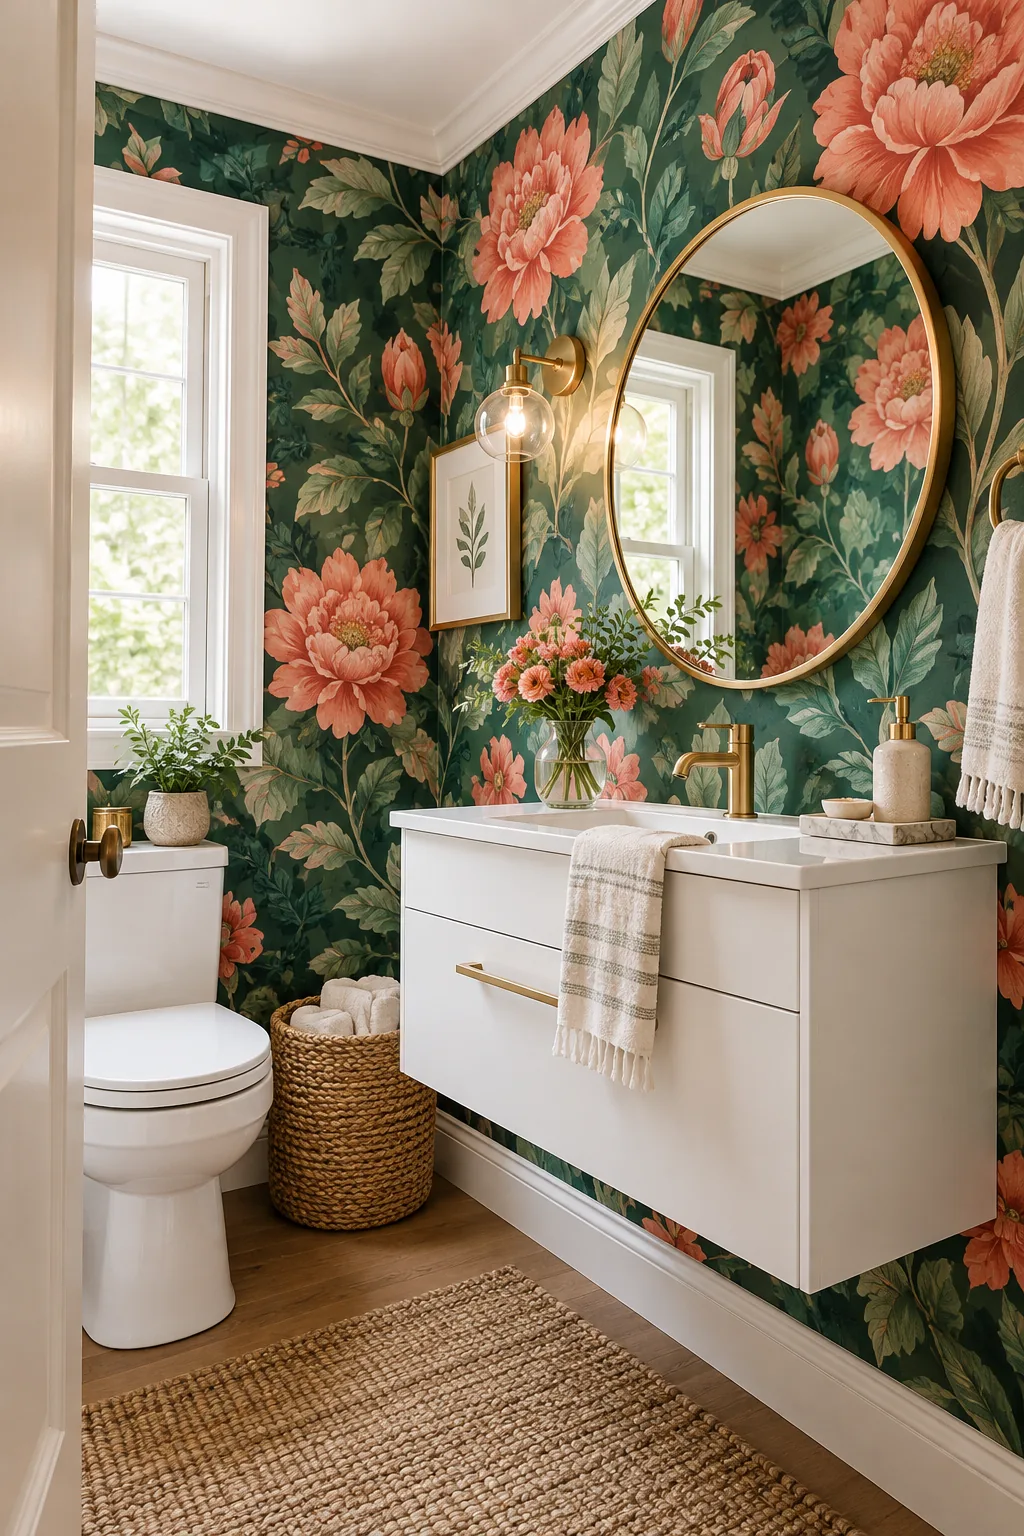
By wrapping the room in oversized floral motifs, those dark backgrounds visually recede to create unexpected depth, ensuring the small bathroom feels undeniably luxurious rather than heavy or claustrophobic.
Aligning the Full Bloom at the Ceiling
When I papered my own Austin guest bath, I accidentally chopped the main floral right in half, so now I know that establishing the dominant vertical motif at the ceiling line before cutting guarantees a polished look.
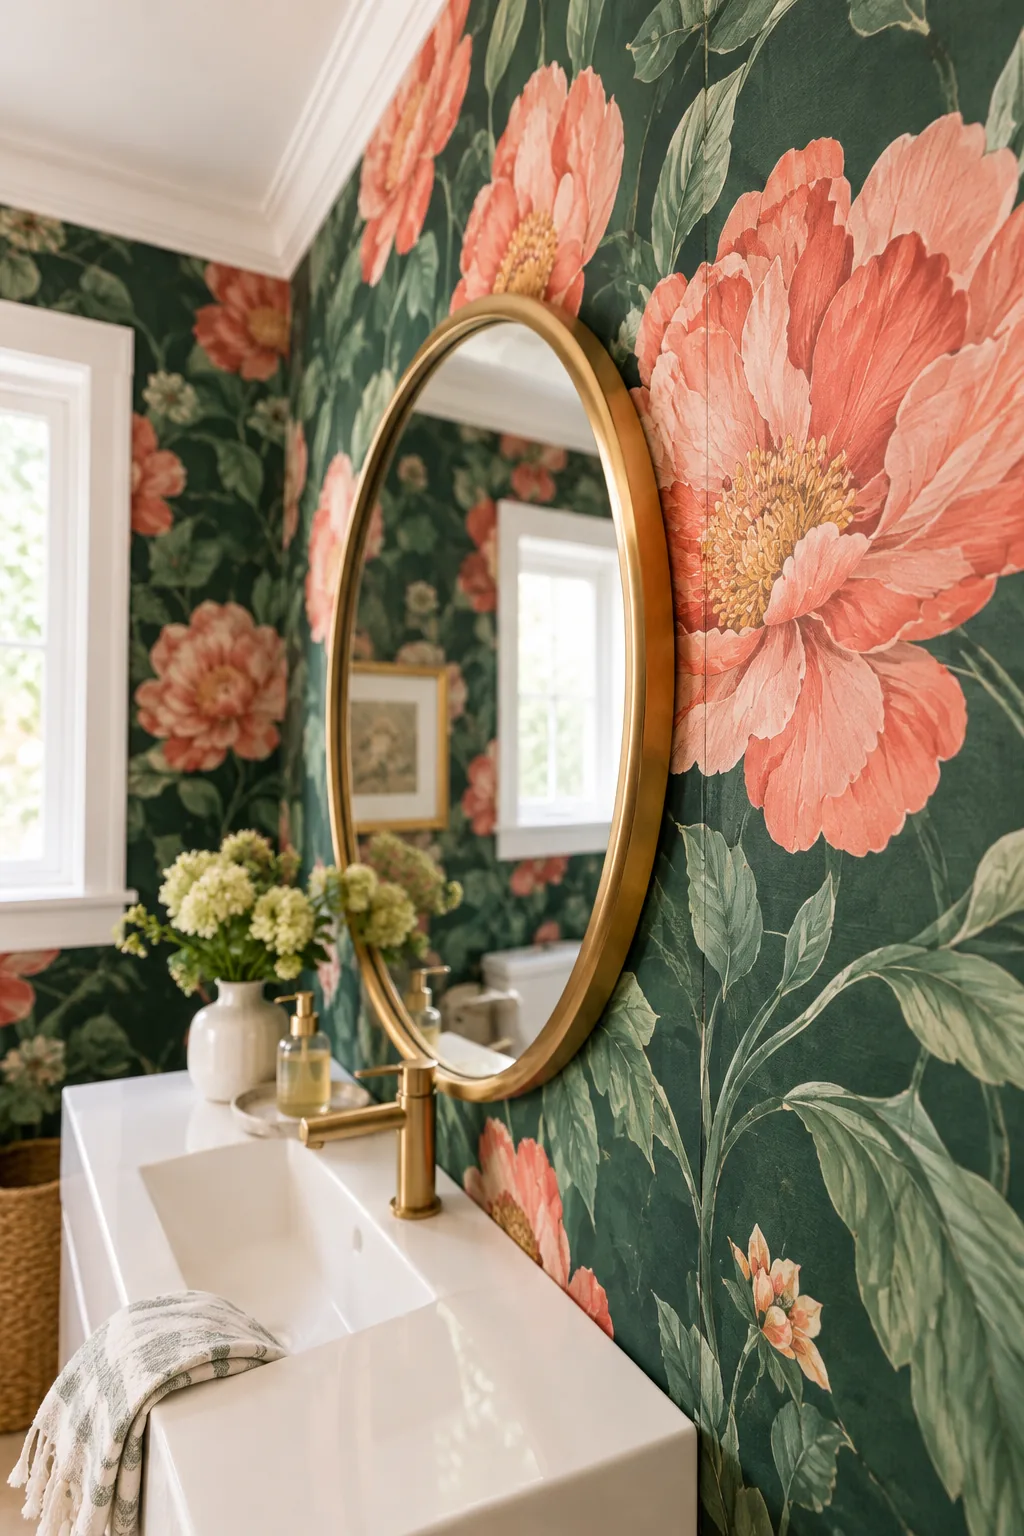
To ensure your focal flowers are never awkwardly decapitated by the upper trim or crown molding, follow this simple vertical measurement method before you apply any paste to the paper.
- Find the most prominent flower or central repeating motif in your specific wallpaper pattern repeat.
- Hold the unpasted paper up to the wall so that complete, uncut motif sits exactly below the crown molding line.
- Mark your precise vertical starting point on the back of the paper with a carpenter’s pencil for reference.
- Measure the exact distance from this mark to the ceiling to determine your required top waste allowance before cutting.
Centering the Anchor Strip on the Vanity
Instead of starting your installation in a random corner, always plan to hang your first anchor strip right in the middle of your main focal wall to keep the pattern perfectly balanced.
| Installation Step | Wall Feature | Measurement Task | Action Required |
|---|---|---|---|
| 1. Vanity Center | Floating Vanity | Measure the exact total width of the installed vanity cabinet from edge to edge. | Mark the precise horizontal midpoint on the drywall surface with a pencil. |
| 2. Mirror Alignment | Round Brass Mirror | Align the center of the round brass mirror perfectly with the vanity midpoint. | Lightly pencil the vertical center line down the wall to connect them. |
| 3. Plumb Line | Main Focal Wall | Project a perfectly vertical line from that center mark all the way up. | Use a high-quality laser level to draw a straight, reliable installation guide. |
| 4. Strip Width | Wallpaper Roll | Measure the exact width of your specific unrolled wallpaper panel across the middle. | Divide this precise number by two to calculate the necessary starting offset. |
| 5. Anchor Marks | First Paper Drop | Measure outward from the center plumb line in both directions using the offset. | Mark the exact left and right boundary edges of the first strip. |
By finding this exact center point and mapping the outer edges, your wallpaper pattern will beautifully and symmetrically frame both the round brass mirror and the modern vanity below without any awkward partial motifs.
Sizing the Walls for Heavy Paper
Applying a high-quality acrylic wall size before you begin hanging is absolutely critical when working with premium, heavyweight botanical wallpapers, as it creates a slightly tacky, sealed surface that allows the pasted paper to easily slip and slide into perfect alignment without instantly grabbing the dry drywall.
Hiding Seams with Ground-Tinted Primer
Applying two thick coats of ground-tinted primer perfectly matched to the wallpaper’s background color is a strict necessity to camouflage those inevitable micro-gaps between dark panels as the house naturally settles.
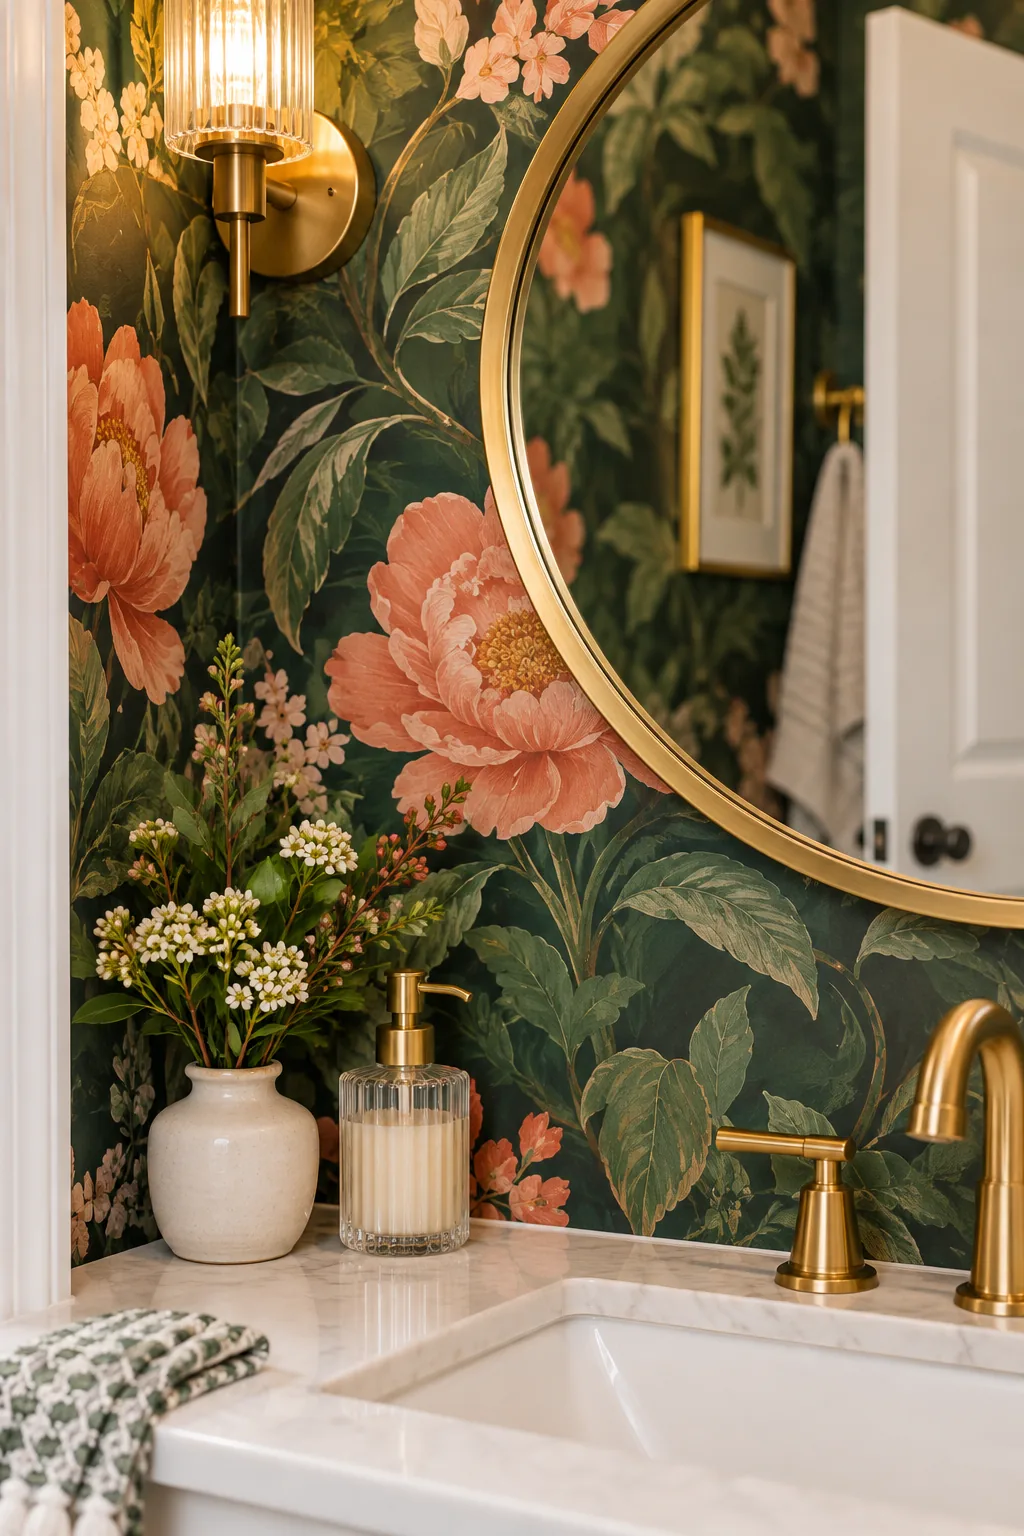
Even professionals face slight paper shrinkage, and I learned the hard way in my own downstairs bath that rolling on a dark base layer is the only defense against visible white seams.
Choosing the Right Paste for Humid Spaces
Using a mold-resistant, heavy-duty clear adhesive is absolutely essential for a powder room installation, as the constantly fluctuating humidity levels from adjoining spaces can easily cause standard lightweight pastes to fail, leading to peeling edges and completely ruined panels over time.
Hiding the Final Seam Behind the Door
In my first house, I mapped the room poorly and the final mismatched seam ended up right above the toilet, so now I strategically force that pattern break into a completely hidden corner.
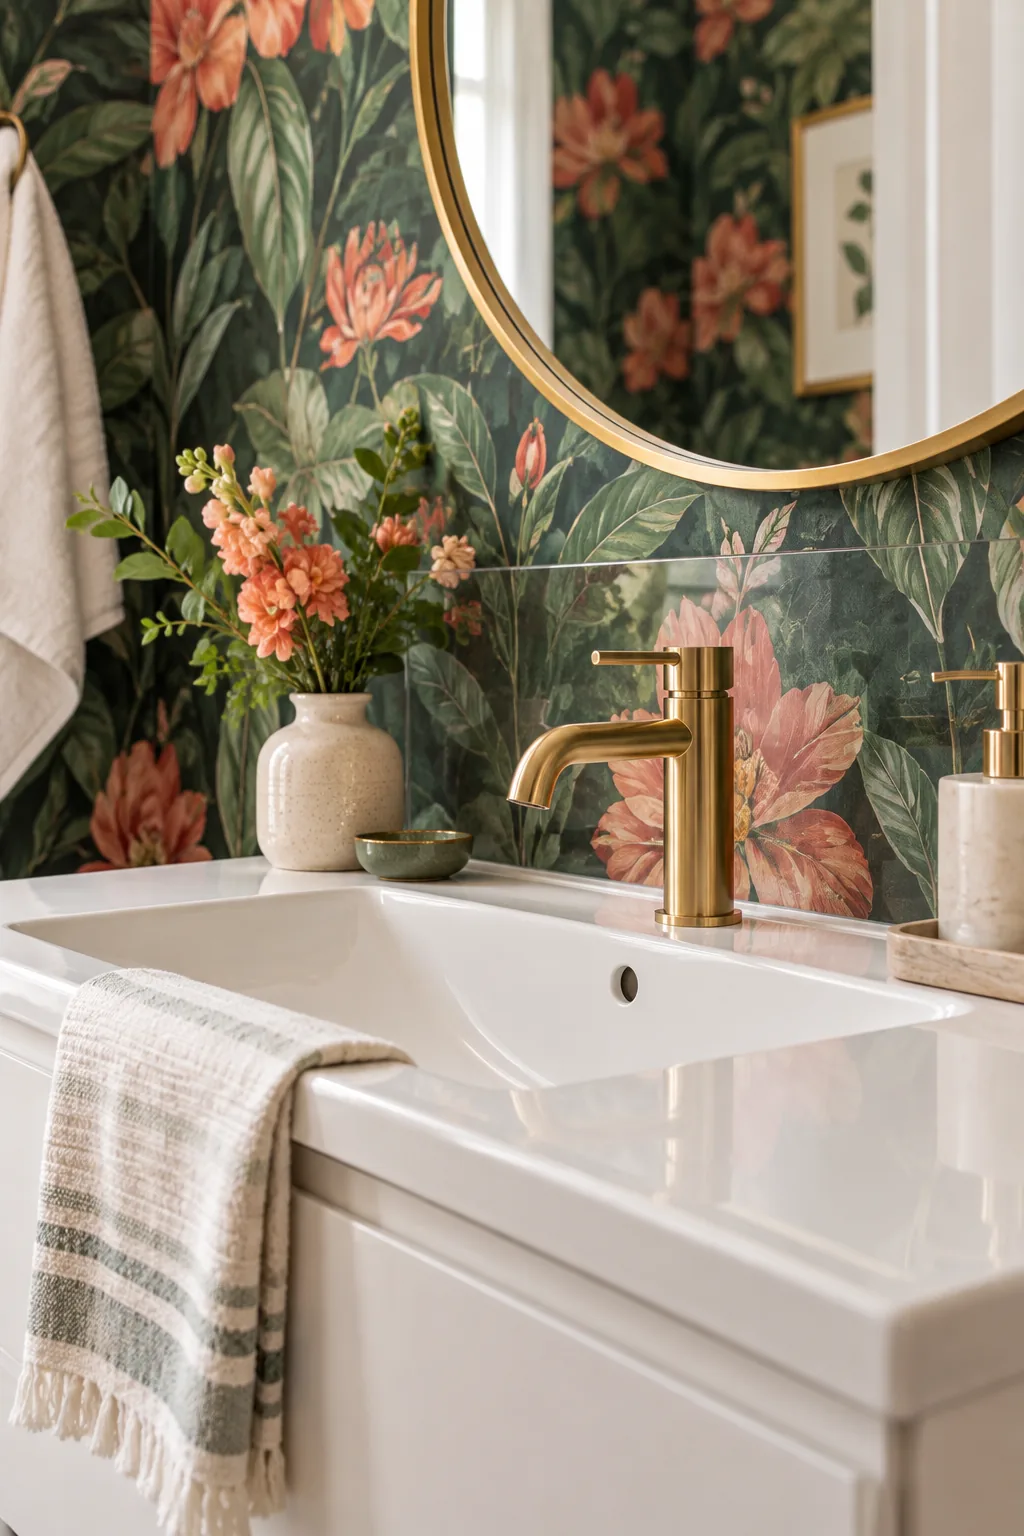
Mapping your hanging sequence outward from the center anchor strip ensures you can place the last mismatched seam in the narrow corner on the door’s hinge side, leaving a 1/8-inch overlap so the imperfection stays completely hidden when the door swings open.
Managing the Inside Corners
Wrapping stiff wallpaper completely around an inside corner often leads to permanent, unsightly wrinkles as the house naturally shifts and settles, so always plan to slice the paper directly in the crease and overlap the next panel slightly to maintain a crisp edge.
Adding a Clear Glass Splashback
Installing a frameless clear glass panel directly behind the faucet provides a highly practical, low-iron glass barrier to invisibly waterproof the delicate vanity wall against daily use and aggressive hand washing.
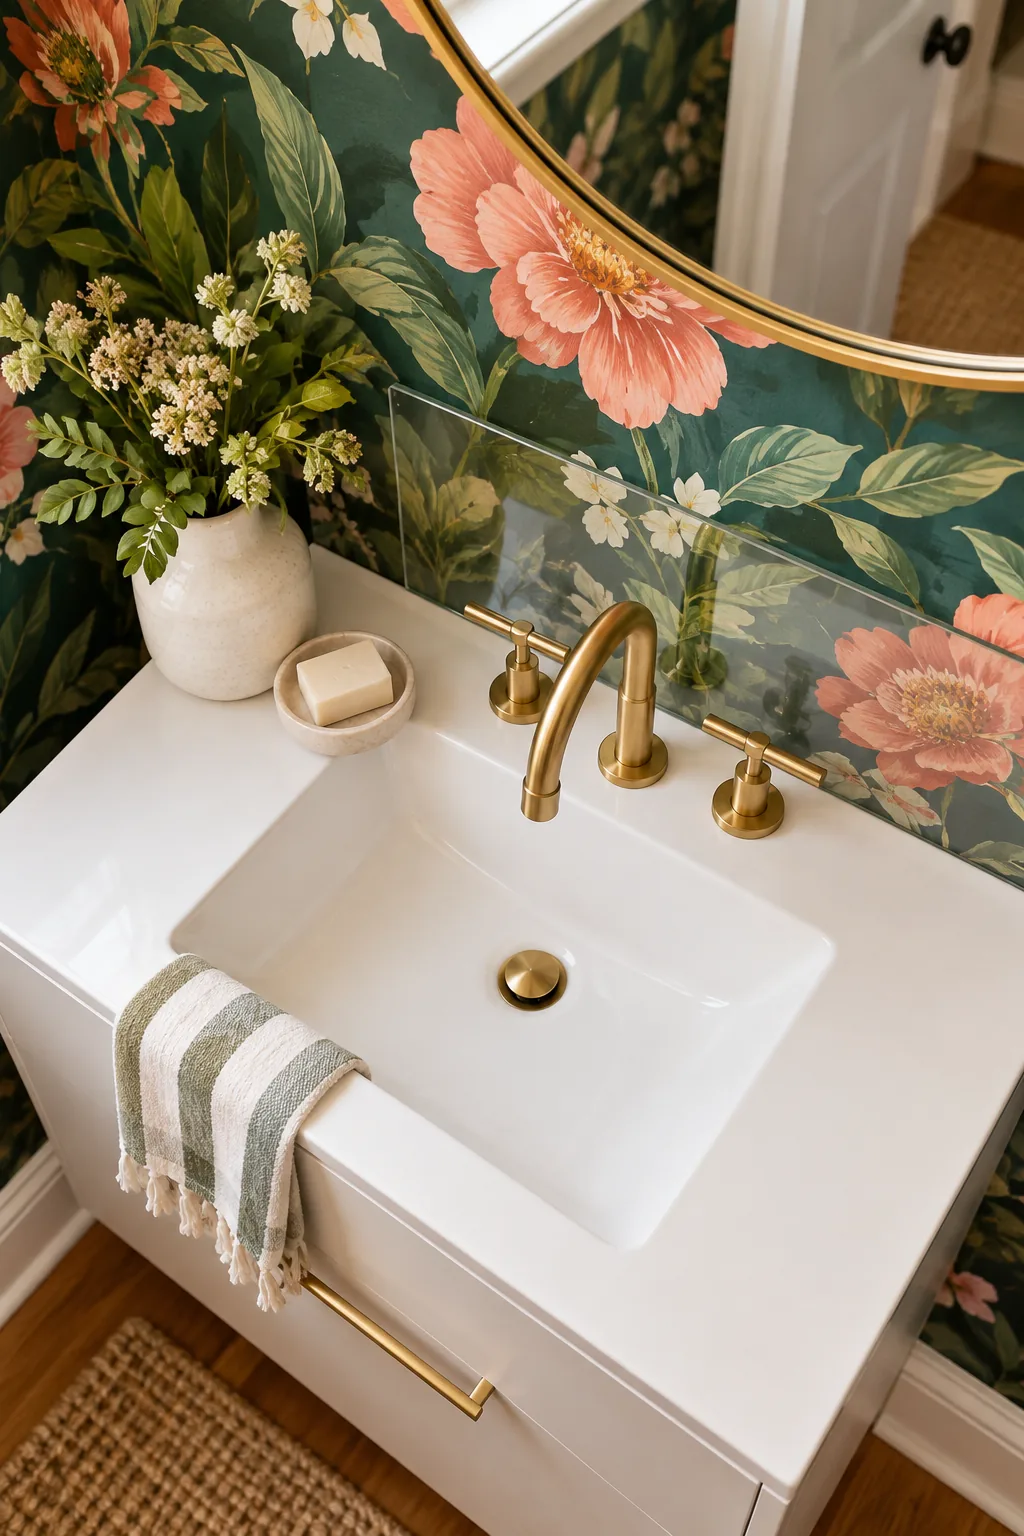
I always recommend specifying a standard splashback height of 4 to 6 inches to fully protect the wallpaper from water damage and soap splashes without visually obscuring that beautiful botanical pattern you worked so hard to install.
Seamlessly Papering the Switch Plate
A standard white plastic cover severely disrupts a fully papered wall, but taking the time to carefully wrap the plate creates a beautifully flawless, custom-finished look that elevates the entire bathroom design.
Cut your wallpaper scrap about 1/2 inch larger than the plate so the pattern folds seamlessly over the beveled edges and continues absolutely uninterrupted across the surrounding wall surface.
Trimming Around the Baseboards
Changing your utility knife blade after every single strip guarantees a razor-sharp edge when trimming the excess paper along the baseboards, preventing jagged tears in the wet, delicate material that could completely ruin an otherwise perfect, professional-looking floor line.
5 More Powder Room Wallpaper Looks
Explore these distinct wallpaper styles to find the perfect atmosphere for your own small bath.
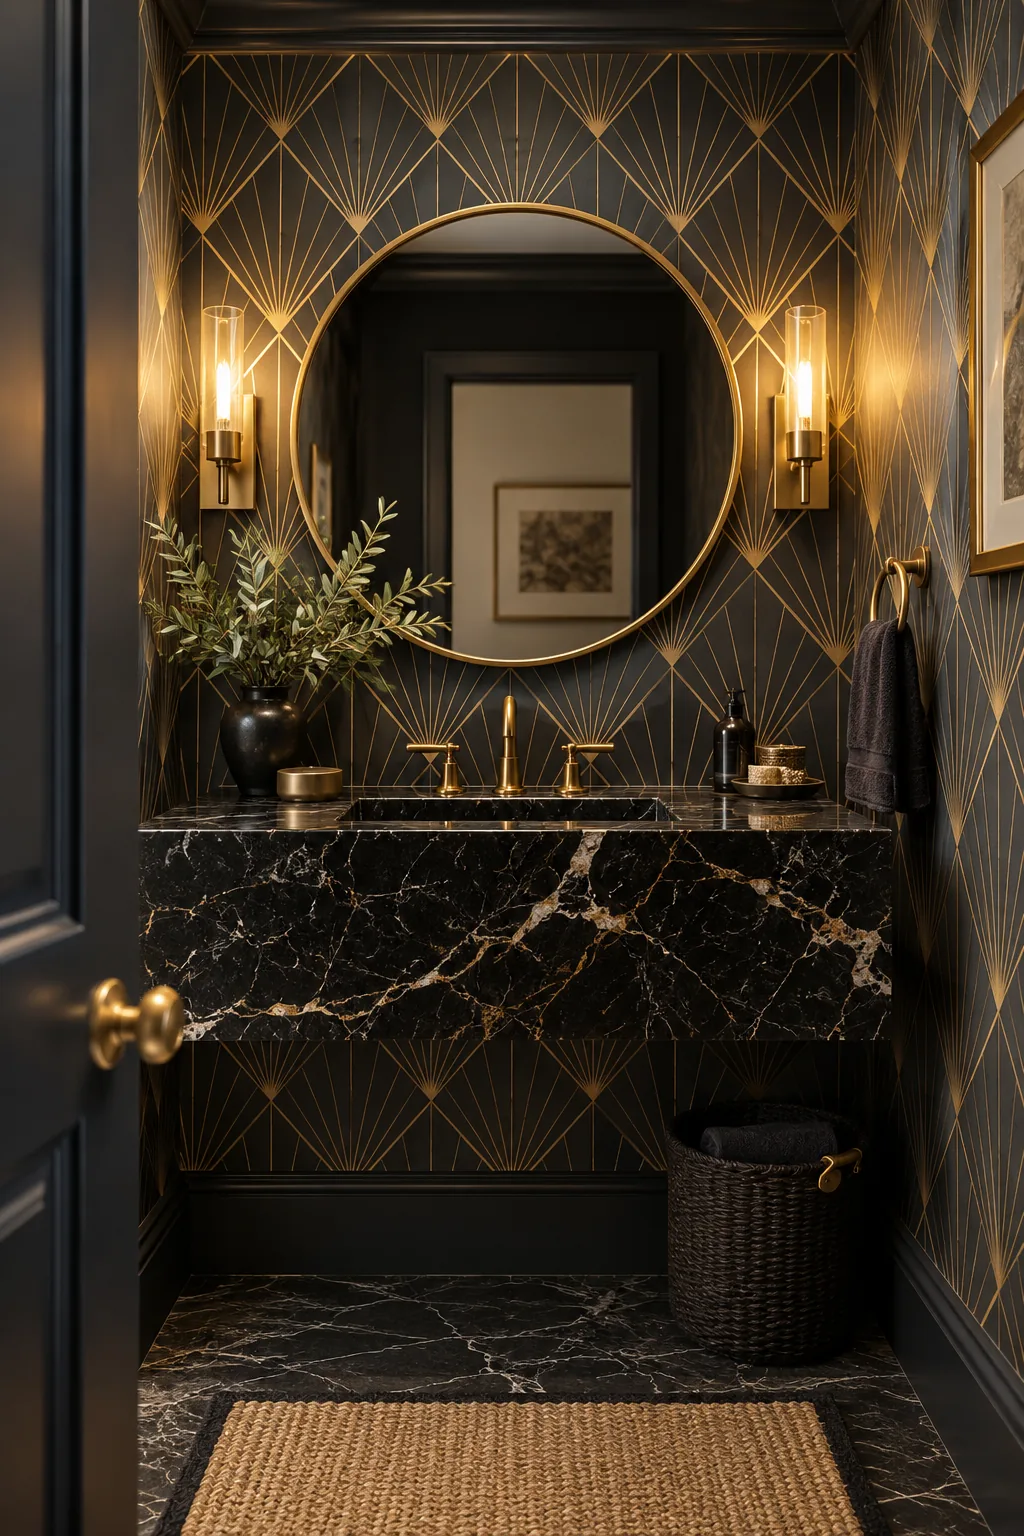
Moody Metallic Geometric: Charcoal and gold lines add Art Deco drama, perfect for pairing with a heavy black marble vanity.
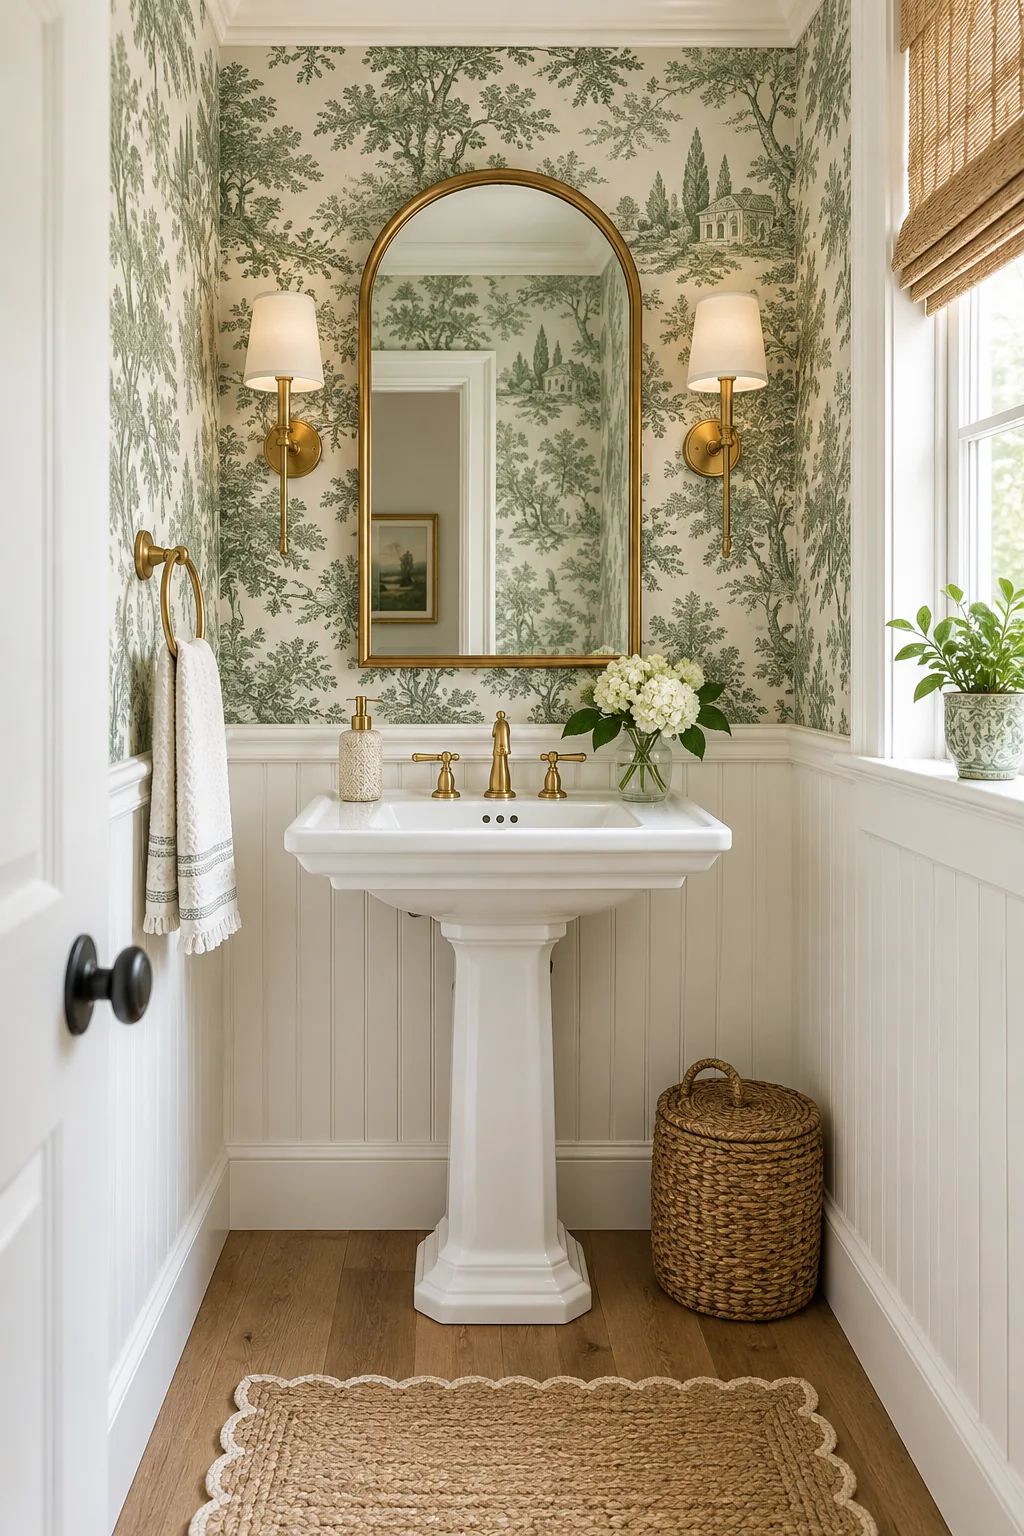
Classic Sage Green Toile: Traditional toile brings pastoral charm to the upper walls, balanced beautifully by crisp white beadboard below.
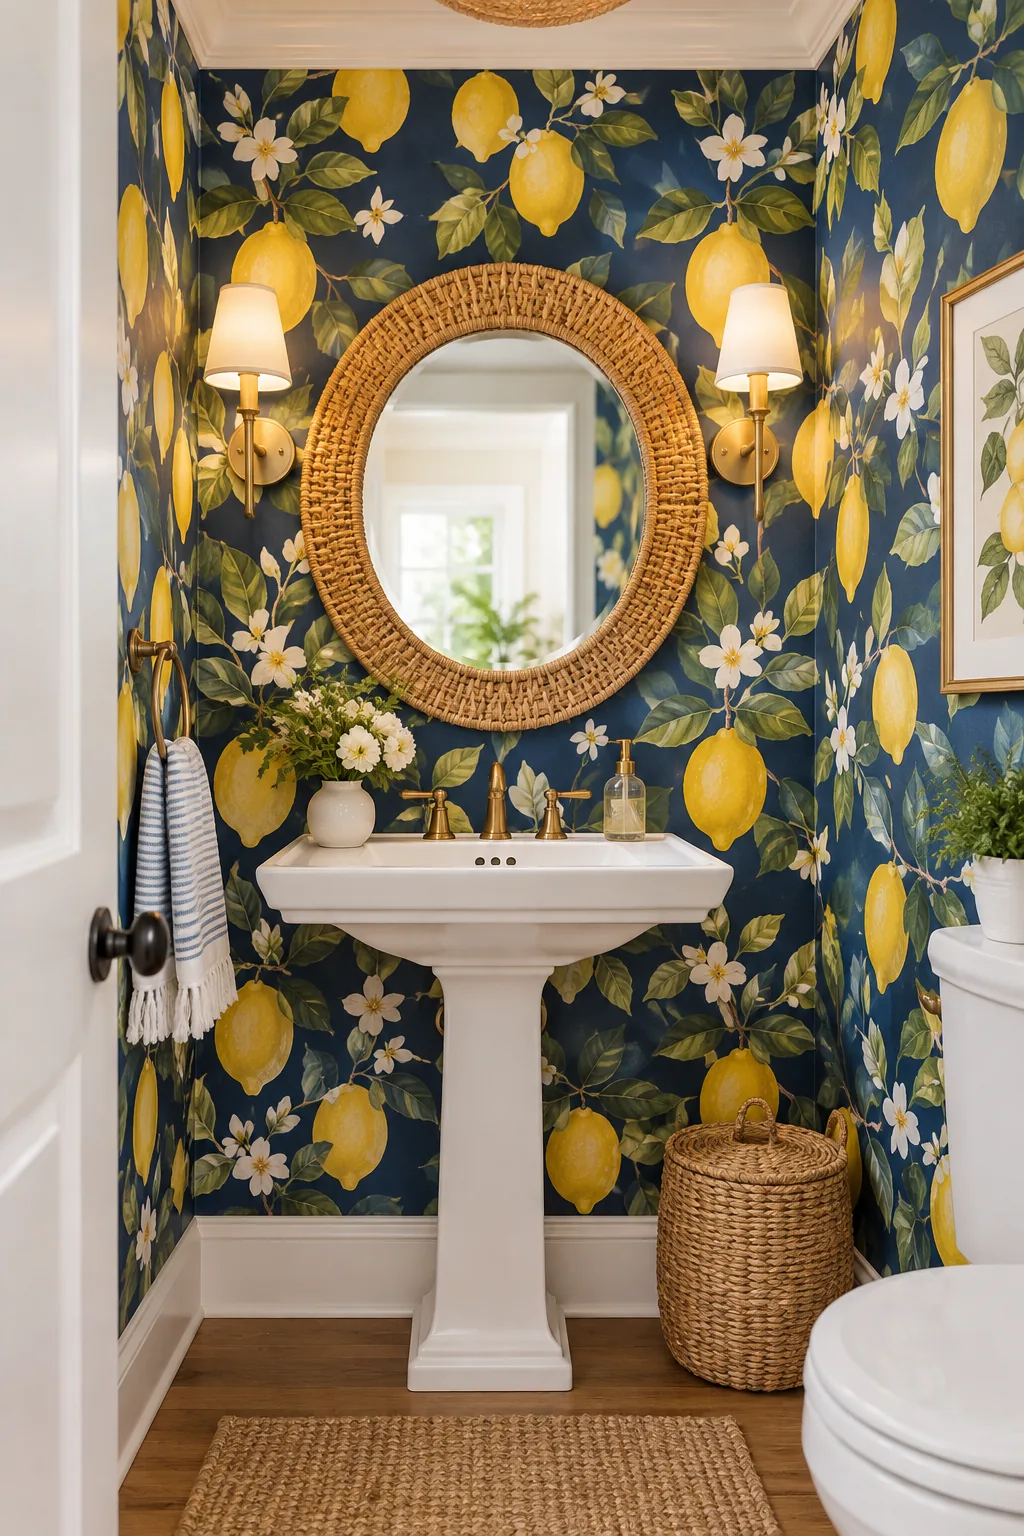
Vibrant Citrus and Navy: Bright lemon motifs pop against a deep navy background, creating an energetic and fresh atmosphere.
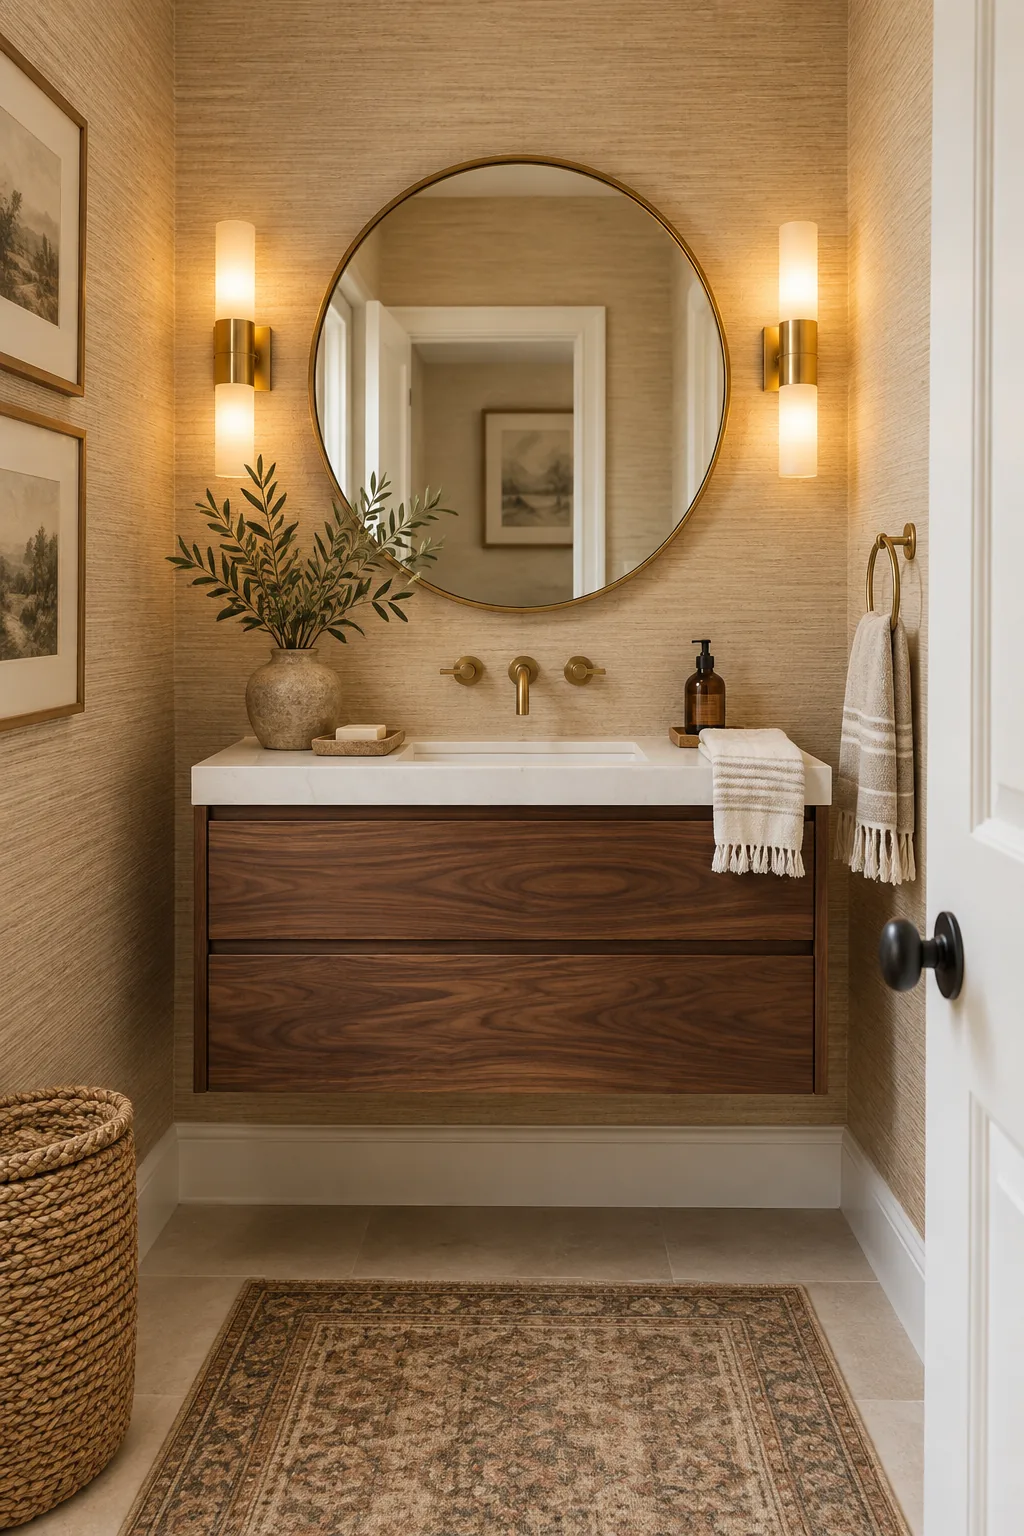
Warm Sand Grasscloth: Natural woven textures introduce subtle warmth and dimension without overwhelming the small footprint.
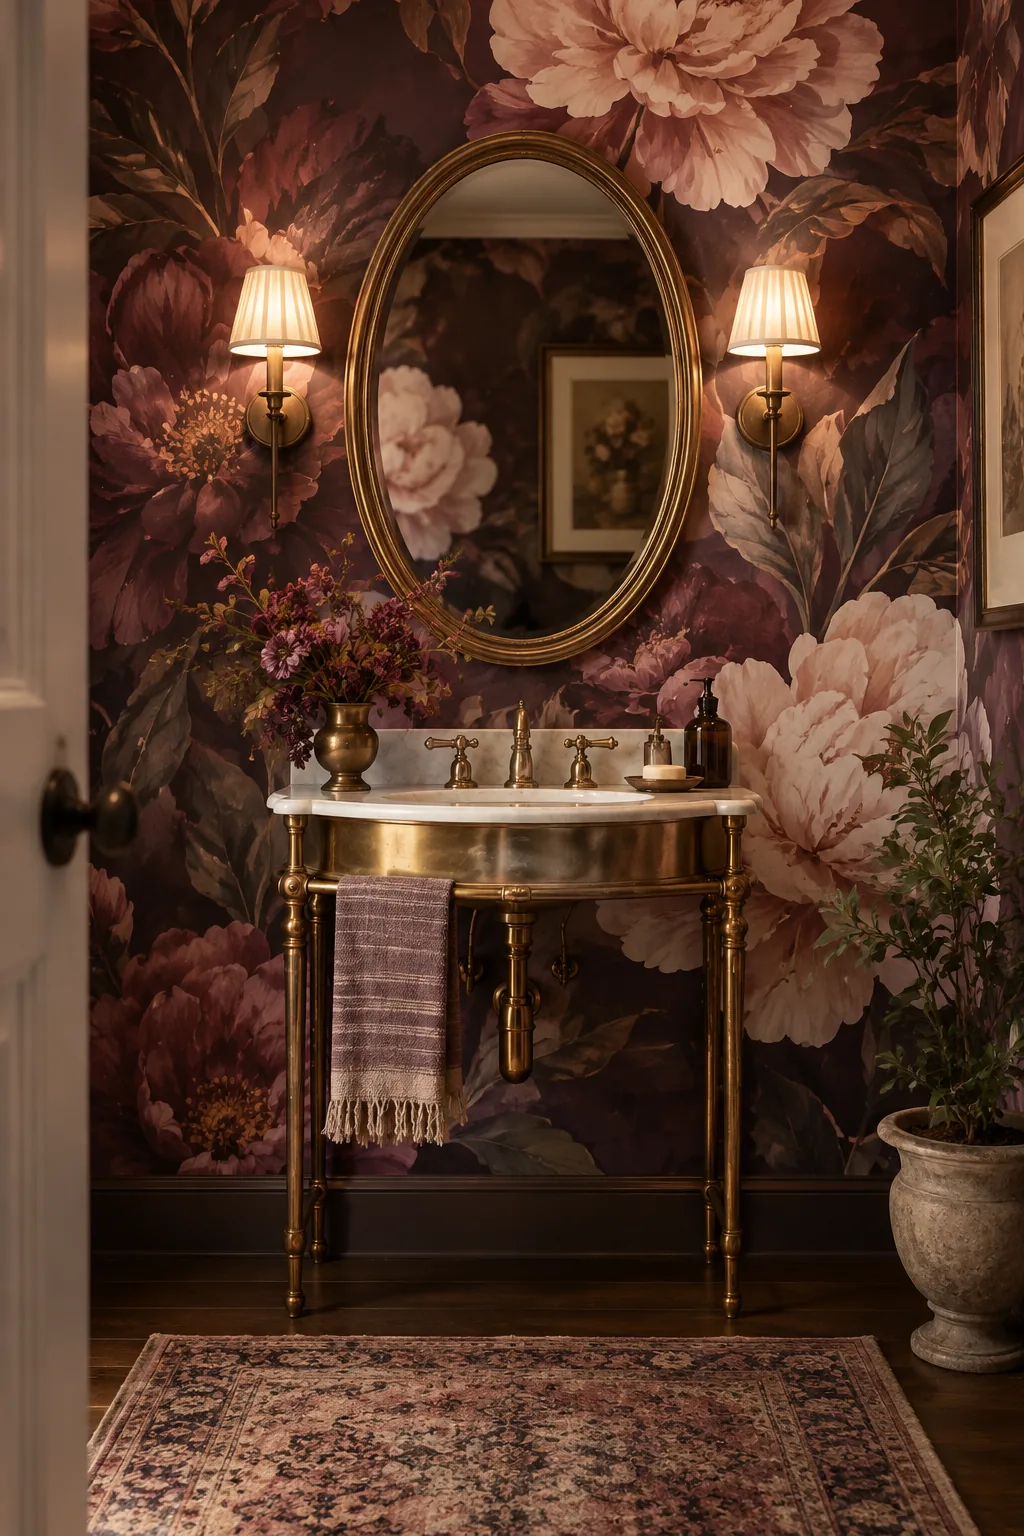
Dramatic Plum Floral Mural: An oversized, non-repeating floral mural turns the vanity wall into a captivating, romantic focal point.
Your Roll Count & Hanging-Order Sheet
Before you unroll a single drop, verifying your exact repeat measurements and ensuring identical batch numbers is the most critical step of the entire wallpaper installation process.
This printable Powder Room Wallpaper Roll Count & Hanging-Order Sheet uses a precise square-footage and pattern-repeat method to calculate exactly how many rolls you need for the project.
- Wall measuring boxes: Log your exact room dimensions, carefully accounting for the door, window, and floating vanity placements to avoid shortages.
- Pattern-repeat adjustment: Factor in the extra length needed to match large floral motifs perfectly across adjacent panels without compromising the design.
- Hanging-order map: Number your strips sequentially from the centered anchor mirror outward to the final hidden seam behind the bathroom door.
- Batch verification: Cross-check every single roll to ensure identical run numbers before cutting your first strip, as dye lots vary significantly.
- Extra roll buffer: Always order one extra roll from that exact same batch number to guarantee you have perfectly matching backup paper for future repairs.