Slope Landscaping: The Shingle-Row Spacing & Planting Guide
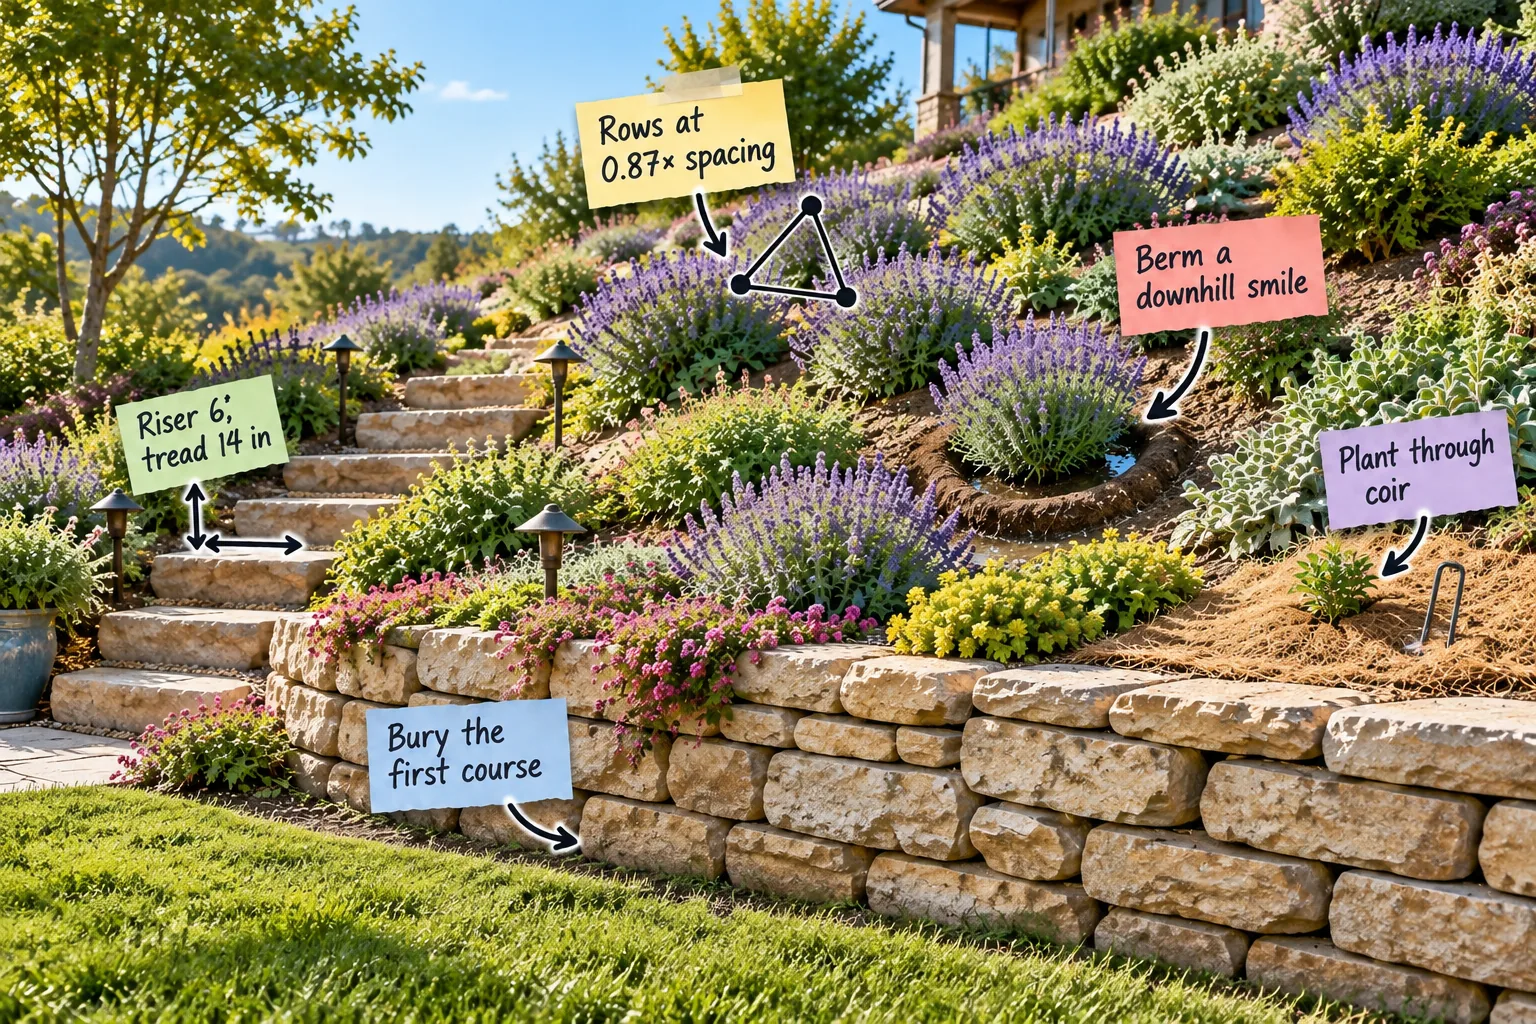
Taming a steep backyard feels daunting, but you can absolutely stabilize your incline by downloading my free Hillside Planting Sheet to calculate exact offset spacing. We will build a slip-proof stone foundation from the bottom up, then secure the soil and plant the slope from the top down.
Setting the Retaining Base
A hillside needs a solid toe to prevent gravity from pushing the soil outward, a lesson I learned quickly when my first Austin garden wall shifted after a storm. You must bury the first course of sandstone blocks so half their height sits below the final lawn grade.
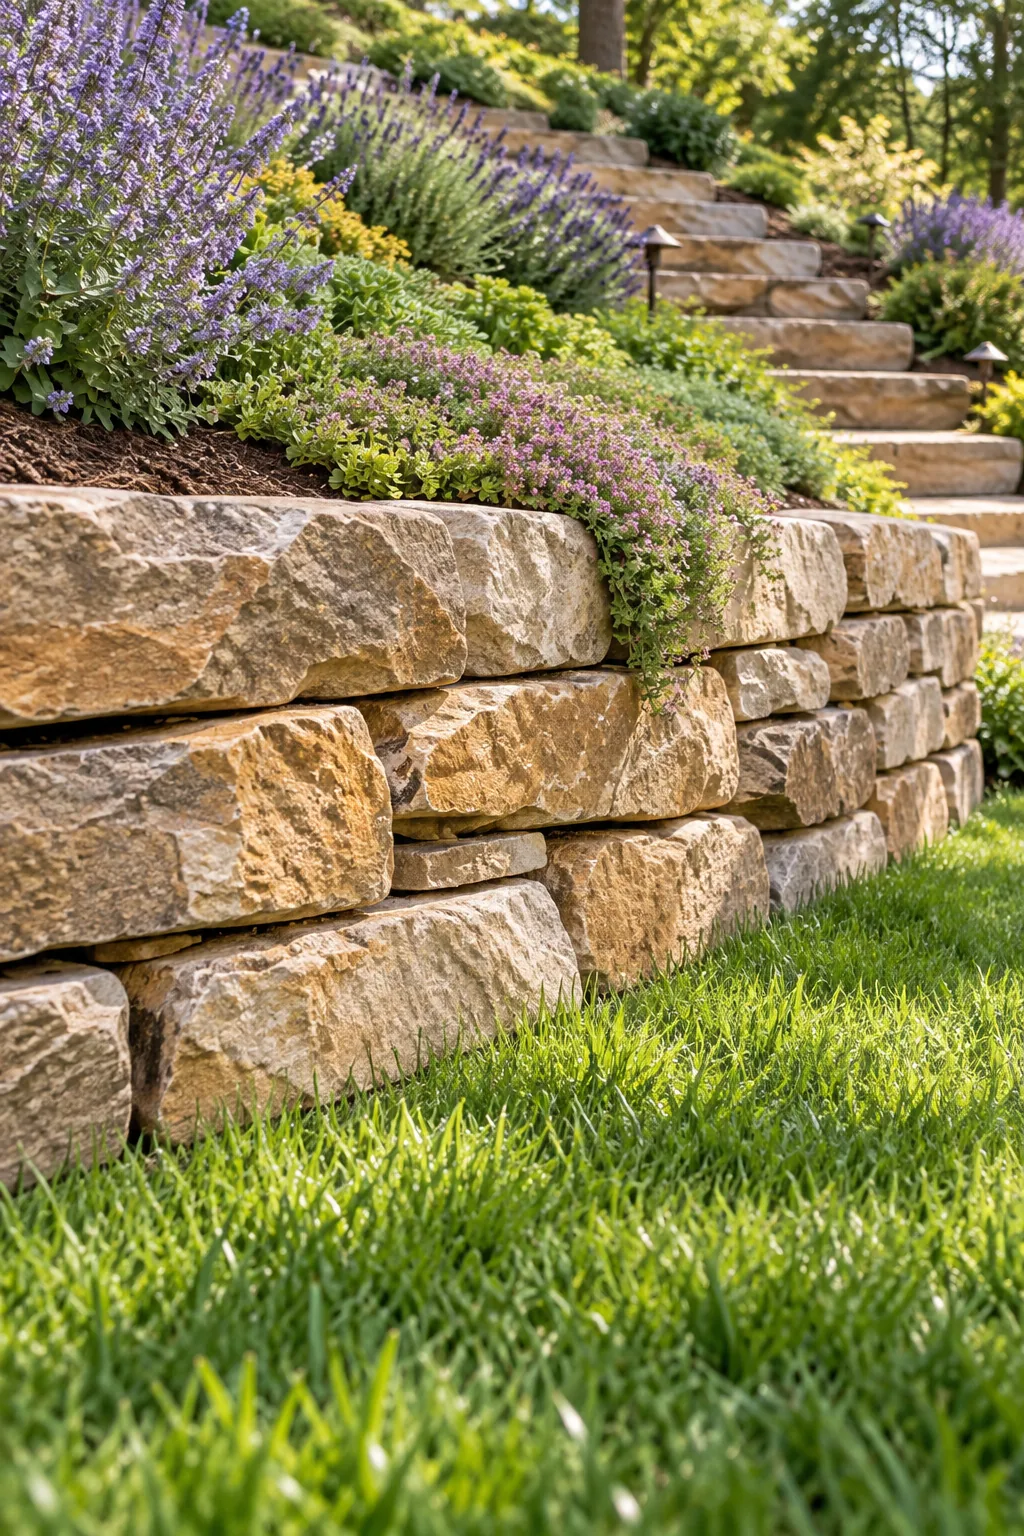
Grass roots eventually lock those buried foundation stones in place, but even a low garden wall holds back immense weight after a heavy rain. This makes the initial foundation trench the most critical part of your entire weekend landscape build.
Trenching the Foundation Line
Digging a proper trench ensures your base stones rest on a level, frost-proof footing rather than soft topsoil. I always measure the depth carefully, allowing enough room for a compacted gravel base plus the buried portion of the sandstone blocks.
| Wall Height | Trench Depth | Gravel Base | Buried Stone |
|---|---|---|---|
| 12 inches | 8 inches | 4 inches | 4 inches |
| 18 inches | 10 inches | 4 inches | 6 inches |
| 24 inches | 12 inches | 6 inches | 6 inches |
Compacting the Gravel Footing
Loose gravel will inevitably settle, causing your beautiful new retaining wall to sag and crack over time. Rent a heavy steel hand tamper from your local hardware store and pound the crushed stone layer until it stops yielding under your boots.
Backfilling the First Tier
Once your base stones are perfectly leveled and buried, you need to lock them in from behind. Shovel three inches of washed drainage gravel directly behind the blocks to give groundwater a clear path to escape without pushing soil through the crevices.
Building the Flagstone Steps
Navigating a planted bank requires steps with predictable, relaxed geometry that accommodates a natural walking stride. Setting a riser 6, tread 14 in configuration creates a gentle, safe ascent that allows your entire foot to land securely on the stone.
Leveling the Stair Treads
Every single flagstone tread needs a slight forward pitch so rainwater sheets off rather than pooling in the center. I use a two-foot bubble level to ensure the back edge sits about a quarter-inch higher than the front edge for perfect drainage.
Grading and Soil Preparation
Before planting begins, the raw slope must be smoothed to remove deep ruts around your new 6-inch riser and 14-inch tread staircase. Rake a thick layer of compost into the topsoil to give fresh roots immediate nutrients without relying on chemical fertilizers.
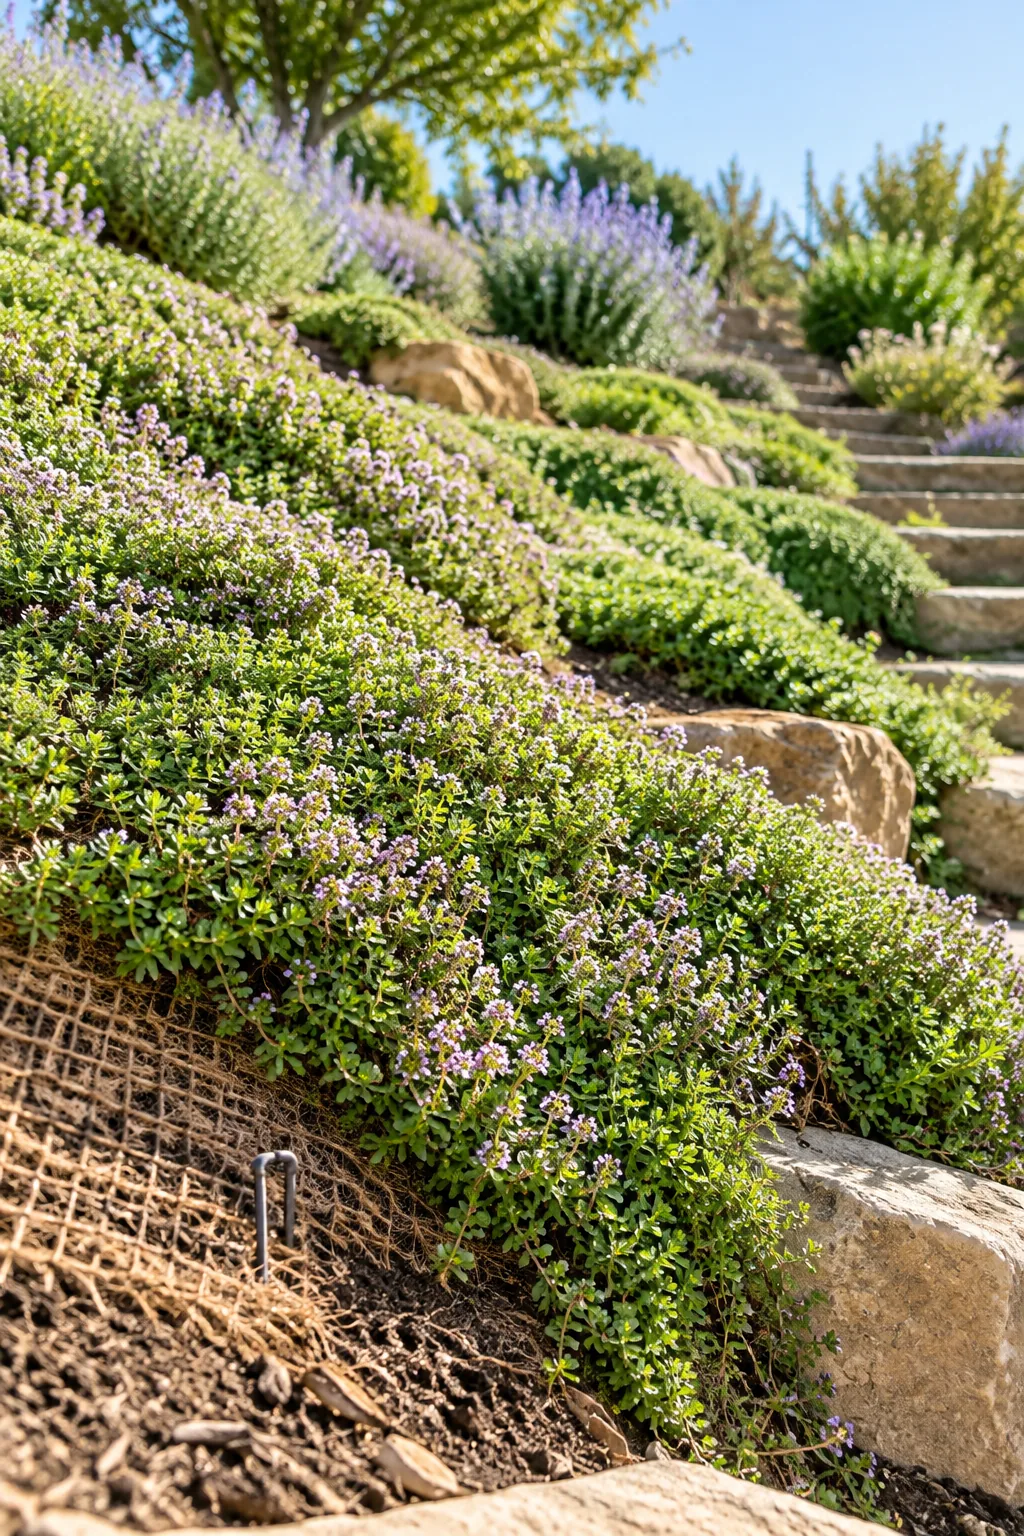
Taking the time to remove deep ruts ensures your topsoil will not wash down the newly built staircase during the first heavy thunderstorm.
Amending the Topsoil
Hillside dirt is notoriously depleted because years of runoff wash away the lighter, nutrient-rich organic matter. I strongly recommend broadcasting a balanced, slow-release granular fertilizer over the smoothed compost layer to feed your new perennials steadily throughout their first turbulent growing season.
Securing the Slope with Coir
Biodegradable coir netting acts as temporary armor against erosion while your new plants establish their root systems. Roll the mesh tightly down the hill, and simply cut a small X-slit with a utility knife exactly where you need to plant through coir.
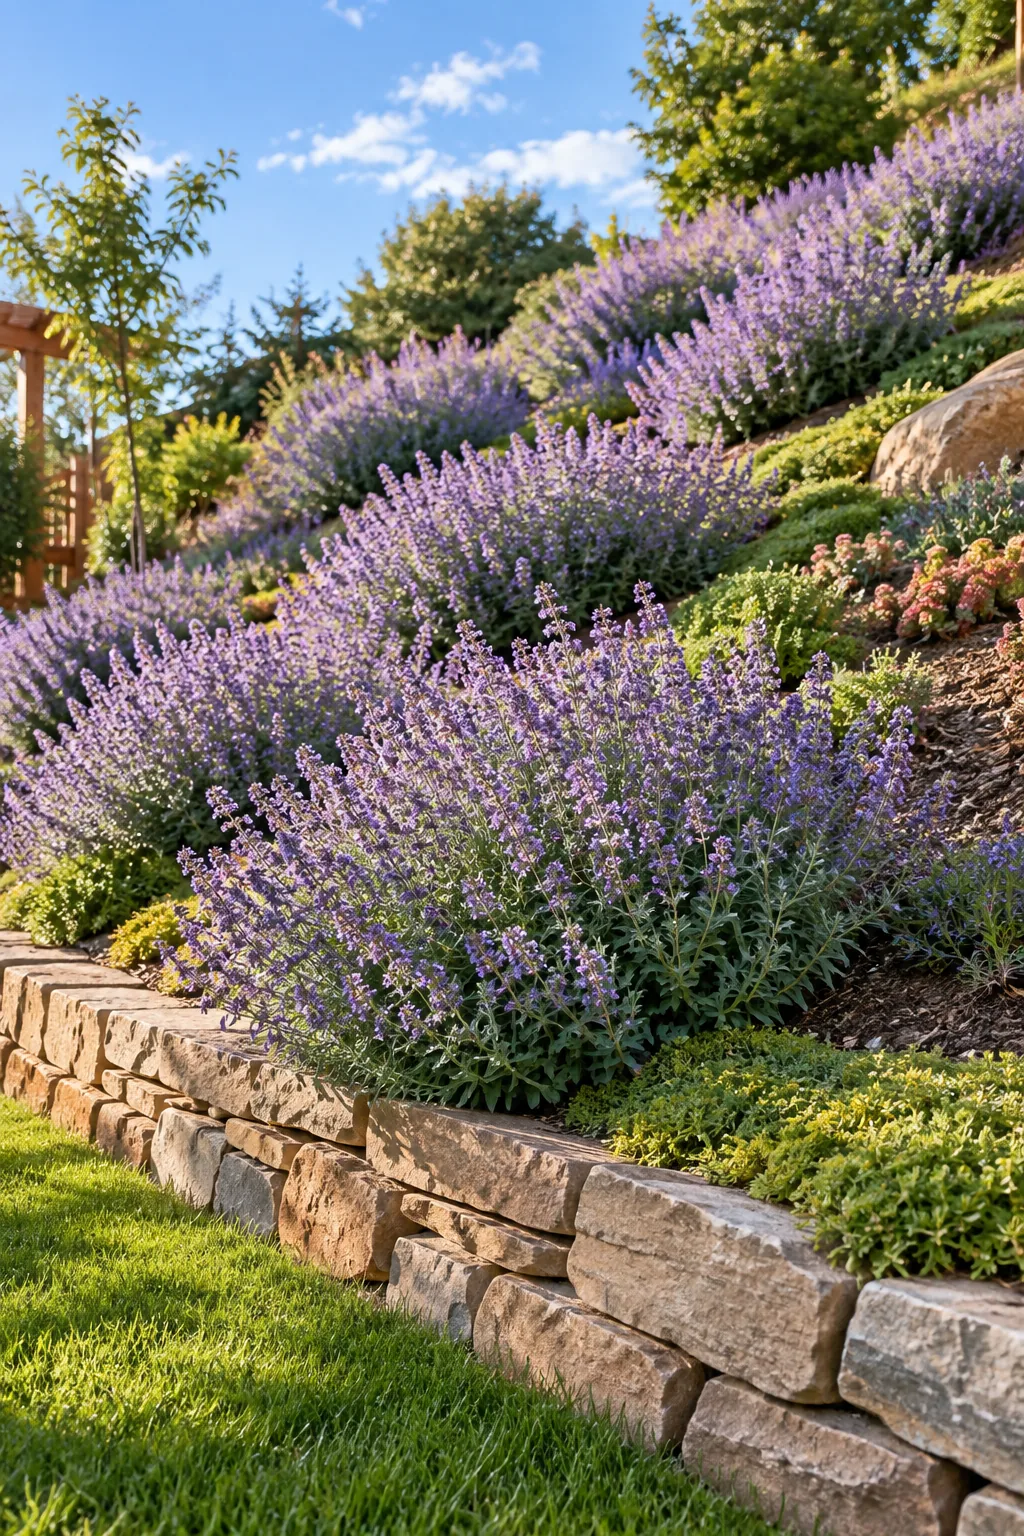
Leaving the rest of the mesh completely intact prevents heavy rainfall from carving channels underneath your freshly planted hillside.
Pinning the Mesh Edges
Wind and heavy rain will easily lift unsecured erosion fabric, exposing the fragile topsoil underneath. Drive heavy-duty metal landscape staples into the ground every three feet along the seams, ensuring the coir blanket hugs the contours of your freshly graded bank.
Calculating the Offset Grid
Planting in a grid creates straight channels for water to race down, which nearly ruined my first terraced garden. To force runoff to weave slowly through foliage, the vertical distance between rows must be exactly rows at 0.87× spacing of the horizontal distance.
Measuring the First Row
Start your layout at the top of the incline to avoid trampling your freshly prepared soil. Stretch a mason line horizontally across the bank and use a tape measure to mark your primary plant spacing, keeping every point perfectly level.
The Shingle-Row Spacing Sheet
To skip the complex math on planting day, grab my printable offset-spacing chart for your clipboard. I rely on this exact reference guide during every weekend install because it provides pre-calculated measurements and a foolproof top-down sequence for flawless shingle-pattern rows.
Following this top-down installation sequence guarantees you will never accidentally crush a delicate new perennial while reaching for the next planting hole.
Marking the Planting Holes
Translating the spacing chart to the physical ground requires a methodical approach so the geometry stays tight. Using bright survey flags helps you visualize the final staggered drifts before you slice a single hole in the protective erosion control blanket.
- Locate the top horizontal row and plant a flag at every primary spacing interval.
- Measure down by the calculated 0.87x vertical drop distance to find the second row.
- Shift the starting point horizontally by half the primary spacing to create the offset.
- Plant the second row of flags, forming perfect equilateral triangles with the first row.
Selecting Deep-Rooted Plants
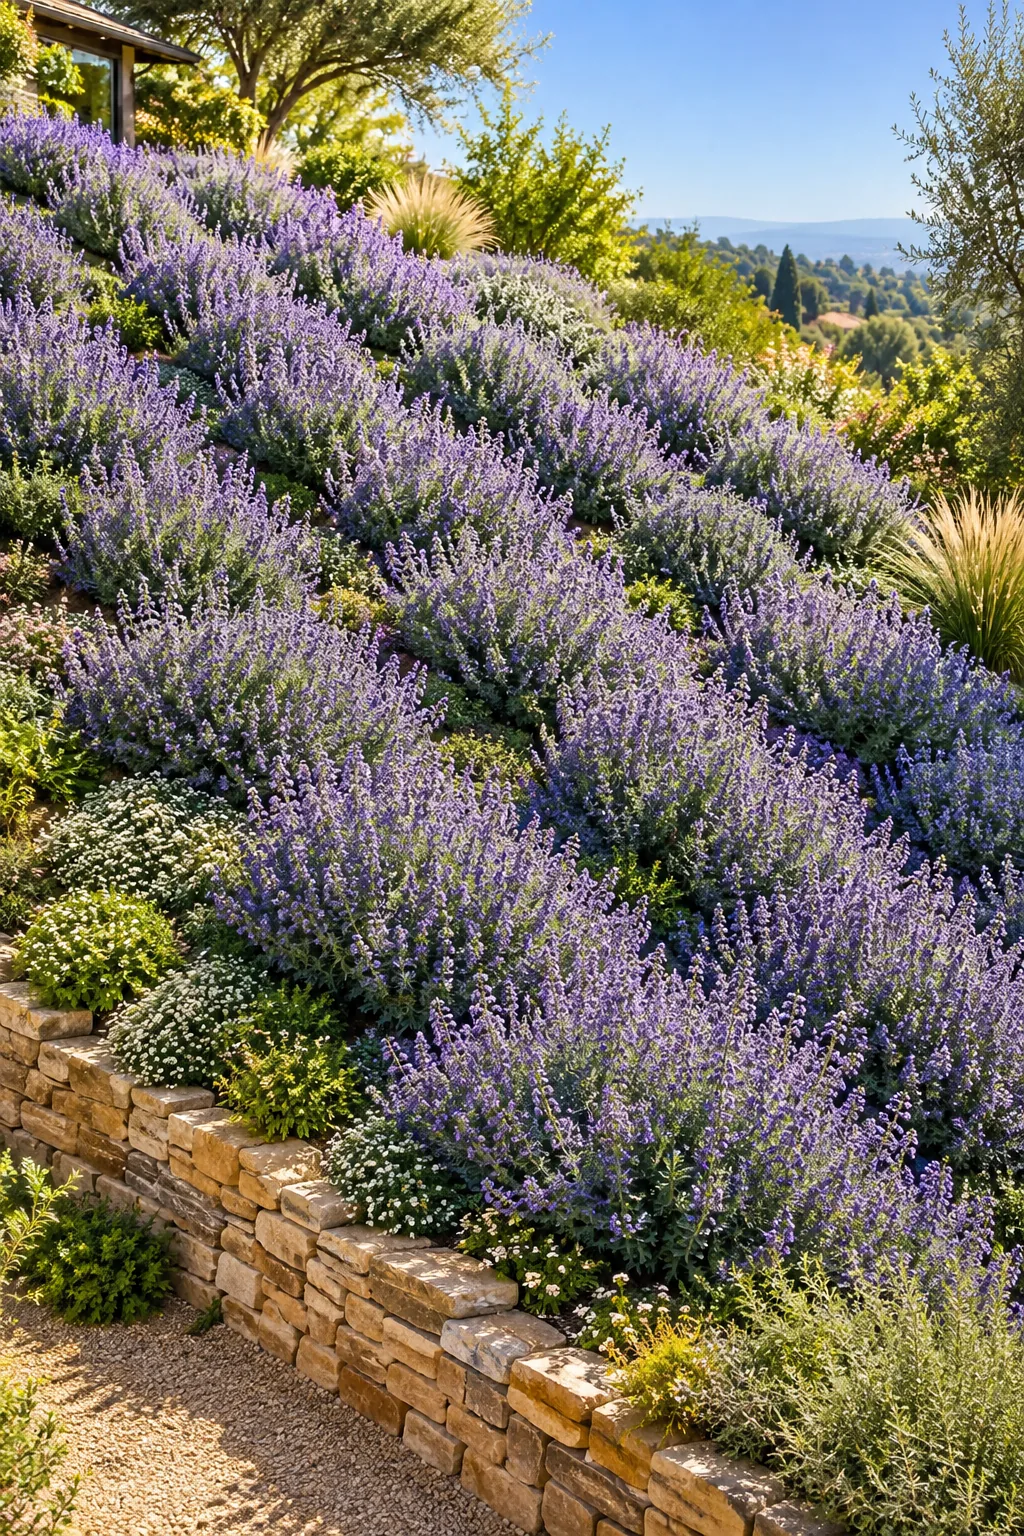
The long-term stability of the bank relies entirely on fibrous root systems knitting the soil together beneath the surface. Choose catmint or creeping thyme, and prepare to build a crescent-shaped downhill berm to catch irrigation water for each fresh plug.
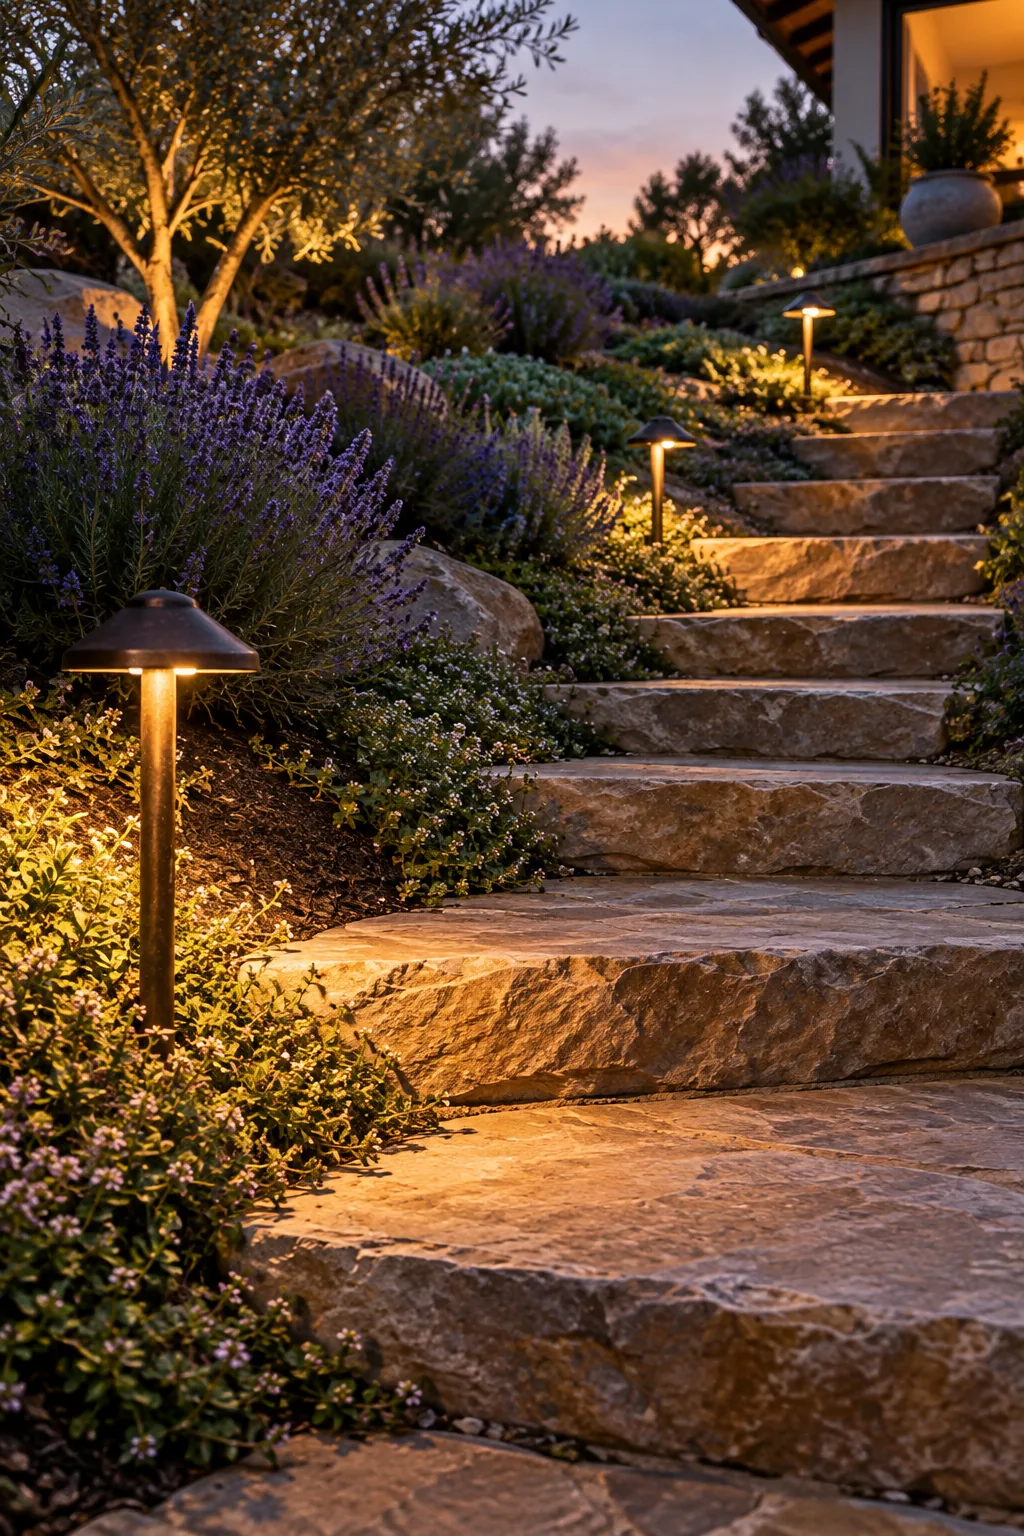
These aggressive root networks act like a living rebar system beneath the surface, locking the amended topsoil to the slope permanently.
Shaping the Watering Berms
New perennials on a slant often die of thirst because summer rainfall runs off before soaking into the rootball. You must berm a downhill smile out of soil on the lower side of every plant to hold a small, life-saving pool of water.
Mulching the Finished Slope
A thick layer of natural wood mulch suppresses aggressive weeds and regulates soil temperature during scorching afternoon heat. Spread the mulch evenly over the coir netting, taking care not to bury the delicate crowns of your newly installed lavender and thyme.
Watering the Fresh Plugs
Hand-watering newly installed perennials on a steep grade requires patience and a gentle shower setting on your hose wand. Fill each crescent-shaped soil basin slowly, allowing the water to drain completely into the root zone before moving to the next plant.
Burying the Lighting Cable
Running low-voltage wire across a planted bank is much easier before the groundcovers spread and hide the terrain. Dig a shallow trench along the edge of your flagstone steps, leaving a small loop of slack wire at each planned fixture location.
Adding Pathway Lighting
Hillside steps cast deep shadows at night, making them difficult and dangerous to navigate after dinner. Stagger low-voltage path lights along alternating sides of the staircase, placing fixtures about 12 inches away from the step edge for optimal, glare-free light spread.
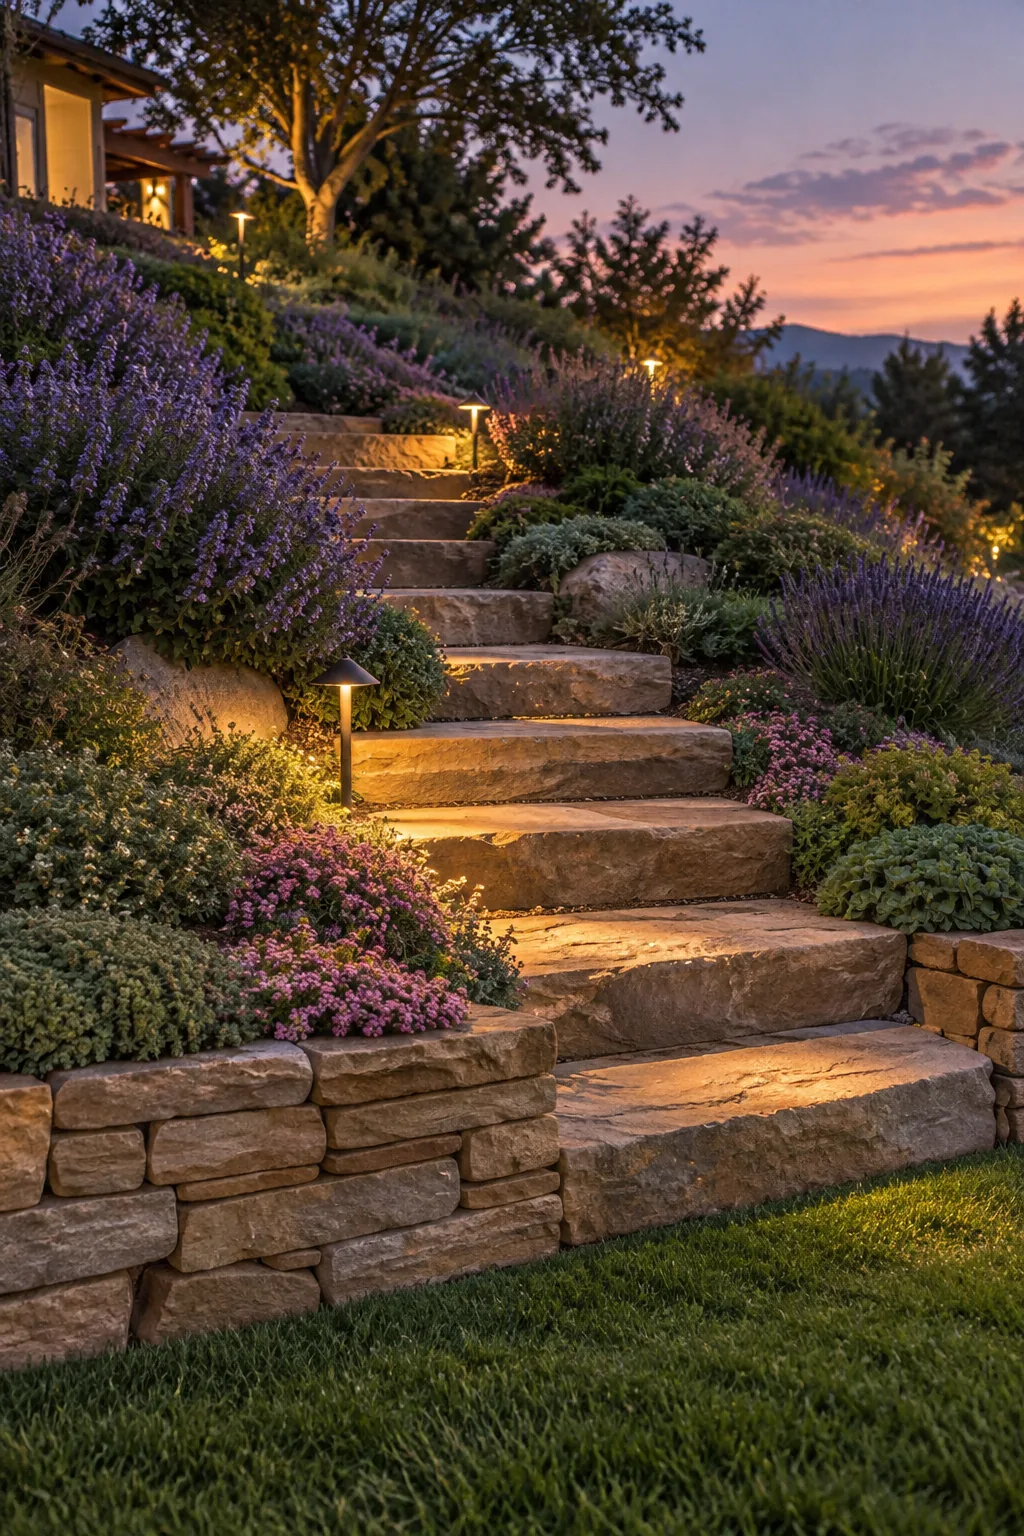
Keeping the fixtures close to the ground reveals the natural cleft texture of the stone without shining harsh glare into your eyes.
5 Ways to Style a Planted Hillside
Find the perfect plant palette and hardscape materials to match your home's architecture.
Desert Modern Steel: Corten steel edging provides sharp architectural lines that contrast beautifully with the sculptural shapes of agave and barrel cactus.

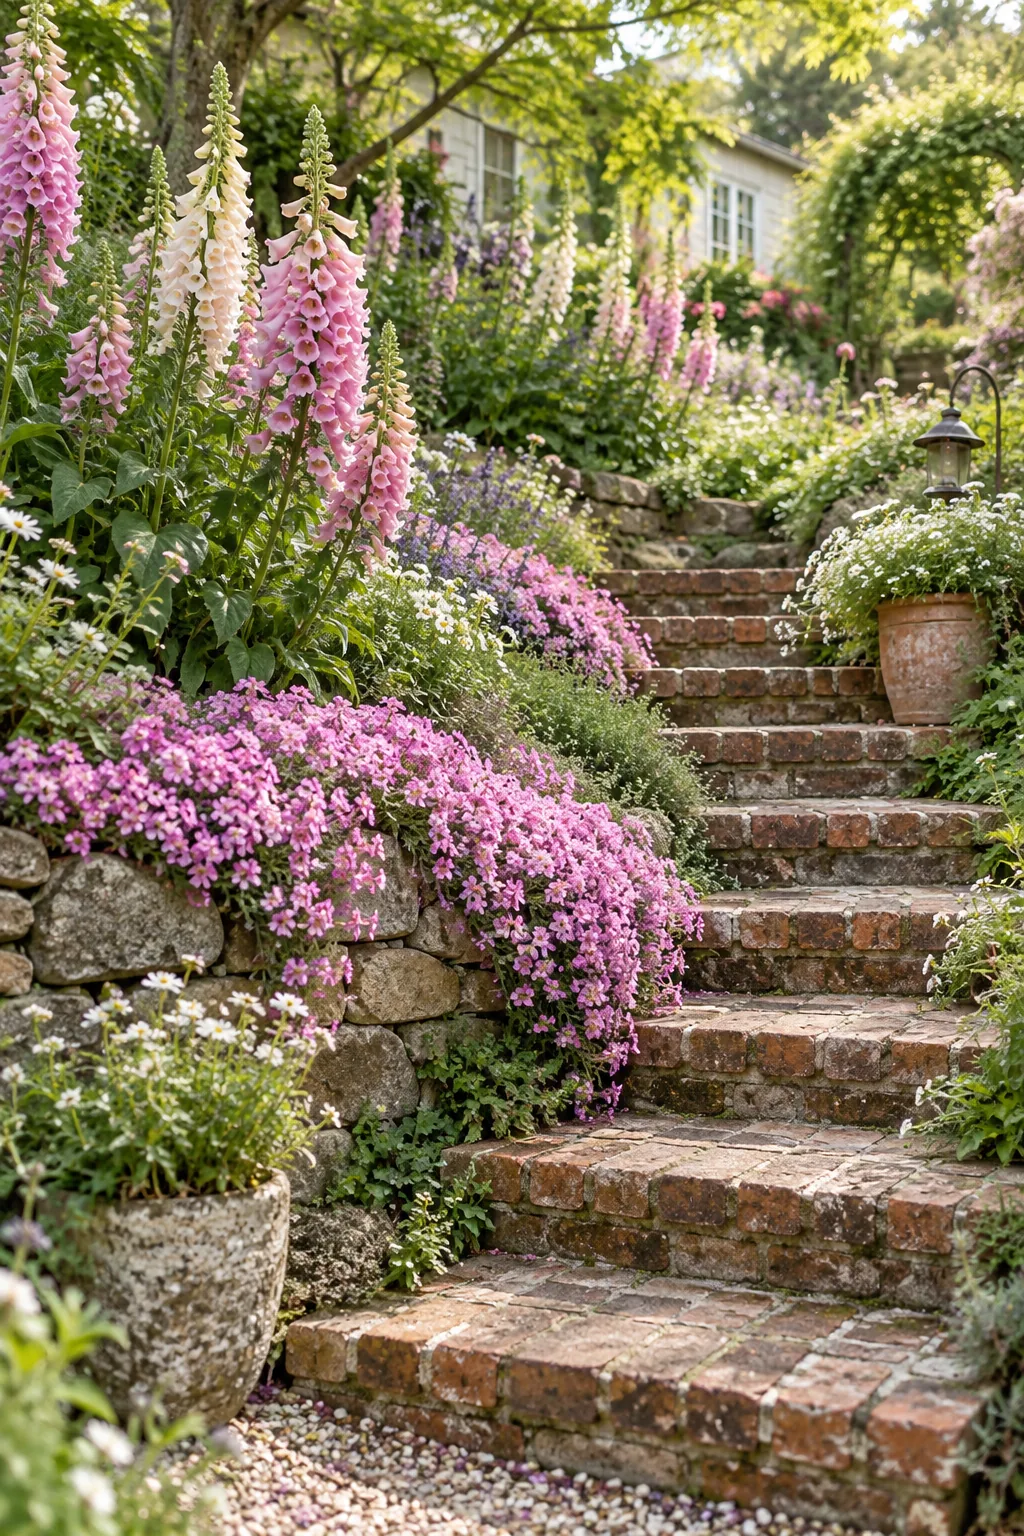
Romantic Cottage Garden: Weathered brick steps feel instantly historic when softened by cascading pink creeping phlox and towering pastel foxgloves.
Serene Japanese Zen: Massive granite boulders serve as both retaining walls and natural steps, anchored by the delicate foliage of a Japanese maple.

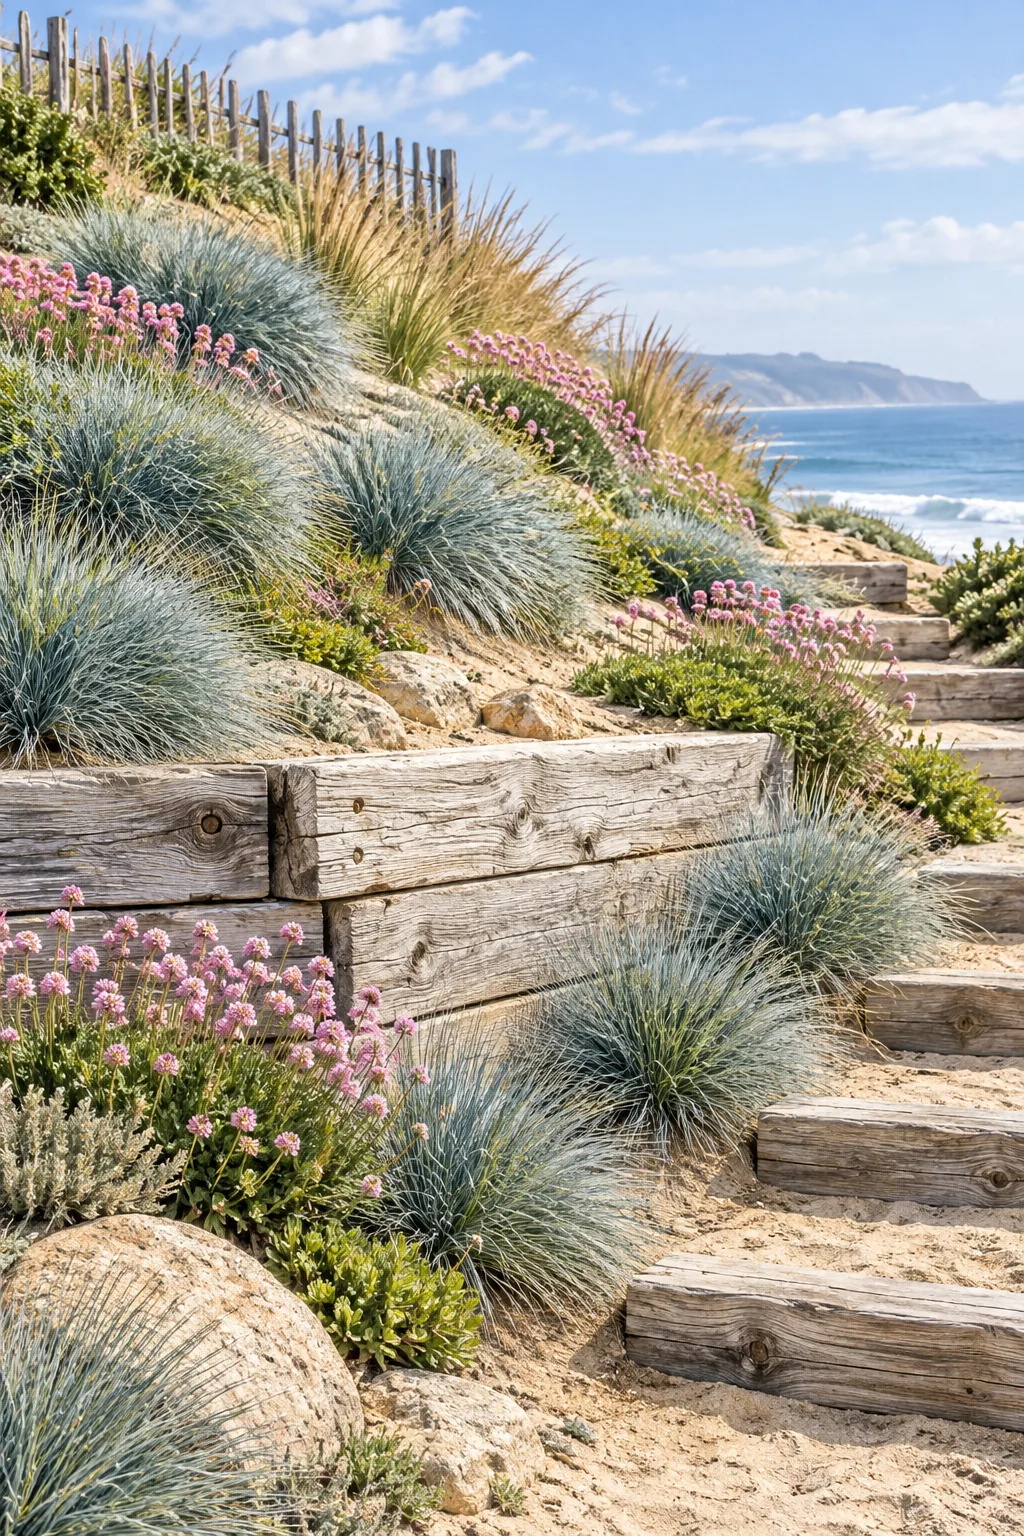
Breezy Coastal Driftwood: Bleached timber retaining walls mimic the look of driftwood, perfectly complementing the silvery tones of blue fescue grass.
Vibrant Tropical Lush: Porous black lava rock provides excellent drainage for a steep bank while making the vibrant reds of tropical bromeliads pop.