
Front Yard Landscaping: The Designer Layering & Spacing Guide
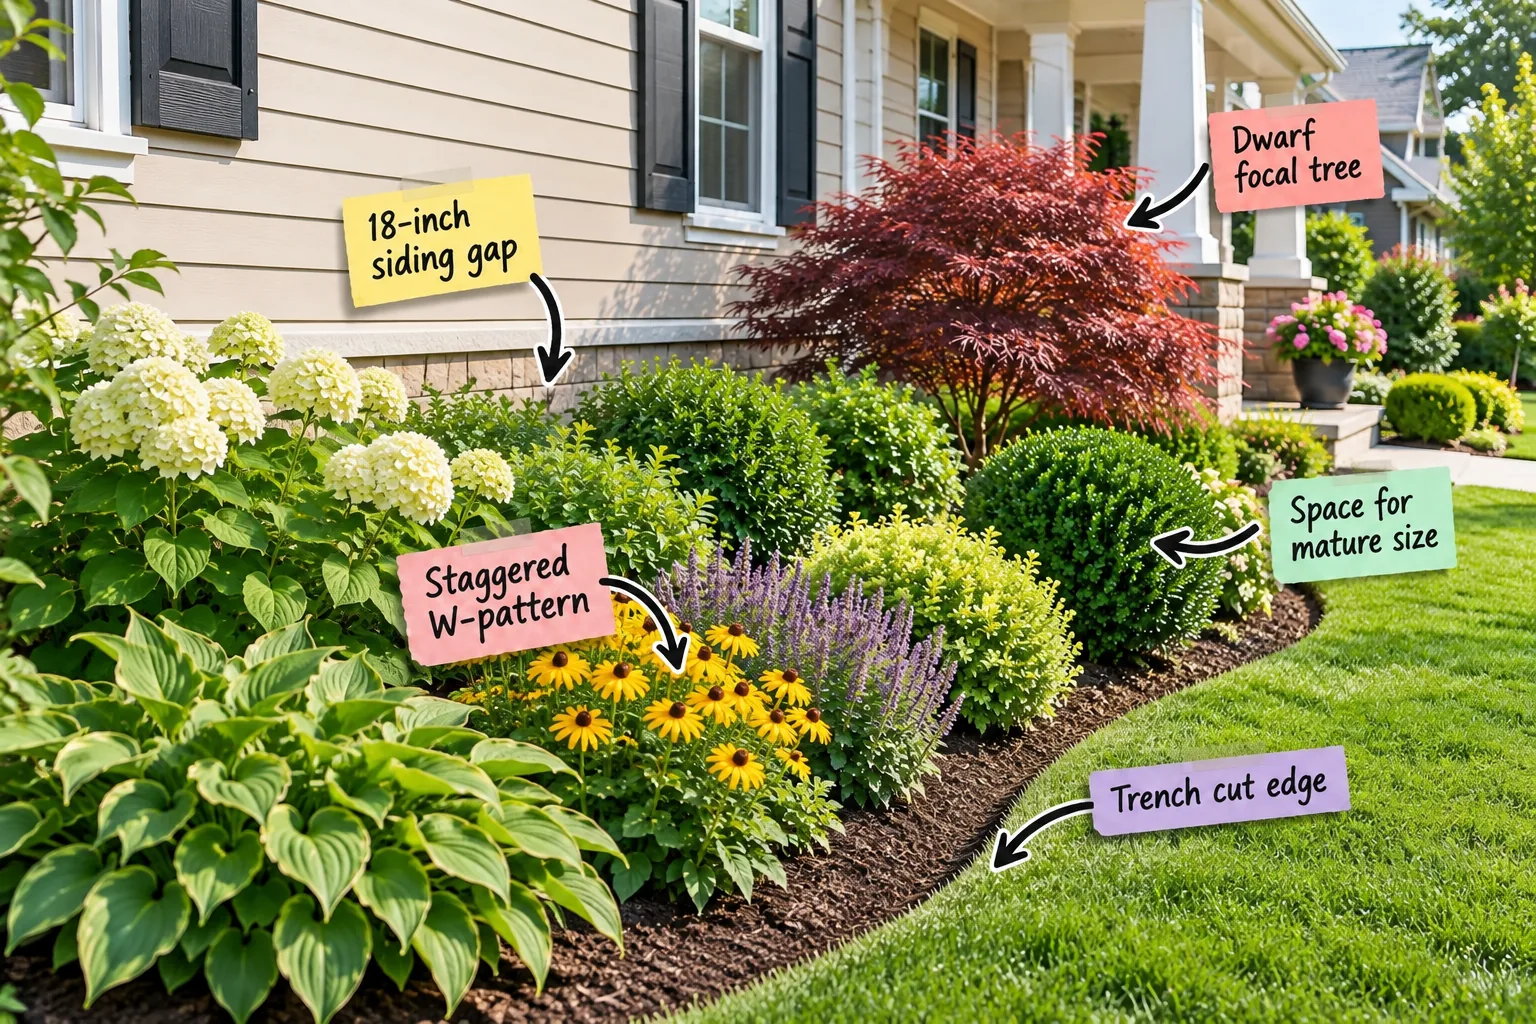
You can measure, arrange, and plant a perfectly layered front foundation bed using this complete Front Yard Layering & Spacing Guide. Master these exact professional spacing rules to transform your home’s curb appeal with a healthy, welcoming landscape.
Start at the Foundation With an 18-Inch Gap
Leave exactly 18 inches of empty space between your home’s siding and the back of your mature shrub canopy. When I planted my first Austin garden without this crucial gap, trapped moisture ruined two painted siding panels in just one season.
This mandatory 18-inch siding gap ensures proper airflow to prevent mold and mildew from destroying your exterior. It also provides comfortable walking room behind the plants, allowing you to easily access your exterior walls for routine painting or window cleaning.
Assess Your Daily Sunlight Exposure
Track how many hours of direct sun your foundation bed receives before buying any plants. A north-facing yard requires shade-tolerant varieties, while a south-facing exposure demands resilient shrubs that can withstand intense afternoon heat baking against the brick.
Check Soil Drainage Before Planting
Dig a hole twelve inches deep and fill it with water to test your soil drainage. If the water has not completely drained after four hours, you must amend your native soil with organic compost to prevent root rot.
Anchor Corners With Space for Mature Size
Research the 10-year mature width of your corner structural shrubs before putting a shovel in the ground. Foundation beds often look terrible by year three because homeowners severely underestimate how quickly small nursery shrubs expand into their permanent footprint.
Space Structural Shrubs for Airflow
Calculate the distance between adjacent shrubs by adding their mature radiuses together. If one shrub grows four feet wide and the next grows six feet wide, plant their centers exactly five feet apart to ensure proper air circulation.
Frame Windows Without Blocking Natural Light
Measure the distance from the ground to your lowest window sill to determine your maximum shrub height. Select compact evergreen varieties that will naturally stop growing at least six inches below the glass to preserve your interior natural light.
| Window Height | Maximum Plant Height | Recommended Shrub Type |
|---|---|---|
| 24 inches or less | 18 inches | Dwarf Boxwood, Creeping Juniper |
| 36 inches | 30 inches | Compact Holly, Low Hydrangea |
| 48 inches or more | 42 inches | Upright Yew, Medium Viburnum |
Layering the Background With Medium Shrubs
Connect your heavy corner anchors by planting a row of medium-sized shrubs along the back of the bed. Keep these background plants visually subdued with solid green foliage, allowing your colorful middle perennials to stand out against a dark canvas.
Position a Dwarf Focal Tree for Height
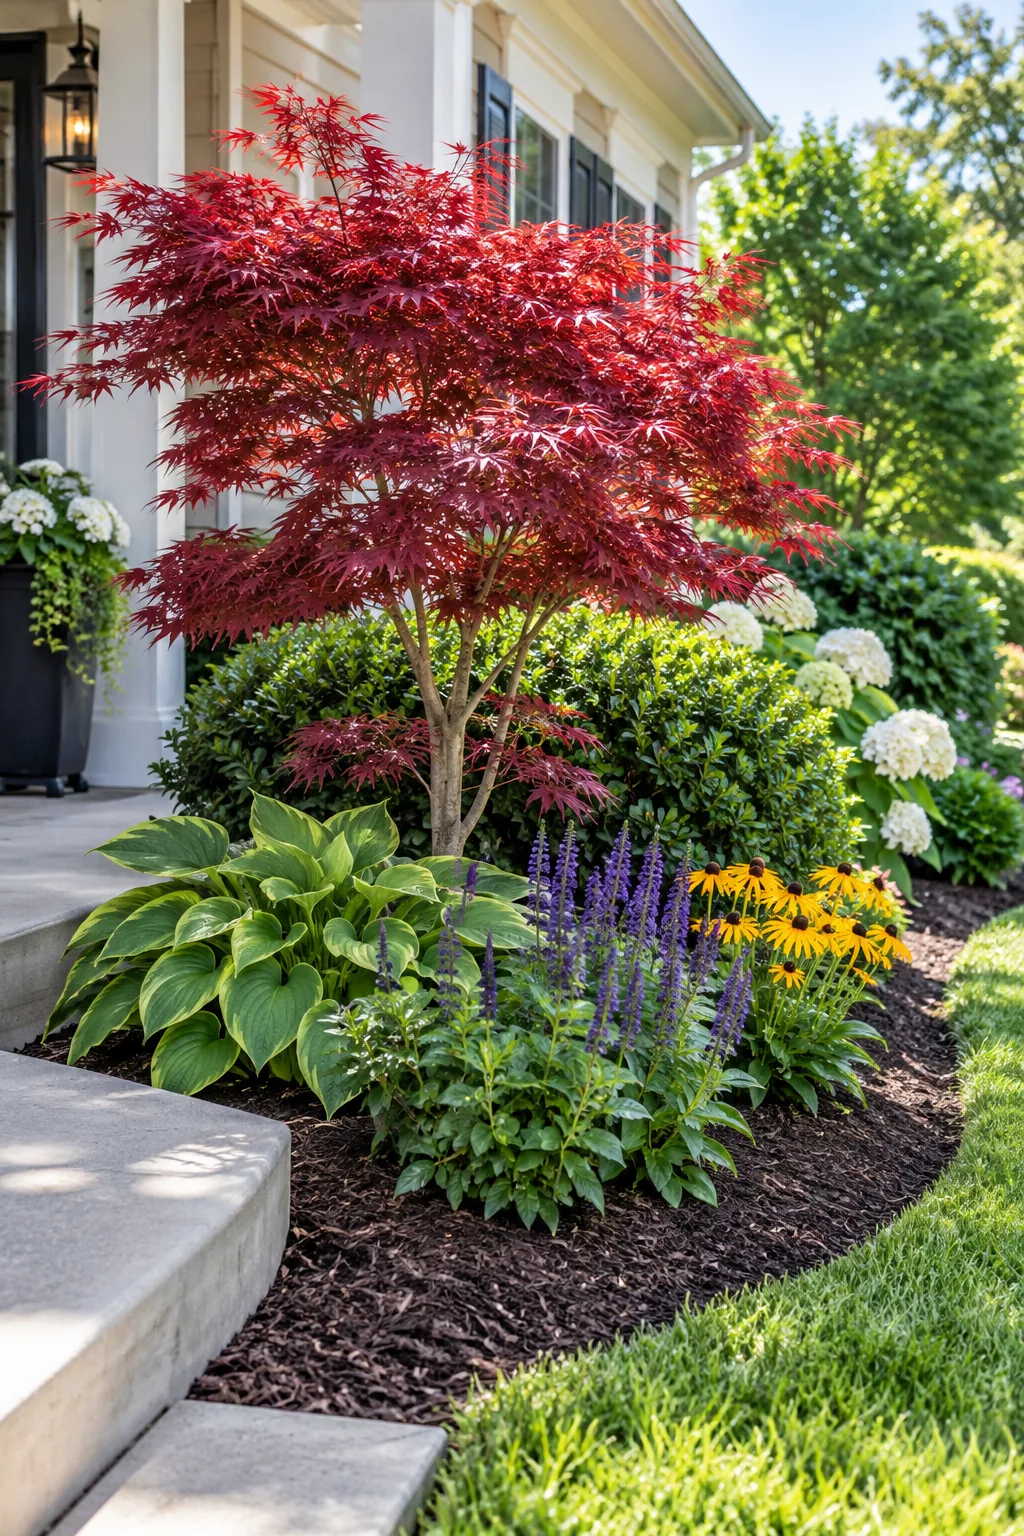
Add vertical interest by planting a small ornamental tree, like a Japanese maple, near the entryway. Keep the trunk at least 6 to 8 feet away from the foundation to protect your home’s structural integrity from aggressive roots.
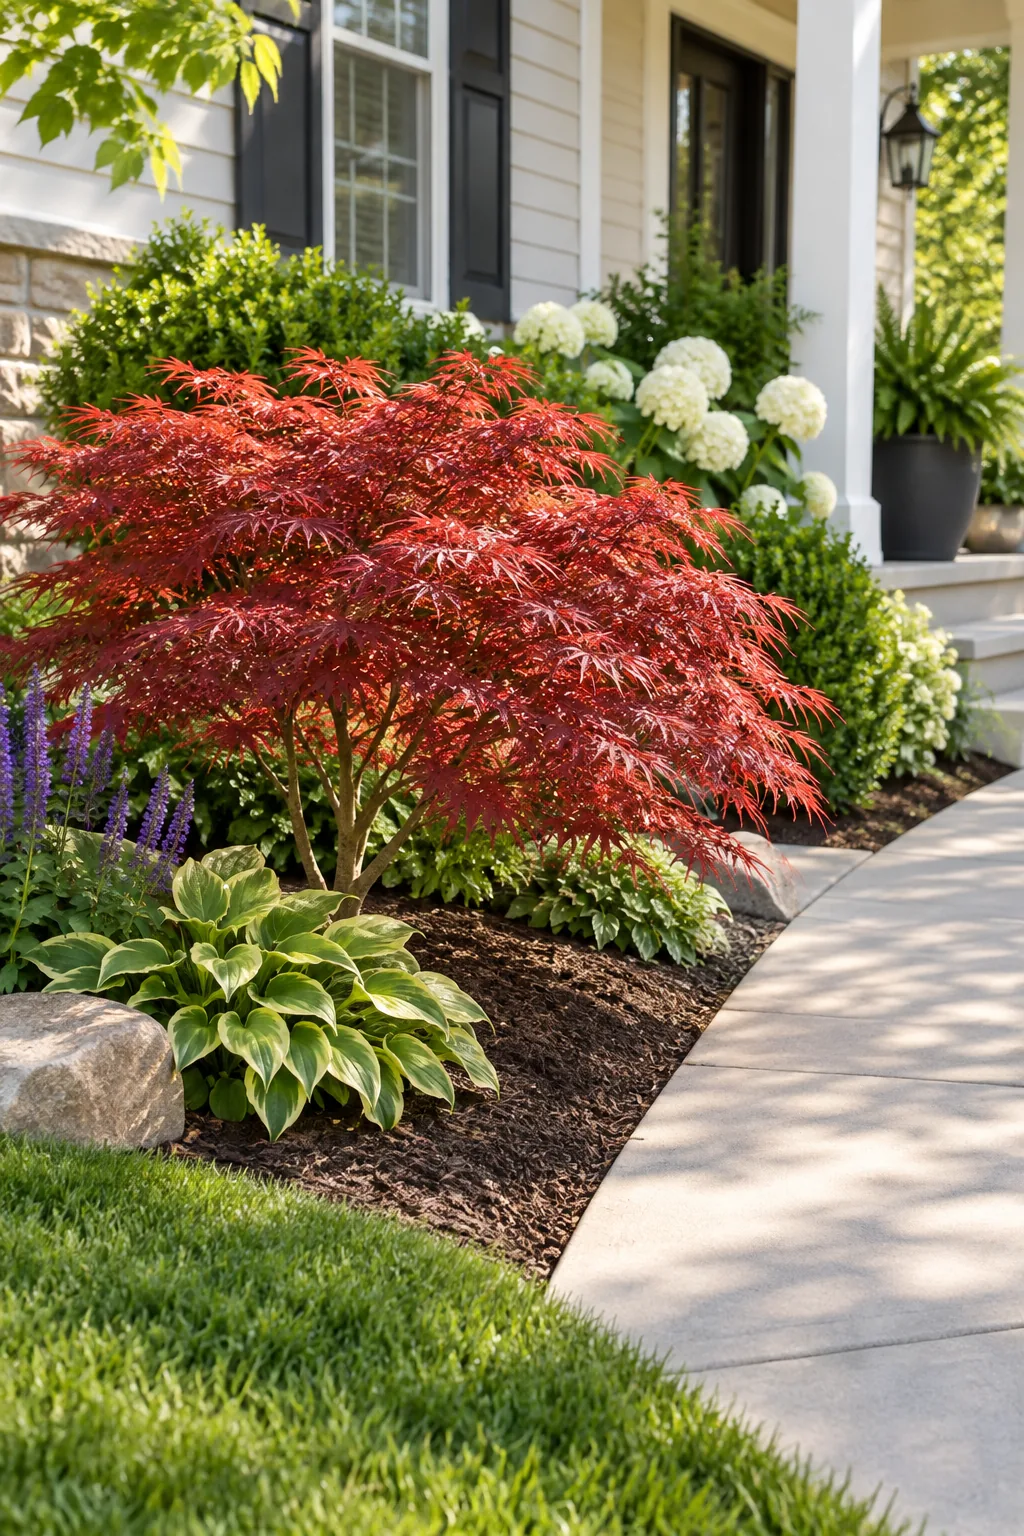
This asymmetrical dwarf focal tree draws the eye toward your front door without overwhelming the architecture. Ensure its mature canopy size will not eventually scrape against your gutters or severely crowd the front concrete walkway.
Keep Tree Roots Away From Utilities
Call your local utility marking service before digging the large hole required for your focal tree. Underground water lines and internet cables often run directly through the ideal planting zone, dictating exactly where your tree can safely live.
Plant the Middle Layer in a Staggered W-Pattern
Avoid sparse, gappy beds by planting your middle layer of perennials in a staggered W-pattern. Spacing plants like salvia and black-eyed susans 12 to 15 inches apart on center creates a dense, continuous block of vibrant color.
- Place your first row of perennials in a straight line, spacing them evenly according to their tags.
- Start the second row directly behind the first, shifting the plants to sit centered between the front gaps.
- Adjust the exact spacing measurements based on the mature spread listed on your specific plant tags.
Group Perennials by Watering Needs
Create efficient hydro-zones by grouping middle-layer plants that share identical moisture requirements. Placing drought-tolerant lavender next to thirsty astilbe guarantees that one plant will eventually die from either severe dehydration or excessive waterlogging.
Mix Perennial Textures for Visual Depth
Alternate broad, flat leaves with fine, spiky foliage within your staggered perennial layer. Contrasting textures make the front yard look professionally designed and maintain visual interest even when the vibrant flowers are not currently in active bloom.
Incorporate Seasonal Bulbs for Early Spring Color
Tuck daffodil and tulip bulbs into the empty gaps between your dormant perennials during the fall. These early bloomers provide critical spring color and naturally fade away just as your summer perennials grow large enough to hide their dying foliage.
Soften the Front Border With Low Foliage
Transition smoothly to the lawn by placing low-mounding plants like hostas at the very front of the bed. This creates a lush, layered look that perfectly hides the bare, woody lower stems of your taller middle perennials.
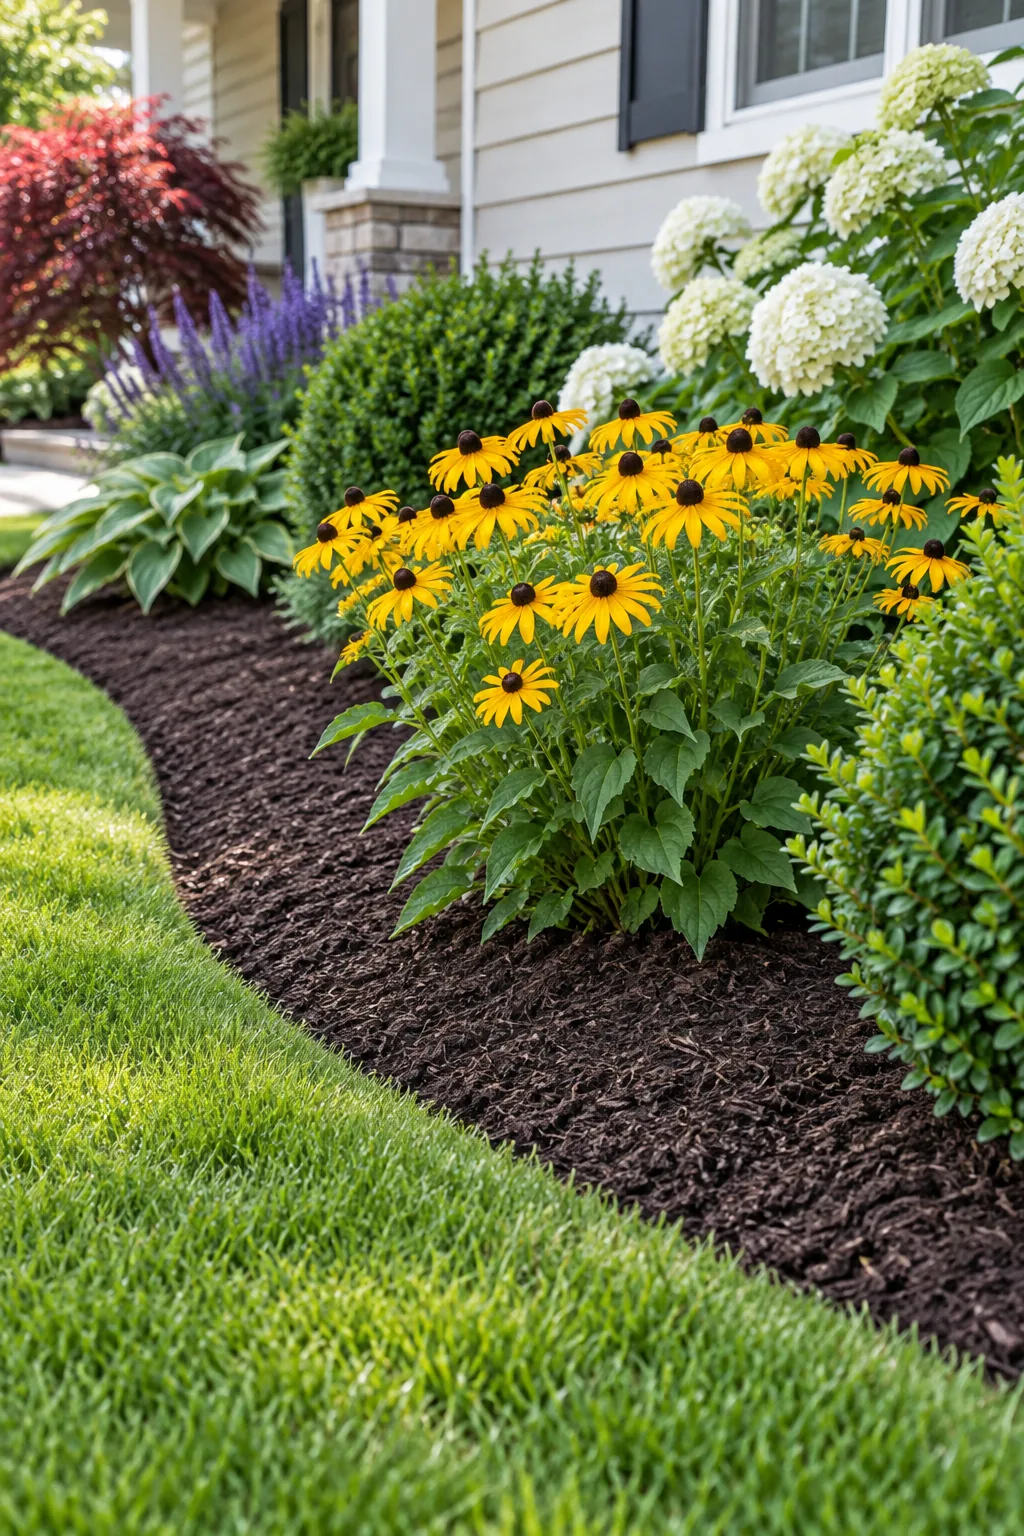
Keep the centers of these low border plants at least 10 inches back from the grass line. This critical spacing ensures their delicate outer leaves will not be shredded by the lawnmower wheels during weekly summer maintenance.
Choose Low-Maintenance Border Plants
Select durable, spreading groundcovers for the front edge that require zero deadheading or pruning. Varieties like creeping thyme or sweet woodruff naturally suppress aggressive weeds while gracefully spilling over the trench edge to soften the harsh boundary.
Define the Boundary With a Trench Cut Edge
Skip the plastic edging and dig a 3-inch deep V-trench between the bed and the lawn. I switched to this traditional method last spring, and it completely stopped my Bermuda grass runners from invading the fresh mulch.
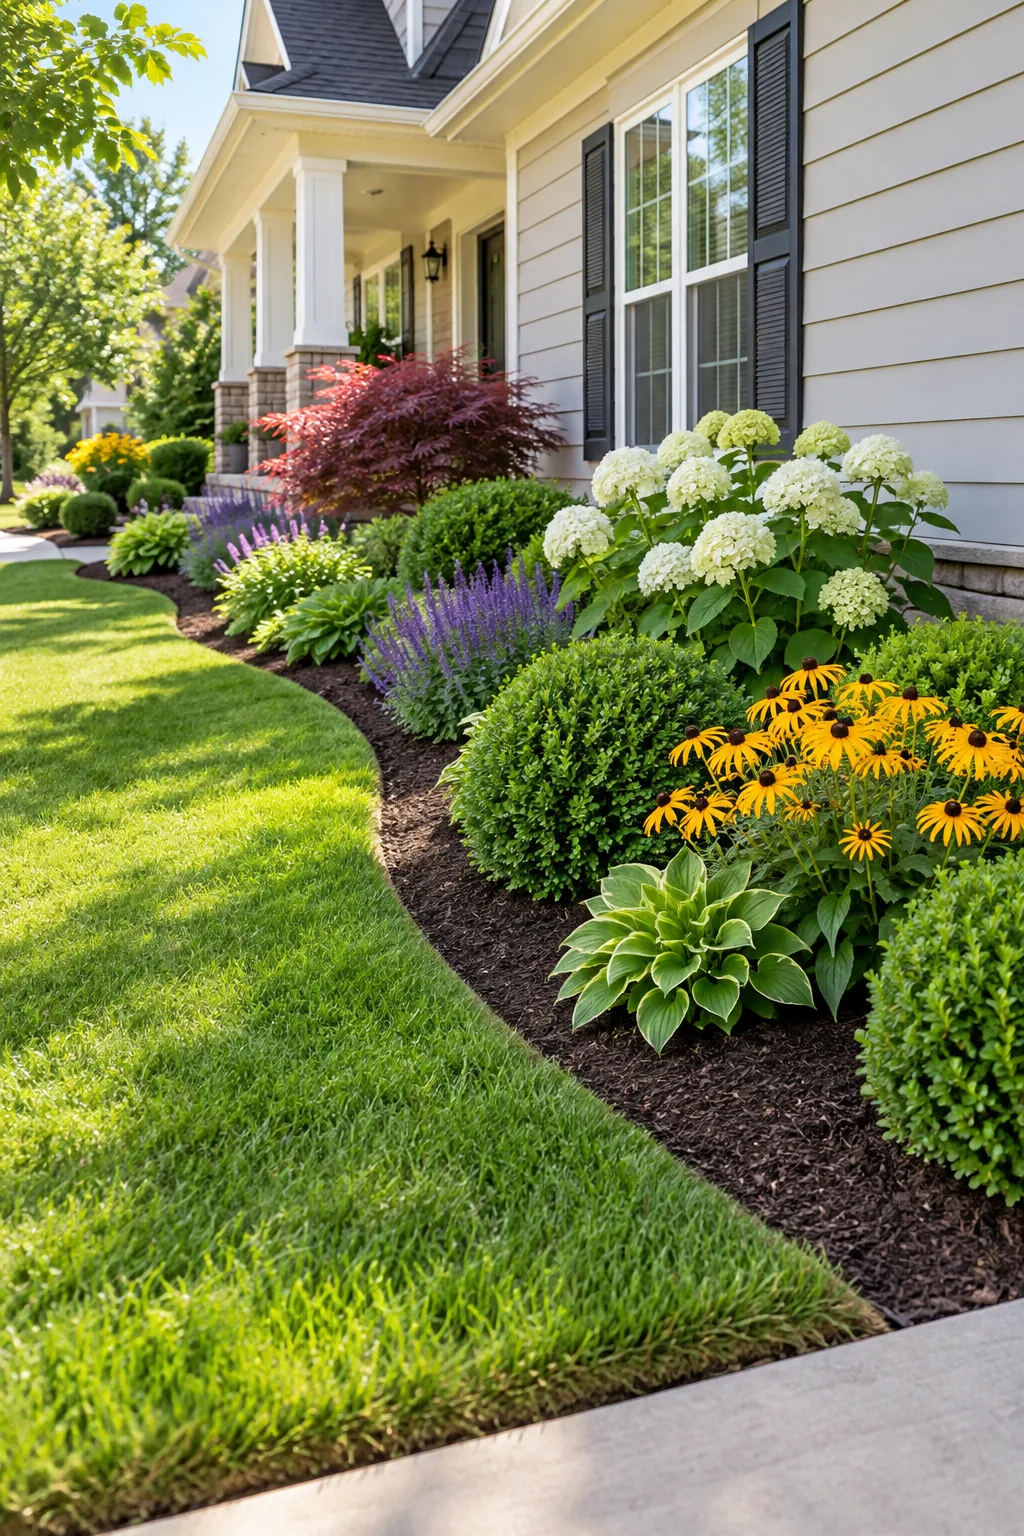
A natural trench cut edge looks much more high-end than plastic or metal borders. It effectively stops turf grass runners from creeping into your beds, but it does require a quick maintenance routine to stay sharp.
Maintain the Trench Edge Annually
Walk the perimeter of your foundation bed after heavy rainstorms to check for collapsed trench walls. Scoop out any washed-in soil or degraded mulch with a hand trowel to preserve the vital three-inch depth that blocks grass roots.
Install Drip Irrigation Before Mulching
Lay half-inch drip irrigation tubing throughout the bed, weaving it around the base of every plant. Installing this efficient watering system before adding mulch hides the ugly black plastic lines while delivering moisture directly to the root zones.
Apply Hardwood Mulch to Retain Moisture
Spread a 2 to 3-inch layer of natural shredded hardwood mulch across the exposed soil to suppress weeds. Keep the mulch pulled back at least 2 inches from the base of every single plant to prevent deadly stem rot.
Refresh Hardwood Mulch Each Spring
Top-dress your foundation bed with a thin, one-inch layer of fresh mulch at the start of every growing season. Never let the total mulch depth exceed three inches, as excessively deep piles will suffocate shallow perennial roots.
Front Yard Landscaping Styles
Once you master the spacing rules, you can adapt this layered method to fit any architectural style.
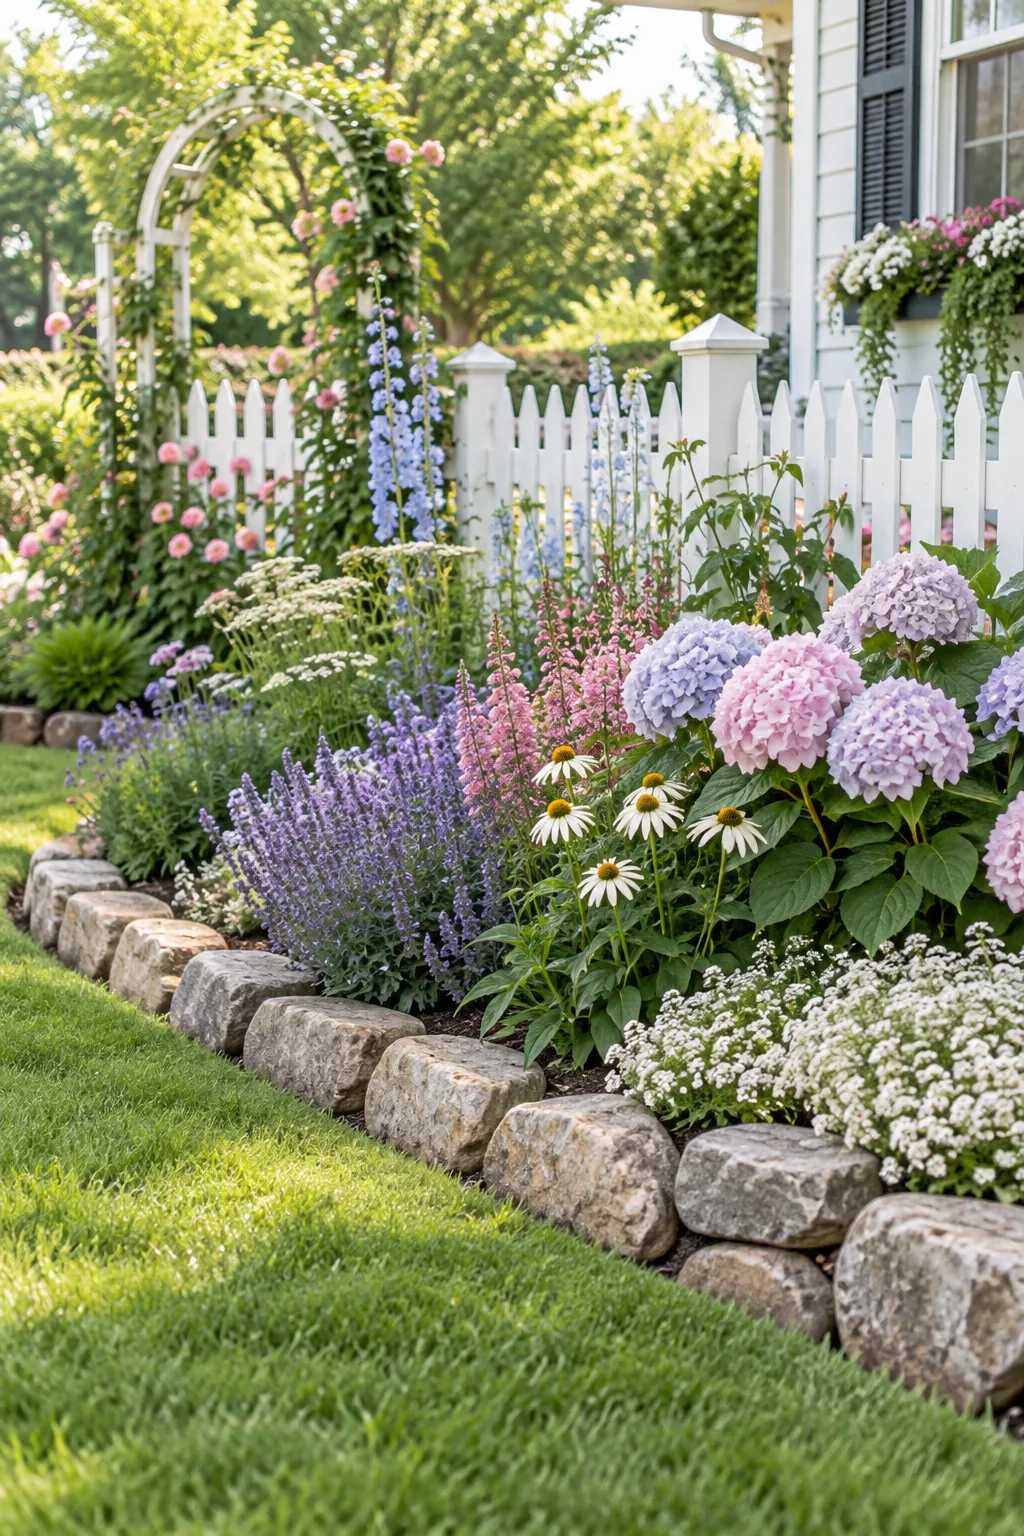
Cottage Garden Style: Embrace a relaxed cottage feel with pastel blooms and a loose planting structure that spills naturally over a rustic stone border.
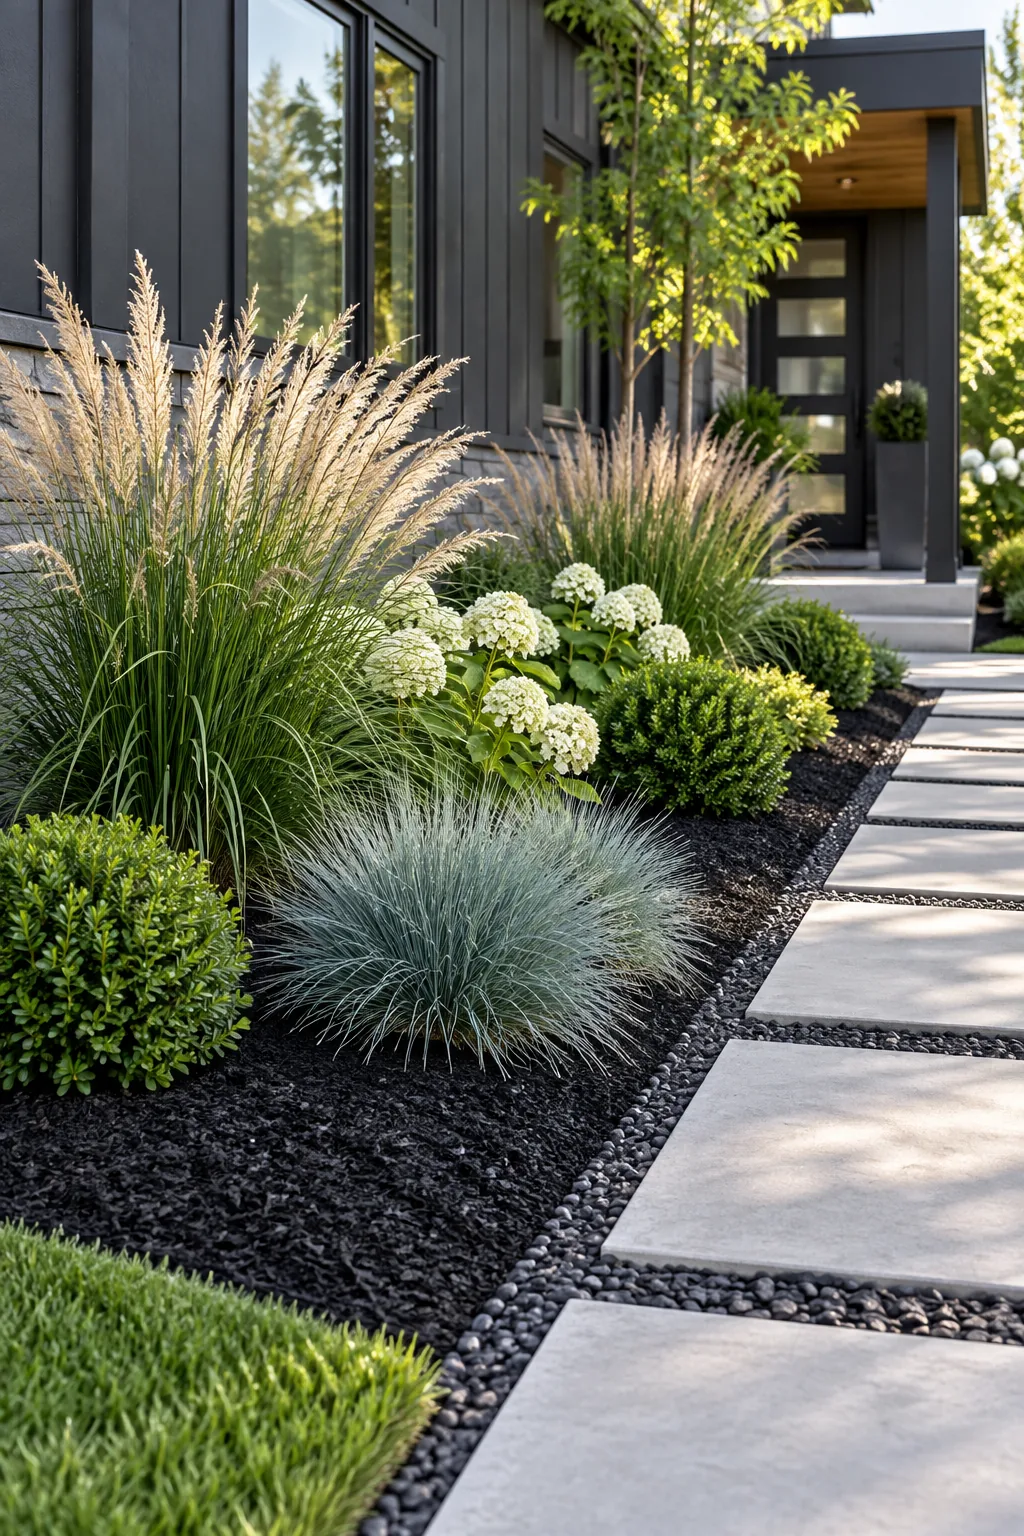
Modern Minimalist: Achieve a modern minimalist aesthetic by pairing architectural ornamental grasses with stark black mulch against a dark charcoal exterior.
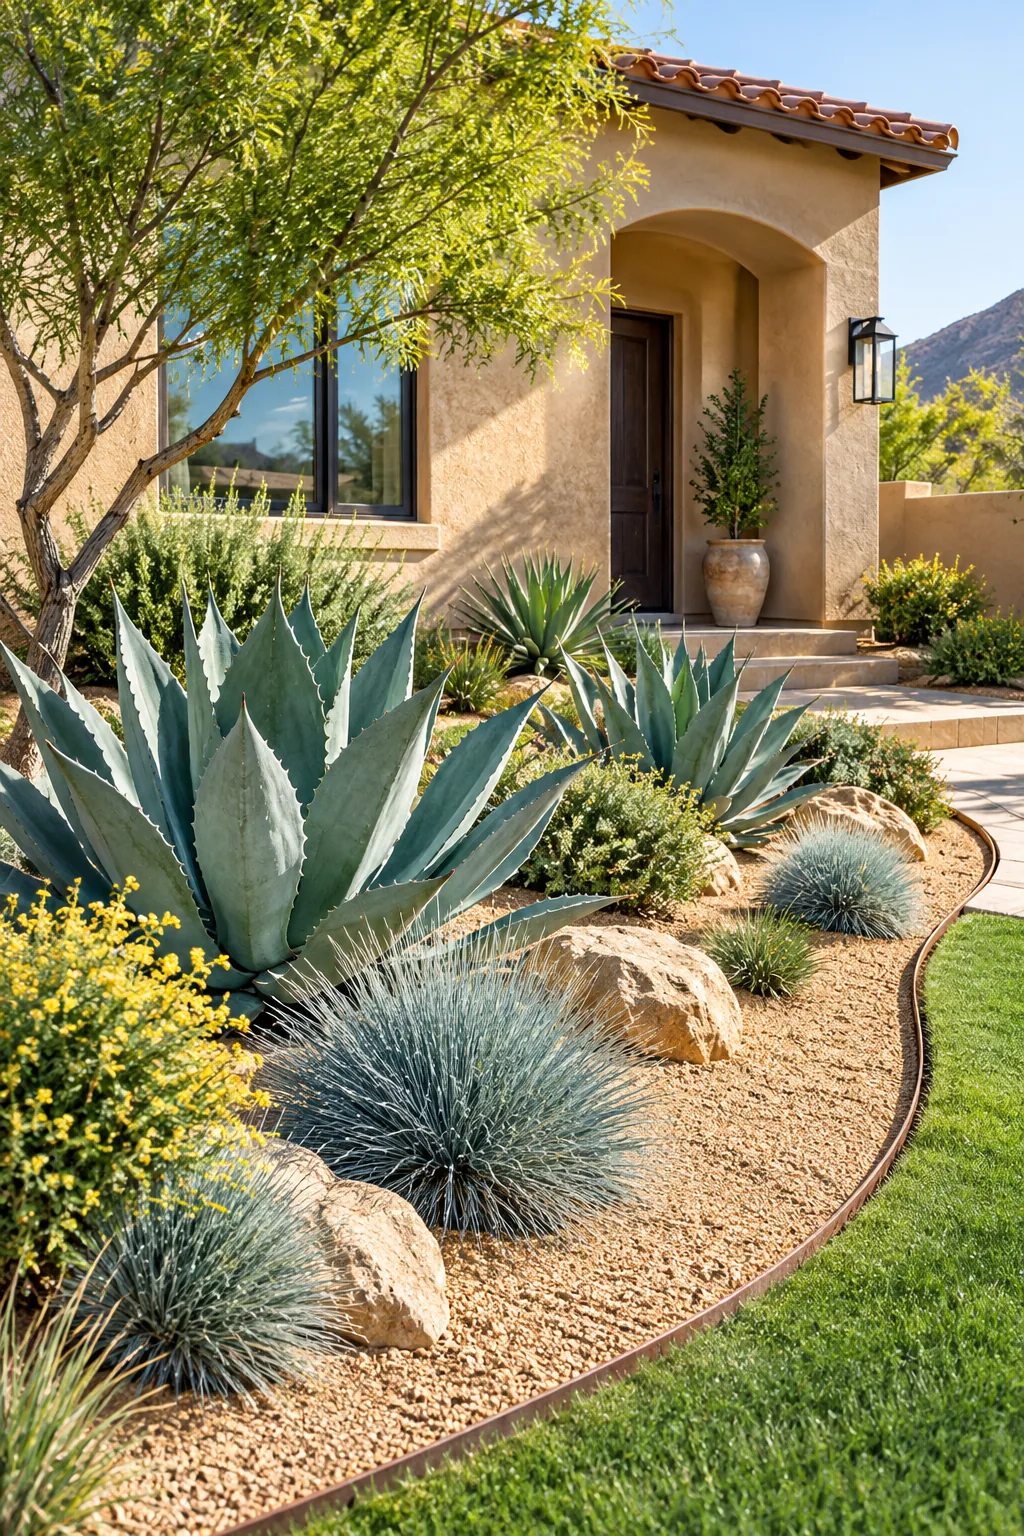
Drought-Tolerant Desert: Create a drought-tolerant desert landscape using sculptural agave and blue fescue planted in decomposed granite instead of traditional wood mulch.
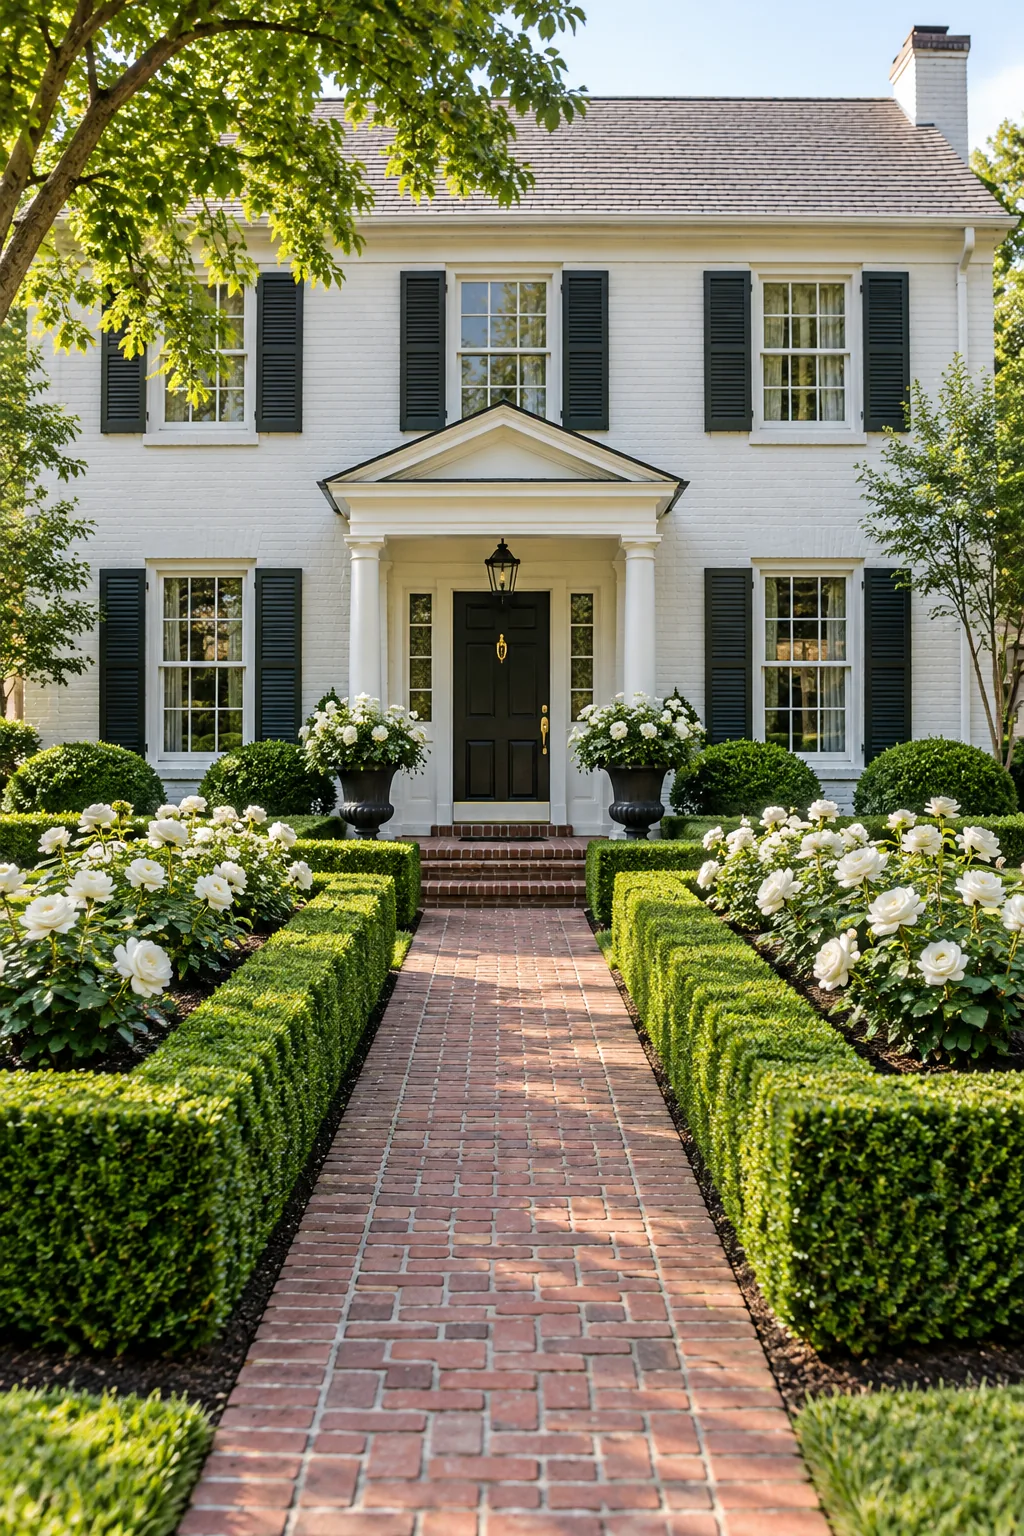
Classic Formal: Build a classic formal entrance using tightly clipped symmetrical boxwood hedges and identical white rose bushes along a brick pathway.
The Complete Layering & Spacing Guide
Bringing all these measurements together guarantees a healthy, overgrown-free landscape that looks professionally designed. Use this definitive checklist to perfectly space your layered front yard bed before you ever put a shovel in the dirt.
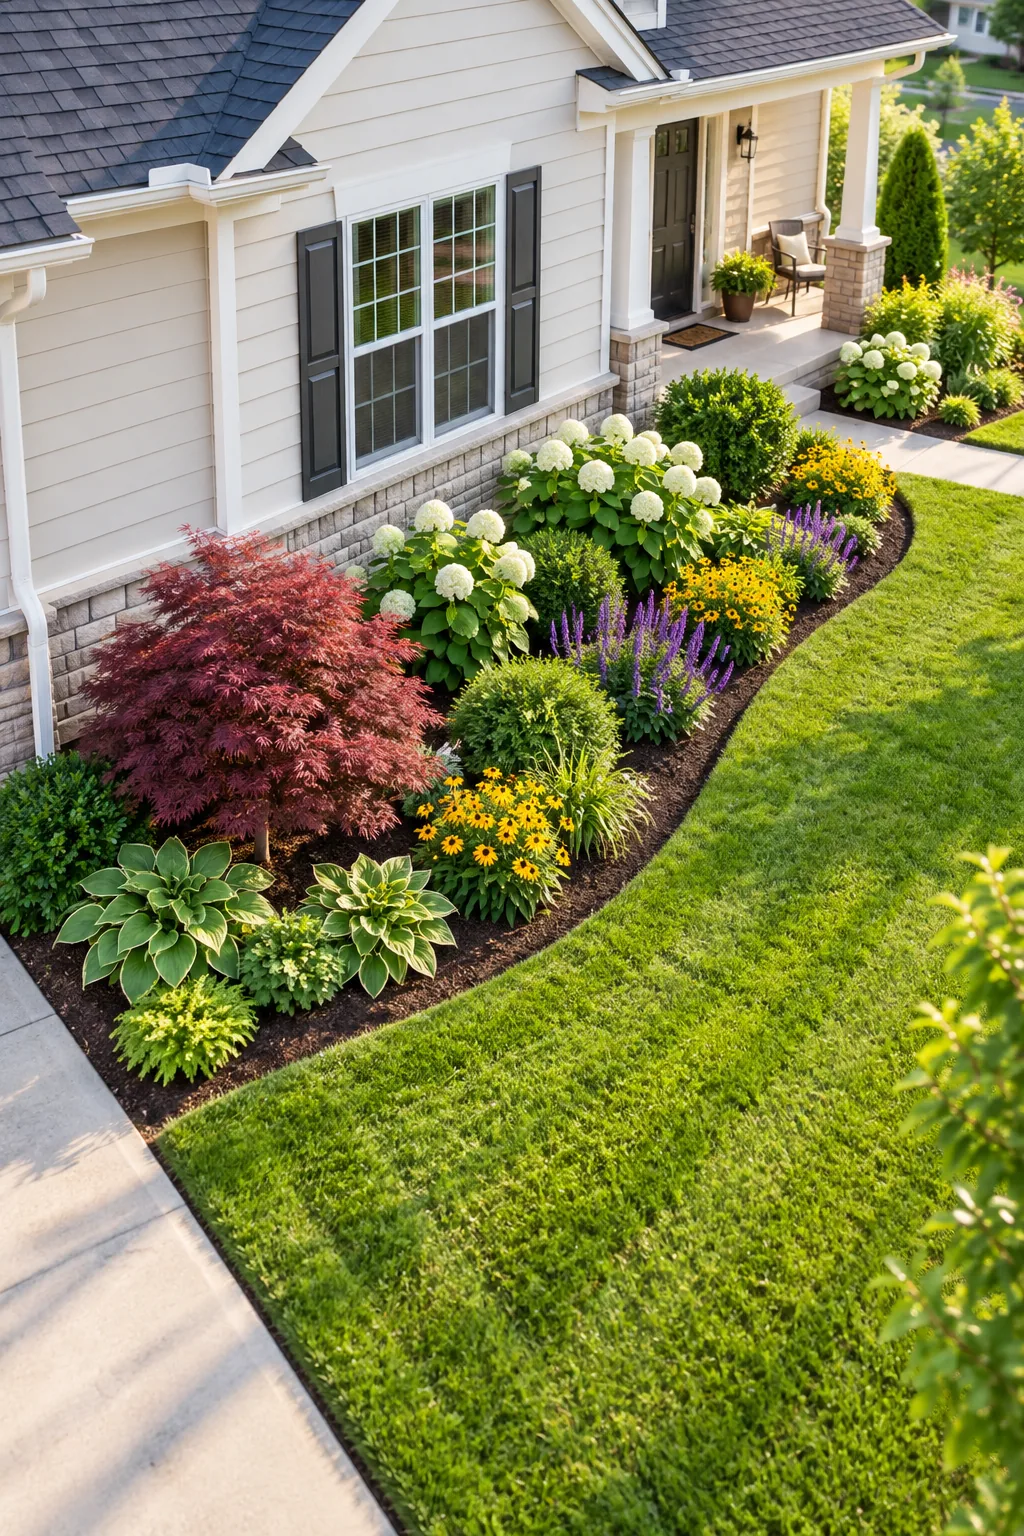
Double-check each zone as you work outward from the house foundation to the front lawn. These specific professional spacing rules ensure your expensive new plants have the physical room they need to thrive for decades.
- Maintain an 18-inch gap from your siding to the mature shrub canopy.
- Plant your focal tree trunk 6 to 8 feet from the foundation.
- Leave 12 to 15 inches between staggered middle-layer perennials.
- Dig a 3-inch deep V-trench at the lawn boundary.