DIY Half Wall Paneling: Hallway Layout & Cut List Guide
Grab our printable hallway board-and-batten worksheet to calculate your exact batten spacing, cut lengths, and material quantities for a gorgeous half-wall paneling upgrade. You will be able to print your custom cut list and material shopping list before making a single cut.
Setting the Perfect Rail Height
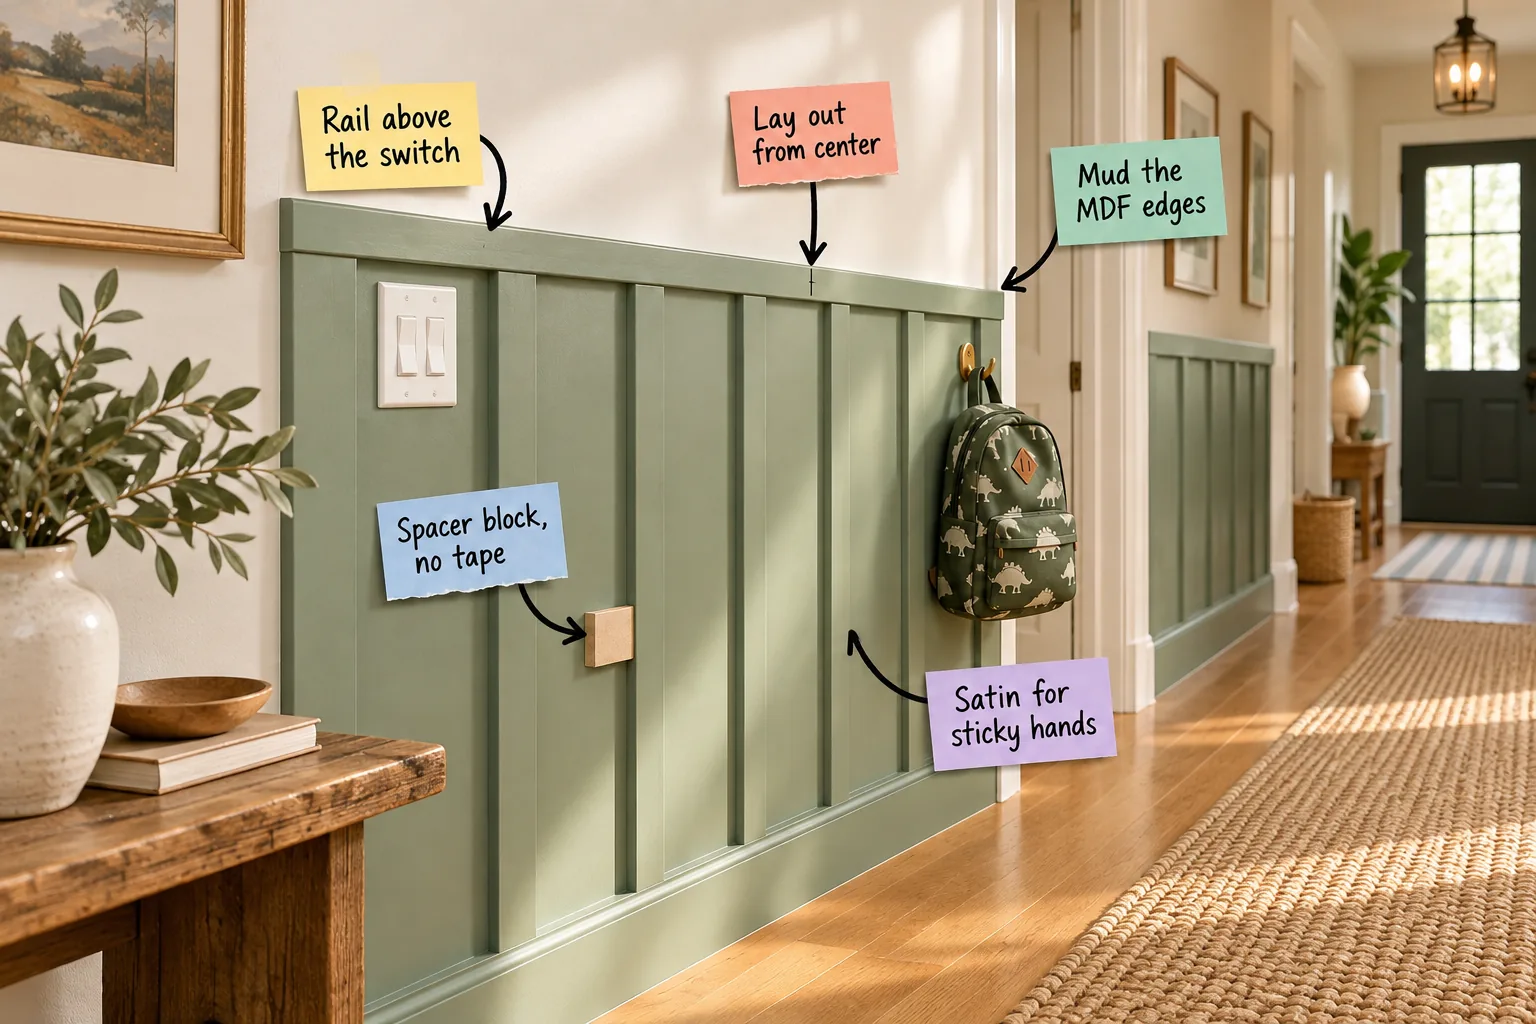
To avoid complicated notching around electrical boxes, plan to install your flat top rail directly above the highest switch plate in the hallway. Setting the rail at 48 to 54 inches usually clears these obstacles perfectly while keeping the proportions beautifully balanced.
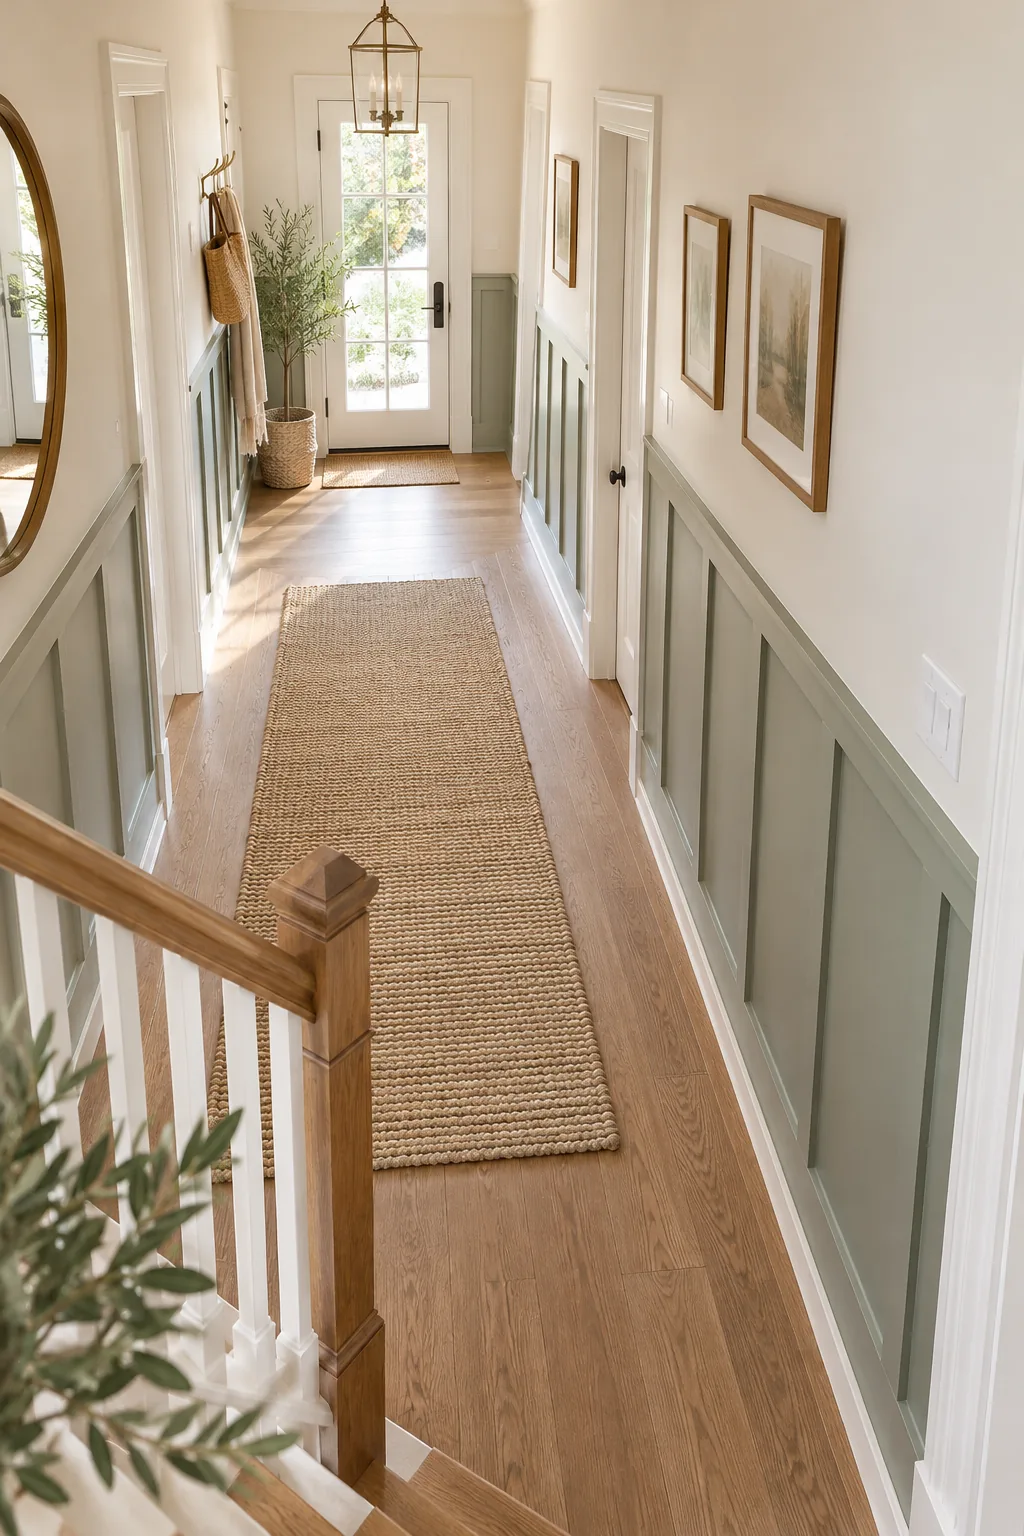
Finding a clean, uninterrupted line above those switches means your horizontal rail sits flat against the drywall without awkward jigsaw cuts. This simple adjustment keeps the top edge looking incredibly professional and saves you hours of frustrating, tedious detail work.
Mapping Your Wall Obstacles
Before finalizing your layout, you need to document every outlet, vent, and switch that might intersect with your planned vertical battens. Creating a simple obstacle map prevents you from accidentally placing a board directly over a crucial electrical junction box.
| Obstacle Type | Standard Height | Adjustment Method | Clearance Needed |
|---|---|---|---|
| Light Switches | 48 inches | Raise top rail above plate | 1 inch above |
| Wall Outlets | 12 inches | Shift batten spacing | 2 inches side |
| HVAC Vents | Baseboard level | Notch bottom batten edge | Flush to grille |
| Thermostats | 60 inches | Keep paneling below unit | 3 inches below |
| Alarm Keypads | 50 inches | Adjust top rail height | 1 inch below |
| Door Frames | 80 inches | Terminate rail at casing | Flush to trim |
Documenting these specific heights ensures you never have to compromise your design halfway through the installation process. You can easily tweak your spacing calculations slightly to bypass these stationary elements without sacrificing the overall symmetry of your beautiful new hallway.
Planning Your Batten Spacing
Starting your layout from the exact center of the wall ensures the final battens at both ends of the hallway will be perfectly symmetrical. I learned this the hard way in my own entryway when one end finished with a full gap and the other squeezed in a tiny sliver.
- Measure the total wall length from corner to corner and divide by two to find the exact midpoint.
- Make a clear pencil mark on the top rail at this exact center measurement.
- Align the dead center of your first vertical batten directly over that pencil mark.
- Calculate the remaining gaps outward to ensure the ends finish with equal spacing.
Working outward from this center pencil mark guarantees your board grid looks intentionally designed rather than randomly thrown together. You will never end up with awkwardly spaced boards packed tightly near the door frames or floating loosely near the corners.
The Custom Layout & Cut List
Grab the Hallway Board-and-Batten Layout Worksheet & Cut List to automatically calculate your batten count, exact cut lengths, and shopping quantities for MDF, adhesive, and paint. I designed this two-page sheet after messing up the math on my own hallway and buying way too much trim.
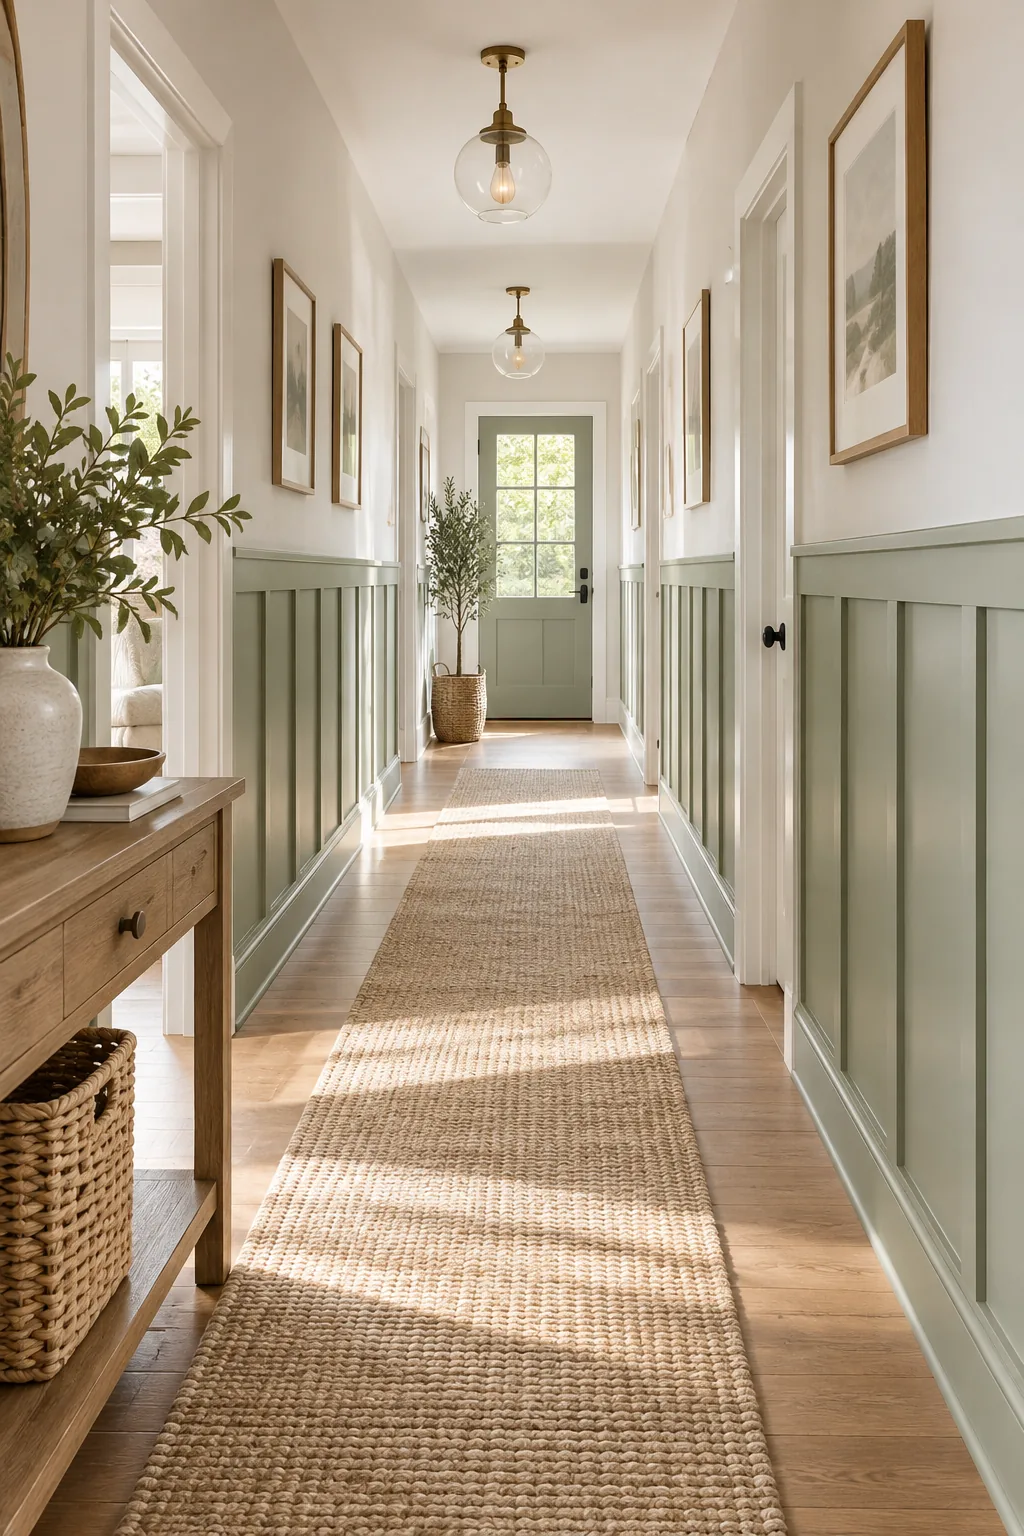
Just enter your wall length, switch positions, and rail height to instantly generate your customized plan for the entire space. Having your exact material quantities mapped out means you can buy everything in one trip and cut your boards with total confidence.
Selecting the Right MDF Boards
Choosing the correct material thickness is crucial for achieving that seamless, built-in aesthetic across your entire hallway. Standard half-inch thick primed MDF boards provide the perfect depth to create distinct shadows without protruding awkwardly past your existing baseboards or door casings.
Inspect every single board at the hardware store to ensure the edges are crisp and the faces are free from deep scratches. Starting with perfectly straight, flawless lumber dramatically reduces the amount of sanding and filling required during the final finishing stages.
Consistent Spacing Without Measuring
Using a tape measure for every individual vertical piece often leads to tiny, cumulative errors that eventually throw off your entire grid. Instead, cut a small MDF offcut block to your exact gap width and use it as a foolproof physical spacing gauge.
This physical spacer guarantees every single gap remains completely identical without forcing you to squint at tiny lines on a tape measure. You can work down the hallway twice as fast knowing the spacing is mathematically perfect from start to finish.
Securing the MDF Panels
Attach the MDF strips using a continuous zig-zag of heavy-duty construction adhesive and 2-inch brad nails driven firmly into the drywall. Relying on both glue and nails ensures the boards will never warp, bow, or pull away from the wall over time.
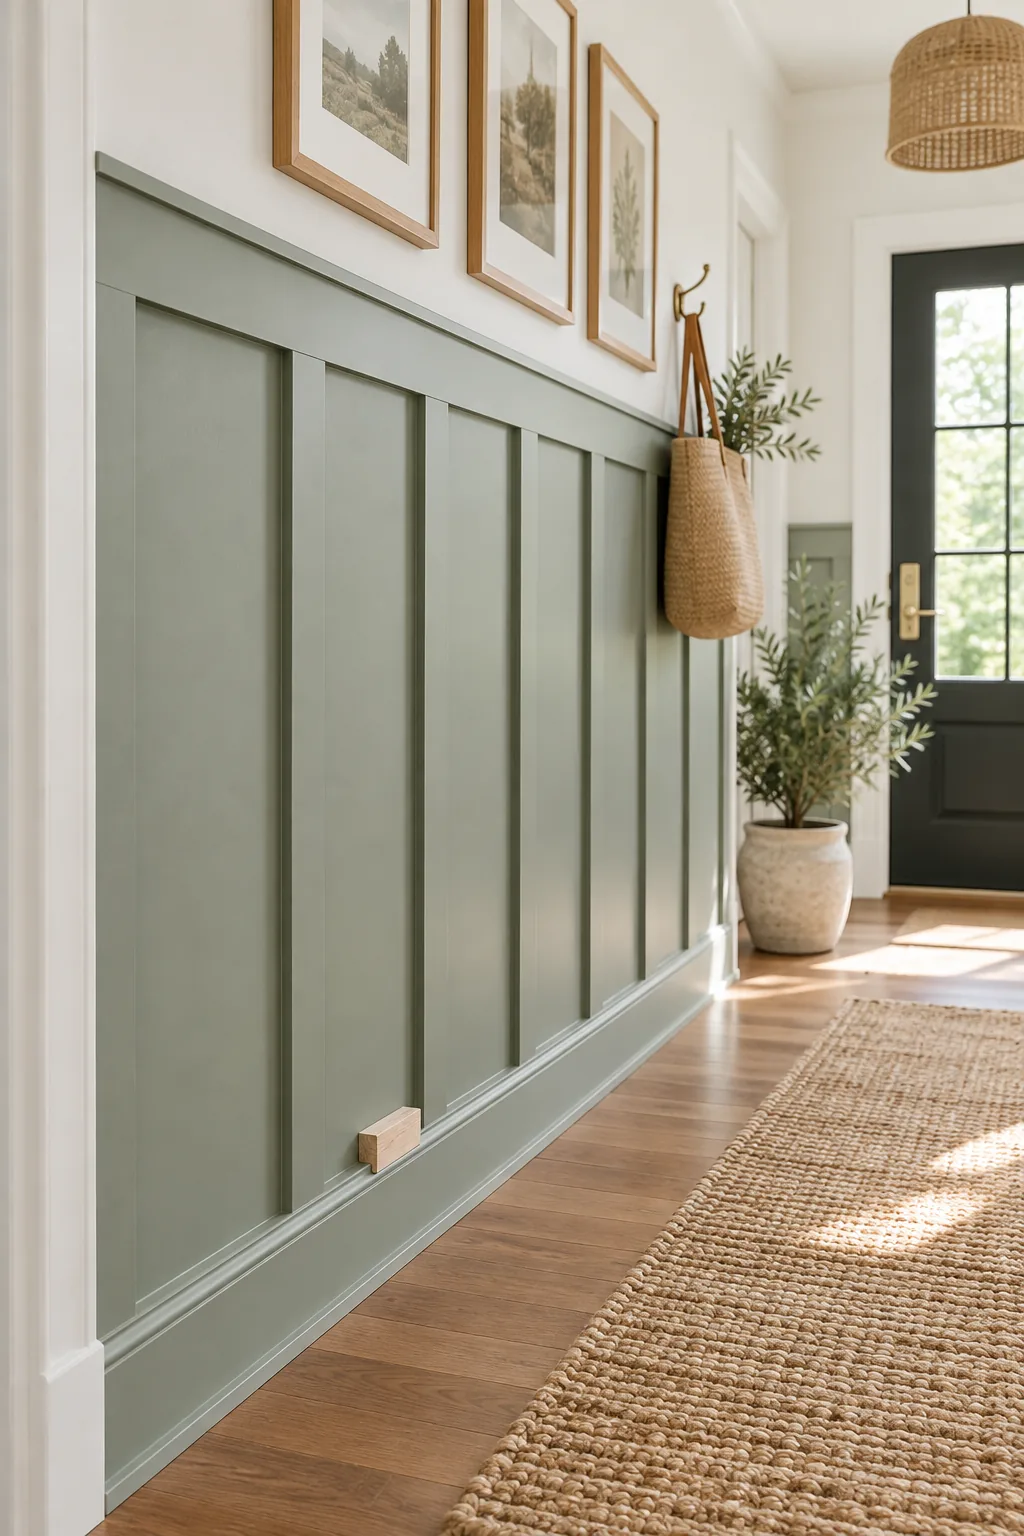
Before firing the very first brad nail into your beautifully planned grid, run through this quick installation checklist to ensure your battens stay perfectly straight and secure for years to come.
Handling Out-of-Plumb Walls
Very few hallway walls are perfectly flat, which means your rigid MDF boards might occasionally hover slightly above the drywall surface. Identifying these low spots early allows you to adjust your nailing strategy so the battens conform smoothly to the natural wall contours.
- Press firmly on the center of the batten to identify any bouncy hollow spots behind the wood.
- Drive nails at opposing downward and upward angles to lock the board tightly against the drywall.
- Avoid over-nailing into empty drywall, which simply creates larger holes without adding any structural holding power.
- Rely heavily on the construction adhesive to bridge minor gaps where the wall bows inward significantly.
Tackling these uneven areas with angled nails guarantees your paneling feels incredibly solid when someone inevitably leans against it. Taking the time to secure the boards properly prevents annoying rattles and keeps the caulk joints from cracking when the house settles.
Flawless Transitions at Doors
When your flat top rail meets the door casing, the exposed cut end of the MDF will naturally look rough and porous. Sealing the cut end with joint compound and sanding it incredibly smooth creates a seamless transition that blends right into the trim.
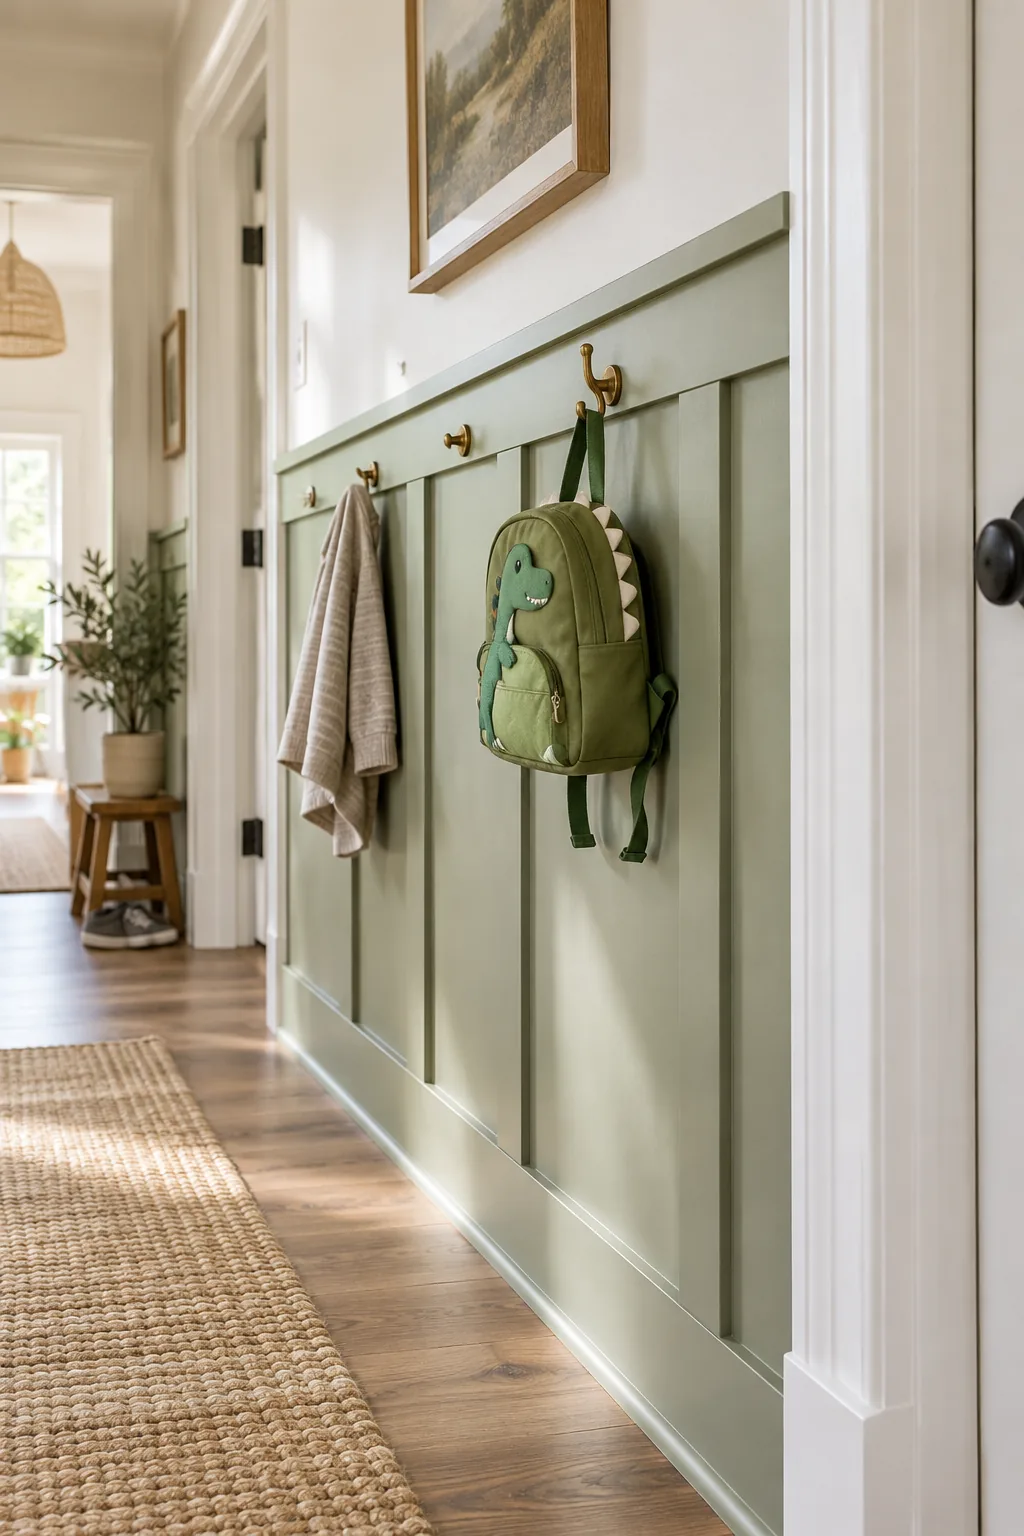
Joint compound fills the porous end grain much better than standard acrylic caulk, giving you a beautiful factory-smooth edge. Once painted, this sealed transition looks like a custom architectural detail rather than a quick DIY add-on bolted to the wall.
Prepping for Paint
Eliminating shadow lines makes your MDF boards look like original built-in paneling, so fill every nail hole with wood filler and sand it completely flush. Running a thin bead of paintable acrylic caulk along every seam where wood meets drywall creates a flawless, unified surface.
Caulking the Seams
Wiping the fresh caulk joints smooth with a damp finger pushes the material deeply into the cracks while leaving a crisp corner. This meticulous prep work makes the absolute biggest difference in your final result, ensuring the grid looks like one solid architectural feature.
Choosing the Right Finish
High-traffic family hallways demand a durable paint sheen that easily resists scuffs from heavy backpacks and wipes clean without fading. I painted my own hallway paneling in a flat finish first, and I was scrubbing dirty handprints off it within a single week.
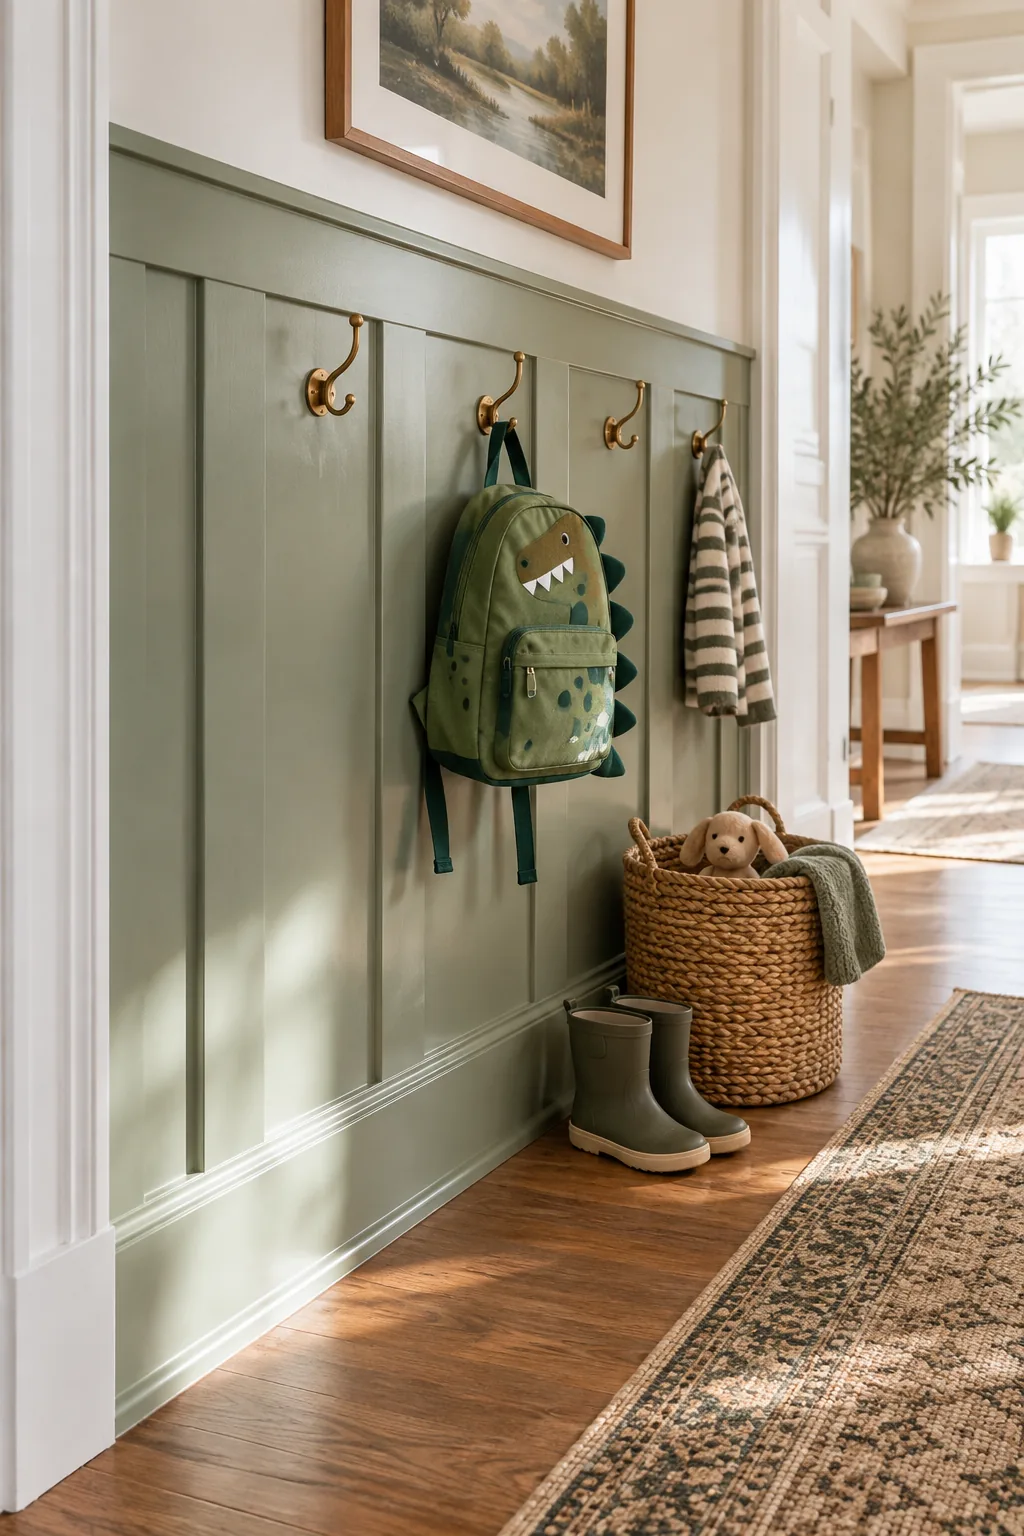
Choosing a soft-sheen satin finish for your beautiful sage green paint offers the absolute perfect balance of elegant style and daily durability. It hides minor wall imperfections far better than semi-gloss while remaining completely wipeable for those inevitable sticky hands.
More Half Wall Paneling Ideas
Explore how different paint colors and finishes completely change the mood of board-and-batten.
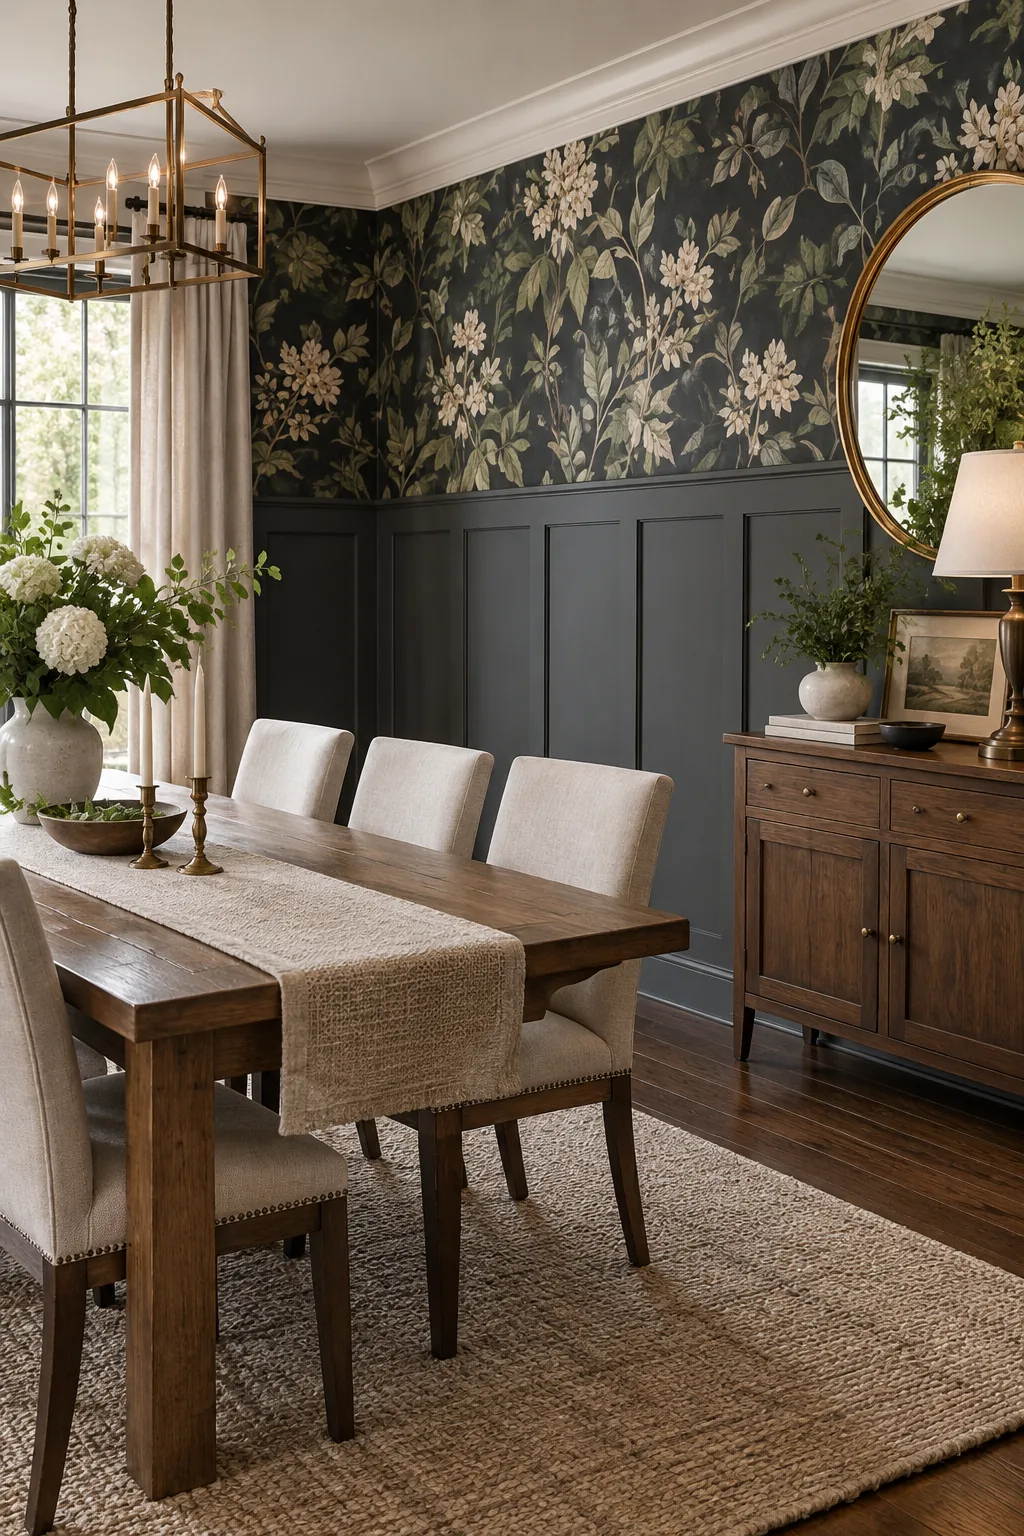
Charcoal dining room wainscoting: Elevate a formal dining space with deep charcoal wainscoting paired with dramatic botanical wallpaper above the rail.
Crisp white bathroom paneling: Protect bathroom walls from water splashes by installing tall, bright white board-and-batten finished with high-gloss enamel.

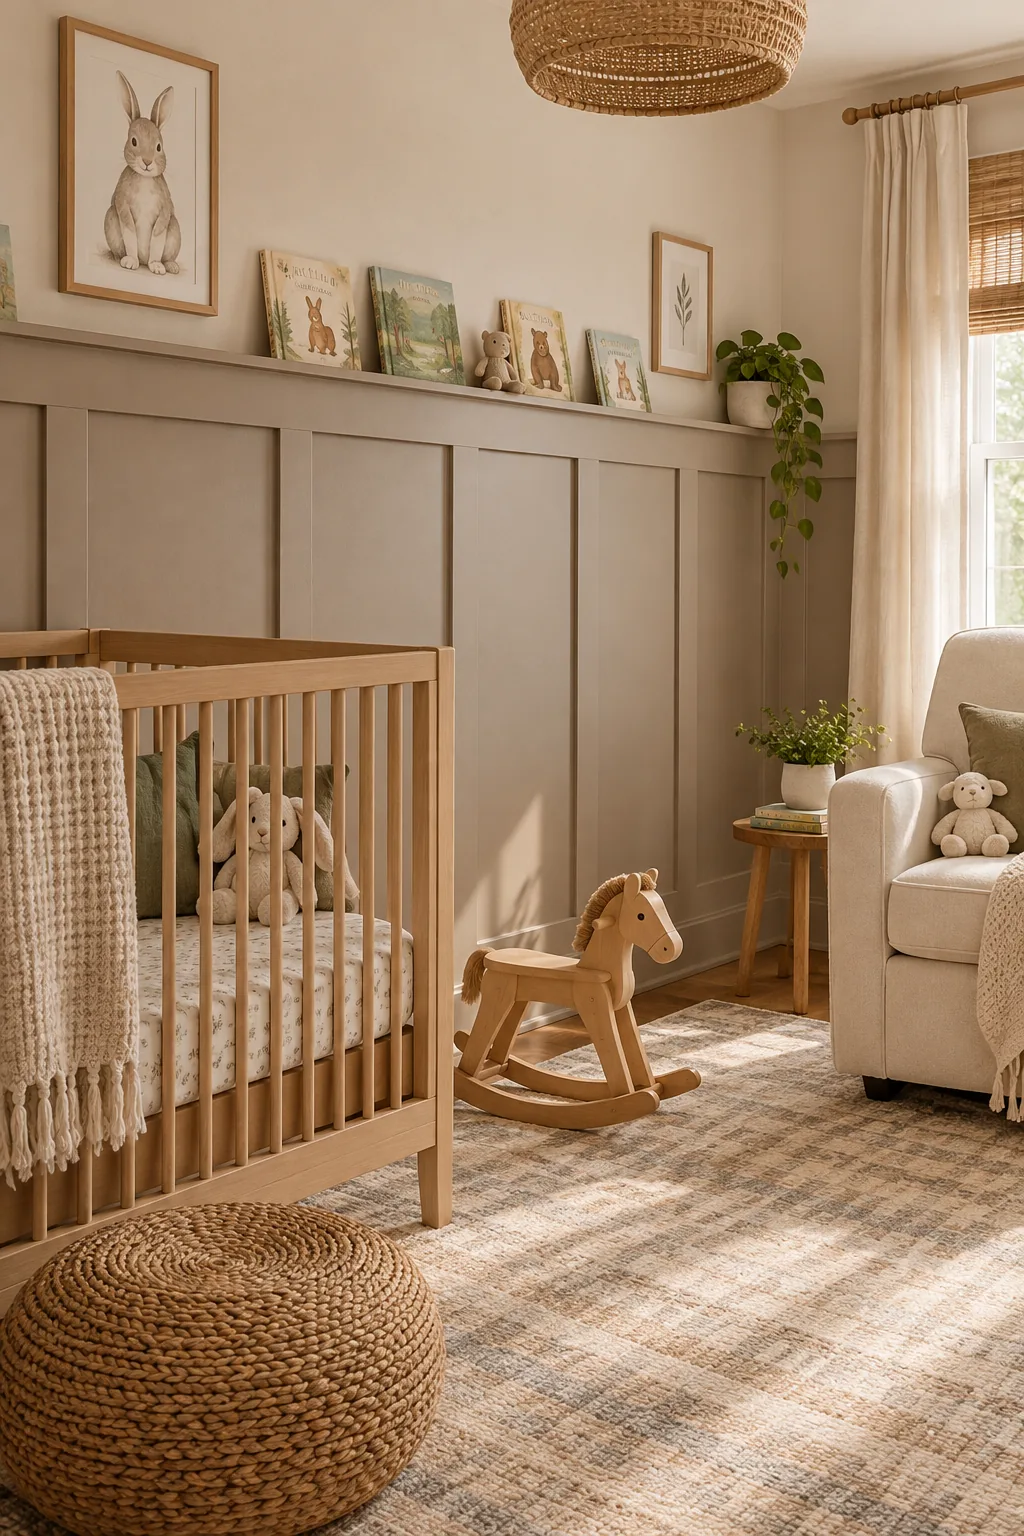
Warm taupe nursery wainscoting: Create a calming foundation in a nursery with warm taupe paneling and a shallow picture ledge integrated into the top rail.