
Landscaping Around Tree Roots: The 2-Day Planting Plan
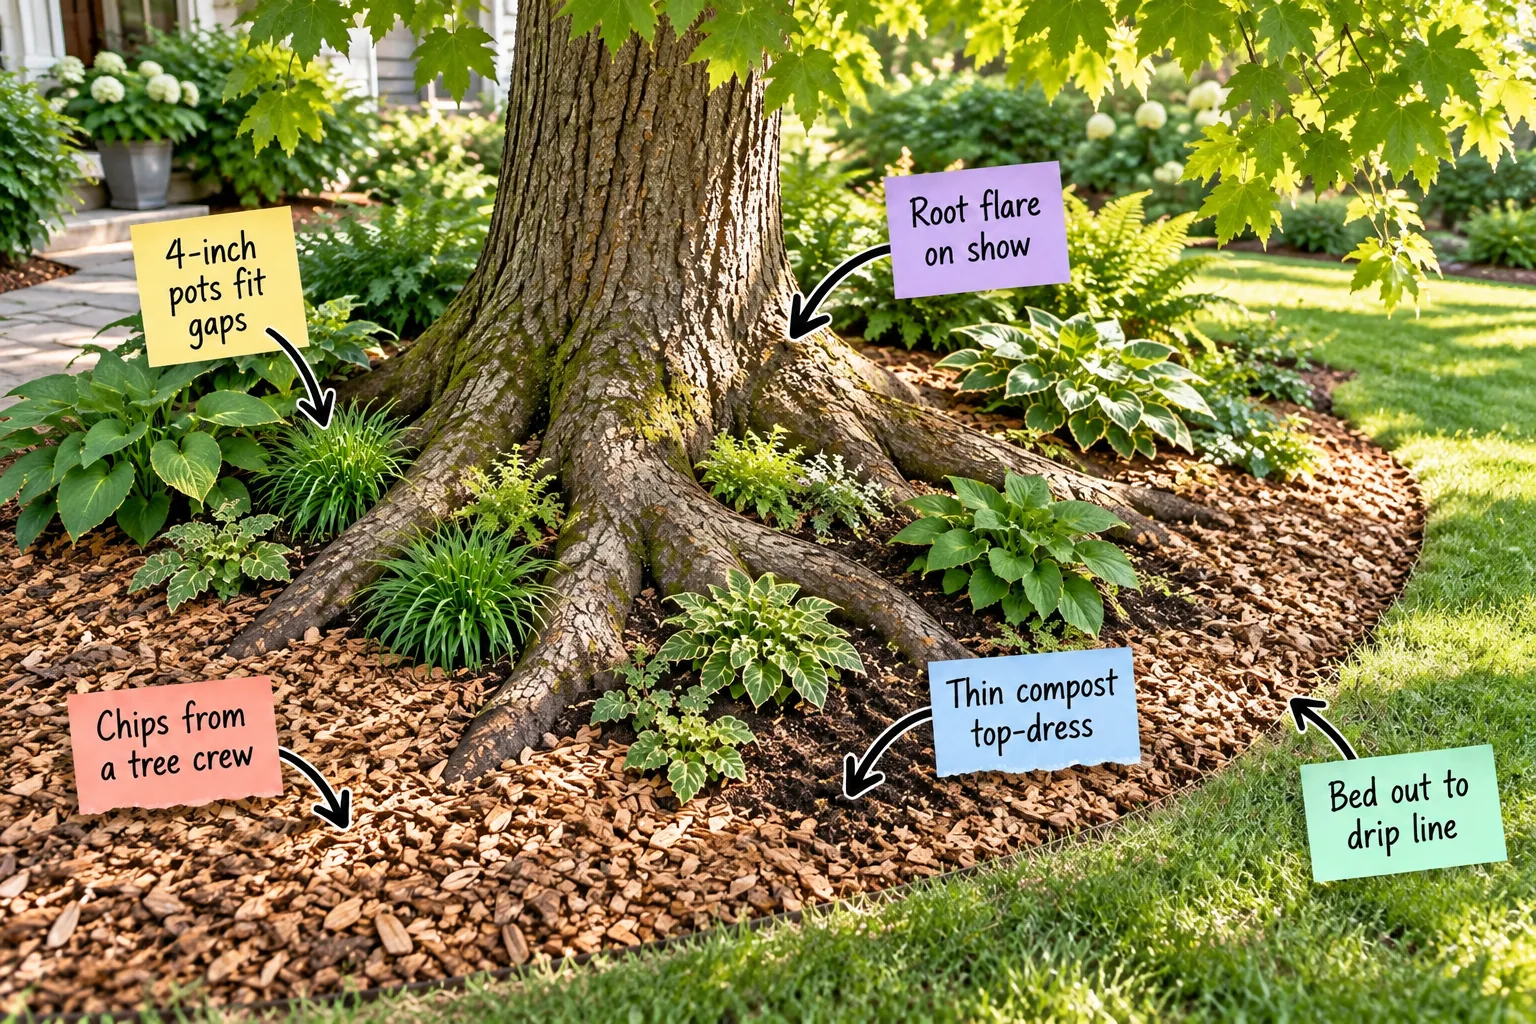
Transform the bare dirt under your mature trees into a thriving garden with our printable two-day root-bed planting plan. You will be able to safely plant and mulch a beautiful groundcover bed this weekend without harming your tree’s delicate root system.
Keep the Root Flare on Show
Begin by gently clearing any existing debris, old mulch, or struggling lawn away from the base of the trunk to reveal the widened root flare. Leave a hand-width ring of bare bark visible above the final soil line, as burying this transition inevitably causes fatal bark rot.
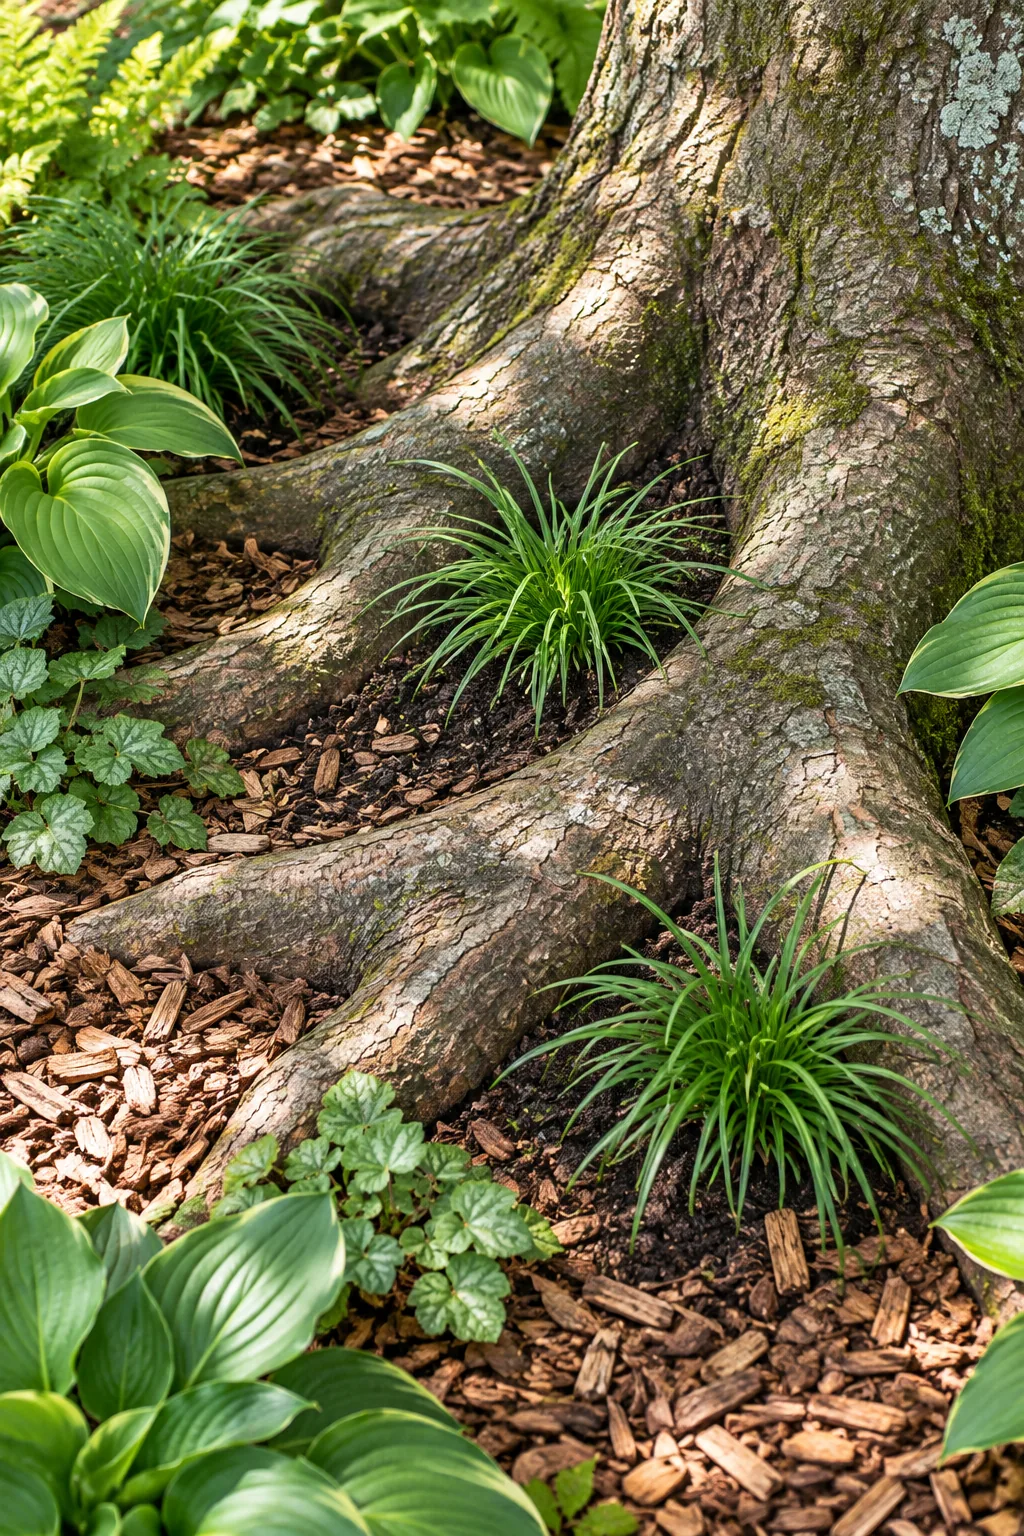
It is incredibly tempting to hide unsightly surface roots under a thick, uniform mound of heavy topsoil, but this common landscaping practice slowly suffocates the mature tree over several seasons.
Apply a Thin Compost Top-Dress
Instead of piling heavy topsoil over the sensitive root zone, spread a highly nutritious compost top-dress that maxes out at 1 to 2 inches deep. The hard, woody tops of the structural surface roots should still clearly show through this light, dark dusting.
- Boosts soil nutrients: A thin, airy layer delivers essential organic matter directly to the shallow feeder roots without restricting the crucial oxygen flow they need to survive.
- Retains natural grade: Keeping the top-dress minimal ensures you never accidentally alter the established drainage patterns around the trunk base, preventing water from pooling against the bark.
When I first tackled the massive oak in my Austin front yard, I used a simple leaf compost from the local nursery. It gently enriched the depleted soil without suffocating the dense, shallow root web that had taken decades to grow.
Why 4-Inch Pots Fit the Gaps
Mature tree roots form a dense, woody web just below the surface, making traditional heavy shovels incredibly dangerous to use. By choosing small 4-inch pots, you can slip delicate sedge plugs right into the natural soil pockets between these major structural roots.
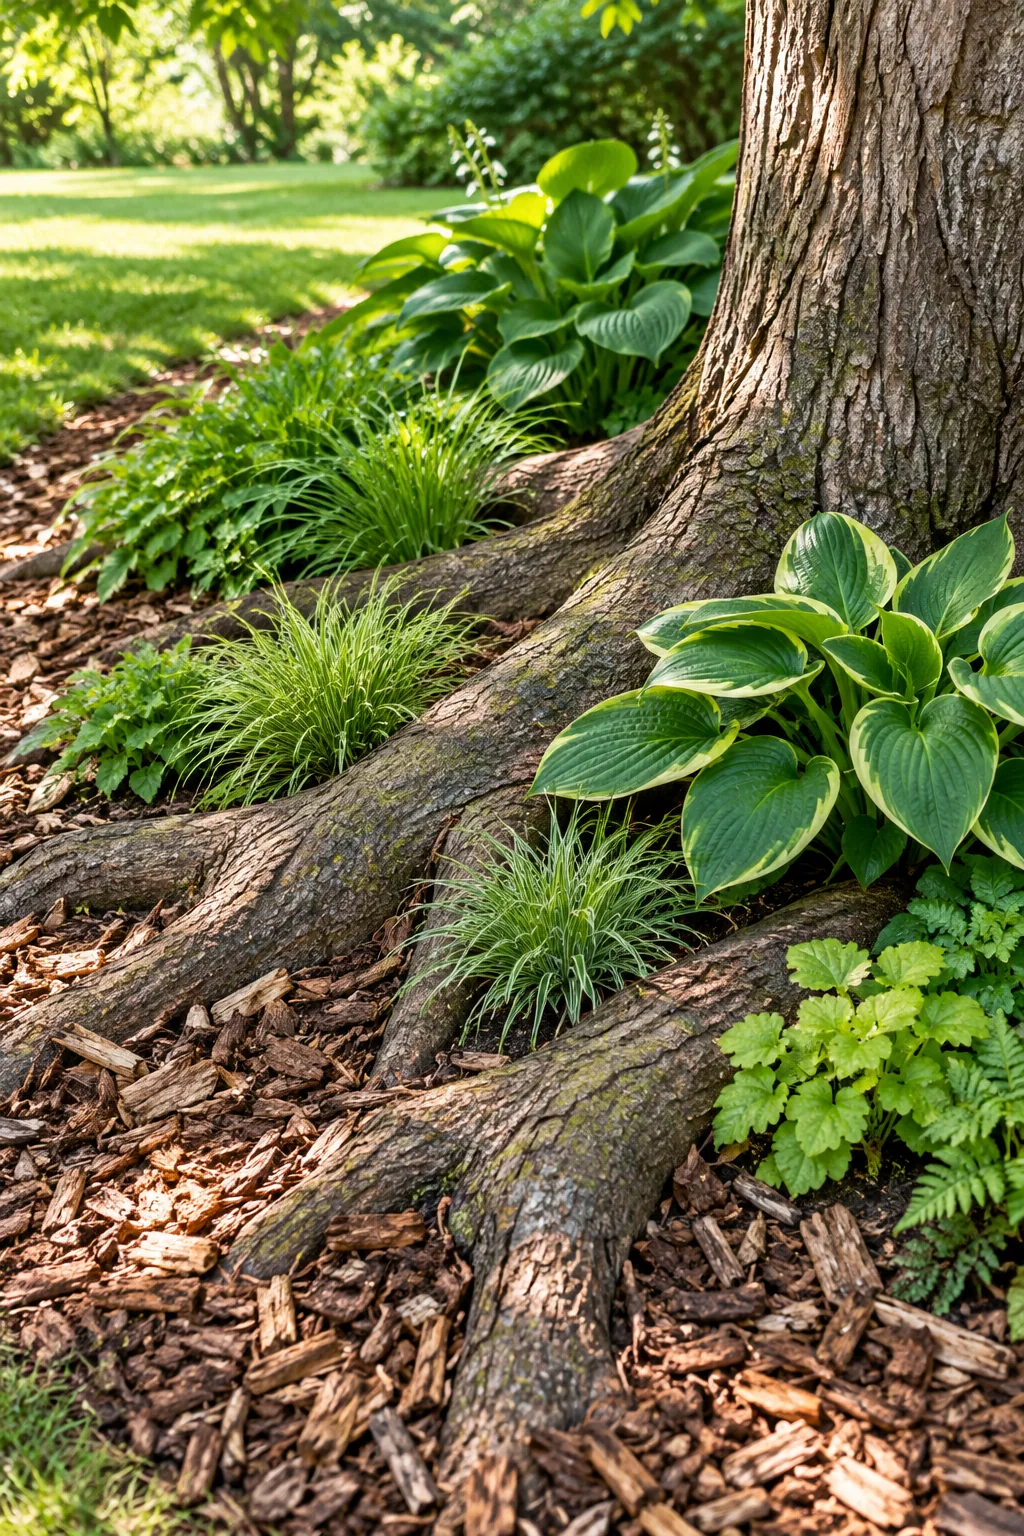
I always map out these natural gaps with my fingers first, gently probing the loose soil to find the deepest voids. Using only a single trowel scoop completely avoids the risk of accidentally severing a critical feeder root while digging the planting holes.
The Two-Day Root-Bed Planting Plan
This printable weekend sequence breaks the entire landscaping project into a manageable Saturday and Sunday schedule. Following this exact order ensures you protect the tree while establishing a beautiful, resilient groundcover bed that thrives in the competitive environment of dry shade.
- Saturday morning: Clear away all old debris, fully expose the root flare, and spread the 1-inch compost top-dress evenly over the designated planting zone.
- Saturday afternoon: Map your natural soil pockets and plant the 4-inch pots, maintaining a strict 12-inch spacing between each root ball to allow for future growth.
- Sunday morning: Carefully apply the 3-inch chip-mulch layer across the bed, pulling it back manually to keep the trunk flare completely bare and dry.
- Sunday afternoon: Hand-water each new plug deeply to settle the surrounding soil, eliminate any trapped air pockets, and give the roots a strong head start.
| Dry-Shade Plant | Spacing | Qty per 10 sq ft | Purpose |
|---|---|---|---|
| Texas Sedge (Carex) | 12 inches | 10 pots | Evergreen base layer that spreads slowly |
| Coral Bells (Heuchera) | 15 inches | 6 pots | Bright foliage color accents for visual interest |
| Autumn Fern | 18 inches | 4 pots | Textural height that resists local deer |
| Liriope (Monkey Grass) | 12 inches | 10 pots | Durable, drought-tolerant outer border edge |
Calculate your total square footage before heading to the nursery to ensure you purchase the exact right number of 4-inch pots. This precise shopping list prevents expensive overbuying and guarantees your new plants have enough room to spread without competing for limited water.
Source Chips From a Tree Crew
Finish the new bed with coarse wood chips sourced directly from a local tree crew rather than finely shredded bagged mulch. These chunky, irregular pieces provide incredible structural benefits, allowing essential oxygen and rainwater to flow freely to the tree roots below.
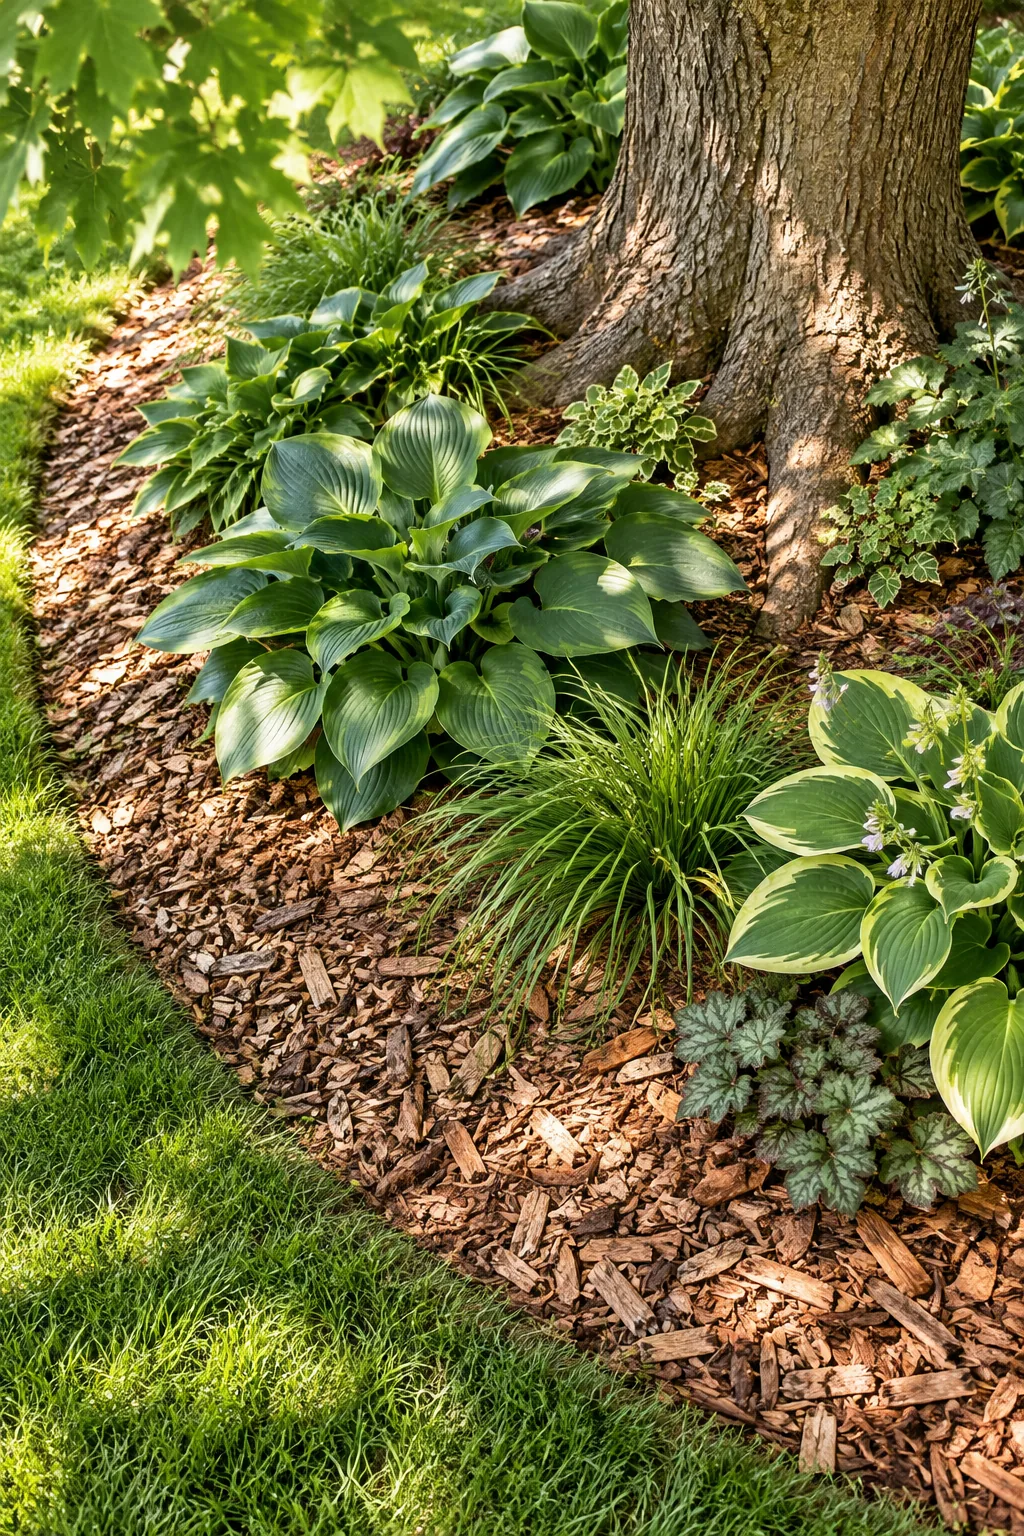
I flagged down an arborist working down my street last spring, and they gladly dumped a fresh load of coarse chips right on my driveway. It breaks down slowly to improve the soil structure while locking in essential summer moisture during heat waves.
Extend the Bed Out to the Drip Line
Design the gently curved outer edge of your new bed to sit directly beneath the outermost tips of the tree’s leafy canopy. Aligning the border with this natural drip line effectively protects the shallowest feeder roots from heavy, damaging lawnmower traffic and soil compaction.
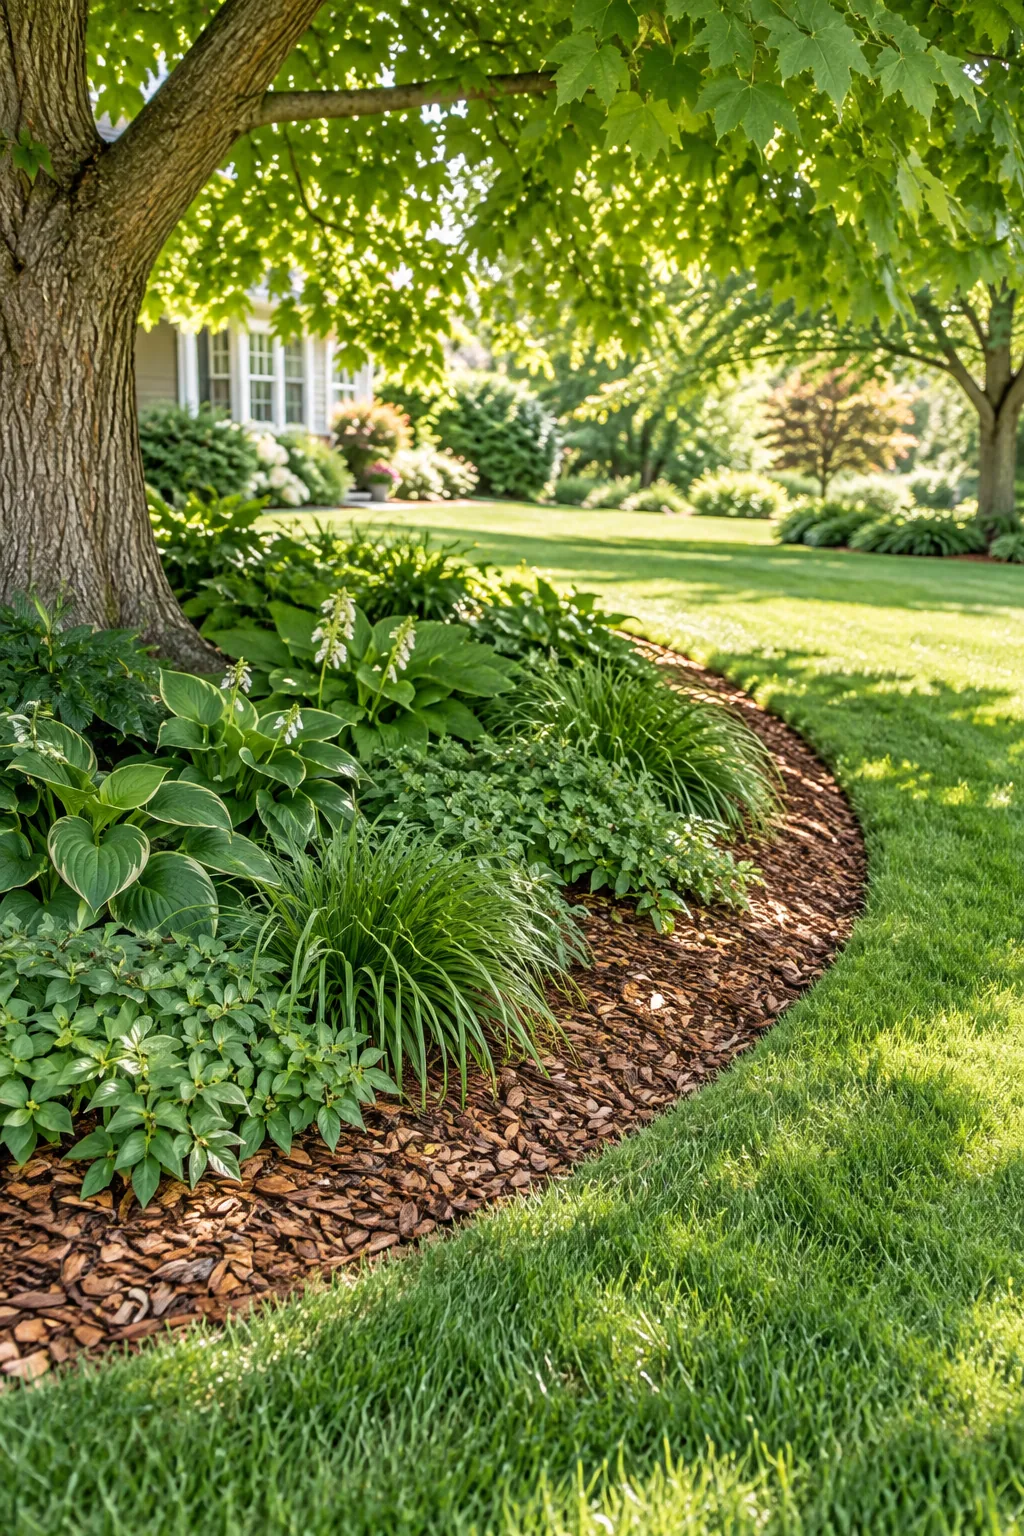
Extending the bed this far out also completely eliminates the need to use harsh string trimmers anywhere near the exposed surface roots. A wide, sweeping border creates a visually stunning landscape feature that naturally shields the tree’s most vulnerable, active growth zones.
Watering Under a Mature Canopy
During their challenging first season, your new groundcovers will be competing directly with the established, thirsty tree for every drop of moisture. Plan to hand-water the 4-inch plugs deeply twice a week, targeting the individual root zones rather than just lightly spraying the surrounding leaves.
4 Ways to Style a Tree-Root Bed
Match your new groundcover bed to your home's architecture with these distinct planting styles.
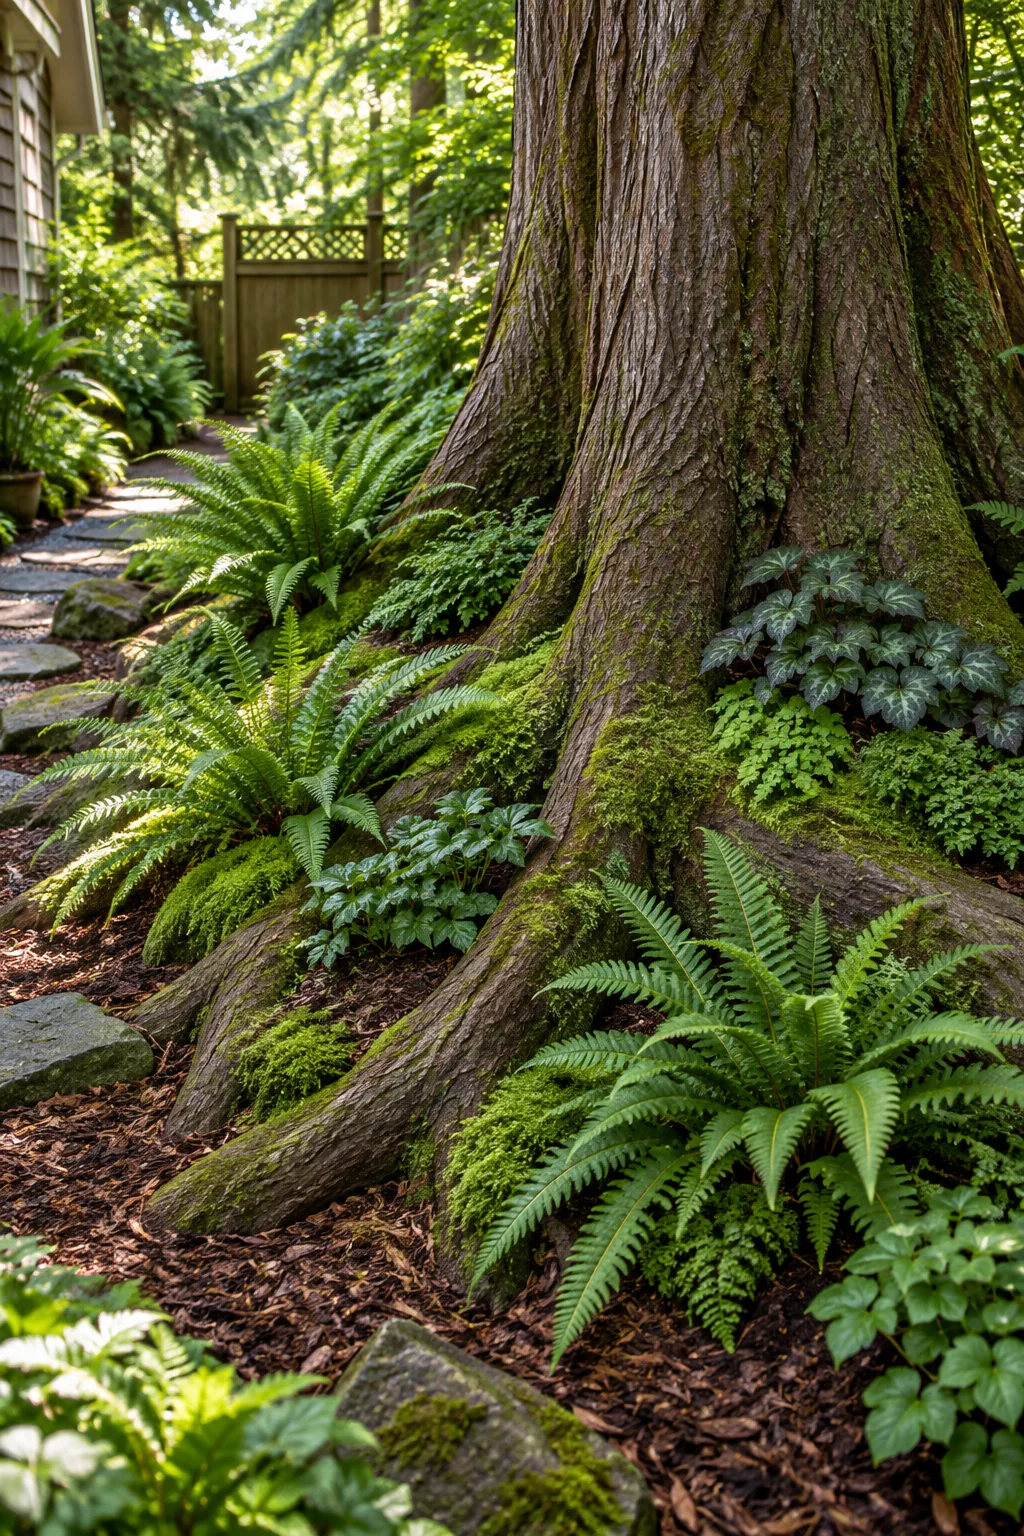
Pacific Northwest Woodland Ferns: Embrace deep shade with native ferns that thrive in acidic soil beneath evergreens.
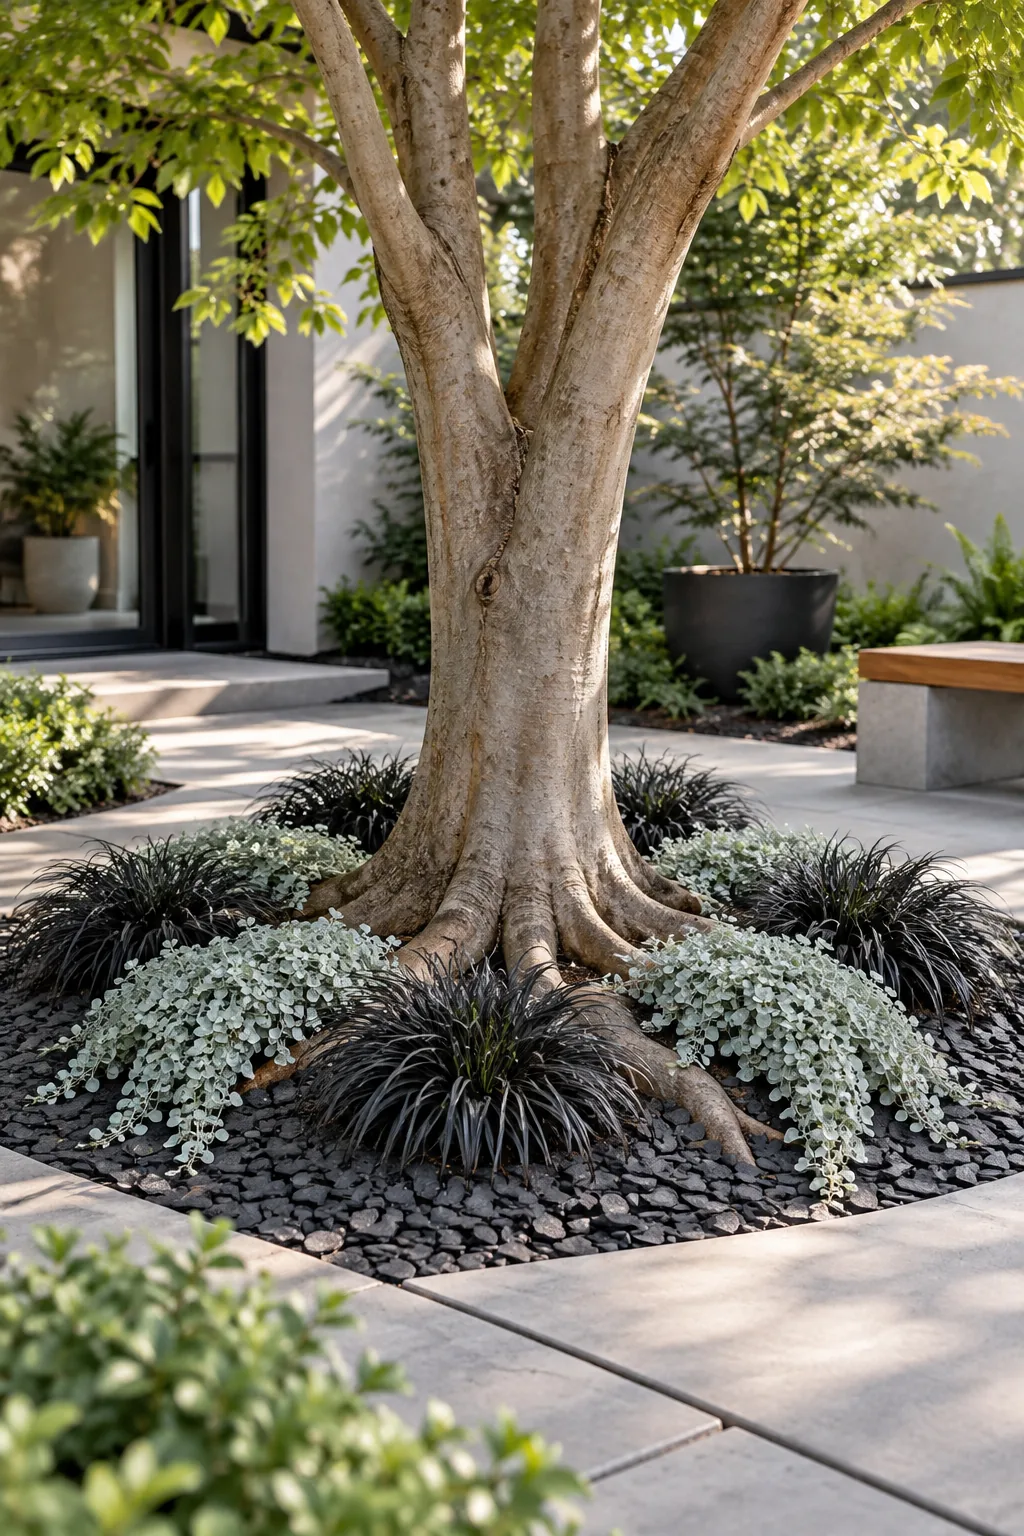
Contemporary Minimalist Courtyard: Keep the design sharp and intentional by alternating just two contrasting plant varieties.
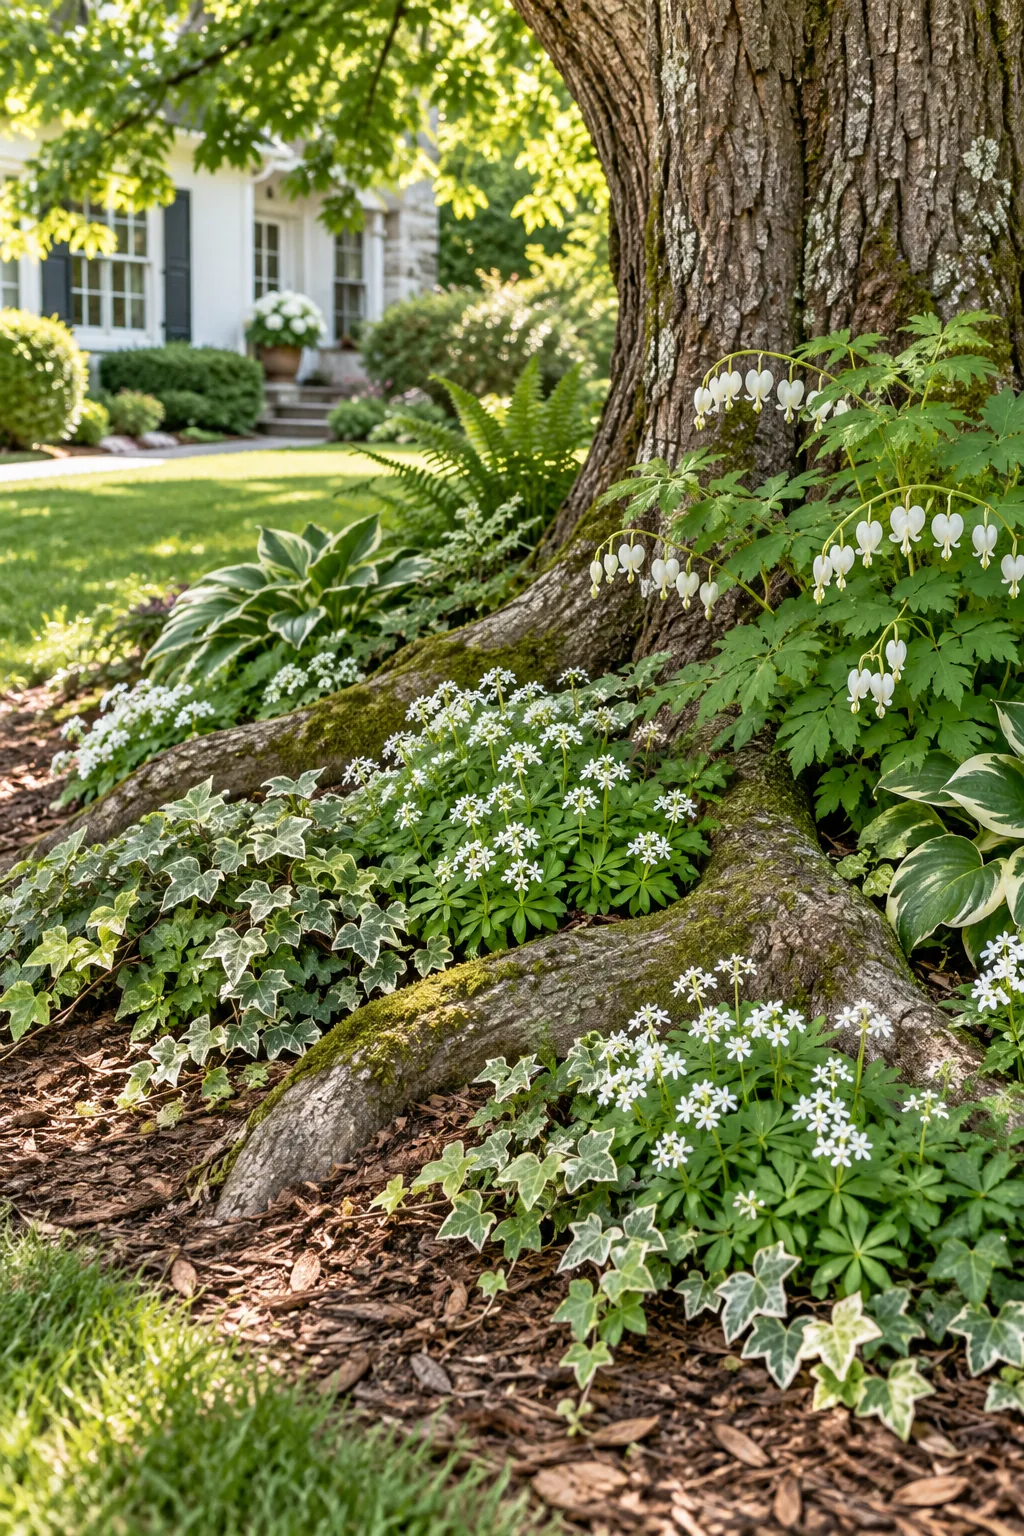
English Cottage Oak Bed: Layer varying heights of blooming shade plants to create a soft, romantic transition to the lawn.
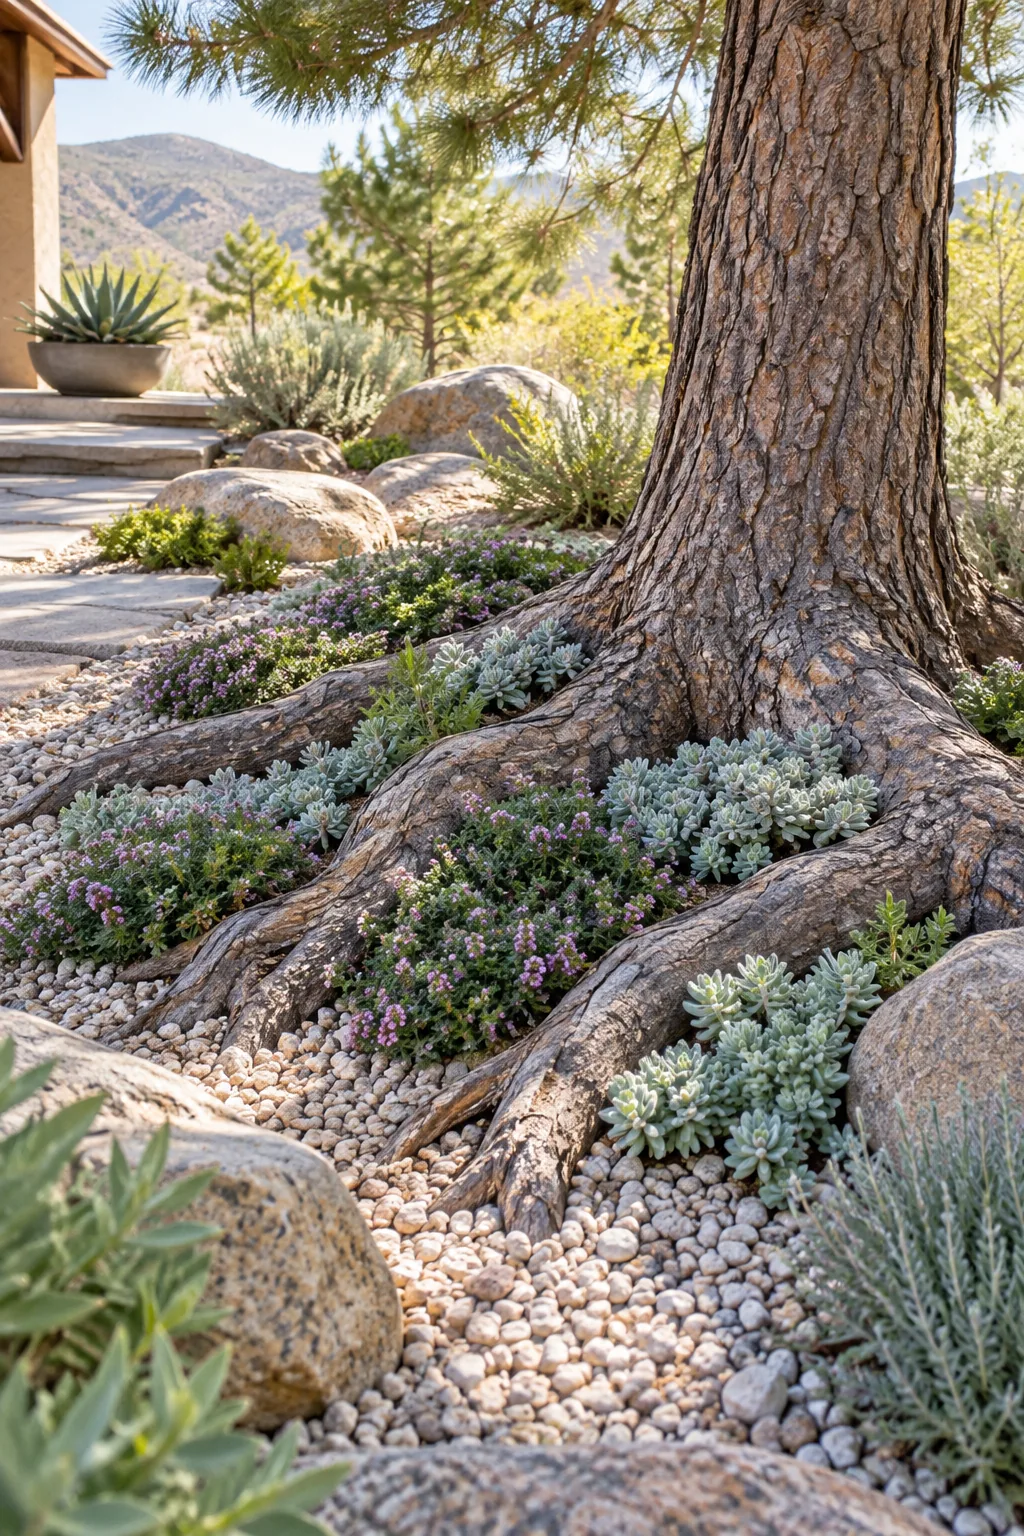
Arid Xeriscape Rock Garden: Solve dry, sandy soil under pines by choosing rugged succulents that require zero supplemental watering.
Long-Term Care for the Root Zone
Once the groundcover bed is fully established, adopt a strict no-dig policy to preserve the delicate underground balance you have created. Mature shade plants eventually form a living, weed-suppressing mulch layer that naturally cools and protects the underlying woody root web.
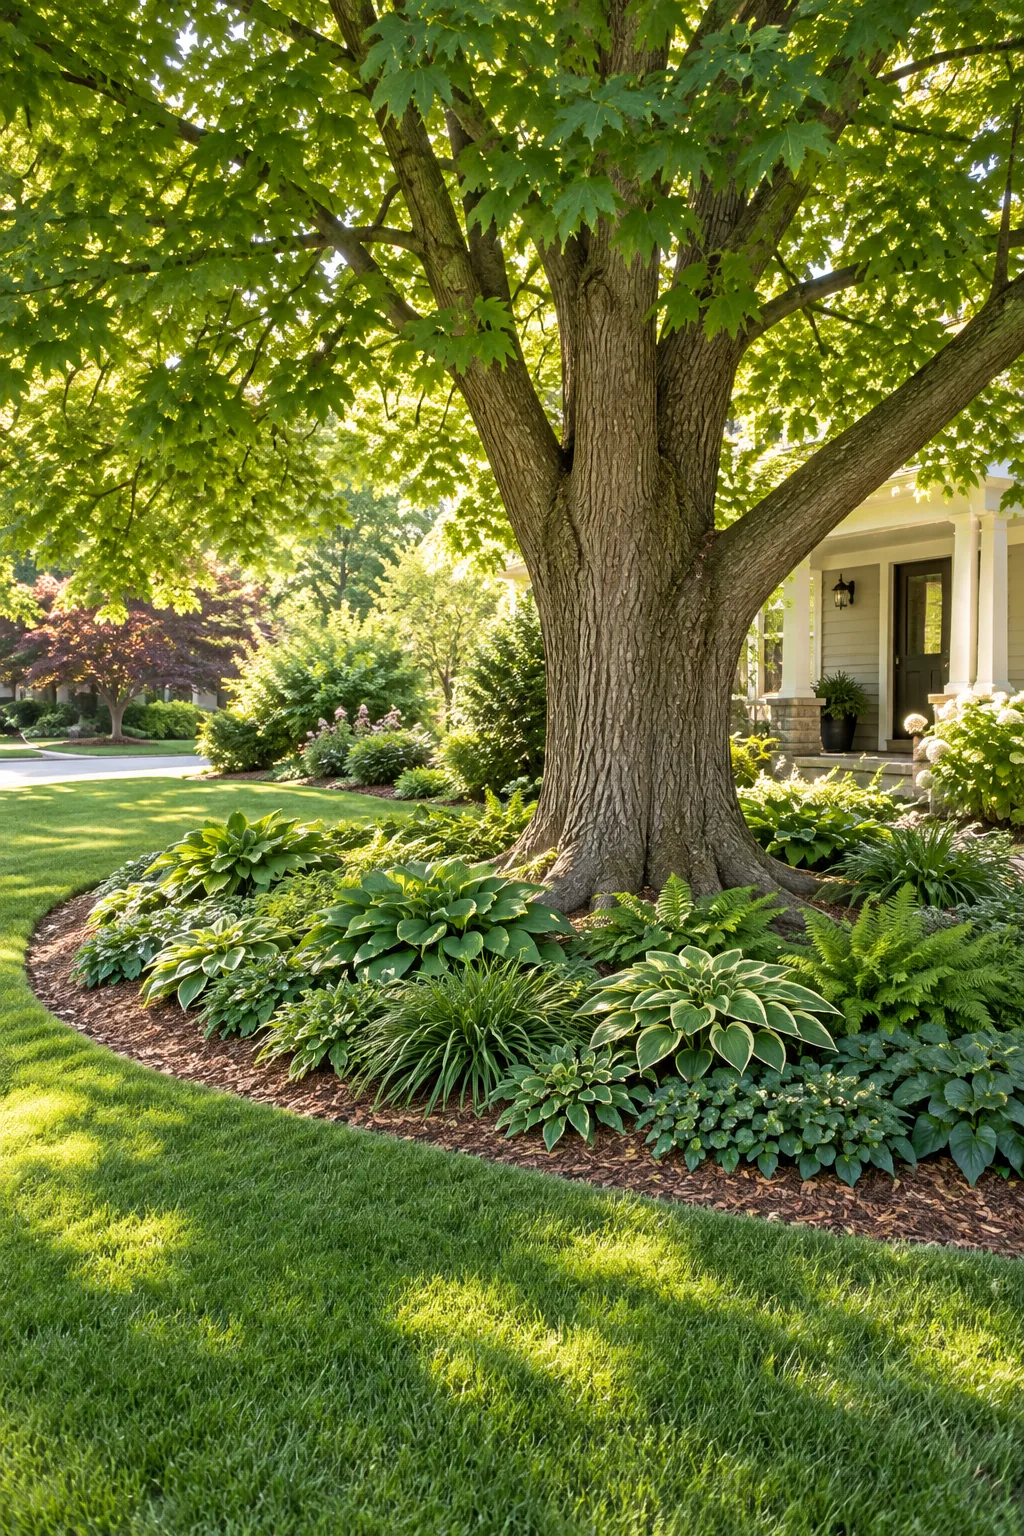
I simply let the fallen autumn leaves remain in my front bed as a regenerating, natural mulch layer that continuously feeds the soil. This hands-off maintenance approach nourishes both the spreading groundcovers and my old maple without ever requiring a shovel.