DIY Exterior Window Trim Under $50: Exact PVC Cut List
Upgrading your curb appeal is completely achievable when you use this complete stock materials guide and standard sizing cheat sheet. You will be able to purchase the exact stock PVC boards needed and cut them to the correct proportions for a classic, weatherproof window frame.
Removing the Old Rotted Trim
Before installing fresh materials, you must carefully pry away the existing damaged wood using a flat pry bar to prevent tearing the underlying house wrap. Always score the old caulking with a sharp utility knife first, working slowly from the bottom upwards.
Flashing Tape Application
Applying a high-quality flexible flashing tape over your existing window flanges is a non-negotiable step before any PVC goes on the wall. This sticky membrane bridges the gap between the window unit and the house wrap, blocking wind-driven rain from penetrating the rough opening.
The Hidden Metal Drip Cap
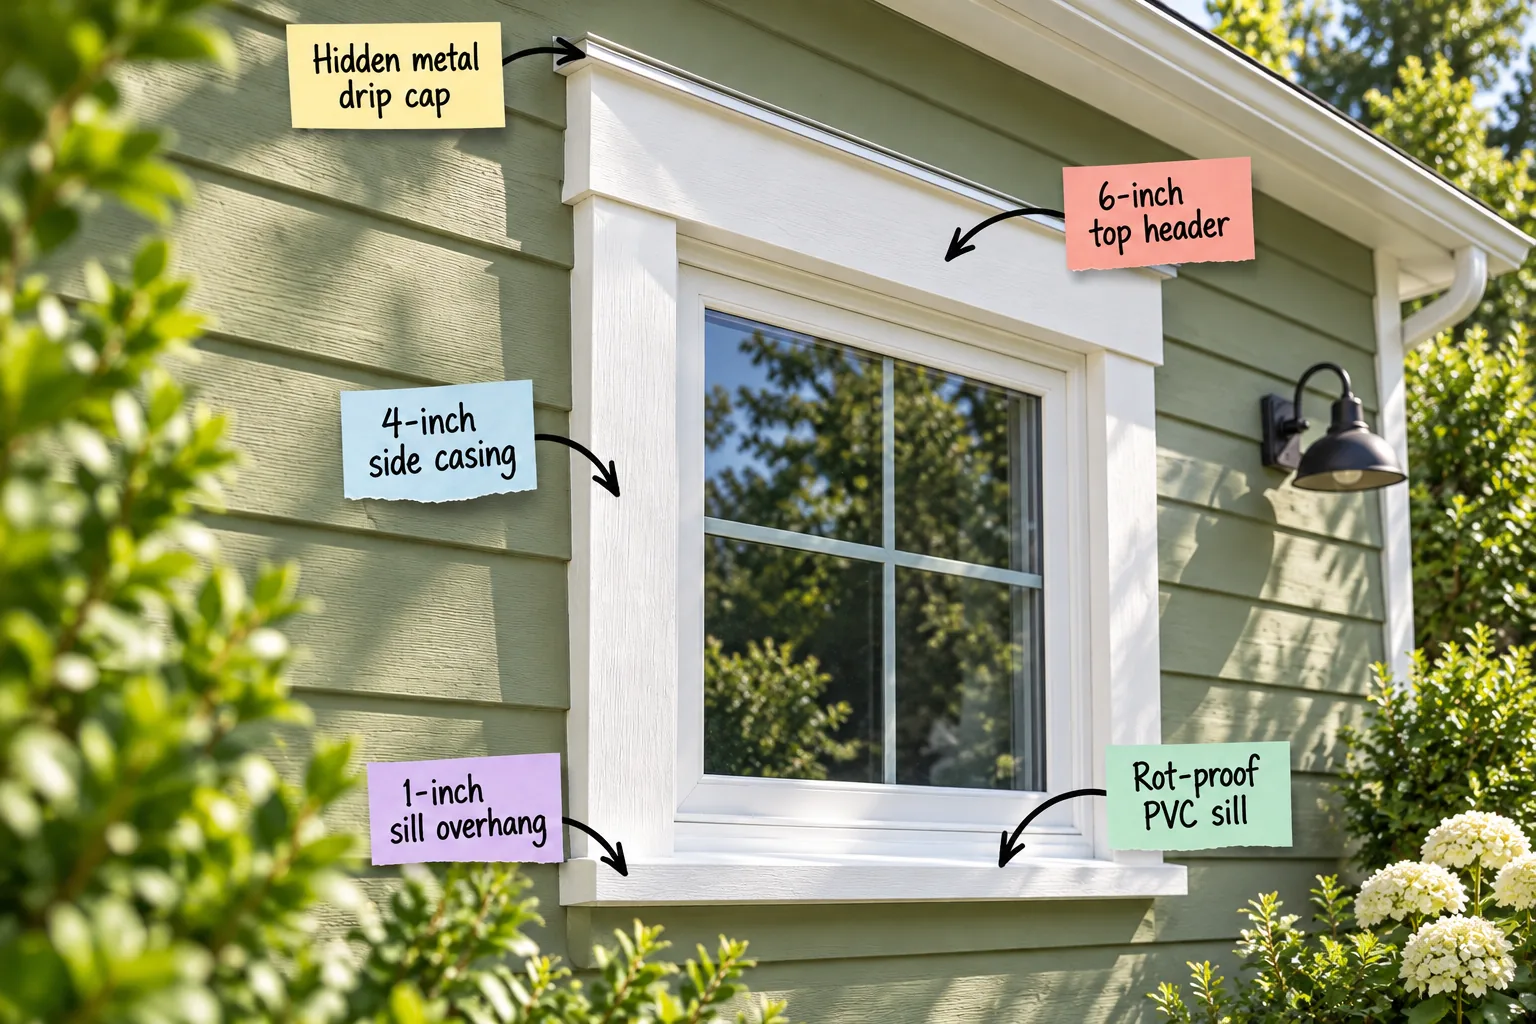
The secret to a truly waterproof window frame is the hidden metal drip cap tucked directly above the top header board. When I first started trimming windows on my own Austin fixer-upper, I completely skipped this thin flashing and paid for it in water damage.
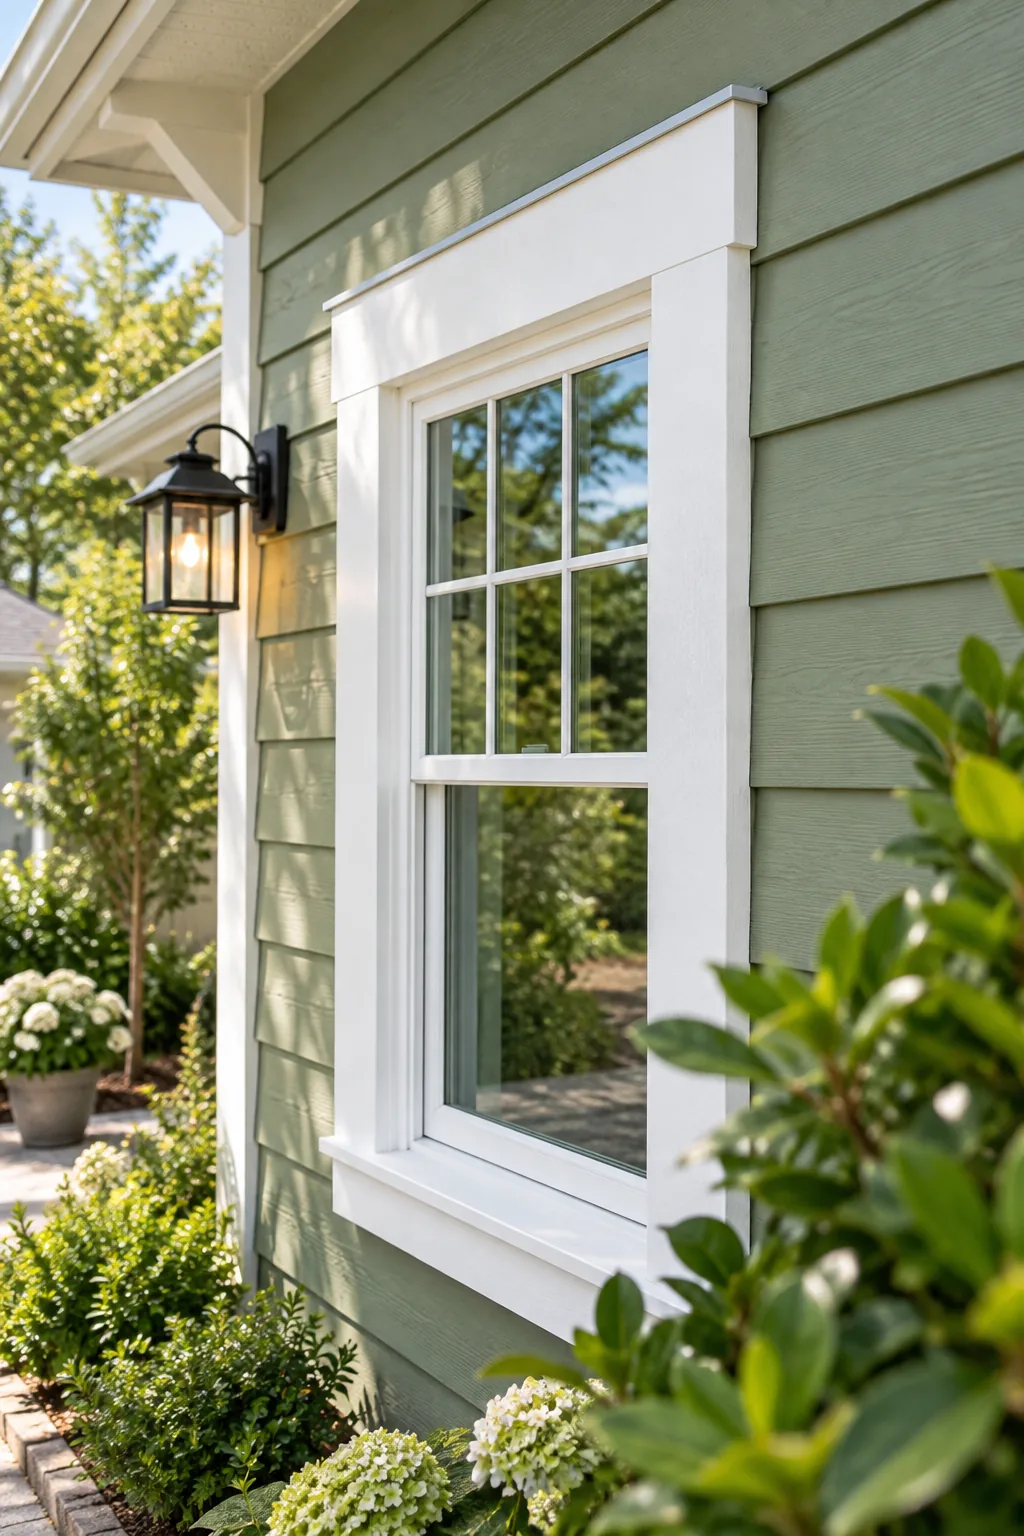
To keep your framing dry, this metal piece must slip completely underneath your existing house wrap to direct rainwater outward. Water will naturally flow down the siding, hit the flashing, and safely cascade over the window rather than pooling behind your fresh trim.
Sizing the 6-Inch Top Header
Capping your window with a 6-inch top header instantly gives the exterior that classic, substantial craftsman look. Using this wider horizontal board adds essential architectural weight to the top, balancing the entire frame so the window never looks top-heavy or skimpy.
Framing With 4-Inch Side Casing
For the vertical side boards, standard 4-inch side casing provides the perfect amount of visual weight without overpowering standard residential windows. This readily available 1×4 stock scales beautifully alongside the wider top header, creating a clean, traditional profile.
Even with the right materials, a few common installation errors can compromise the watertight seal around your new casing.
Selecting the Right Fasteners for PVC
Because PVC expands and contracts differently than wood, securing your boards requires specialized exterior fasteners. You must use stainless steel trim screws or hot-dipped galvanized nails to prevent unsightly rust stains from bleeding down your pristine white trim.
| Fastener Type | Best Application | Spacing Rule |
|---|---|---|
| 2.5-inch Trim Screws | Side casings and headers | Every 16 inches |
| 2-inch Brad Nails | Small trim details | Every 12 inches |
| PVC Glue | Mitered corner joints | Apply to both edges |
Choosing a Rot-Proof PVC Sill
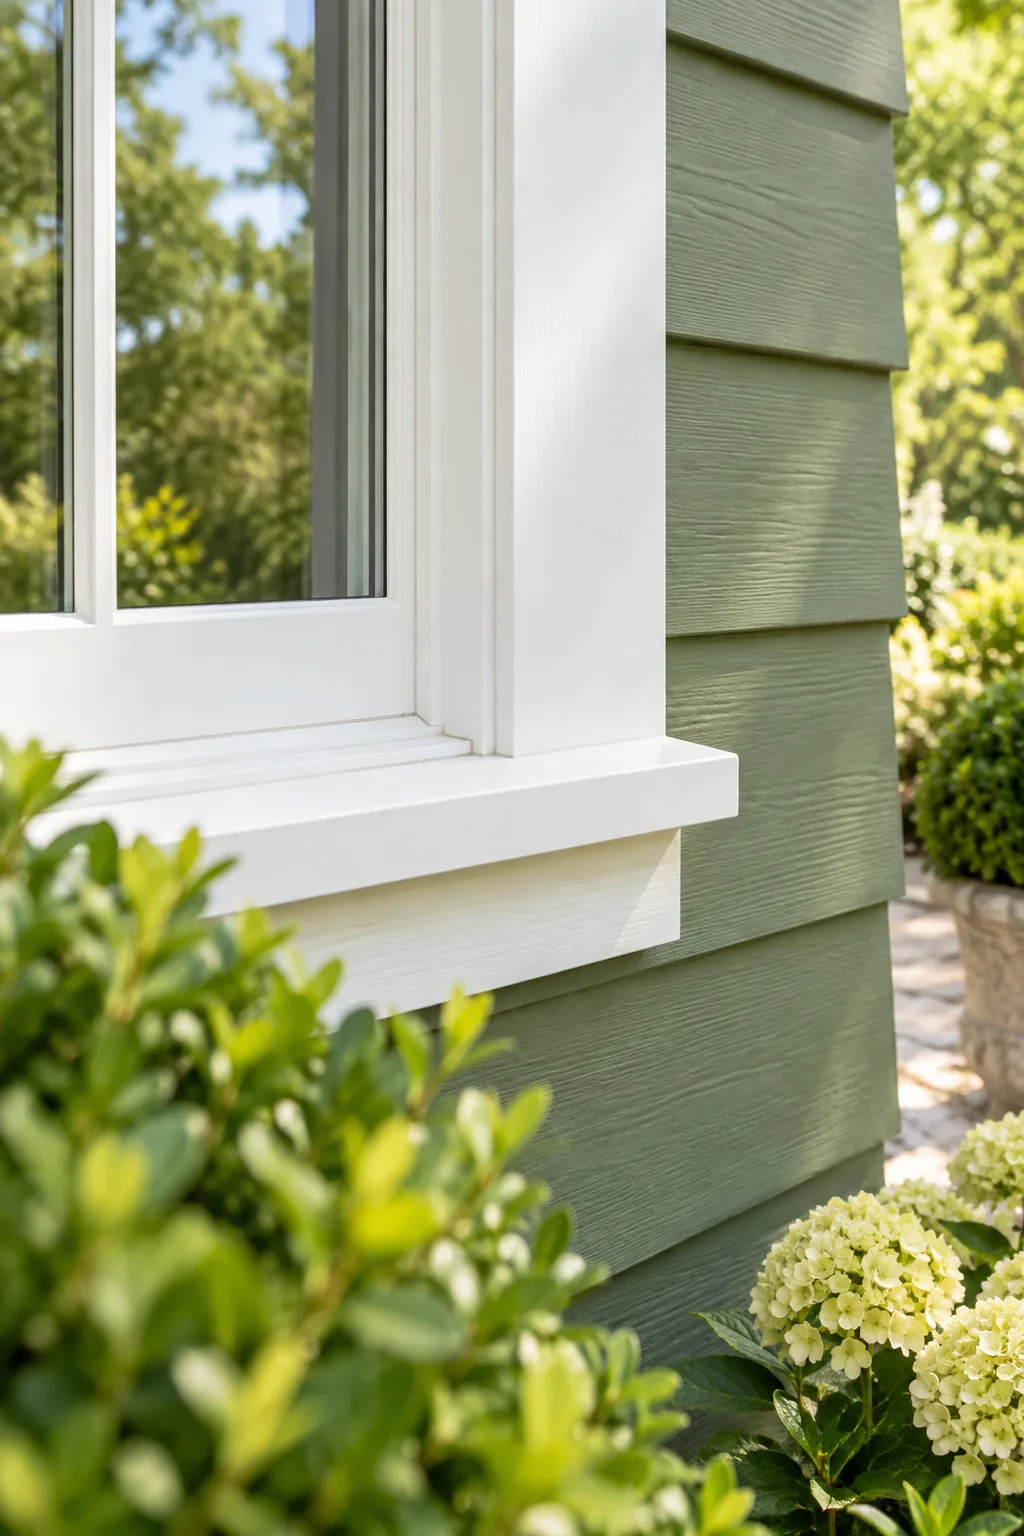
Because rainwater constantly pools on the bottom ledge, swapping traditional wood for a rot-proof PVC sill is the smartest upgrade you can make. I used to spend every spring scraping peeling wooden sills until I finally switched my whole house to PVC.
Stock PVC lumber cuts, routes, and nails exactly like real wood, but it will never swell, split, or rot from moisture exposure. This simple material swap guarantees your bottom ledge will stay crisp and structurally sound for decades with zero maintenance.
Measuring the 1-Inch Sill Overhang
When cutting your bottom ledge, always measure for a precise 1-inch sill overhang extending past the outer edge of your vertical side casing. This specific measurement creates a gorgeous traditional shadow line while directing intense Texas downpours clear of your foundation.
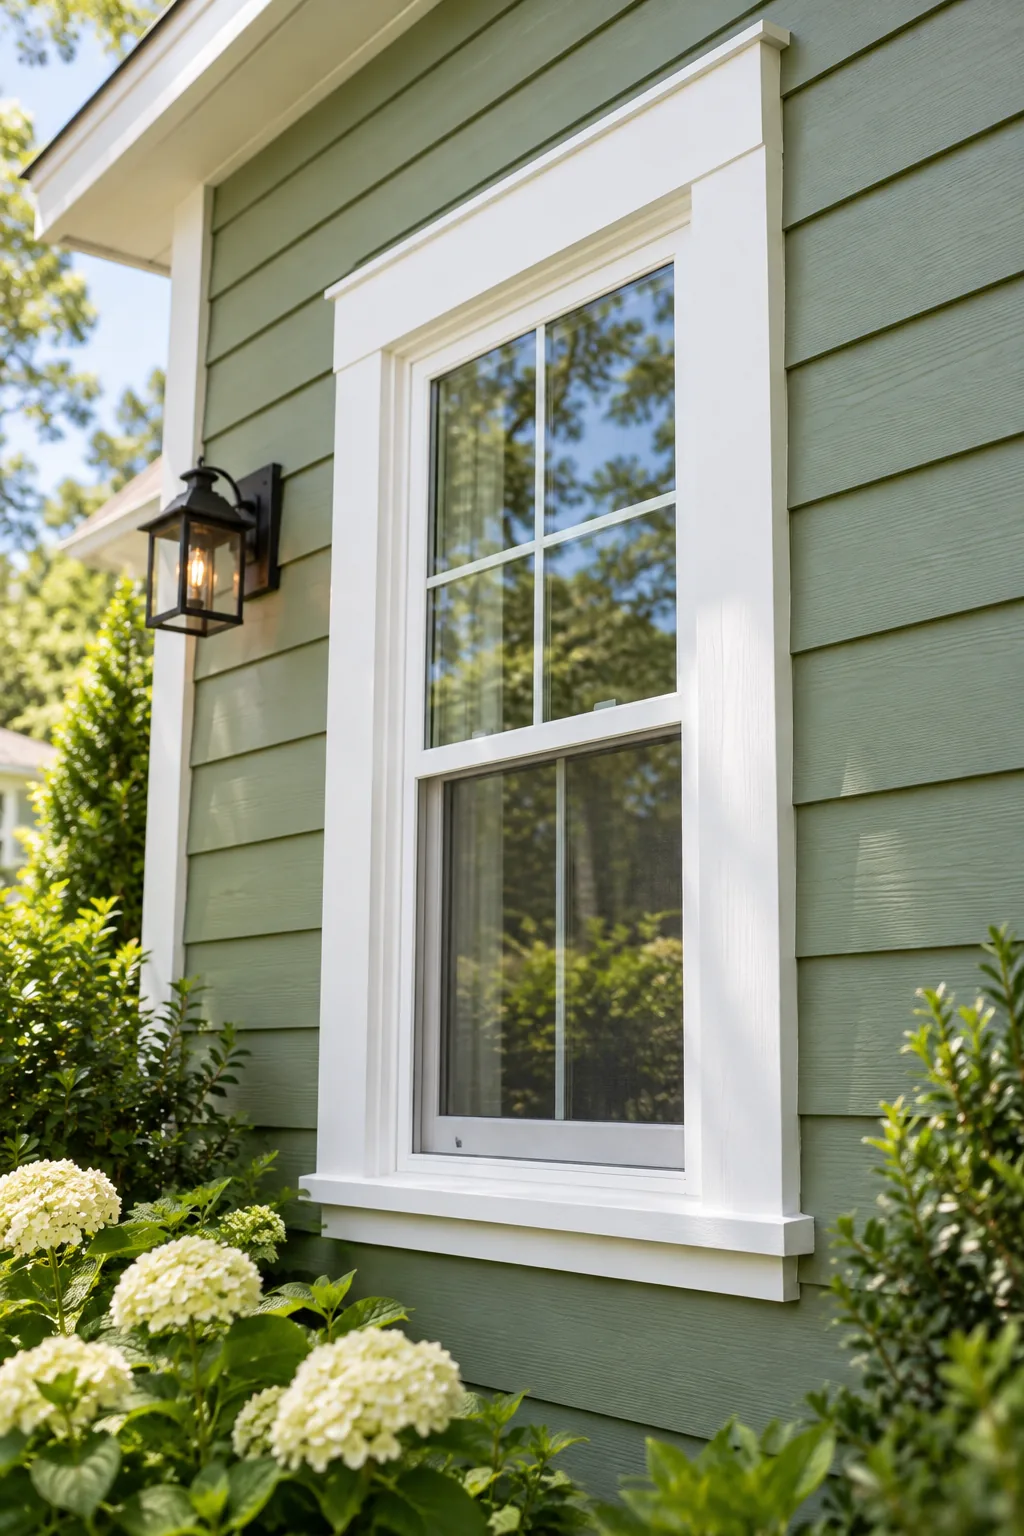
To achieve this seamless fit, you will need to notch the back corners of the sill board so it wraps around the existing window frame. Using a jigsaw makes quick work of these cutouts, allowing the front edge to protrude perfectly.
Weatherproofing and Sealing Joints
Once your boards are securely fastened, run a continuous bead of exterior-grade silicone sealant along every seam where the trim meets the siding. Thoroughly caulking these transition points is the critical final defense that ensures your entire window assembly remains completely watertight.
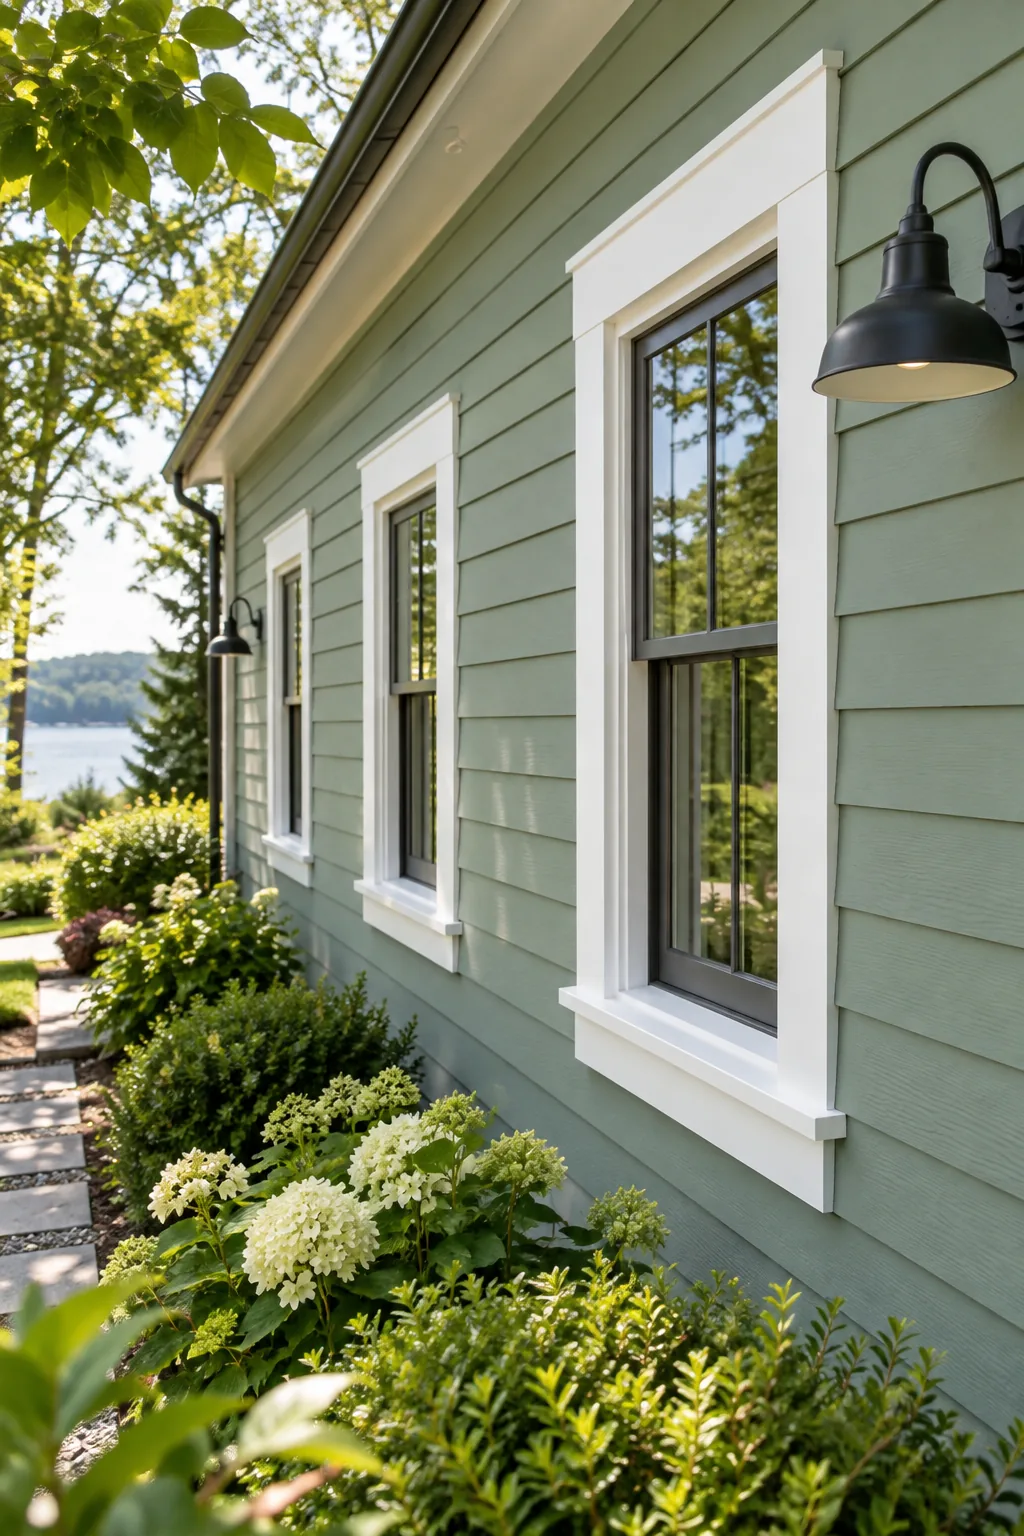
Beyond sealing the joints, utilizing these readily available standard board sizes keeps your per-window cost incredibly low. Because you never have to special-order custom widths, your exterior renovation budget remains completely predictable from the first window to the last.
The Under-$50 Cost Breakdown
Sticking exclusively to standard 1×4 and 1×6 PVC boards keeps your total material cost incredibly low. By avoiding custom milling and utilizing off-the-shelf stock sizes, you can easily frame out an average 3×5 foot window for under $50 per opening.
Painting and Finishing Exterior PVC
Even though PVC is naturally bright white and weatherproof, applying a coat of 100-percent acrylic latex exterior paint provides superior UV protection. Painting also hides any filled nail holes and caulked seams, giving your new window trim a flawless, monolithic appearance.
Complete PVC Stock and Cut List
To replicate this exact look, you only need to purchase standard 1×4 and 1×6 PVC boards from your local home center. When I tackled my living room, having a standard cut formula ready meant I could batch-cut all the pieces in my driveway.
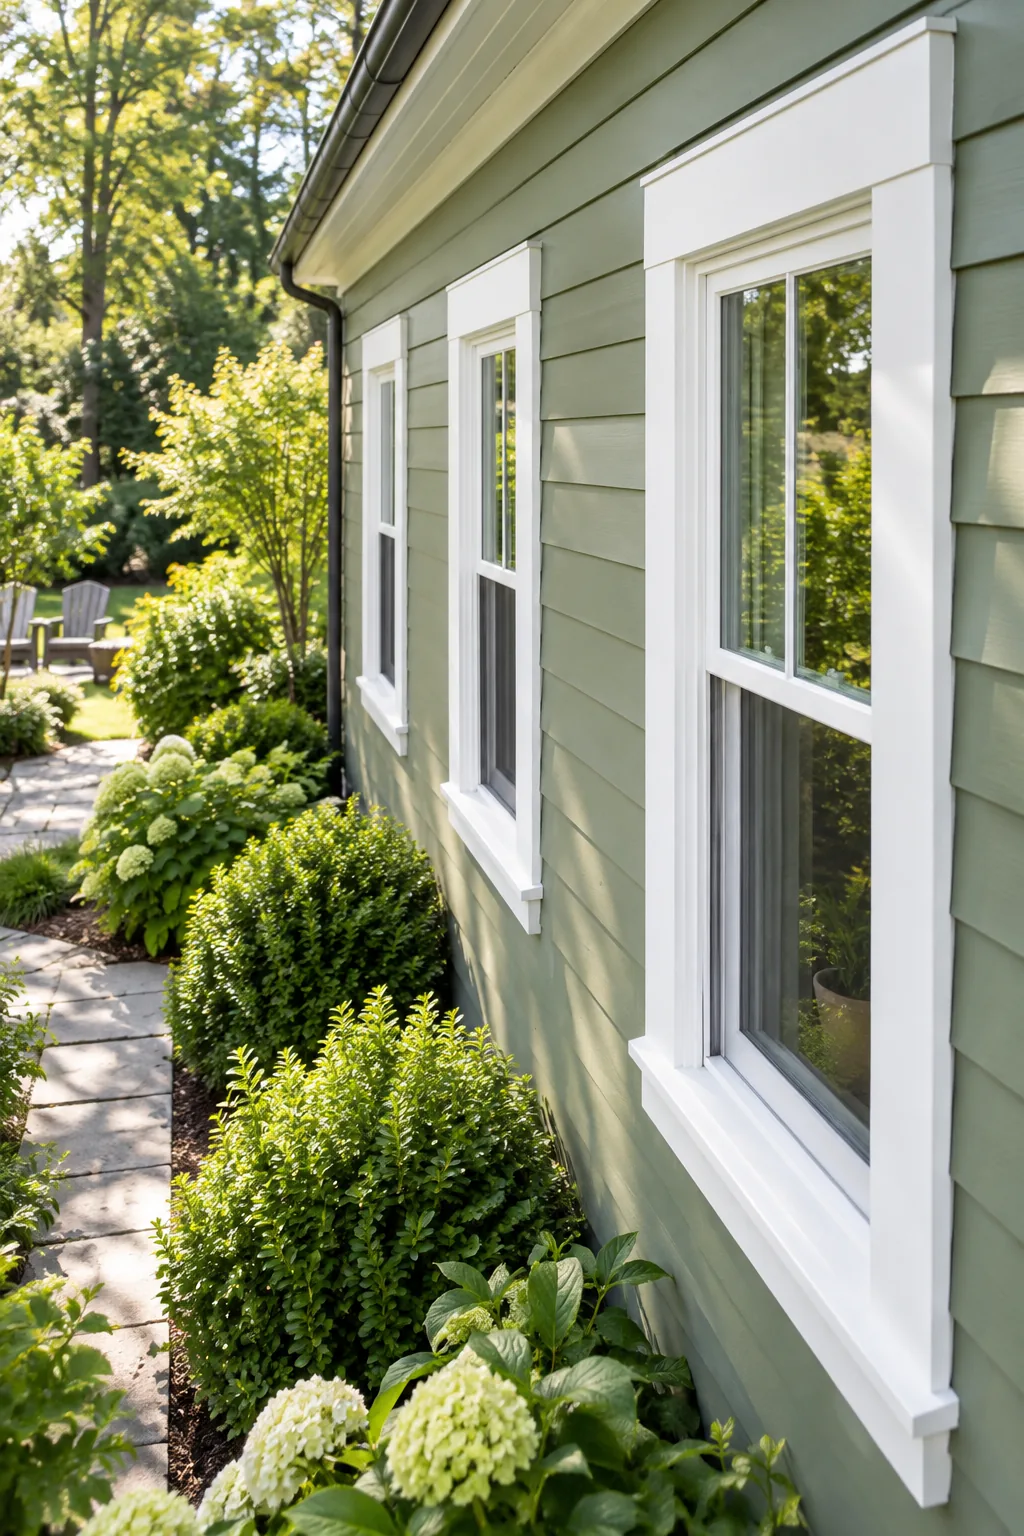
Before you head to the lumber aisle, calculating your total linear footage correctly will save you a second trip and reduce waste.
Follow this standard cutting sequence for every window to ensure your overlapping joints align perfectly and shed water correctly.
- The Sill (1×6): Cut to the window width plus 10 inches to allow for the side casings and the 1-inch overhangs.
- Side Casings (1×4): Measure the window height and cut two pieces to sit flush between the sill and the top header.
- Top Header (1×6): Cut to the window width plus 7 inches to cover the side casings with a slight reveal.
5 Ways to Style Exterior Trim
Find the perfect color and material combination to match your home's architecture.
High-Contrast Modern Farmhouse: Pair matte black PVC trim with stark white board and batten for a striking, contemporary exterior.
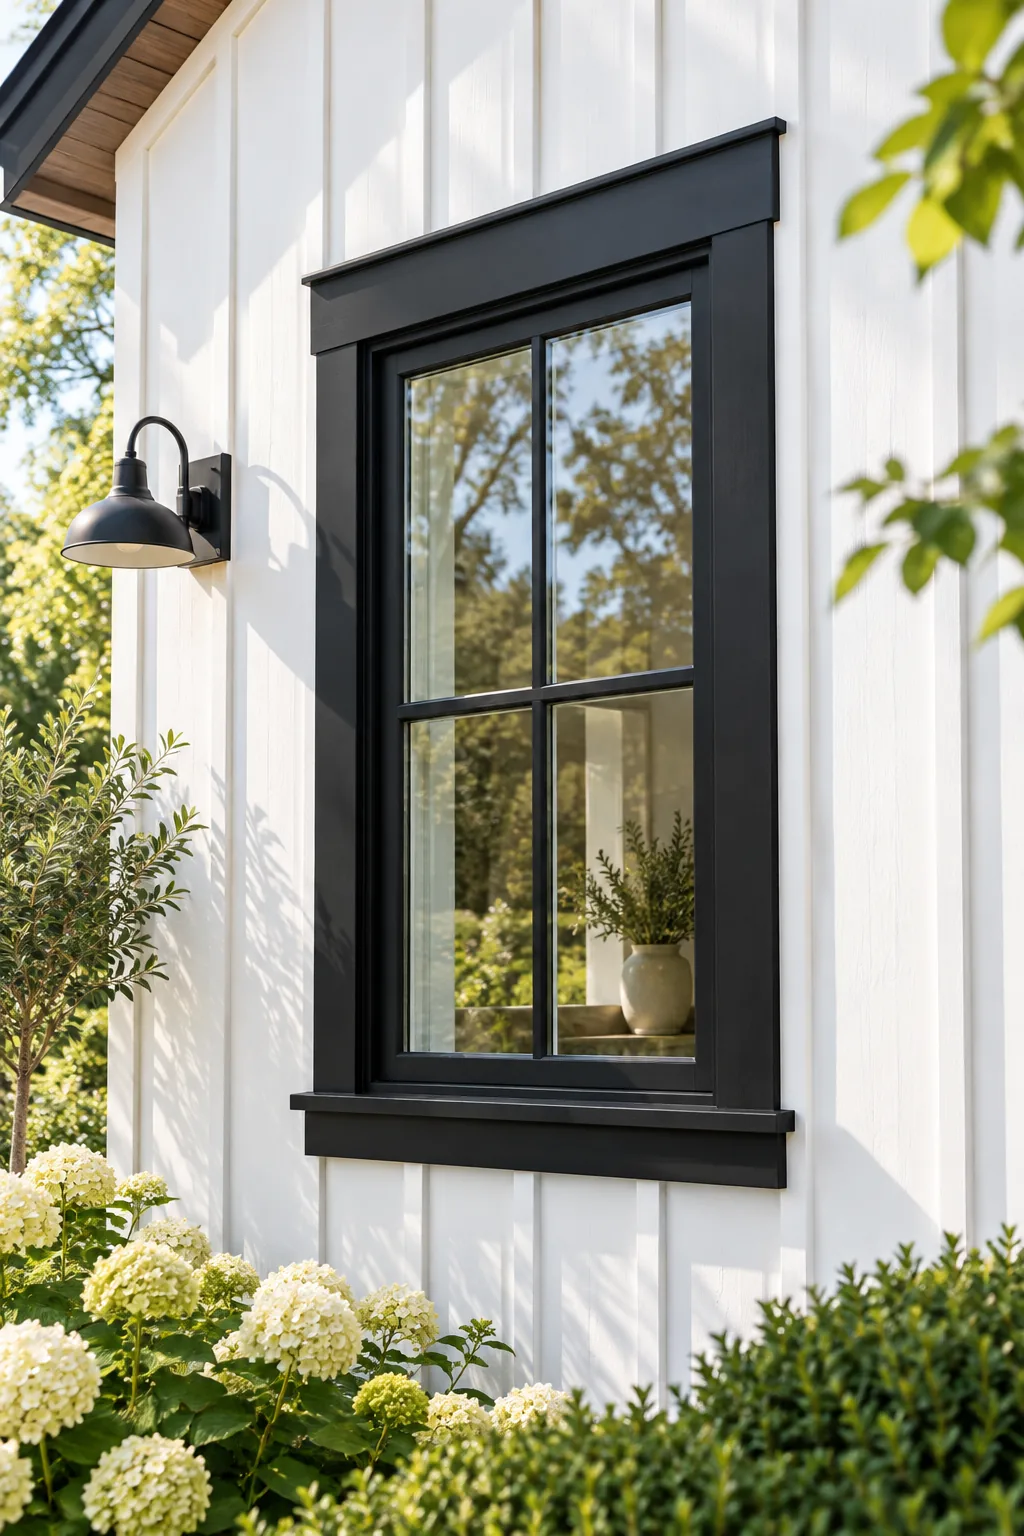
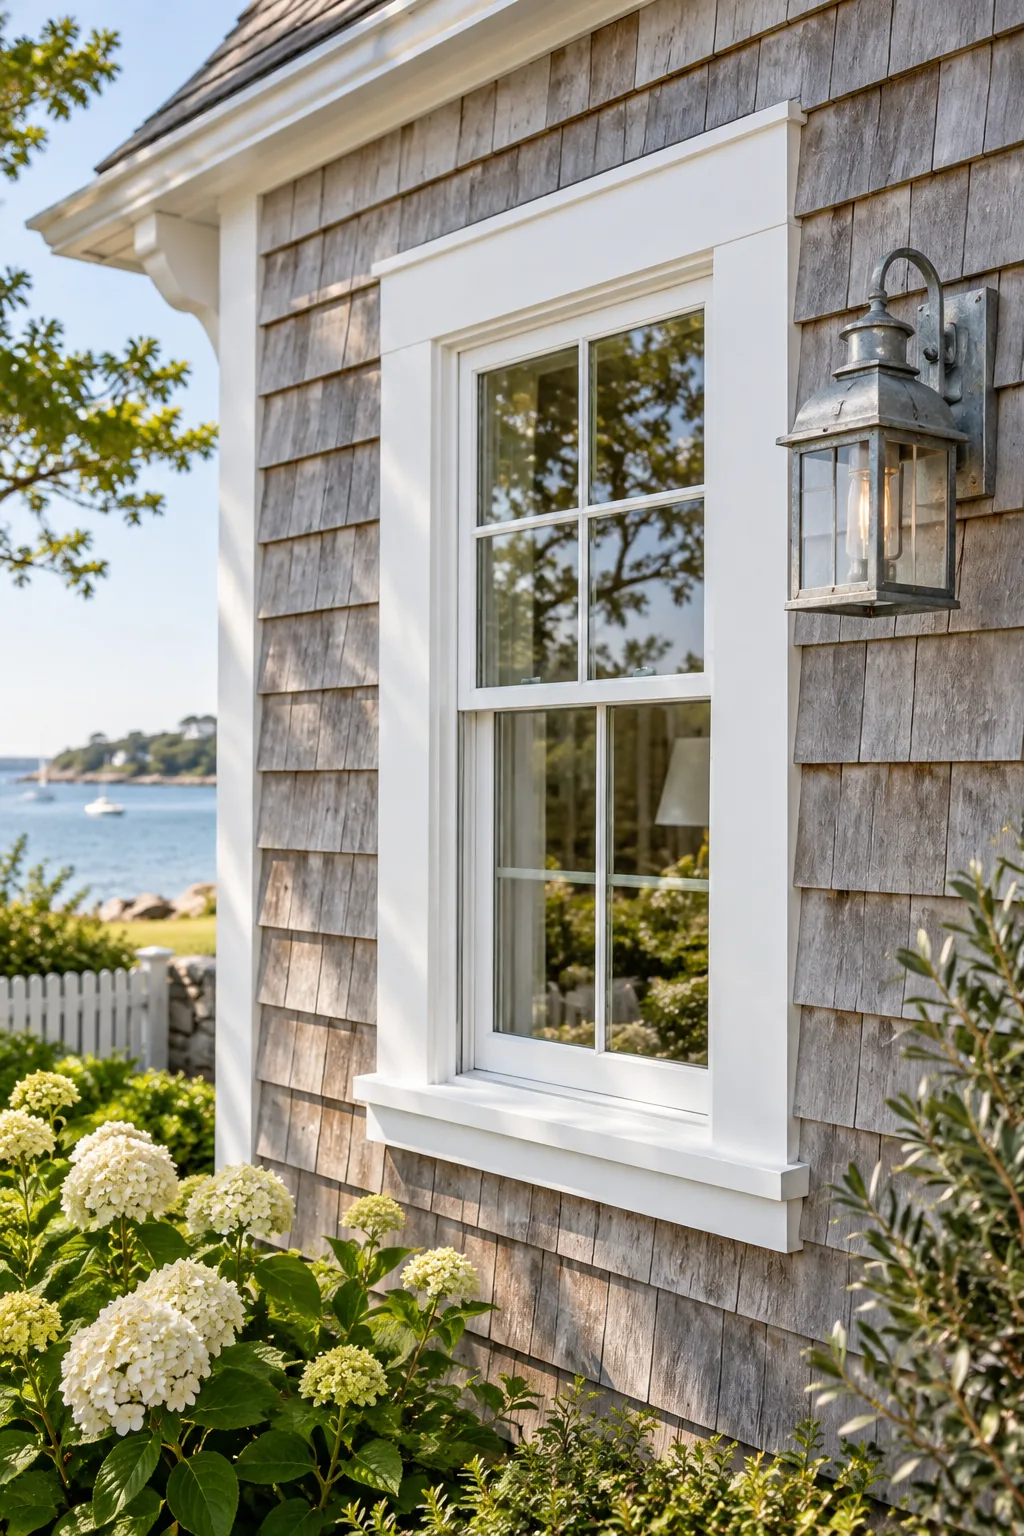
Weathered Coastal Cedar Shake: Crisp white casing pops beautifully against naturally weathering cedar shingles for a classic maritime feel.
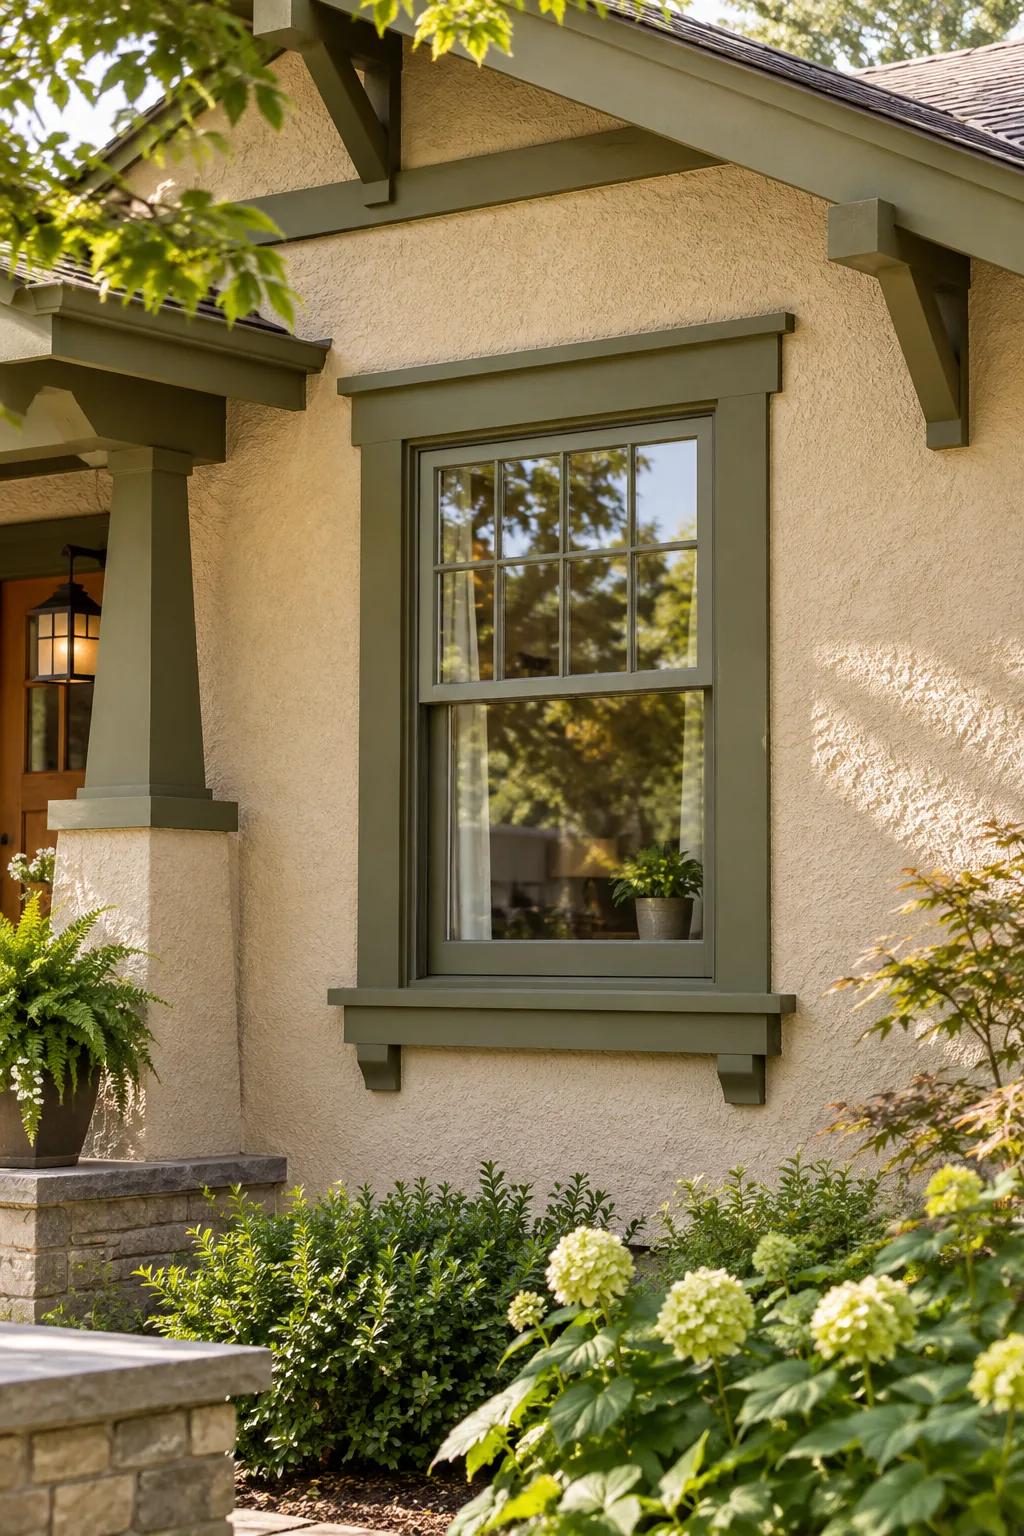
Earthy Craftsman Stucco: Use a deeper olive or taupe trim against warm stucco to highlight traditional bungalow architecture.
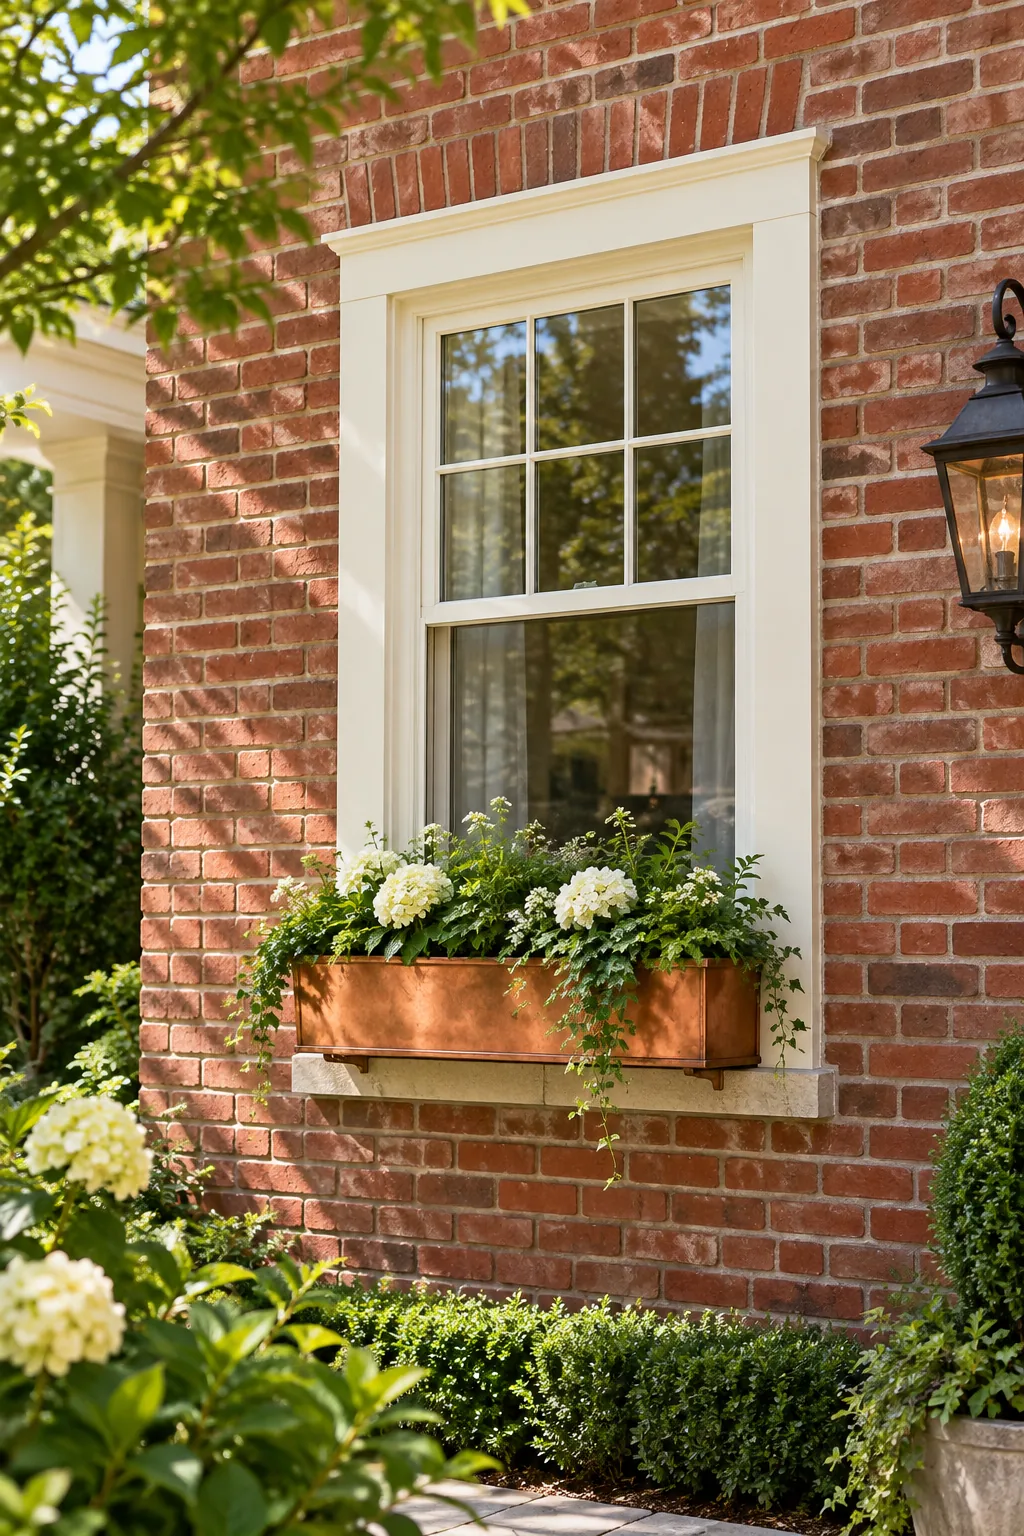
Classic Red Brick Contrast: Soft cream PVC offers a gentler transition against harsh red brick than bright, stark white.
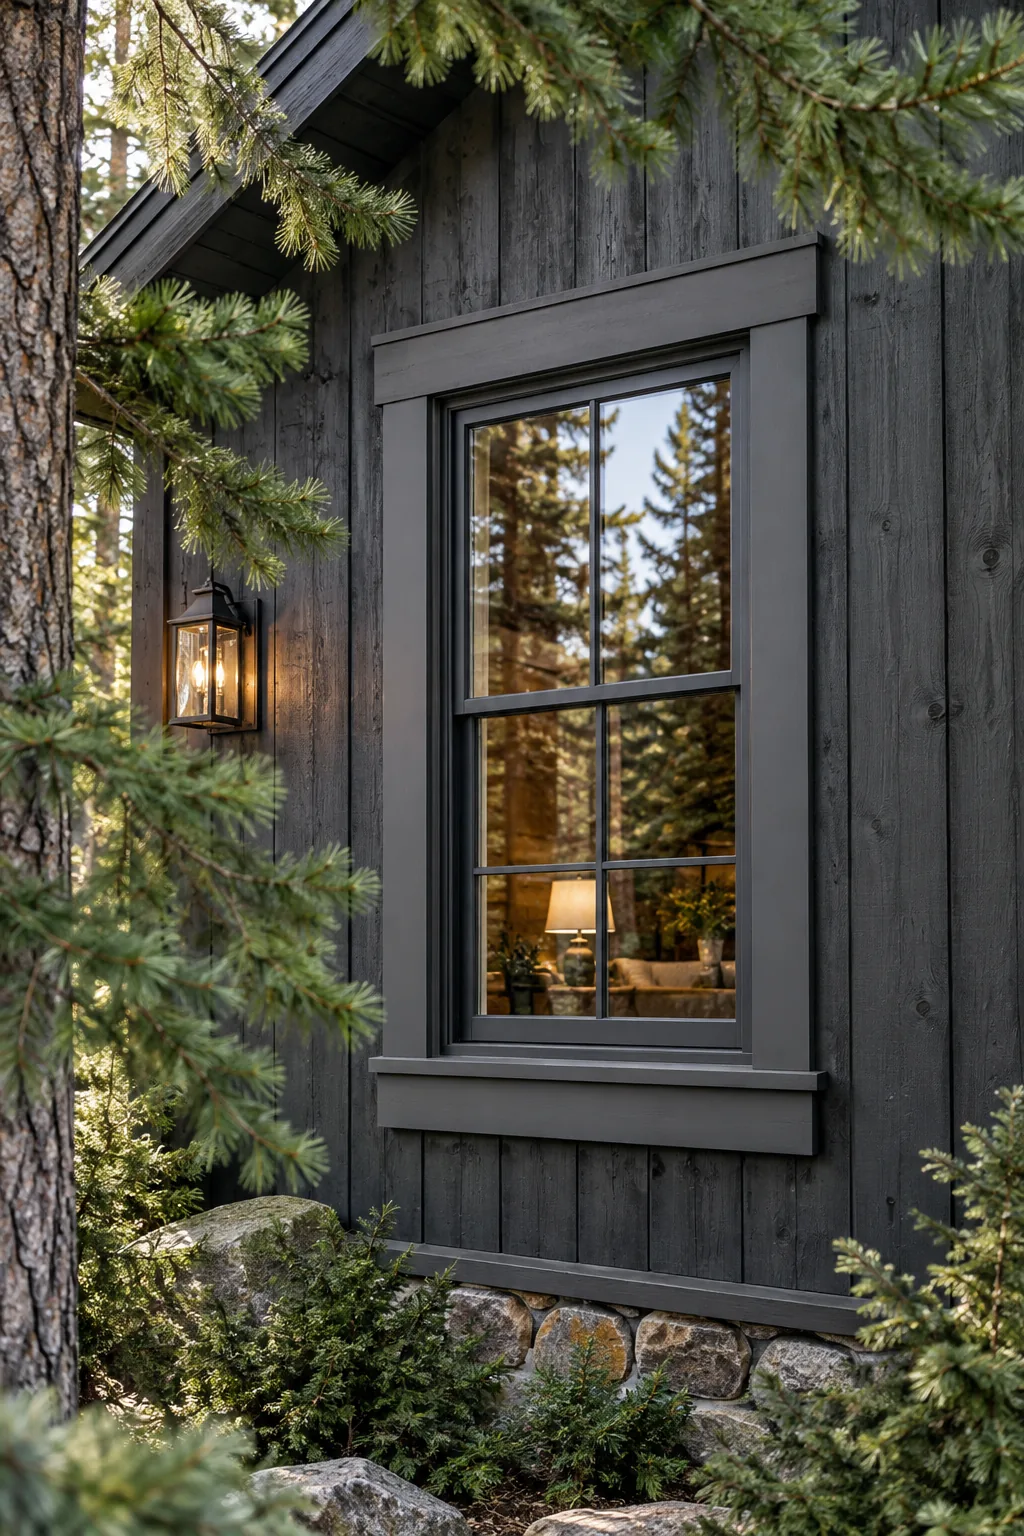
Monochromatic Moody Cabin: Match charcoal trim to dark stained wood siding for a seamless, modern woodland aesthetic.