
DIY Cat Wall for Small Spaces: Exact Shelf Spacing Guide
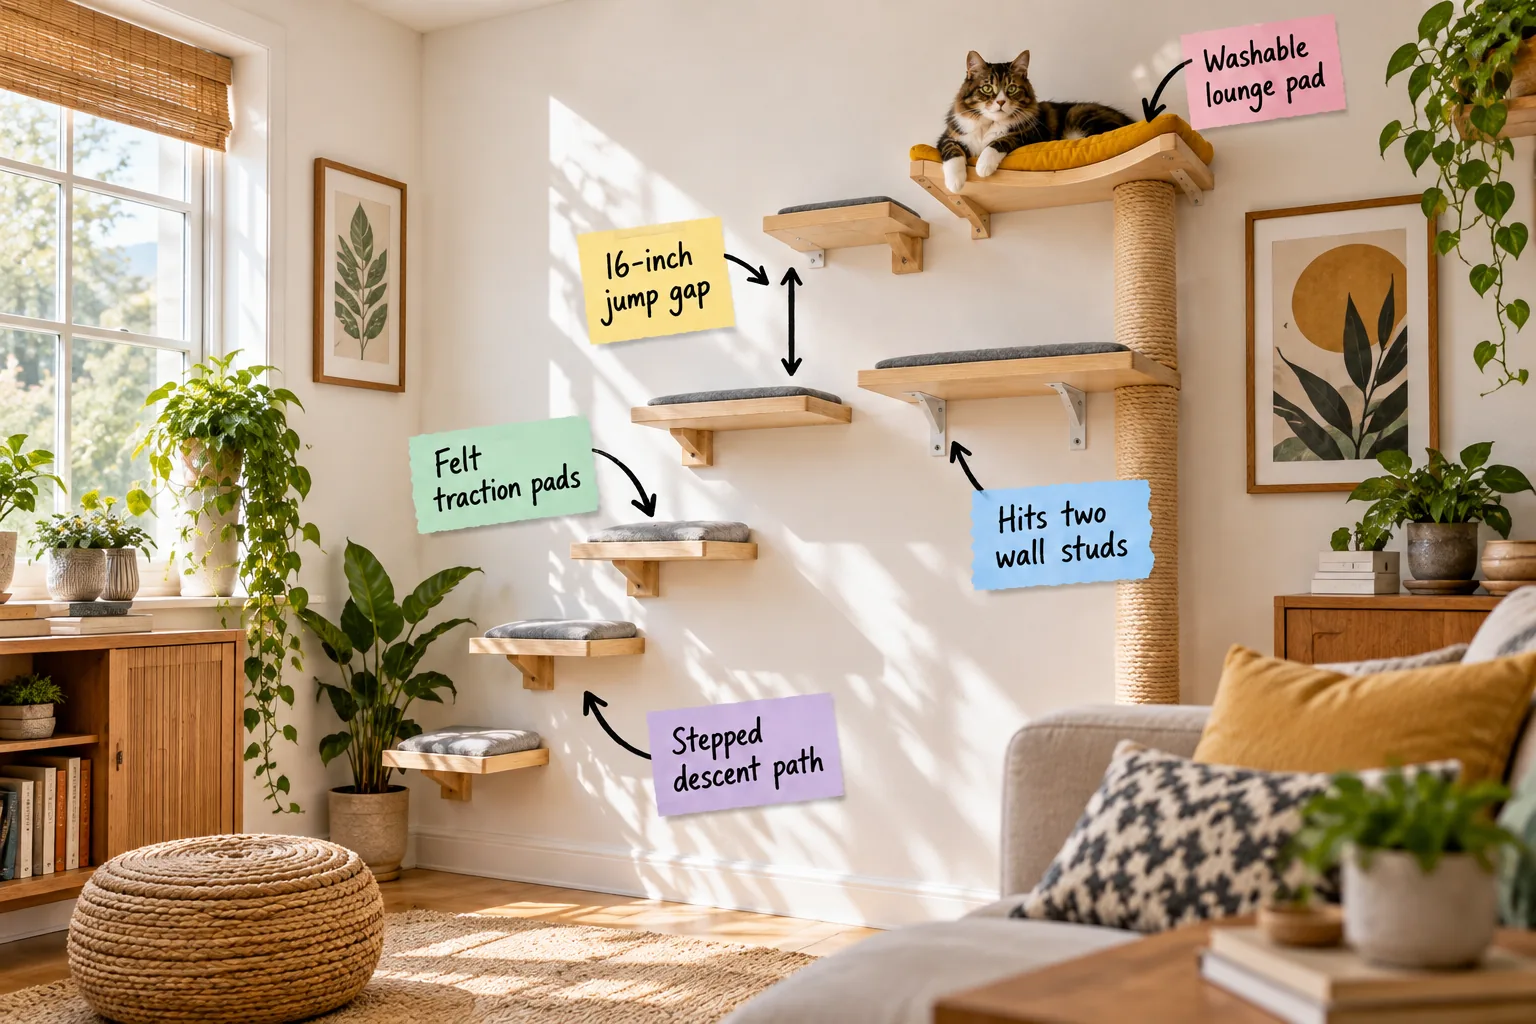
I’ll show you how to build a safe, stylish vertical playground that fits your exact room using my complete shelf spacing cheat sheet and layout plan. With the right stud anchoring and jump gaps mapped out, your custom cat wall will be totally secure and feline-approved.
Assessing Your Wall Material
Before buying hardware, you need to confirm exactly what type of wall you are drilling into. Standard drywall requires locating the wooden framing behind it, while older homes with lath and plaster demand specialized masonry bits to prevent severe cracking.
Anchoring to the Wall Studs
Start by locating the vertical framing behind your drywall to secure the widest shelf across two standard 16-inch on-center wall studs for maximum load-bearing capacity. This heavy-duty base platform must anchor directly into wood to support the dynamic impact of a jumping cat.
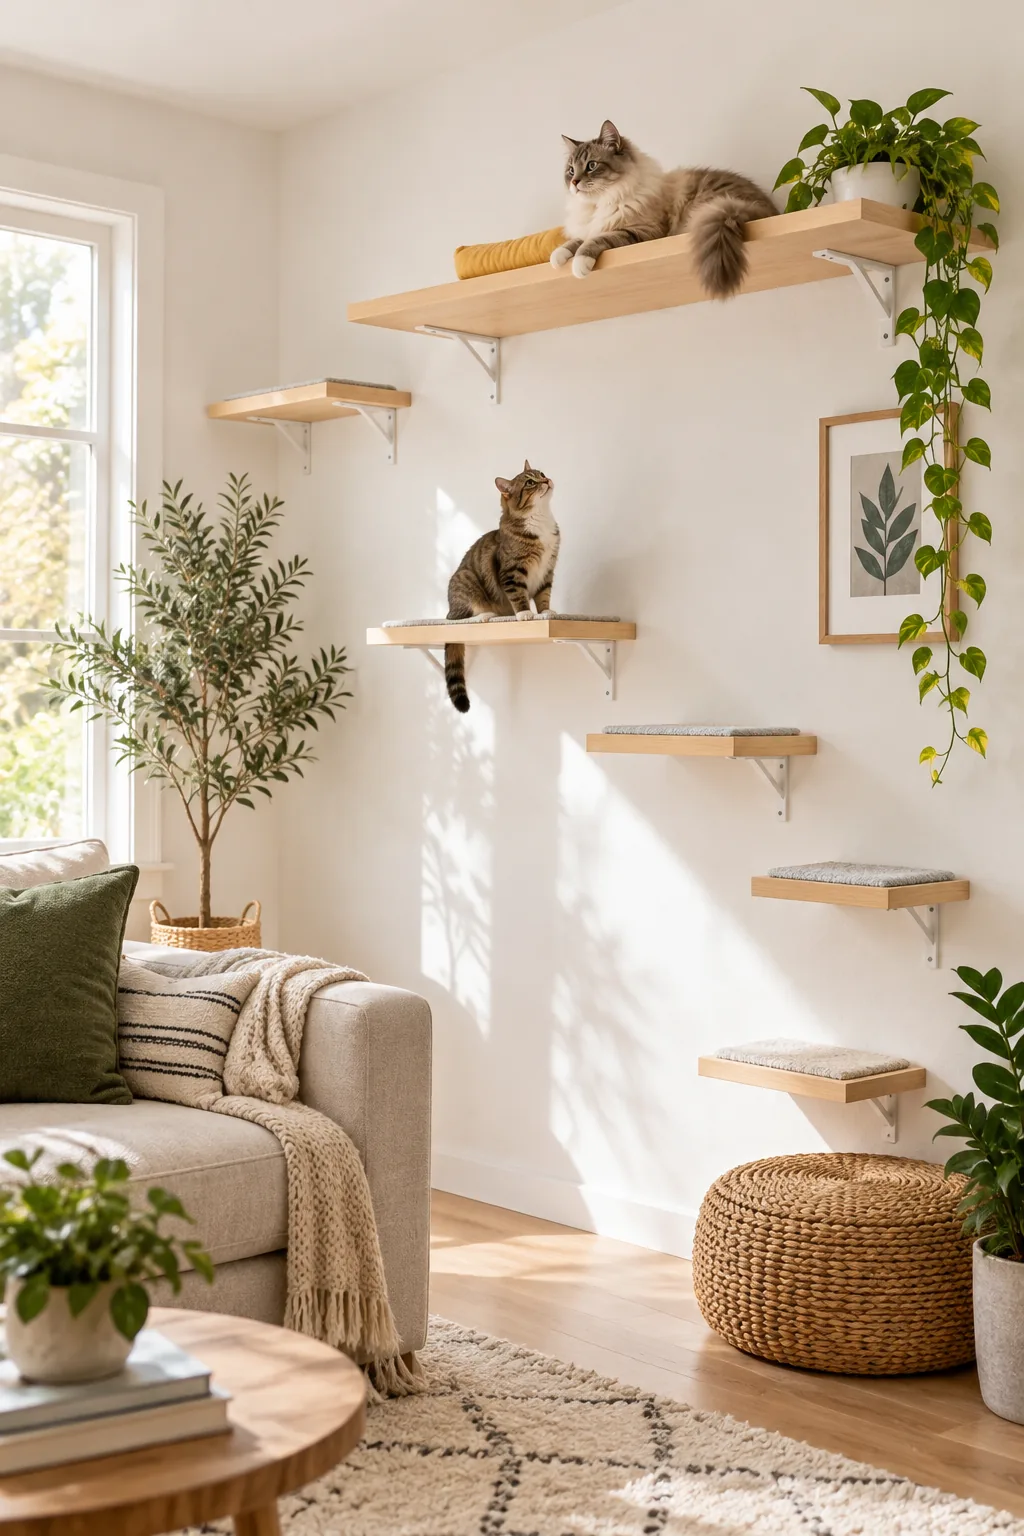
Using proper metal brackets rather than plastic drywall anchors ensures your foundation won’t rip out of the wall over time. Once this primary shelf is locked tightly into the framing, you can safely map out the rest of the climbing route.
Selecting the Heavy-Duty Brackets
Flimsy decorative brackets will easily bend under the force of a leaping cat, so always opt for quarter-inch thick steel L-brackets. I recommend choosing hardware with at least three mounting holes per side to guarantee a completely rigid connection against the drywall.
Marking the Stud Lines
Use a reliable magnetic stud finder to pinpoint the exact center of your wooden framing from the floor to the ceiling. Mark these vertical lines faintly with a pencil so you know exactly where every single load-bearing screw needs to be driven.
The Shelf Spacing Cheat Sheet
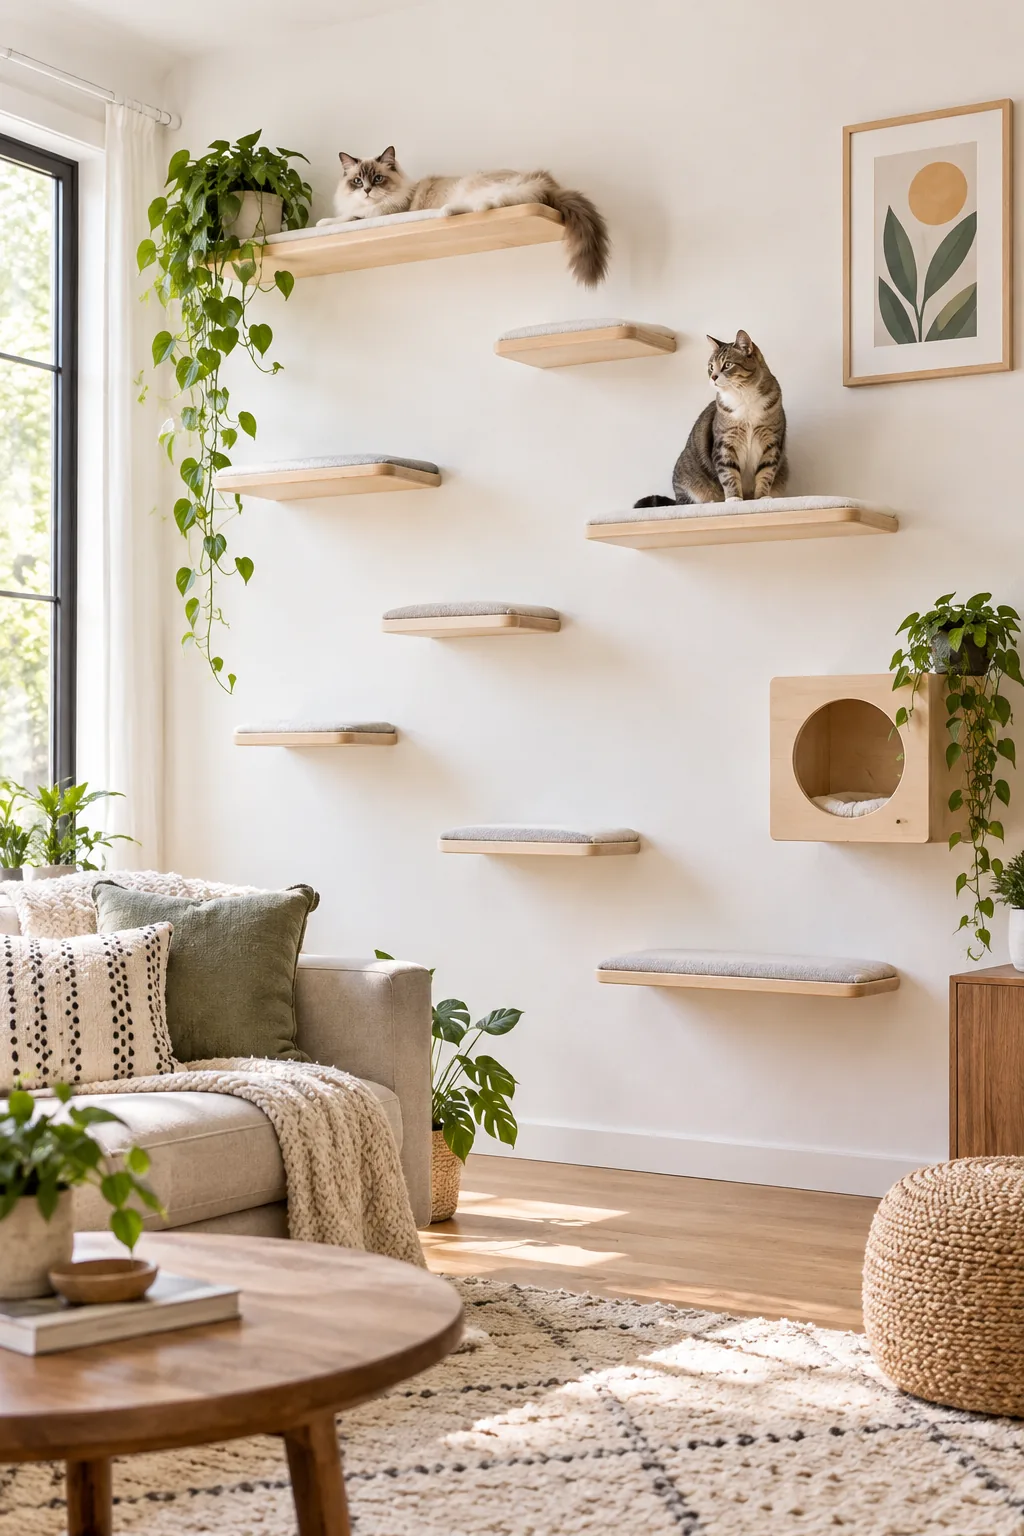
Plan your overall layout strategy and baseline horizontal and vertical spacing rules with painter’s tape before drilling a single hole. Planning a diagonal layout creates a natural, staircase-like flow that easily guides your cat upward toward their final resting destination.
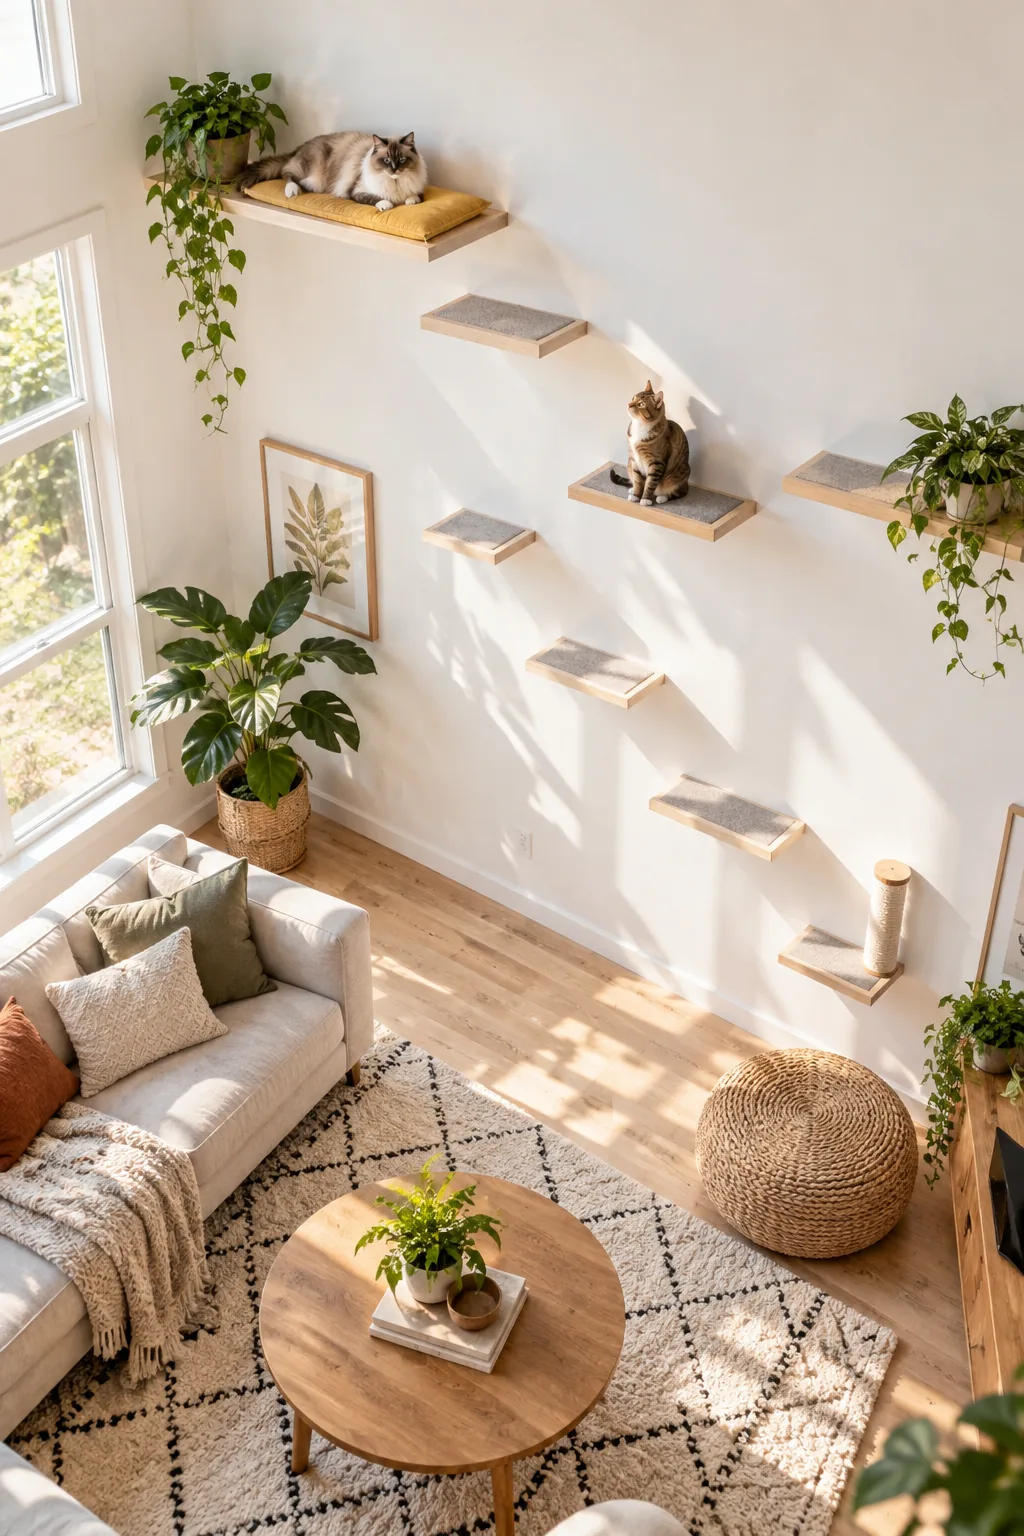
For a safe and accessible route, stick to a horizontal spacing of 12 to 16 inches between staggered steps. Limit any direct vertical drops to a maximum of 18 inches so your cat never has to risk a dangerous blind leap.
Mapping the Route with Tape
Taping the exact dimensions of your shelves onto the wall helps you visualize the entire climbing path before committing to permanent holes. This simple step lets you step back and verify that the layout looks balanced alongside your existing room furniture.
| Cat Size | Max Vertical Drop | Horizontal Gap |
|---|---|---|
| Kitten (under 1 yr) | 12 inches | 10 inches |
| Adult (agile) | 18 inches | 16 inches |
| Senior (10+ yrs) | 10 inches | 8 inches |
Adjusting these baseline measurements based on your cat’s age and mobility ensures the finished wall remains fully accessible for their entire lifespan. Always design for their current physical limits rather than forcing them to attempt uncomfortable, stretching bounds.
Mastering the 16-Inch Jump Gap
Implement a precise 16-inch diagonal jump distance between staggered shelves to maintain a comfortable, consistent leaping gap. Measuring this empty diagonal wall space perfectly accommodates an adult cat’s natural stride without causing hesitation or dangerous missed landings.
I learned the hard way with my first cat wall that spacing shelves too far apart just leads to nervous meowing and ignored platforms. Keeping that jump gap tight ensures they bound up the wall with total confidence and speed.
Choosing the Right Wood
Solid pine or oak planks are ideal for treads because they are lightweight yet incredibly resistant to bowing under sudden weight. Avoid weak particleboard, which will inevitably sag over time and fail to hold the anchoring screws securely.
Sanding the Shelf Edges
Raw wooden boards often have sharp corners that can snag a claw or cause a minor scrape during a fast ascent. Take a few minutes to round over every exposed edge with medium-grit sandpaper until the perimeter feels completely smooth to the touch.
- Sand the top surface lightly to remove splinters.
- Round over the sharp front corners with a sanding block.
- Wipe away all sawdust with a damp microfiber cloth.
Taking the time to properly prep the wood guarantees that the final surface will be safe for sensitive paw pads. It also creates a perfectly clean base for attaching the necessary grip materials in the next crucial step.
Adding Felt Traction Pads
Smooth wood is dangerous for high-speed feline parkour, so you must apply non-slip textured gray felt to the top of the wooden treads. Using heavy-duty double-sided carpet tape provides the essential grip required for their paws to catch safely.
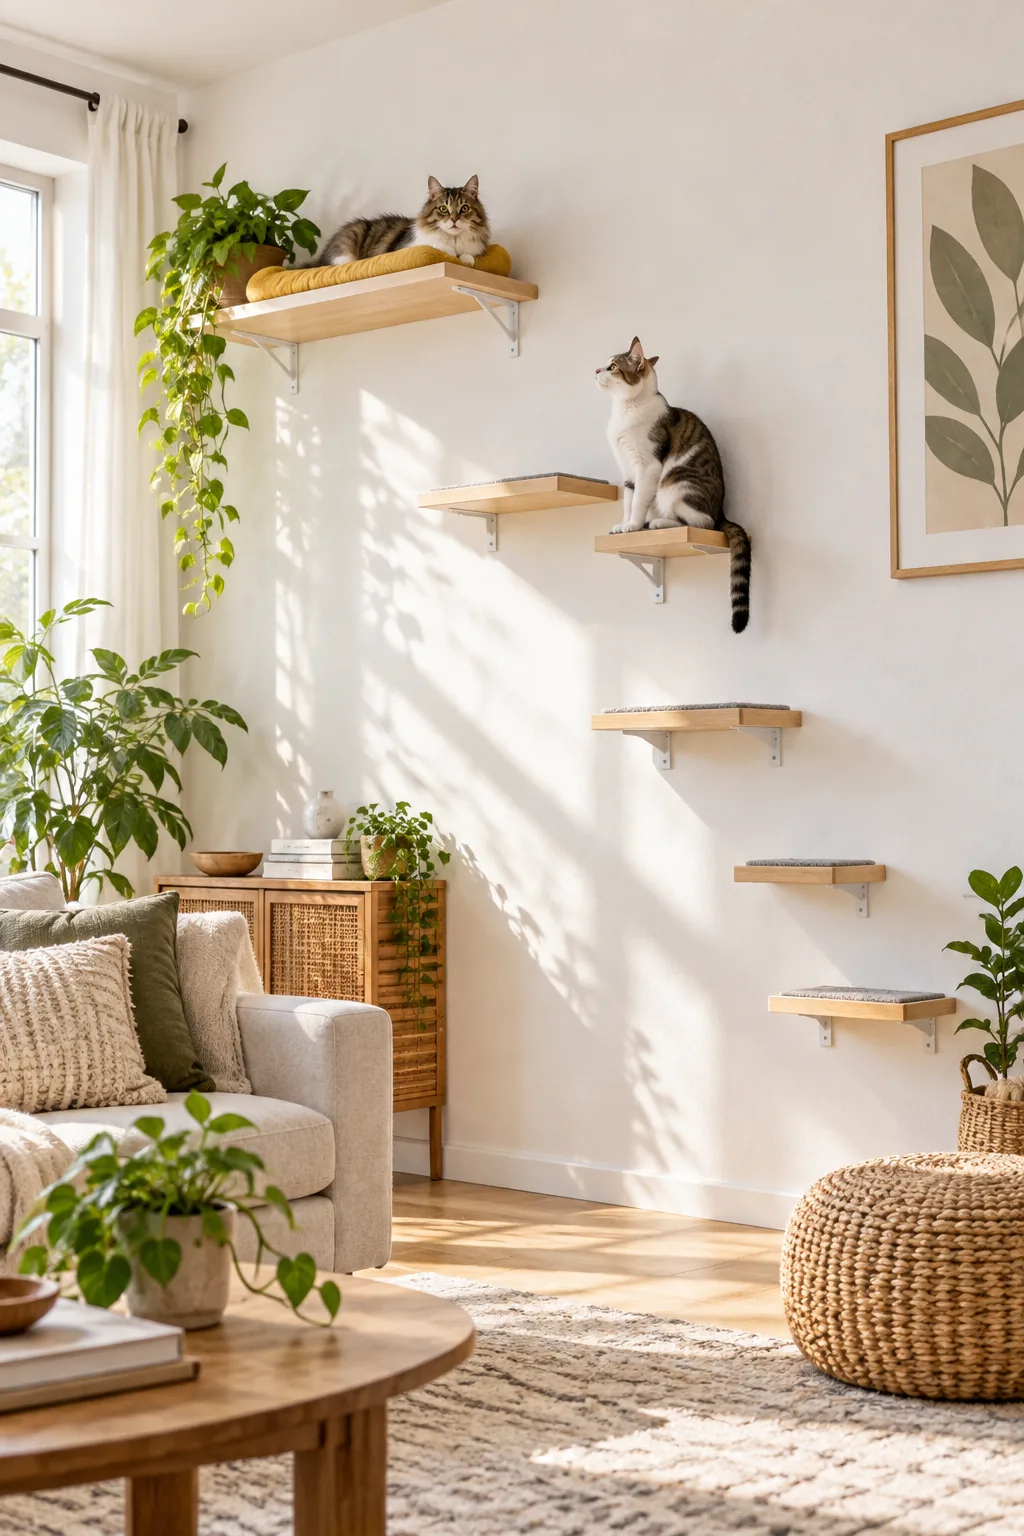
Watching my cat slip on bare wood once was enough to make me immediately add these traction pads to every single step. The felt catches their claws perfectly, turning a slippery shelf into a highly secure launching pad.
Cutting the Carpet Tape
Apply three continuous strips of heavy-duty carpet tape along the length of each wooden shelf to prevent the felt from bubbling in the center. Press the tape down firmly with a plastic scraper to activate the adhesive before peeling off the protective backing.
Pressing the Felt Firmly
Carefully align the pre-cut felt pad over the exposed tape, starting from the back edge against the wall and smoothing it forward. Pressing down hard across the entire surface eliminates air pockets and ensures the fabric will not peel up during heavy use.
Integrating a Sisal Climbing Pole
A tall sisal-wrapped pole offers a continuous vertical scratching surface and an alternative fast route to the top of your design. Before finalizing your pencil marks on the wall, double-check your layout against these common design pitfalls.
Wrapping the Sisal Rope
If you are building the vertical scratching pole from scratch, tightly coil quarter-inch natural sisal rope around a wooden post. Secure the starting and ending coils with heavy-duty construction staples to ensure the rope never unravels when your cat aggressively scratches it.
Planning a Stepped Descent Path
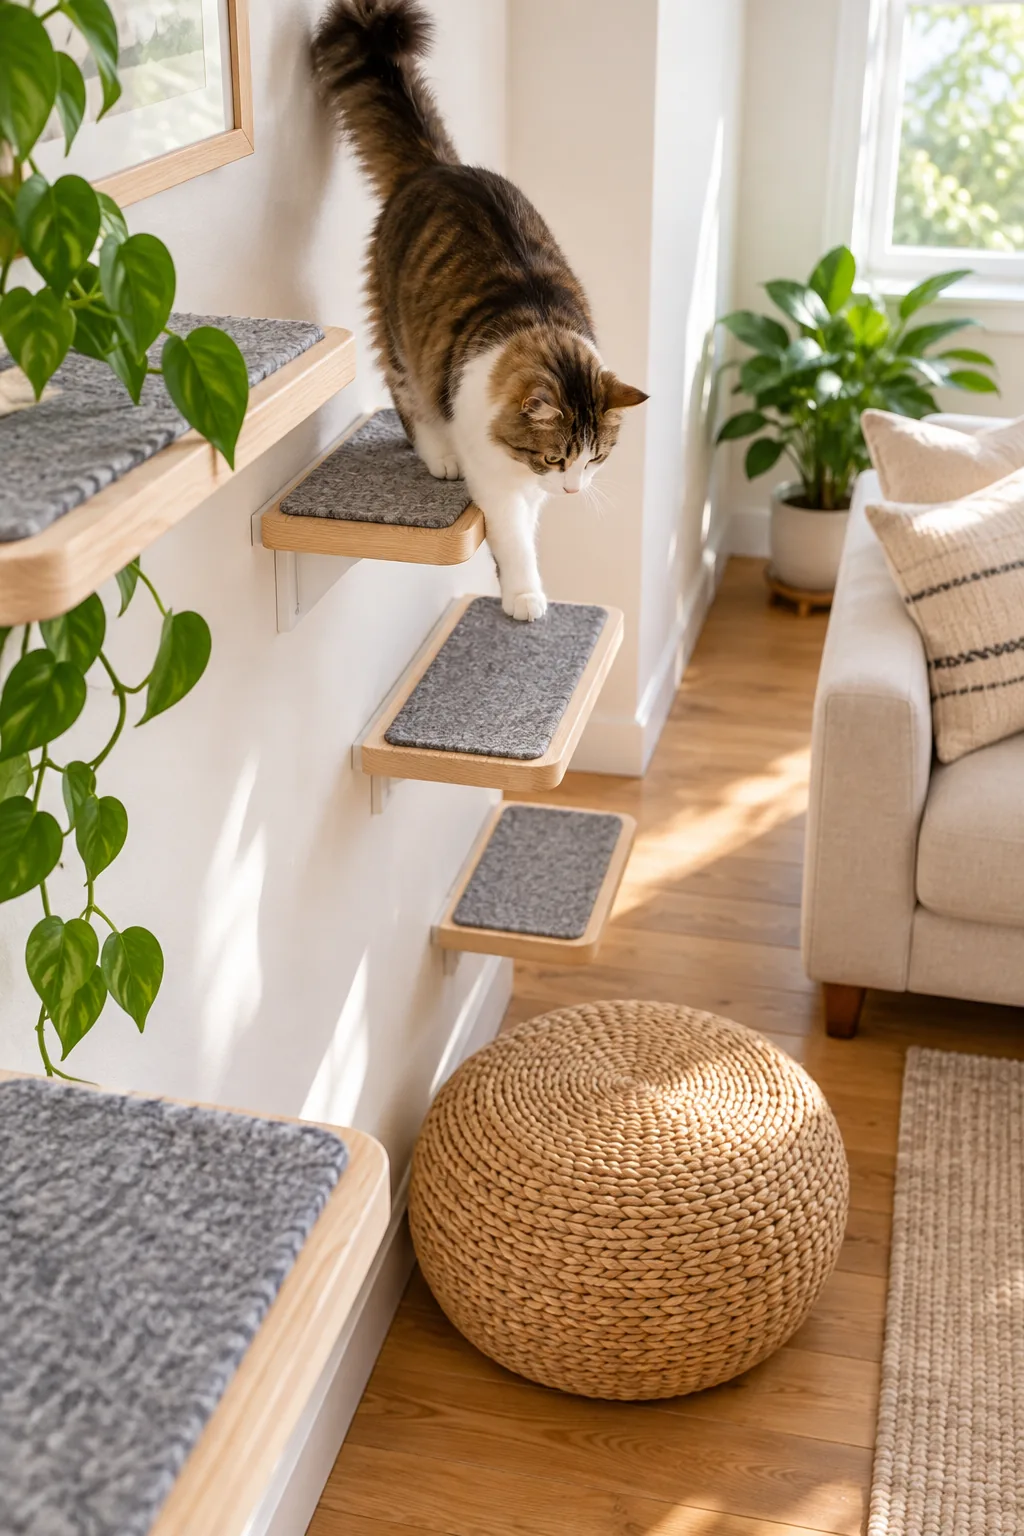
Cats often struggle more with climbing down than going up, so design a lower sequence of closely spaced shelves to lead safely back down. This dedicated route back to the floor requires shorter drops to reduce the daily impact on their joints.
My older rescue cat used to get stranded at the top until I added gentle 10 to 12-inch drops to her downward path. Tighter placement at the base makes the entire wall feel so much safer for them to navigate daily.
Testing the Shelf Wobble
Before letting your cat explore, press down firmly on the outer edge of every single installed shelf to check for deflection. If a platform dips or creaks under manual pressure, you must add an additional support bracket before trusting it with a jumping animal.
Introducing Your Cat
Encourage your cat to explore their new vertical territory by placing their favorite high-value treats on the lowest platforms. Let them discover the route at their own pace rather than forcing them onto the higher shelves before they feel completely comfortable.
Inspecting the Hardware Over Time
Keep your vertical playground safe for years to come by running through a quick maintenance routine every six months. You should physically inspect the metal brackets, test the wall anchors for looseness, and check the felt pads for peeling edges.
Spot Cleaning the Wooden Surfaces
Dust and cat hair will naturally accumulate on the exposed wooden ledges over time, making them slightly slippery if left uncleaned. Wipe down the bare wood sections weekly with a slightly damp microfiber cloth to maintain a hygienic and beautiful installation.
5 Cat Wall Styles for Any Room
Discover how different materials and finishes can adapt this vertical layout to match your home's unique aesthetic.
Minimalist Scandi Birch: Pale birch wood and crisp white felt blend seamlessly into bright, airy spaces.
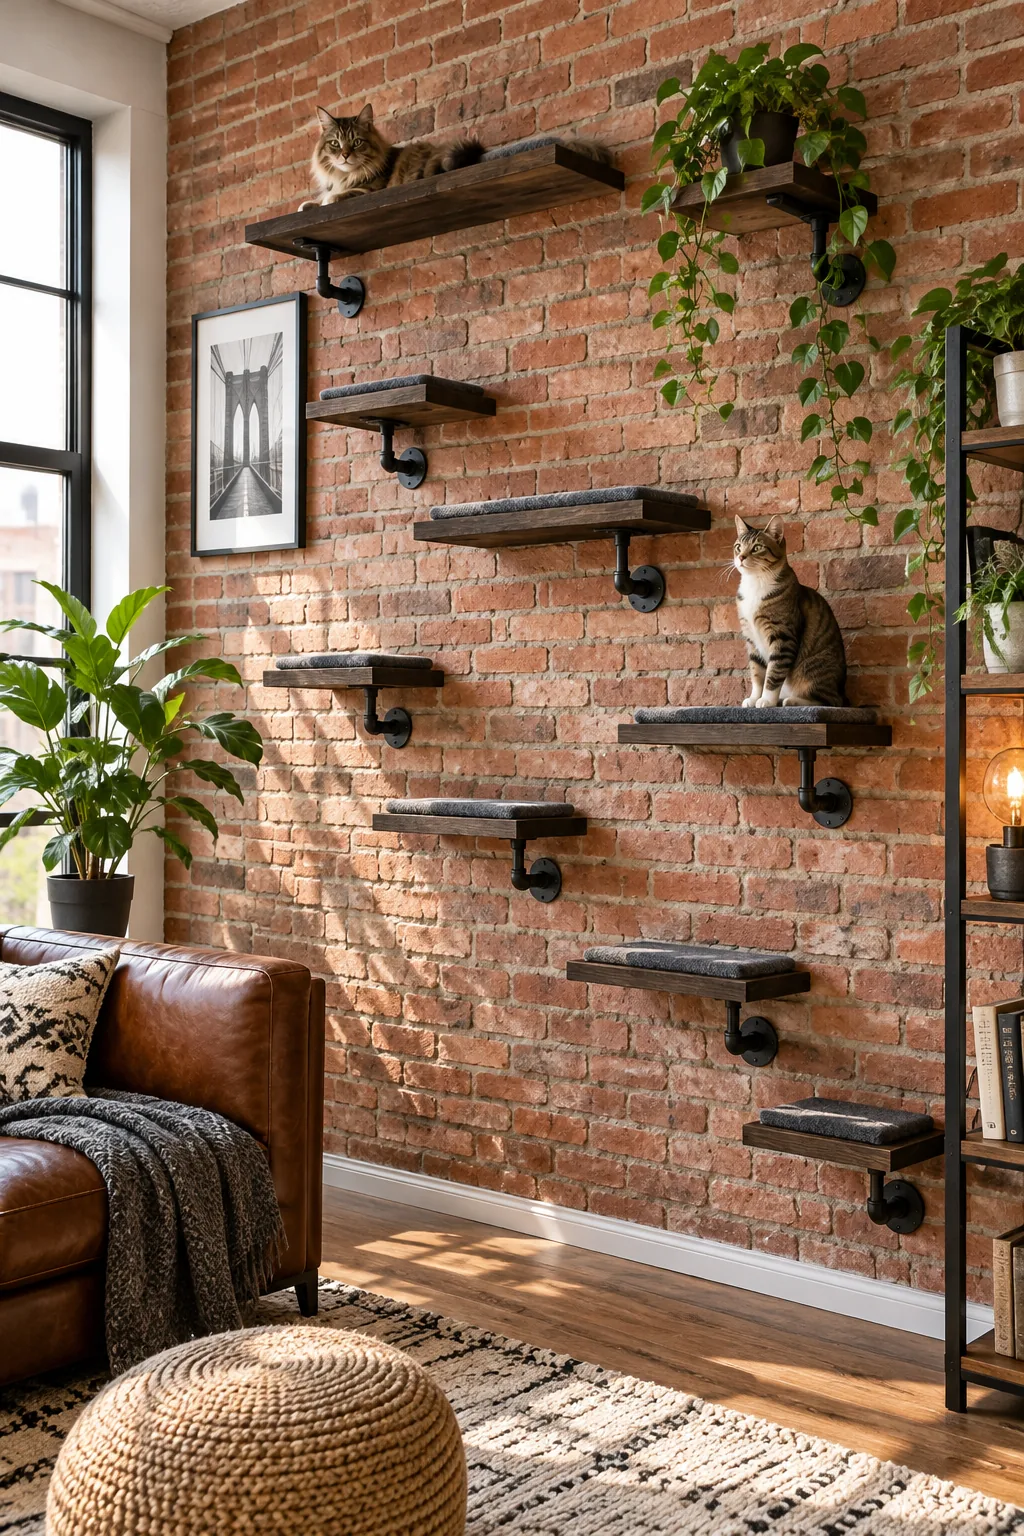
Industrial Loft Walnut: Swap standard brackets for black iron pipes to complement exposed brick and dark woods.
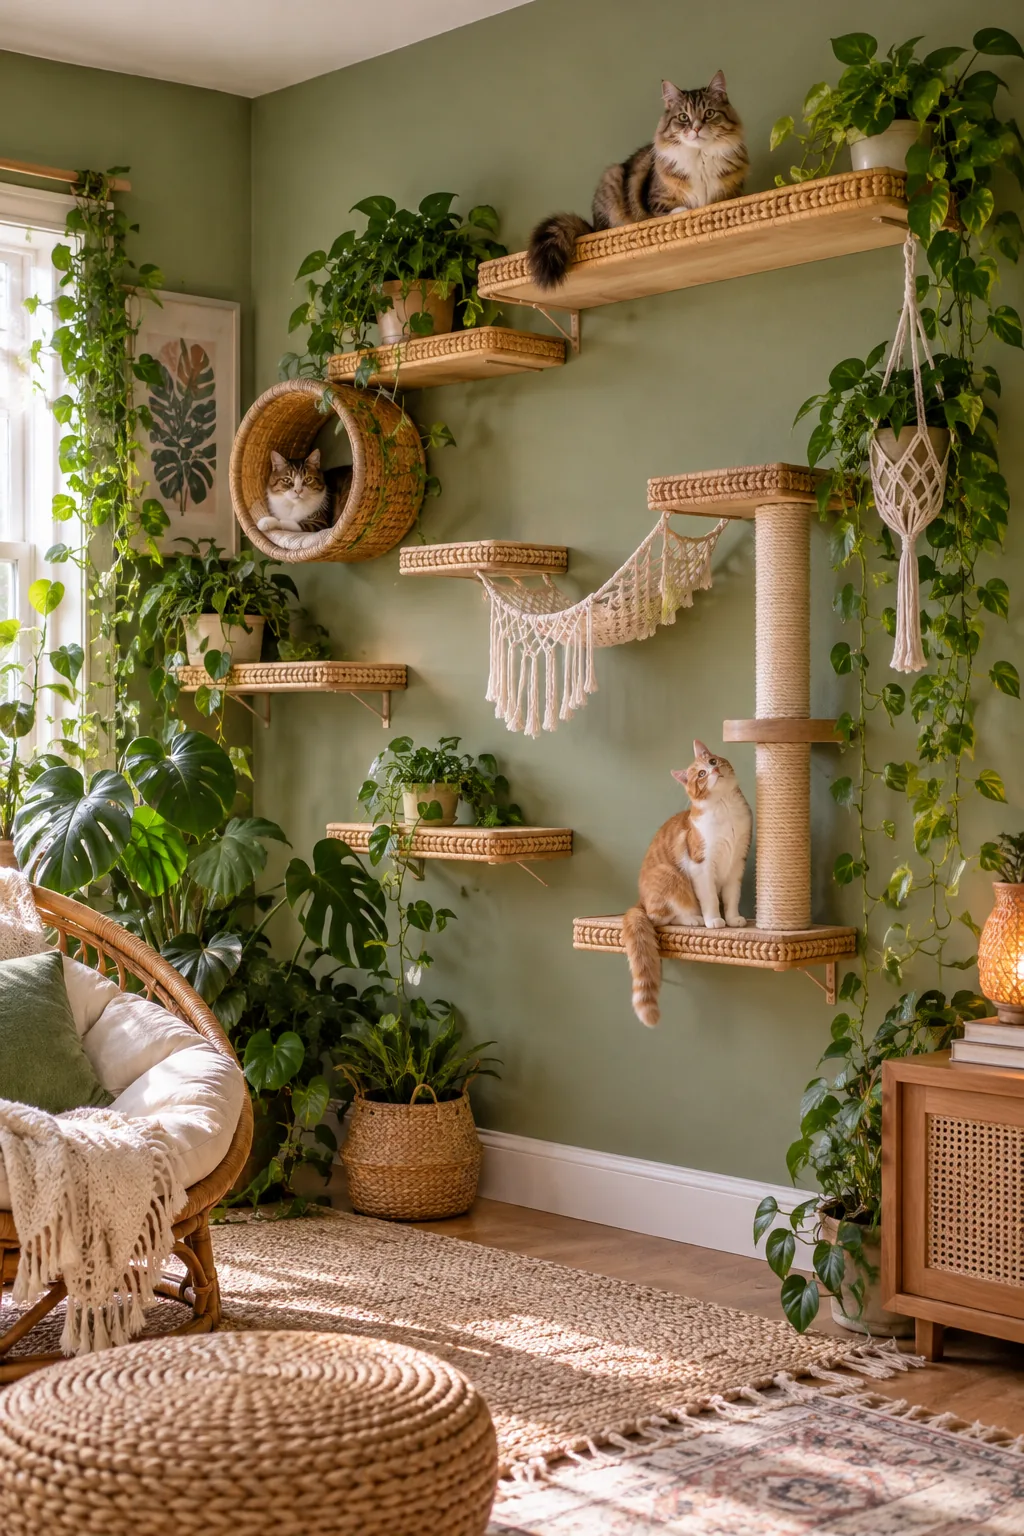
Boho Jungle Rattan: Incorporate rattan edging and surround the layout with pet-safe trailing plants for a natural vibe.
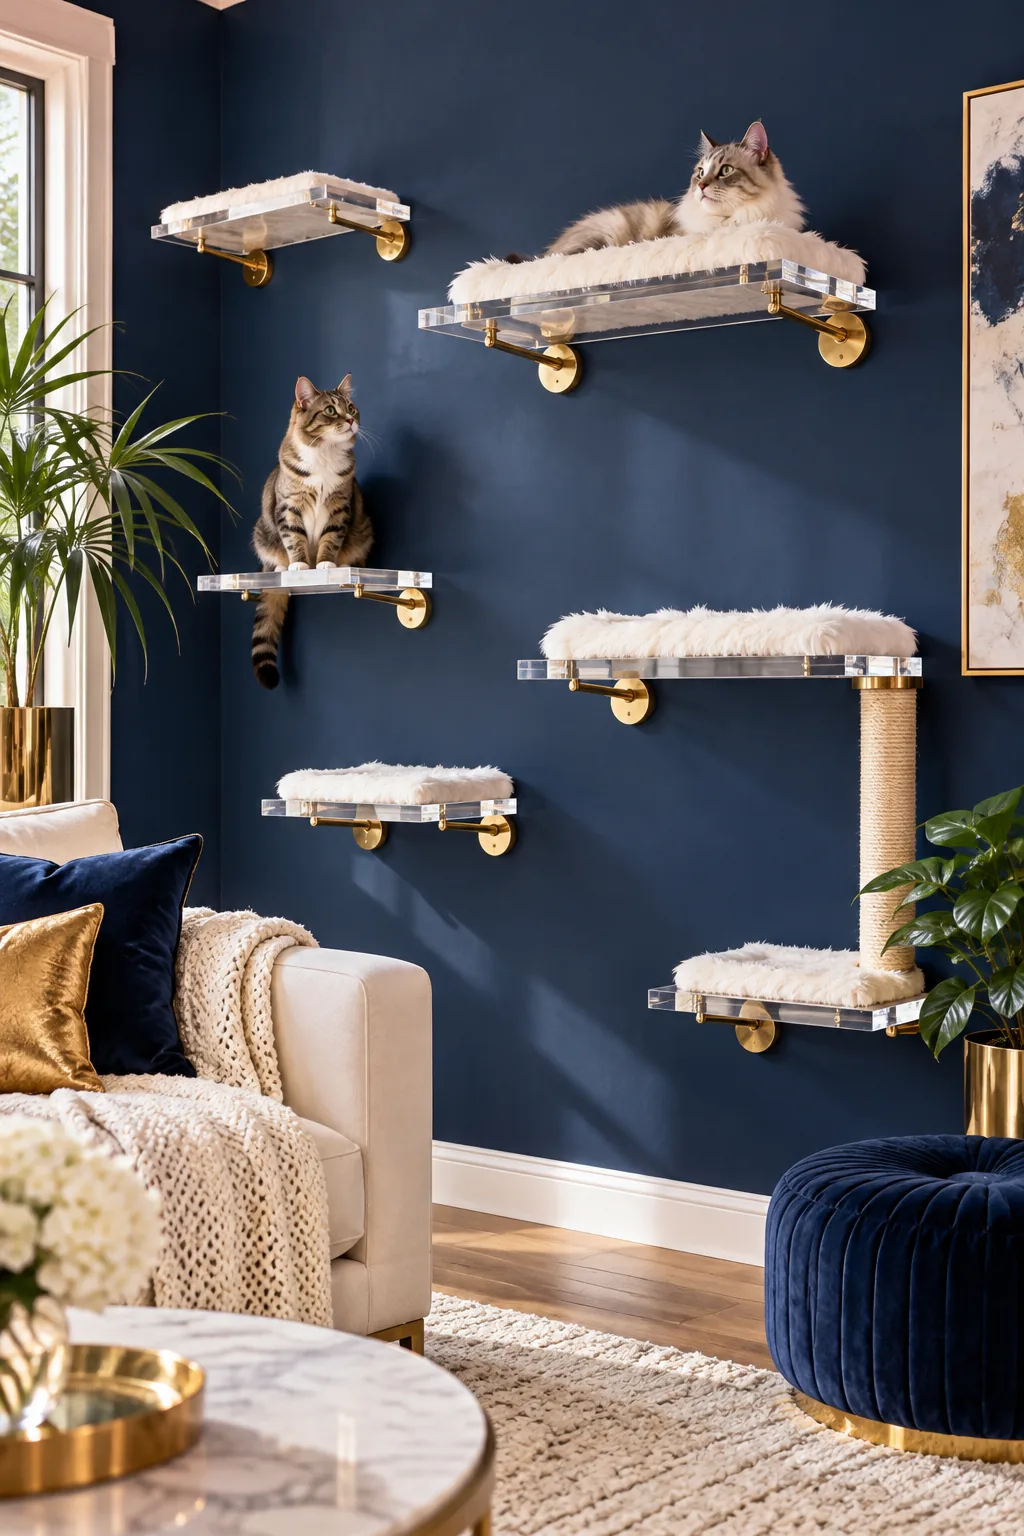
Modern Glam Acrylic: Clear acrylic shelves create a floating illusion while brass hardware adds a touch of luxury.
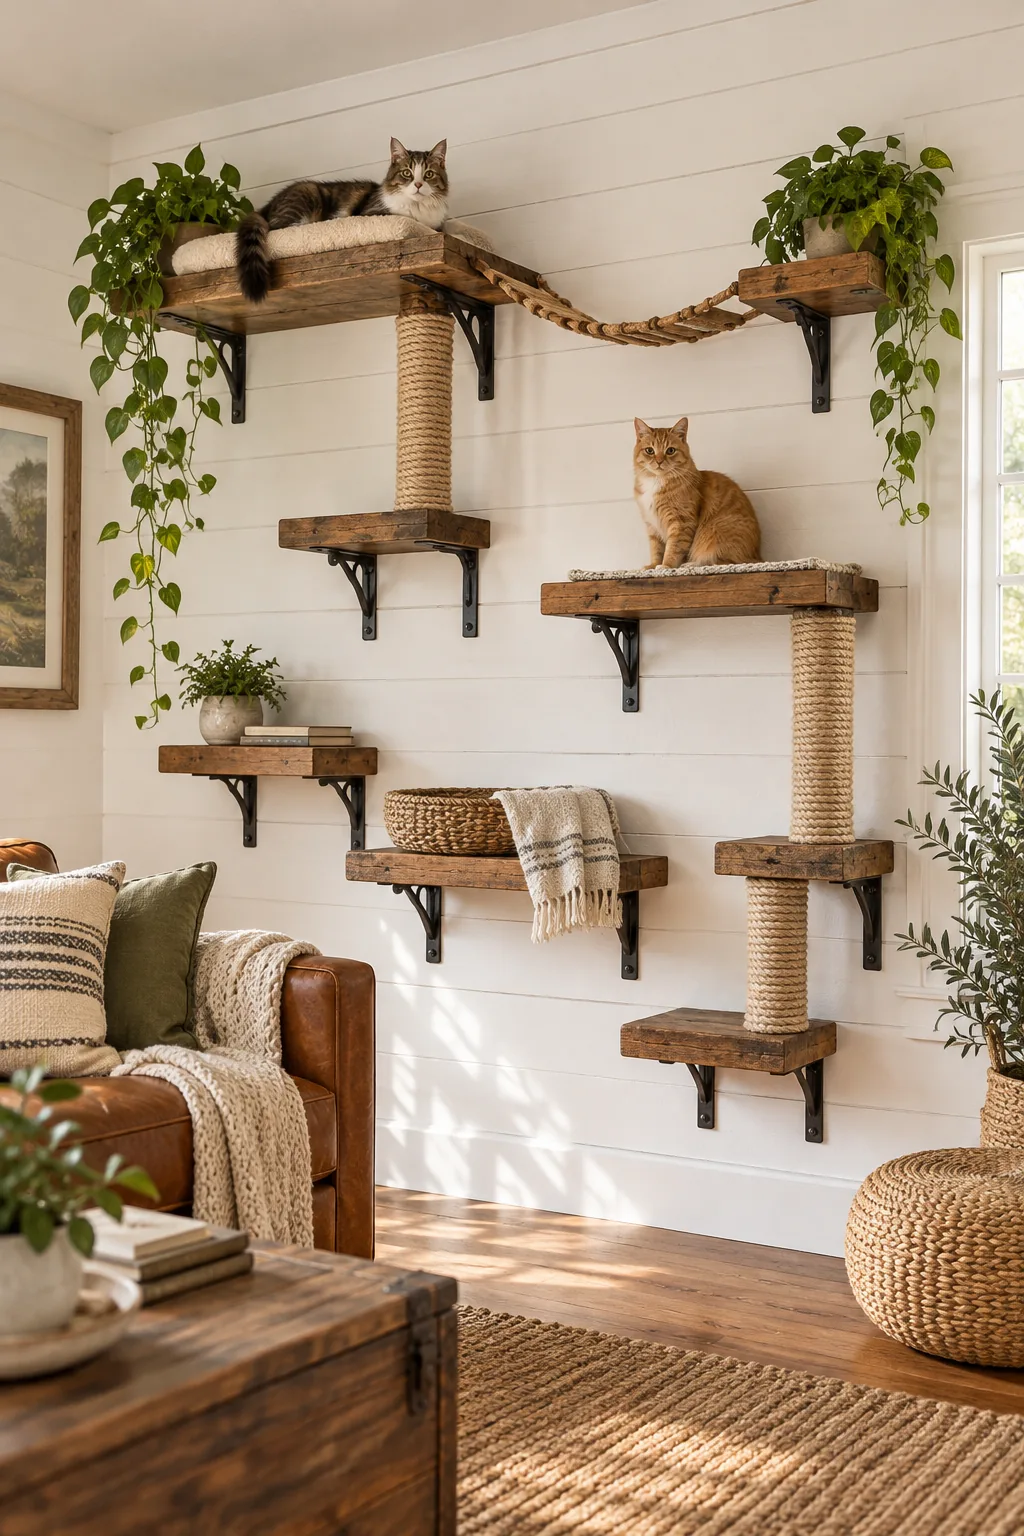
Rustic Farmhouse Reclaimed: Thick reclaimed barn wood and wrought iron brackets bring immediate warmth to a shiplap interior.
The Washable Lounge Pad Destination
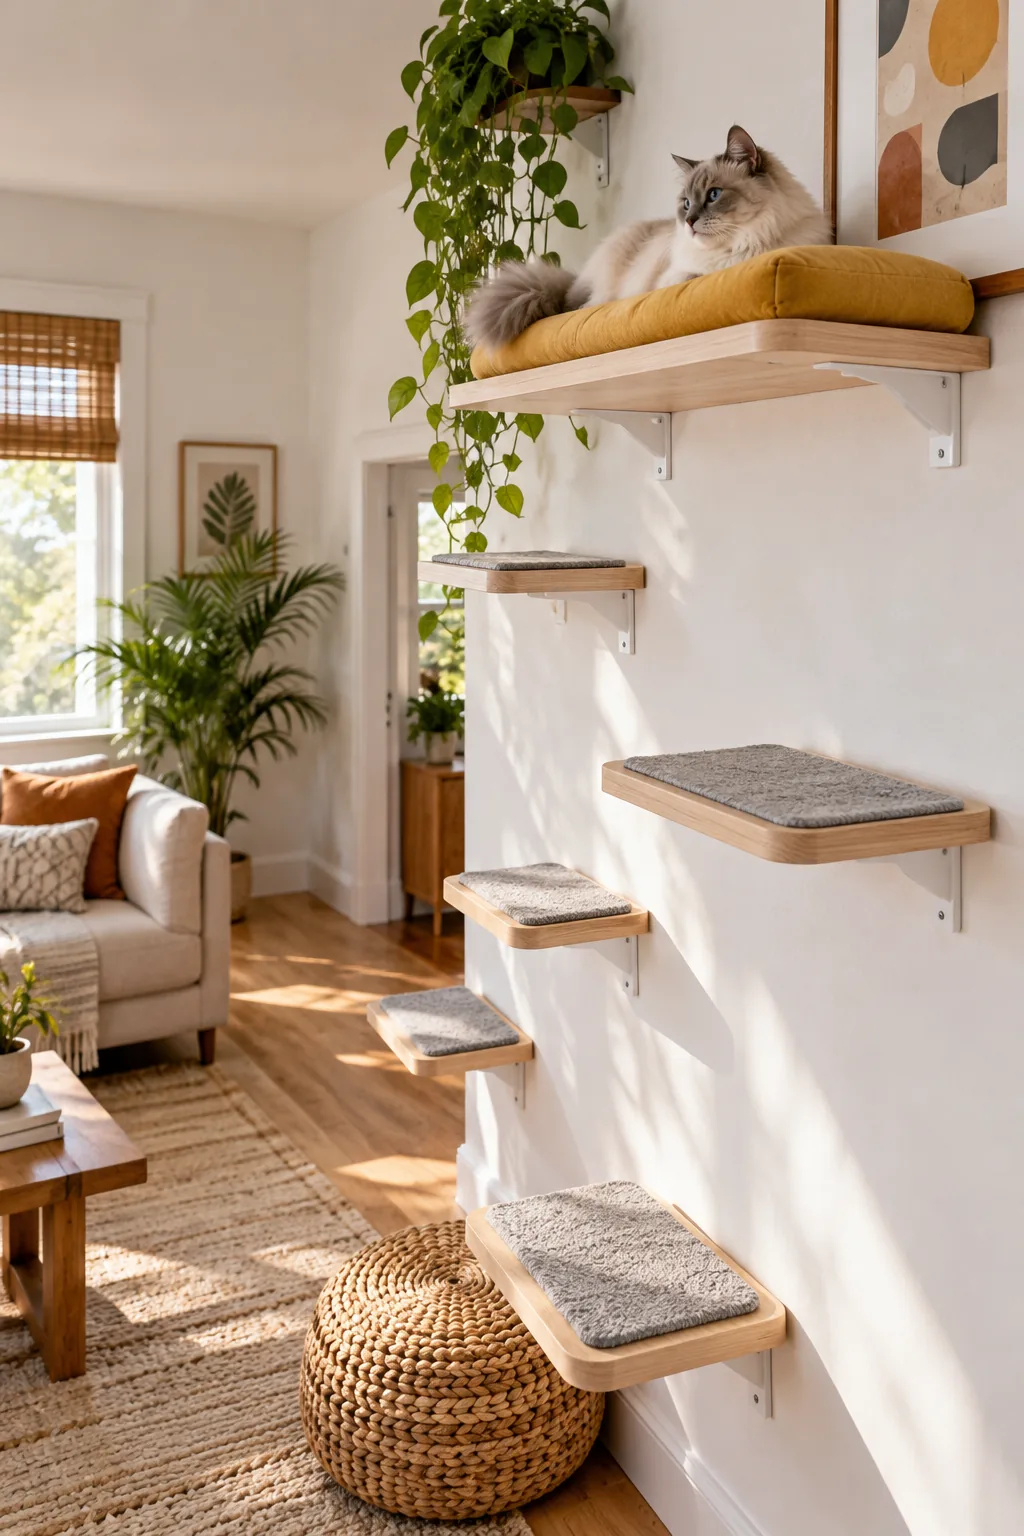
Install a comfortable, washable resting spot at the highest point of the wall to serve as the ultimate reward and lookout point. Secure a plush fabric cushion to this top shelf so your cat has a cozy place to survey their territory.
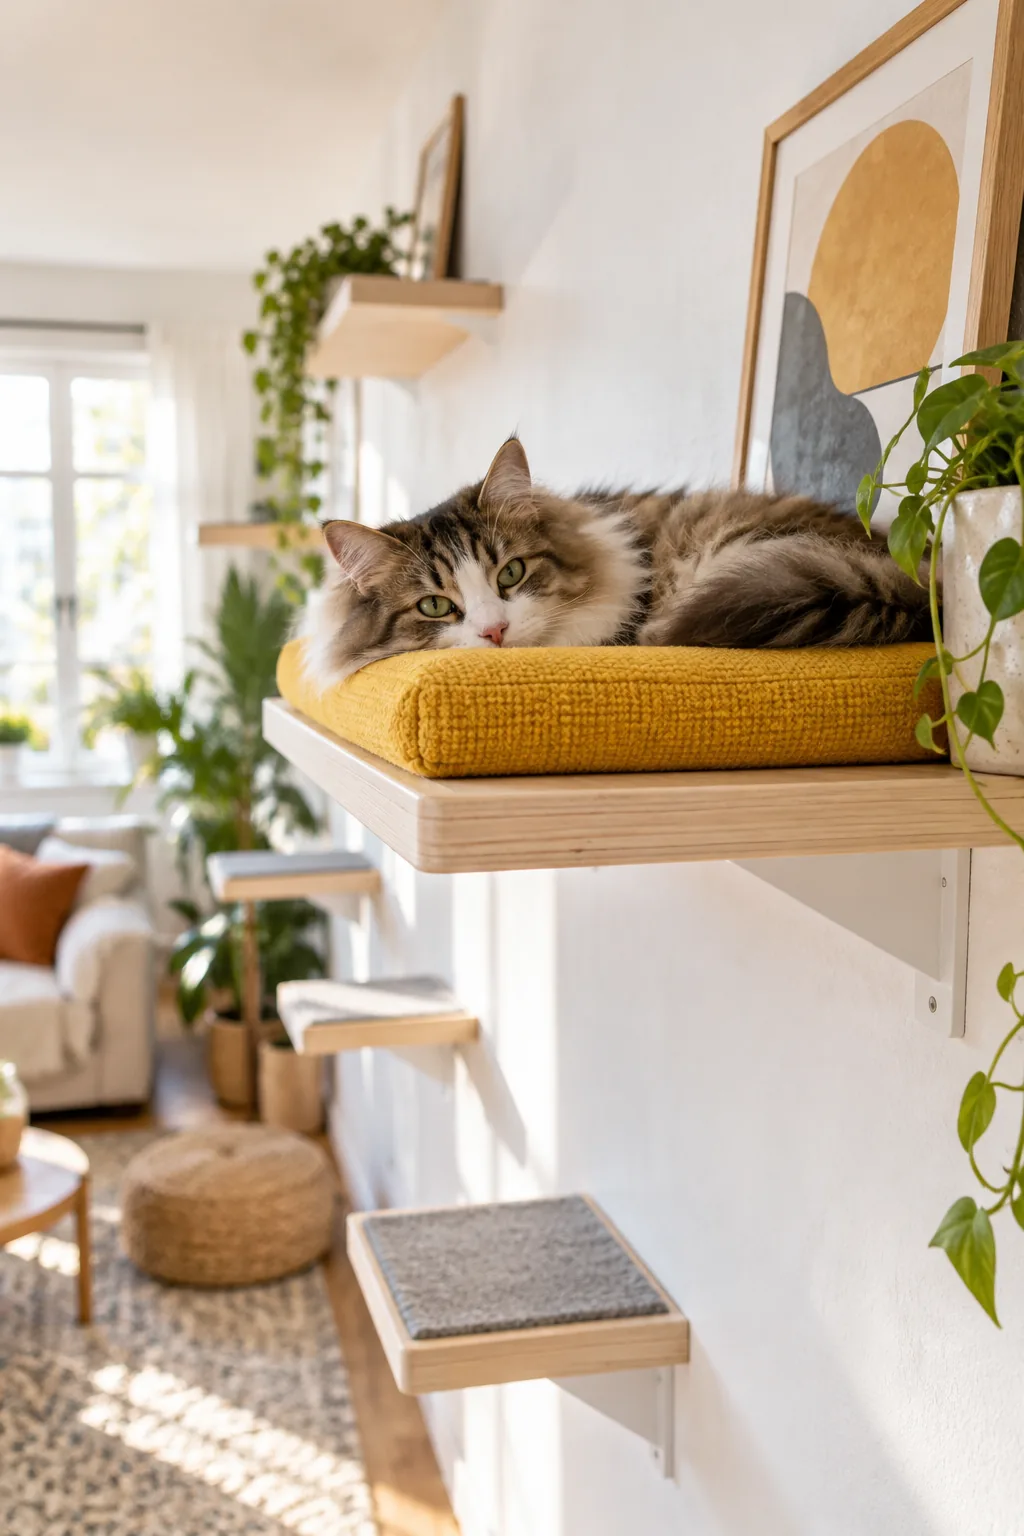
I always attach my resting cushions with heavy-duty hook-and-loop strips so I can easily rip them off for laundry day. Being able to machine wash the lounge pad keeps the whole cat wall smelling fresh and looking brand new.