
Nativity Display Pro Staging Secrets & Placement Map
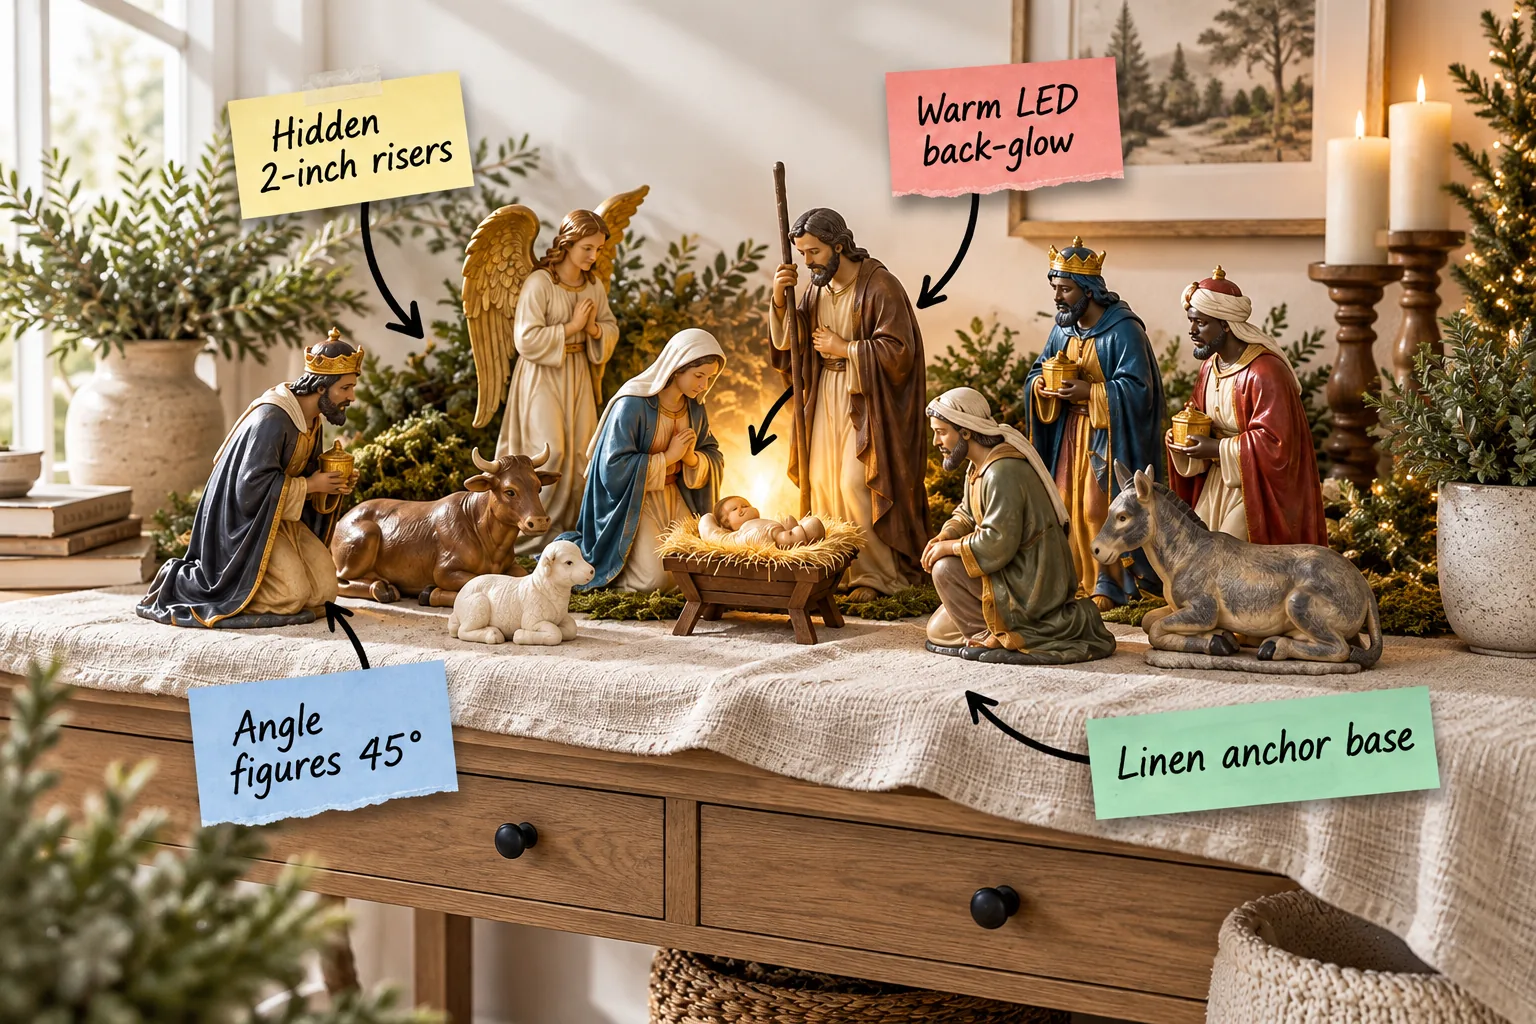
You will be able to stage a beautifully layered, professional-looking nativity scene using our exact placement map and lighting tricks. Download our printable nativity figure placement map and staging checklist to arrange your set perfectly this holiday season.
Grounding with a Linen Anchor Base
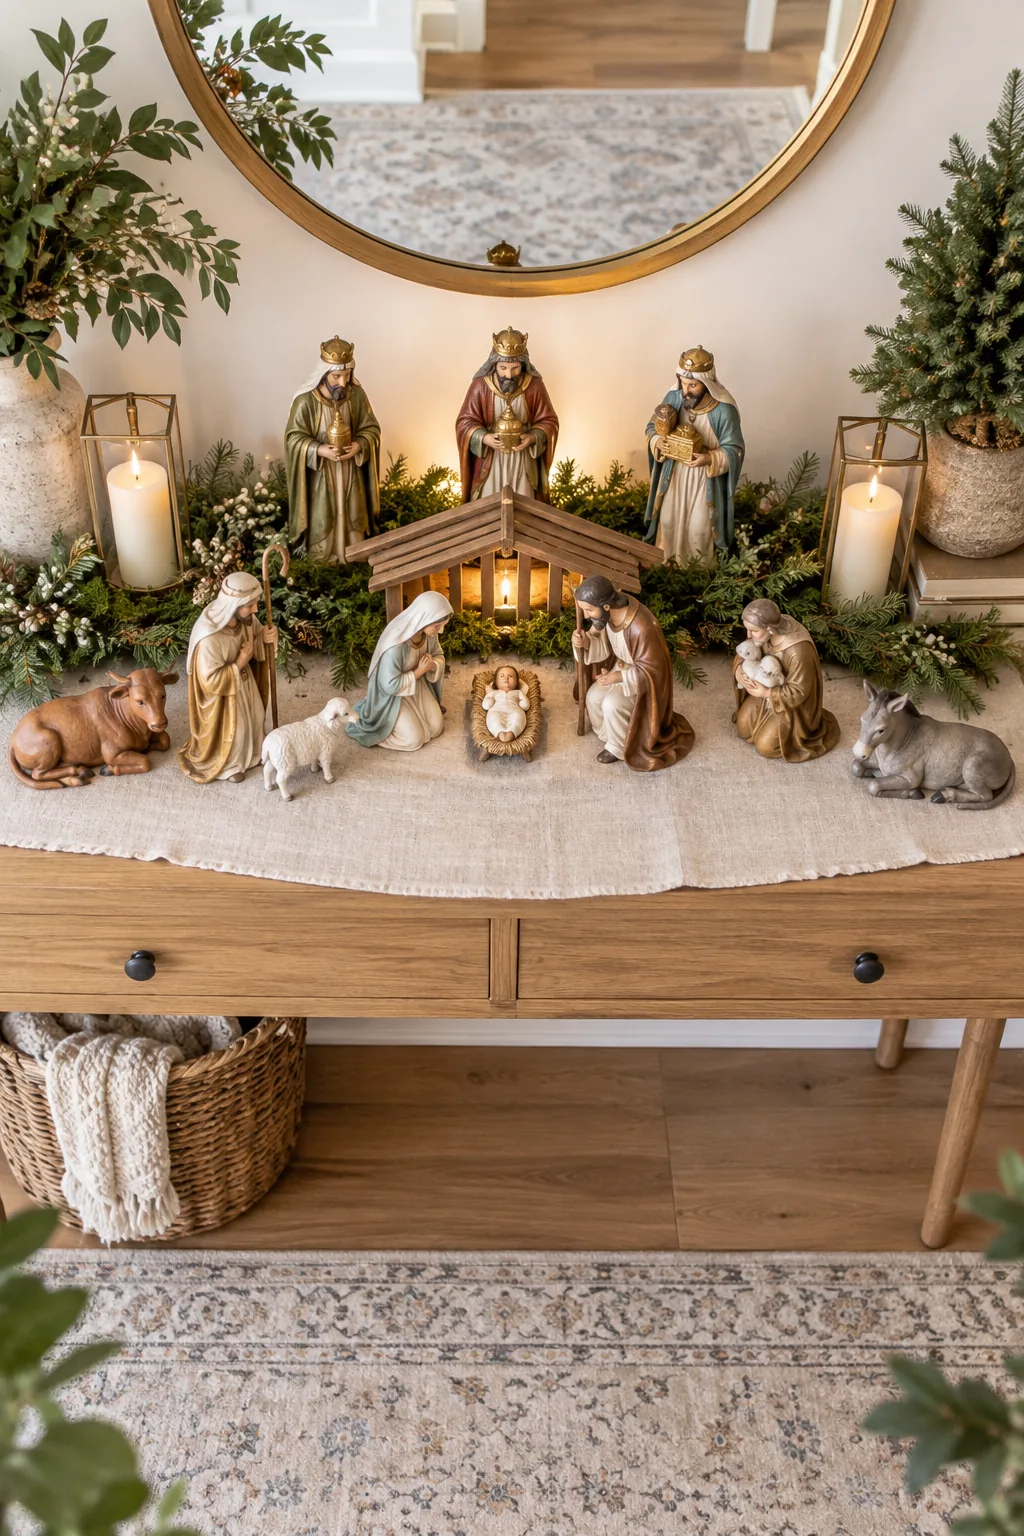
Start by laying a textured linen runner across your console table to clearly define the display zone and soften the hard wooden surface. This simple textile addition instantly elevates the arrangement from a basic shelf display to a purposeful holiday vignette.
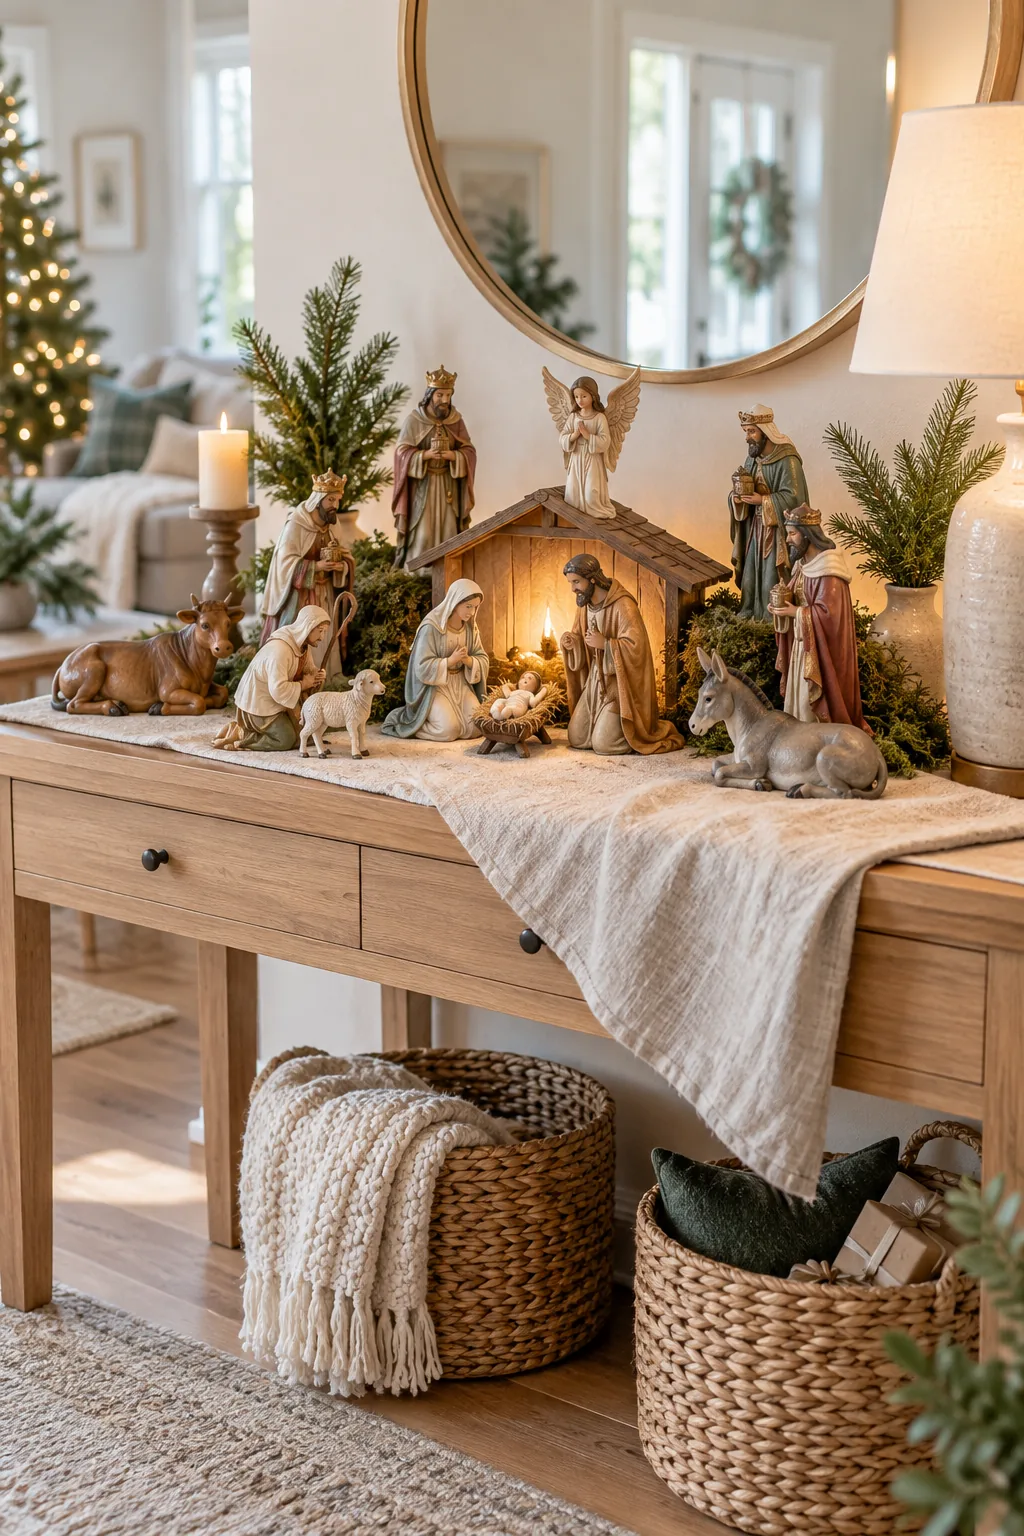
This fabric base provides a natural, slip-resistant foundation that keeps heavier ceramic figures from shifting when doors close or floors vibrate. It also protects your delicate wood veneer surfaces from accidental scratches caused by rough ceramic bases.
Choosing the Right Fabric Texture
Selecting a runner with a visible, organic weave adds necessary visual warmth to the otherwise smooth ceramic and wooden elements. Avoid shiny silks or sheer organza, as these formal fabrics clash with the rustic, historical nature of a traditional manger scene.
Selecting the Right Console Location
Before building upward, choose a low-traffic surface that allows viewers to look slightly down into the manger scene. Establishing the right viewing angle ensures the intricate facial details on your characters remain fully visible to guests standing nearby.
| Figure Height | Minimum Depth | Ideal Surface |
| Under 5 inches | 10 inches | Mantel or narrow shelf |
| 5 to 8 inches | 14 inches | Entryway console |
| Over 8 inches | 18 inches | Deep sideboard |
Matching your set’s scale to the furniture depth ensures you have enough physical runway to stagger the characters properly. A cramped surface forces figures into a straight line, completely ruining the layered, professional aesthetic we want to achieve.
Measuring Your Available Surface Area
Grab a measuring tape and verify you have at least thirty inches of horizontal width before unpacking your delicate boxes. This generous footprint guarantees you can leave proper negative space between the outer animals and the central holy family.
Creating Depth with Hidden 2-Inch Risers
Give the back row of figures necessary elevation by placing them on solid 2-inch risers so they remain clearly visible behind the front characters. This vertical lift is the most critical secret to achieving a professional, tiered look.
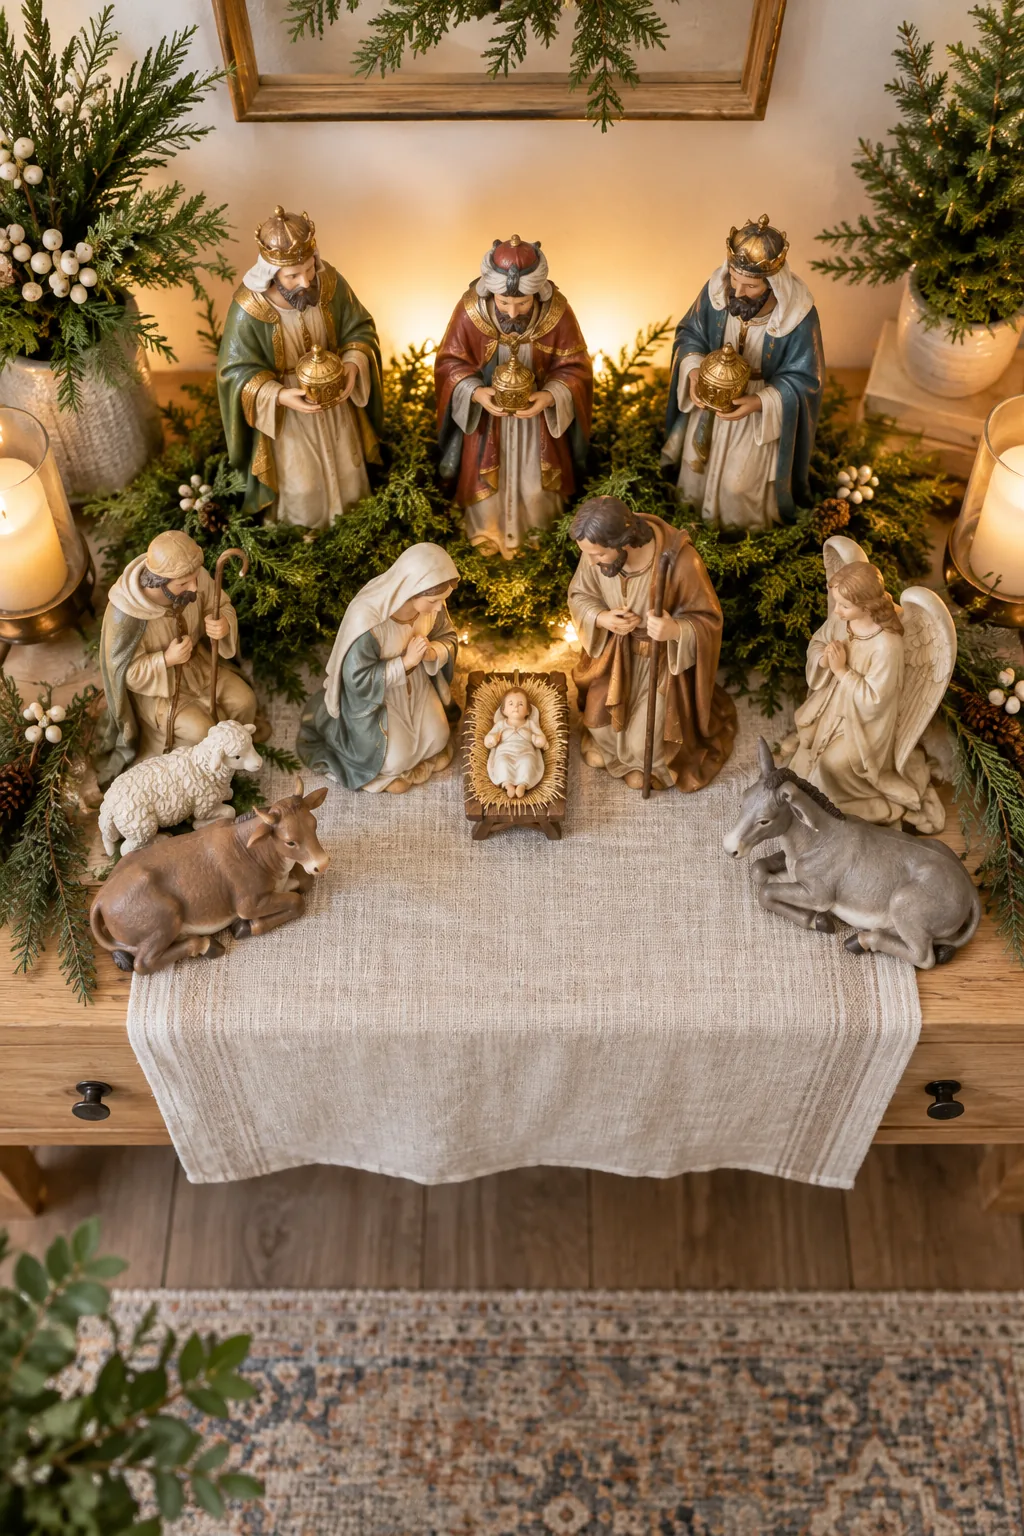
In my own brownstone, I use scrap wood blocks from a past renovation project to lift the taller kings and angels securely. Foam crafting blocks work just as well, provided they are dense enough to support heavier statues without compressing.
Selecting Stable Riser Materials
Always prioritize dense, flat-topped materials over hollow boxes or flimsy cardboard when building your structural foundation. A wobbly base will eventually cause your tallest, most fragile pieces to tip over during the course of the busy holiday season.
Blending Risers with Natural Elements
Raw wooden or foam blocks will ruin the illusion, so you must camouflage the elevation changes using organic textures that mimic a rugged hillside. Hiding the mechanics transforms a rigid display into a cohesive, realistic landscape.
- Tuck preserved green sheet moss tightly around the front edges of each wooden block.
- Drape a secondary, thinner piece of matching linen over any exposed side gaps.
- Scatter a handful of loose natural straw over the transitions to blend the tiers.
Layering these rustic materials ensures the sudden two-inch height difference feels like a gentle, natural terrain sloping upward. It completely conceals the rigid geometric shapes of your risers while adding rich, seasonal texture to the arrangement.
Sourcing Authentic Looking Moss
Purchase preserved reindeer moss or sheet moss from a craft store rather than foraging damp materials from your yard. Commercially dried moss holds its vibrant green color for years and will not introduce unwanted moisture or pests to your wooden furniture.
Adding Magic with a Warm LED Back-Glow
Tuck a small, battery-operated warm LED puck light directly behind the wooden crib to create a soft, radiant halo effect. This focused illumination draws immediate attention to the center of the scene without overpowering the surrounding room.
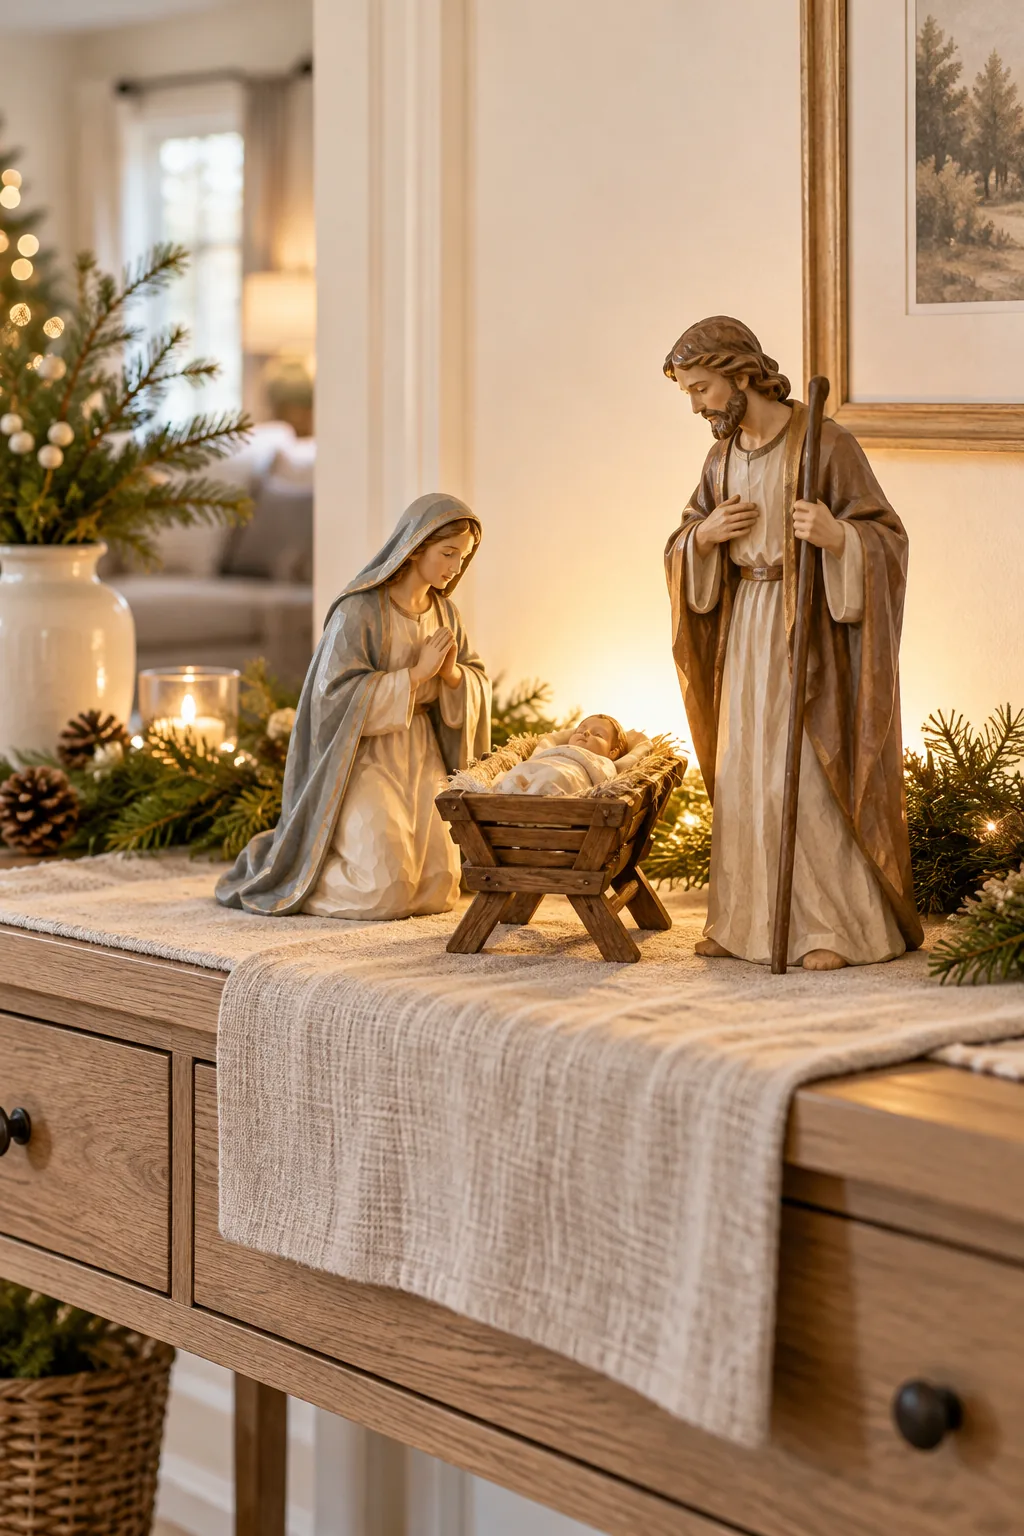
Aiming the light slightly upward against the back wall illuminates the central figures beautifully without exposing the harsh bulb to your guests. The indirect reflection produces a gentle, reverent atmosphere that looks especially magical during dark winter evenings.
Positioning the Light Source Correctly
Test the angle of your puck light by kneeling down to the eye level of a seated guest or a curious child. If you can see the actual bulb from any normal viewing angle, nudge the light slightly deeper behind the wooden structure.
Managing Cords and Battery Packs
Nothing breaks the reverence of a beautiful holiday display faster than a tangle of black wires and chunky plastic battery boxes. Taking the time to conceal your power sources is just as important as positioning the figures themselves.
Securing Wires Against the Furniture
Use clear adhesive clips along the back edge of your console to route any necessary power cables cleanly down the table leg. Keeping the electrical mechanics completely out of sight maintains the traditional, peaceful aesthetic of the wooden and ceramic pieces.
Centering the Holy Family
Position the crib in the exact center of your linen base, placing Mary and Joseph closely on either side to establish the primary focal point. This central grouping anchors the entire design and dictates where all other pieces will go.
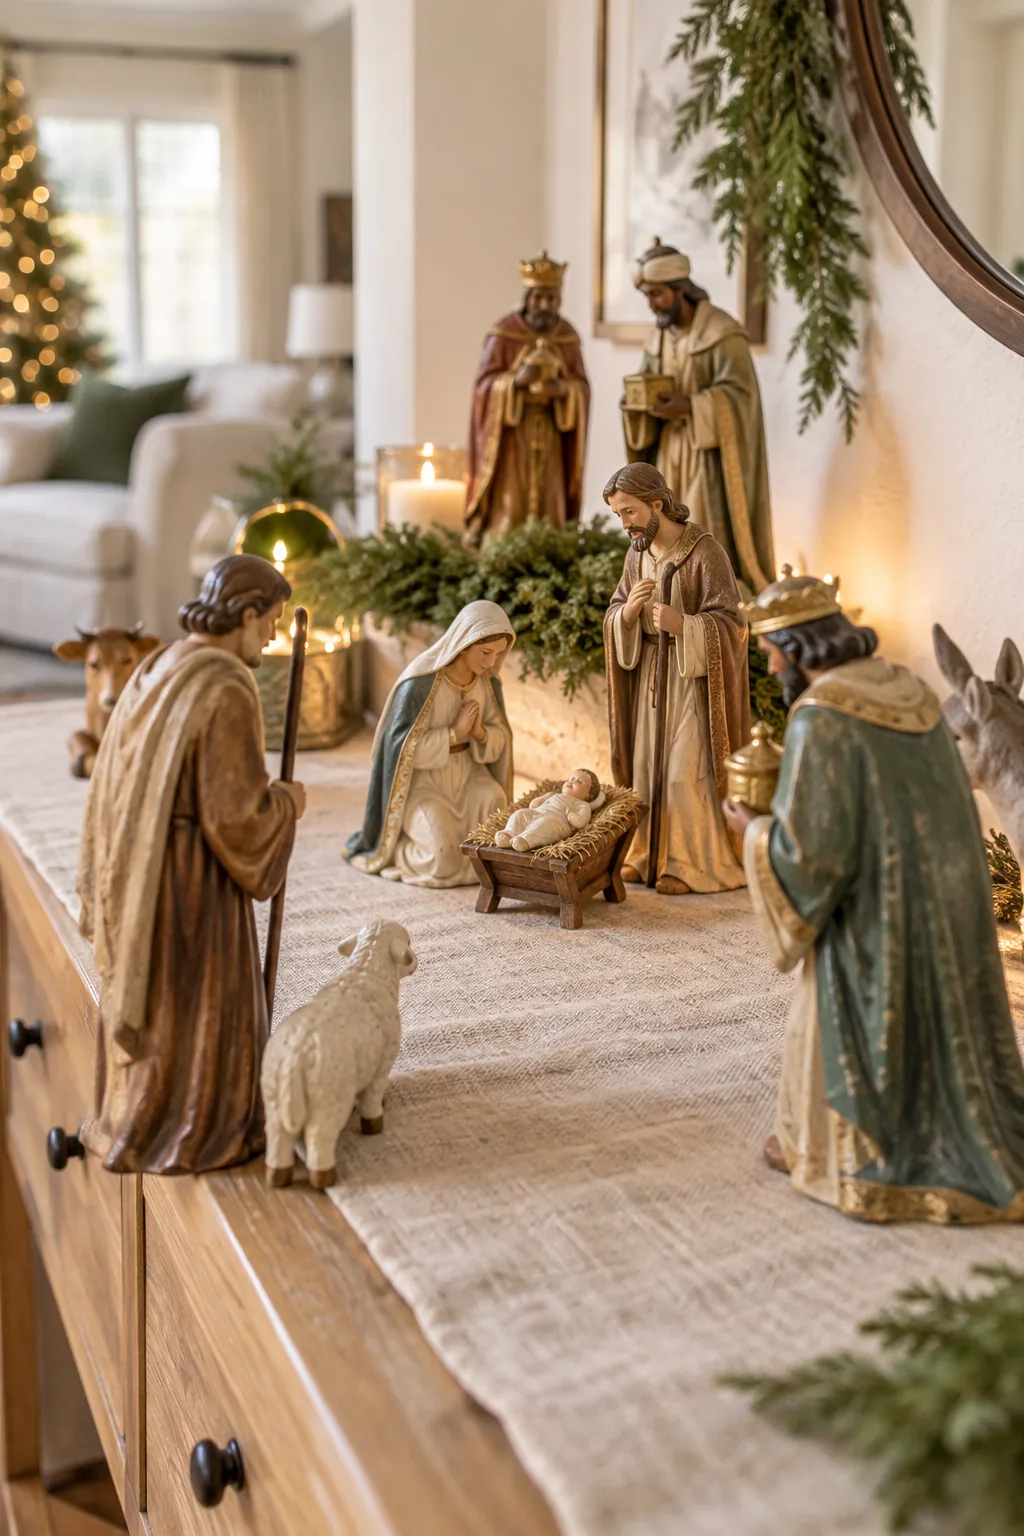
Keep a minimum of one inch of breathing room between these core figures to highlight their importance and prevent visual clutter. Crowding them too tightly makes the center look like a solid block rather than individual, delicate characters.
Aligning the Crib to the Room
Use the architectural lines of your room, such as a mirror hung above the console or the paneling on the wall, to find true center. A perfectly centered manger creates a sense of formal symmetry that elevates the entire presentation.
Defining the Core Spacing Rules
Once the center is set, establish a consistent spacing rhythm by keeping at least two inches of clearance between each secondary character radiating outward. This deliberate negative space allows each beautifully crafted piece to stand out on its own merit.
Directing Focus: Angle Figures 45°
Turn the wise men, shepherds, and angels sharply inward at a 45-degree angle so their sightlines lock precisely on the center crib. This intentional placement creates a powerful visual convergence that immediately captures attention.
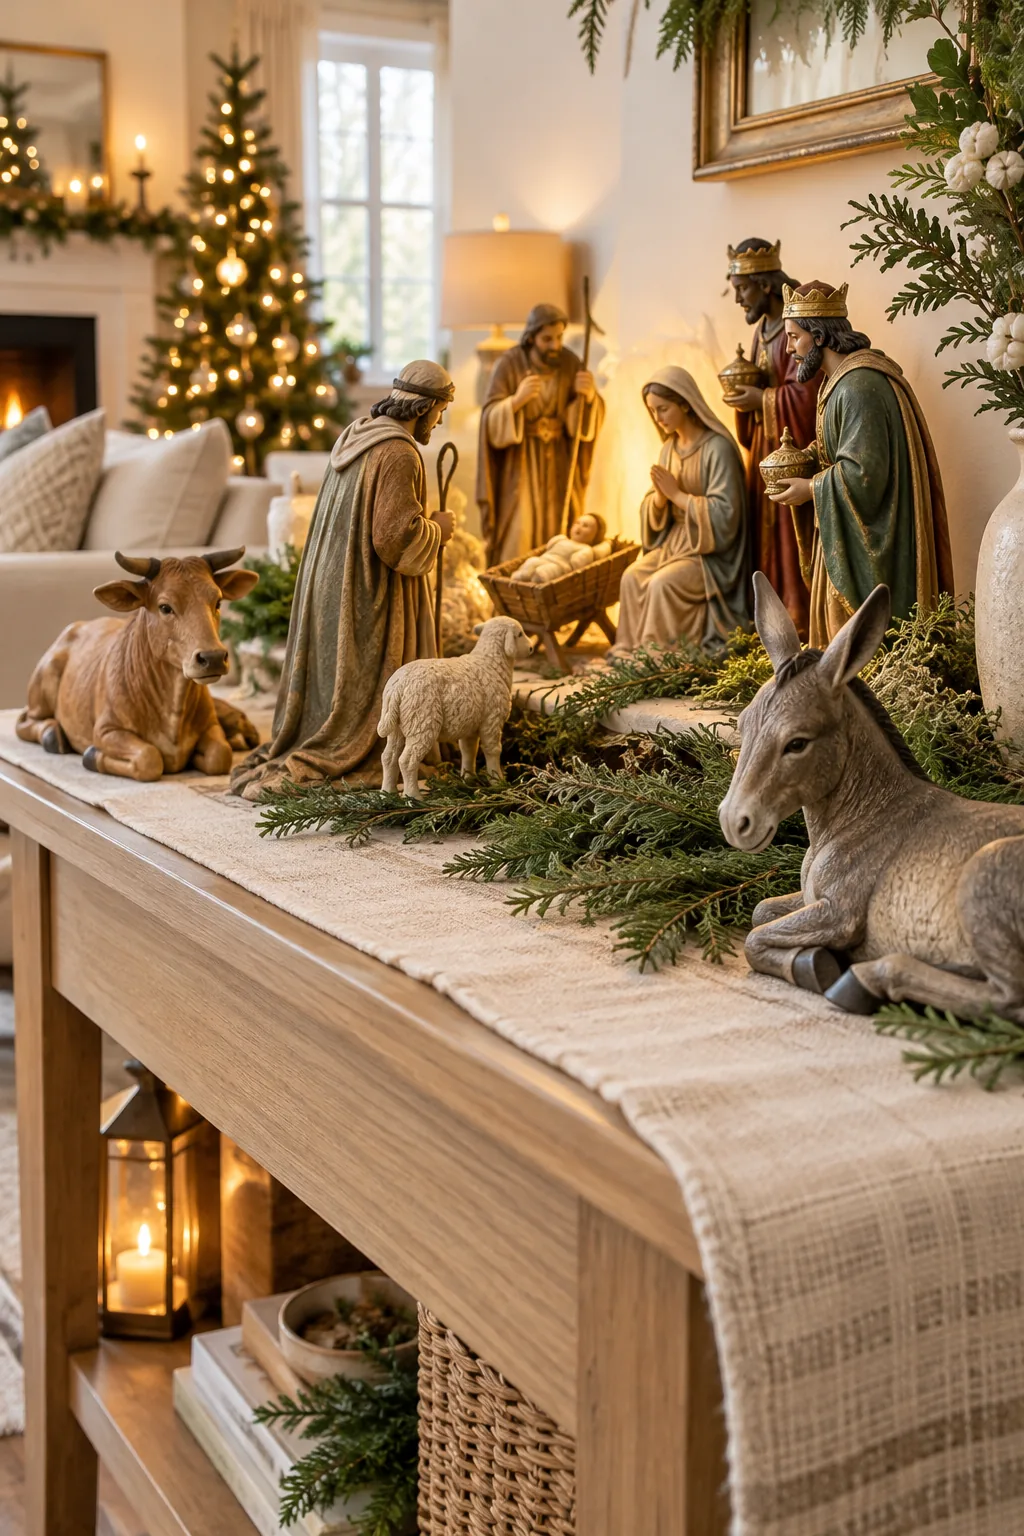
Getting the angles right prevents the display from looking like a crowded toy shelf.
Adjusting the Wise Men’s Position
Group the three kings slightly off to one side rather than spacing them uniformly around the perimeter. Clustering related characters together tells a stronger visual story and adds realistic asymmetry to the balanced triangular composition.
Fixing Common Placement Mistakes
Spreading your figures too far apart across a massive dining table diffuses the visual impact and makes the set look sparse. Always keep the characters relatively close together to maintain the intimate, gathered feeling of the original narrative.
Balancing the Outer Groupings
Anchor the far left and right edges of the display with the lowest, heaviest pieces, such as the resting cow, donkey, or sheep. These substantial shapes provide necessary visual weight to ground the lighter, taller figures standing behind them.
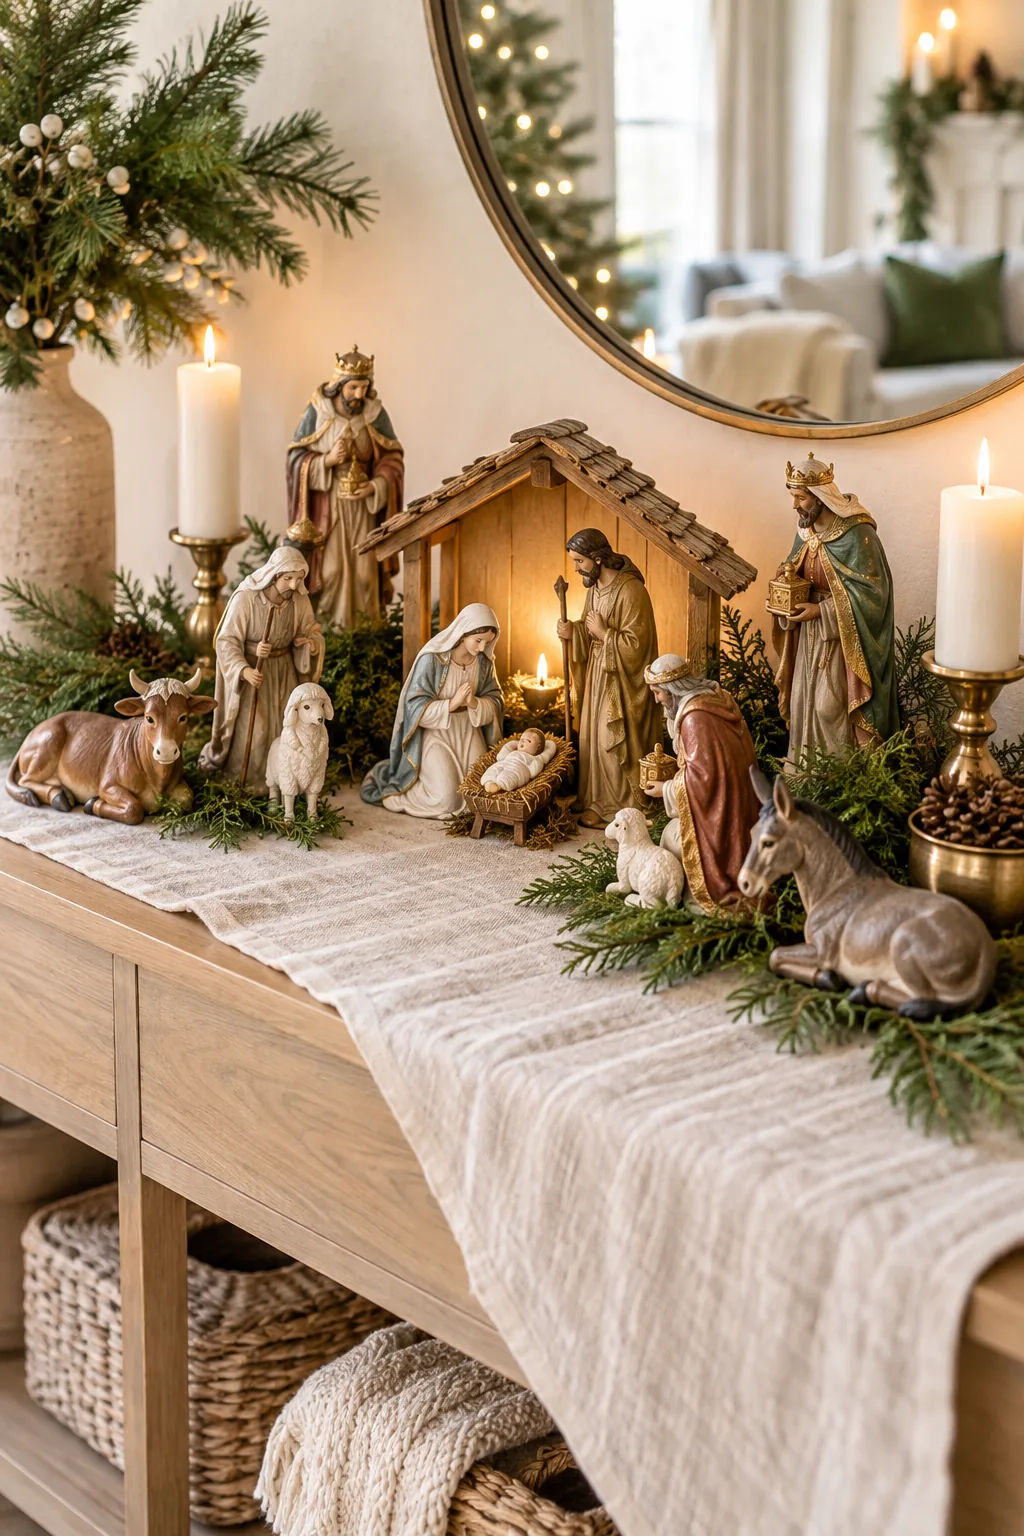
In my own entryway styling projects, I found this tapering effect gives the entire arrangement a highly stable, grounded composition. It prevents the display from feeling top-heavy or cluttered at the boundaries where the linen meets the bare console.
Positioning the Heavy Animal Figures
Tuck the resting animals slightly underneath the overhanging edges of the mossy risers to integrate them fully into the landscape. This subtle overlapping technique makes the animals look like they are naturally resting against a hillside rather than floating on a table.
Creating a Triangular Visual Flow
By placing the tallest angels in the back center and the lowest animals on the outer edges, you build a classic triangular visual hierarchy. This geometric structure is incredibly pleasing to the eye and naturally leads focus back toward the middle.
Evaluating the Display from Different Angles
Walk to the far sides of your room and inspect the profile of your arrangement to ensure no figures are completely eclipsed by others. Minor adjustments to the 45-degree angles will quickly resolve any blocked sightlines from these secondary viewing spots.
5 Stunning Nativity Styling Ideas
Explore these different styles to find the perfect mood and placement for your home's holiday decor.
Minimalist Scandinavian Wood: Light raw wood figures and fresh cedar sprigs create a clean, airy look on a modern entryway credenza.
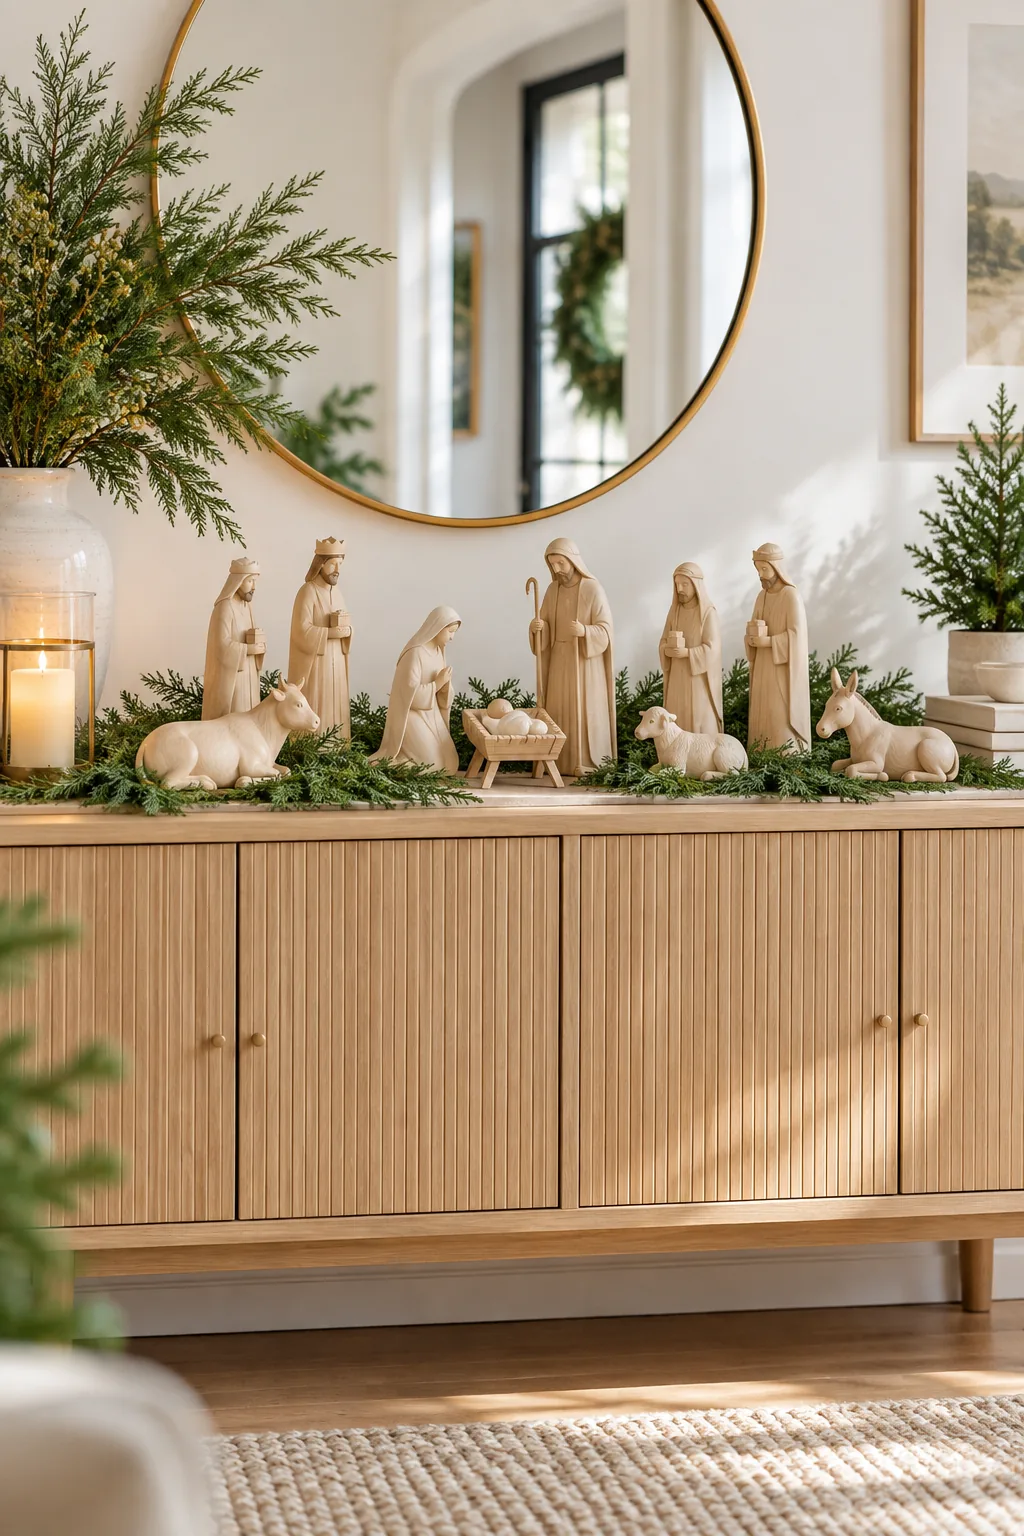
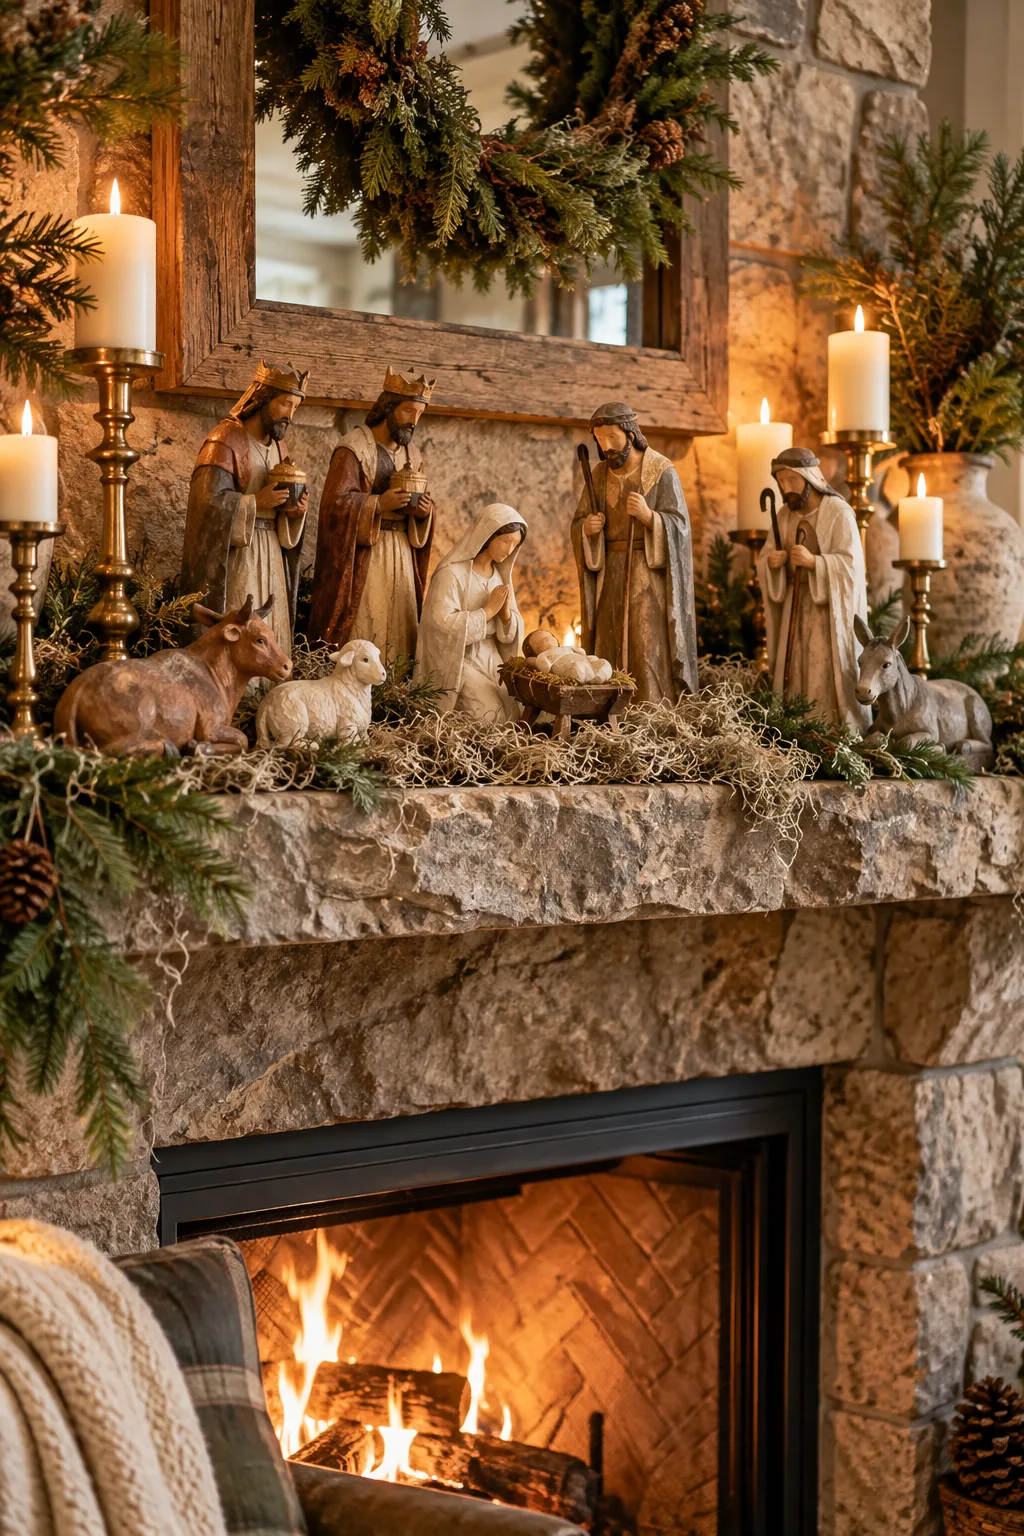
Rustic Farmhouse Mantel: Chunky carved figures mixed with dried Spanish moss and vintage brass candlesticks bring warmth to a stone fireplace.
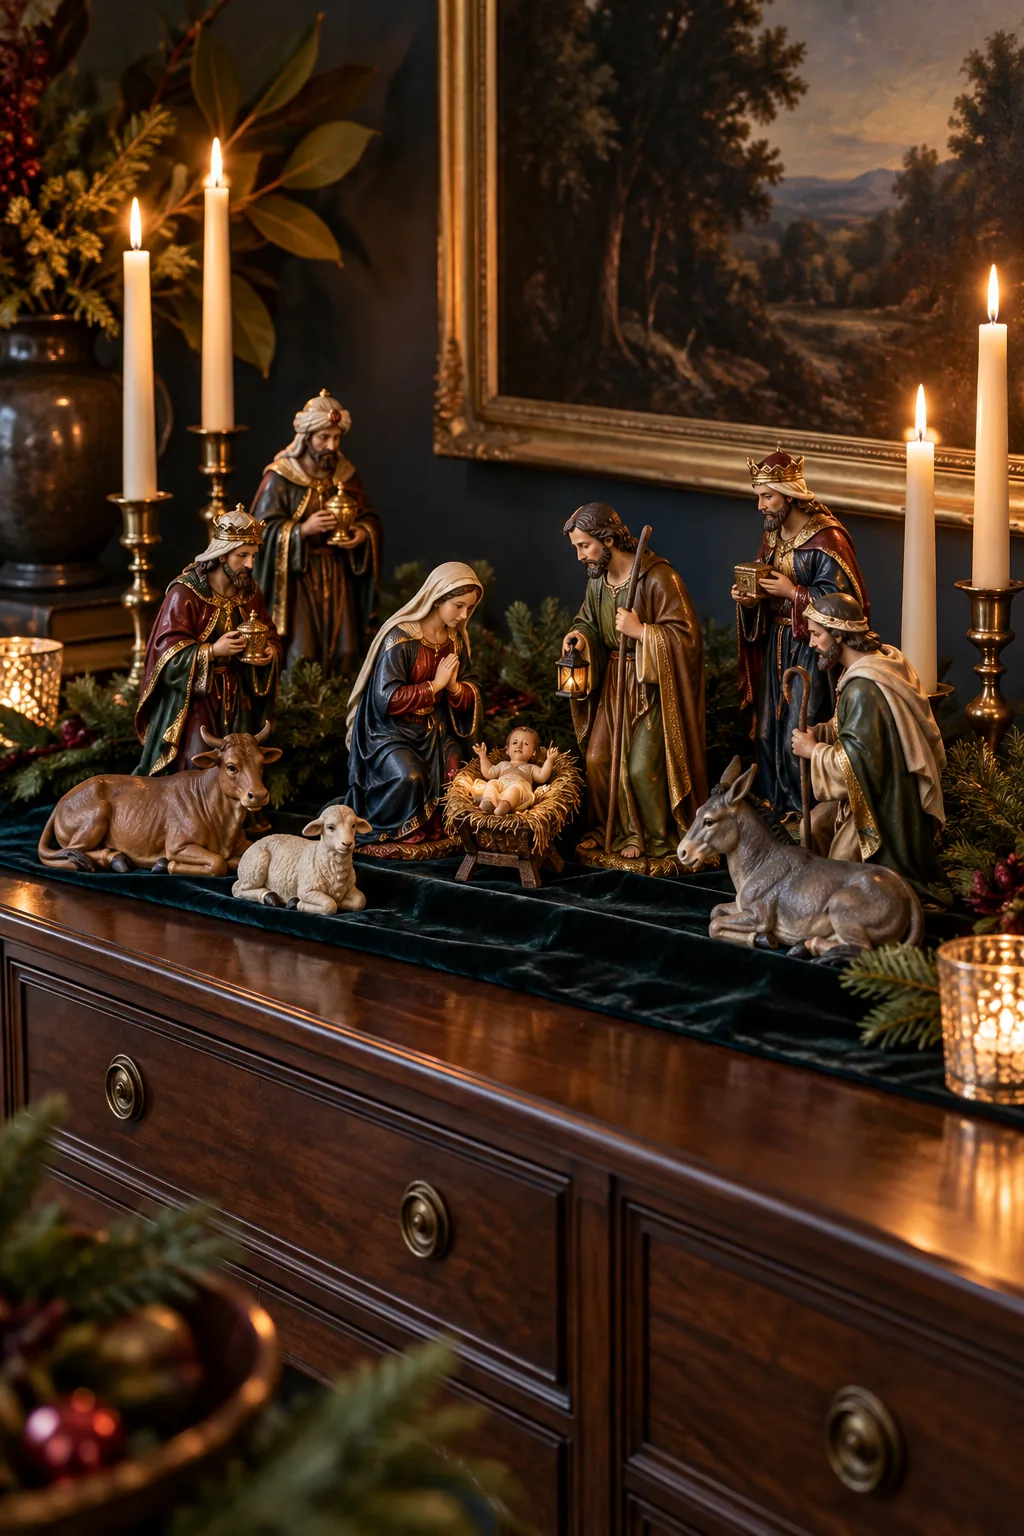
Moody Jewel Tones: Richly painted ceramic figures pop against a dark velvet runner and dramatic tapered candles on a dining buffet.
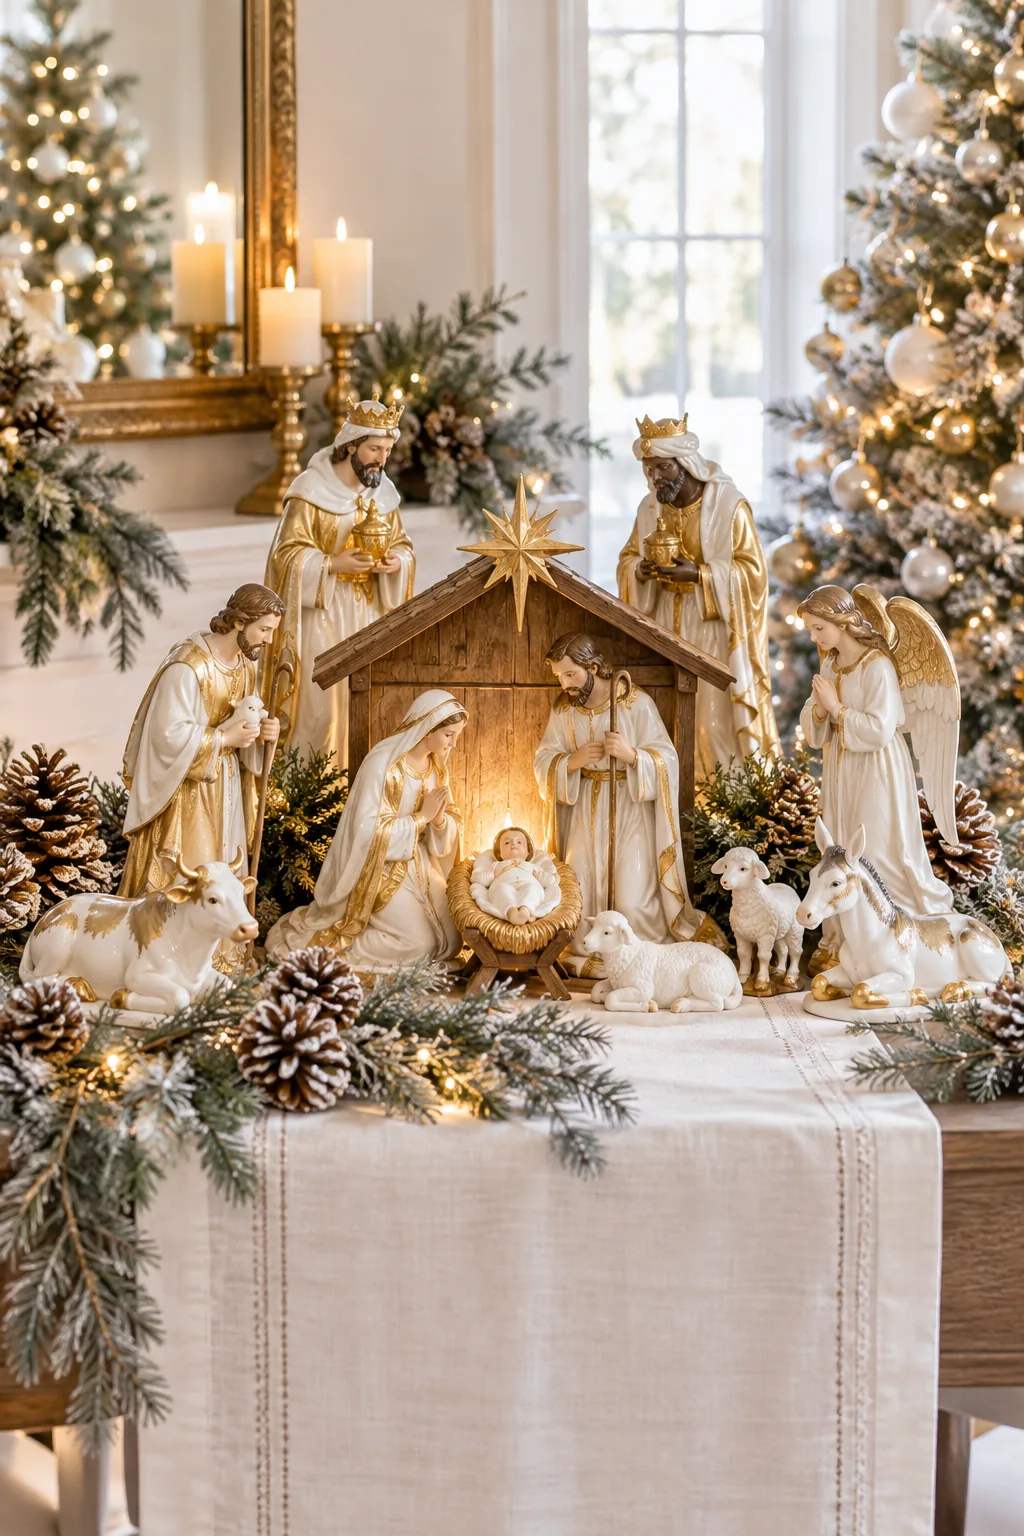
Traditional Gold and White: Classic porcelain figures with gold leaf accents shine atop a crisp white table runner surrounded by frosted pinecones.
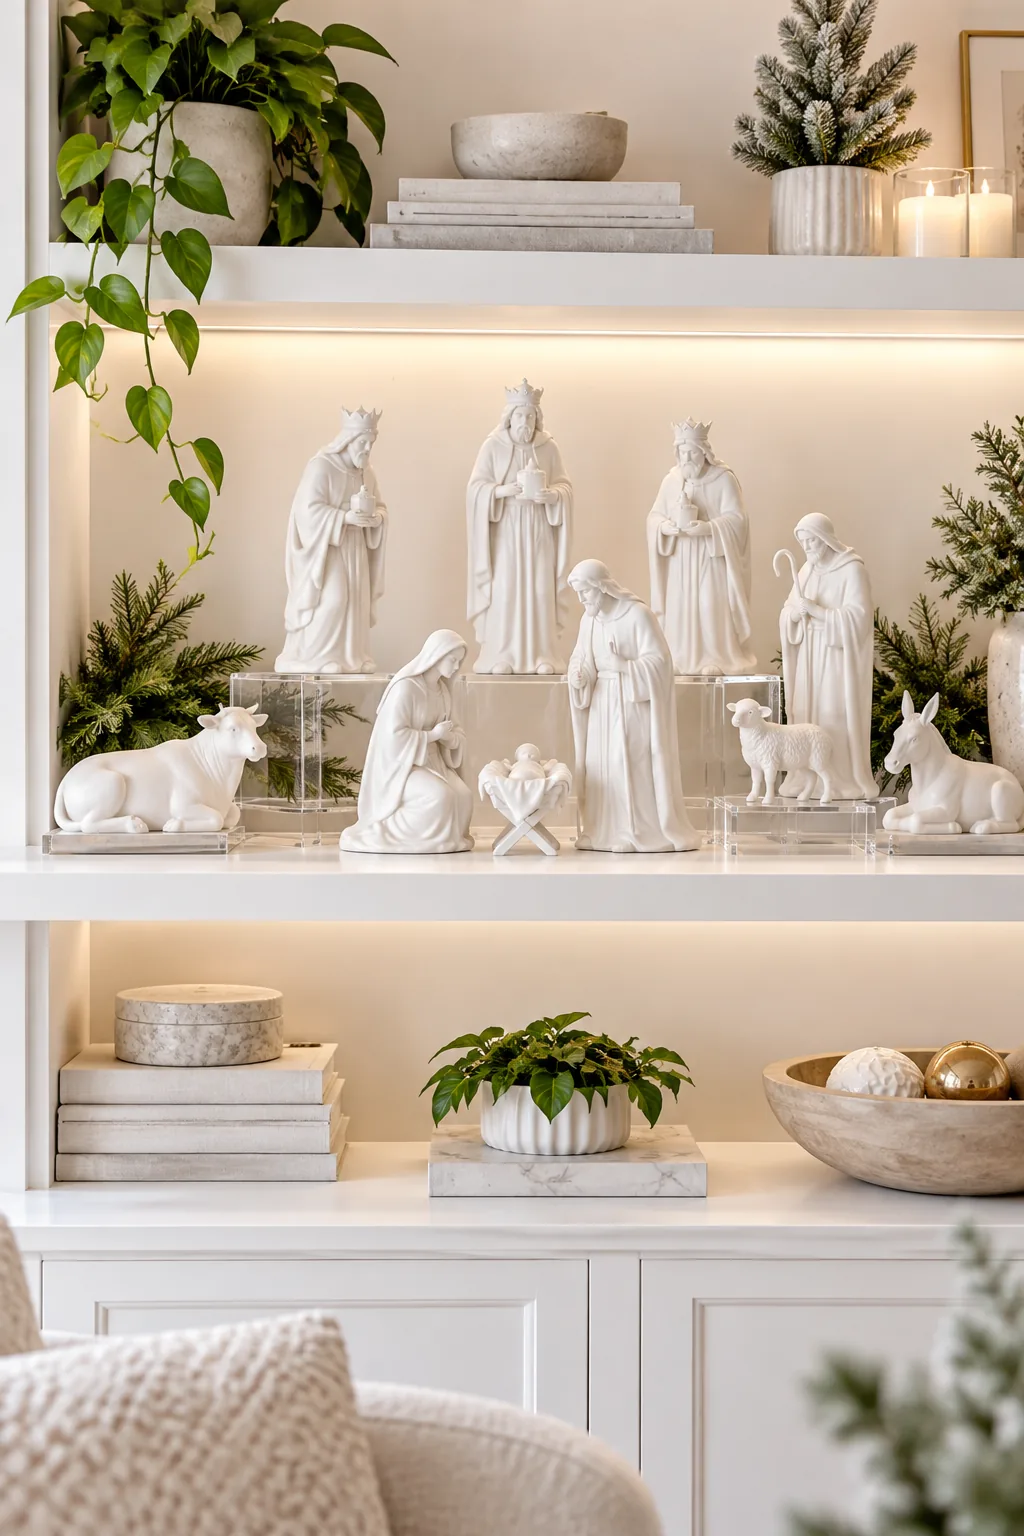
Modern White and Acrylic: Sleek monochromatic white figures arranged on clear acrylic risers offer a contemporary, floating effect on a living room shelf.
The Pro Figure Placement Map
Take the guesswork out of staging with our printable figure placement map and staging checklist, which includes exact footprint measurements to recreate this balanced look. Following a structured guide ensures your multi-piece set looks intentional, organized, and perfectly proportioned every single time.
In my own home, I rely on this exact template to set up my nativity scene quickly before holiday parties. Before you finalize the arrangement and hide the cords, run through this quick review.