
How to Hang Floating Shelves Above a Sofa: Placement Guide
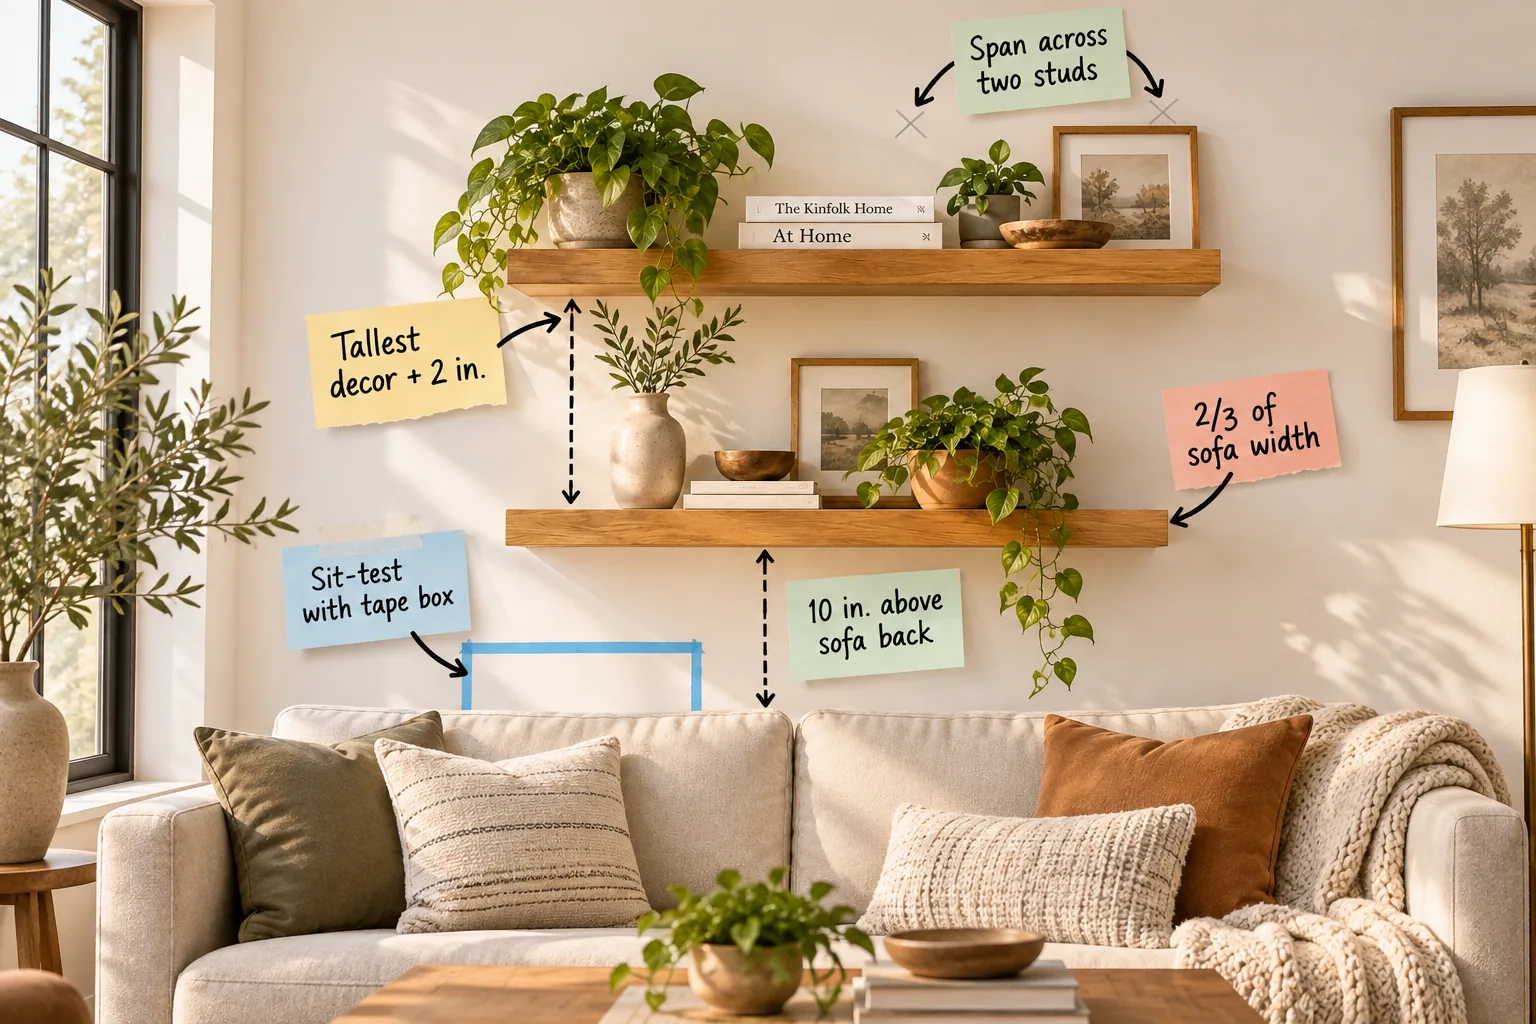
Grab our complete spacing and height cheat sheet to map out exactly where to drill your brackets for a perfectly proportioned, head-bump-free wall display. You will be able to size your woodwork and plot the exact vertical heights above your sofa with total confidence.
Sizing the Shelves to Your Sofa
For a balanced look, your floating shelves should span roughly 2/3 of sofa width to prevent the display from overpowering the furniture. An 84-inch sofa pairs beautifully with 56-inch shelves, creating a harmonious visual anchor that honors both Eastern symmetry and Western scale.
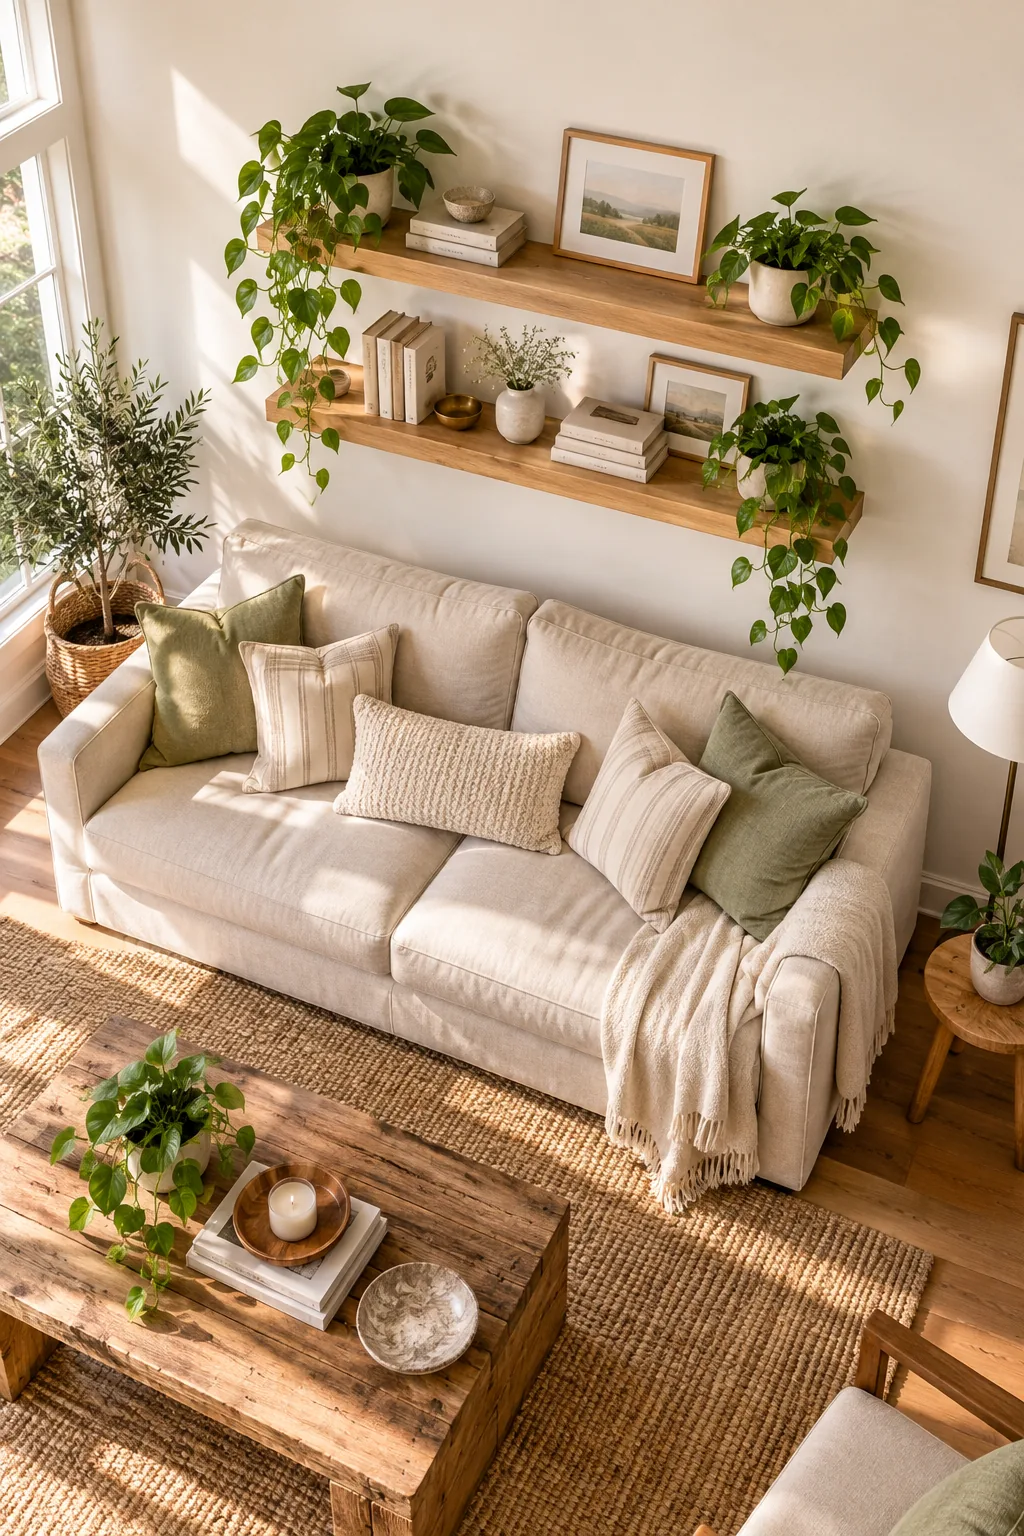
While the two-thirds rule dictates the length of your shelves, horizontal placement is just as critical for achieving a calm, deliberate aesthetic. Think of your wall arrangement like a well-planned chess move where positioning dictates the final impact.
Understanding Visual Weight
Maintaining this specific width ratio prevents the room from feeling top-heavy, which is a common mistake in modern living rooms. When shelves extend beyond the arms of the couch, they visually crush the seating area and disrupt the natural flow of the space.
- Measure the total width of your sofa from the outer edge of each armrest.
- Multiply that measurement by 0.66 to find your ideal custom shelf length.
- Round up or down to the nearest standard lumber size if buying pre-made boards.
Selecting the Wood Species
Choosing a durable hardwood like white oak or walnut ensures your shelves will resist sagging under the weight of your library. Softer woods like pine are budget-friendly but may warp over time if spanning wider distances without central bracket support.
Applying Protective Finishes
Seal your raw boards with a matte polyurethane finish to protect the wood from accidental water rings left by plant pots. A high-quality sealant preserves the natural grain while making the surface incredibly easy to dust with a damp microfiber cloth.
Choosing the Right Shelf Depth
Beyond length, selecting the correct depth ensures your display remains proportional without projecting too far into the room. A standard ten-inch depth accommodates most books and decorative objects while maintaining a sleek, unobtrusive profile above the cushions.
| Shelf Depth | Best Used For | Visual Impact |
|---|---|---|
| 6 inches | Picture frames and small plants | Minimalist and tight |
| 8 inches | Paperback books and candles | Balanced and versatile |
| 10 inches | Hardcover books and large vases | Substantial and bold |
| 12+ inches | Media consoles and heavy storage | Overpowering for sofas |
Keeping the depth conservative also minimizes the leverage placed on your mounting hardware, which directly impacts the long-term safety of your installation. A shallower profile naturally reduces the torque pulling against the drywall anchors over time.
Finding the Right Wall Support
Safety is non-negotiable when hanging heavy objects over a seating area, so your brackets must span across two studs. Standard residential construction places these wooden supports exactly 16 inches apart, providing the necessary structural integrity for heavy books.
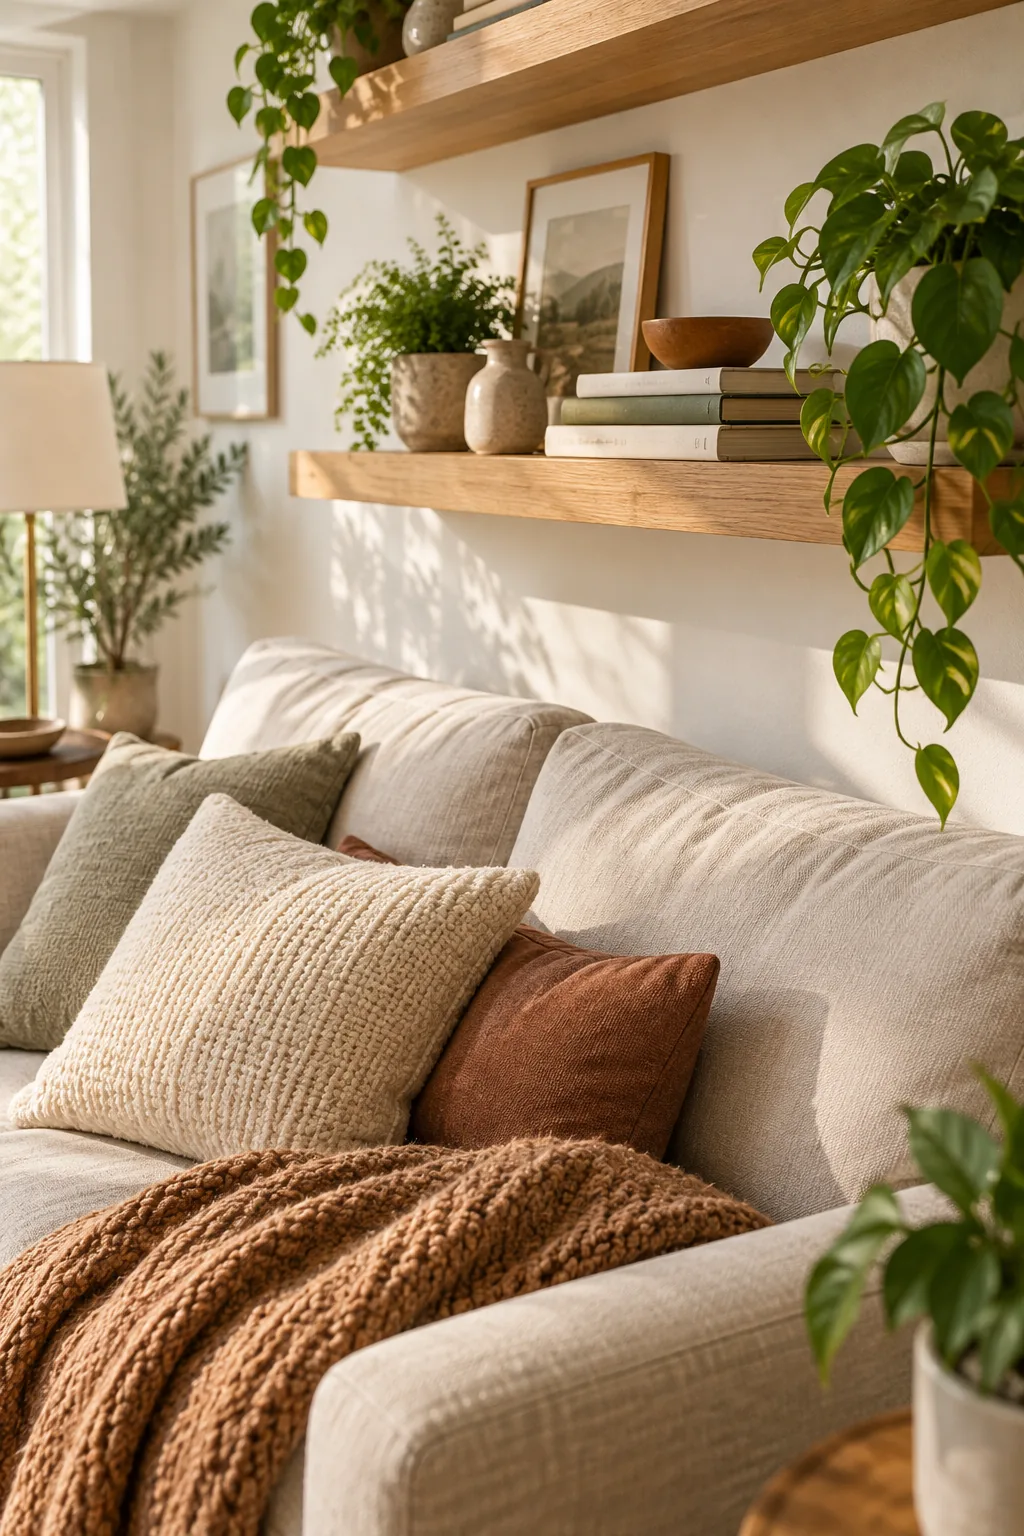
In my own Denver home, I once watched improperly anchored floating shelves slowly pull away from the plaster. I now treat finding solid wood framing as the single most vital step of any installation, regardless of the shelf weight.
Selecting the Bracket Hardware
Hidden steel brackets offer the cleanest look, but they require precise alignment to slide into the routed holes of your wooden boards. Selecting a hardware system with micro-adjustment capabilities will save you immense frustration during the final leveling phase.
- Purchase solid steel blind brackets rated for at least fifty pounds per pair.
- Verify that the mounting plate is wide enough to accommodate two heavy-duty screws.
- Test-fit the metal prongs into your wooden shelves before drilling into the wall.
Mapping the Wall Studs
Use a reliable magnetic stud finder to locate the metal screws buried beneath your paint, which clearly indicate the center of the wooden framing. Mark these vertical lines lightly with a pencil so you can align your metal bracket plates perfectly before drilling.
Upgrading Drywall Anchors
If your ideal placement forces one bracket to miss the wooden framing, substitute the standard screws with heavy-duty steel toggle bolts. These specialized anchors fan out behind the drywall, providing significantly more shear strength than basic plastic ribbed plugs.
Understanding Weight Limits
Always calculate the total anticipated load of your decor before purchasing your mounting hardware. A stack of large hardcover art books can easily weigh thirty pounds, which requires professional-grade hardware to prevent the shelf from slowly tipping forward.
Setting the Bottom Shelf Height
Establish your baseline by measuring exactly 10 in. above sofa back from the highest point of the cushions. This critical gap provides enough clearance for comfort while keeping the shelves visually tethered to the seating area below.
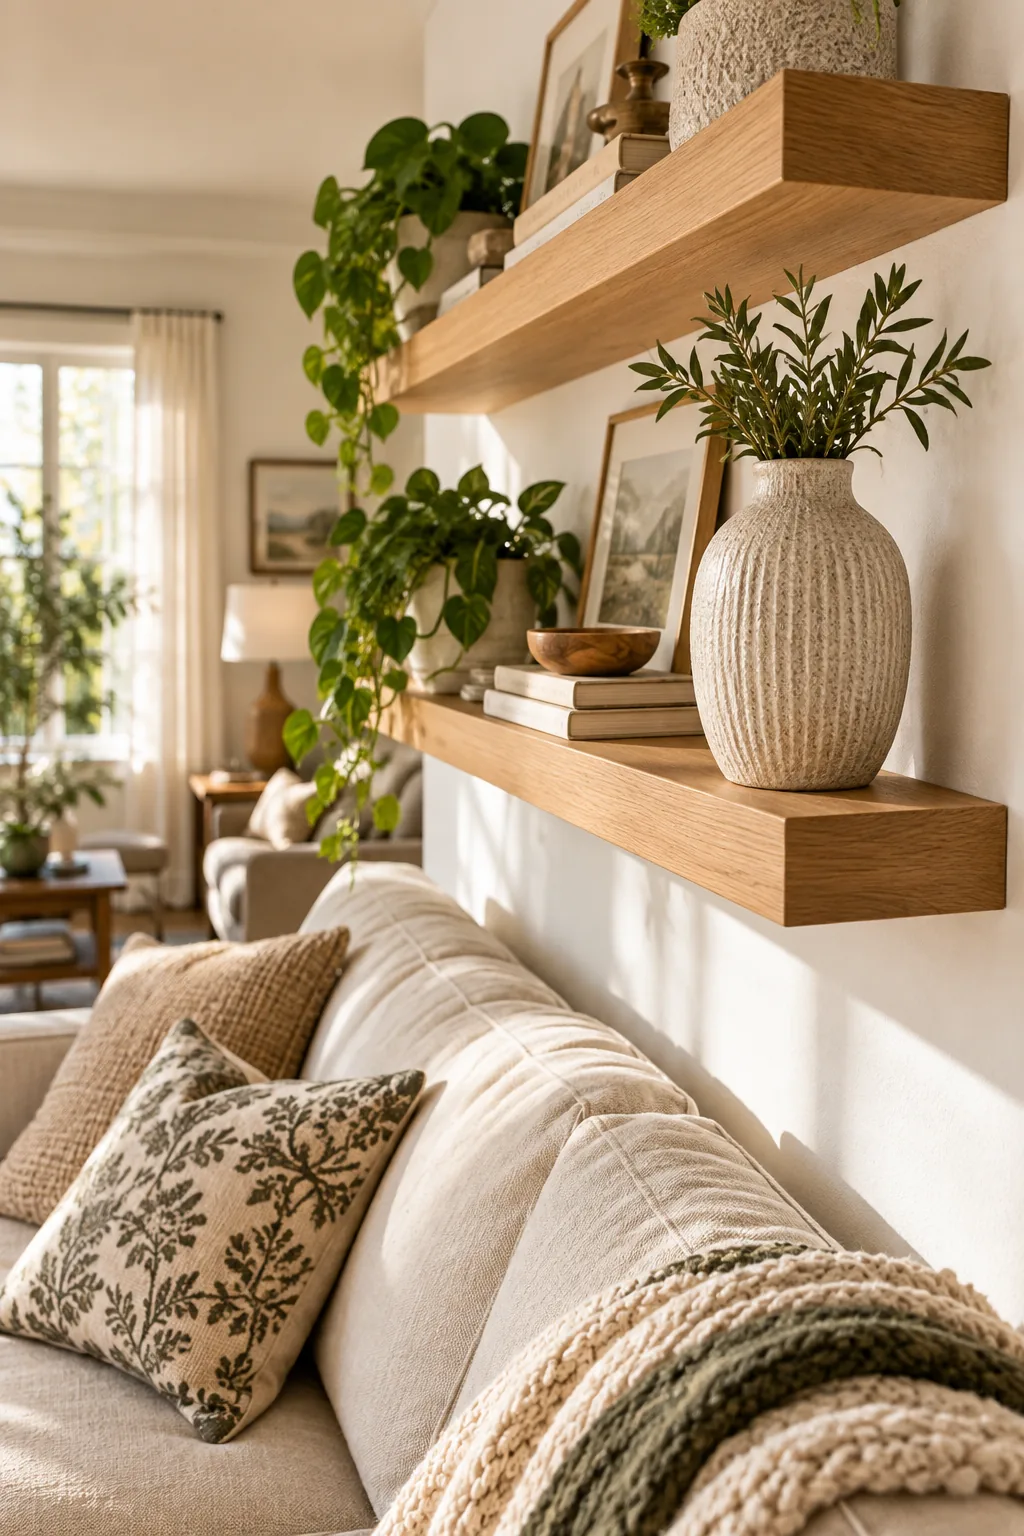
When I designed a low-profile lounge for a client’s basement, we still kept that strict minimum gap. Maintaining that space is essential for creating visual breathing room without letting the shelves float away toward the ceiling.
Accounting for Cushion Compression
Remember that soft upholstery compresses when you sit, which temporarily increases the distance between your head and the wooden board. Always take your initial measurements while the couch is empty and fully fluffed to guarantee the safest possible clearance.
The Painter’s Tape Sit-Test
Before drilling any holes, sit-test with tape box outlines of your planned bottom shelf directly on the wall. Sit on the sofa beneath the tape and lean back normally to guarantee nobody will bump their head on the finished woodwork.
Evaluating the Room’s Sightlines
Stand at the entryway of your living room and observe the taped outline to ensure the arrangement feels connected to the rest of the architecture. The bottom shelf should naturally align with other horizontal planes in the space, like window sills or mantels.
Centering on Offset Sofas
When your seating arrangement is pushed toward a corner, always center your wall display over the furniture rather than the entire room. This localized symmetry anchors the seating zone and defines the living area within an open-concept floor plan.
Adjusting for Taller Families
If your household includes exceptionally tall individuals, you can safely increase the bottom clearance to twelve or fourteen inches without destroying the proportions. Just be careful not to push the top tier so high that it becomes impossible to dust or style.
Planning the Vertical Arrangement
Decide whether your wall requires two or three tiers based on the ceiling height and the volume of decor you wish to display. A two-tier system usually feels the most balanced in standard eight-foot rooms, leaving plenty of negative space above.
Spacing Between Multiple Shelves
If you are hanging a tiered arrangement, dictate the vertical gap between shelves by measuring your tallest decor + 2 in. of breathing room. This formula ensures your favorite ceramic vase or framed art slides in perfectly without looking cramped.
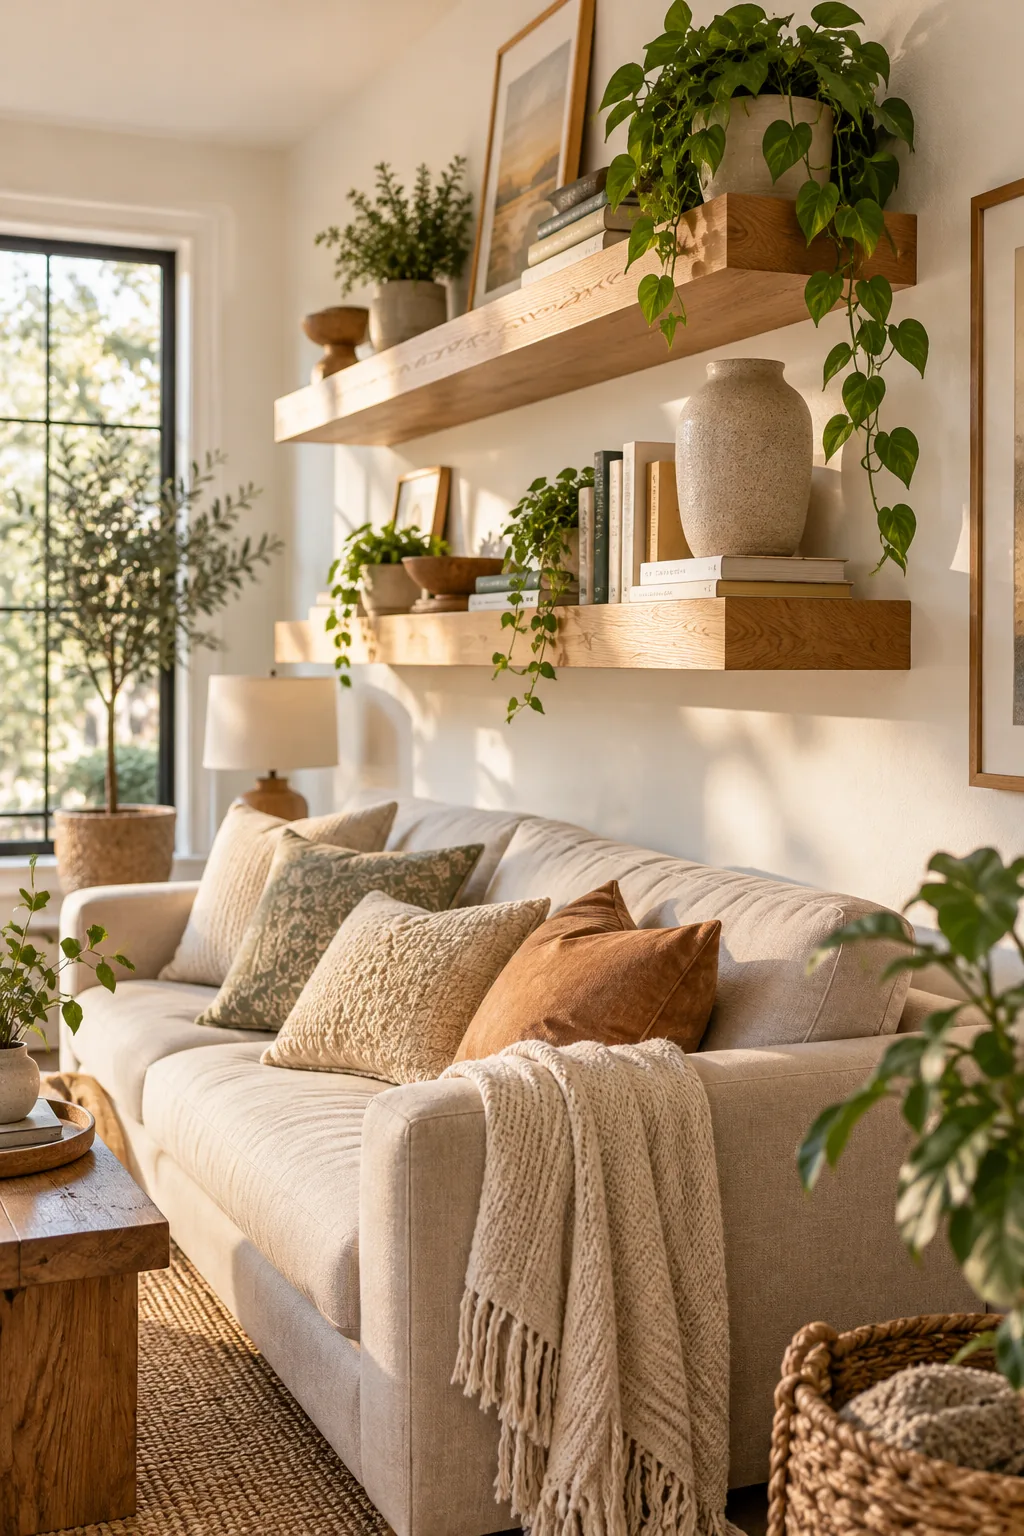
I always bring my tallest favorite ceramic vase to installation day just to physically test this gap. Confirming the space before locking the top brackets onto the wall prevents frustrating adjustments later.
Accommodating Trailing Plants
Leaving adequate vertical space is especially important if you plan to incorporate live greenery into your display. Foliage needs proper air circulation and ambient light to thrive, so never wedge a potted plant tightly against the upper board.
Balancing Heavy Objects
Once your spacing is set, plan to position your heaviest items, like dense art books or solid marble bookends, directly over the hidden bracket posts. This strategic placement minimizes board deflection and keeps the entire structure perfectly level over time.
Styling the Bottom Tier Safely
Reserve the lowest shelf for softer, lighter items that pose absolutely no risk if accidentally bumped during an animated conversation. Woven baskets, lightweight wooden bowls, and small canvas canvases are excellent choices for the zone closest to your guests.
Incorporating Task Lighting
Enhance your newly mounted display by attaching battery-operated LED puck lights to the underside of the top tier. This subtle illumination highlights the objects below and creates a warm, inviting ambiance in the living room during the evening hours.
Managing Visual Clutter
Group your decorative objects in odd numbers to create visually pleasing vignettes that guide the eye across the woodwork. Staggering the heights of your books, candles, and ceramics prevents the display from looking like a rigid, uninspired retail showroom.
Utilizing Negative Space
Resist the temptation to pack every inch of your new shelves with accessories and framed photographs. Leaving at least thirty percent of the wooden surface completely bare allows the eye to rest and makes your curated pieces feel significantly more intentional.
Creating a Cohesive Color Palette
Select wood stains or paint colors that echo the tones found in your sofa legs or coffee table to unify the living room. This subtle repetition of materials bridges the gap between the floor furniture and the floating wall display seamlessly.
Layering Artwork Safely
If you plan to lean framed photographs against the wall rather than hanging them, purchase shelves with a routed picture lip. This small groove prevents glass frames from vibrating forward and slipping off the edge when heavy footsteps cross the floor.
Finalizing the Bracket Locations
Double-check your taped lines with a long spirit level one last time before committing to the drill. Even a quarter-inch slope will become glaringly obvious once you place perfectly cylindrical objects or straight-edged books onto the finished wood.
5 Floating Shelf Styles to Try
Once your placement is perfect, draw inspiration from these distinct living room looks.
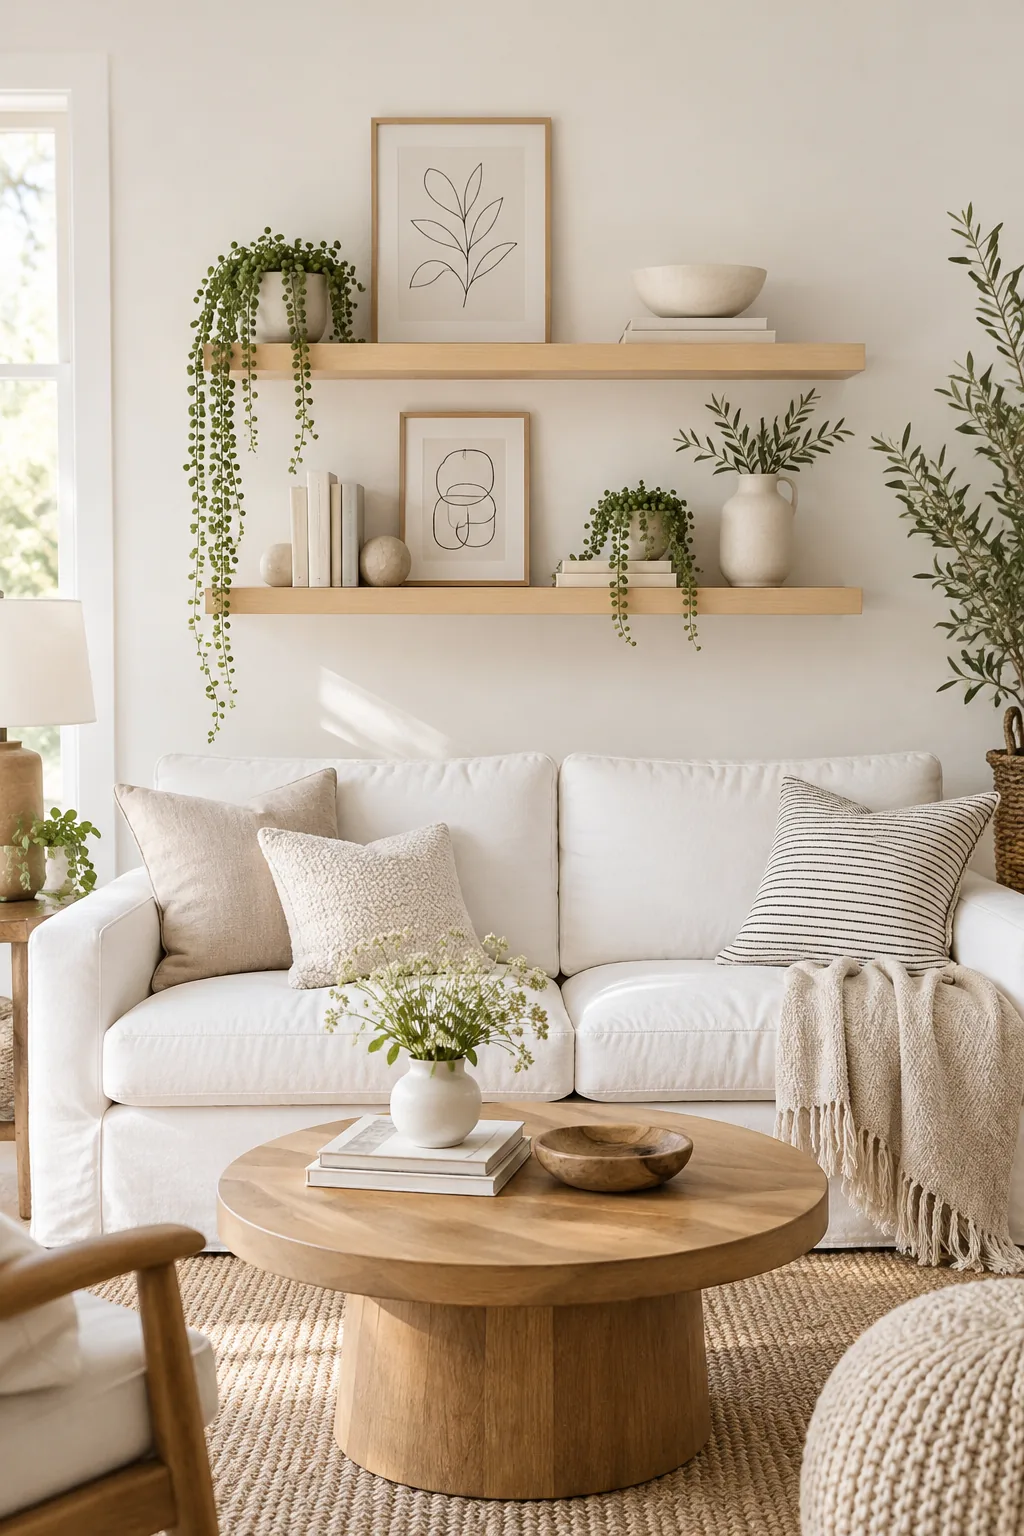
Minimalist Scandi: Pale birch wood and crisp white fabrics create an airy, uncluttered atmosphere that lets monochrome art stand out.
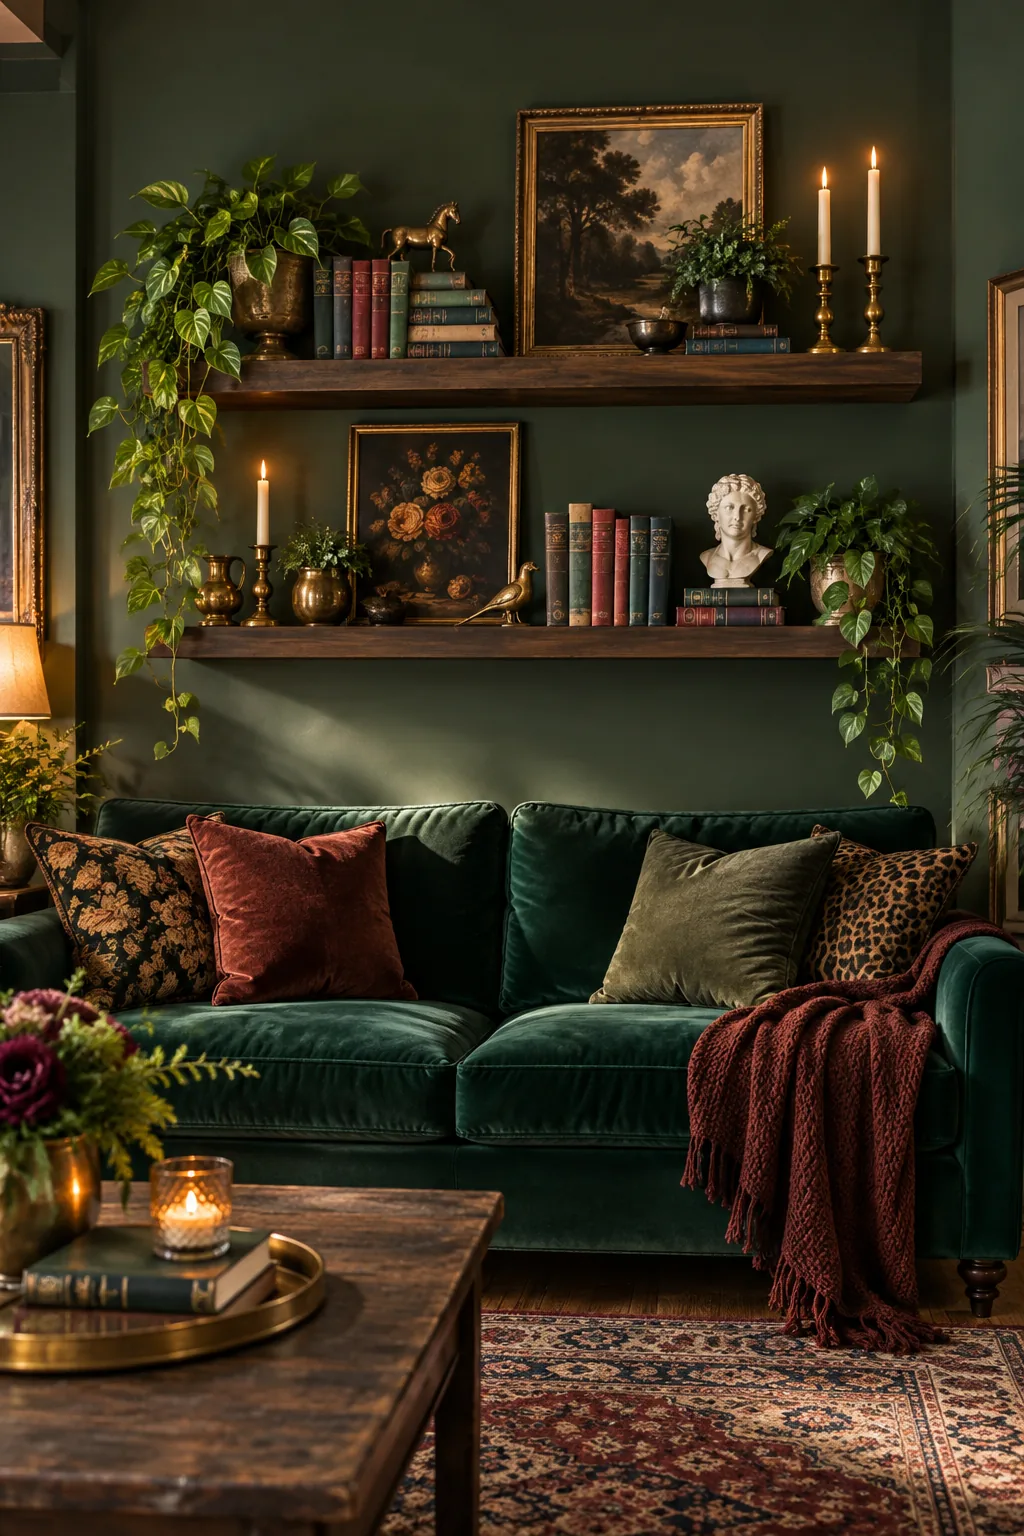
Moody Maximalist: Rich dark walnut shelves pop against deep emerald velvet, providing the perfect stage for vintage brass and dense book stacks.
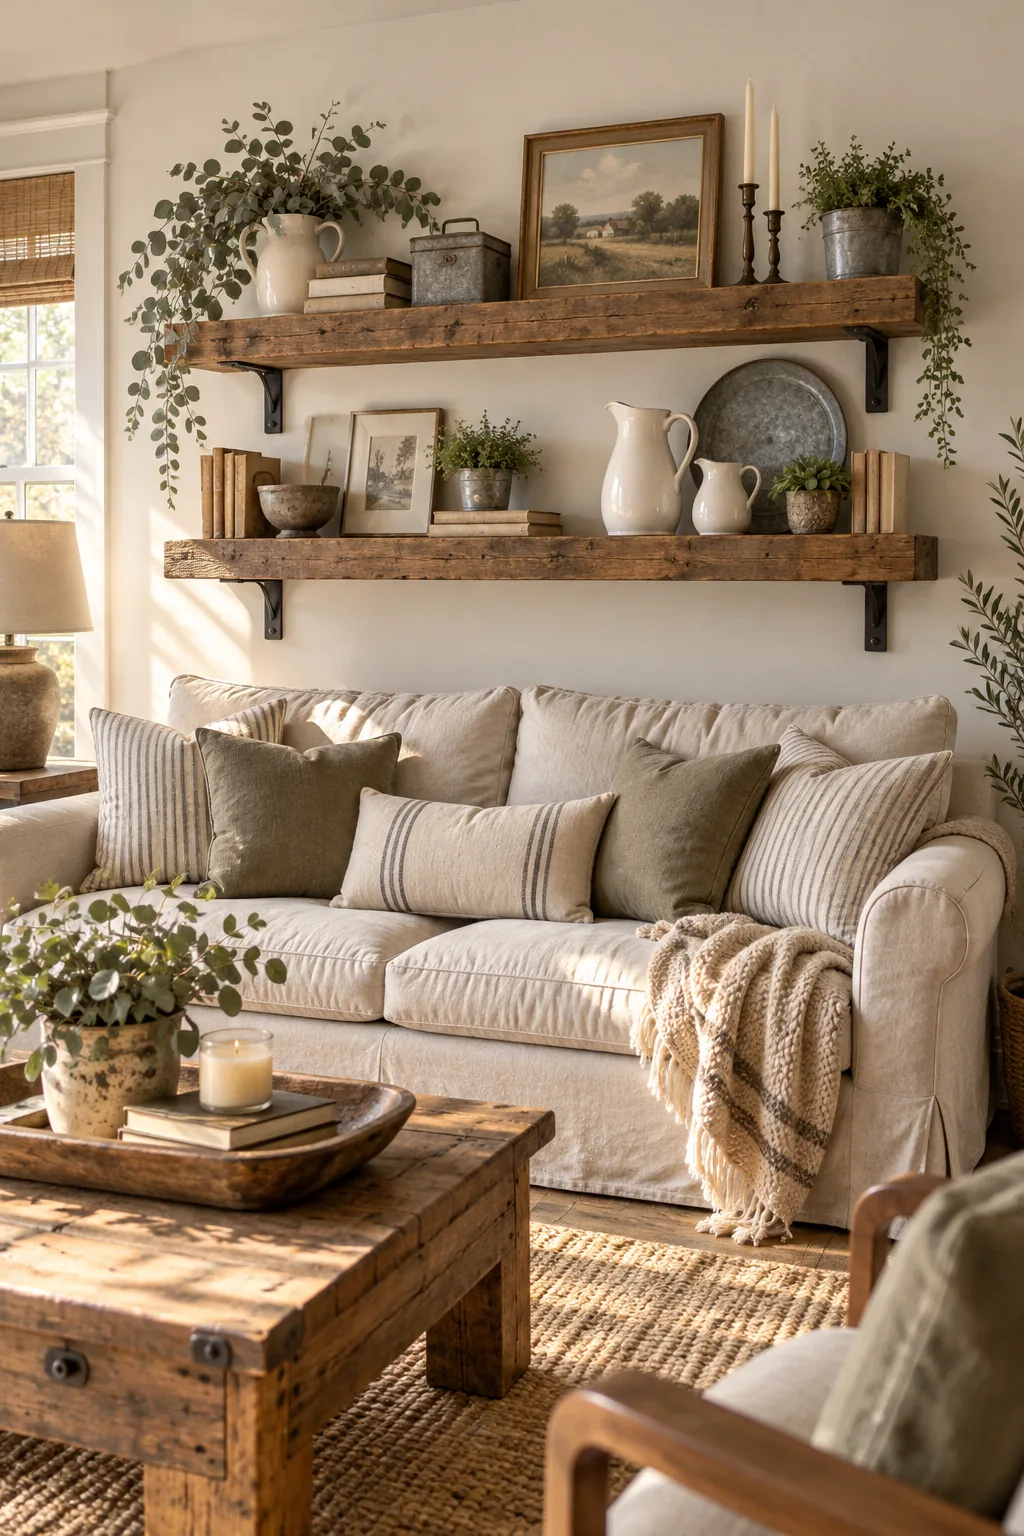
Modern Farmhouse: Chunky reclaimed wood and exposed iron brackets add rustic architectural interest above a relaxed slipcovered sofa.
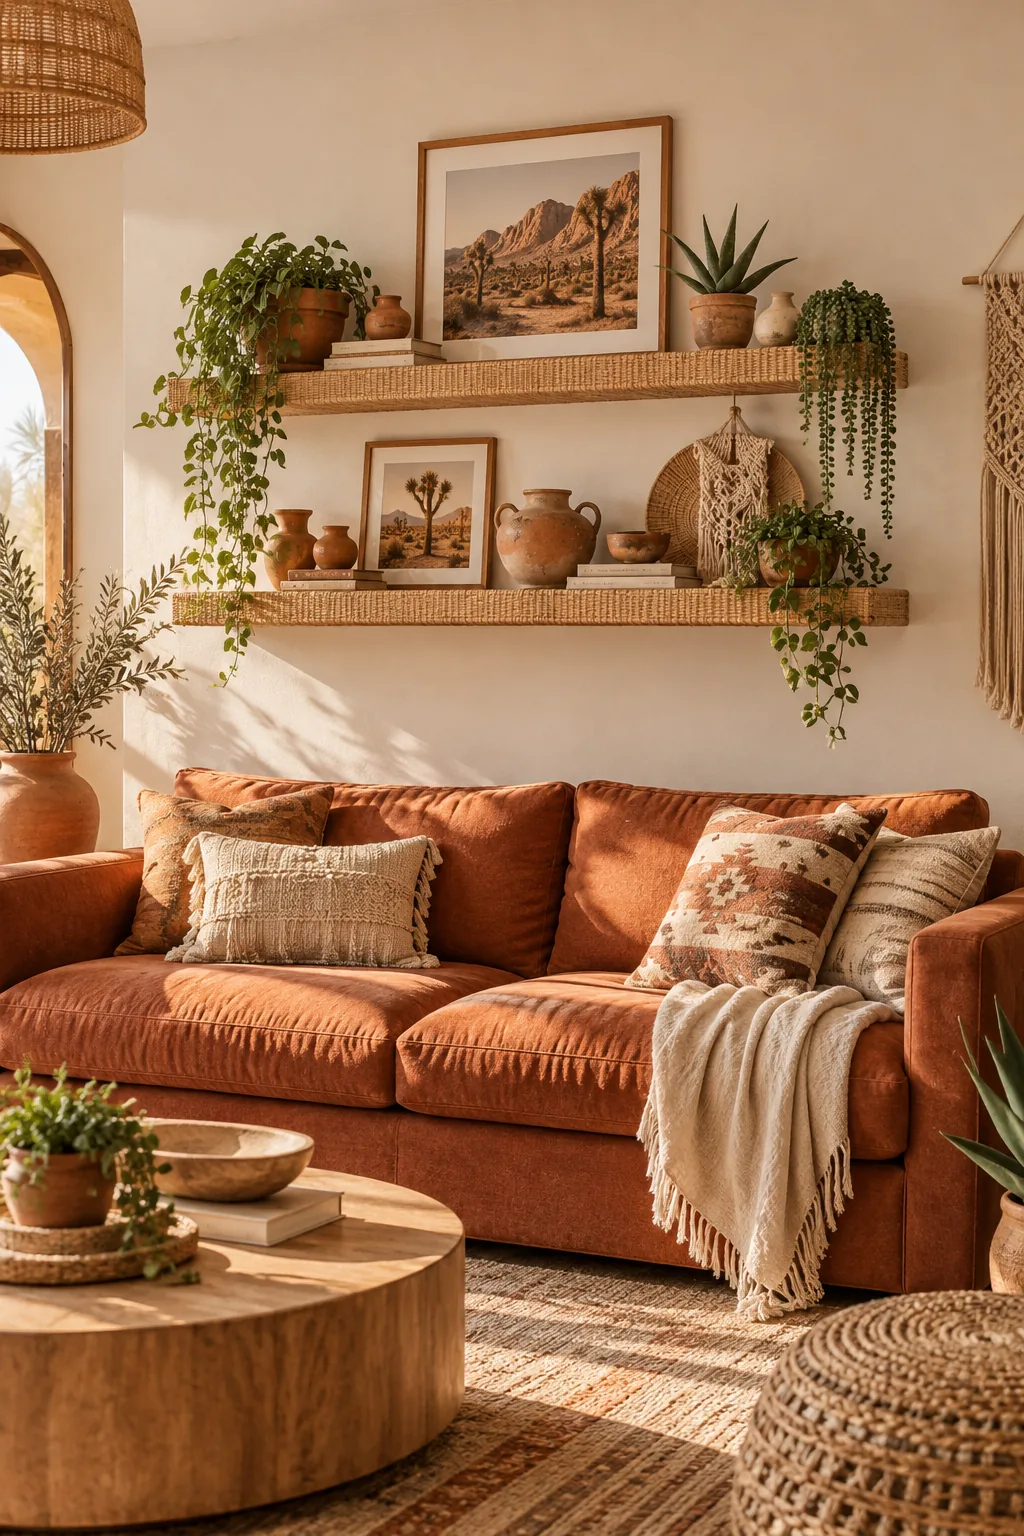
Boho Desert: Rattan textures and handmade clay planters bring earthy, sun-baked warmth to a casual terracotta seating area.
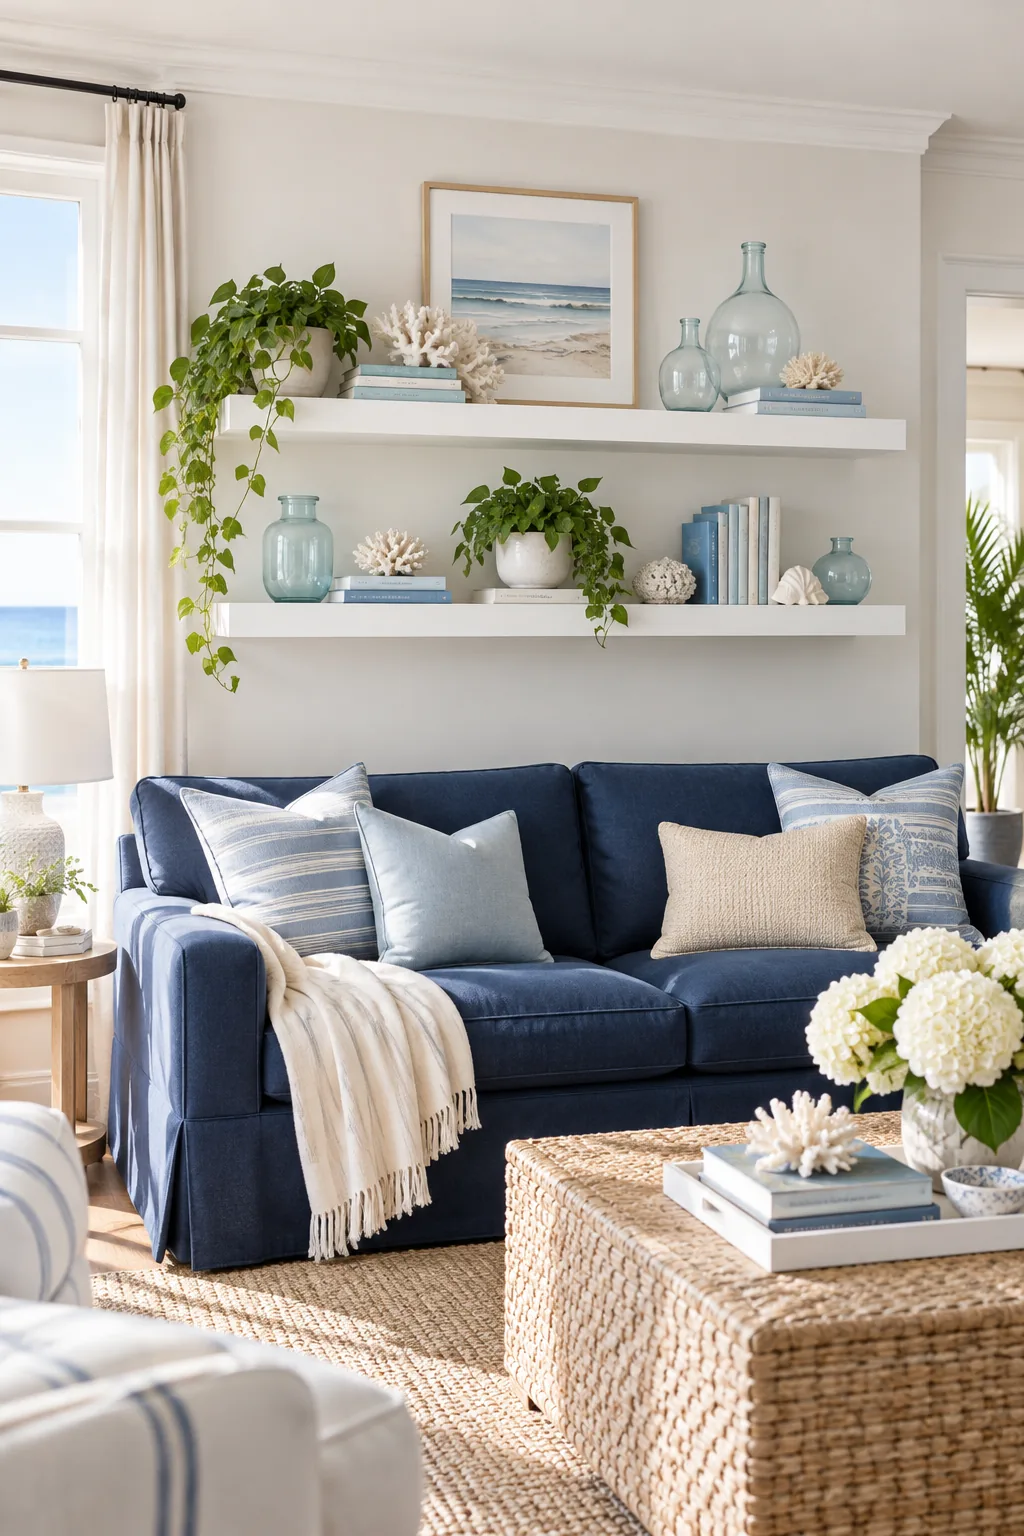
Coastal Transitional: Crisp white painted shelves contrast beautifully against a tailored navy sofa, offering a clean backdrop for glass and coral accents.
Your Shelf Placement Cheat Sheet
Bring all these measurements together into one actionable plan that combines the width ratio, the 10-inch sofa clearance, and the customized decor gap. Your final spacing cheat sheet requires anchoring into two studs to ensure the entire system remains secure.
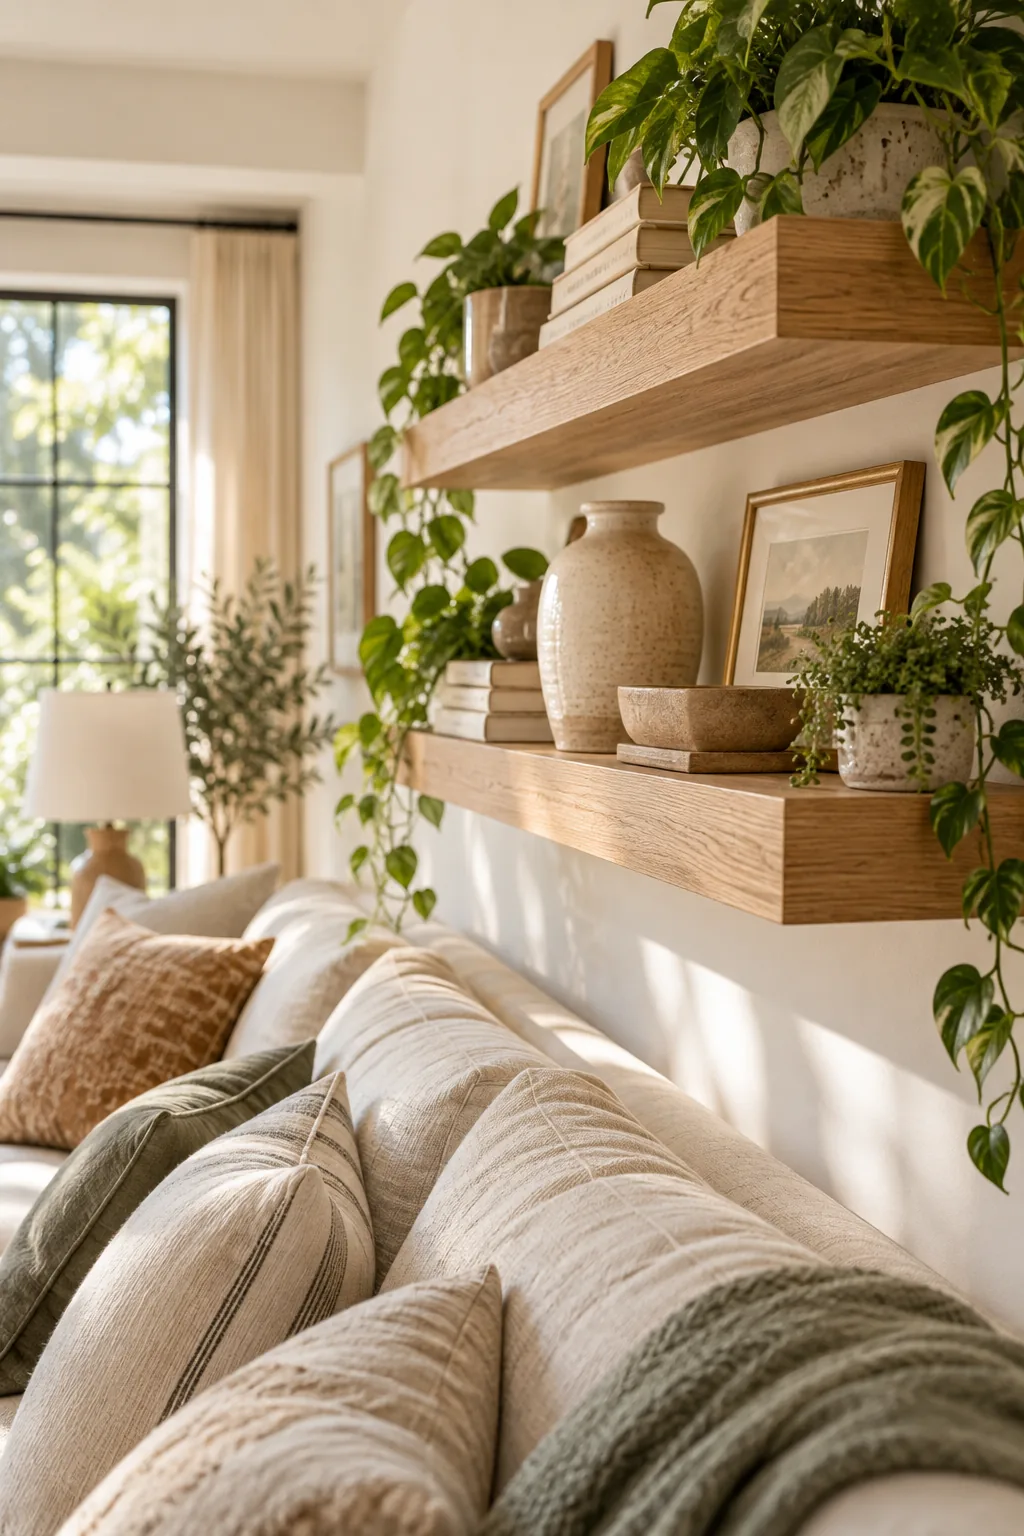
I keep a printed copy of these exact numbers in my project binder to make every living room installation completely stress-free. Before you pick up the drill, run through this final pre-installation checklist to ensure every measurement aligns perfectly.