Pro Bathtub Tile Layout Secrets and Materials Cheat Sheet
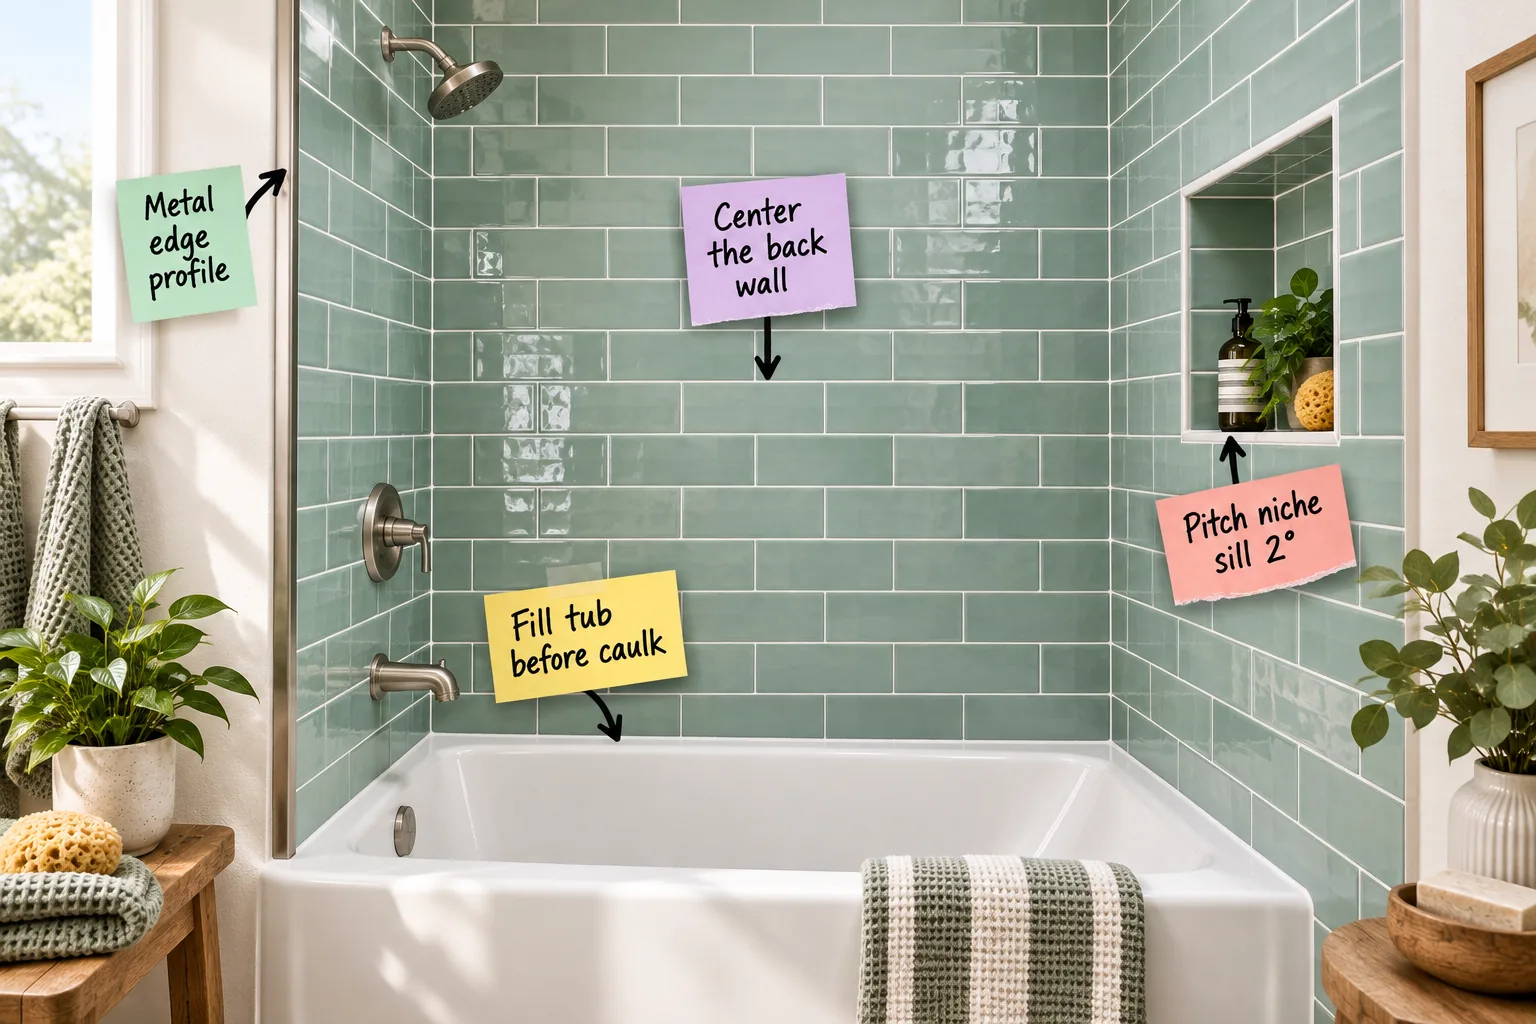
Getting a flawless, waterproof shower surround is entirely possible when you use this pro bathtub tile layout and materials cheat sheet. You will be able to plan a symmetrical design, install watertight details, and execute professional finishing techniques.
Inspect the Wall Studs for Plumb
Before attaching any backer board, you must verify that your framing is perfectly vertical using a long level. Shim any bowed studs until they are completely flush, which guarantees your final tile surface remains flat and professional.
Install a Waterproof Backer Board
Standard drywall will quickly disintegrate behind a wet shower surround, so you need to install a dedicated cement board or foam backer. Secure these panels with specialized alkaline-resistant screws spaced every eight inches along the studs.
Tape and Mud the Wall Seams
Every joint between your backer boards represents a potential water leak if left untreated. Cover these seams with an alkali-resistant fiberglass mesh tape, then embed the tape completely with a smooth layer of modified thinset mortar.
Apply a Liquid Waterproofing Membrane
Painting on a liquid waterproofing membrane creates an impenetrable rubberized barrier over your porous cement board. Apply at least two thick coats, changing your roller direction between layers to ensure every tiny pinhole is completely sealed.
Center the Back Wall First
Finding the exact vertical center line on your main wall is the most critical first step for a balanced layout. Measure the total width of the back wall and divide by two to establish this starting center mark.
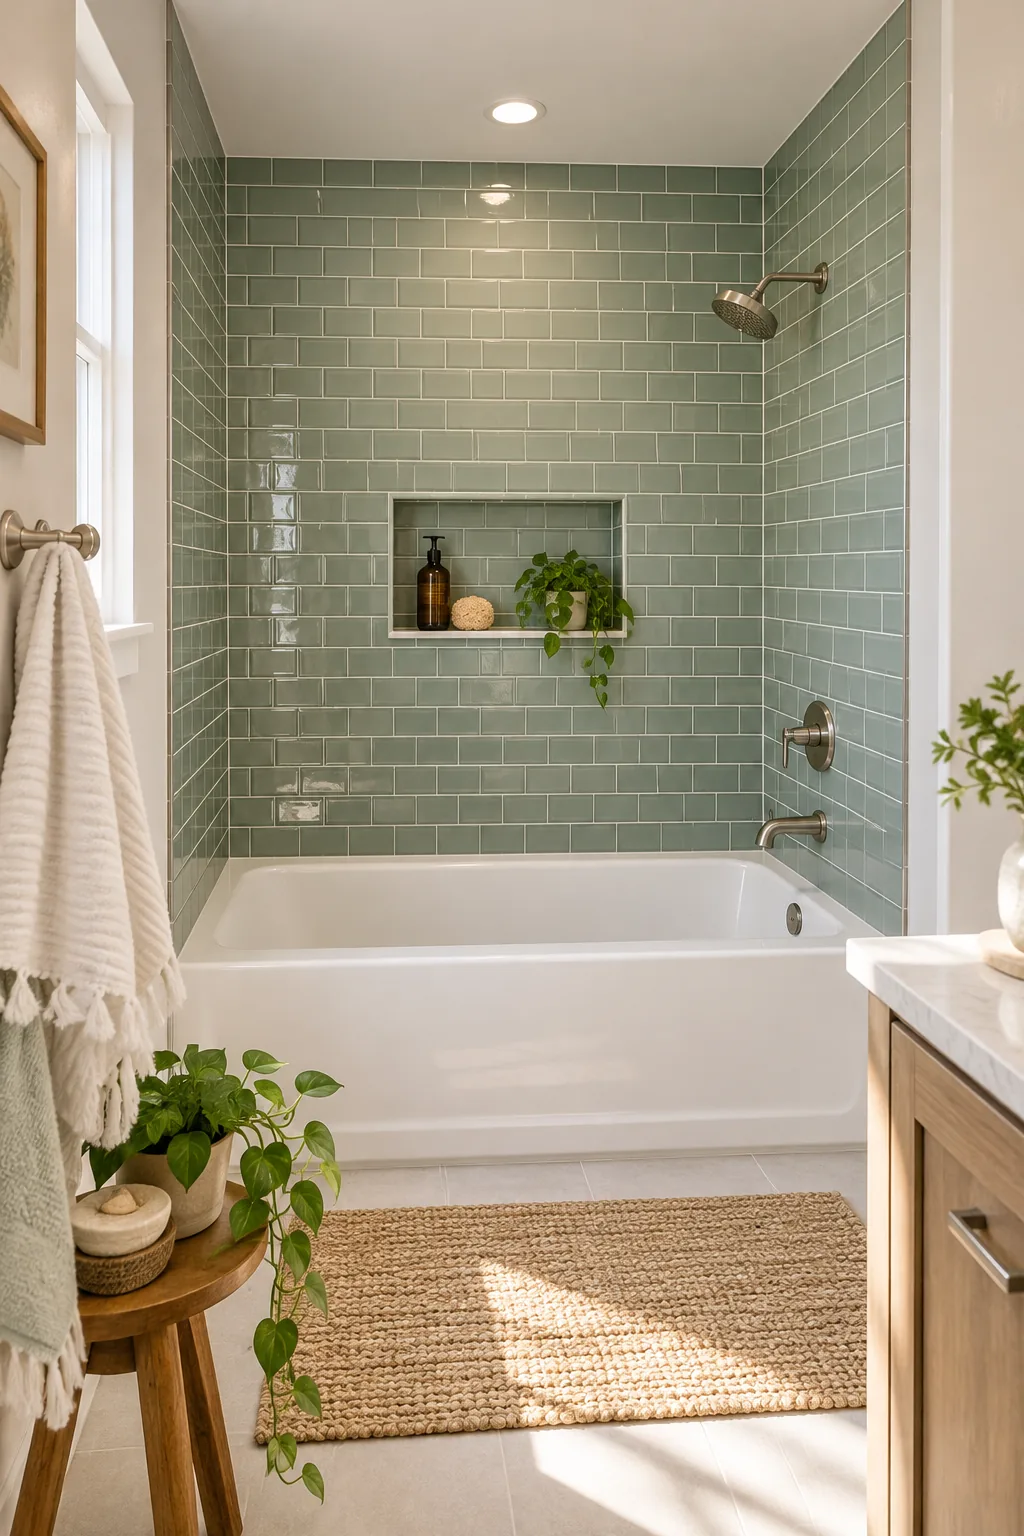
A common DIY error happens before the first tile is even set in thinset, ruining the entire visual balance.
Mark Your Level Reference Line
Bathtubs are rarely perfectly level, so resting your first row directly on the tub deck guarantees a crooked wall. Screw a straight ledger board into the studs exactly one tile height above the lowest point of the tub.
Wrap Corners for Continuous Flow
When I tiled my own guest bathroom, I realized that carrying the tile pattern seamlessly around the inside corners makes the space look incredibly high-end. The cut piece from the end of one wall should visually continue on the adjacent wall.
- Measure the remaining gap on your first wall and cut your tile to fit.
- Take the leftover piece from that exact tile to start the next wall.
- Maintain your standard grout joint spacing directly in the corner seam.
Mix Thinset to a Peanut Butter Consistency
Your modified thinset mortar needs to hold heavy tiles without sagging down the wall. Slowly add water to the powder while mixing until the texture resembles creamy peanut butter, then let it slake for ten minutes before using.
Cap Outside Edges With Metal Profiles
Using metal edge profiles creates a crisp, modern boundary where the tile ends on the painted drywall. You must match the profile depth to your tile thickness plus the thinset layer, which usually requires a 3/8-inch or 1/2-inch profile.
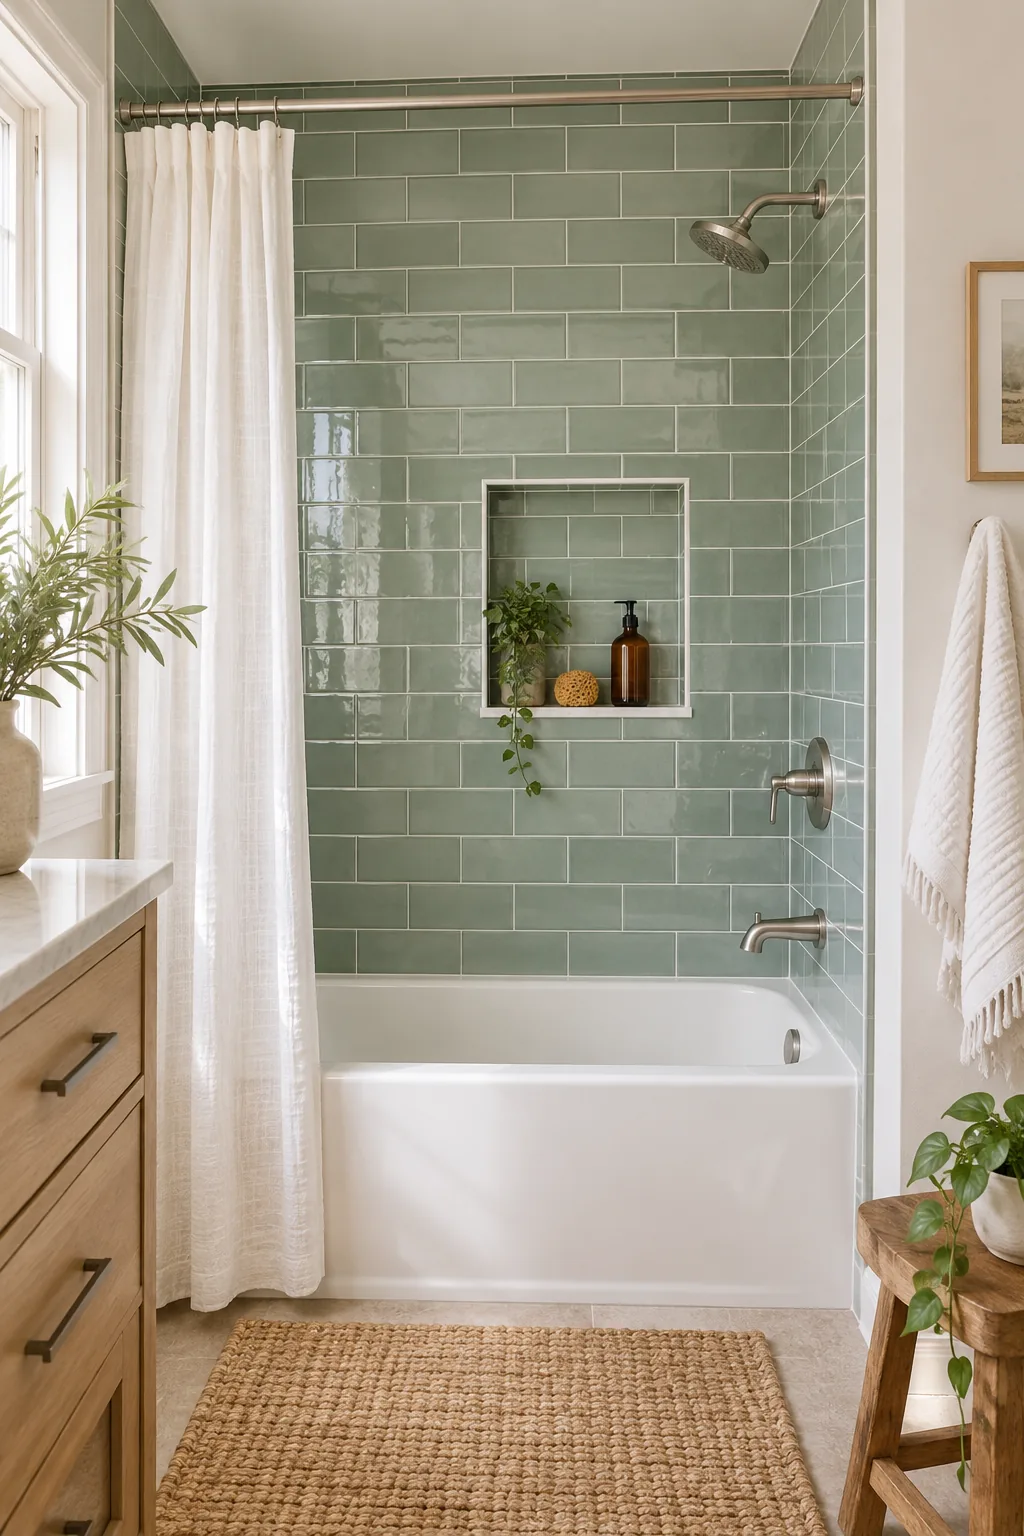
Embed the profile’s anchoring leg directly into the thinset behind the final column of tiles for a permanent, secure hold.
Frame the Shower Niche Between Studs
I always plan my recessed niche placement during the early framing stage so it fits naturally between the existing wall studs without structural changes. Align the top and bottom of the niche box with your planned horizontal grout lines.
- Locate existing studs to determine the widest possible niche opening.
- Adjust the vertical height to align perfectly with full tile rows.
- Waterproof the entire framed box with a liquid membrane or foam backer board.
Pitch the Niche Sill Two Degrees
The bottom shelf of the recessed shower niche must slope slightly toward the tub to shed water, which I learned the hard way. You need an exact 2-degree pitch, translating to roughly a 1/4-inch drop per foot of depth.
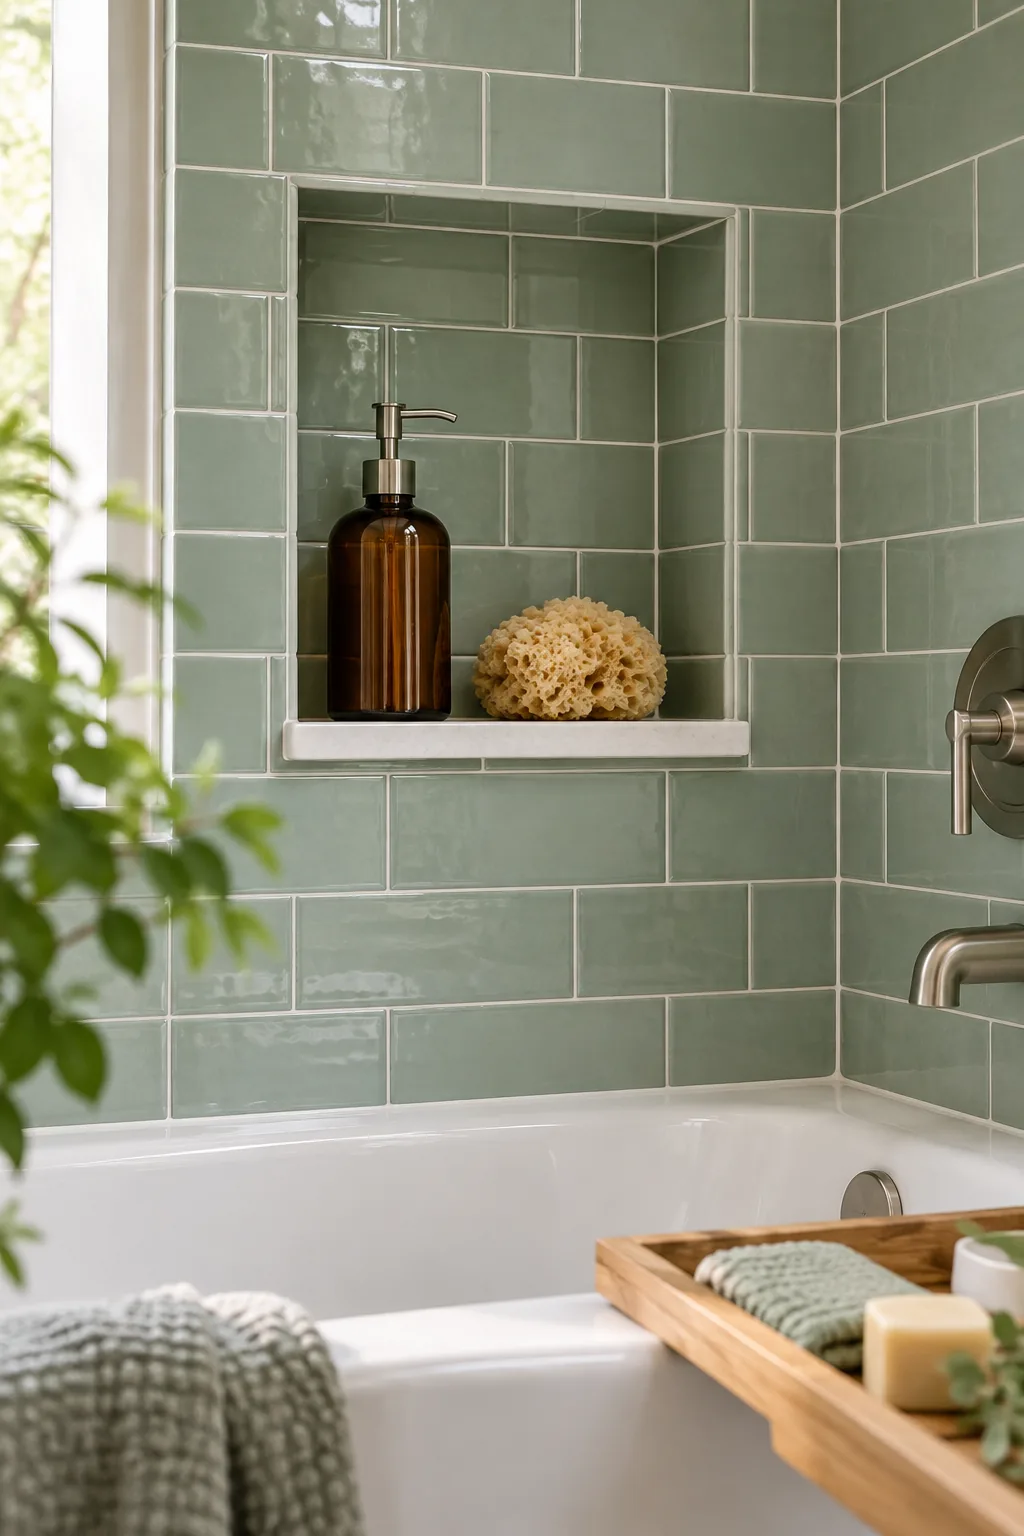
To make cleaning easier and significantly reduce the risk of water damage, rethink how you finish this bottom shelf.
Trowel the Thinset at a Forty-Five Degree Angle
Applying thinset correctly requires holding your notched trowel at a consistent forty-five degree angle against the wall. This angle creates uniform mortar ridges that collapse perfectly when you press the tile into place, ensuring maximum adhesion.
Back-Butter Every Single Tile
Spreading a thin layer of mortar directly onto the back of each tile prevents hidden air pockets. This back-buttering technique guarantees a solid bond and drastically reduces the chance of tiles cracking under pressure later.
Use Spacers for Perfect Alignment
Gravity constantly pulls wet tiles downward, ruining your perfectly level rows. Insert rigid plastic spacers between every single tile to maintain your exact 1/16-inch to 1/8-inch grout joint until the thinset cures completely.
Check for Lippage as You Work
Lippage occurs when one tile edge sits higher than its neighbor, creating a sharp, unsightly ridge. Constantly run your fingers across the joints as you install, pressing stubborn tiles deeper into the mortar to maintain a flush surface.
Cut Tiles Safely With a Wet Saw
A quality diamond-blade wet saw is absolutely non-negotiable for achieving clean, factory-like cuts around your plumbing fixtures. Always push the tile through the blade slowly to prevent the ceramic glaze from chipping or shattering.
Smooth Rough Edges With a Rubbing Stone
Even the best wet saw leaves a slightly sharp edge on cut tiles. Gently run a diamond rubbing stone over the freshly cut edge to chamfer it slightly, restoring a smooth finish that looks completely intentional.
Let the Thinset Cure Completely
Patience is crucial once your tiles are finally set on the wall. You must wait a full twenty-four hours for the modified thinset to cure completely before attempting to remove any spacers or applying grout.
Remove All Spacers Before Grouting
Leaving plastic spacers buried in the joints will inevitably cause your grout to crack and fall out over time. Use a pair of needle-nose pliers to pull every single spacer from the wall before mixing your grout.
Select a High-Performance Grout
Always use a high-performance cementitious or epoxy grout for wet tub surrounds to actively resist mildew and daily soap staining. Standard subway tiles typically look best with a tight grout joint to minimize scrubbing.
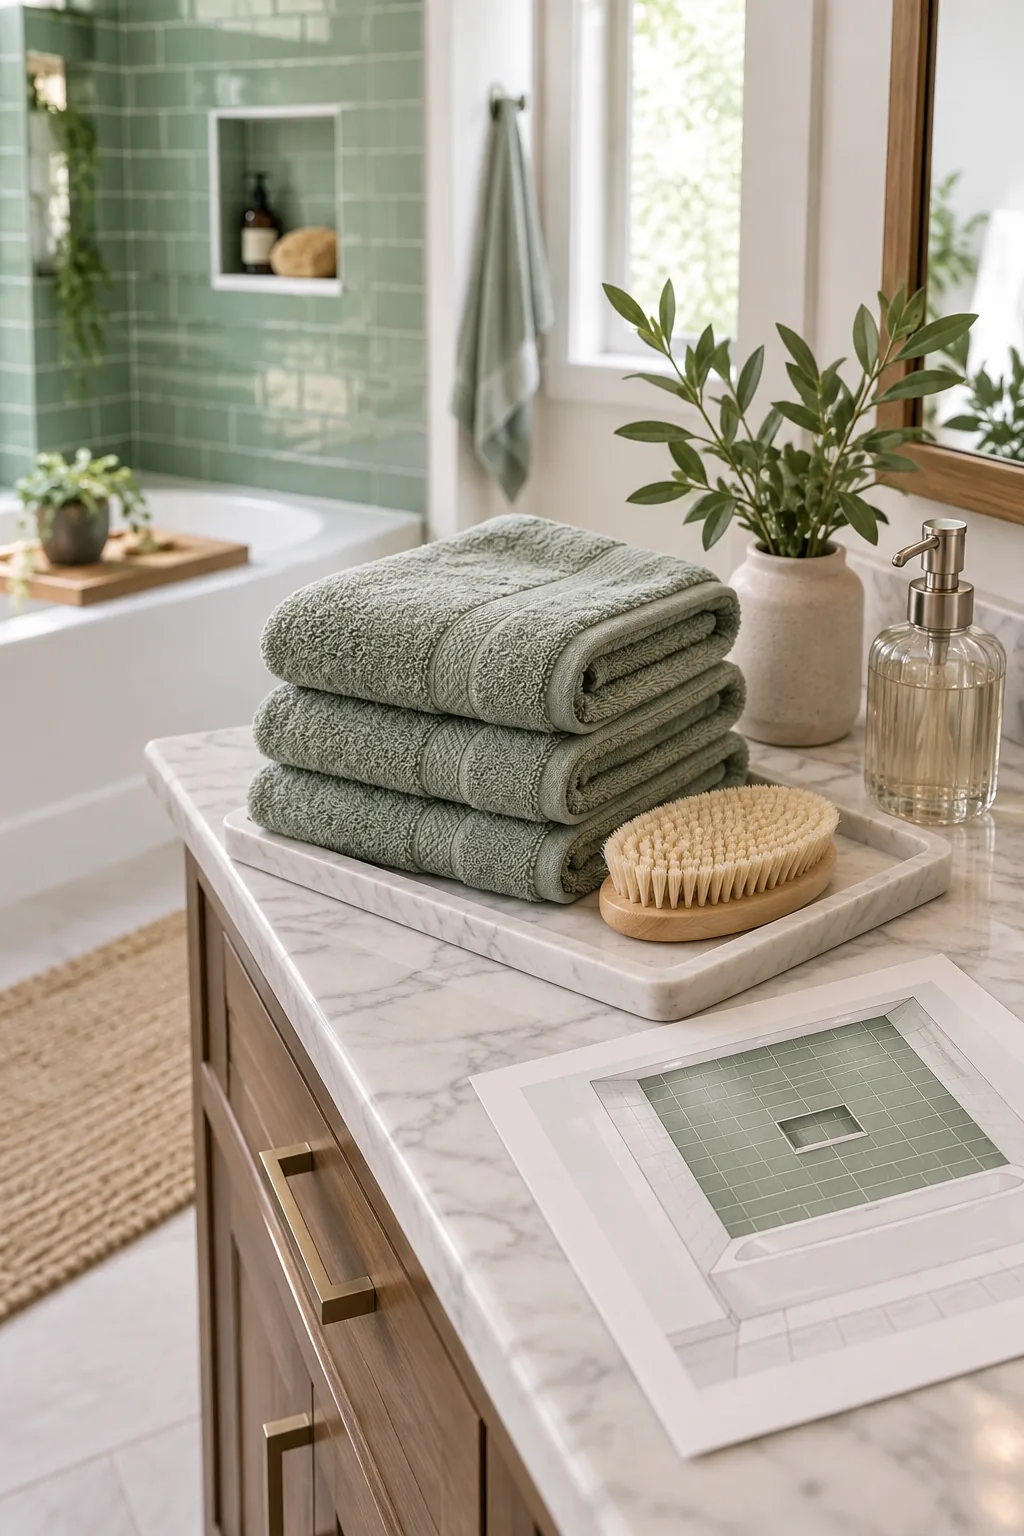
| Grout Type | Best For | Maintenance |
|---|---|---|
| Standard Cement | Dry areas | Requires annual sealing |
| High-Performance | Tub surrounds | Stain resistant |
| Epoxy | Heavy moisture | Maximum durability |
Mix Grout in Small, Manageable Batches
Grout begins to harden rapidly once mixed with water, making it impossible to spread smoothly. Only mix what you can comfortably apply in about thirty minutes to prevent wasting material and struggling with stiff grout.
Pack the Grout Joints Fully
Use a hard rubber grout float to aggressively push the material deep into every joint. Hold the float at a forty-five degree angle and swipe diagonally across the tiles to avoid dragging the fresh grout back out.
Sponge Off the Excess Grout Carefully
Wait fifteen minutes for the grout to firm up slightly, then wipe the tiles with a barely damp sponge. Wringing out the sponge completely is vital, as excess water will wash out the joints and weaken the grout.
Buff Away the Final Grout Haze
After the grout dries for two hours, a dusty film will appear across the surface of your beautiful tiles. Use a dry, lint-free microfiber cloth to briskly buff the haze away, revealing the gleaming finish underneath.
Fill the Tub Before You Caulk
The physics of caulking the horizontal seam where the bottom row of tile meets the bathtub deck requires maximum weight. Filling the tub with water pulls the tub downward, expanding the joint to its maximum size.
Leaving the water in the tub until the silicone fully cures ensures the seal won’t stretch and tear during future baths.
Apply a High-Quality Grout Sealer
If you used a cement-based grout, applying a penetrating sealer is your final defense against moisture and discoloration. Wait three days for the grout to cure, then brush the sealer directly onto the joints to lock out stains.
Your Pro Bathtub Tile Cheat Sheet
Having a concrete list of essential layout rules, standard measurements, and material requirements makes your installation run smoothly. Standard niche heights sit roughly 48 inches from the floor, and you must always use 100% silicone for plane changes.
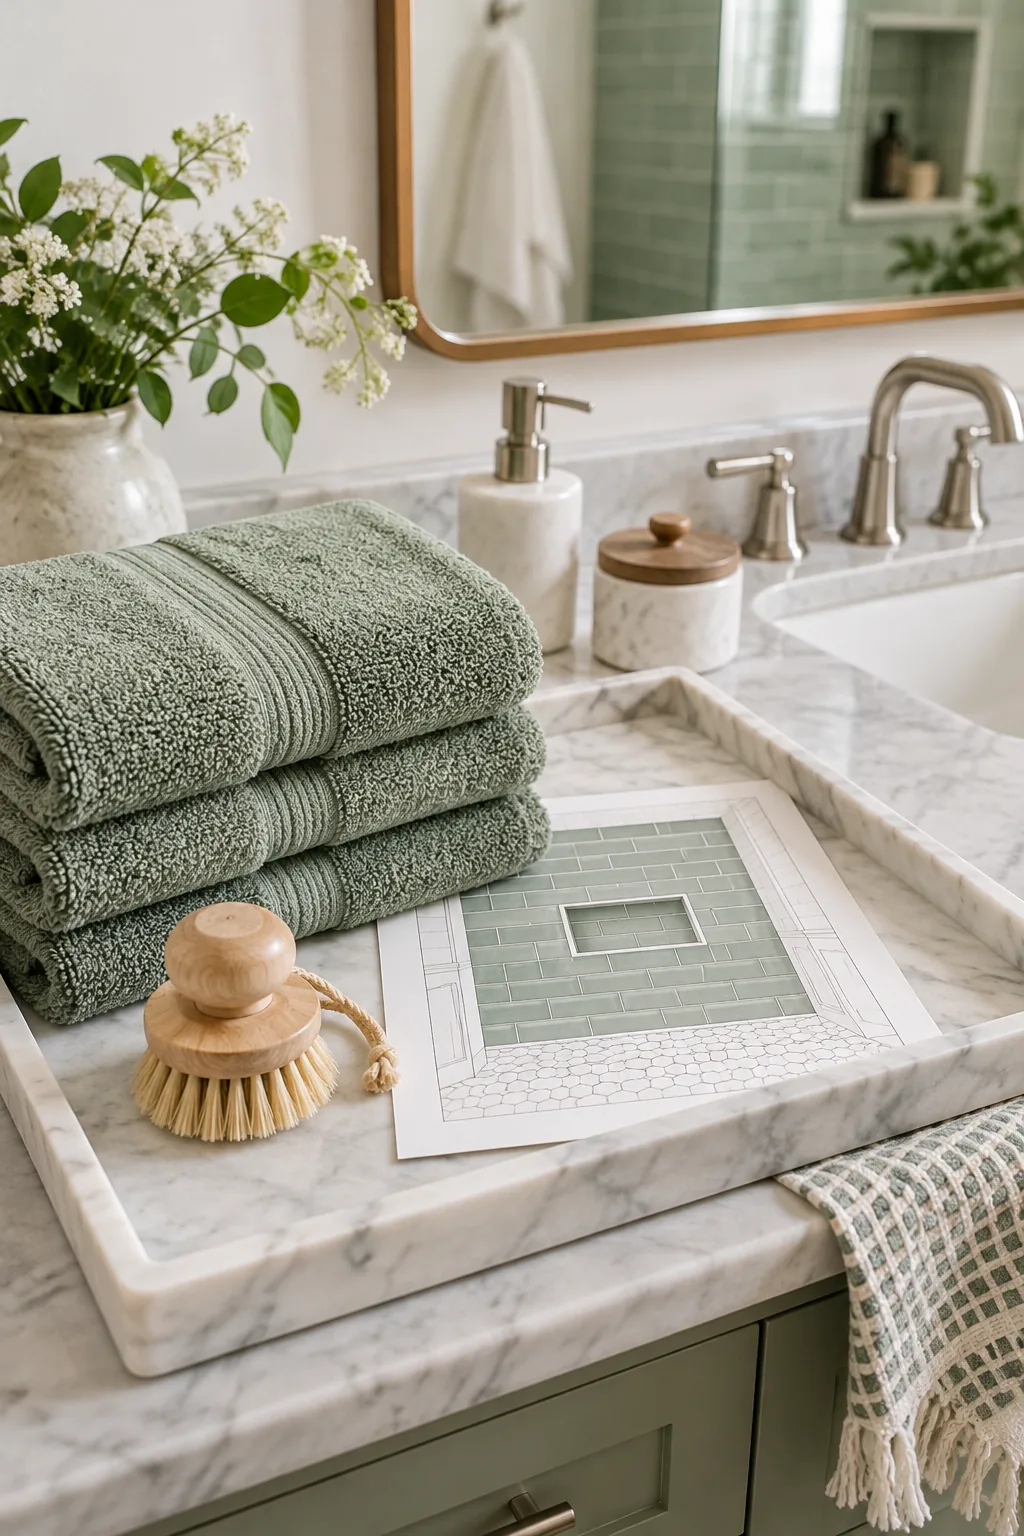
Keep these measurements handy as you mix your first bucket of thinset, and you will achieve a professional, watertight finish that lasts for decades.
More Bathtub Tile Looks to Inspire You
Once you understand the layout rules, you can apply them to any of these stunning tile styles.
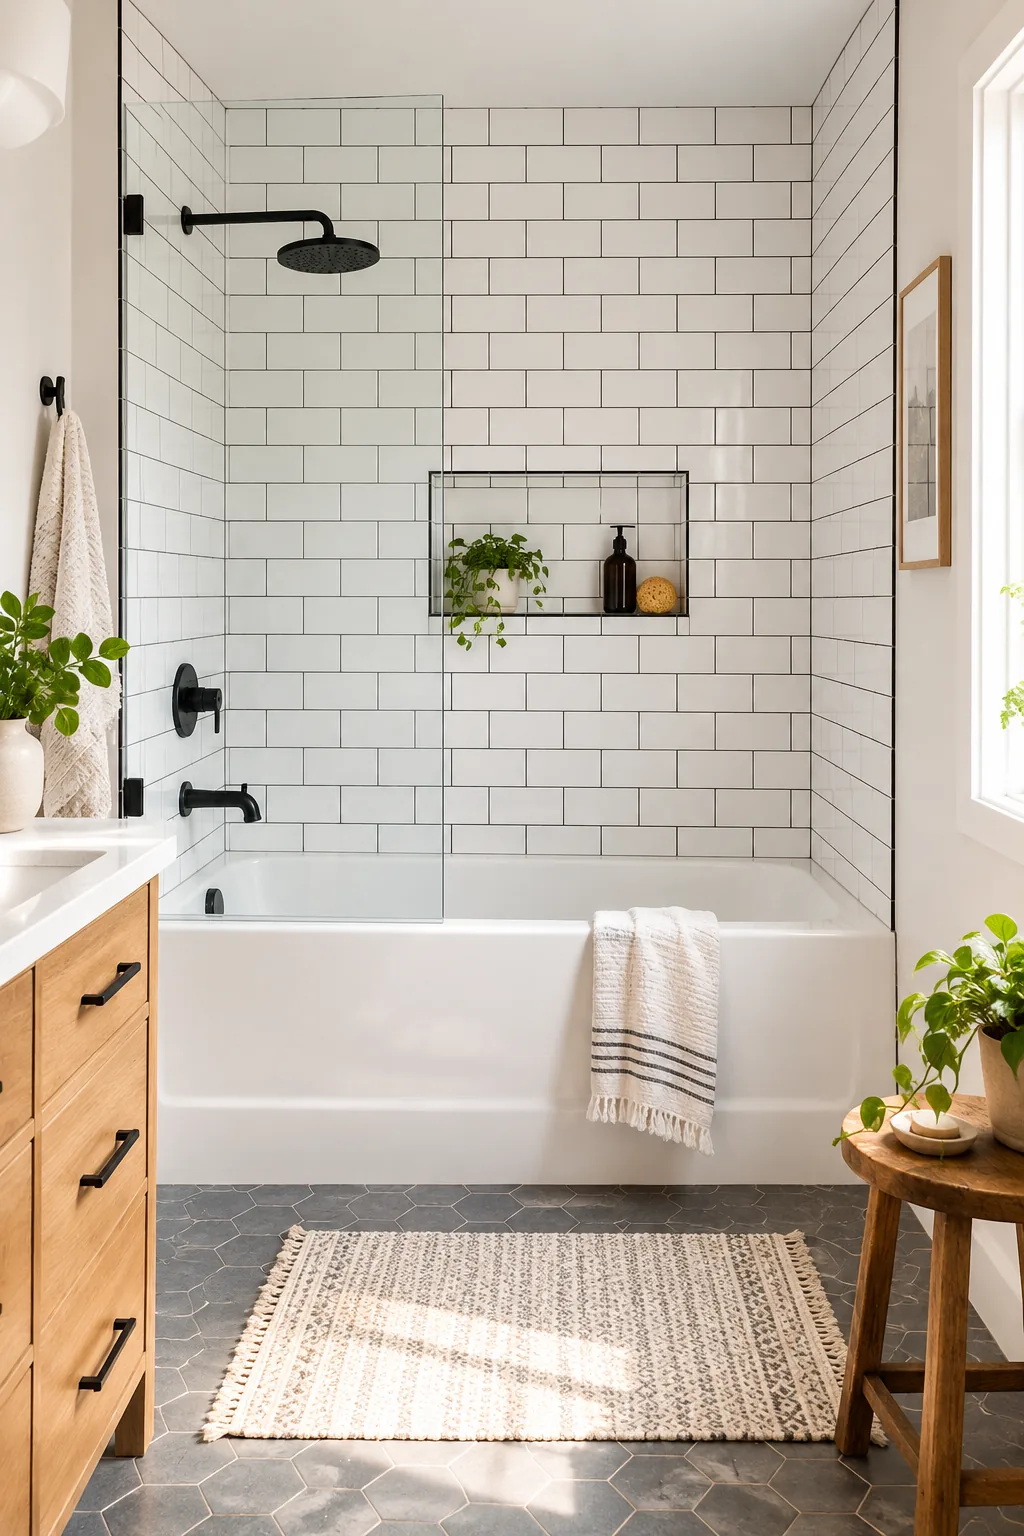
Classic White and Matte Black: Dark charcoal grout highlights the traditional brick pattern while masking everyday water spots.
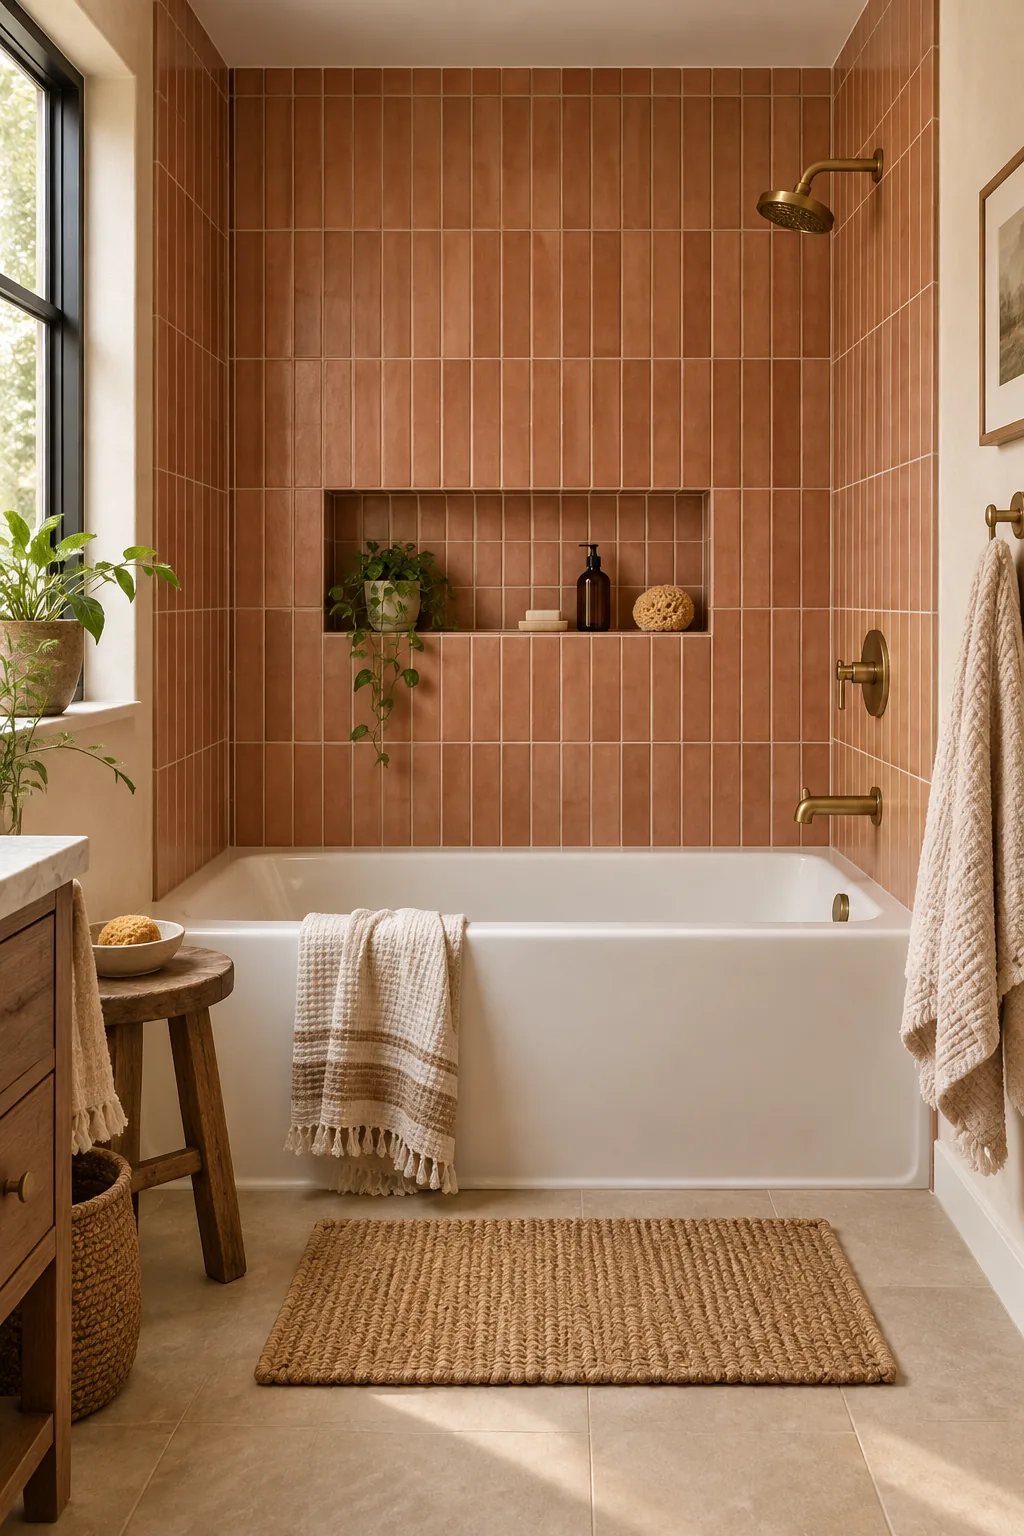
Vertical Stacked Warm Terracotta: Stacking tiles vertically draws the eye upward, making standard ceiling heights feel instantly taller.
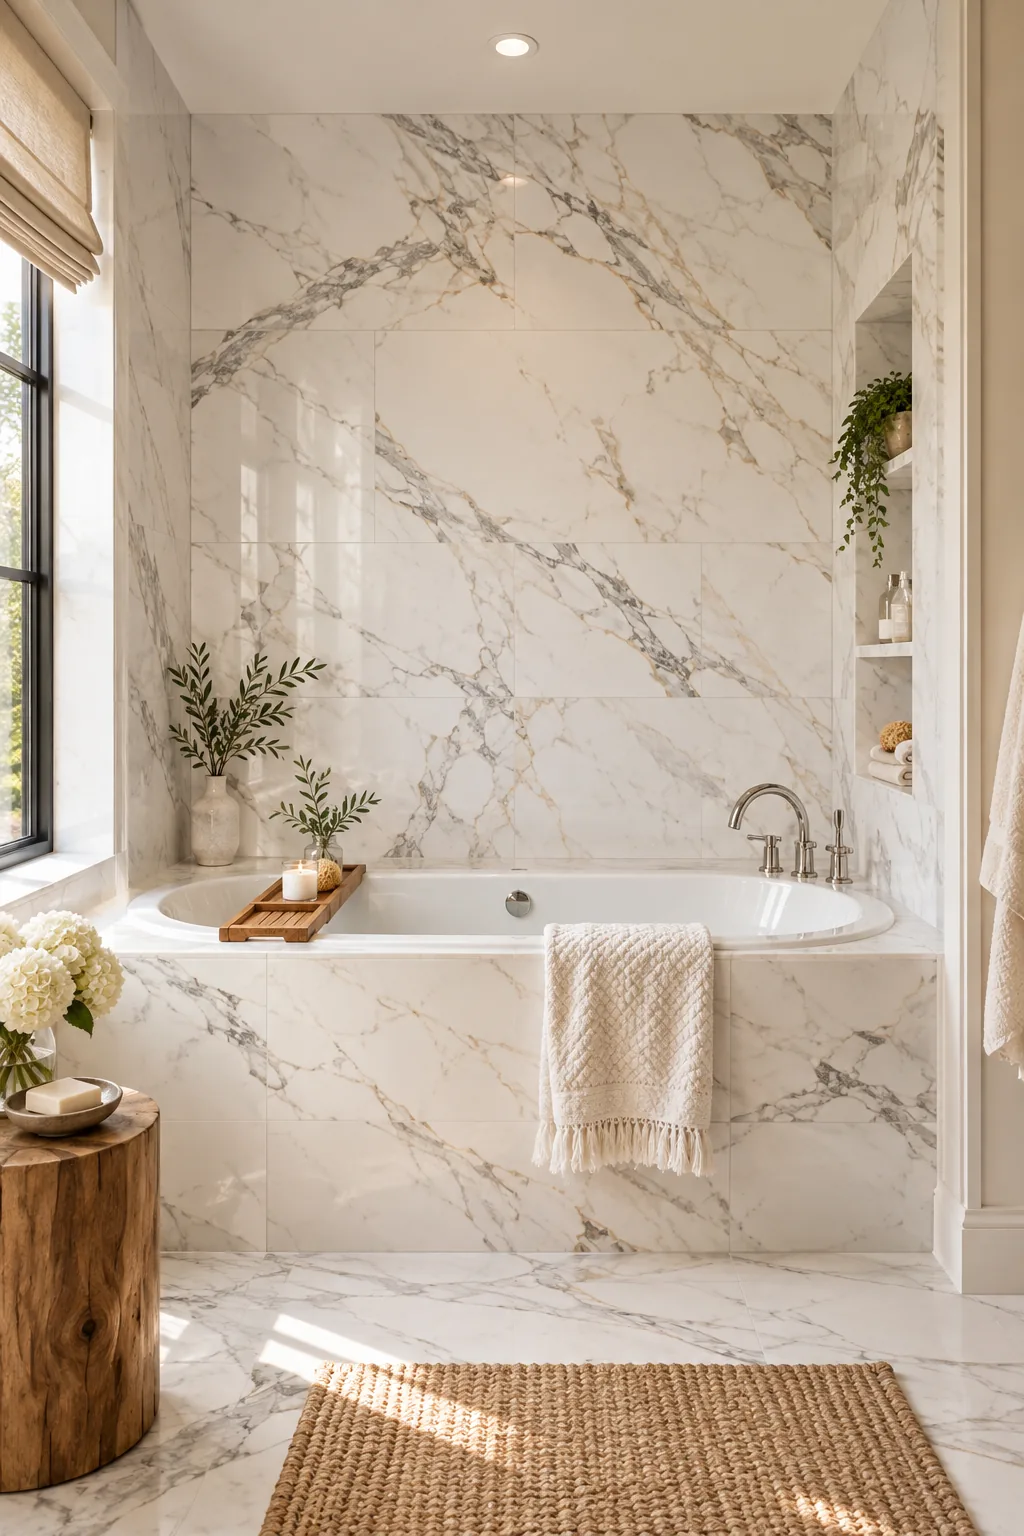
Large Format Calacatta Marble: Oversized marble tiles minimize visible grout lines for a seamless, high-end hotel aesthetic.
Moody Navy Blue Zellige: The handmade texture of Zellige tile catches the light beautifully in darker, atmospheric spaces.

Soft Blush Pink Hexagon: Geometric hexagon tiles add playful energy while remaining sophisticated enough to grow with the space.