Christmas Veggie Tray: Hidden Wreath Secrets & Free Diagram
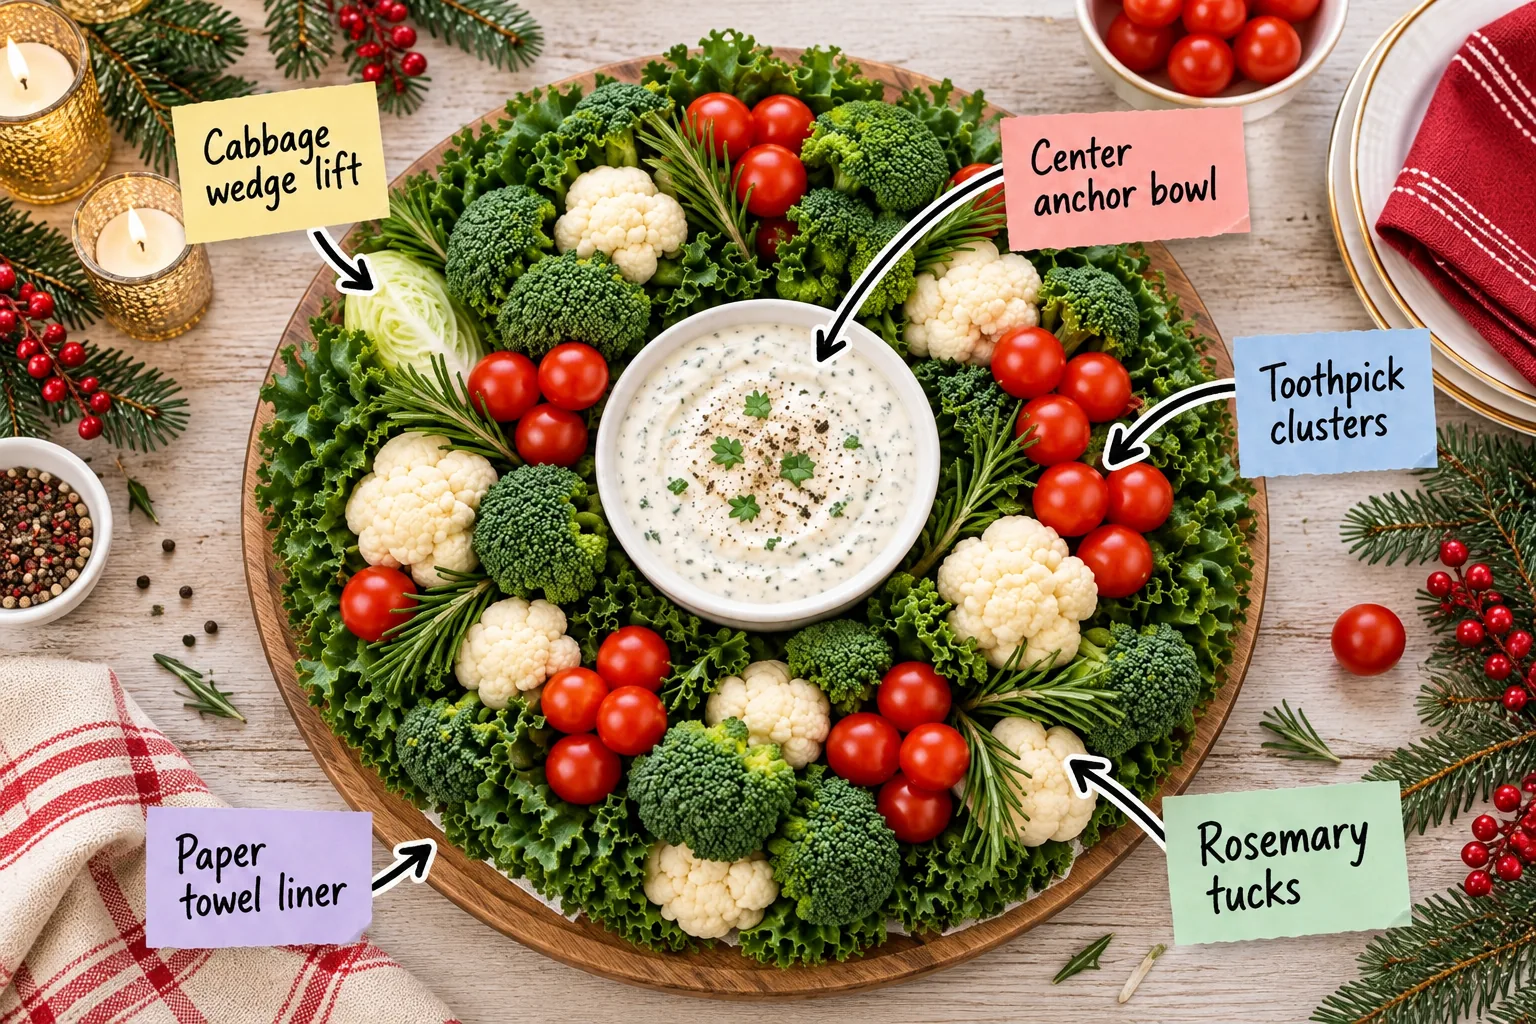
You will be able to build a perfectly shaped, structured holiday vegetable wreath using our step-by-step method. Download our printable wreath assembly diagram and exact vegetable shopping list to confidently recreate this festive centerpiece for your own table.
Placing the Center Anchor Bowl
Start with a 12-inch round wooden board and place a 4-inch ceramic dip bowl exactly in the center to serve as your structural anchor. This heavy central element dictates the entire layout and establishes a firm inner boundary for the greens.
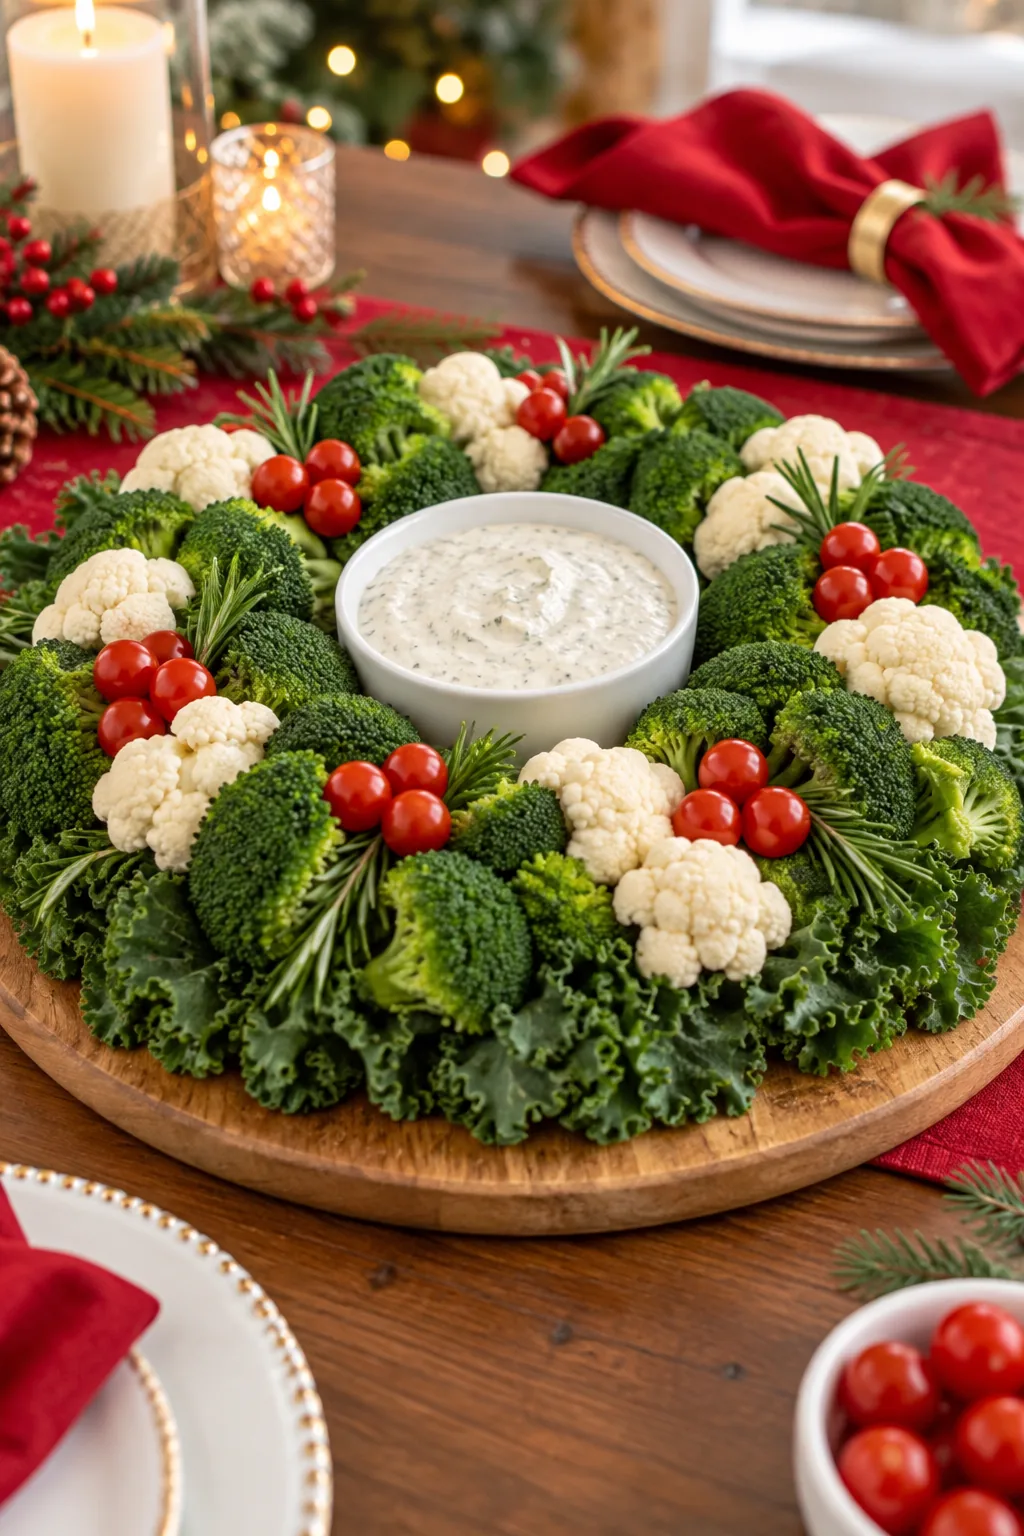
Establishing this physical barrier gives you a reliable guide for building a perfect circle while keeping the dip neatly contained. You can fill it with ranch or hummus later, but placing the empty bowl first is the most critical structural step.
Sizing Your Wooden Serving Board
Choosing the right foundation determines whether your wreath looks abundantly full or sadly sparse. A standard 12-inch board perfectly holds the quantities in our shopping list, but you can scale the entire project up for larger holiday gatherings.
| Board Size | Center Bowl | Veggie Multiplier | Serves |
|---|---|---|---|
| 10-inch | 3-inch | 0.75x | 4-6 |
| 12-inch | 4-inch | 1.00x | 8-10 |
| 14-inch | 5-inch | 1.50x | 12-14 |
Always measure your board across the widest point before heading to the grocery store. If you use a platter larger than 14 inches, you will need to double the foundational greens to prevent the wooden surface from showing through.
Gathering Your Assembly Supplies
Before you wash a single vegetable, set up your workstation with the specific tools required for this structural build. Having everything within reach ensures you can assemble the wreath quickly without the ingredients wilting on the counter.
Using half-toothpicks instead of full-sized skewers is especially important for the tomato clusters. They provide enough grip to hold the vegetables together without dangerously protruding into the food where guests might accidentally bite them.
Adding the Hidden Paper Towel Liner
Cut a ring of standard paper towels and place it smoothly around the center bowl, keeping the outer edge about half an inch from the board’s rim. This invisible barrier is the secret to a flawless foundation.
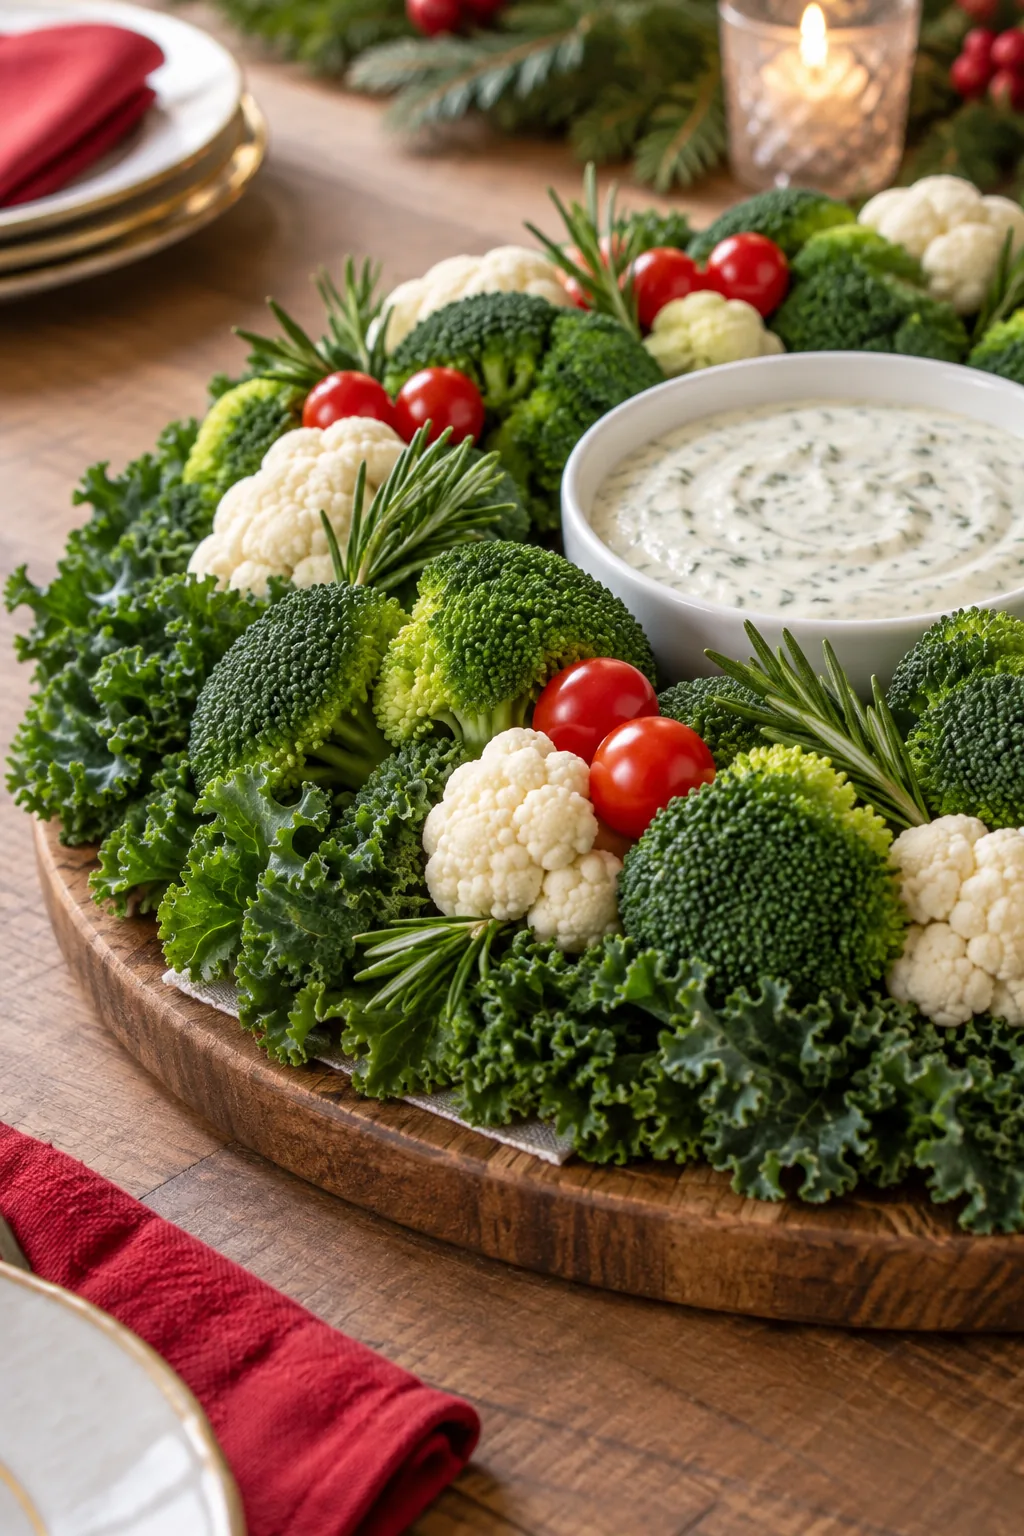
This absorbent layer catches excess moisture from the washed greens, preventing your wooden board from warping or getting dangerously slippery. It ensures the heavy florets stay exactly where you place them rather than sliding downward during the party.
Selecting the Best Kale Variety
Standard flat-leaf greens will simply lie flat against the board and look like a generic summer salad rather than a festive evergreen branch. You must specifically seek out curly kale at the market, as its heavily ruffled edges perfectly mimic dense pine needles.
Building the Curly Kale Foundation
Layer large, robust leaves of curly kale directly over the paper towel ring to create your base foliage. This dark, textured background provides the necessary visual contrast that makes the lighter vegetables dramatically pop.
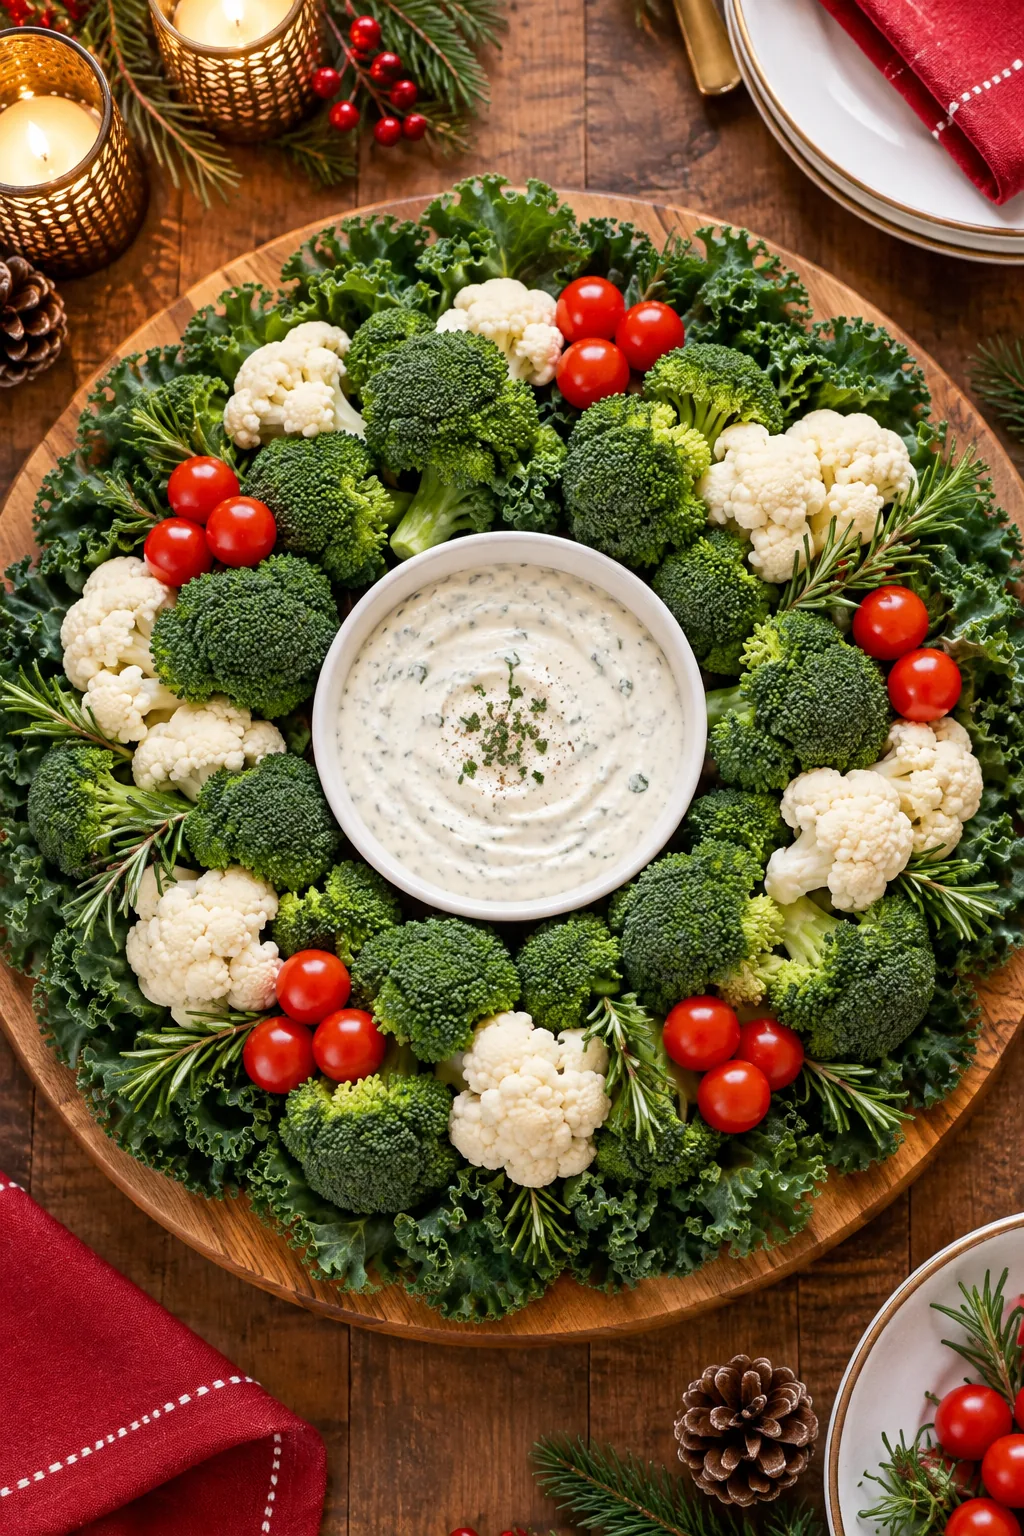
Moisture is the absolute enemy of a crisp, fresh-looking vegetable arrangement, so preparing your greens ahead of time makes a massive difference in the final result.
Creating Height with a Cabbage Wedge Lift
Tuck small wedges of pale green cabbage under the kale layer at four equidistant points around the board. In my own Boston apartment, I used to struggle with flat-looking platters until I started using these hidden structural lifts to create volume.
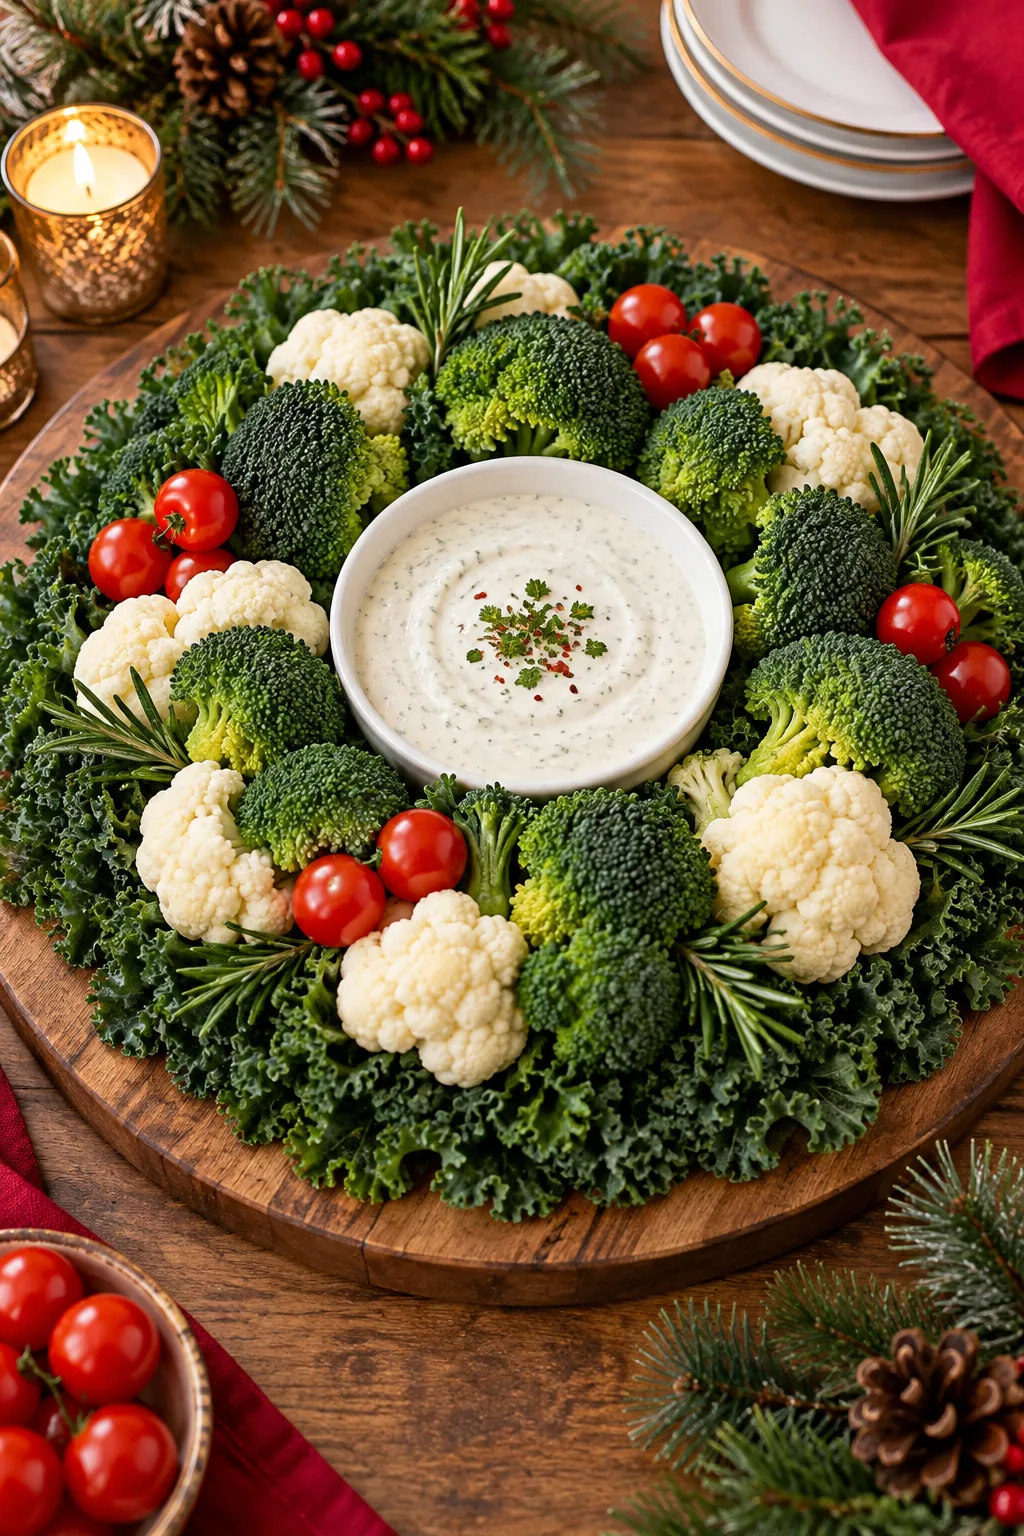
These sturdy wedges act as invisible boosters, raising the heavy broccoli and cauliflower so the wreath looks full and three-dimensional. This simple elevation technique transforms a basic veggie tray into a professional, domed centerpiece.
Arranging the Broccoli and Cauliflower
Alternate large broccoli and cauliflower florets in a tight zigzag pattern around the entire ring. Placing them closely together hides the cabbage lifts completely and creates a beautifully balanced color distribution across the whole board.
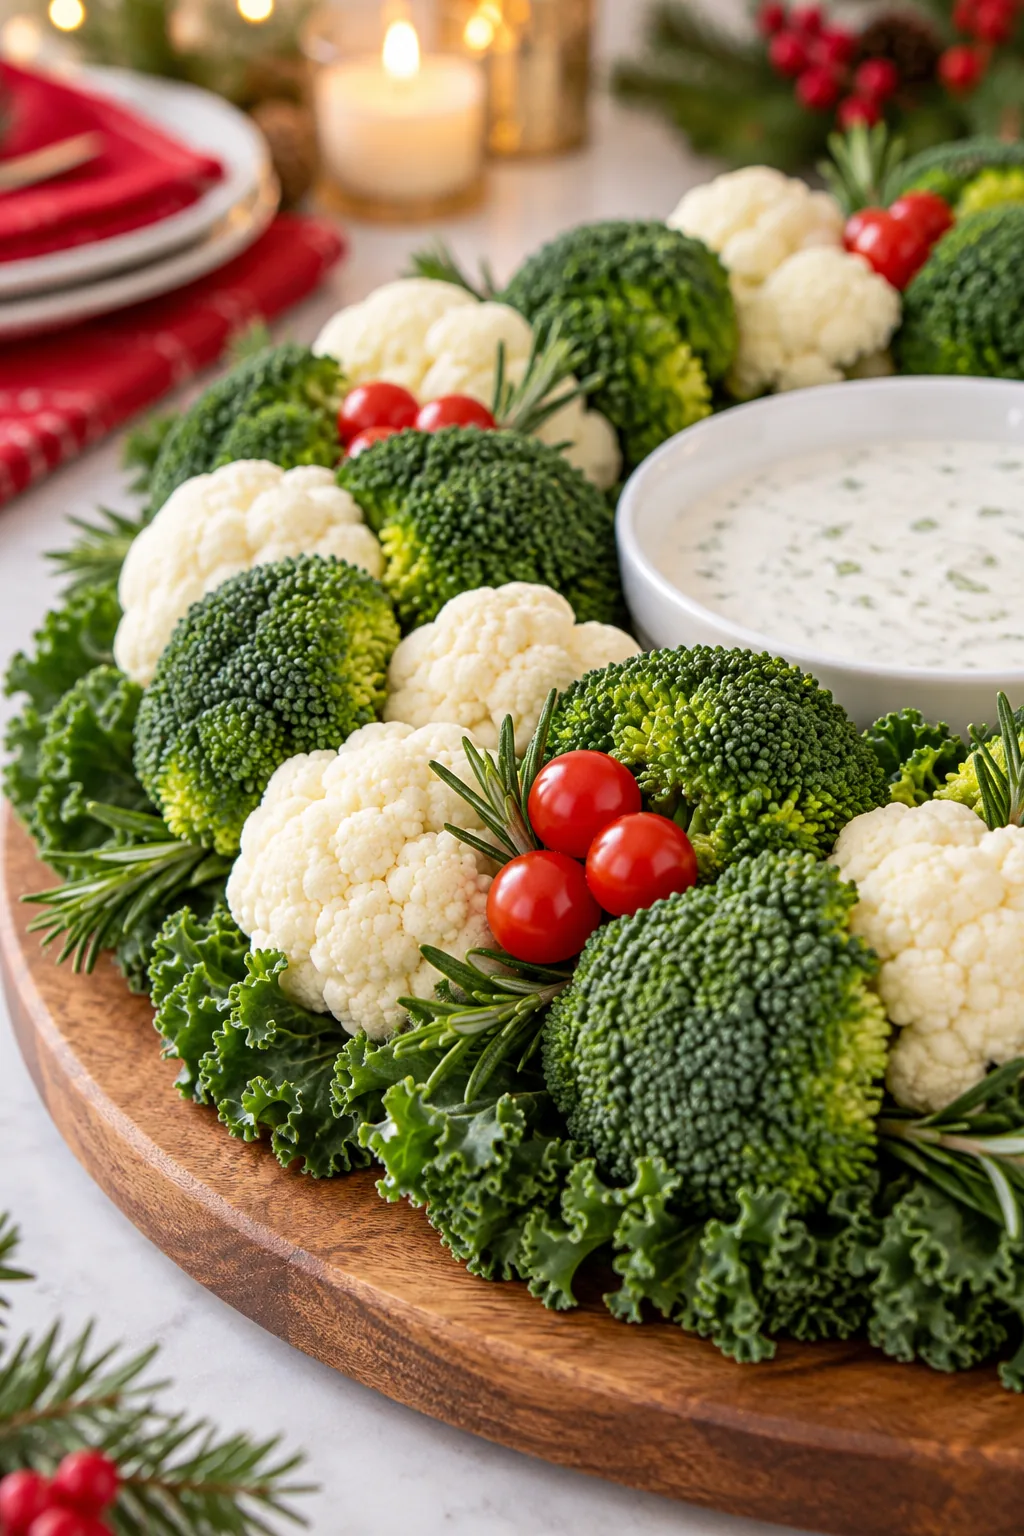
Cut the stems completely flat so they sit flush against the cabbage wedges without rolling off the curved surface. This flat base ensures every piece remains completely stable when your guests start pulling vegetables from the arrangement.
Cutting the Stems for Stability
Never leave the natural angled cuts on your florets, as they act like tiny uneven ramps that destabilize the entire stack of vegetables. Taking the extra minute to slice every stem perfectly straight guarantees the wreath maintains its architectural integrity all evening.
Securing the Tomato Toothpick Clusters
Group three cherry tomatoes together using your half-toothpicks to mimic the classic look of festive holly berries. Pushing them firmly into the kale base as a single, unified cluster ensures they stay beautifully grouped.
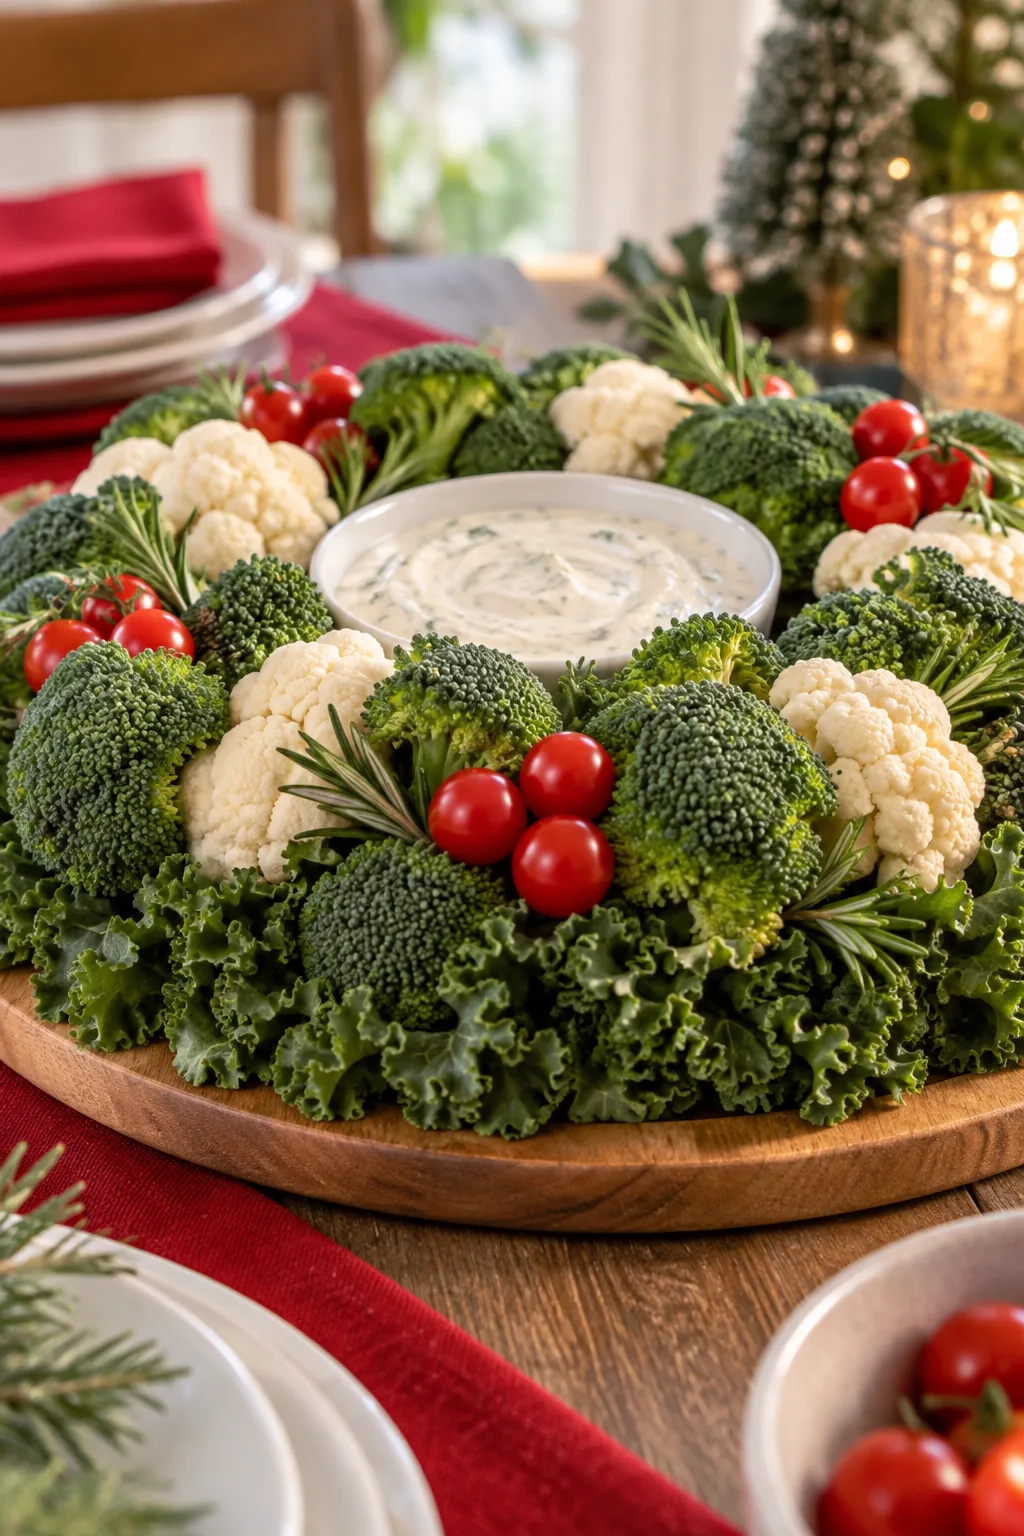
While it is tempting to just scatter the tomatoes loosely over the top of the greens, taking the time to secure them prevents a messy, disorganized presentation.
Filling Gaps with Rosemary Tucks
Inspect the entire wreath for any visible gaps, exposed paper towel, or flat spots in the kale. I always forage a few extra rosemary sprigs from my kitchen windowsill garden because the scent instantly makes my dining room feel like the holidays.
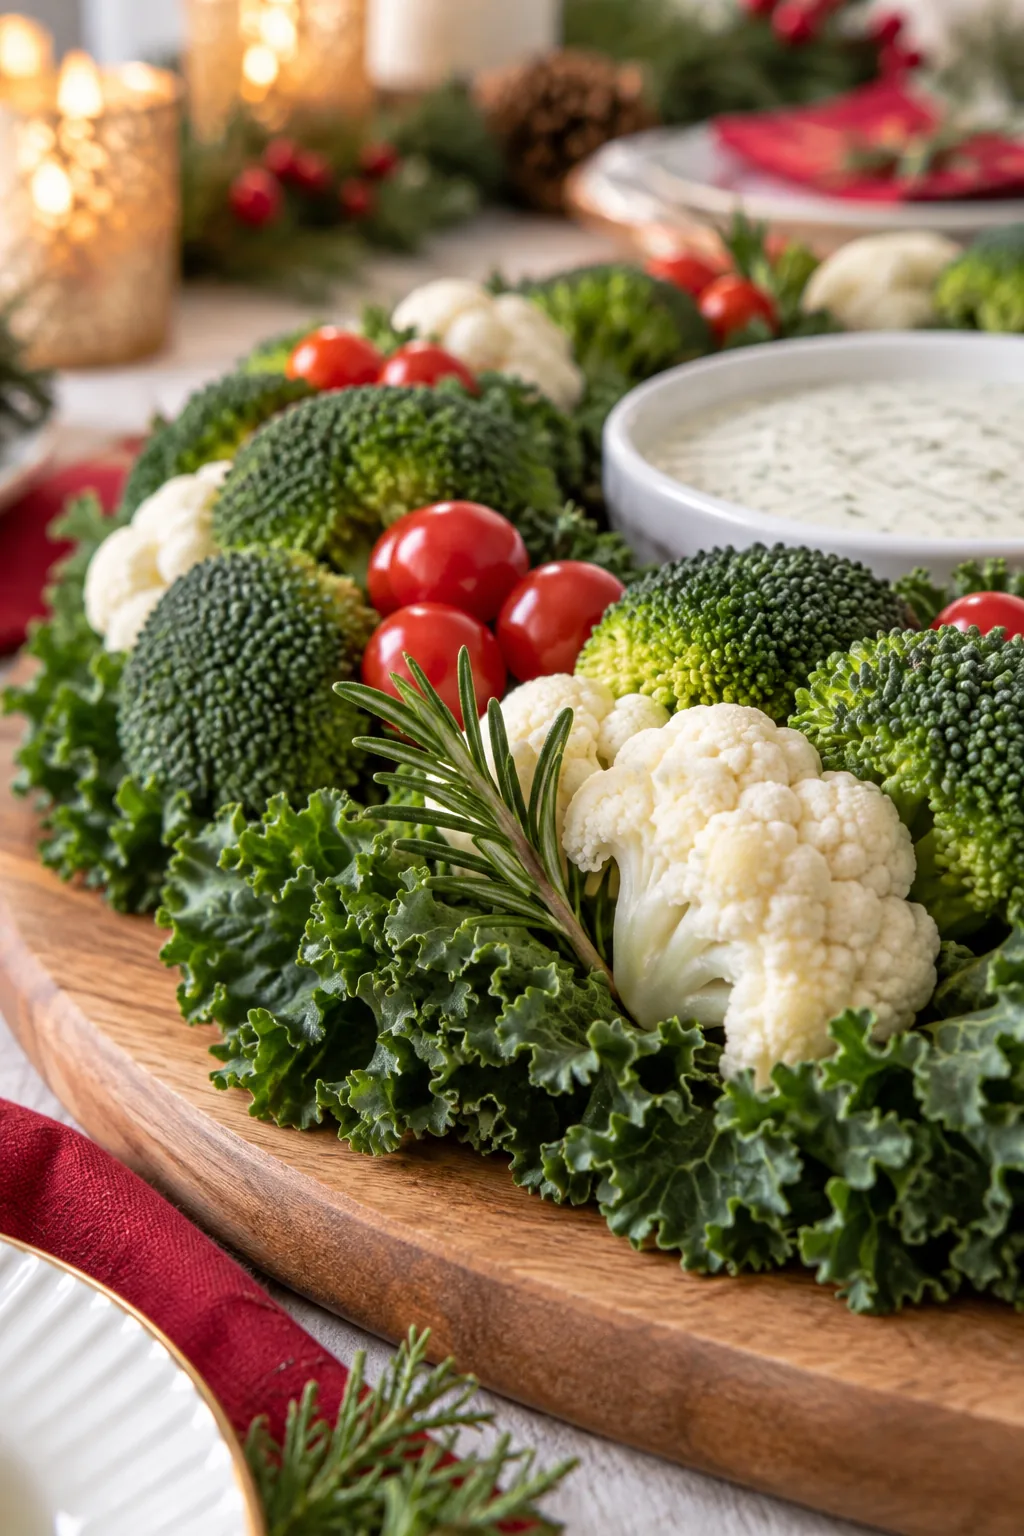
Tuck these 2-inch fresh rosemary sprigs deep into those empty spaces to add a final layer of delicate texture. This simple addition introduces a festive, pine-like aroma that enhances the sensory experience for everyone at the table.
Planning Your Table Placement
Always place your finished wooden board on the dining table before filling the center bowl with your chosen dip. Moving a fully loaded, heavy vegetable arrangement across the room risks shifting the carefully placed tomato clusters and exposing the hidden cabbage lifts.
Storing the Wreath Before Serving
If you build the centerpiece a few hours ahead of your party, drape a very lightly dampened paper towel loosely over the top before placing it in the refrigerator. This gentle touch of humidity prevents the freshly cut broccoli from drying out.
Download Your Wreath Diagram and Shopping List
Use our printable diagram to effortlessly recreate this exact layout, complete with the precise shopping list: 1 bunch of curly kale, 2 heads of broccoli, 1 head of cauliflower, 1 pint of cherry tomatoes, and 1 pack of fresh rosemary.
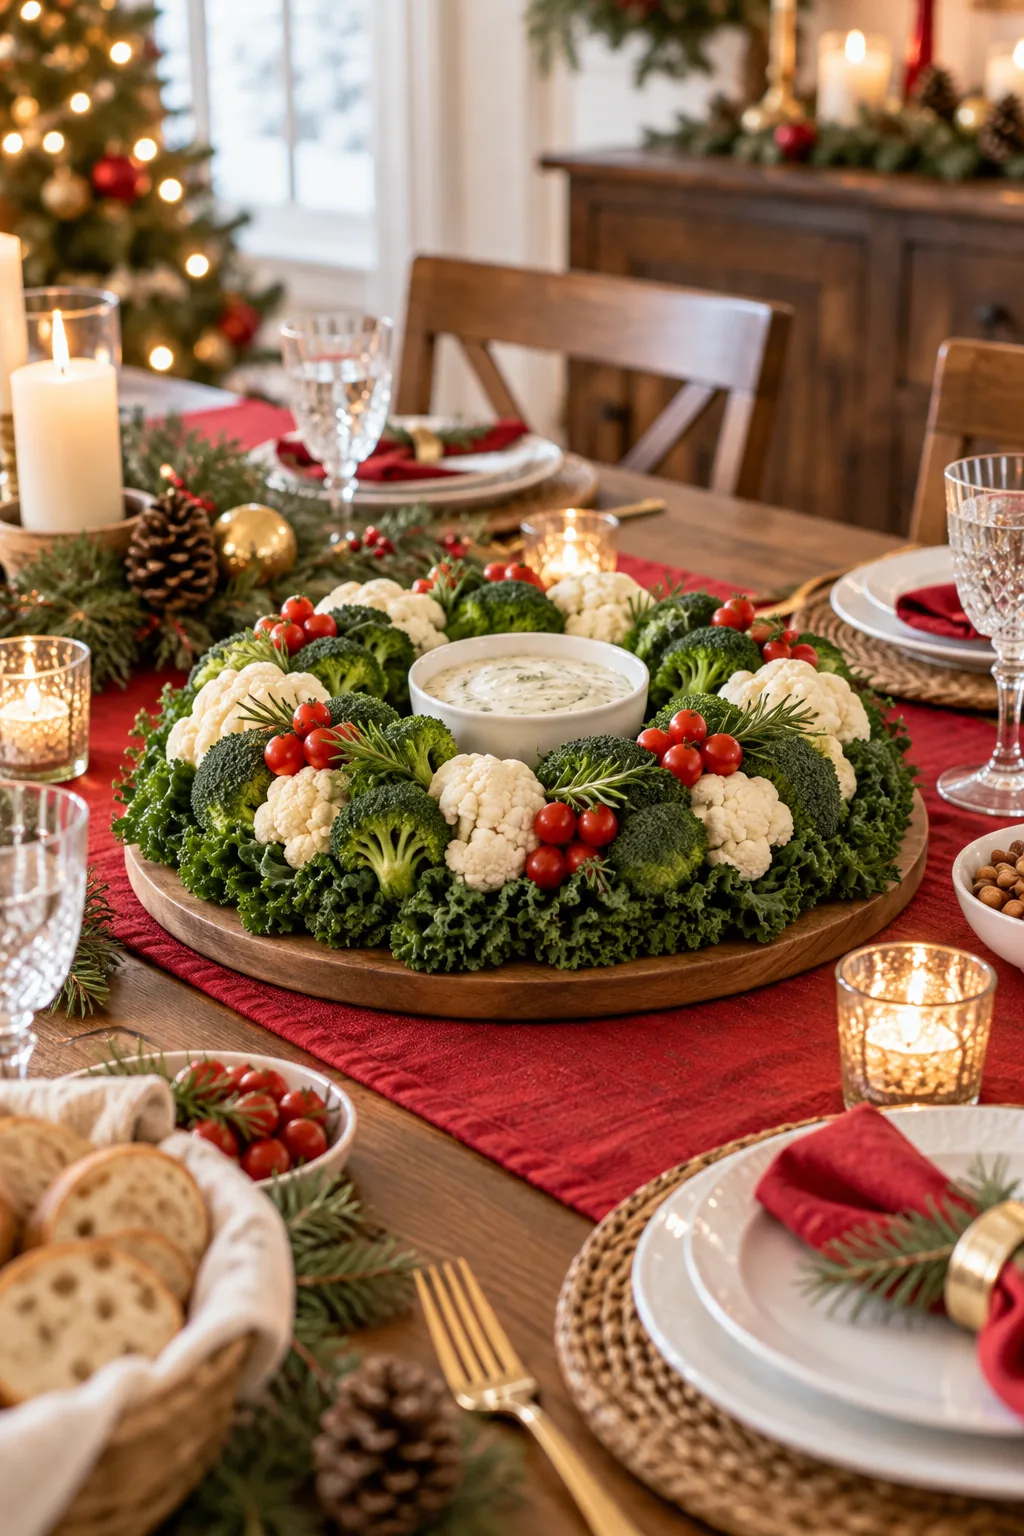
Before you set the tray out on the dining table for your holiday guests, run through a quick final inspection to ensure a flawless, professional presentation.
5 Holiday Veggie Wreath Styling Ideas
Explore these different styles to match your specific holiday table setting and color palette.
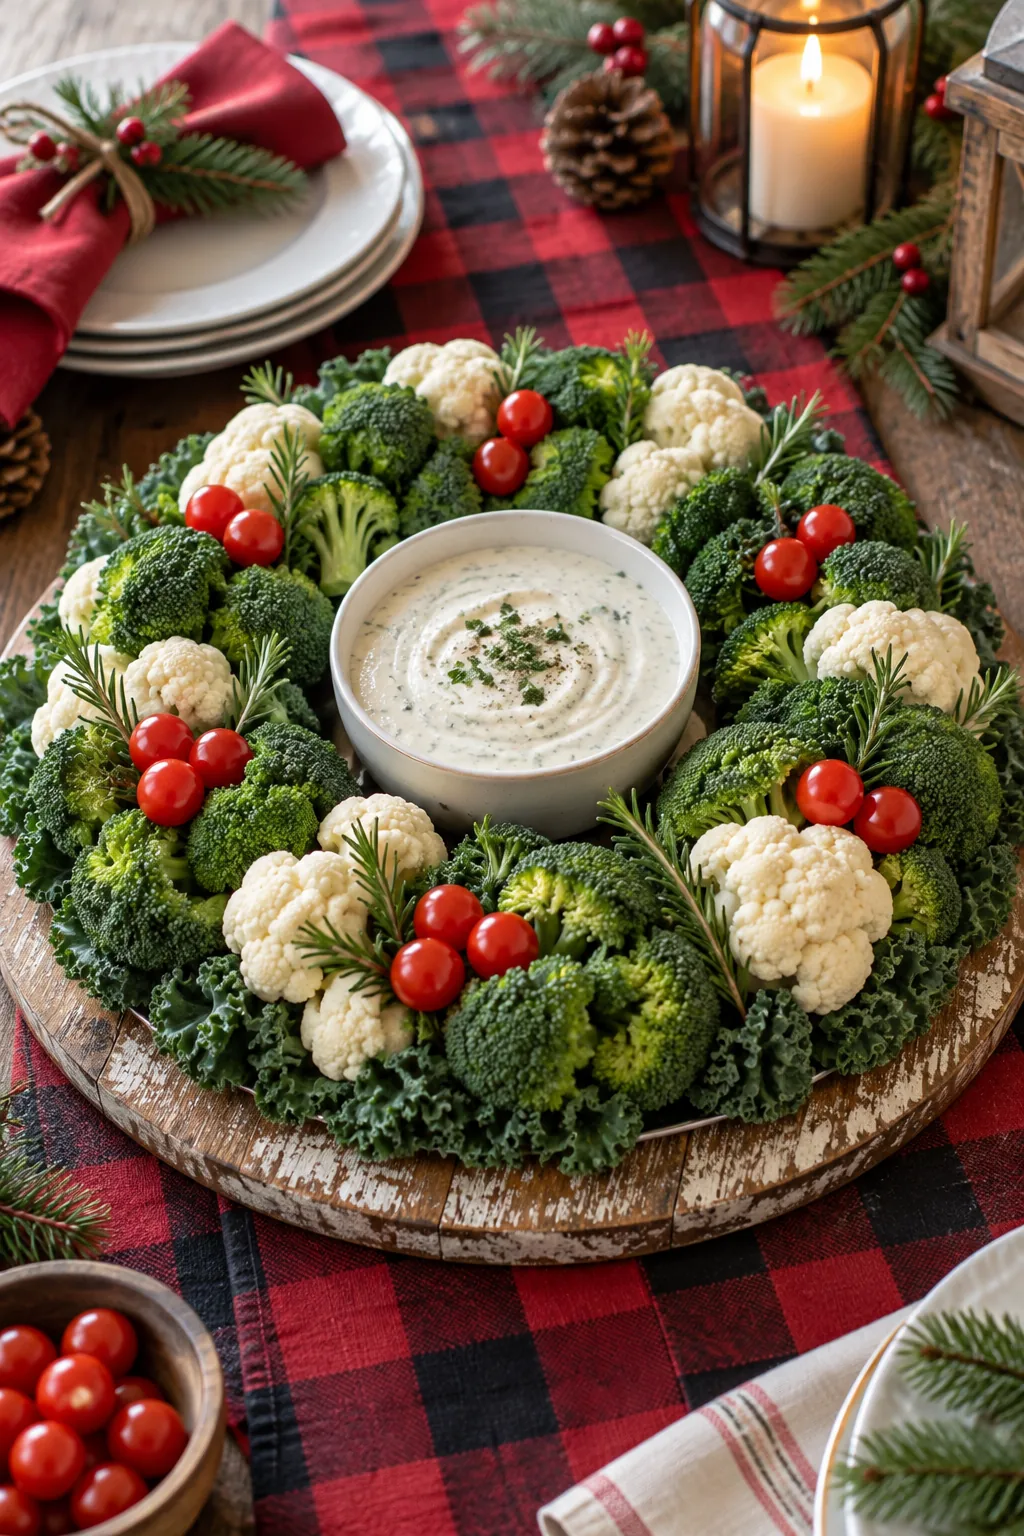
Rustic Farmhouse Holiday Table: Lean into a cozy cabin aesthetic by serving your wreath on a distressed wooden board over a classic buffalo check runner.
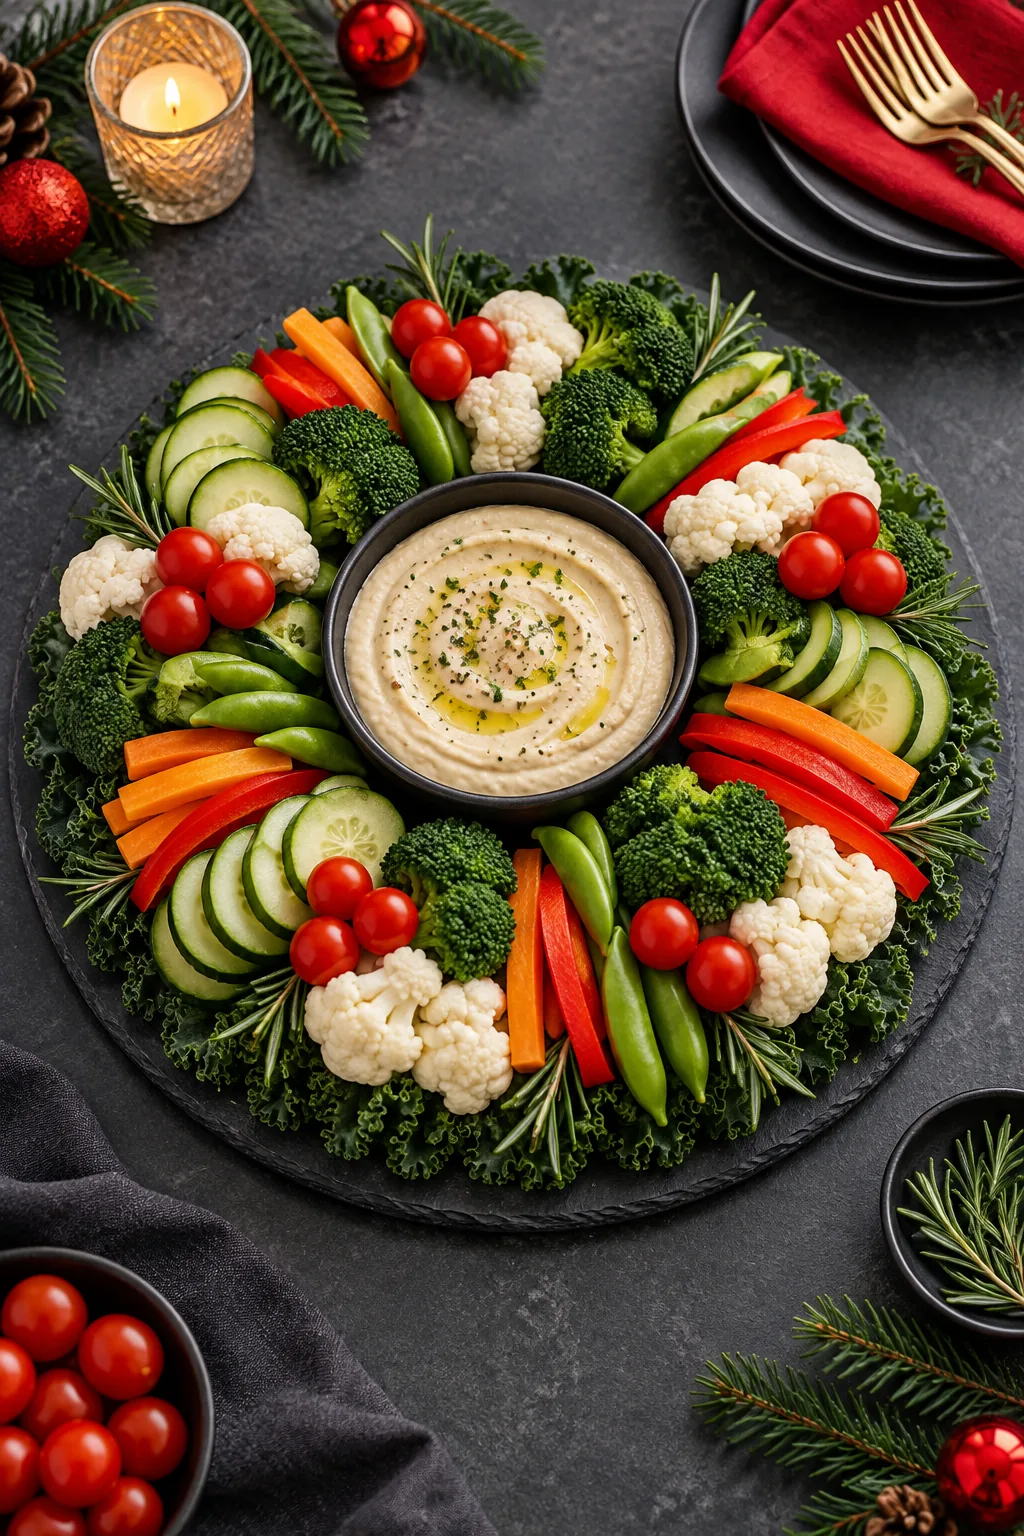
Modern Minimalist Slate Board: Create a sleek, contemporary appetizer by arranging the vegetables in strict geometric patterns on a dark slate serving board.
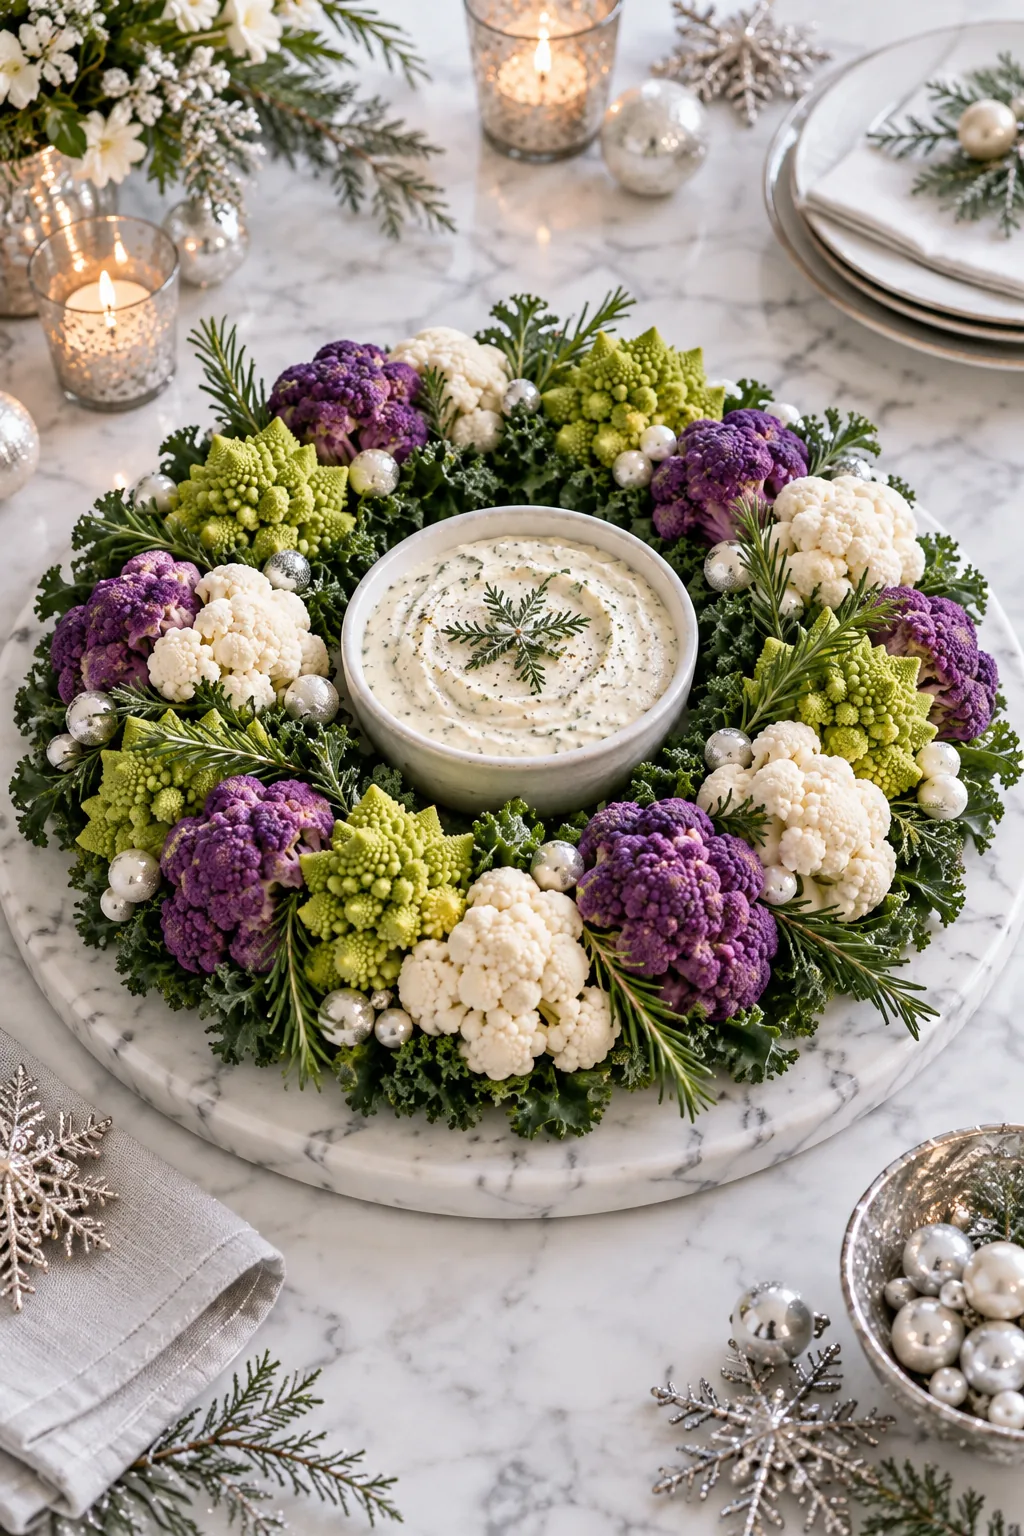
Winter Wonderland Marble Platter: Swap traditional greens for pale romanesco and purple cauliflower on a chilled marble platter for an elegant, frosty presentation.
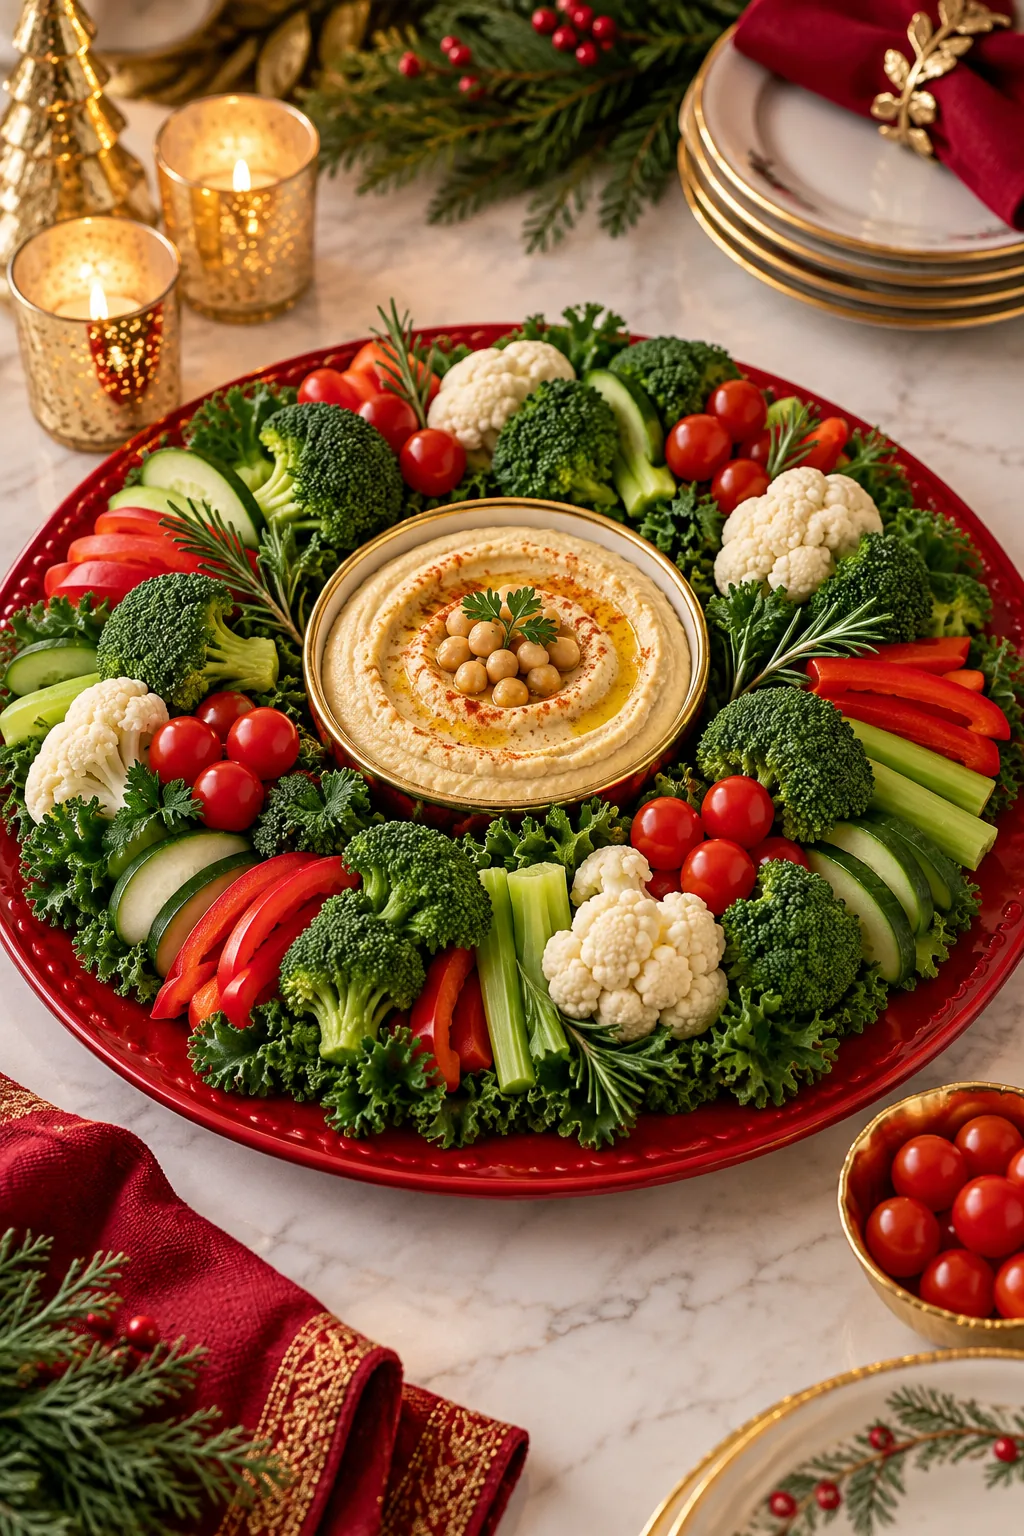
Traditional Classic Red Ceramic: Embrace timeless holiday cheer by building your wreath on a glossy red ceramic platter paired with elegant gold servingware.
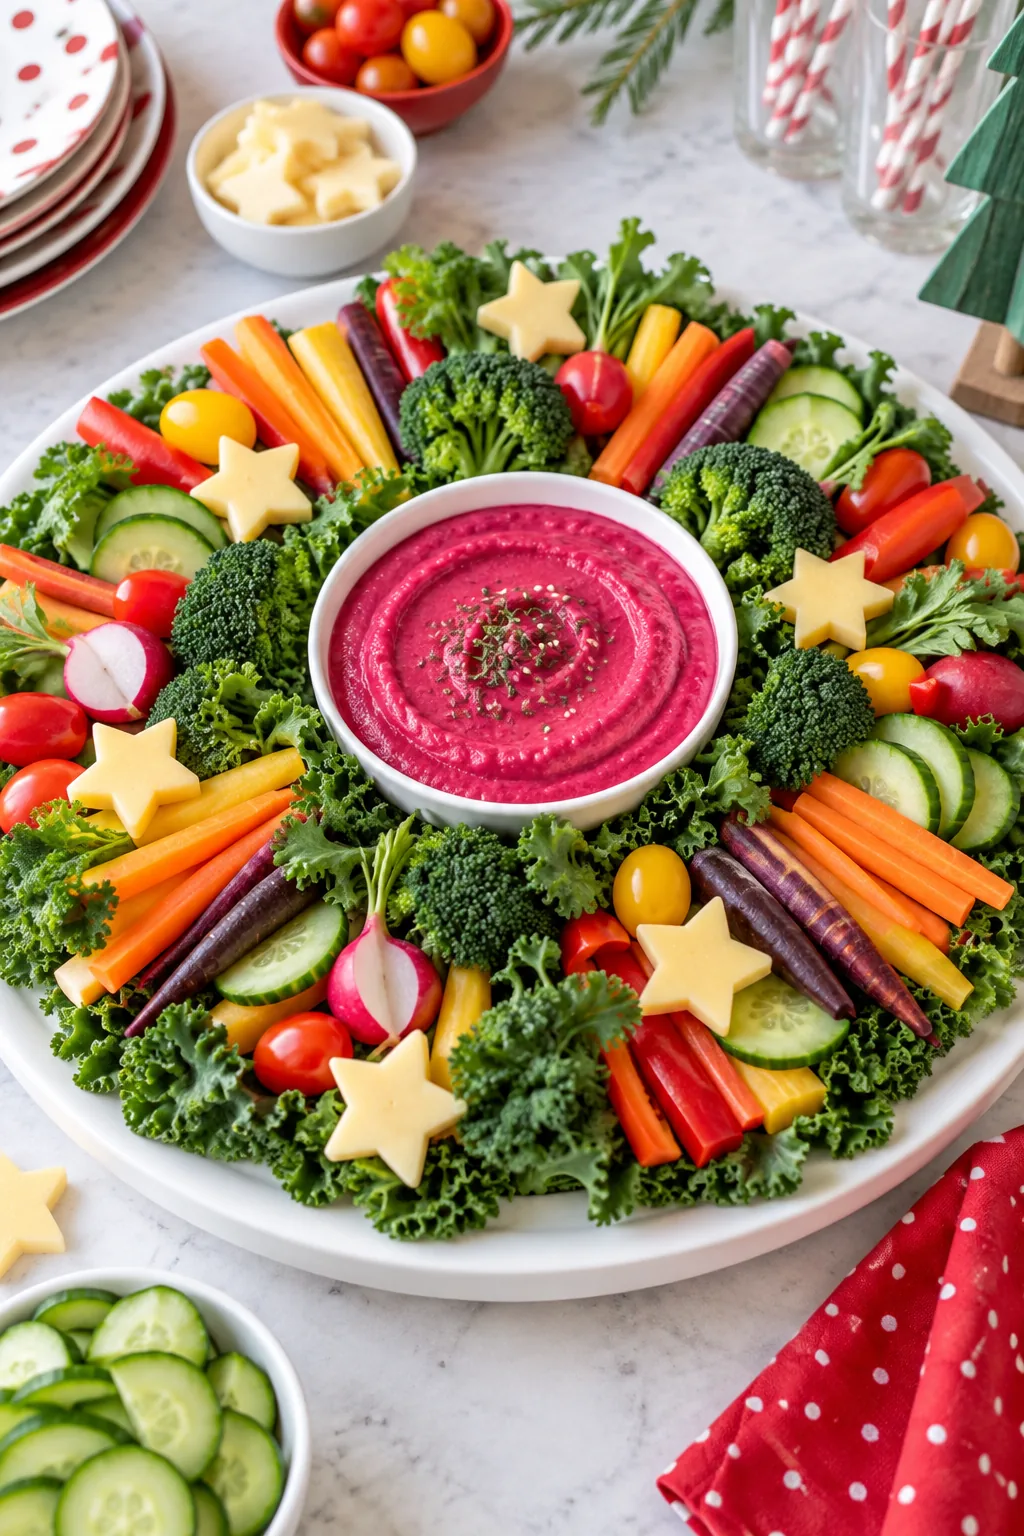
Kid-Friendly Star Cutouts: Make the vegetable tray irresistible to children by tucking star-shaped cheese cutouts and rainbow carrots into the green foliage.