
Pre-Drywall Walkthrough Checklist: What to Add Before Insulation
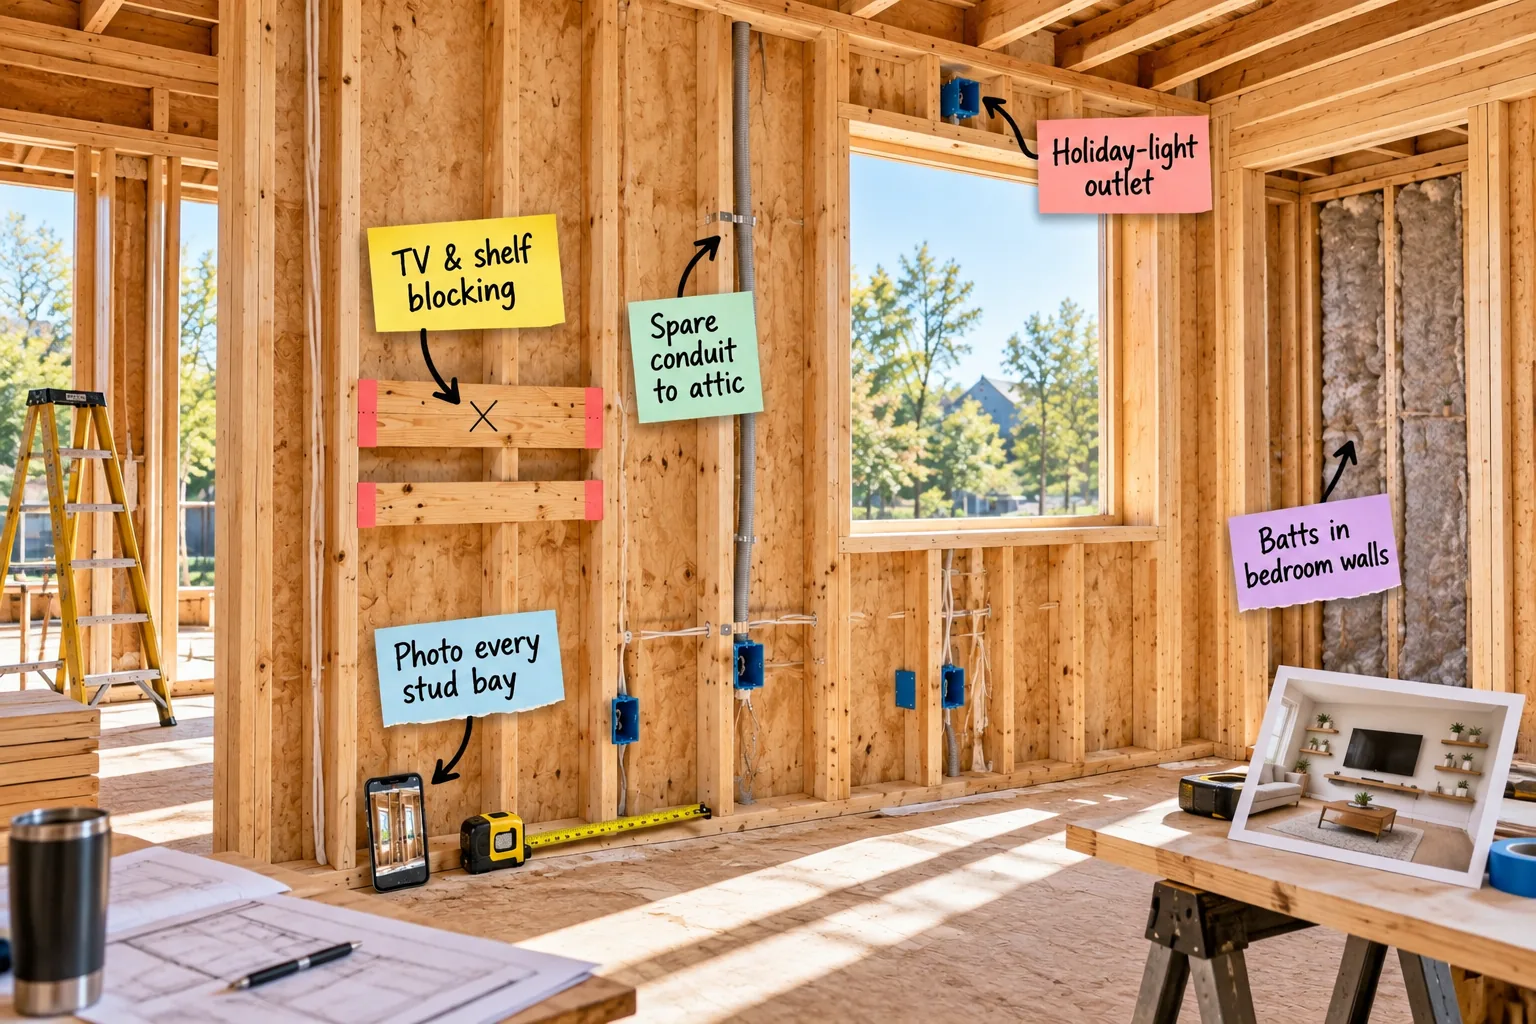
Prepare for the most crucial phase of your new build by downloading your printable, room-by-room Pre-Drywall Walkthrough Checklist. You will be able to confidently direct your builder to install the hidden supports, wiring, and insulation that make a finished house functional.
The Pre-Drywall Walkthrough Checklist
This two-page sheet covers all the essential add-ons to mark on the open studs before insulation and drywall conceal them, ensuring your hidden structural and electrical details perfectly match your final room layout.
Bring this printed sheet on a clipboard to your site visit, along with a 25-foot tape measure and a bright permanent marker to clearly label the fresh lumber.
TV and Heavy Shelf Blocking
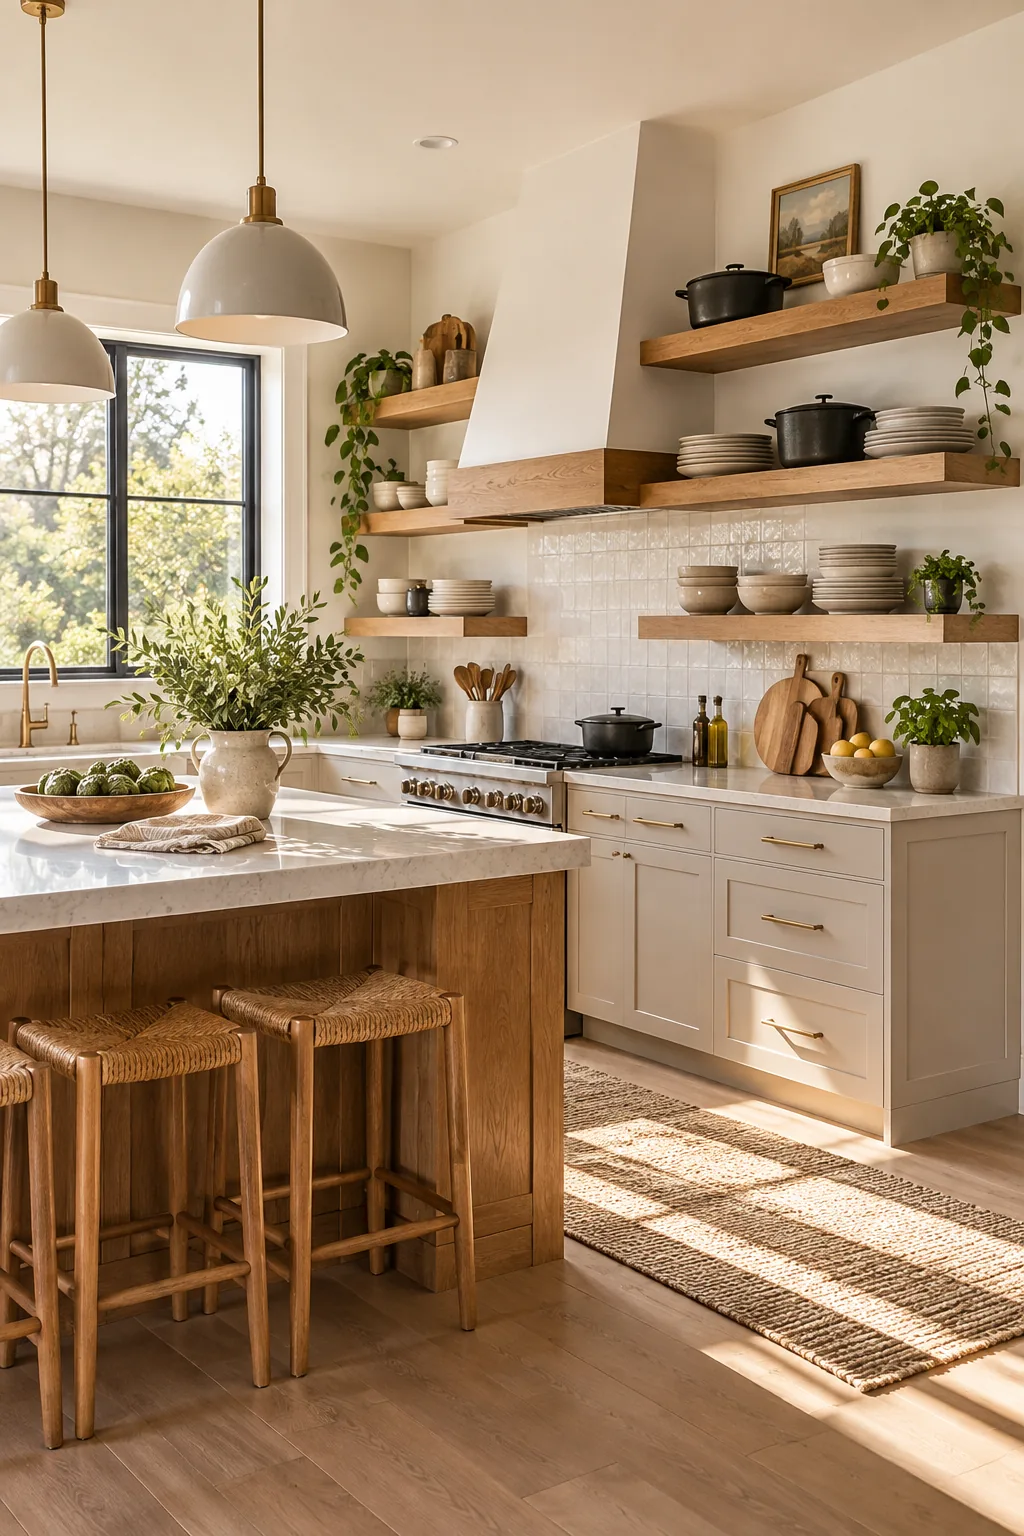
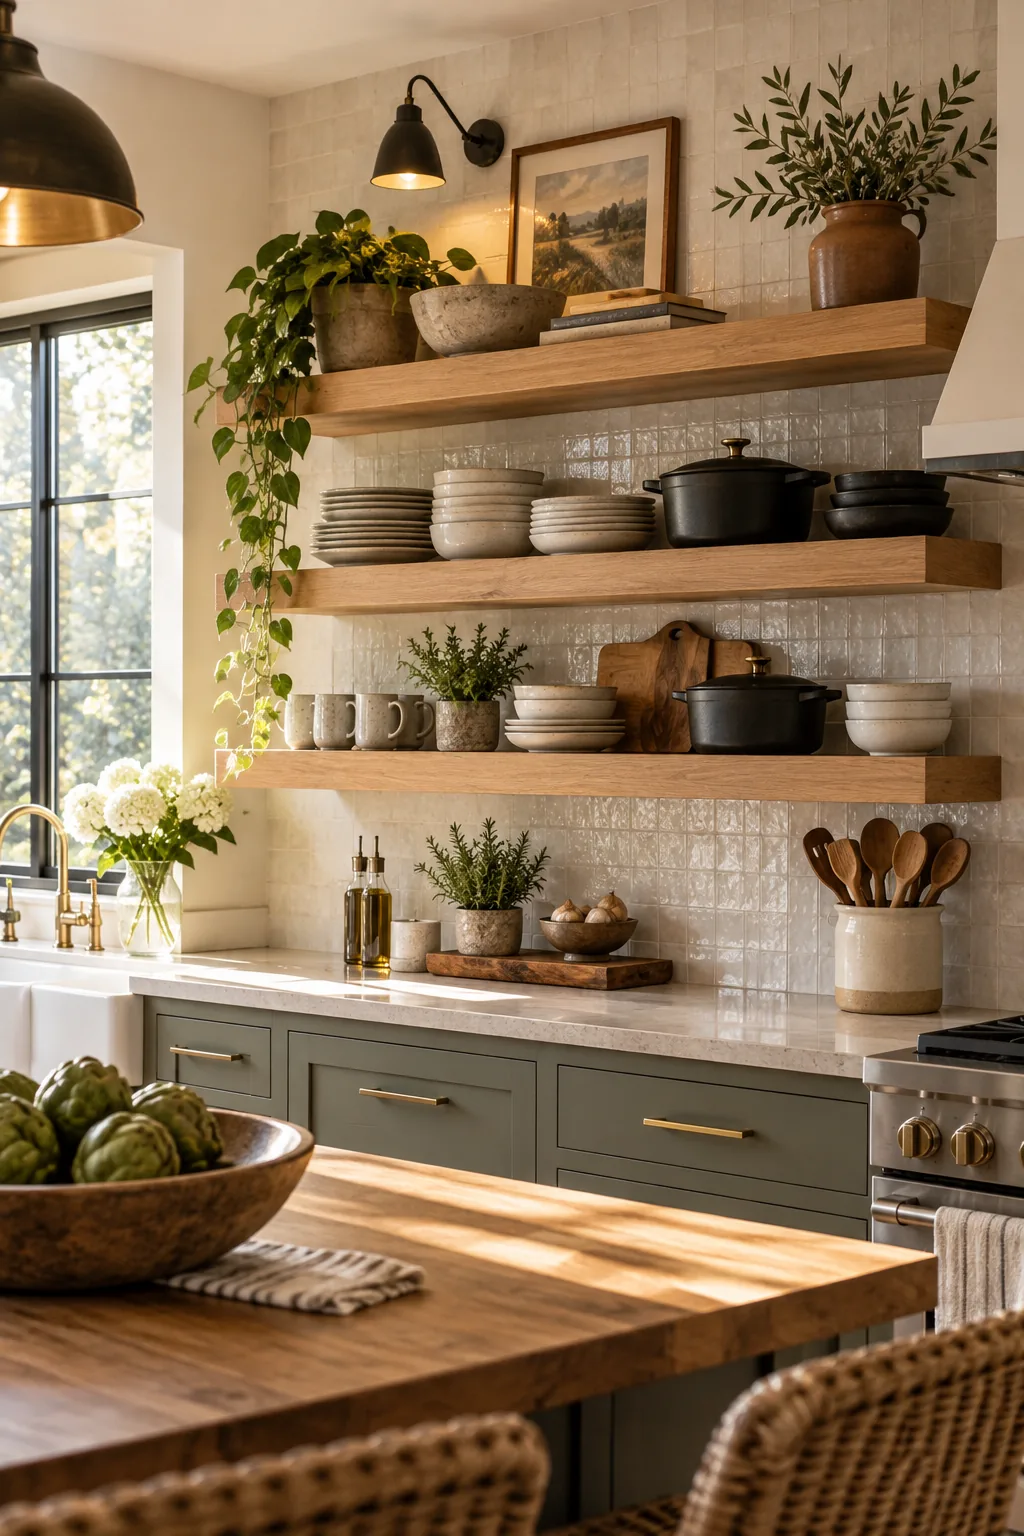
Heavy kitchen shelving requires pre-planned solid wood backing, rather than relying on flimsy drywall anchors, to safely hold your favorite cast iron cookware or ceramic plate collections.
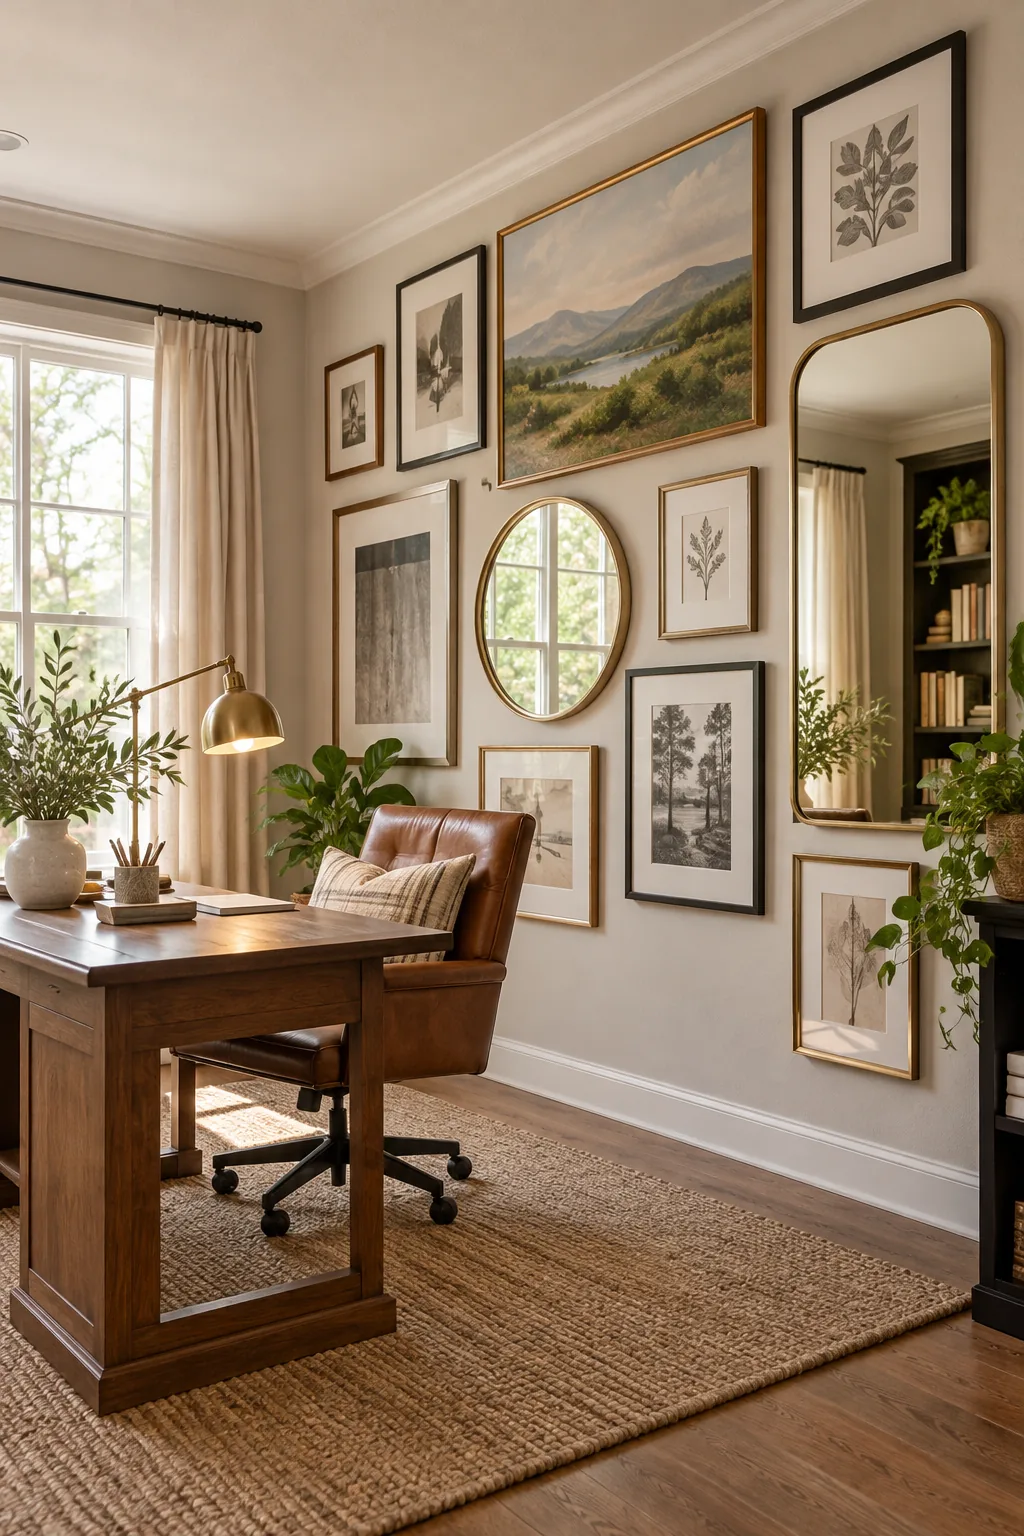
I learned this the hard way when a heavy mirror ripped out of my drywall, so now I always mark exact heights—like 42 to 60 inches for a TV—with coral tape and a marker X. While the walls are open, consider adding support for future window treatments too.
Bathroom Grab Bar Backing
Even if you do not need them today, installing solid wood blocking in the shower enclosure prepares your home for aging in place.
- Measure 33 to 36 inches from the subfloor for standard horizontal grab bars.
- Mark vertical backing locations beside the shower entry for secure transition handles.
- Add support behind the toilet area for future accessibility needs.
Taking these simple steps now costs almost nothing in raw materials but saves thousands in future bathroom remodeling fees.
Stair and Hallway Handrail Supports
Long staircases endure constant pulling, so nail continuous 2×6 blocking along the entire run at the standard handrail height of 34 to 38 inches to guarantee unshakeable support instead of relying on hollow drywall.
Switched Holiday-Light Outlets
Crucially, have your exterior soffit outlets wired to a dedicated indoor light switch inside the front door, which makes controlling your lighting effortless during freezing winter weather.
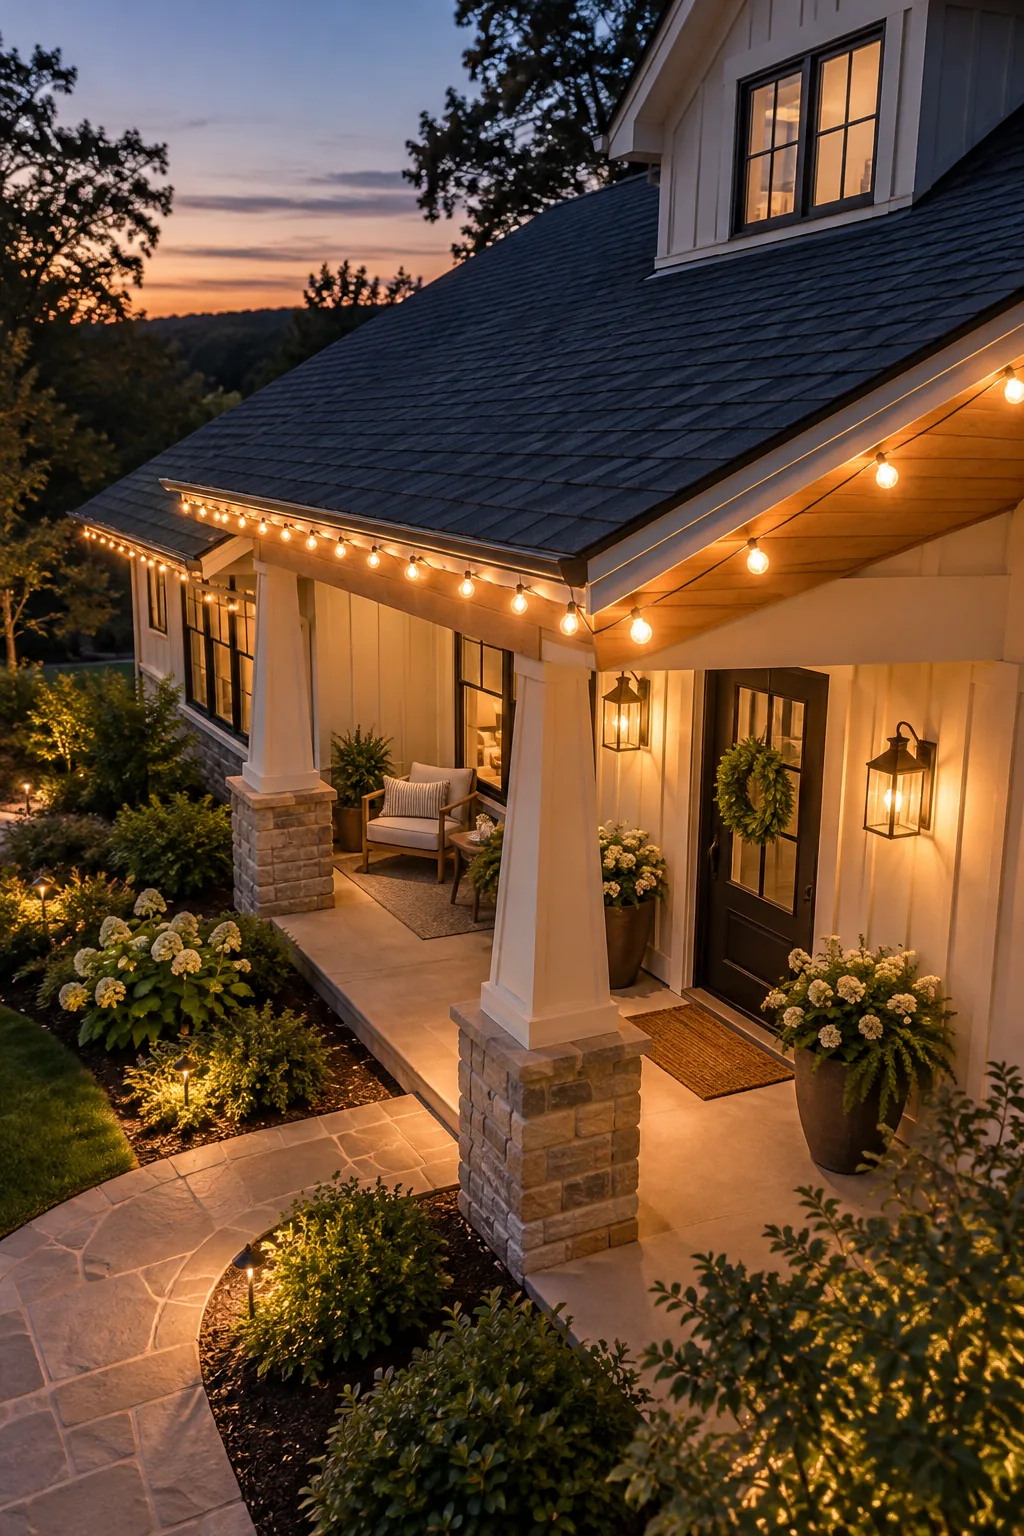
Have your electrician mount blue electrical boxes in the exterior eaves for those holiday lights or security cameras so you never have to run messy extension cords across your siding.
Dedicated Circuit Planning
Modern kitchens demand serious power, so ask your electrician to run dedicated 20-amp circuits for your microwave, refrigerator, and any heavy-duty countertop appliances to prevent frustrating tripped breakers when you cook.
Under-Cabinet Lighting Wire
Have the crew run low-voltage wiring directly out of the studs at the exact height of your future upper cabinets to eliminate bulky plug-in transformers and keep your beautiful kitchen backsplash cord-free.
Spare Conduit to the Attic
I skipped this in my first house and ended up with messy cords everywhere, but running a 1.5-inch empty gray flexible conduit up a stud bay and through the top plate allows you to drop new cables later without cutting finished drywall.
Future Electric Vehicle Wiring
Even if you currently drive a gas vehicle, having the builder install an empty conduit or a pre-wired 240-volt, 50-amp circuit to the garage dramatically increases your home’s resale value and prepares you for the future.
Sound Batts in Bedroom Walls
Filling the stud bays with soft gray mineral-wool sound batts creates a noticeable acoustic difference, dramatically reducing noise transfer through shared interior walls.
This makes mineral wool a massive upgrade for walls that adjoin bedrooms, bathrooms, or noisy laundry rooms where standard hollow drywall just isn’t enough to block vibrations.
Acoustic Caulking Around Plates
Sound waves act like water, easily leaking through the tiny air gaps where the bottom plate meets the subfloor, so run a thick bead of heavy acoustic sealant along every seam before drywall to block these hidden noise pathways.
Finished Spaces Built on Good Bones
See how pre-drywall planning translates into beautiful, functional rooms.
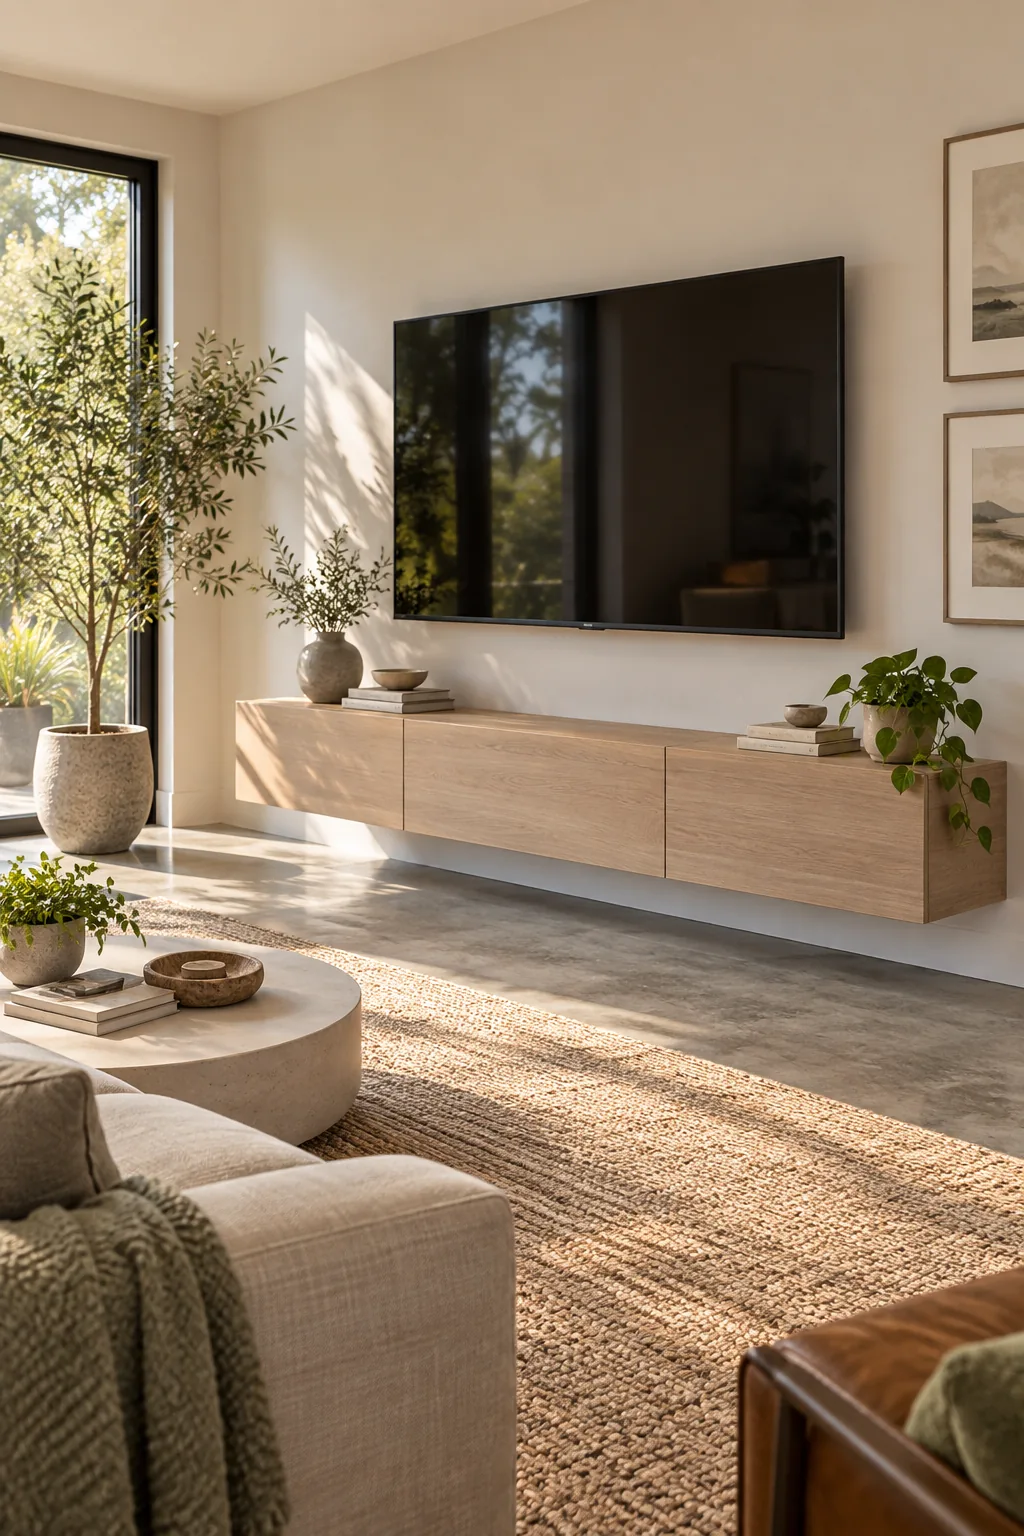
Minimalist Floating Media Console: Hidden 2×8 blocking ensures this heavy floating console stays perfectly level without visible brackets.
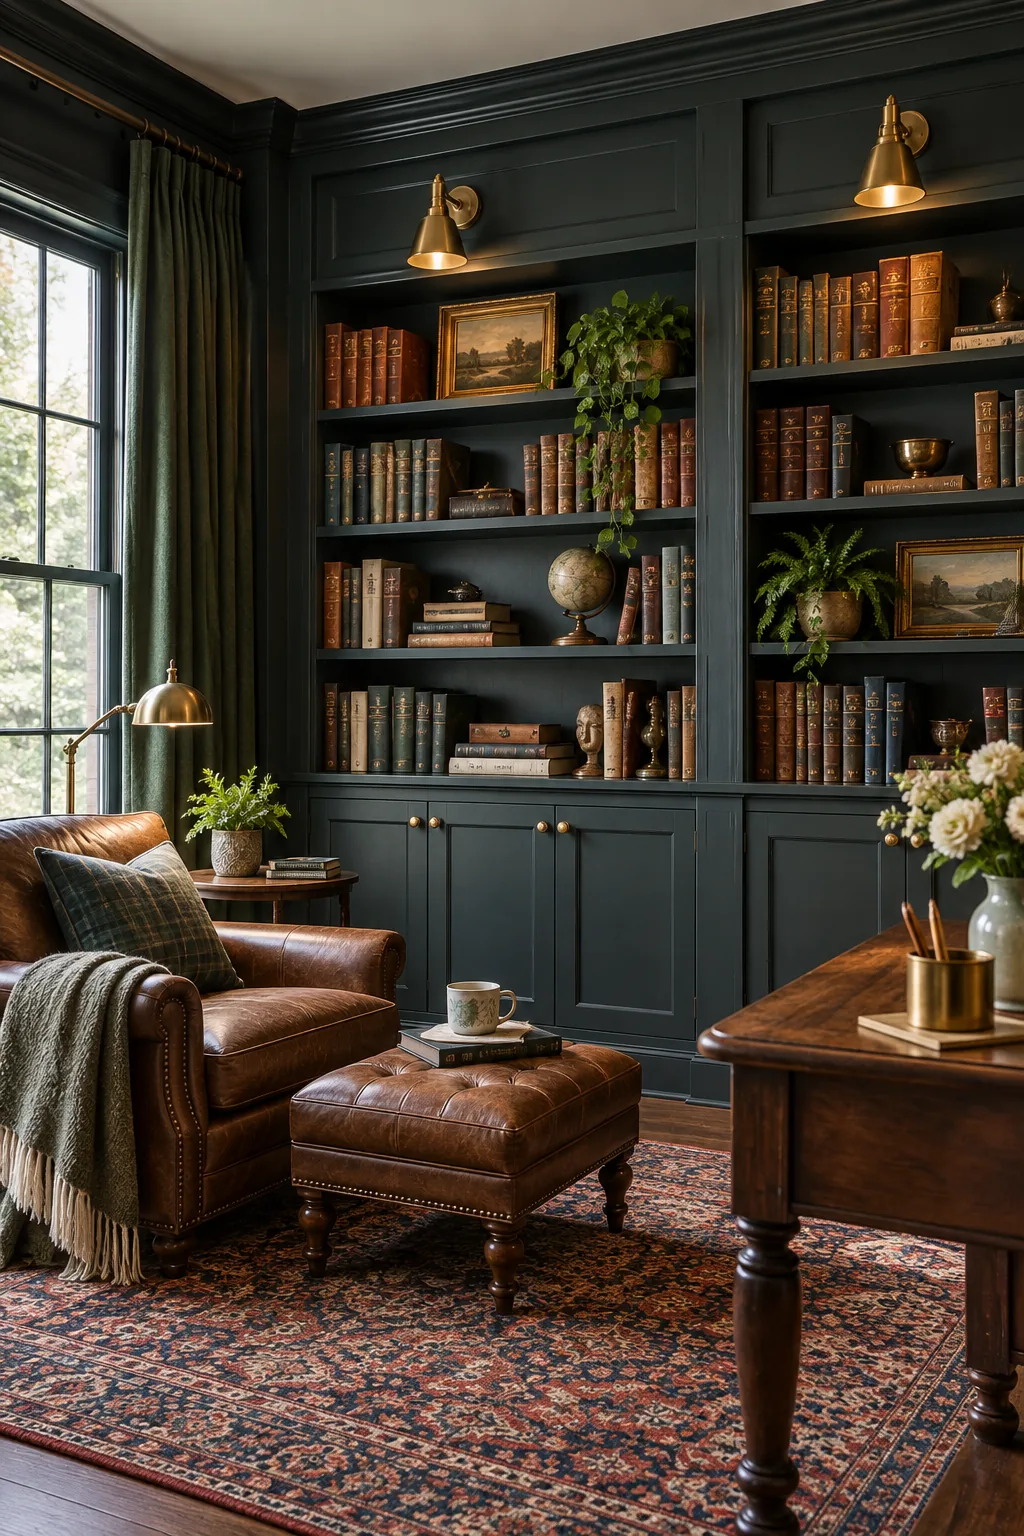
Moody Built-In Home Library: Pre-planned blocking allows these massive custom bookcases to be safely anchored against tipping.
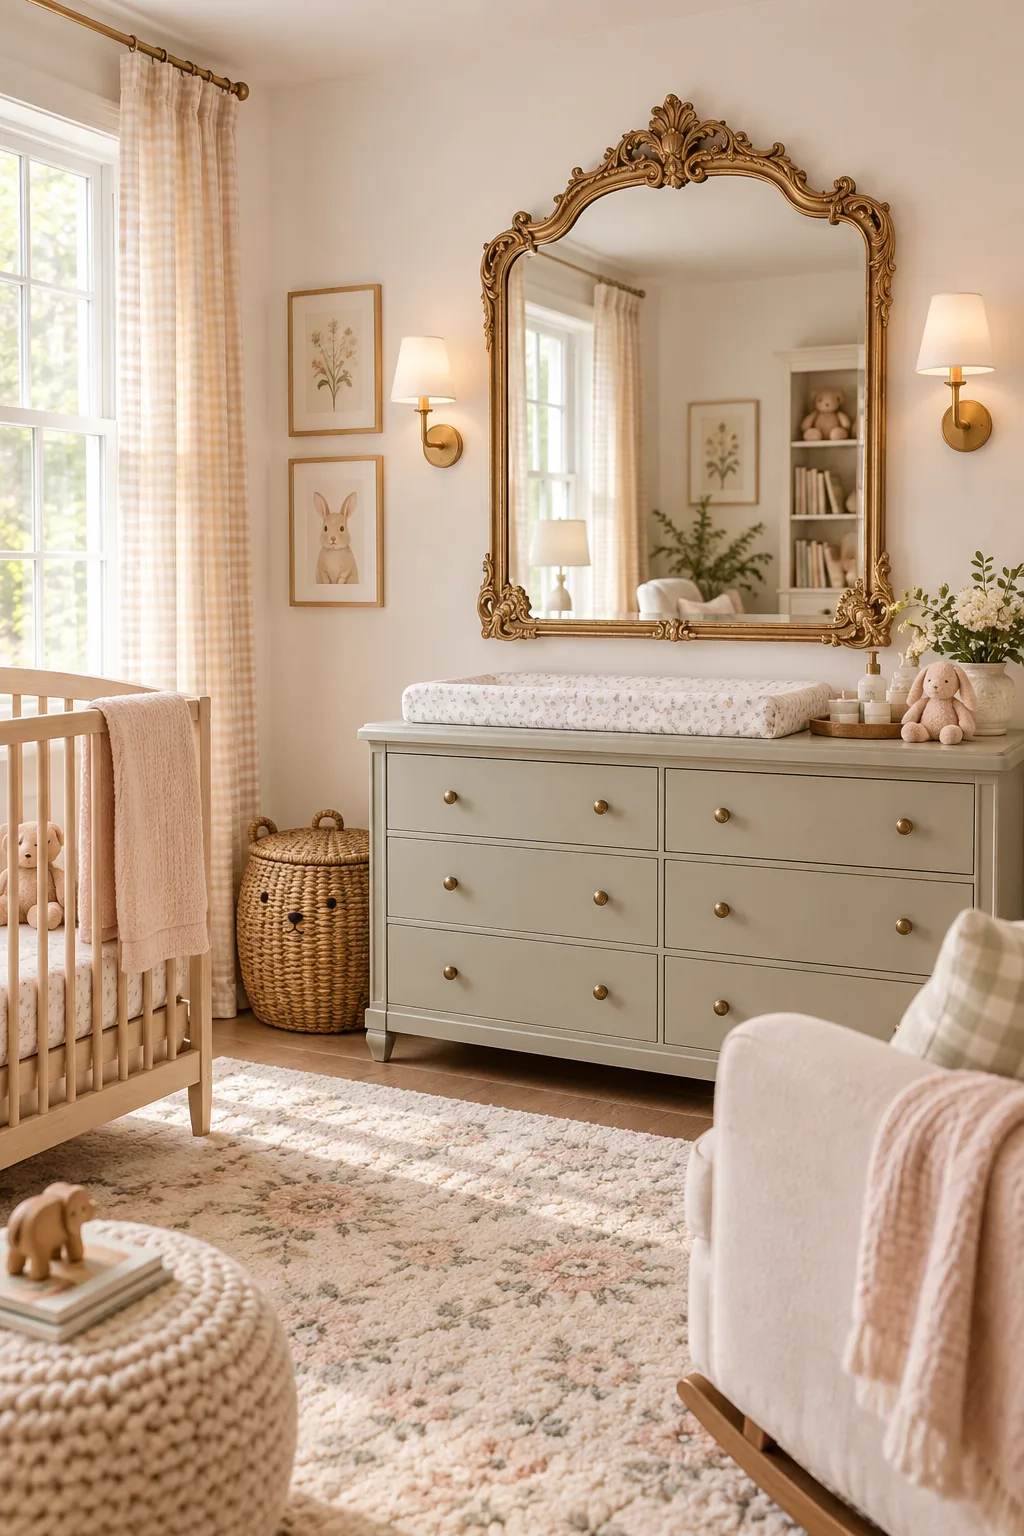
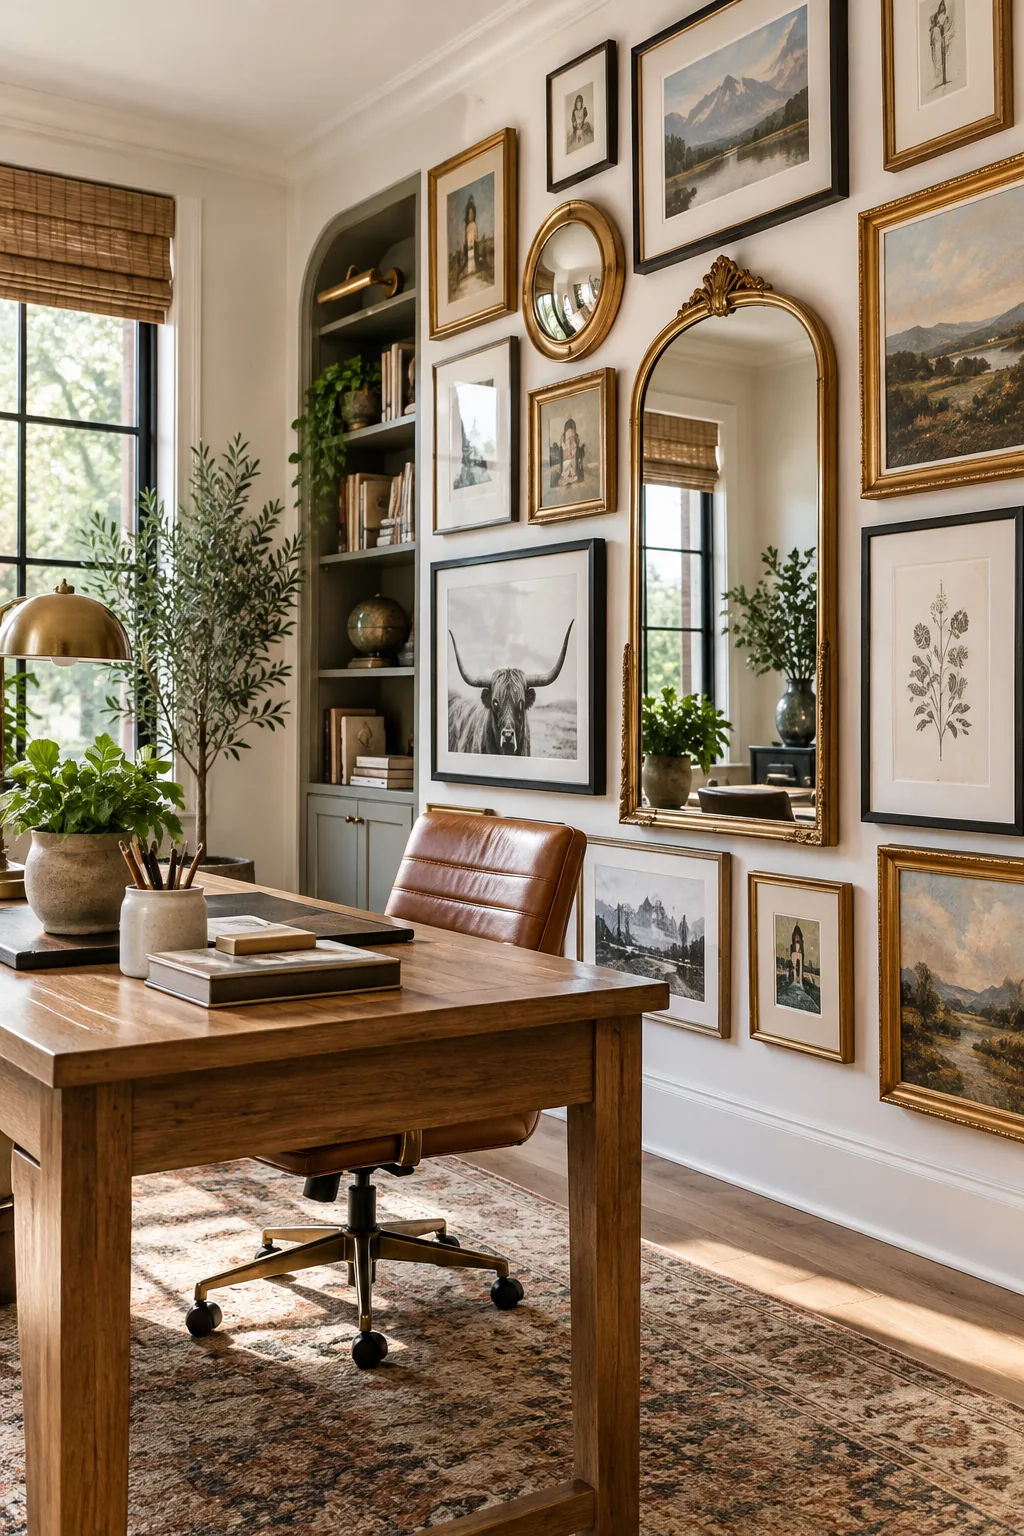
Serene Nursery Wall Decor: Acoustic batts in the walls keep the room quiet, while blocking supports heavy mirrors safely.
Festive Modern Patio Lighting: Dedicated soffit outlets keep extension cords off the patio floor for a clean, professional look.

The Stud-Bay Photo Routine
Referencing your pre-drywall photo archive allows for confident, damage-free drilling when hanging heavy art, floating shelves, or large mirrors in your finished space.
Before the drywall goes up, stretch a yellow tape measure across the bottom plate, hold your smartphone level, and photograph every single stud bay. Even with a tape measure in hand, a few common documentation errors can render your photos useless months later.