
Host a Thanksgiving Party with Zero Oven Stress This Year
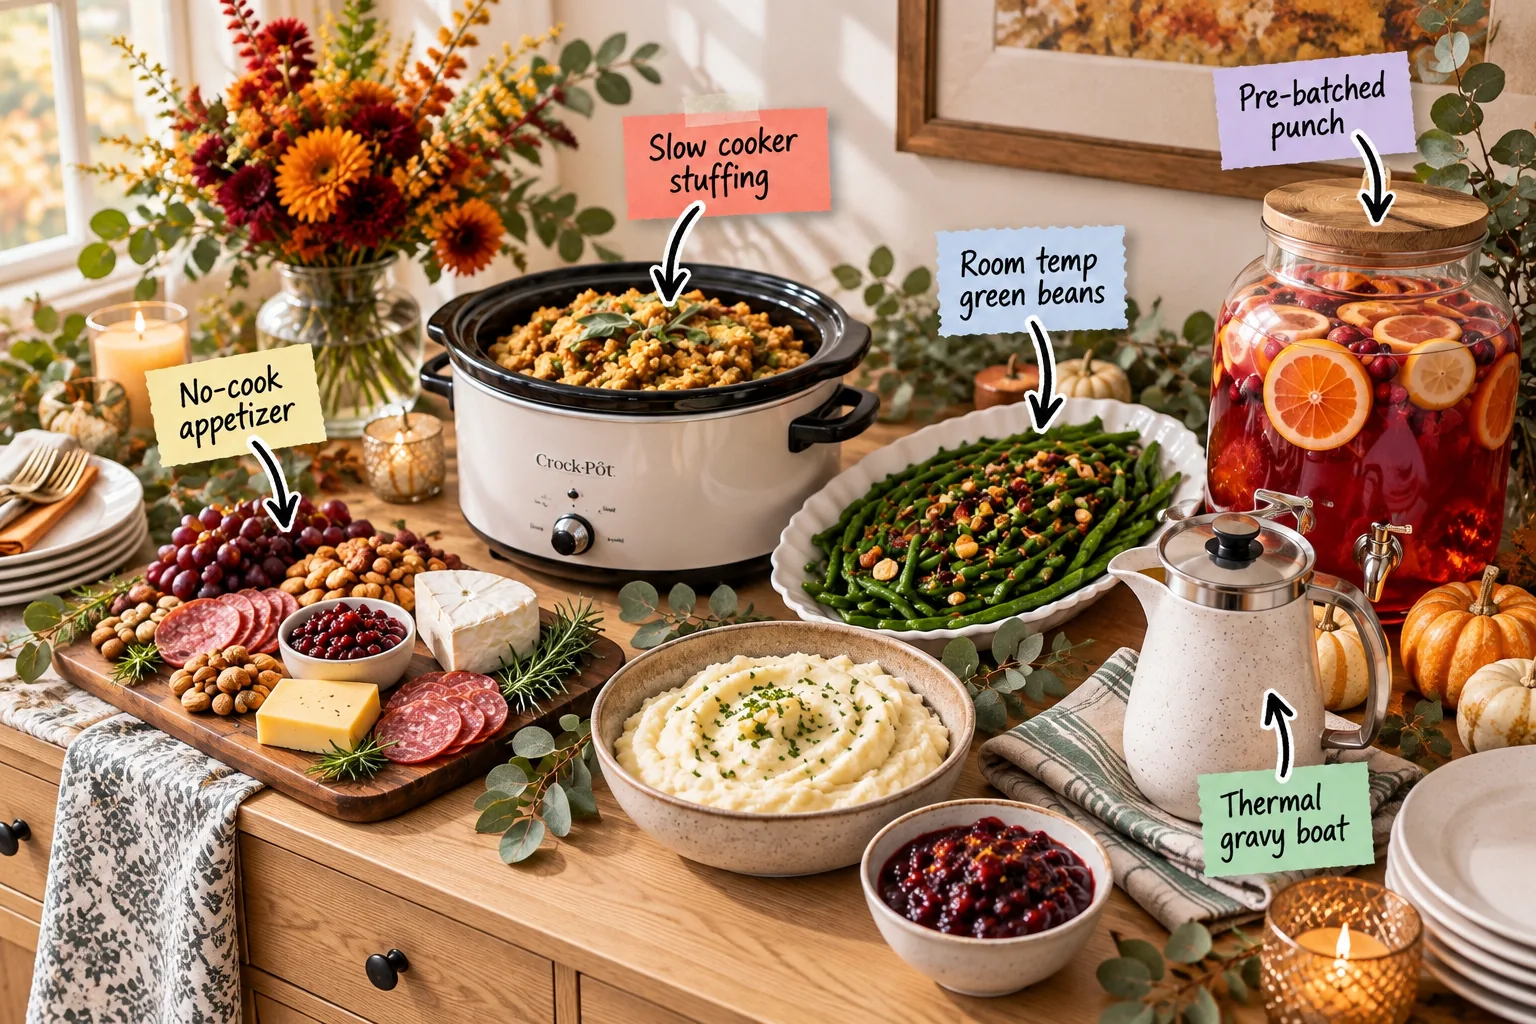
Grab our printable 3-day make-ahead timeline and oven-juggling schedule to serve a beautiful, abundant buffet without the last-minute kitchen panic. You will be able to prep your entire Thanksgiving menu over three days using slow cookers, stovetop sides, and room-temperature dishes to completely free up your oven.
The 3-Day Oven-Juggling Timeline
I rely on this exact schedule in my small Boston apartment to avoid holiday panic when hosting large groups. Dedicate Day 1 to chopping 4 cups of raw vegetables, Day 2 to assembling the 6-quart slow cooker stuffing, and reserve Day 3 strictly for the turkey.
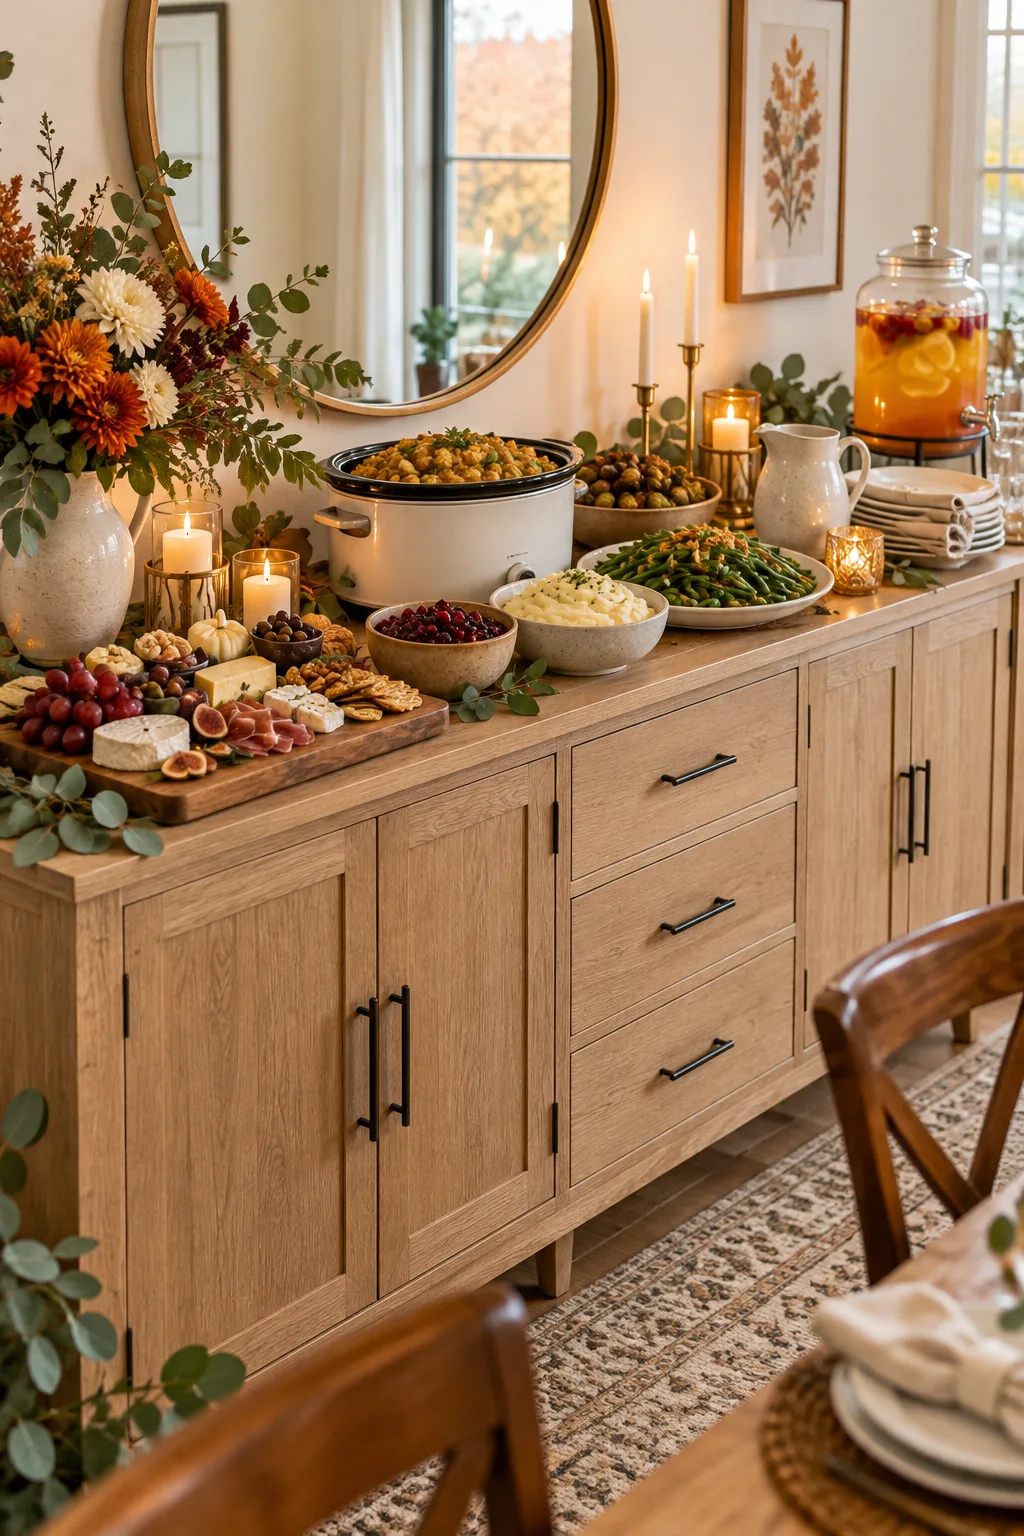
Complete these three crucial steps the day before to ensure your Thursday morning remains completely relaxed and focused entirely on the main course.
Review Your Serving Utensils Early
Digging through drawers for a specific slotted spoon while the turkey rests creates unnecessary chaos. Assigning a dedicated pair of tongs or a serving spoon to every dish on Wednesday guarantees a smooth, uninterrupted flow when the buffet officially opens.
Map Out Your Buffet Flow Early
Arranging your empty platters on Wednesday night reveals exactly how much surface area you genuinely have available on your sideboard. Leave a minimum of 12 inches between each major dish so guests can comfortably set their heavy plates down while serving themselves.
Start With a No-Cook Appetizer Board
I always place an appetizer station right by the front door to immediately welcome guests and keep them out of the busy kitchen. Use a reliable ratio of 3 types of cheese to 2 types of cured meats to generously fill the designated space.
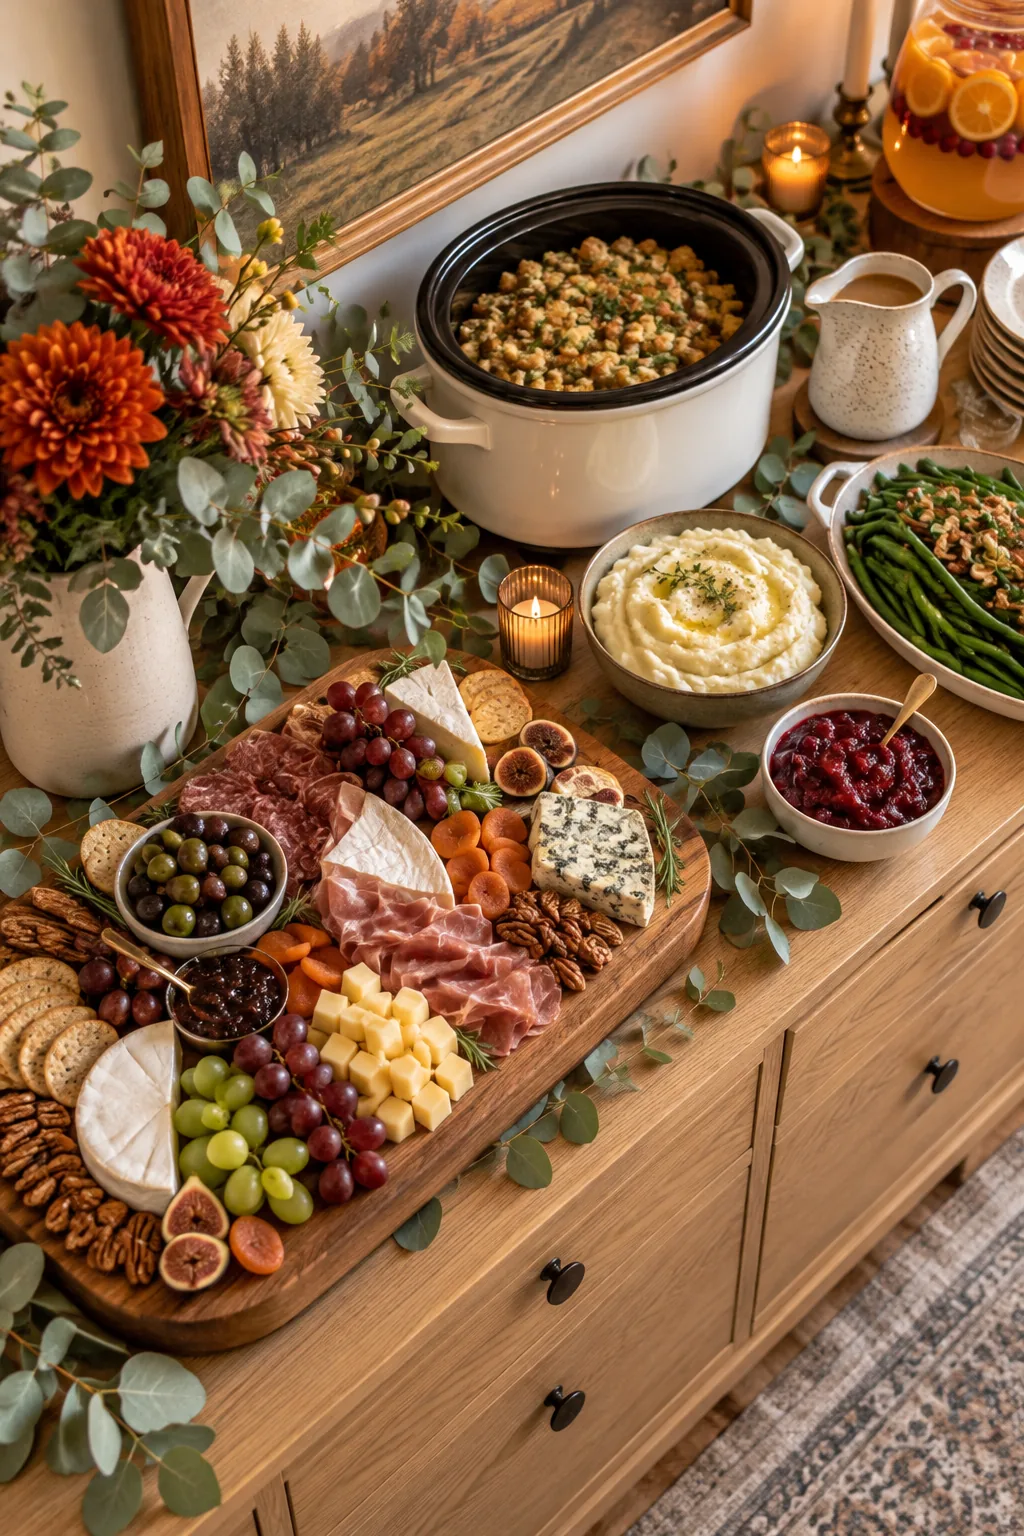
Positioning this abundant grazing board at the very beginning of your buffet line creates a natural, inviting gathering point while you confidently finish the final hot dishes nearby.
Include a Sweet Element on the Board
Balancing the intense, salty flavors of cured meats requires a touch of natural sweetness. Adding a small ceramic bowl of fig jam or honeycomb directly to the wooden board gives guests a delightful palate cleanser between rich bites of cheese.
Select the Right Board Dimensions
Building your charcuterie on a standard 18-inch wooden board provides enough room for the meats and cheeses plus accompanying clusters of grapes and roasted nuts. This specific size feeds eight to ten people perfectly without overwhelming your delicate entryway console.
Balance Flavors on the Board
Selecting a sharp cheddar, a creamy brie, and a funky blue cheese covers the essential flavor profiles. Pairing these with a spicy salami and a mild prosciutto ensures every guest finds a combination they genuinely love before the main meal begins.
Free the Oven With Slow Cooker Stuffing
Moving traditional stuffing to a countertop appliance is the single best way to reclaim valuable roasting space. Cook the assembled mixture on low for exactly 4 hours, which naturally crisps the outer edges while keeping the center perfectly moist and tender.
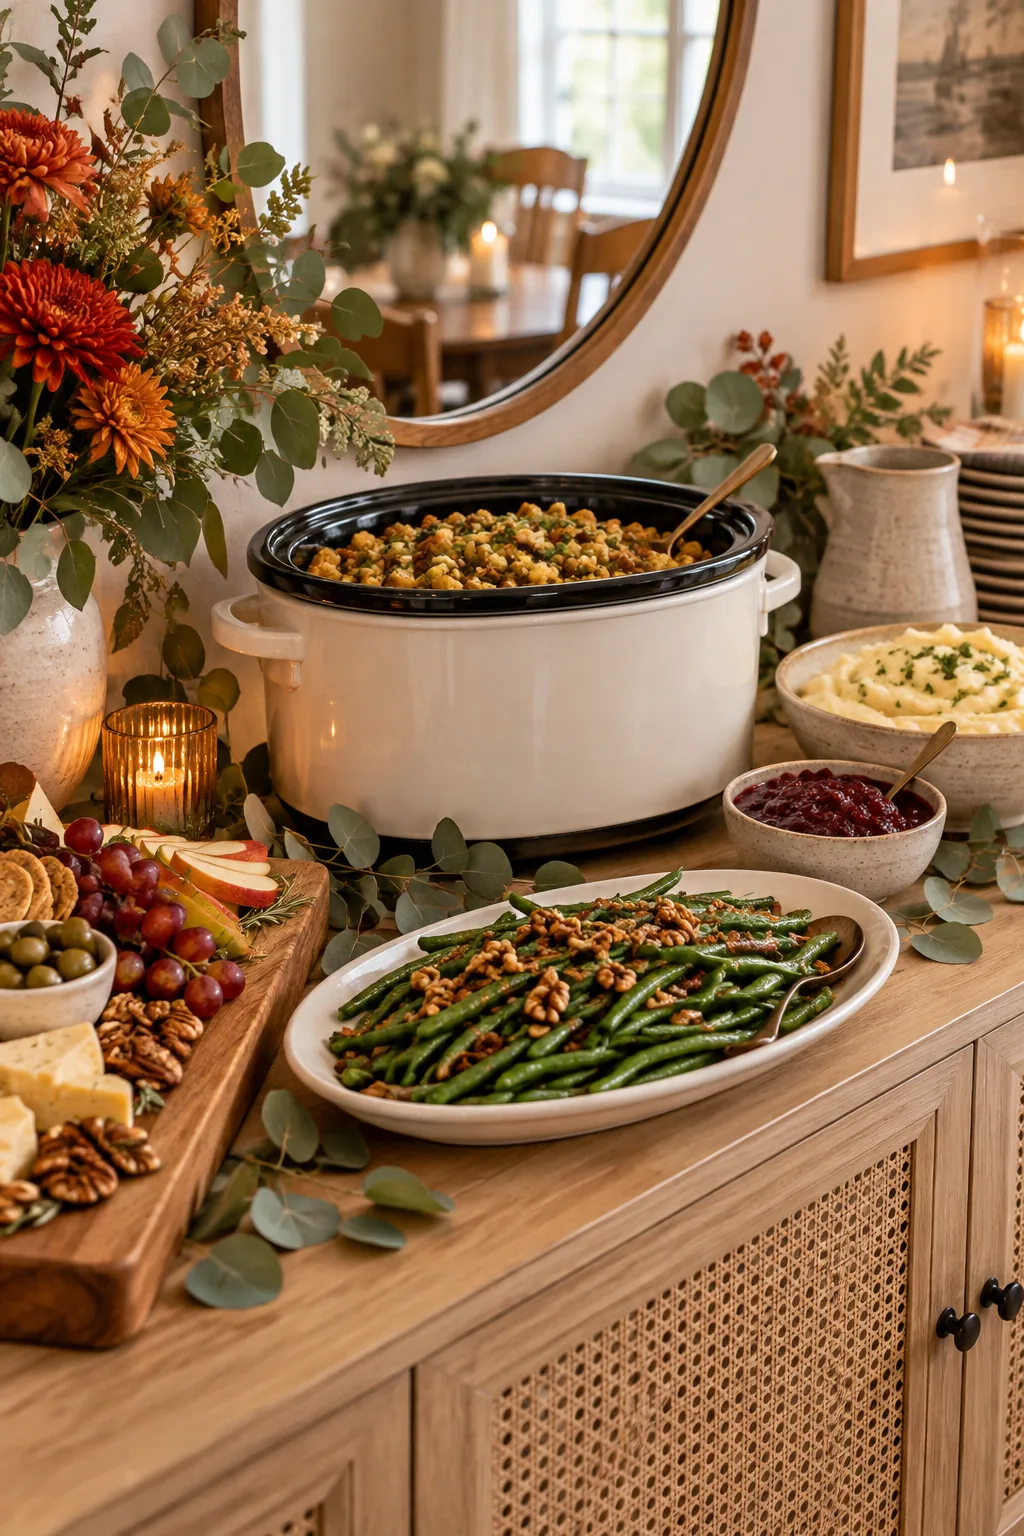
Plugging this ceramic insert in away from the main cooking zone prevents frustrating traffic jams and keeps your stovetop entirely clear for monitoring delicate, heat-sensitive sauces.
Butter the Ceramic Insert Thoroughly
Preventing the savory bread mixture from sticking to the sides of your slow cooker requires generous lubrication. Rubbing a full tablespoon of softened butter around the interior walls guarantees an effortless cleanup after the long holiday meal concludes.
Choose the Best Bread Base
Selecting a sturdy loaf prevents your slow cooker stuffing from turning into a soggy, unappetizing pudding during the long, gentle heating process required to meld the savory flavors.
| Bread Type | Moisture Level | Drying Time | Best For |
|---|---|---|---|
| Sourdough | Low | 48 hours | Savory herb profiles |
| Brioche | High | 72 hours | Sweeter sausage mixes |
| Cornbread | Medium | 24 hours | Southern-style recipes |
| French | Low | 48 hours | Classic traditional blends |
Prep the Stuffing Ingredients Ahead
Tearing your chosen bread into 1-inch cubes two days early allows them to stale naturally on open baking sheets. This crucial drying step ensures the cubes absorb the rich turkey broth without immediately dissolving into an unmanageable mush during the slow cook.
Plan for Room-Temperature Green Beans
Serving vibrant vegetables at room temperature removed a massive timing hurdle at my last dinner party. Simply blanch the beans for precisely 4 minutes before immediately shocking them in an ice water bath to lock in that brilliant, crisp green color.
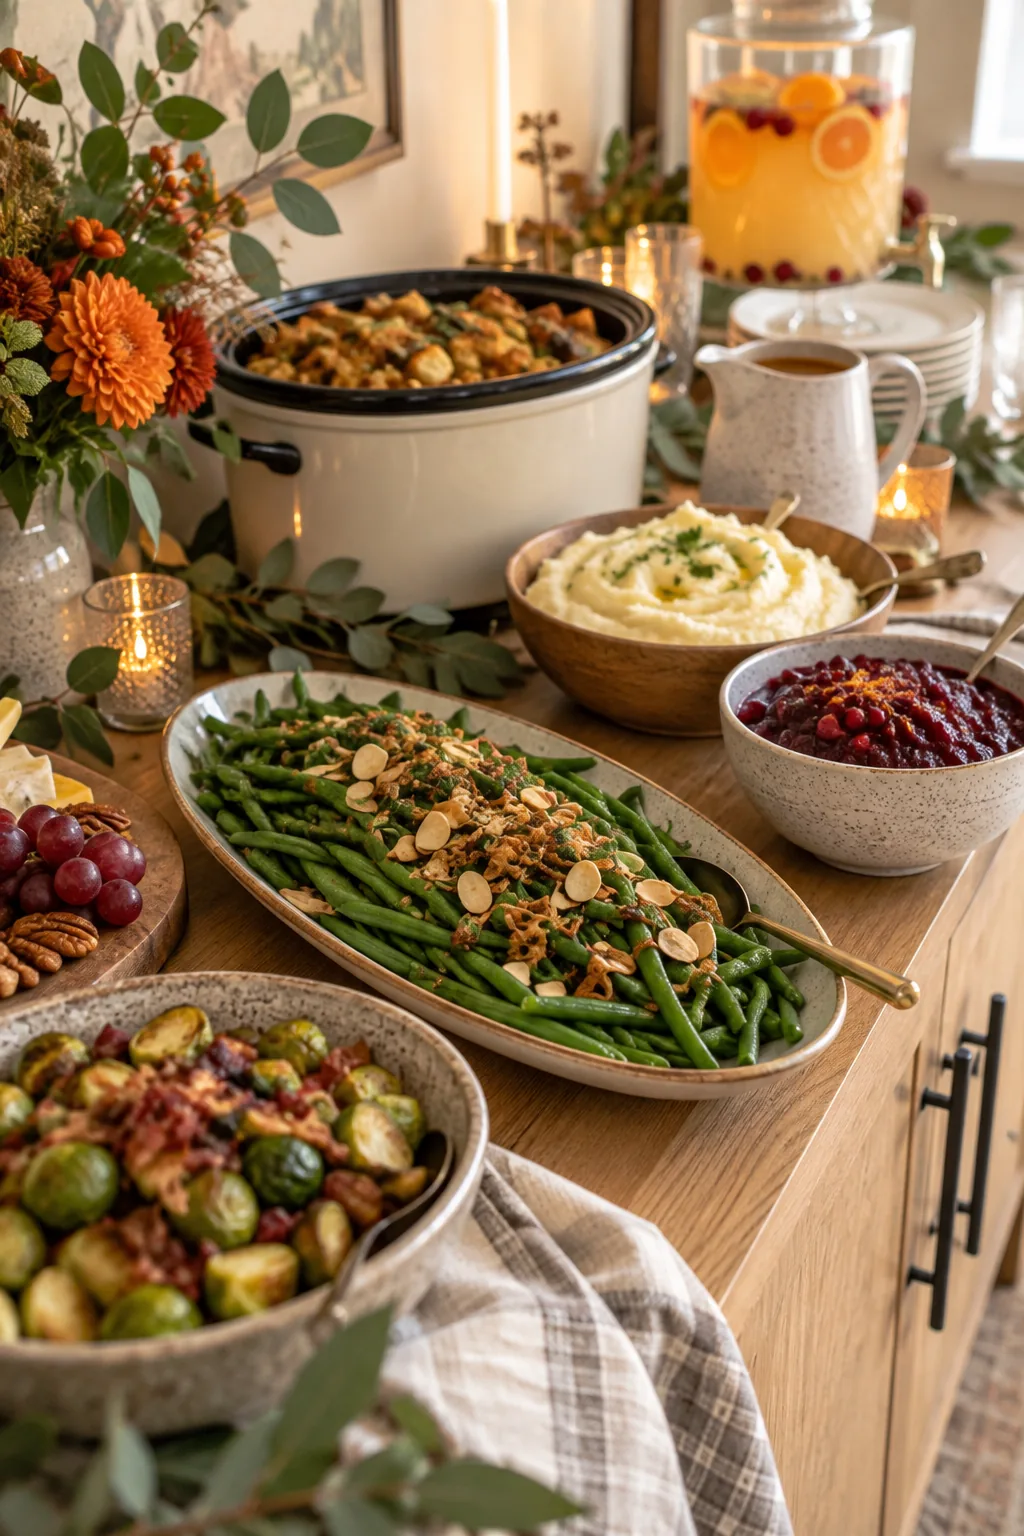
Tossing the thoroughly cooled beans with a light, acidic vinaigrette just before guests arrive guarantees a fresh, crunchy texture that holds up beautifully on a long, lingering buffet.
Season the Blanching Water Aggressively
Treating your boiling vegetable water exactly like seawater is the secret to deeply flavorful green beans. The brief four-minute cooking window means the salt must be highly concentrated to properly season the thick vegetables before they hit the ice bath.
Master the Quick Blanching Method
Executing the ice bath correctly is exactly what separates a crisp, restaurant-quality vegetable side from a limp, gray disappointment that gets passed over on the holiday table.
Rely on Stovetop Mashed Potatoes and Cranberry Sauce
Shift your heavy, essential side dishes to the burners by boiling 5 pounds of potatoes on the stove, keeping the oven entirely dedicated to achieving a perfectly golden roasting turkey.
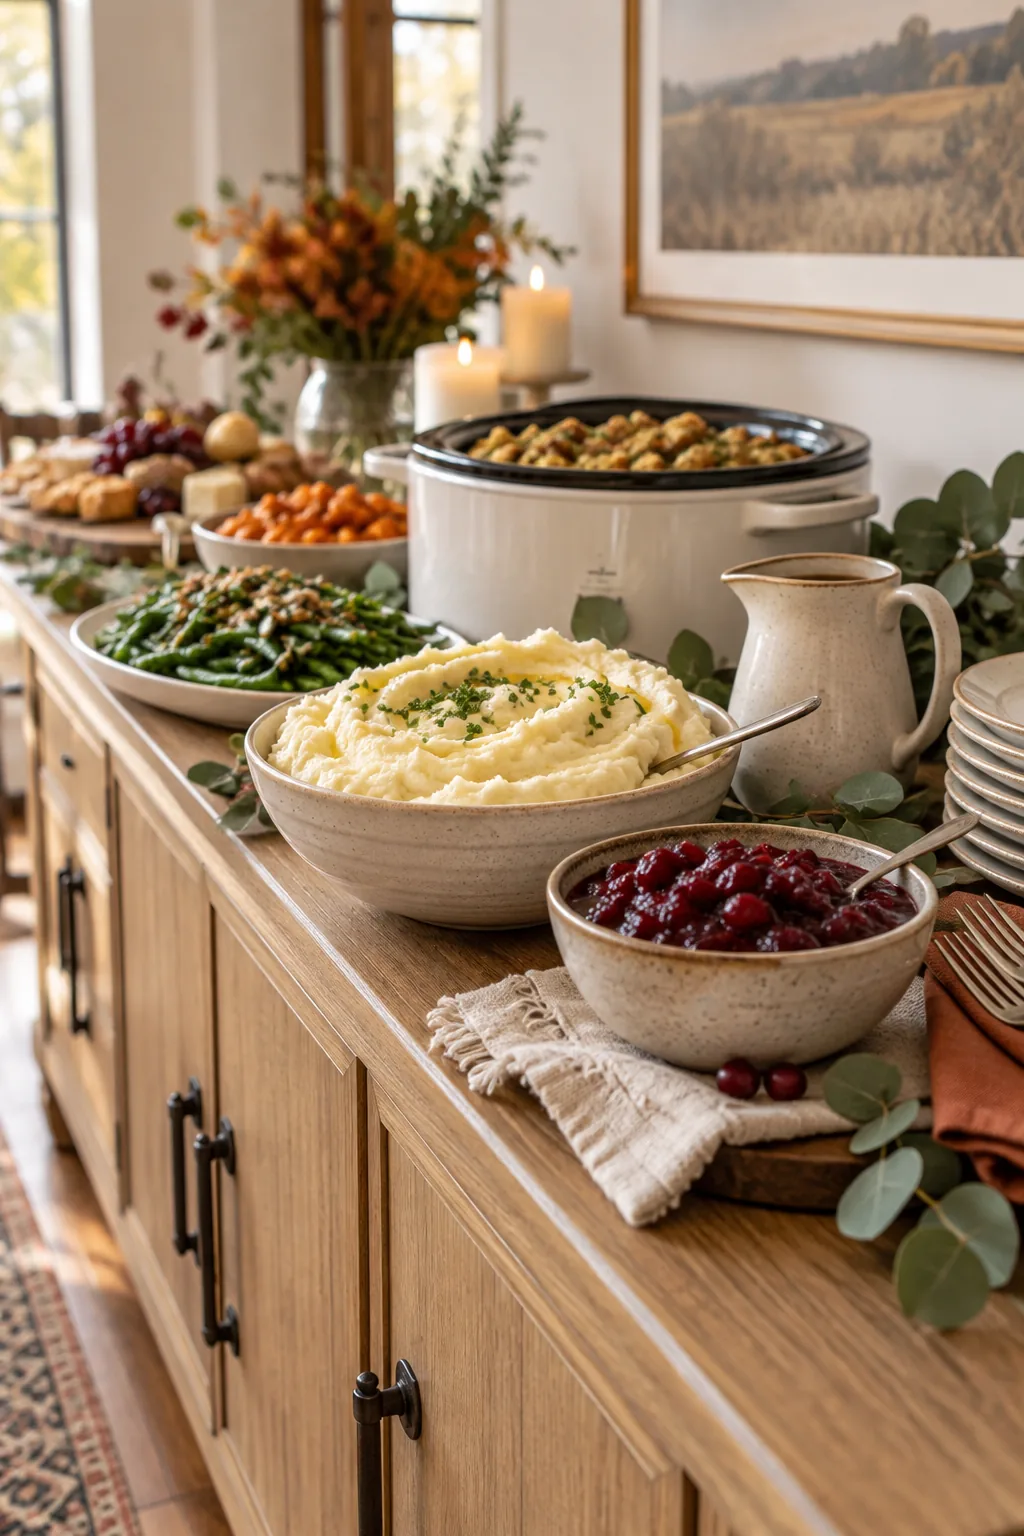
If your stovetop finishes early, use this remarkably simple restaurant trick to hold your freshly mashed potatoes at the absolute perfect serving temperature until dinner is called.
Warm the Potato Serving Bowl
Transferring piping hot mashed potatoes into a freezing cold ceramic dish instantly ruins their delicate texture. Running your serving bowl under hot water and drying it thoroughly before filling keeps the starchy side dish beautifully warm and incredibly fluffy.
Keep Stovetop Traffic Moving
Simmering your tart cranberry sauce on a back burner while the potatoes violently boil utilizes dead space highly efficiently. This classic sauce naturally thickens as it cools, making it the perfect candidate to finish an entire hour before dinner begins.
Mash the Potatoes by Hand
Using a manual potato ricer instead of an electric mixer guarantees a fluffy, cloud-like texture. Overworking the starches with high-speed blades quickly transforms your beautiful side dish into a dense, gummy paste that feels heavy on the palate.
Hold Heat With a Thermal Gravy Boat
Pouring your finished, savory sauce into a sleek insulated pitcher ensures it stays entirely food-safe and piping hot for up to 2 hours without ever needing a desperate microwave reheat.
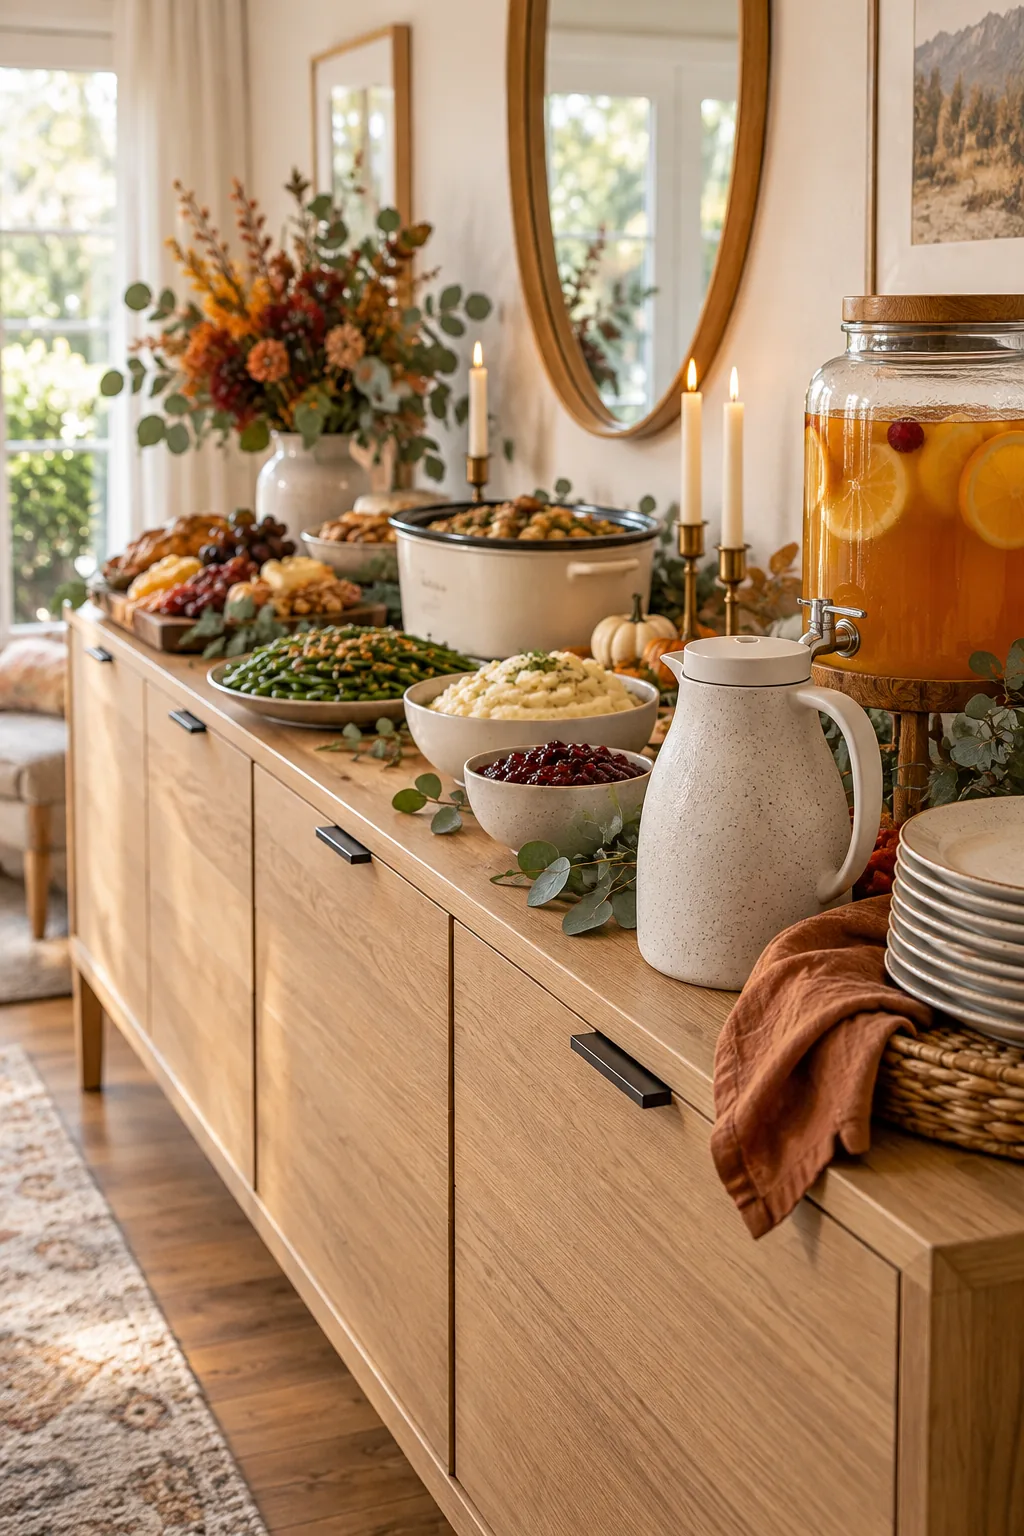
Placing this modern thermal vessel directly next to the mashed potatoes allows guests to easily dress their plates without rushing back into the chaotic kitchen for warm-ups.
Pre-Warm the Insulated Vessel
Filling your gravy boat with boiling water for 5 minutes before adding the sauce perfectly primes the interior thermal walls. Pouring hot liquid into a cold pitcher instantly drops the temperature, completely defeating the purpose of the expensive insulation.
Provide a Resting Plate for the Ladle
Setting a small, decorative saucer directly beneath the gravy boat prevents unsightly drips from staining your favorite table linens. This simple addition keeps the buffet looking pristine and encourages guests to return for second helpings without feeling messy.
Set Up a Dedicated Glassware Station
Stacking 12 matching glasses at the very end of your buffet prevents guests from awkwardly carrying empty cups while they try to balance heavy plates and serve themselves hot food.
3 Ways to Style Your Thanksgiving Buffet
Choose a distinct aesthetic to match your dining room and elevate your holiday spread.
Moody jewel tone buffet: Swap light oak for a dark walnut credenza and incorporate deep burgundy florals for a richer, more formal evening atmosphere.
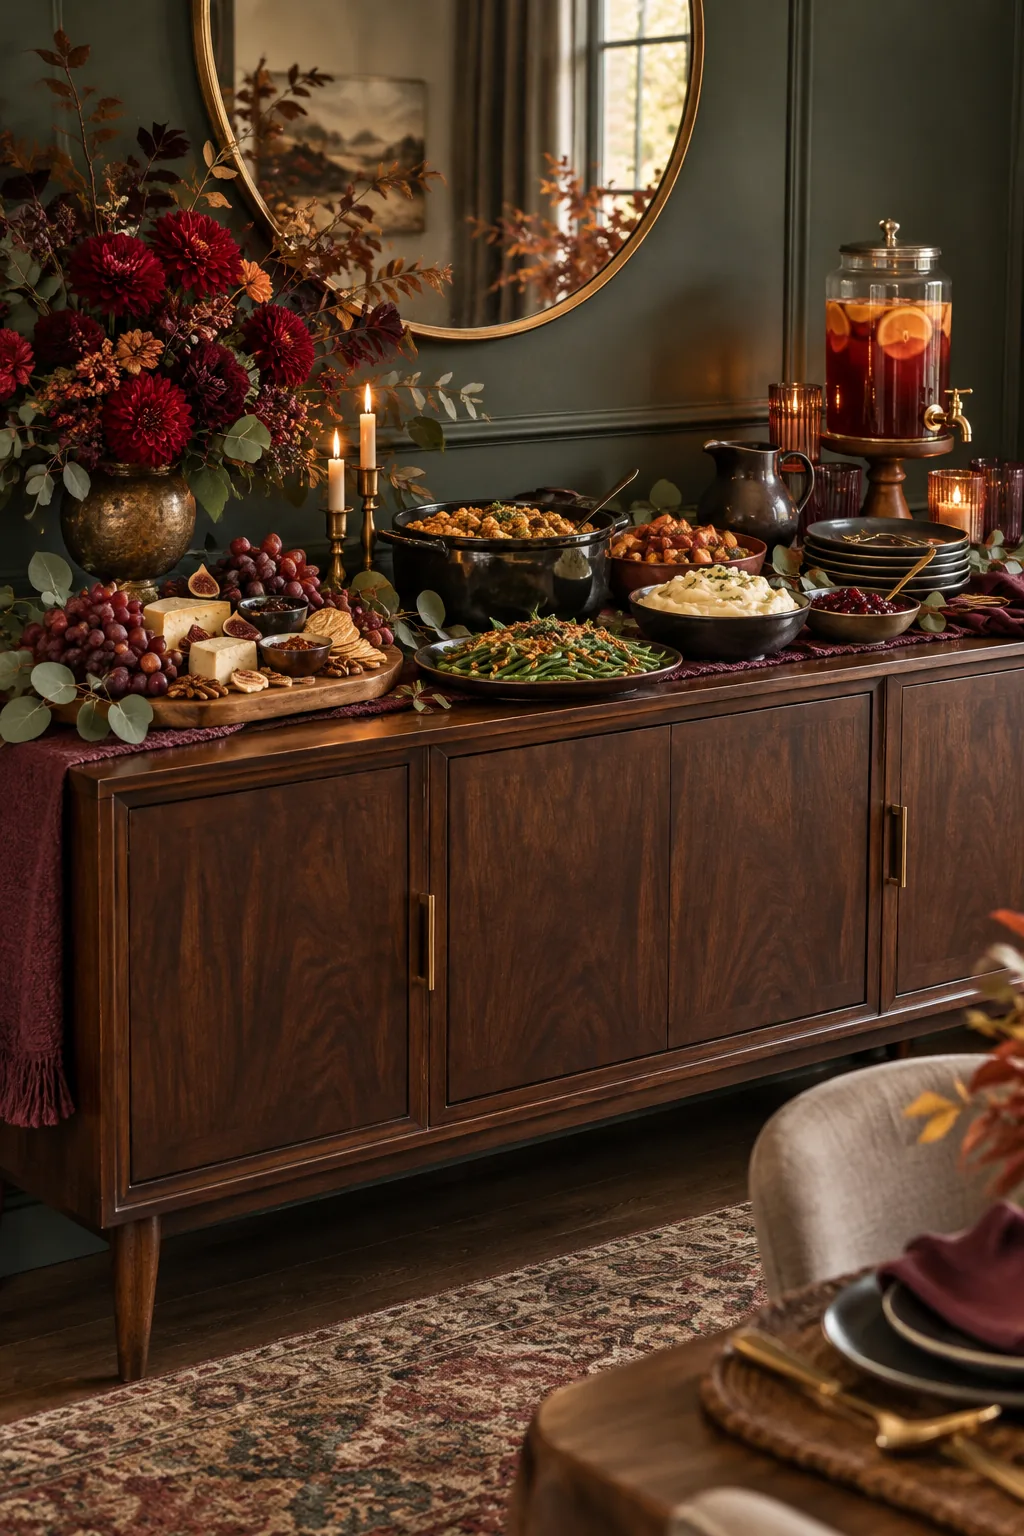
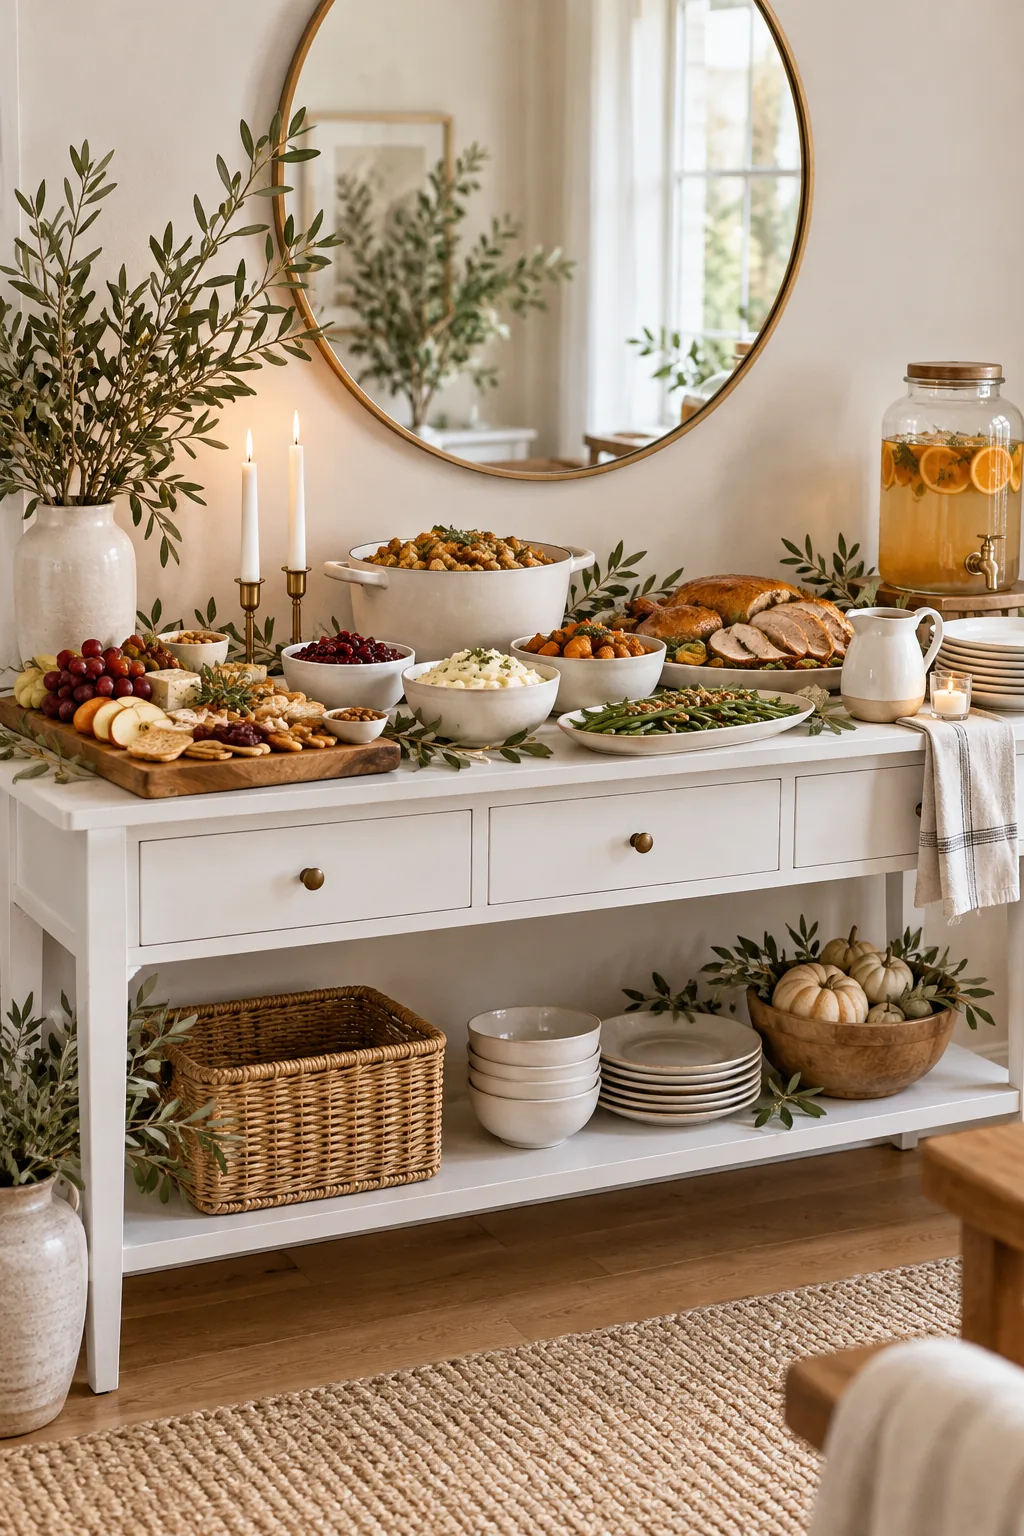
Minimalist Scandinavian serving station: Keep the look clean with a white console table, simple white ceramic serving dishes, and sparse olive branch arrangements.
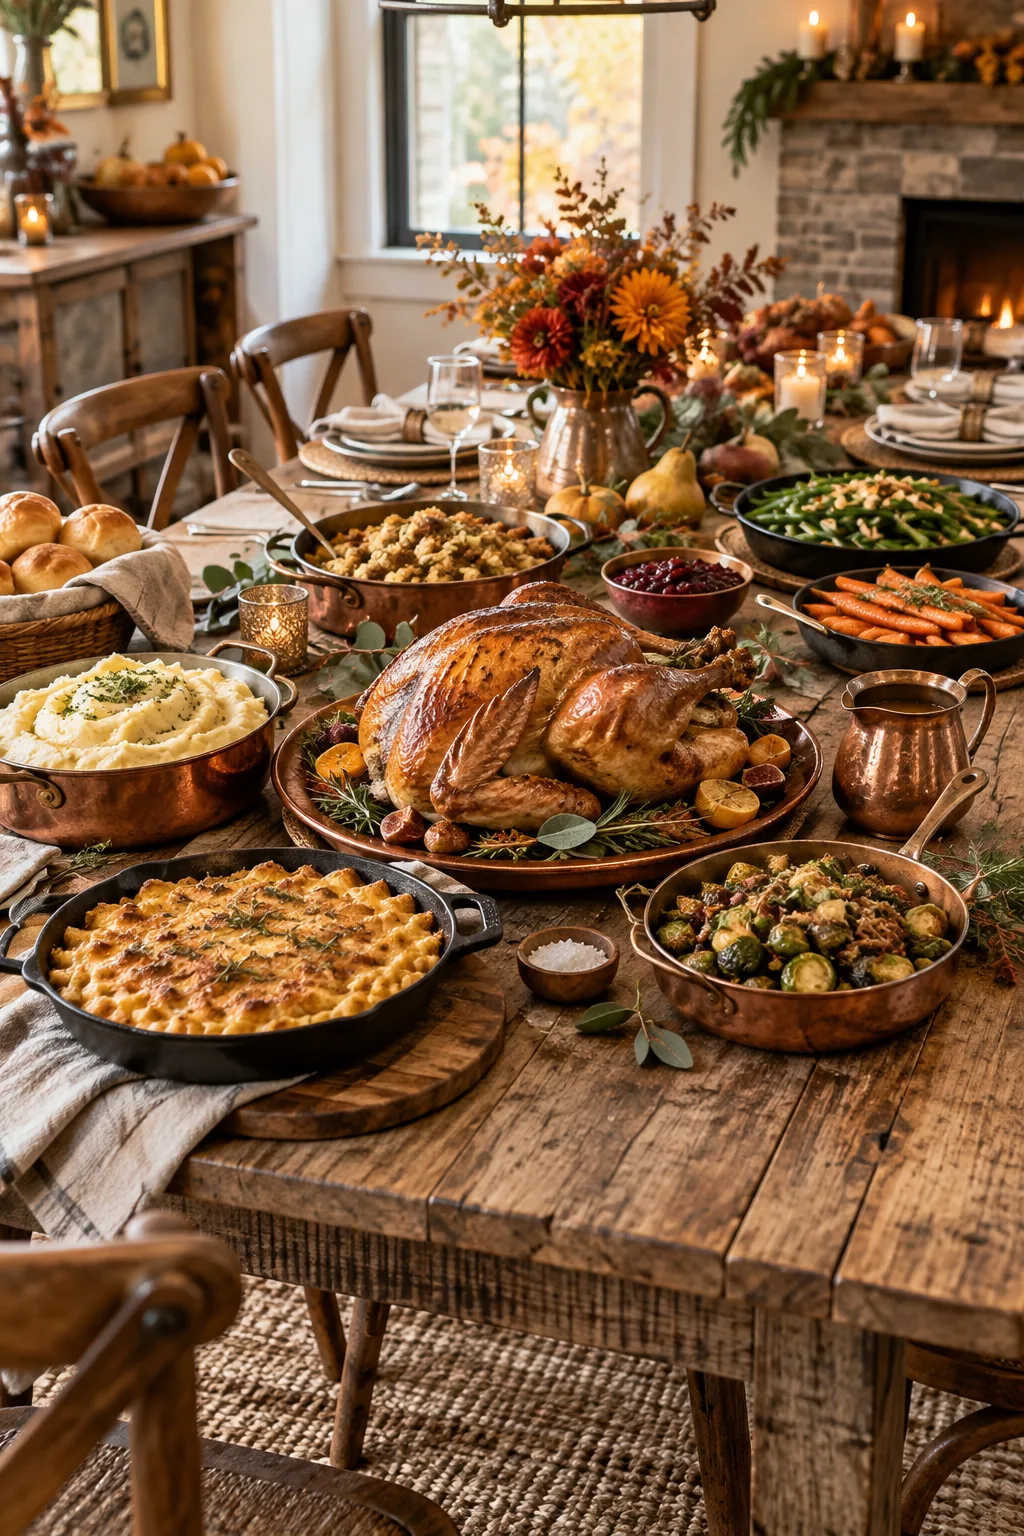
Rustic farmhouse Thanksgiving spread: Utilize a reclaimed wood table and copper serving vessels to create a warm, casual farmhouse aesthetic for your gathering.
Anchor the End With Pre-Batched Punch
I always anchor the far end of the buffet with a self-serve drink dispenser to naturally pull guests through the food line. Mix a full 1-gallon batch of punch the night before to eliminate sticky cocktail mixing on Thursday.
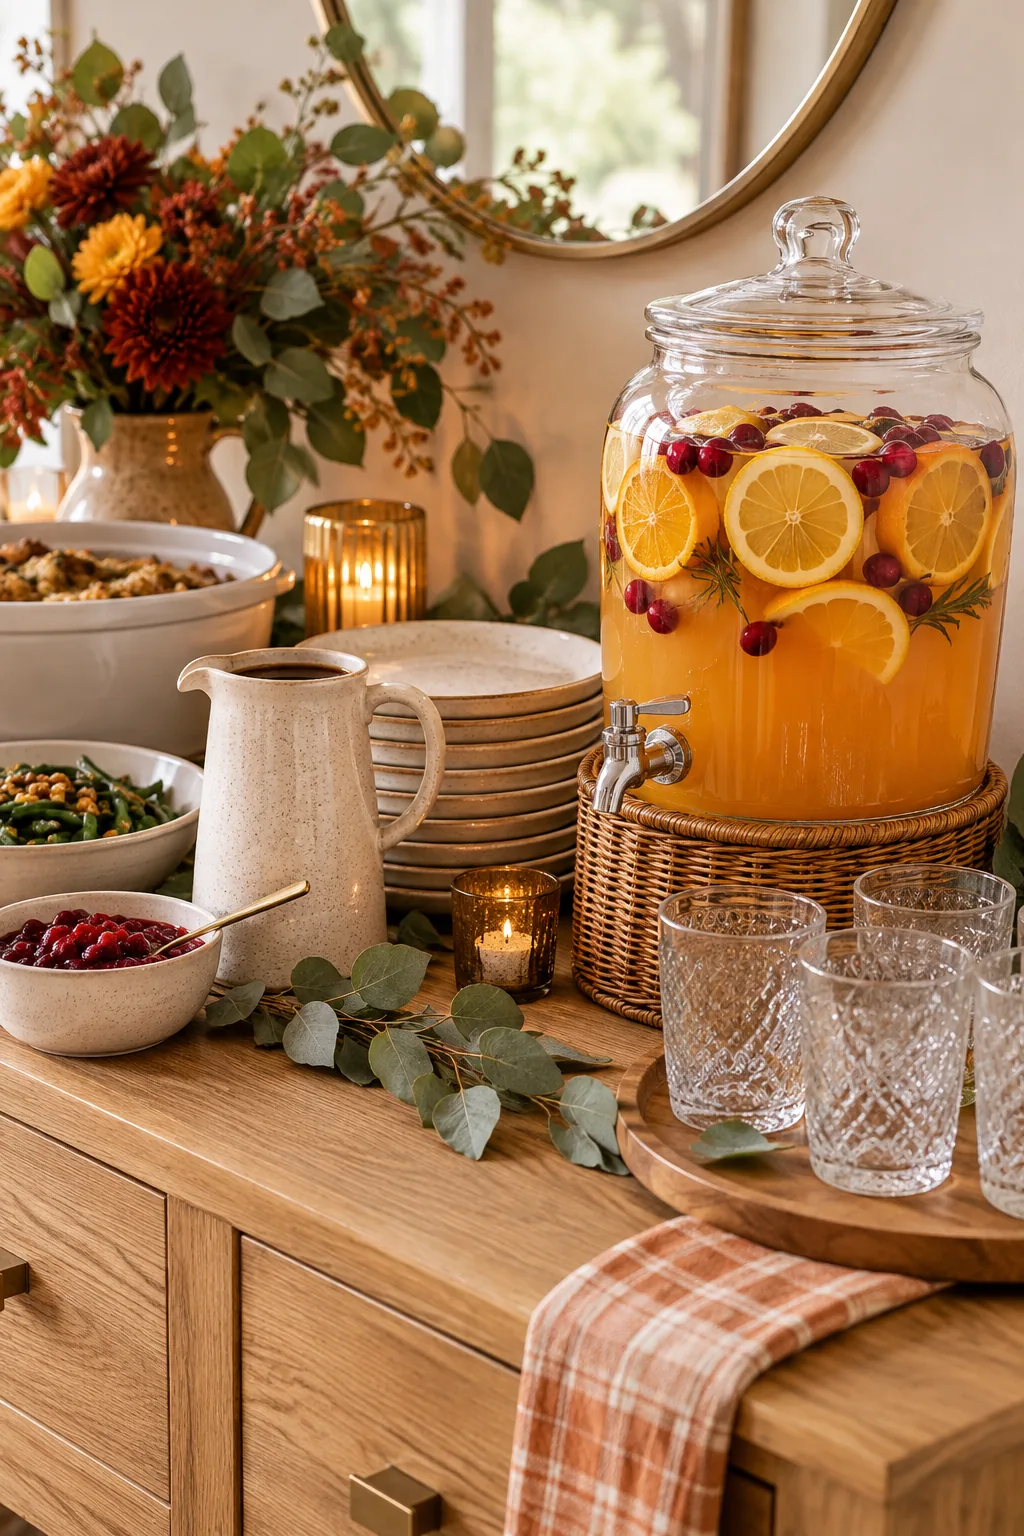
Adding the floating citrus slices just 30 minutes before your first arrival keeps the fruit looking incredibly fresh and officially completes your beautifully orchestrated, stress-free Thanksgiving spread.