
10-Minute Wireless Wall Sconce Setup Guide & Placement Rules
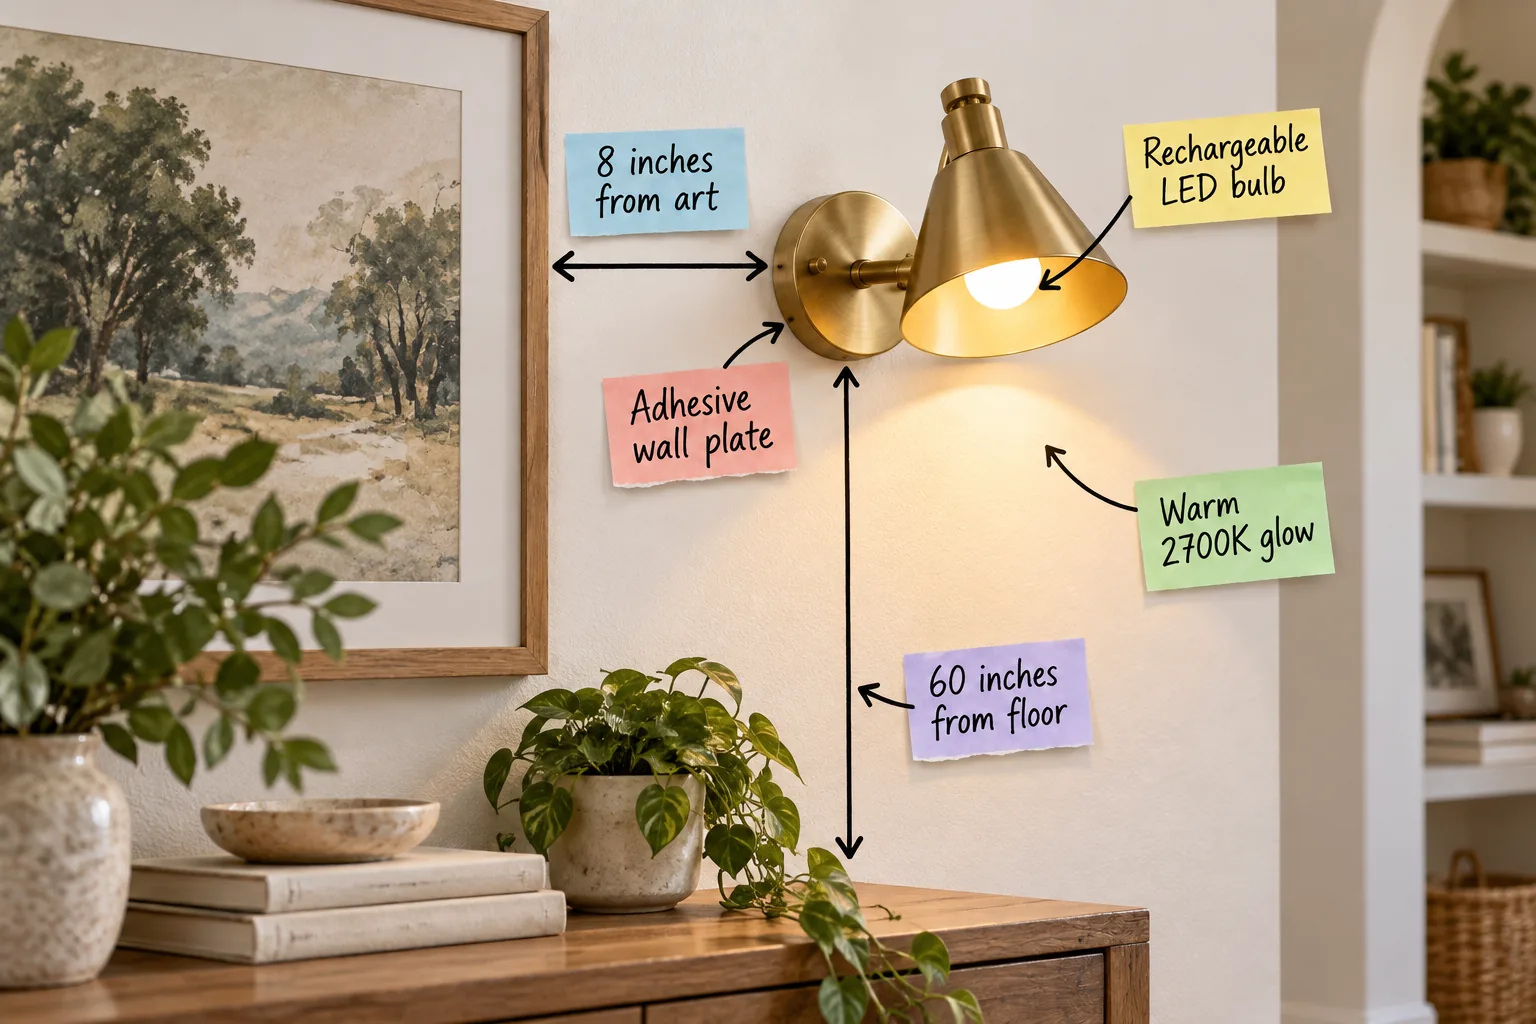
You can skip the expensive electrician entirely because this 10-minute sconce setup guide delivers the exact placement measurements and parts you need to mount wireless wall lights perfectly. You will be able to confidently measure, attach, and light a fixture that is beautifully proportioned to your art and furniture.
The 10-Minute Setup Action Plan
We move rapidly from mapping the exact wall placement to mounting the hardware and finally dialing in the perfect lighting ambiance. This streamlined sequence proves exactly how fast a wire-free installation truly is when you follow a structured approach.
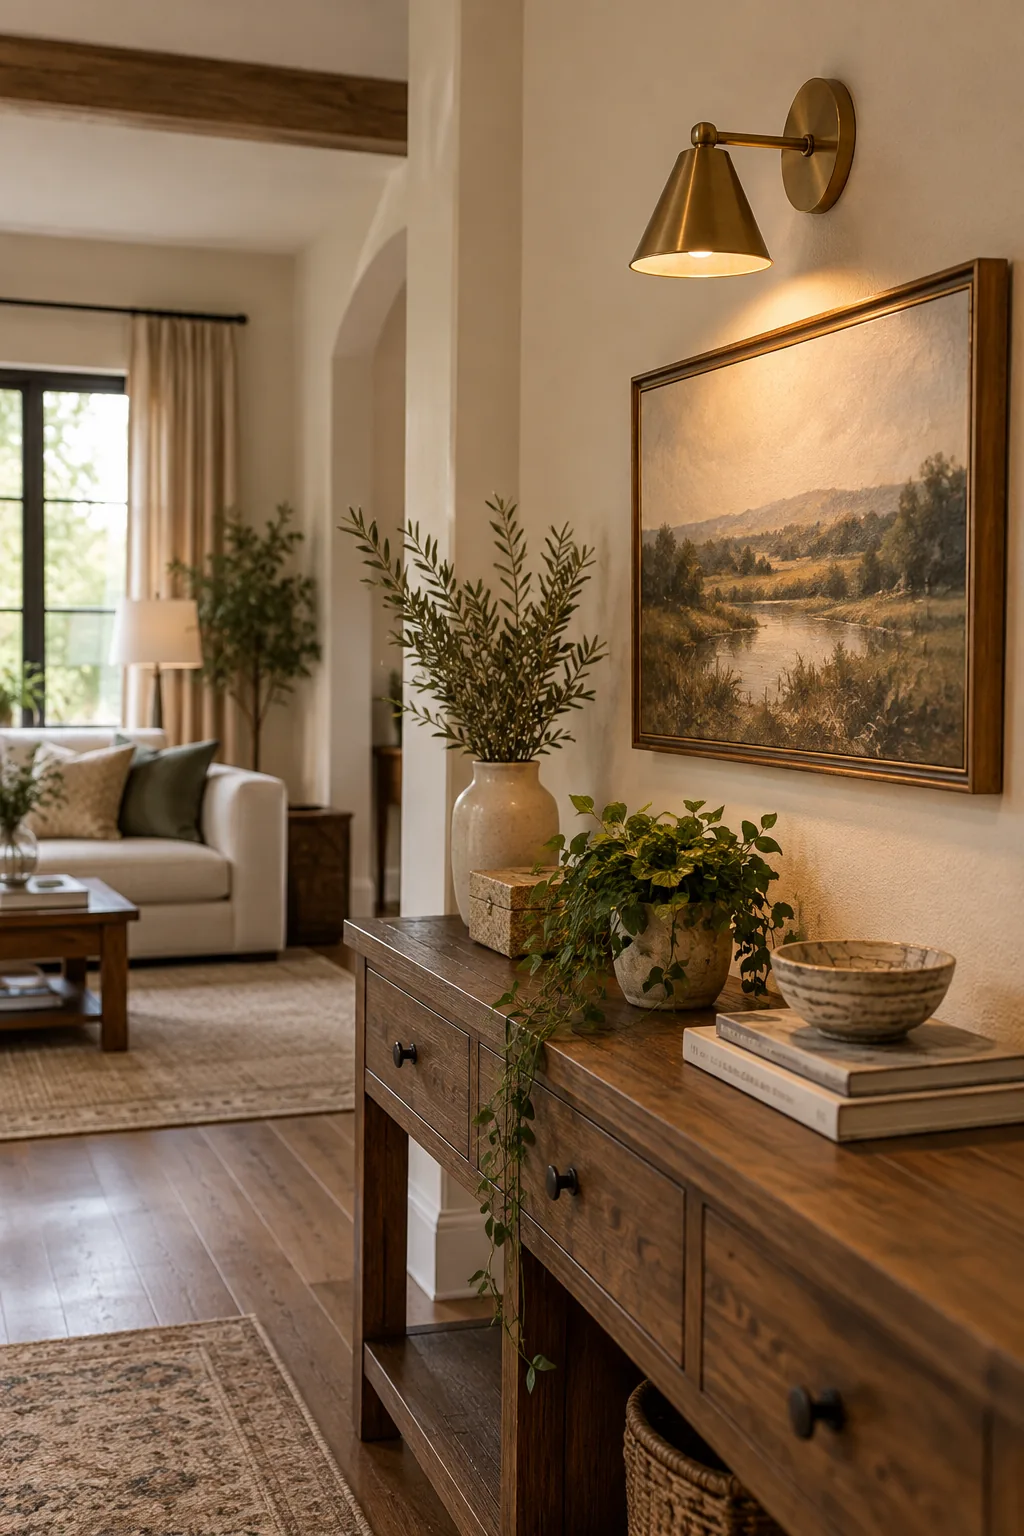
Before peeling any adhesive backing off your new fixtures, gather your tools to ensure a smooth, uninterrupted installation process. Having everything within arm’s reach prevents you from walking away while the mounting plate is exposed.
Mapping Your Wall Space First
Planning your layout before touching the wall prevents asymmetrical mistakes and guarantees the light spreads evenly across your living space. I always calculate the total wall width to determine if a single accent sconce or a balanced pair will look best.
| Room Width | Sconce Count | Spacing Gap |
|---|---|---|
| Under 10 feet | 1 Accent Sconce | Centered |
| 10 to 15 feet | 2 Sconces | 72 inches apart |
| Over 15 feet | 3 Sconces | 60 inches apart |
Once you determine the correct number of fixtures for your room size, you can start plotting the exact vertical and horizontal coordinates. This foundational math ensures your lighting feels intentionally integrated into the architecture rather than randomly stuck on the drywall.
Setting the 60-Inch Vertical Height
The most critical rule in lighting placement is measuring exactly 60 inches from the floor to the center of the sconce. This specific number ensures the light sits at a natural eye level for standard eight-foot ceilings, creating immediate visual harmony.
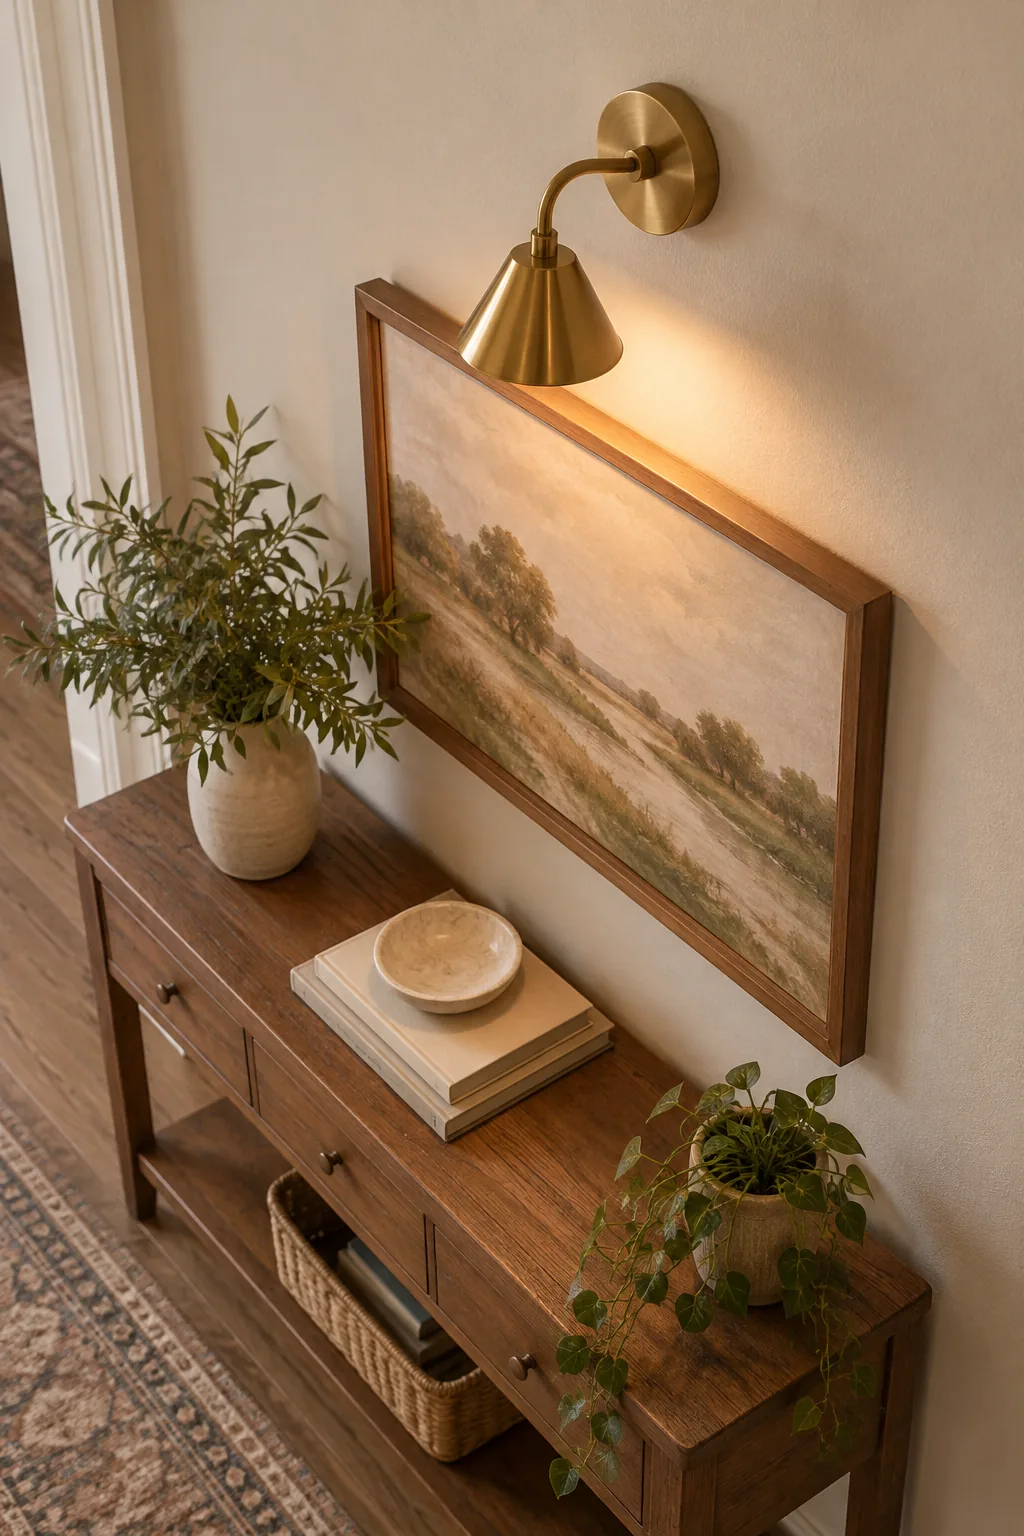
Mounting fixtures at this standardized height prevents the room from feeling top-heavy and keeps the illumination focused on the human living layer. It bridges the gap between your seated furniture and the empty upper walls beautifully.
Adapting for High Ceilings
When your architecture features ceilings taller than ten feet, the standard placement rules require a calculated upward adjustment to maintain proportional balance. Lifting the fixtures slightly prevents them from looking abandoned in the lower third of a massive wall.
- Measure the total ceiling height to establish your baseline proportion.
- Add two inches of mounting height for every foot of ceiling above nine feet.
- Verify the new elevation against your door frames to ensure visual consistency.
Applying these sequential vertical shifts ensures your lighting continues to relate to the lofty architecture above. It maintains the Eastern design principle of balancing grounded heavy elements with upward airy space.
Measuring 8 Inches from Art
When flanking a painting, you must leave exactly 8 inches from the art frame to the base of the sconce. This concrete measurement prevents visual crowding and gives both the artwork and the brass fixture enough breathing room to stand out.
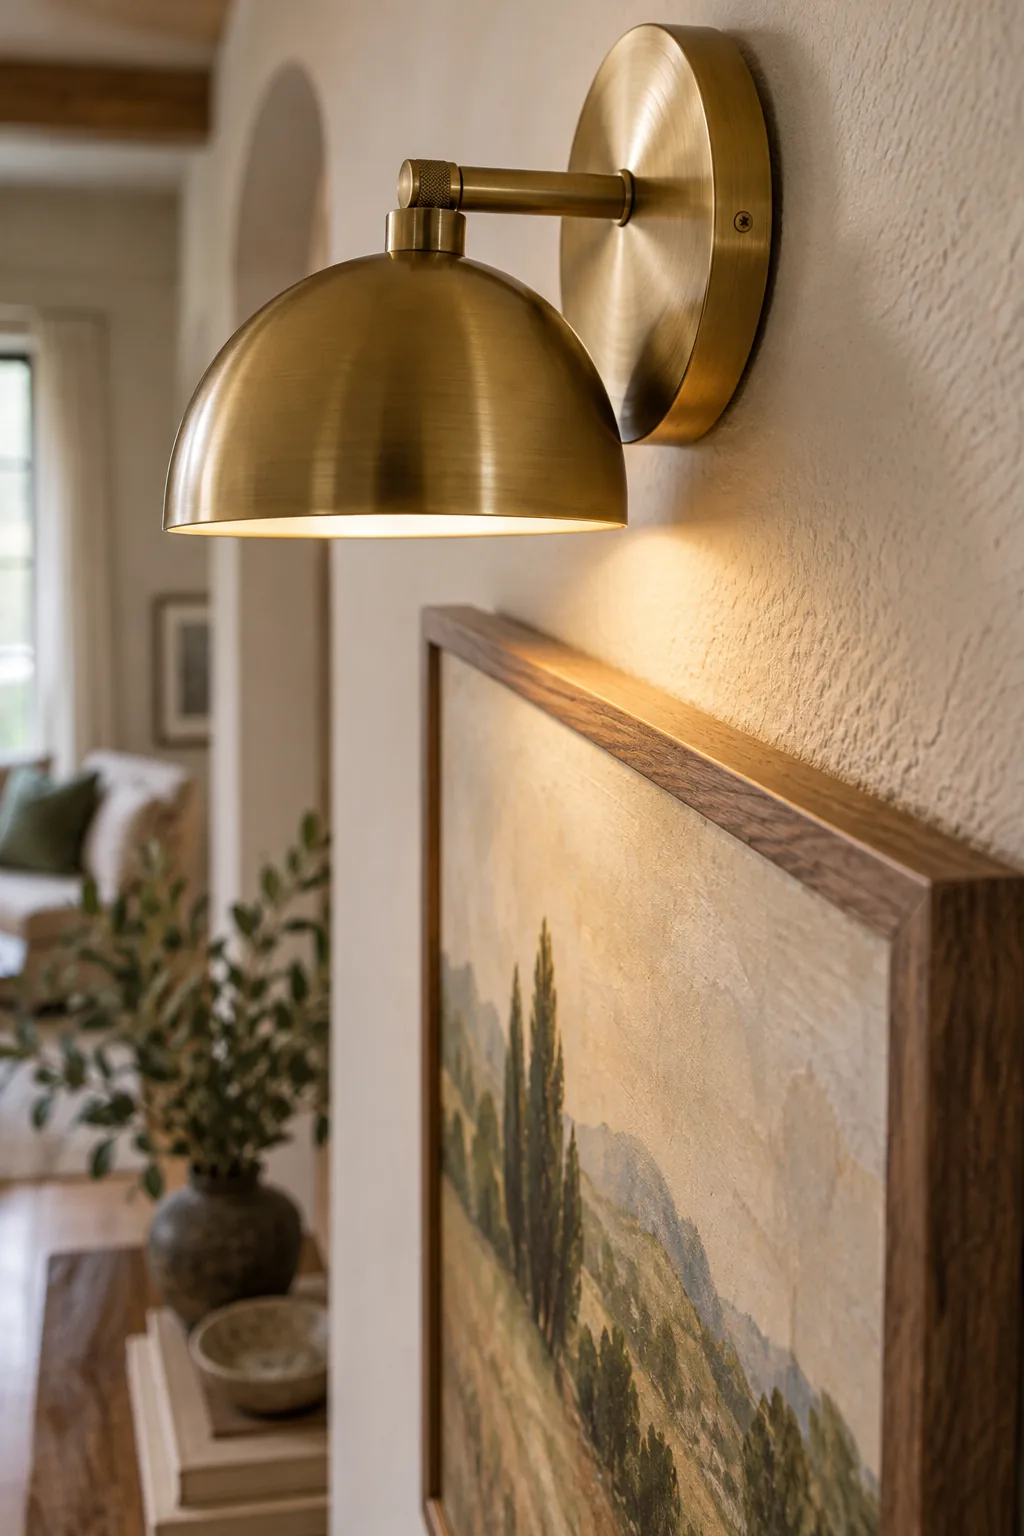
Respecting this negative space stops the light beam from glaring directly off the glass, ensuring your canvas remains the true focal point. It frames the piece without overwhelming the delicate brushstrokes.
Avoiding Frame Glare
If you position a light source too close to a highly reflective acrylic or glass frame, the resulting hot spot will completely obscure the artwork beneath it. Pushing the fixture outward allows the beam to wash gently across the canvas rather than striking it directly, preserving the integrity of your art.
Mounting the Adhesive Wall Plate
Securing the adhesive wall plate to your drywall requires pressing the bracket firmly against the surface for a full thirty seconds. This sustained pressure forces the bonding agent into the microscopic texture of the paint, creating a rock-solid foundation.
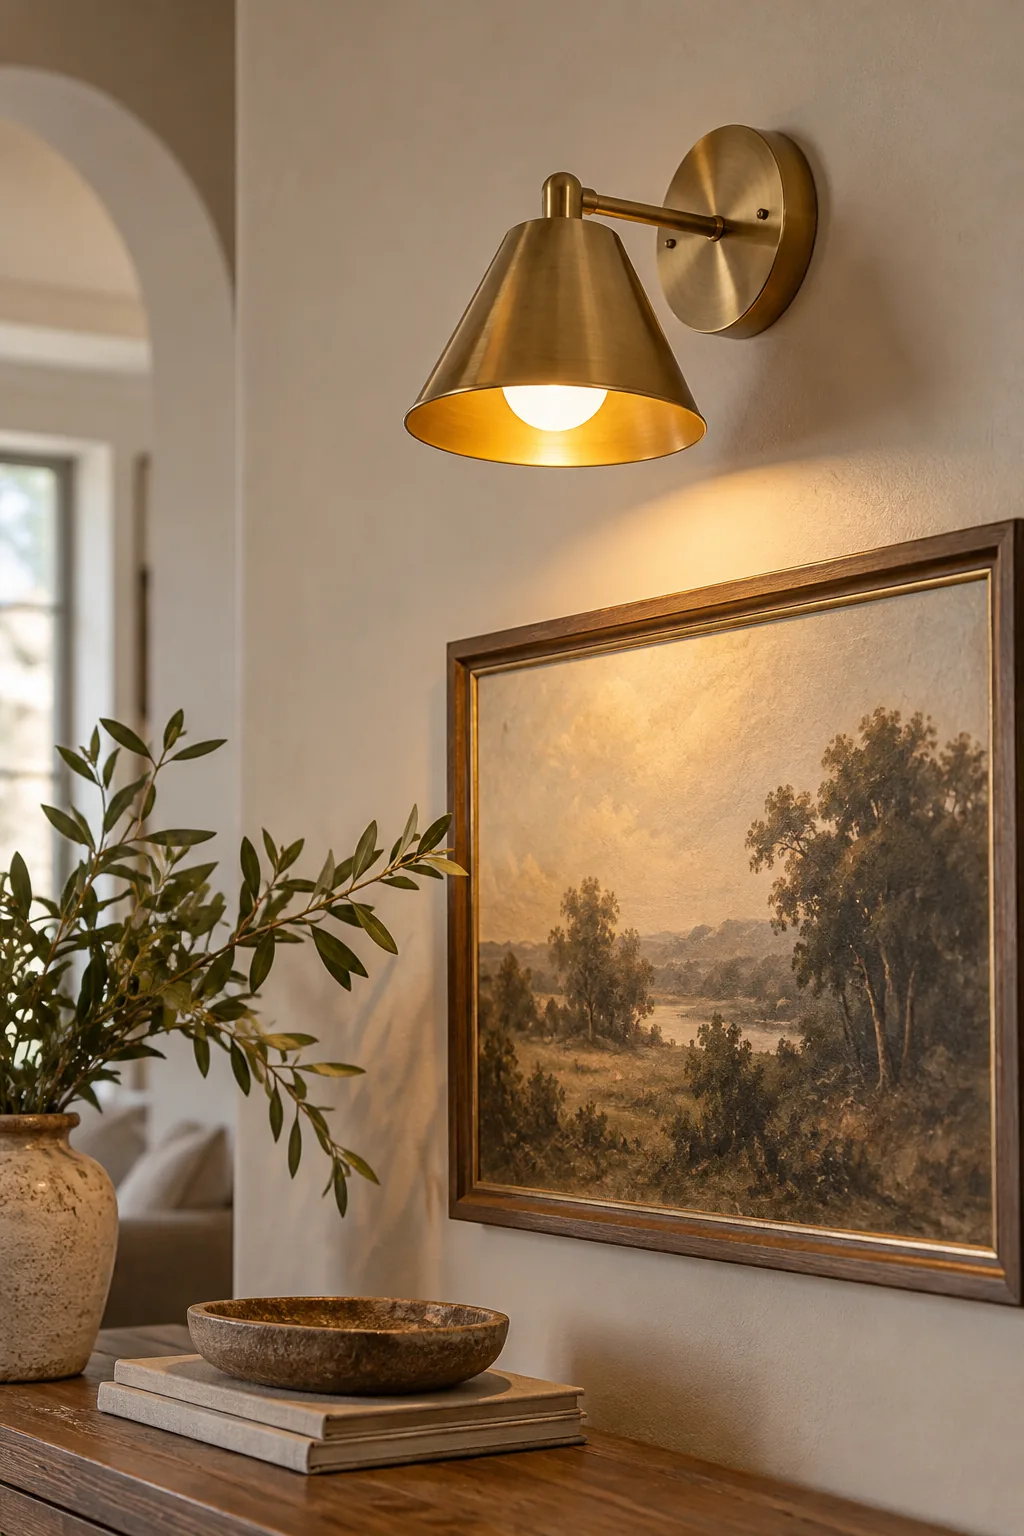
In my own Denver home, I once rushed this step and mounted the heavy brass fixture immediately, only to watch it slide down the wall. Always let the adhesive cure for a full hour before attaching any weight.
Testing the Base Plate Level
Even a fraction of an inch of tilt on the mounting bracket will become glaringly obvious once the long vertical shade is attached. Taking a moment to verify the alignment saves you from having to pry off strong adhesive later and risk damaging your drywall.
The Magic of the Rechargeable LED Bulb
The true breakthrough in modern lighting is the rechargeable LED bulb, which makes expensive hardwiring completely obsolete. You simply twist the self-powered unit into the un-wired socket just like a traditional incandescent, instantly bringing dead wall space to life.
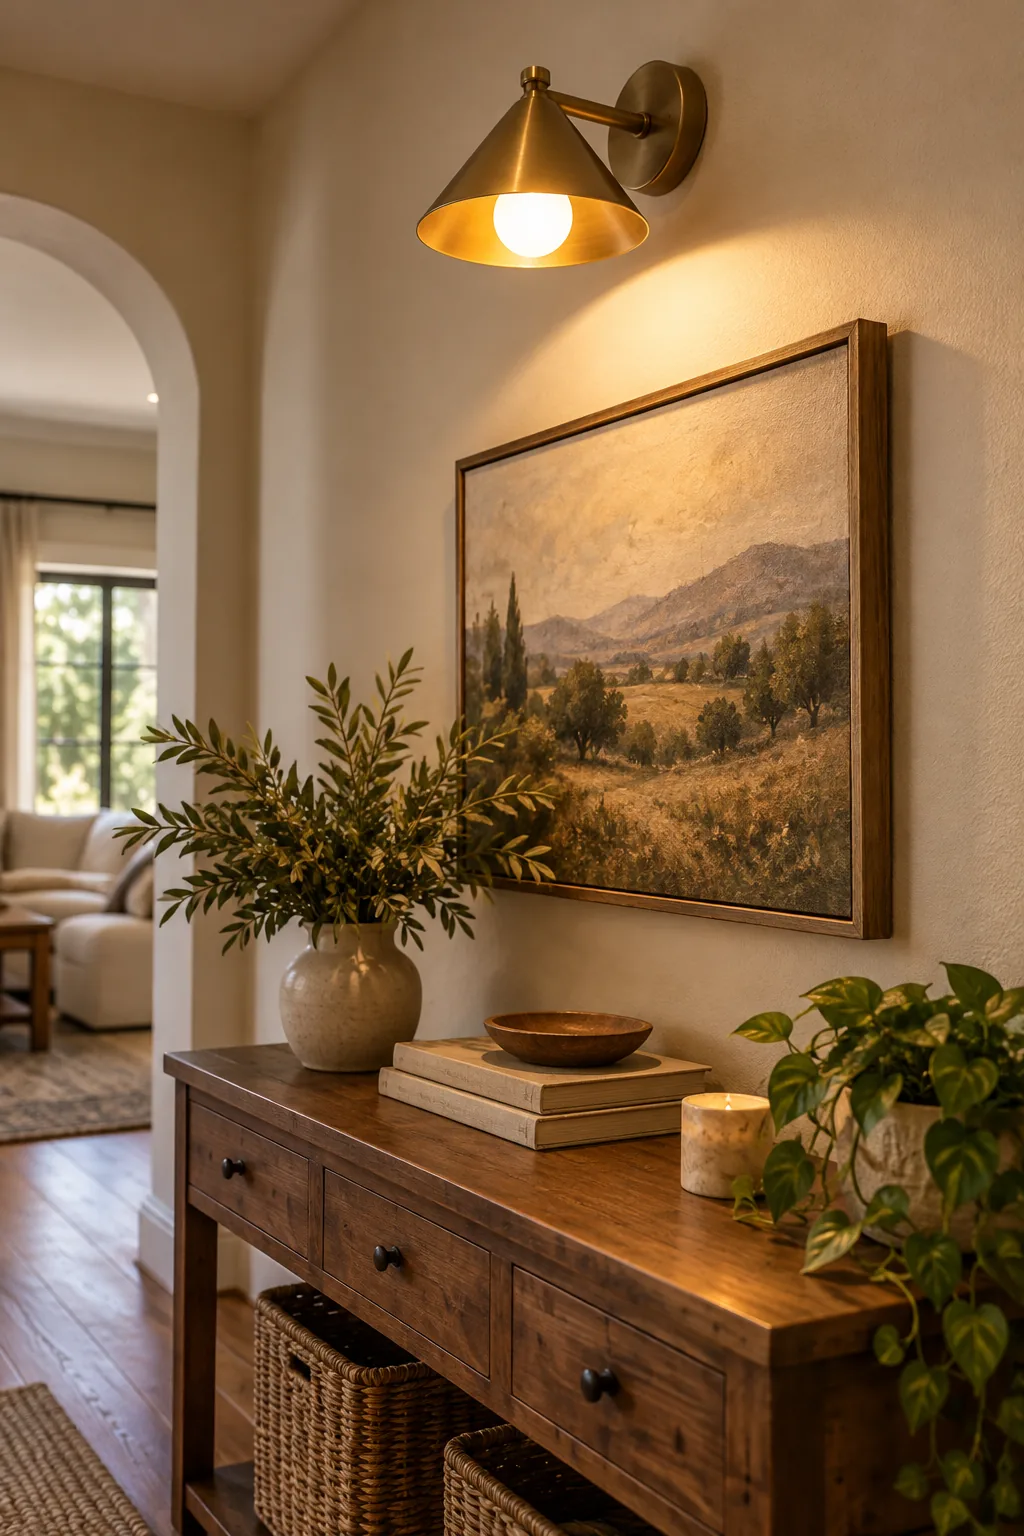
I recently used these exact bulbs in a client’s historic loft where drilling into the century-old brick was strictly prohibited. The final result was completely indistinguishable from a hardwired fixture, saving us thousands in electrical work.
Maximizing Battery Lifespan
To get the most out of your wireless setup, keep the brightness dialed down to about fifty percent during normal evening use. This simple habit easily stretches the battery life across an entire week of cozy after-dinner reading sessions, ensuring your home always feels warm and inviting.
Casting a Warm 2700K Glow
Selecting a bulb that casts a warm 2700K glow is the absolute secret to creating a welcoming residential atmosphere. This specific color temperature perfectly mimics the comforting amber hue of traditional incandescent filaments, avoiding the sterile feel of modern commercial LEDs.
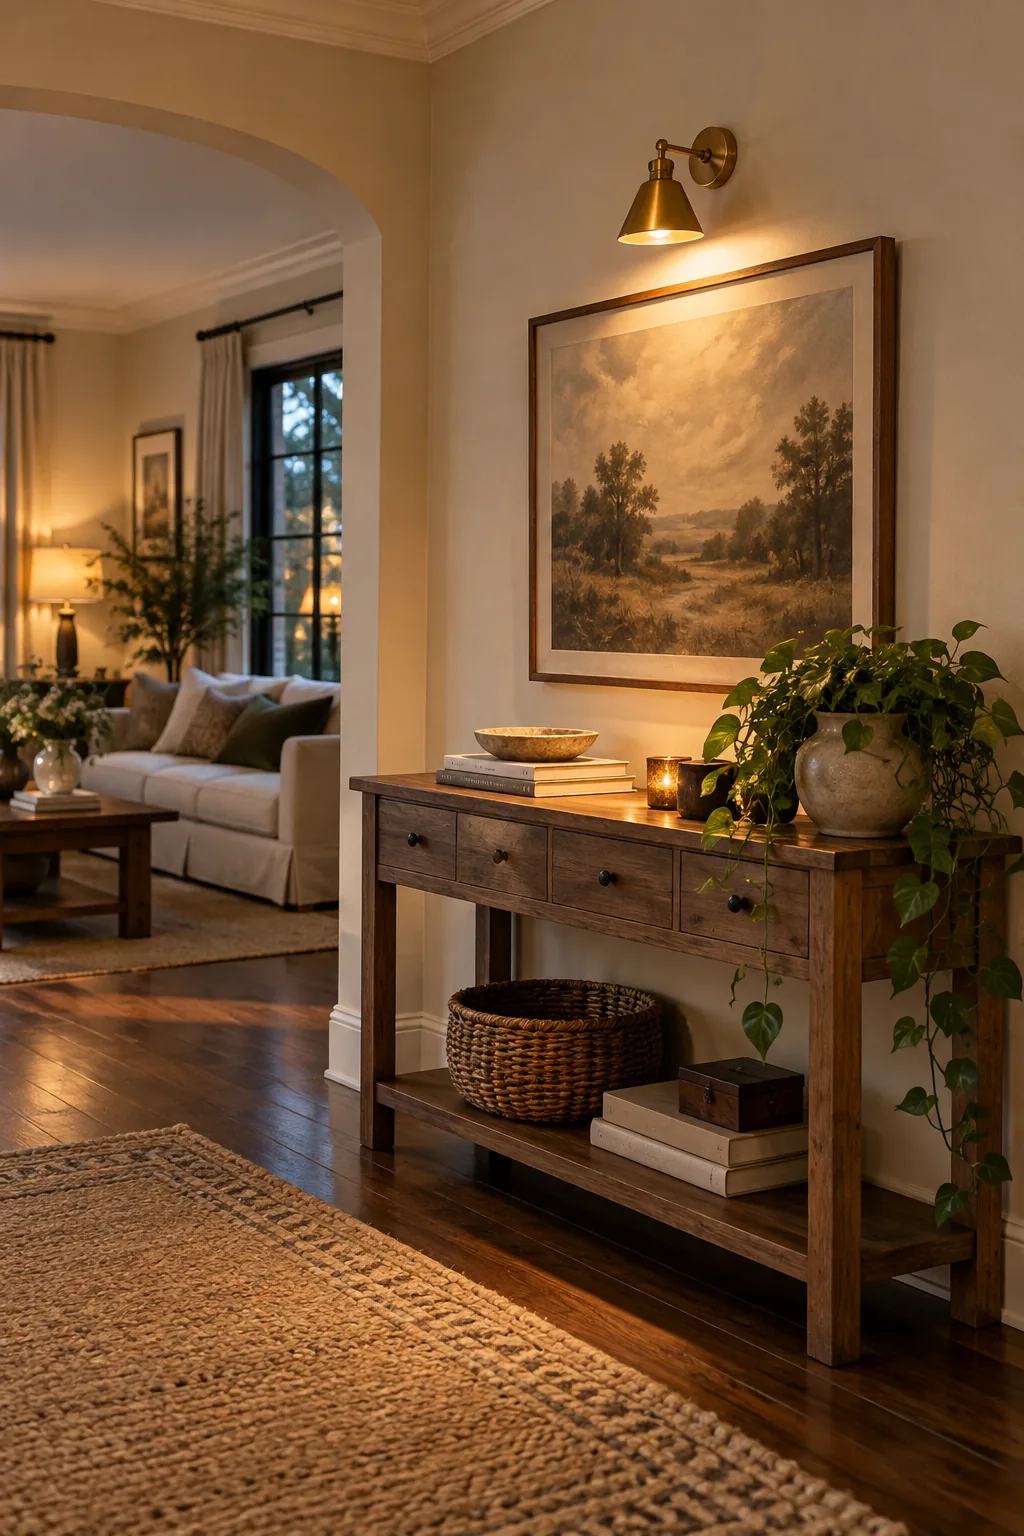
Choosing the wrong bulb can instantly ruin the cozy atmosphere you just worked hard to create. I learned early in my design career that mixing cool and warm lights in the same sightline creates a chaotic, unsettling energy that disrupts the room’s balance.
Layering Sconces with Overhead Light
Wireless wall fixtures should never be the only source of illumination in a large living room, as this creates isolated pools of brightness. You must layer their ambient glow with existing overhead pendants or recessed cans to create a dynamic, multi-dimensional lighting scheme that eliminates harsh shadows.
Balancing Sconces Above Furniture
If you are placing the sconce above a console or bedside table rather than an empty wall, you must visually anchor the light to the heavy pieces below it. The fixture should sit tightly within the vertical boundaries of the furniture to feel intentional.
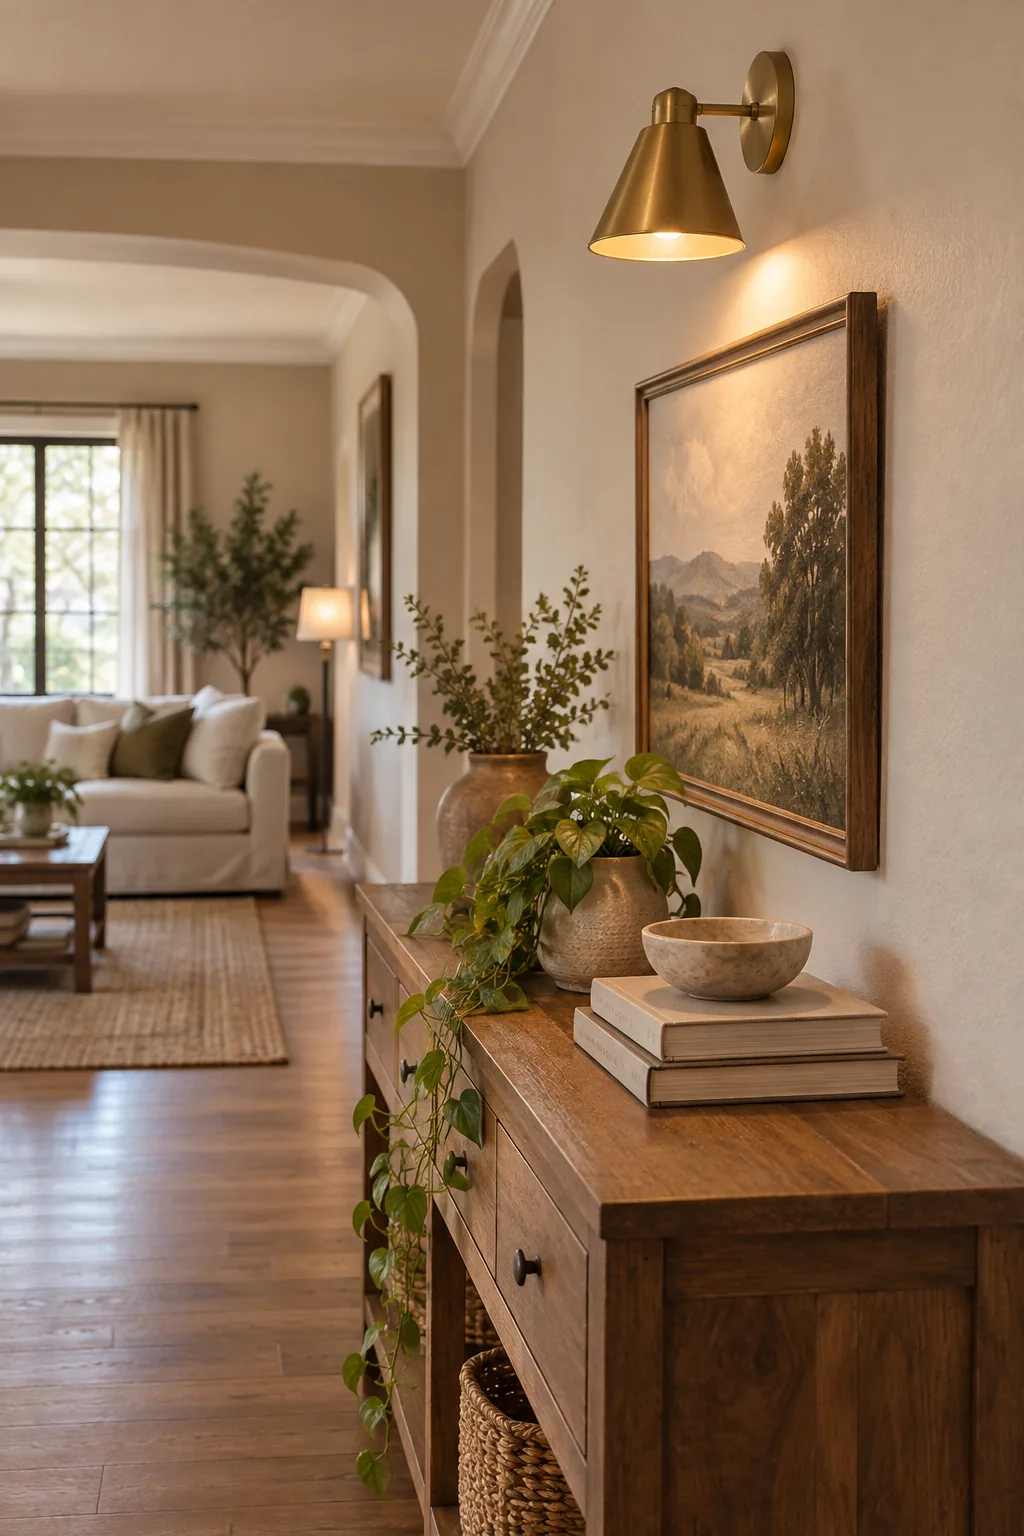
Treating the table and the lighting as a single cohesive unit prevents the brass hardware from looking like it is aimlessly floating away from the ground. It grounds the delicate light beam with a solid base.
Aligning with Console Edges
When flanking a long credenza with a pair of lights, align the vertical center of each sconce exactly six inches inward from the outer edges of the cabinet. This precise alignment creates a strong invisible frame that beautifully highlights whatever decorative objects sit on the tabletop.
More Ways to Style Wireless Sconces
Find the perfect fixture style to match your room's unique aesthetic.
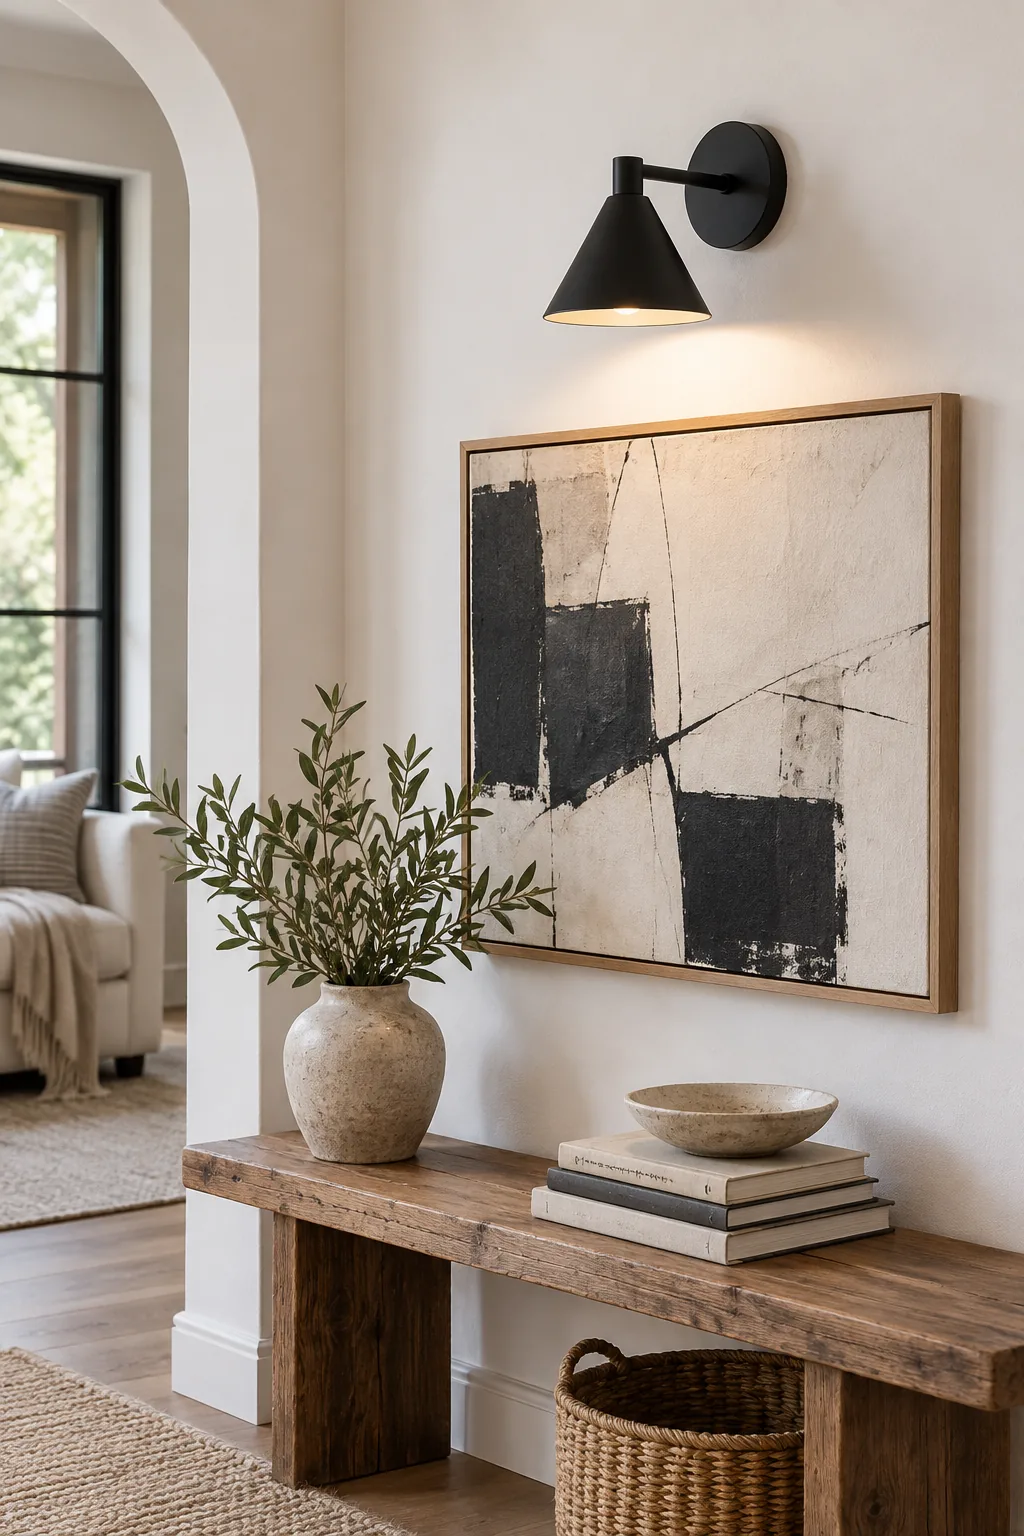
Modern Minimalist: Matte black hardware pops against crisp white walls, offering a high-contrast modern look you can recreate with monochromatic abstract art.
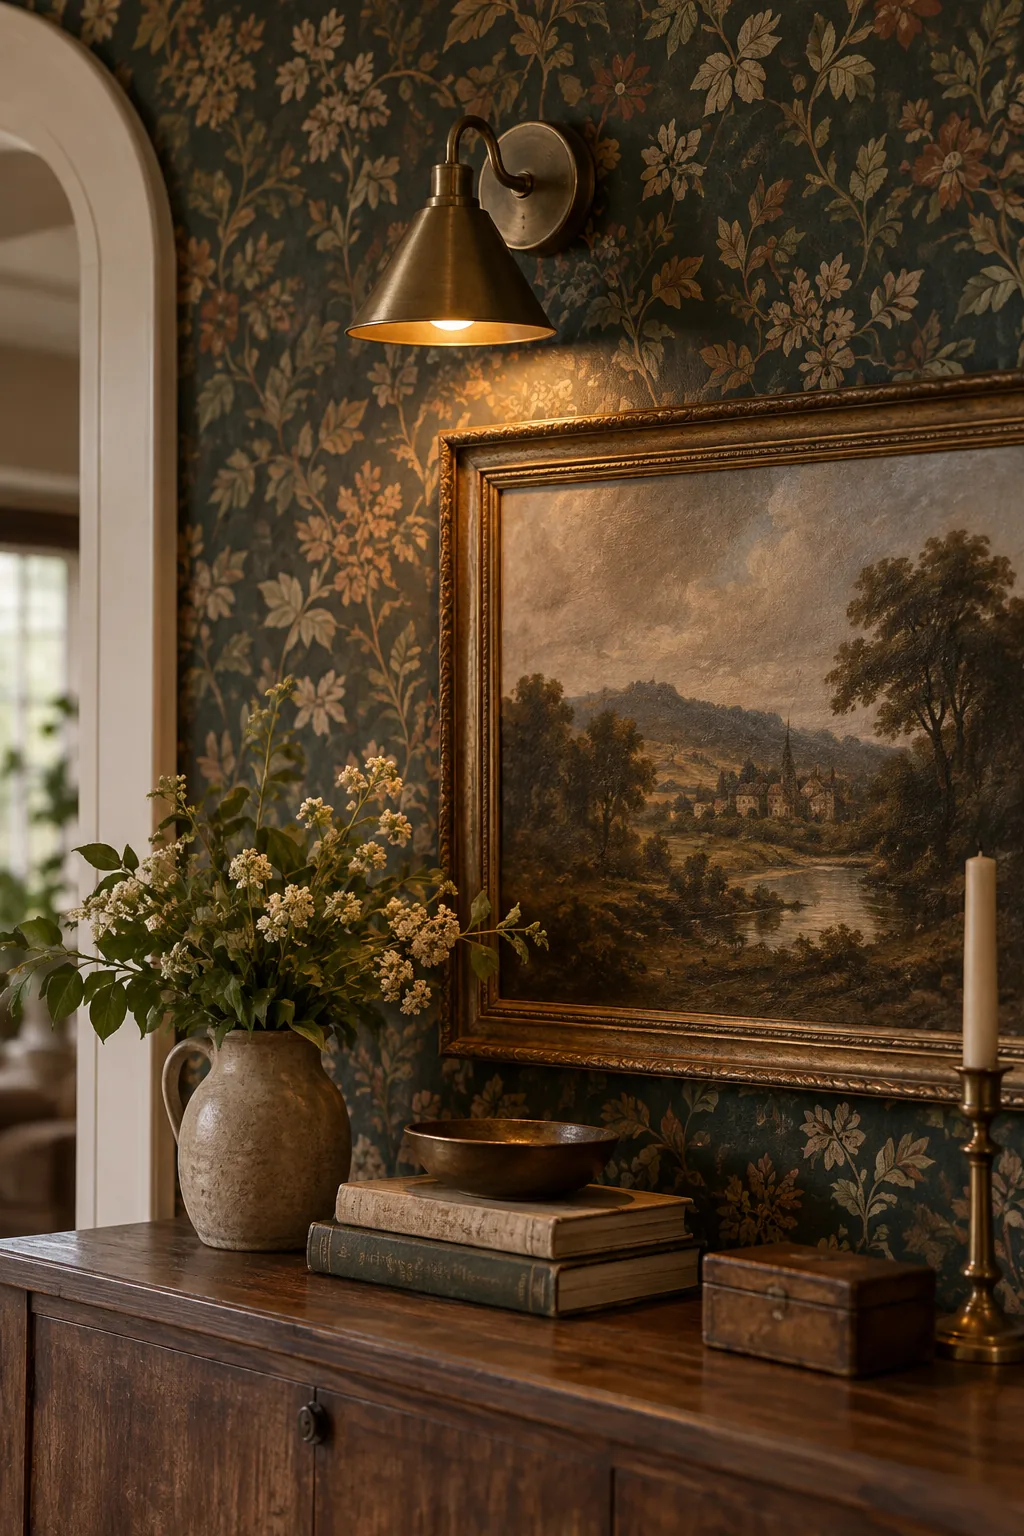
Cozy Traditional: Antique bronze sconces blend beautifully into dark floral wallpaper, creating a moody traditional aesthetic perfect for highlighting vintage oil paintings.
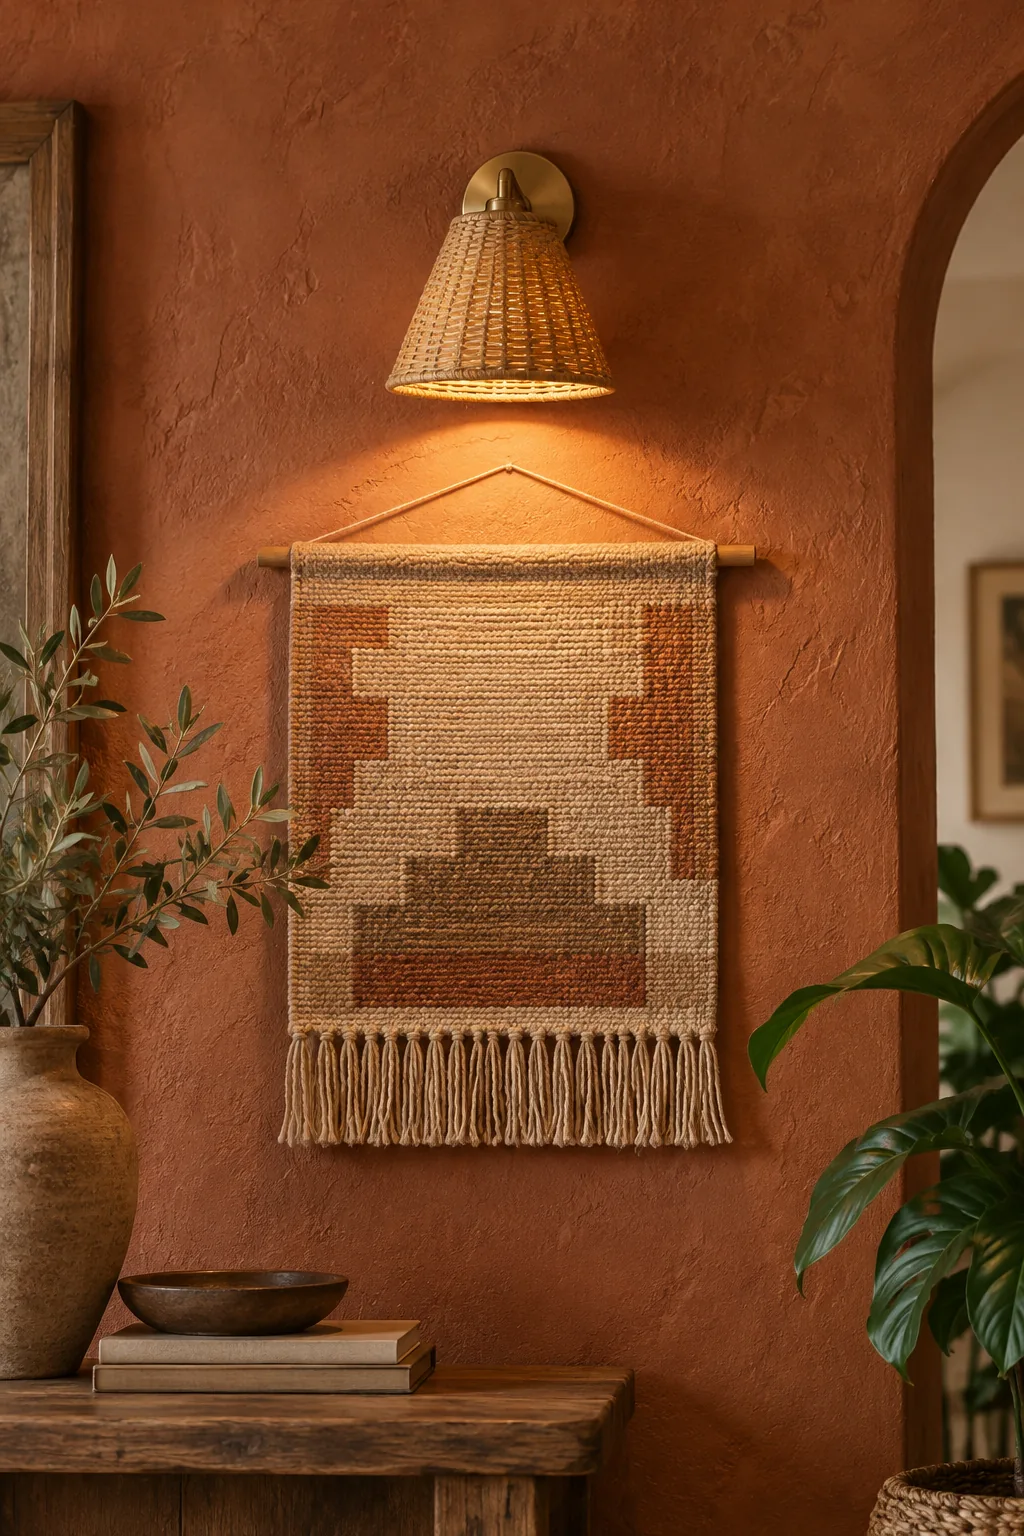
Earthy Bohemian: Rattan-wrapped sconces bring natural texture to terracotta walls, adding an earthy bohemian vibe that pairs perfectly with woven textile wall hangings.
Managing the Recharging Routine
Maintaining your wireless lighting requires creating a seamless weekly habit so the sconces are always ready to provide evening ambiance without unexpected blackouts. Integrating this quick task into your regular weekend tidying ensures you never sit down to a dead battery.
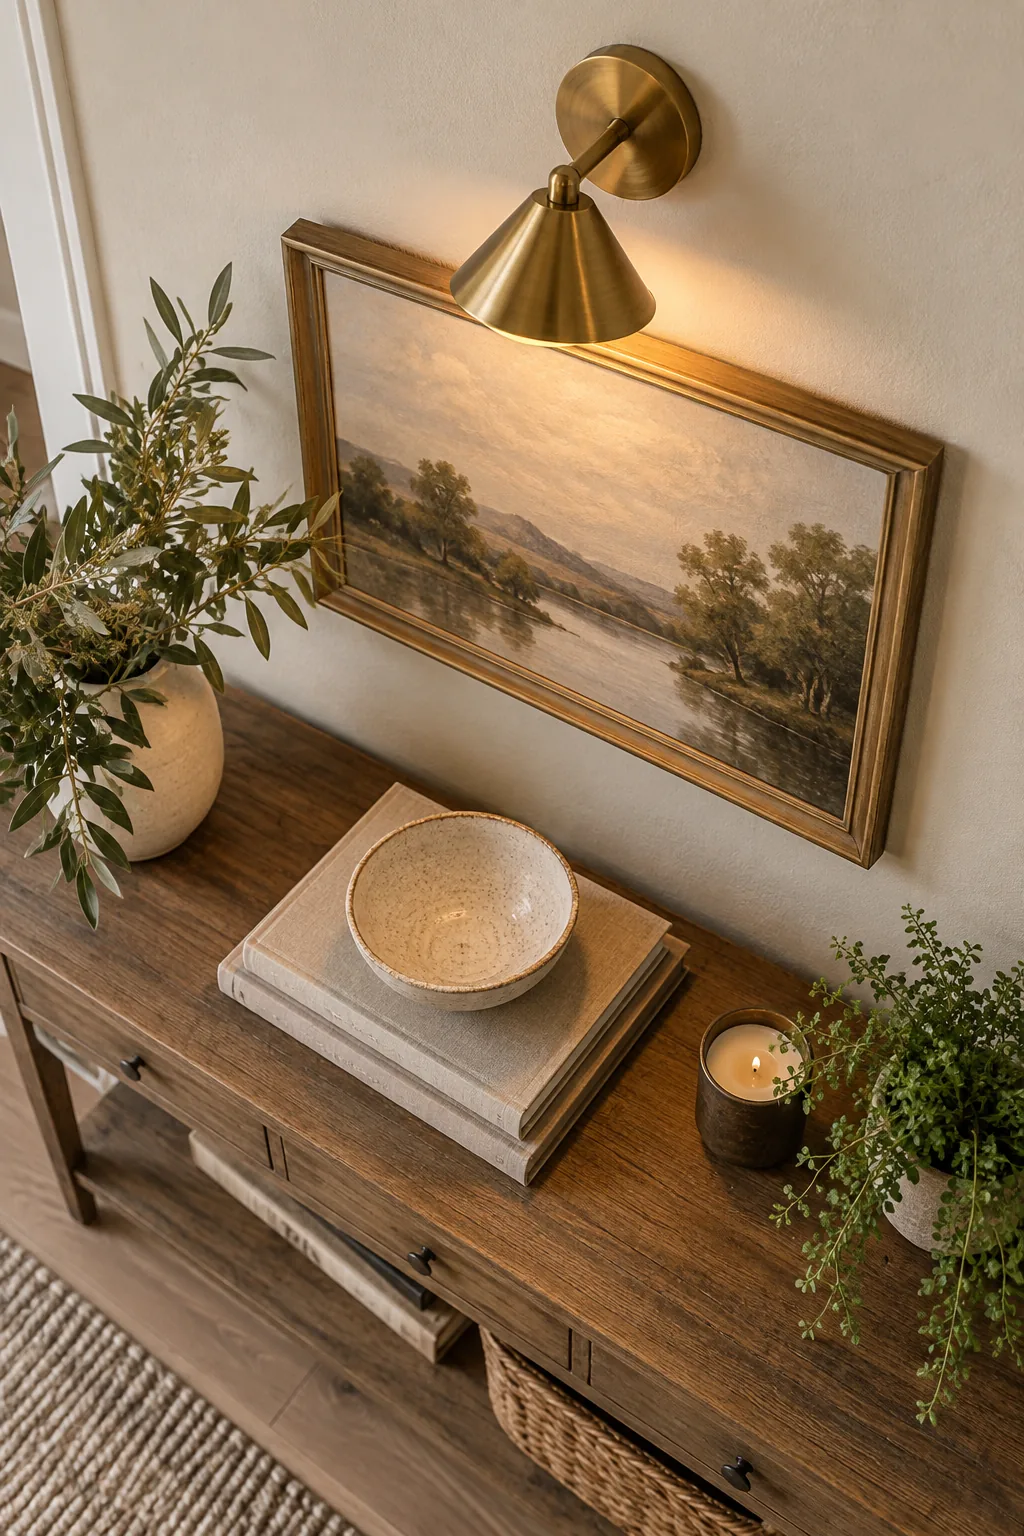
I recommend setting up a decorative charging station directly on the console table below, using a beautiful ceramic bowl to hide the necessary cables and backup bulbs. This keeps the practical elements out of sight while maintaining perfect convenience.