
Update Your Oak Kitchen: The Granite-to-Sage Color Guide
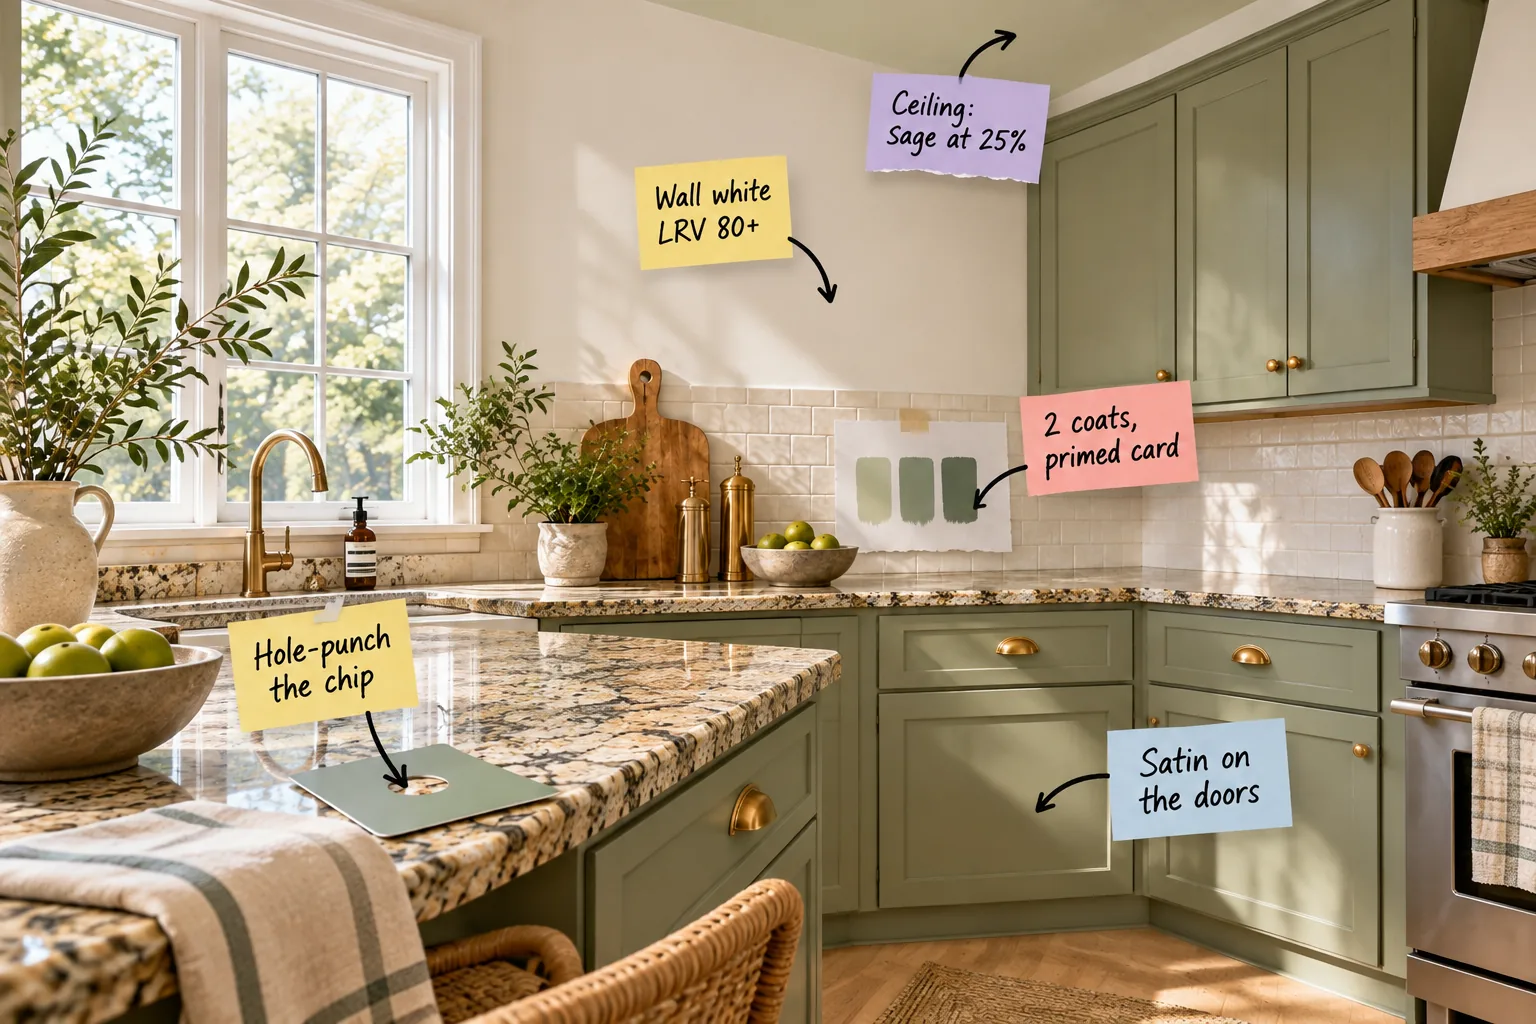
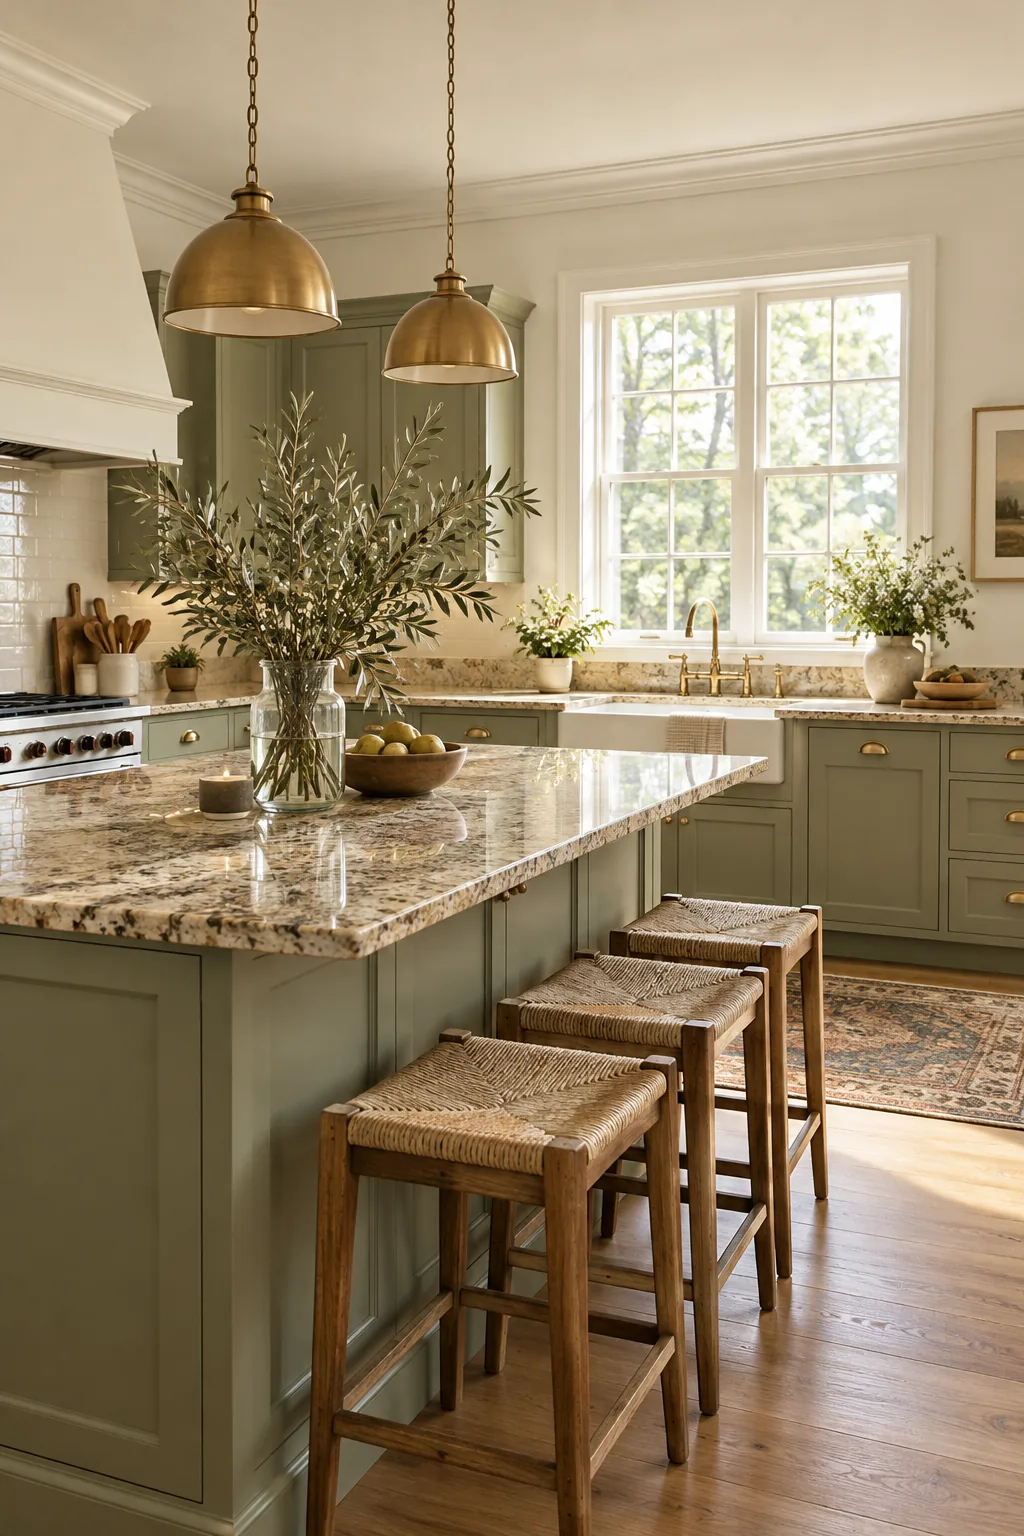
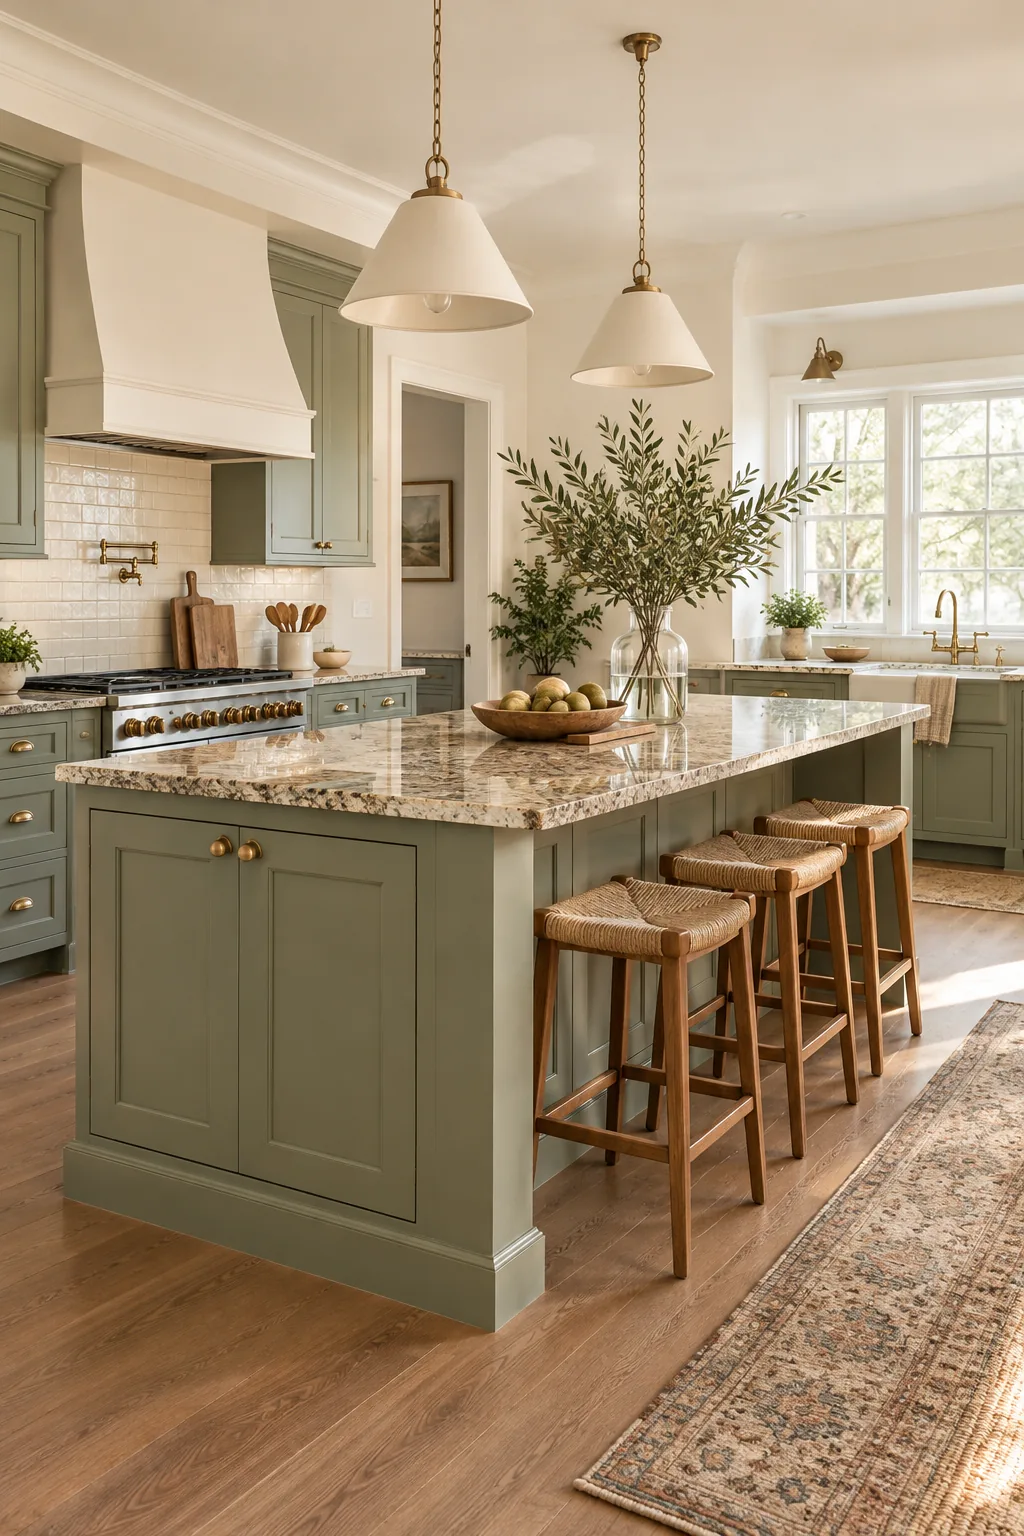
You can beautifully update your honey oak kitchen without replacing the existing countertops by extracting a cohesive sage palette directly from the stone. Grab our printable 2-page Granite-to-Paint Color Pull Sheet to confidently lift the perfect cabinet, wall, and ceiling paints using a foolproof matching system.
Understanding Granite Undertones
Every slab of granite contains a complex matrix of primary colors and subtle secondary undertones that shift dramatically depending on the surrounding environment. Identifying that hidden mossy green note is the critical first step to building a cohesive, professionally designed kitchen color palette.
Finding the Fleck: The Hole-Punch Method
The secret to harmonizing new paint with older speckled granite is isolating one specific color note rather than staring at the entire busy surface.
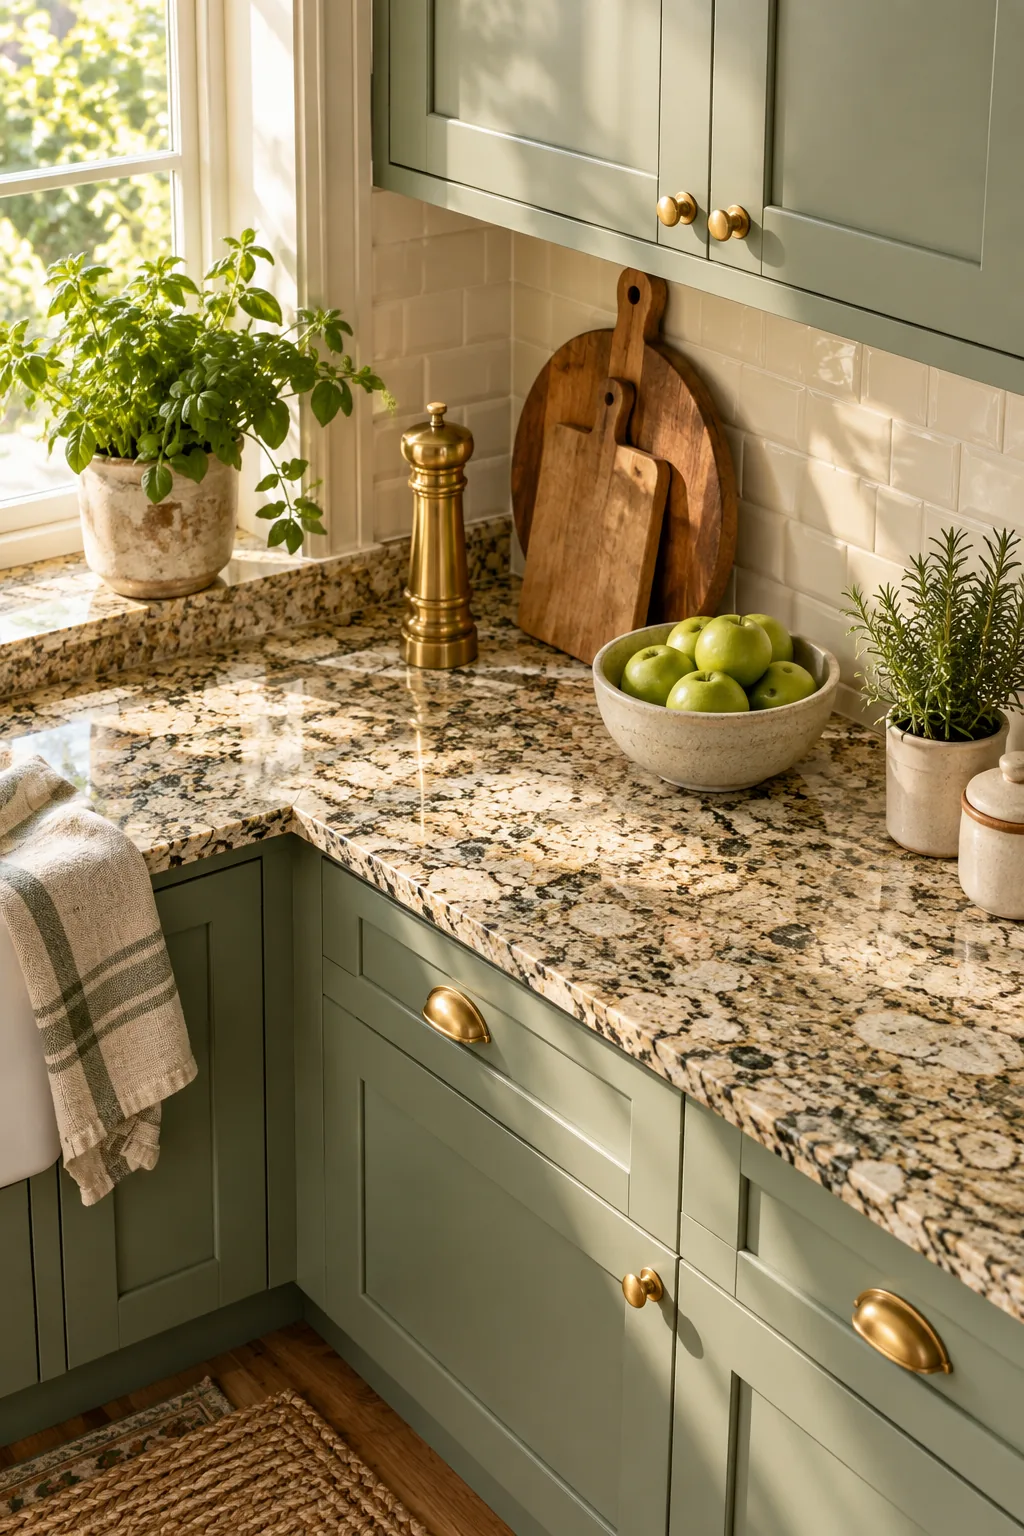
I used this exact bottom-up extraction method in my own Denver kitchen last year to successfully tone down a very loud beige granite. Start by finding a single mossy green fleck, then use a standard paper hole punch on a sage paint chip to isolate it.
Why Sage Neutralizes Busy Stone Patterns
Earthy green tones naturally calm the aggressive orange undertones found in traditional honey oak spaces while successfully bridging the visual gap to the brown granite.
- Complements the wood: Green sits precisely opposite orange on the color wheel, instantly neutralizing any lingering warmth in adjacent unpainted trim or flooring.
- Draws out the earthiness: Highlighting the subtle moss notes embedded in beige granite makes the older stone appear intentionally curated and modernized.
- Reduces visual clutter: A solid, grounded lower cabinet color solidly anchors the eye, immediately distracting away from the busy countertop speckling above.
By laying your punched chip flat on the edge so only the target fleck shows through, you guarantee a flawless undertone match before purchasing any paint.
Testing the Sage: Two Coats on Primed Card
Once you find your perfect sage match using the hole-punch trick, you absolutely must test how it behaves in your specific room before committing to a gallon.
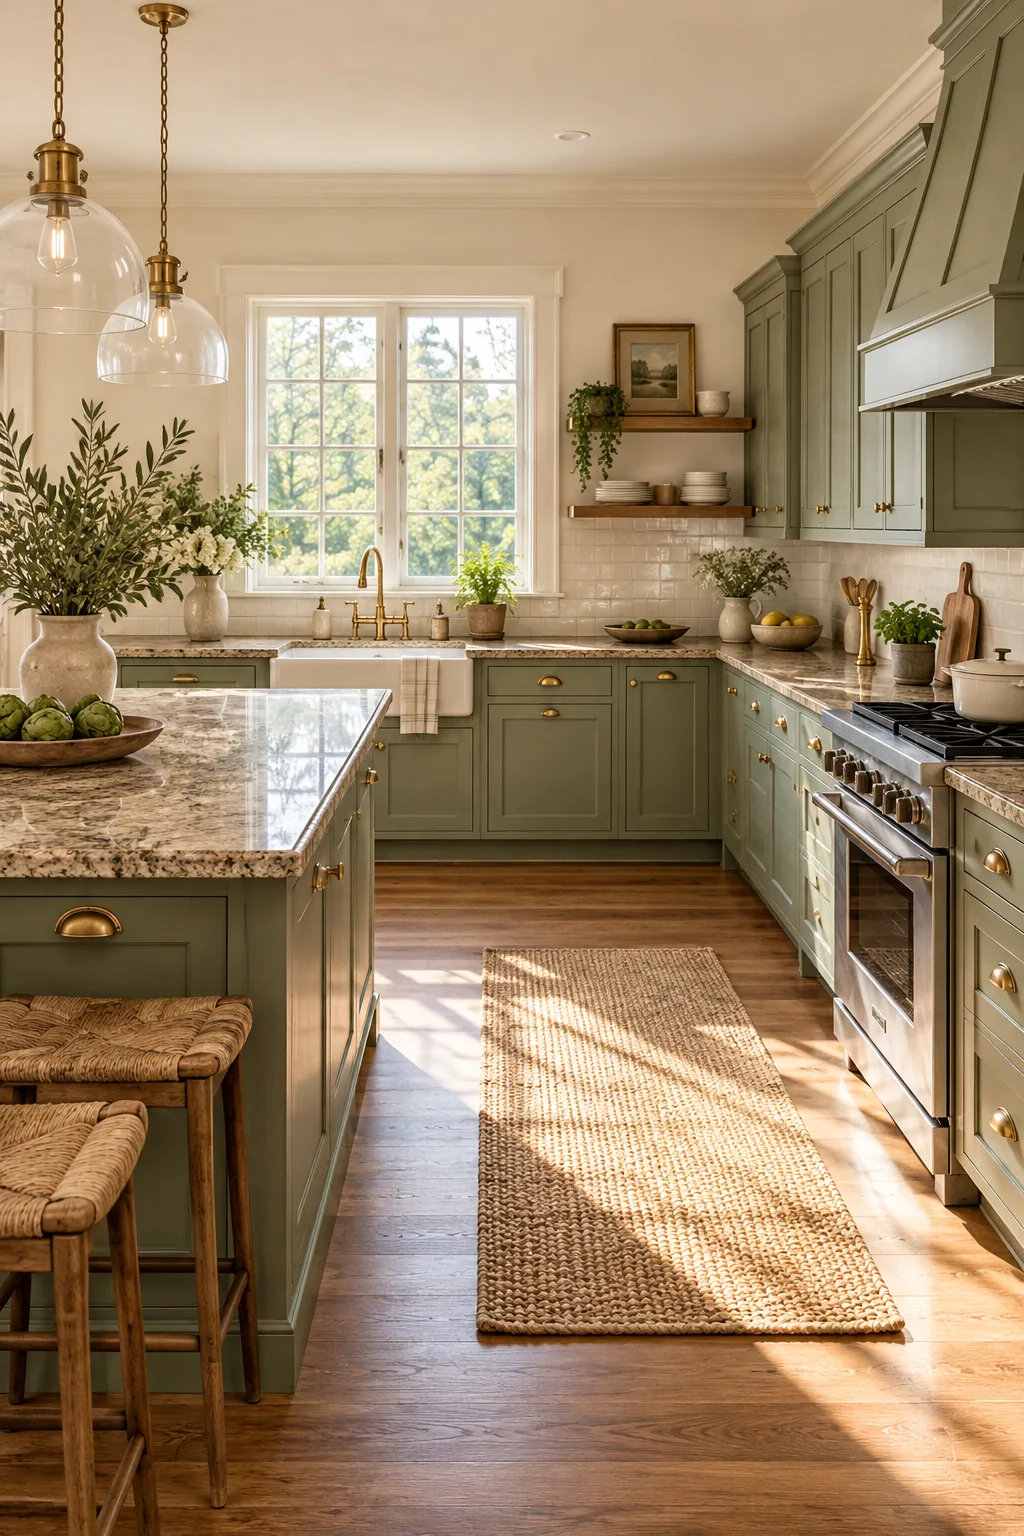
Apply exactly two coats of your chosen sage to a piece of white primed poster board, then tape it against the backsplash. Testing your colors properly prevents expensive repainting, but many homeowners unfortunately rush this crucial evaluation phase.
Tracking Color Shifts in Natural Light
Move your painted sample board around the kitchen throughout the day to observe how the color responds to different exposures. Morning eastern light washes out subtle greens, while afternoon western light heavily enhances the yellow undertones, warming up the sage.
Cleaning the Oak Cabinets Before Priming
Decades of cooking aerosolize heavy grease that settles deep into the porous grain of traditional oak doors. You must thoroughly scrub every square inch with a powerful degreaser before sanding, or your beautiful new sage paint will inevitably peel away.
The Role of Primer in Hiding Oak Grain
A high-quality bonding primer is non-negotiable for filling the deep pores characteristic of traditional oak cabinetry. Skipping this foundational step allows the heavy grain pattern to telegraph straight through your beautiful new satin finish, completely ruining the modernized aesthetic.
Cabinet Finish: Why Satin Works Best
The sheen you finally select for your lower cabinets is just as important as the color itself when attempting to seamlessly paint over older, heavily grained oak.
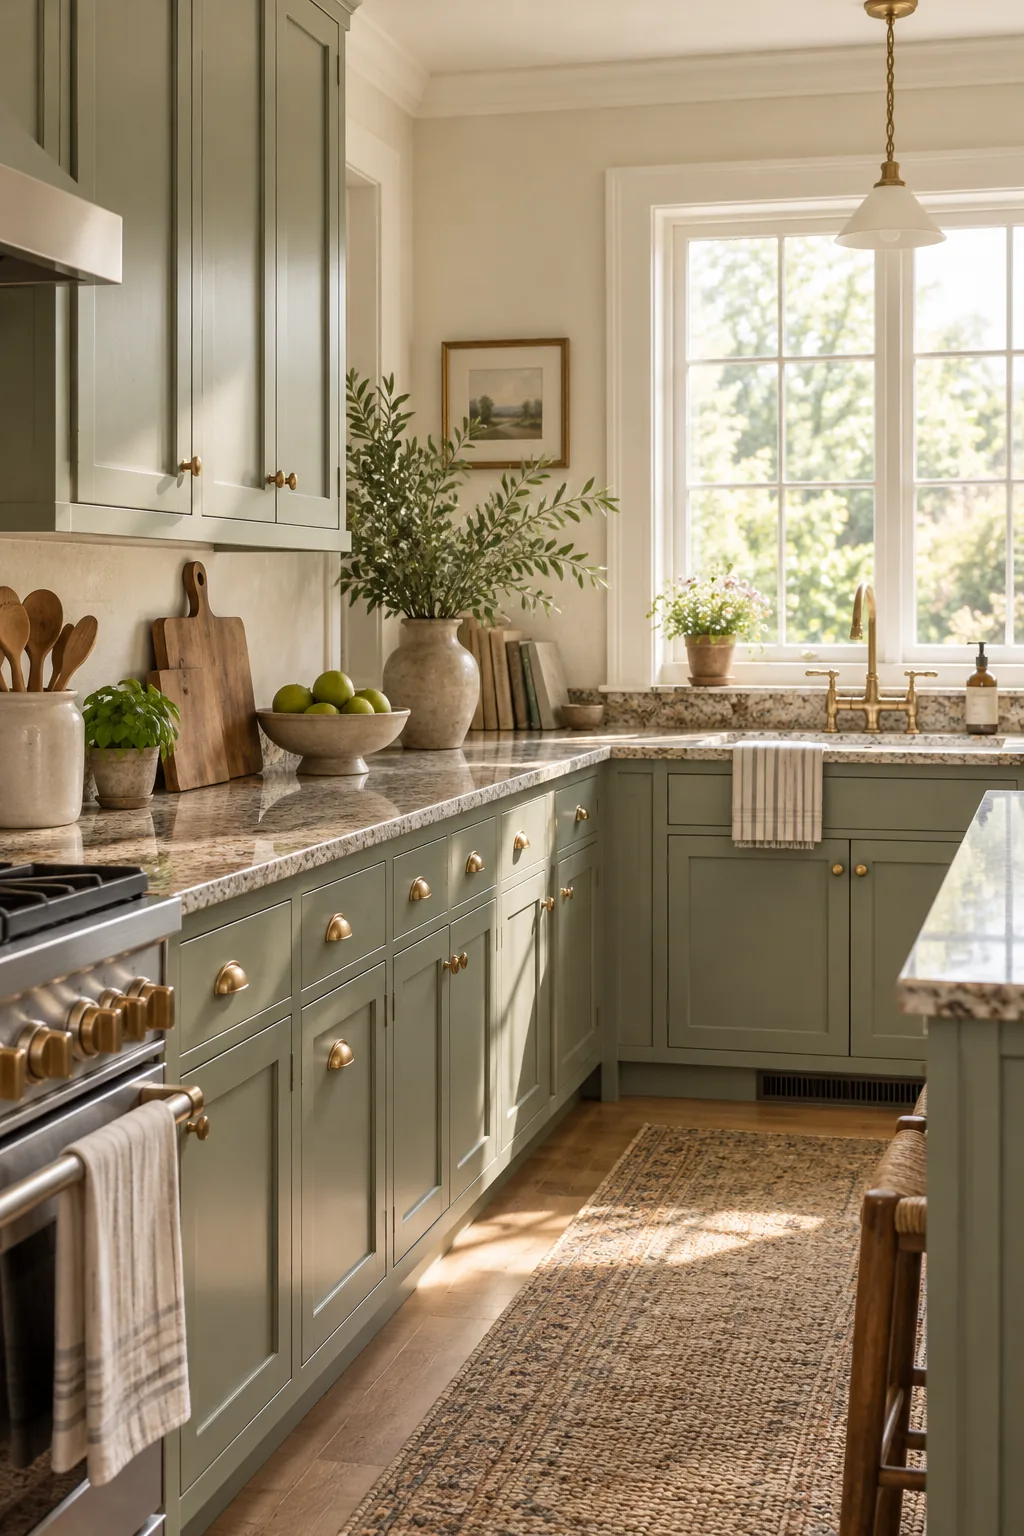
I always specify a satin finish for cabinet doors in my renovation projects because it absorbs light softly while remaining highly washable. This gentle reflection keeps the sage feeling earthy and perfectly hides lingering oak grain textures.
Maintaining the Satin Finish
Satin paint cures to a durable, washable shell, but it requires gentle maintenance to preserve its soft sheen over time. Always wipe down cabinet doors with a damp microfiber cloth and mild dish soap, strictly avoiding abrasive sponges that can permanently dull the finish.
Selecting Complementary Hardware Finishes
The warm, earthy undertones of a sage and beige granite kitchen pair exceptionally well with unlacquered brass or oil-rubbed bronze hardware. These living finishes age gracefully alongside the natural stone, adding a layer of historic charm that standard brushed nickel simply cannot replicate.
Warm White Walls: Hitting the LRV 80+ Mark
You must intentionally balance the grounded, earthy lower cabinets with a carefully selected warm white wall paint to prevent the kitchen from feeling overly heavy or cavernous.
Look for a Light Reflectance Value (LRV) of 80 or higher to ensure the room feels bright and expansive. In a recent client project, hitting that exact LRV target kept the walls from turning stark or sterile against the speckled granite.
Balancing Artificial Kitchen Lighting
When pairing warm white walls with sage cabinets, ensure your overhead LED bulbs sit right around 3000 Kelvin. This specific temperature provides clean, bright illumination that honors the green undertones without casting the harsh, clinical blue glare common to daylight bulbs.
Evaluating Your Current Backsplash
If your current backsplash features busy mosaic tiles that compete with the speckled granite, painting the cabinets sage might not fully calm the room. Consider swapping loud tiles for a simple, creamy subway tile that matches your warm white walls to maintain visual peace.
The Ceiling Trick: Mixing Sage at 25%
Tie the entire room together by asking the paint counter to mix your cabinet sage at exactly 25 percent strength for the ceiling. This creates a subtle, cohesive tint that completely eliminates the harsh contrast of a stark white ceiling.
| Surface | Color Source | Mix Strength | Recommended Sheen |
|---|---|---|---|
| Lower Cabinets | Granite fleck match | 100% standard mix | Satin |
| Upper Cabinets | Granite fleck match | 100% standard mix | Satin |
| Kitchen Walls | Coordinating white | 100% standard mix | Eggshell |
| Ceiling Plane | Cabinet sage color | 25% custom mix | Flat |
This targeted reduction strategy ensures the ceiling color registers as a faint, atmospheric whisper of the cabinet tone rather than a heavy, oppressive lid pressing down on the space.
How Tinted Ceilings Unify the Room
A gently tinted ceiling draws the eye upward smoothly, making standard eight-foot kitchen walls feel significantly taller. The quarter-strength sage perfectly bridges the gap between the warm white walls and the earthy lower cabinets, locking the entire palette into place.
The Importance of Sheen Consistency
Mixing too many different paint finishes in a single room creates visual chaos that detracts from your carefully selected color palette. Sticking strictly to the recommended sheen per surface ensures the light bounces predictably, keeping the sage cabinets and warm white walls perfectly harmonious.
Styling the New Sage Kitchen
Once the paint cures, introduce natural wood accessories like walnut cutting boards or woven rattan fruit bowls to echo the organic tones in the granite. These tactile elements warm up the freshly painted satin cabinets and make the entire color palette feel effortlessly grounded.
More Ways to Style Sage Kitchens
Explore how different hardware and accents can shift the mood of a sage green kitchen.
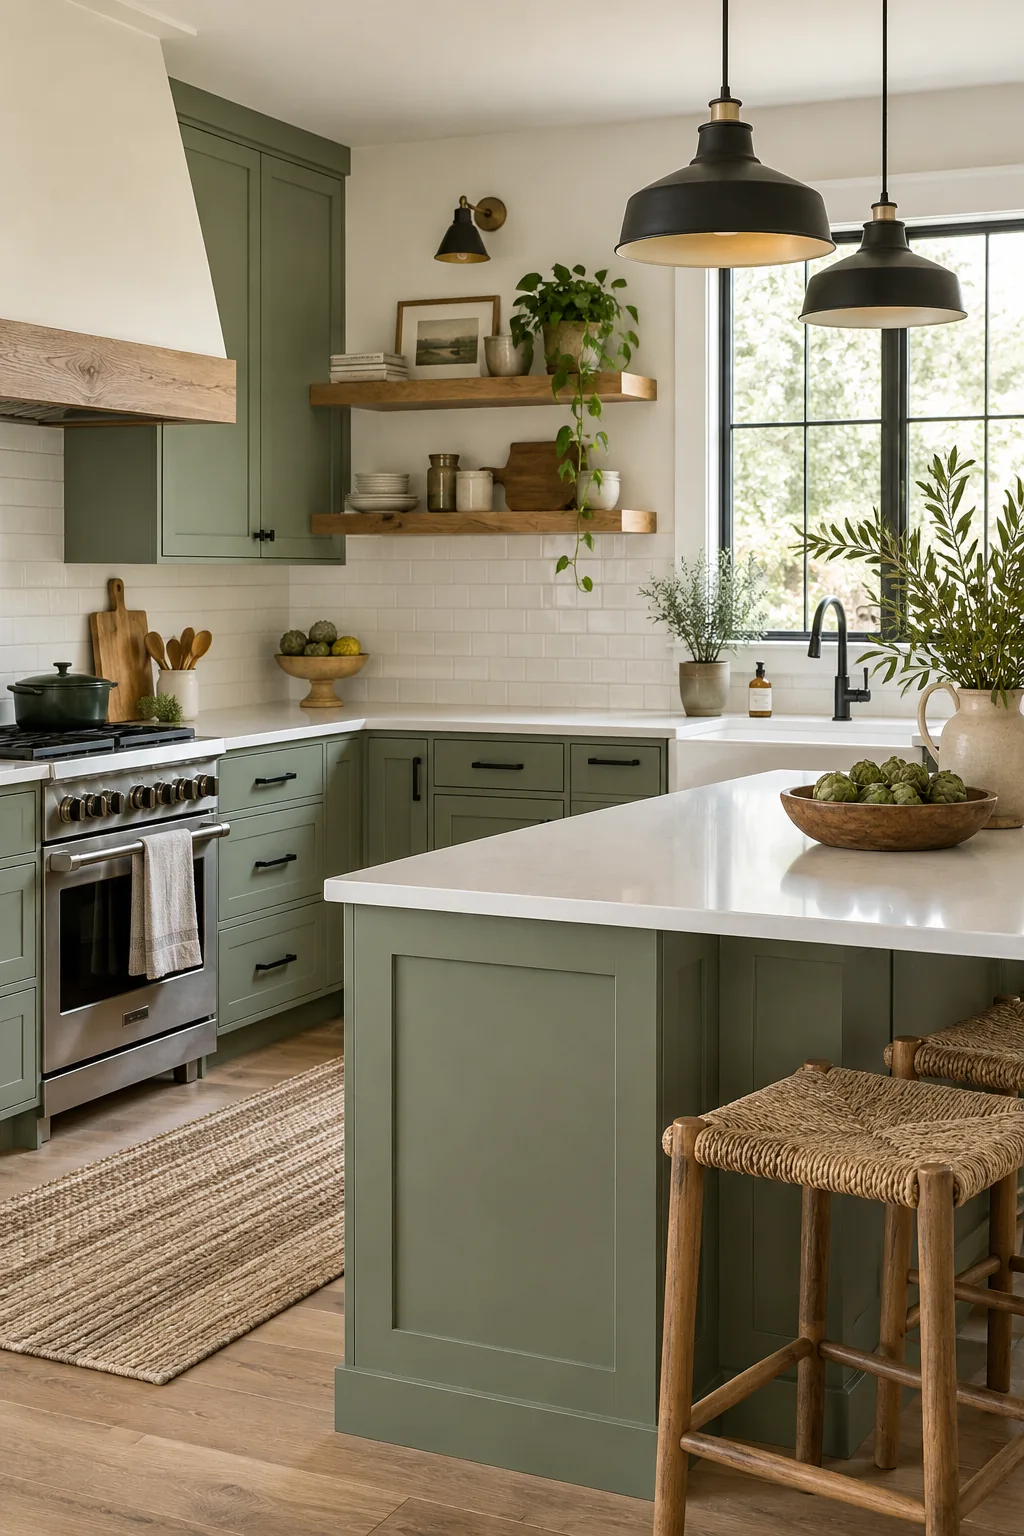
Modern Farmhouse with Black Accents: Ground the soft sage with crisp matte black hardware and chunky floating wood shelves for a modern rustic feel.
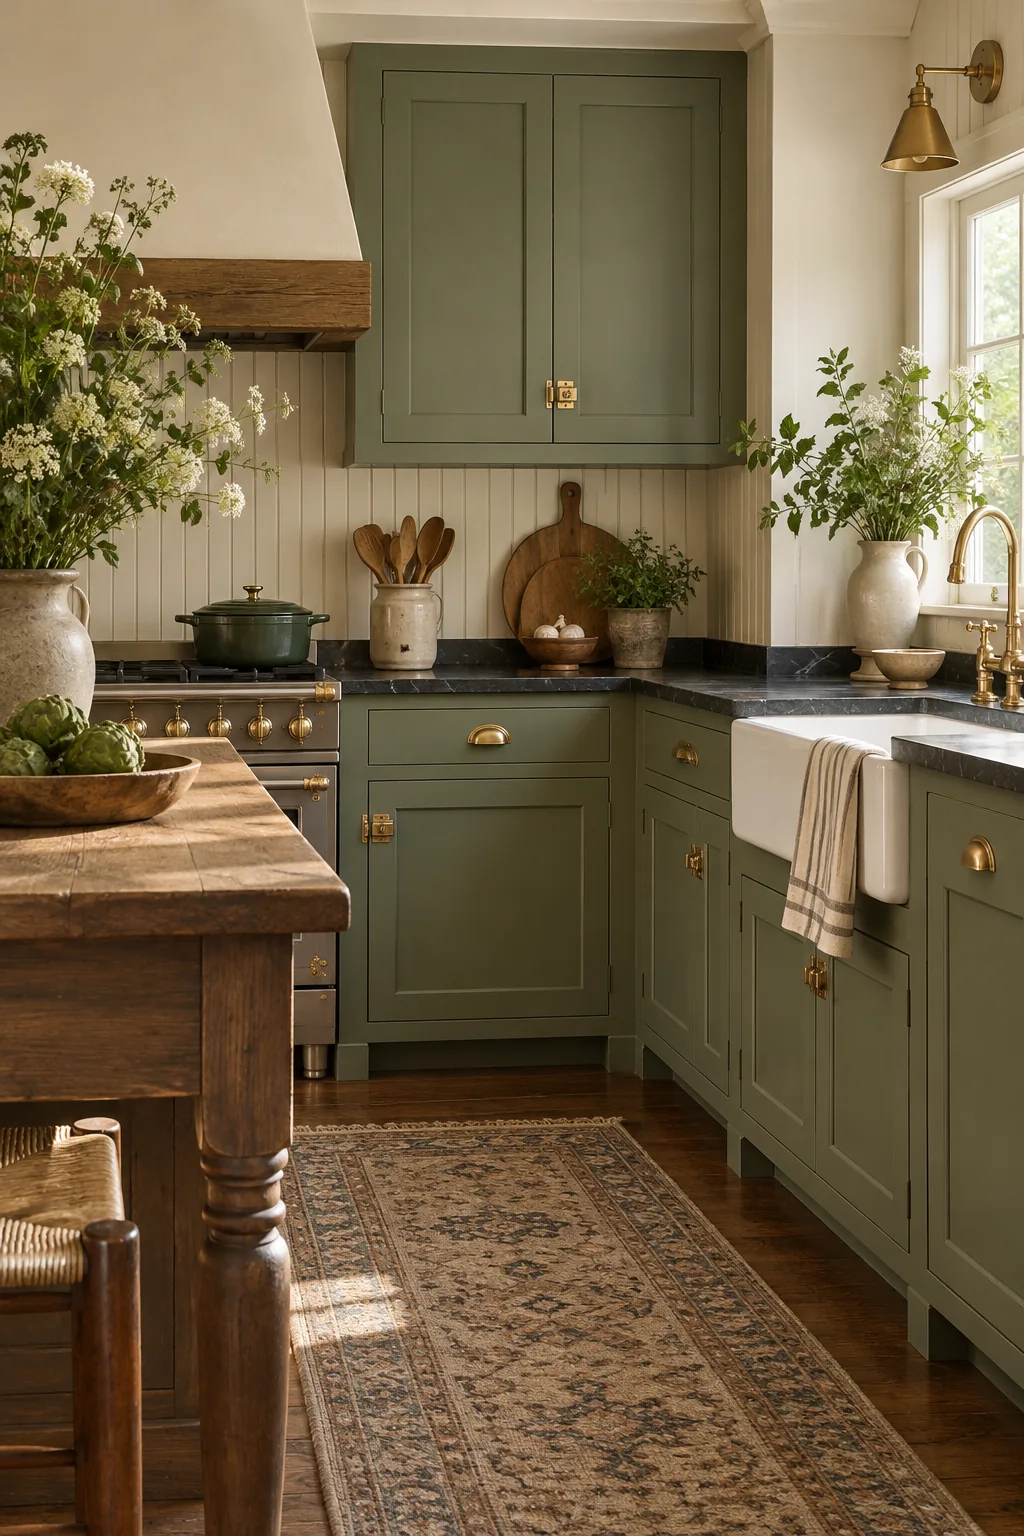
English Cottage with Beadboard: Lean into historic charm by pairing sage cabinets with unlacquered brass latches and a classic cream beadboard backsplash.
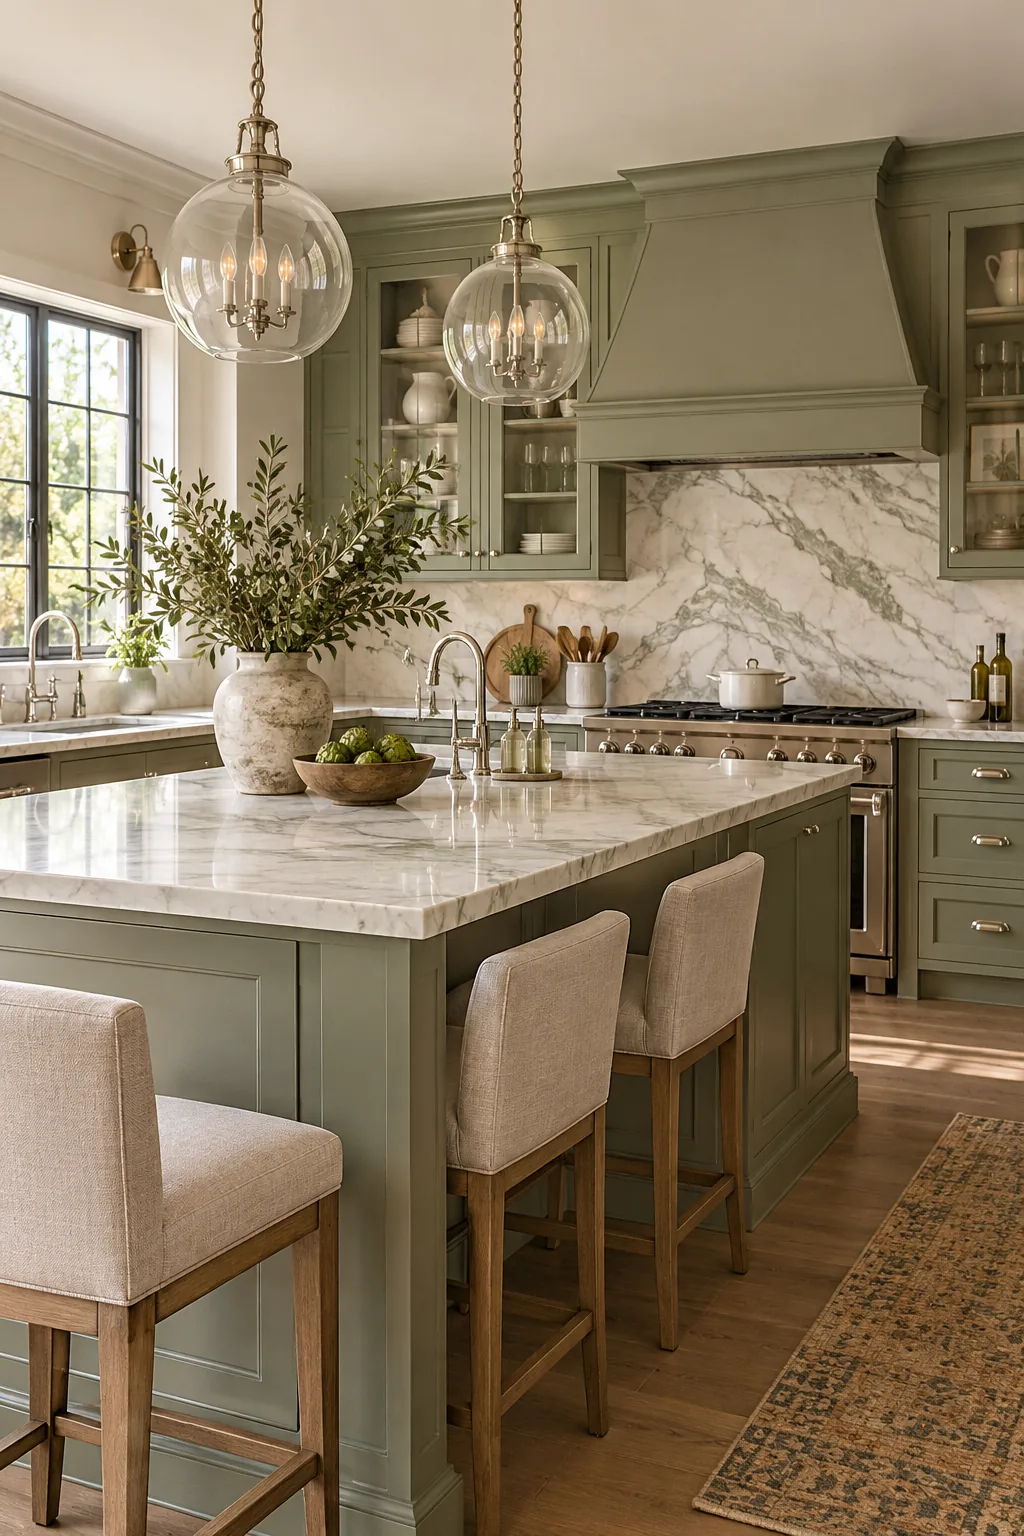
Transitional Elegance with Polished Nickel: Elevate the earthy green tones with the cool, reflective shine of polished nickel hardware and a dramatic marble slab.
Your Granite-to-Paint Color Pull Sheet
Download our printable 2-page Granite-to-Paint Color Pull Sheet to take the frustrating guesswork out of your upcoming kitchen update. It includes the step-by-step hole-punch matching method, specific LRV targets for your walls, and a complete sheen-per-surface chart to hand directly to your paint mixer.
Before heading to the paint store, run through this final checklist to ensure you have everything needed for a seamless, perfectly calibrated color match.