How to Build a Vertical Garden: 3×4 Pocket Planting Map
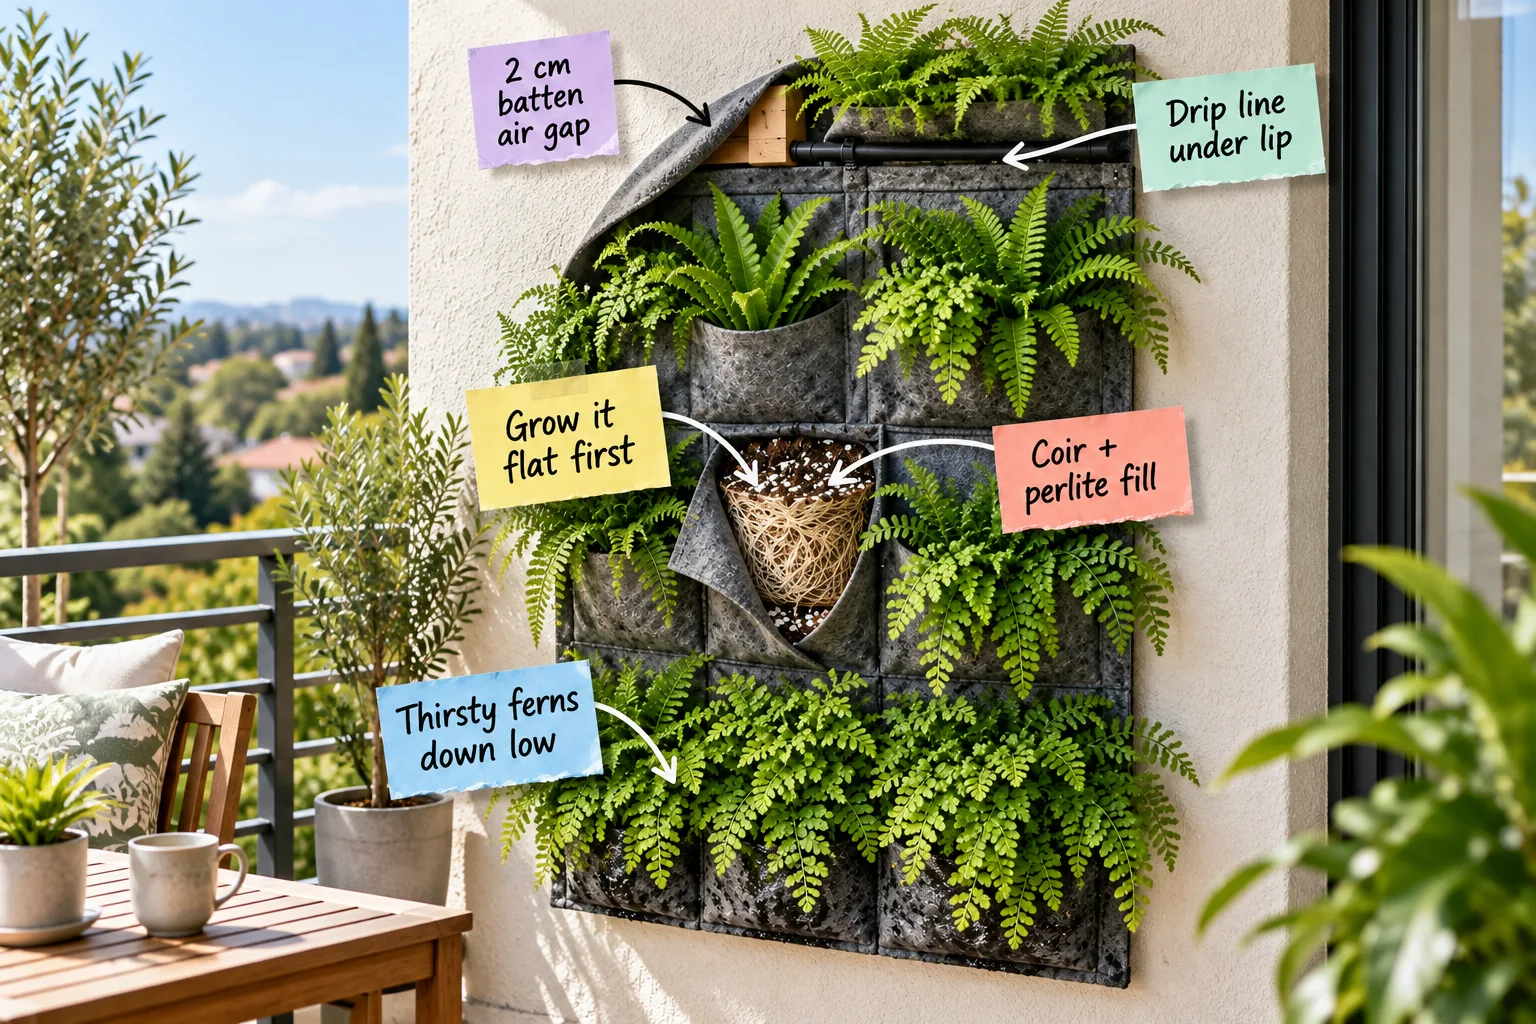
I know you want to transform your balcony with a lush living wall, so grab our printable 3×4 pocket planting map to know exactly which plants go in each row. You will be able to properly mount a felt planter, mix the right soil, and map out your plants for optimal watering.
Mounting with a 2 cm Batten Air Gap
Attach a treated timber batten to create a strict 2 cm air gap between the felt and the balcony wall to prevent trapped moisture from causing exterior rot.
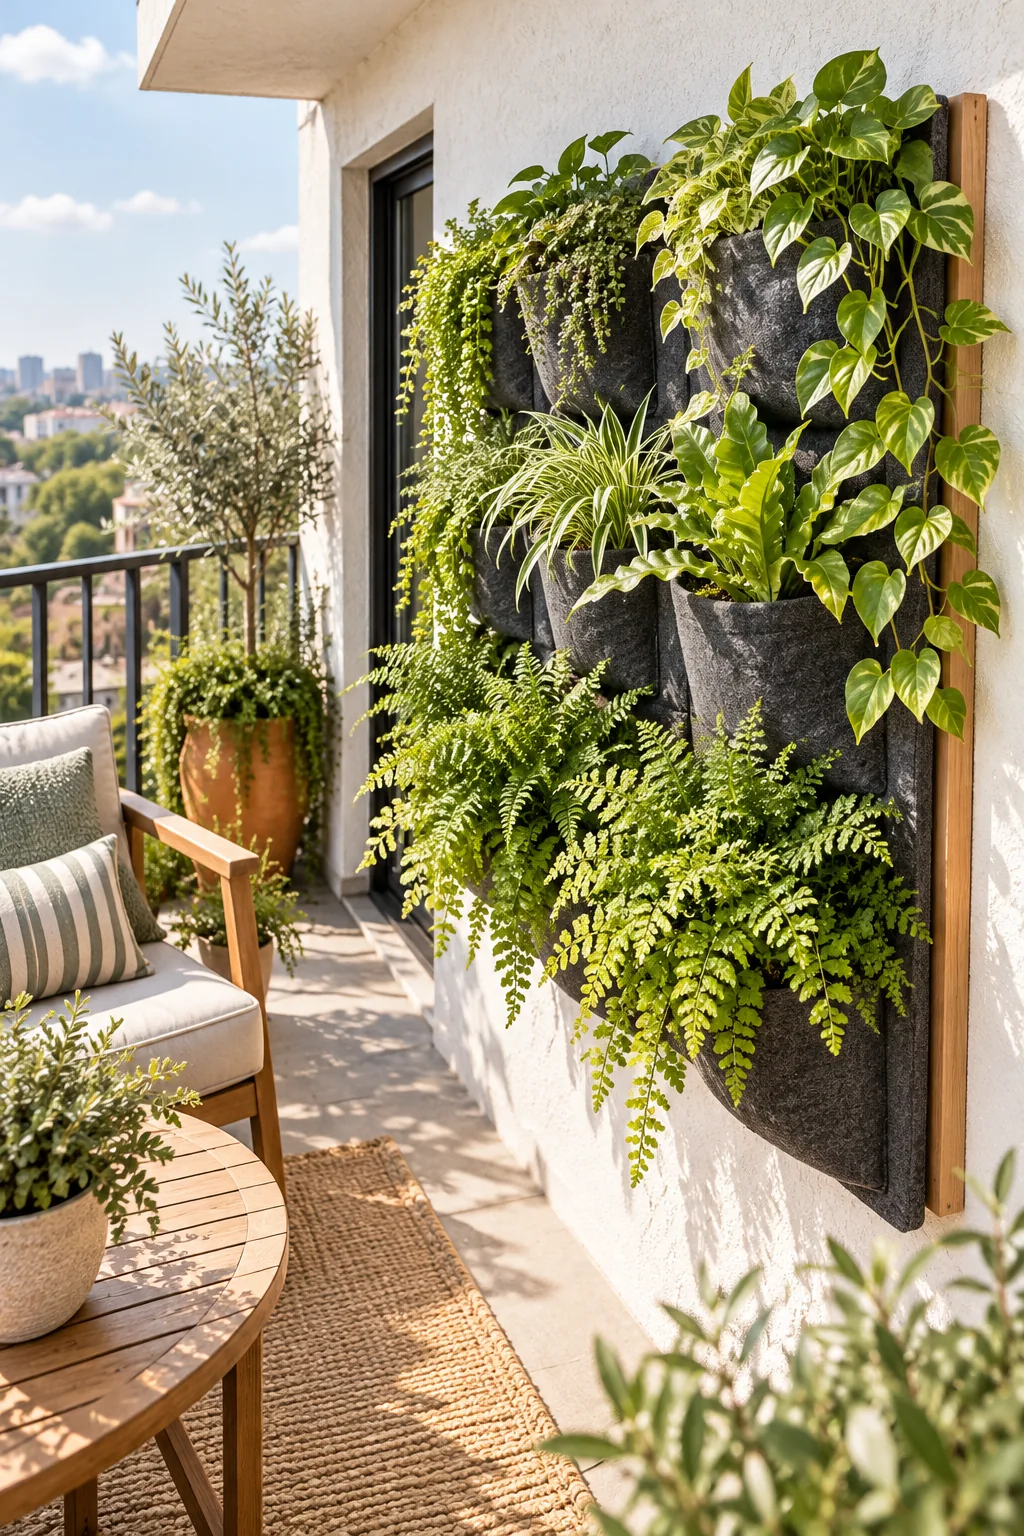
Skipping this structural framework is the fastest way to damage your home’s exterior finishes, as trapped dampness quickly degrades both paint and underlying materials.
Choosing the Right Masonry Anchors
Securing your battens requires specialized hardware that can handle the sheer downward force of a fully saturated vertical garden, so always select galvanized sleeve anchors designed specifically for exterior brick or concrete.
Waterproofing the Balcony Wall
Even with the proper air gap, splashing occurs during heavy watering cycles, making it essential to apply a clear masonry sealer to the wall directly behind your planned garden area before mounting the timber.
Running the Drip Line Under the Lip
Route a slim black 1/4-inch drip irrigation tube directly under the top pocket row’s felt lip to protect the plastic from degrading UV rays while ensuring precise water delivery.
Tucking the line away also keeps your living wall looking natural and wild, rather than looking like an unfinished plumbing experiment exposed on your patio.
Selecting the Best Tubing Material
Always choose flexible vinyl micro-tubing over rigid polyethylene for these tight vertical turns, as the softer material easily bends around the felt corners without kinking and blocking the water flow.
Setting the Irrigation Timer
A vertical setup dries out significantly faster than traditional ground planters due to gravity and increased airflow, requiring short, frequent bursts of moisture to keep the felt consistently damp.
| Season | Frequency | Duration |
|---|---|---|
| Summer | Twice daily | 15 minutes |
| Spring/Fall | Once daily | 15 minutes |
| Winter | Every 3 days | 10 minutes |
Adjust these baseline watering minutes based on your balcony’s specific sun exposure, ensuring the bottom seam never drips for more than five minutes after a completed cycle.
Mixing the Coir and Perlite Fill
Standard potting soil compacts too heavily in vertical pockets, so you must blend 60 percent coconut coir with 40 percent coarse white perlite to provide lightweight moisture retention without compacting.
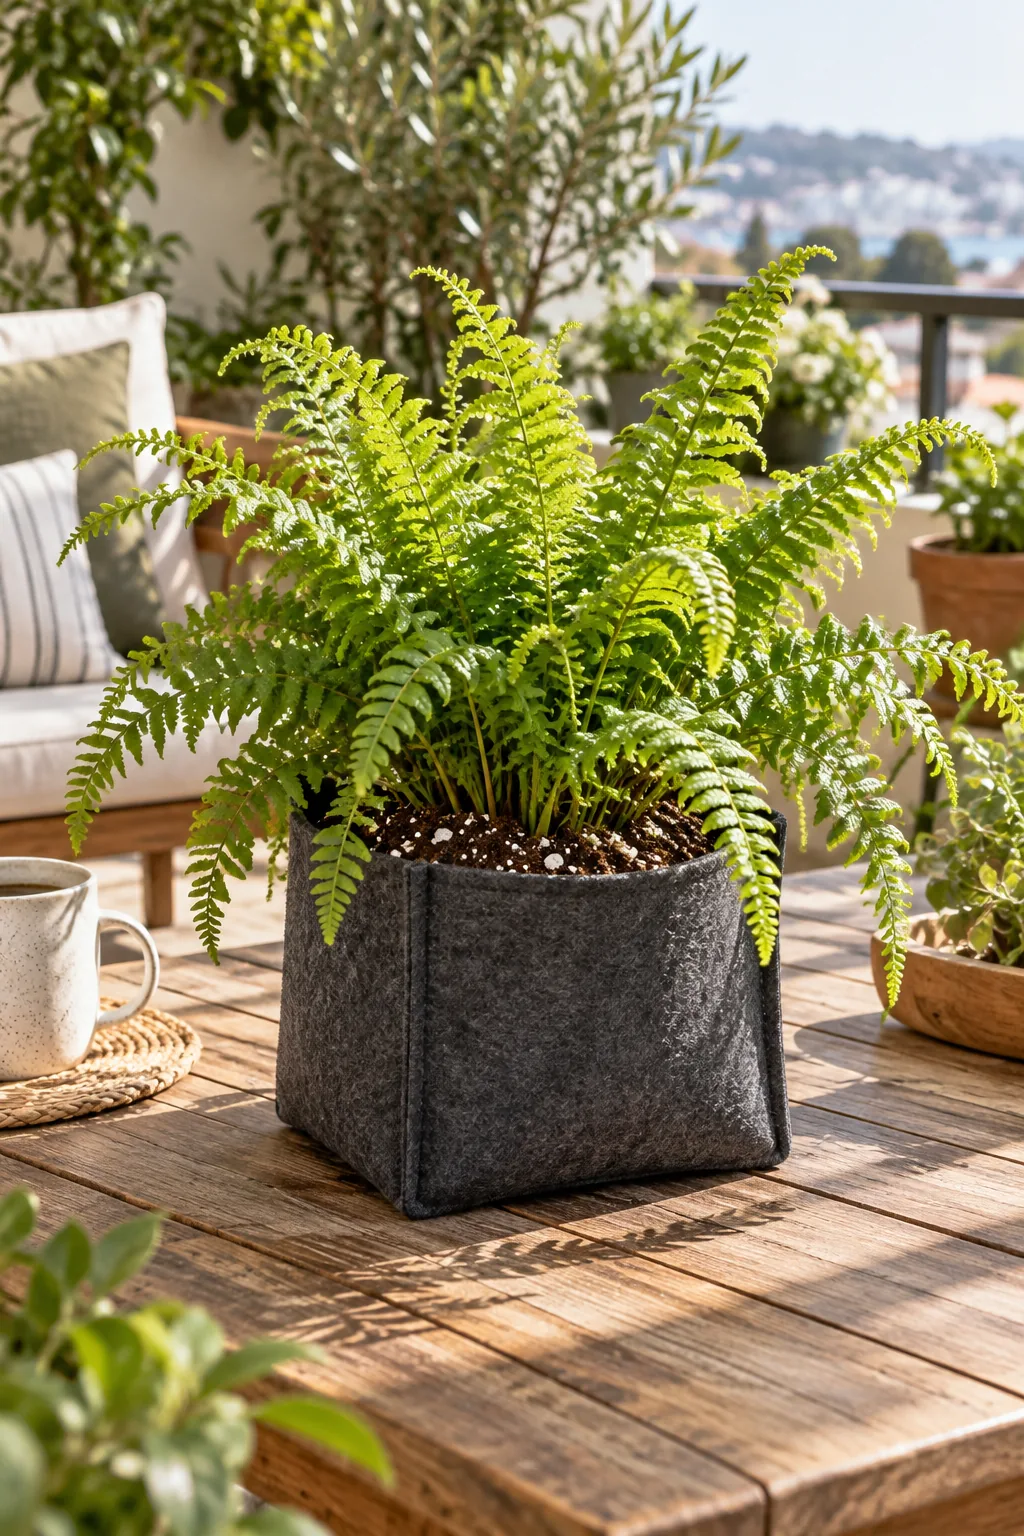
When I built my first wall here in Austin, I used regular potting soil, and it turned into concrete halfway through summer; switching to this airy coir blend saved my entire fern collection.
Pre-Soaking the Soil Blend
Dry coconut coir naturally repels water at first, meaning your initial irrigation cycles will run straight through the pockets without absorbing, so you must hydrate the entire mix in a large tub beforehand.
Why You Must Grow It Flat First
Plant your ferns in the pockets and lay the entire felt panel flat on the ground for four weeks before hanging, allowing the roots to knit into a dense ball that holds its shape.
Checking for Root Knit Readiness
Before hoisting the heavy panel onto your wall, gently tug on the base of a middle-row fern; if the soil lifts as one solid block, the root system is mature enough to handle gravity.
Your 3×4 Pocket Planting Map
The four-week horizontal period is crucial because our printable 3×4 pocket planting map assumes your plants have already established a firm root ball that resists gravity once mounted vertically.
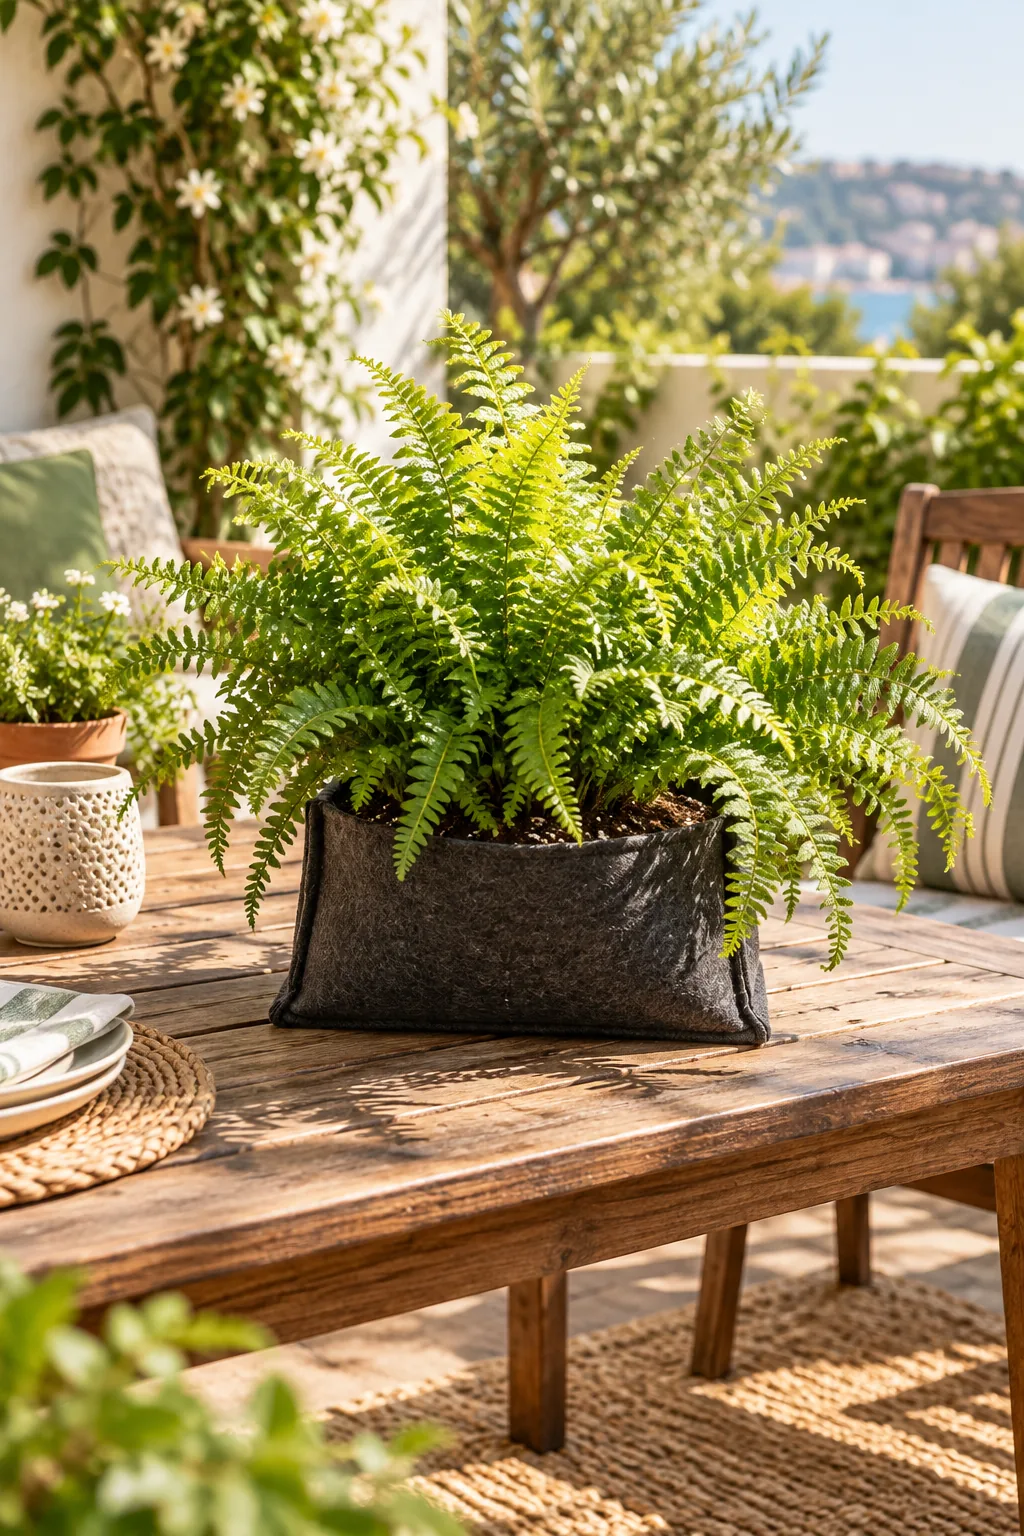
Before you hoist the heavy, fully planted panel onto the wall battens, run through this final verification to ensure your system is ready for vertical living.
Mapping the Sunlight Exposure
Before placing a single fern into the designated pockets, track how the sun moves across your balcony wall to confirm that the delicate lower plants will be protected from harsh afternoon rays.
Top Row: Fast-Drying Plants
Introducing a row-by-row mapping strategy based on gravity and water flow starts here, as gravity pulls water downward, leaving the top three pockets as the driest zone on the entire wall.
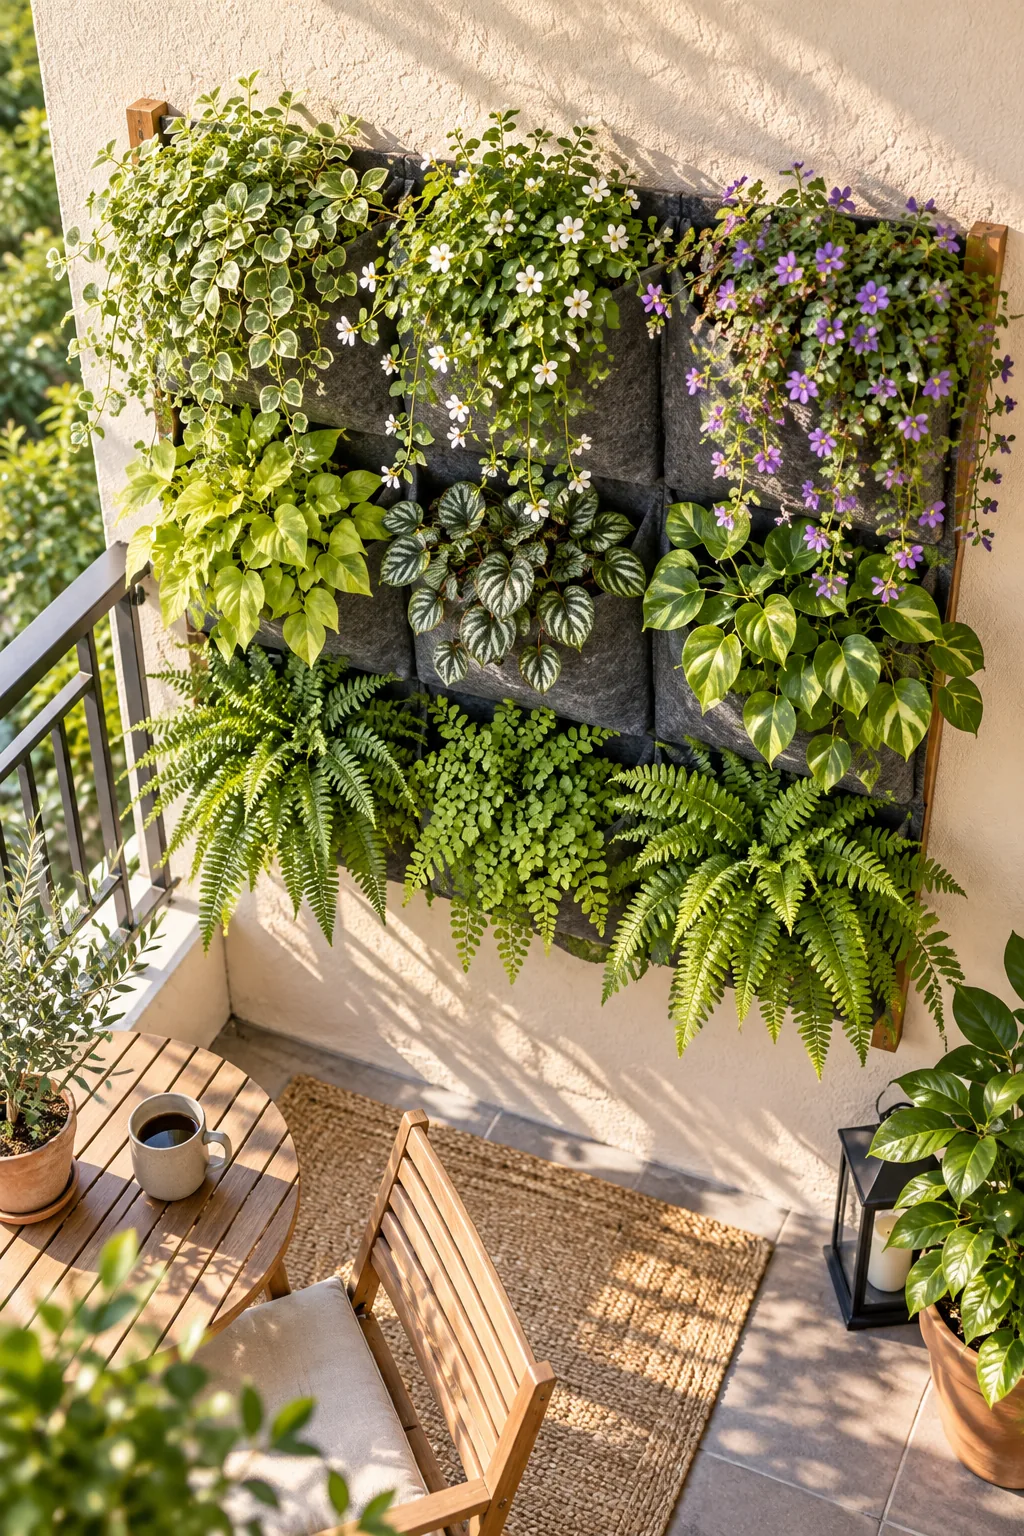
I used to put my delicate ferns up top, but after replacing them twice, I finally learned to stick with hardy trailing pothos that actually enjoy drying out between watering cycles.
Managing Wind Exposure Up High
The highest tier of your vertical garden catches the most breeze, which accelerates evaporation from the exposed felt and requires robust trailing plants with thicker leaves that naturally resist rapid transpiration.
Middle Rows: The Transition Zone
Unlike the drought-resistant trailing plants selected for the highly exposed top tier, the six pockets in the middle two rows experience moderate, consistent humidity as water filters down from above.
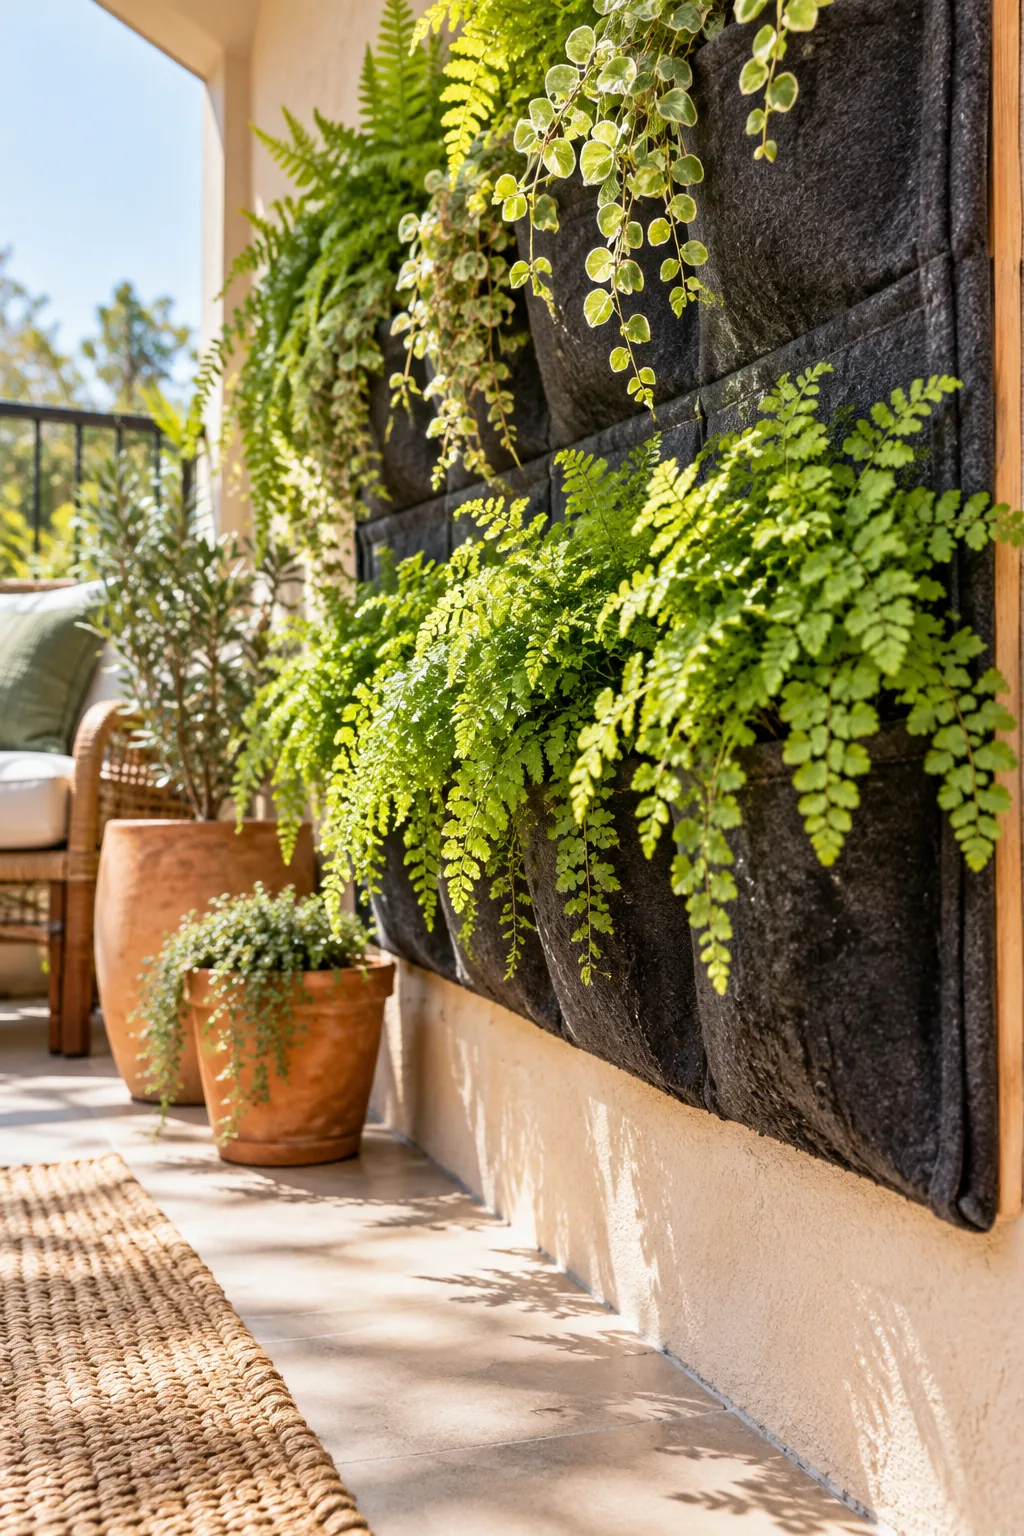
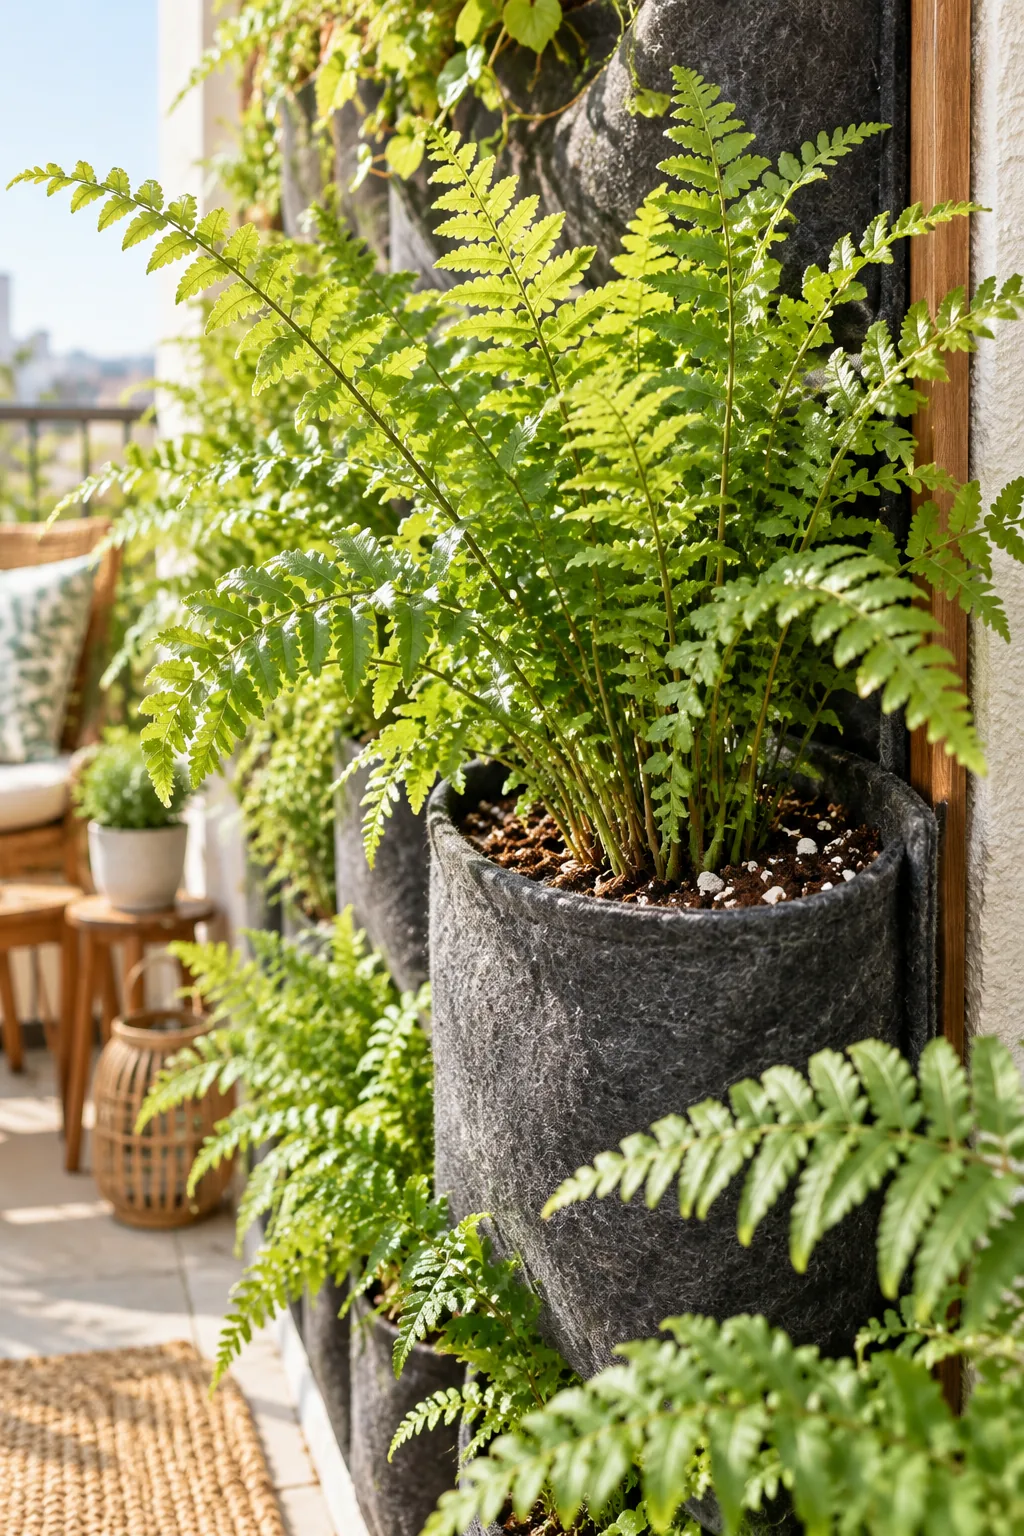
This perfectly balanced middle zone provides the ideal environment for standard bird’s nest ferns and bright green trailing vines that need steady moisture without sitting in standing water.
Spacing Plants in the Center
When arranging this middle transition zone, stagger your plant varieties so their foliage overlaps gracefully without entirely blocking the ambient light from reaching the delicate pocket directly below them.
Pruning for Air Circulation
Dense central growth looks beautiful but can trap stagnant air, so routinely trim away dead or yellowing fronds from the middle rows to prevent fungal issues in this moderately damp area.
Monitoring Drainage at the Base
You must ensure the runoff from the saturated lower pockets has a clear path to drain away safely, so place a narrow planter box directly beneath the wall to catch the daily drips.
Fertilizing Your Vertical Garden
Because the frequent watering cycles constantly flush nutrients out of the lightweight coir blend, you will need to inject a liquid organic fertilizer into the drip line once every month during the growing season.
Bottom Row: Thirsty Ferns Down Low
The necessity of placing highly moisture-tolerant species at the wall’s natural drainage point dictates our final row, as excess water naturally pools in the lowest felt seam before dripping away.
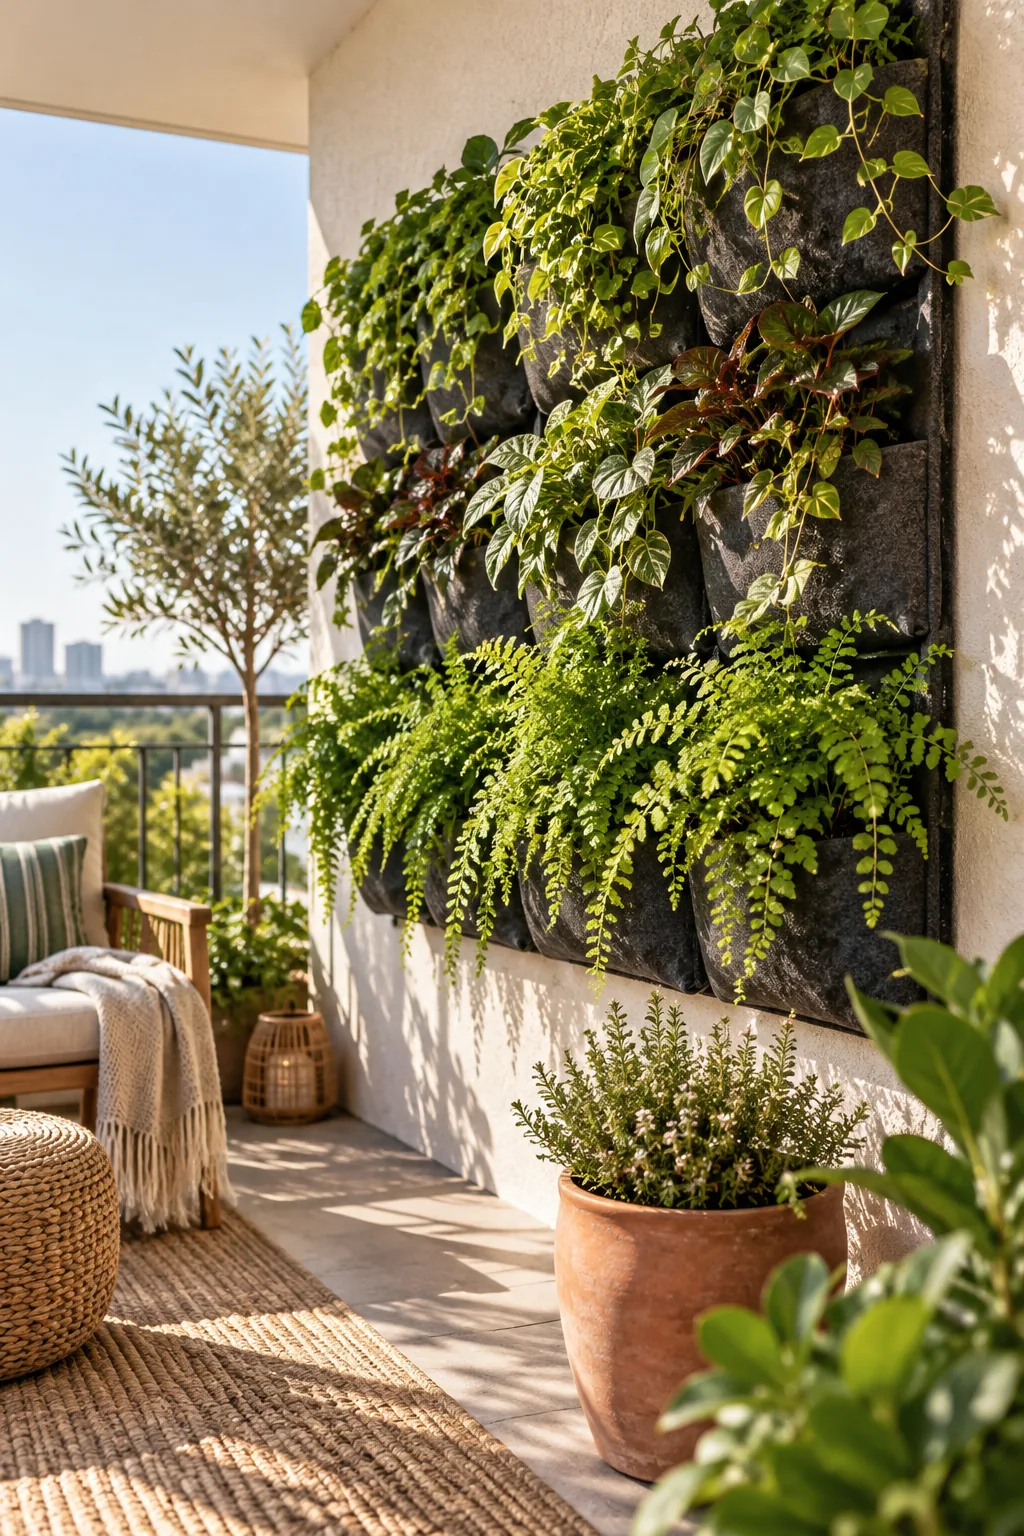
My maidenhair ferns always struggled indoors, but once I moved them to the bottom row of my balcony wall, they exploded with new growth thanks to that constant, reliable moisture.
4 Beautiful Ways to Style a Living Wall
Get inspired by these distinct vertical garden styles before you start planting.
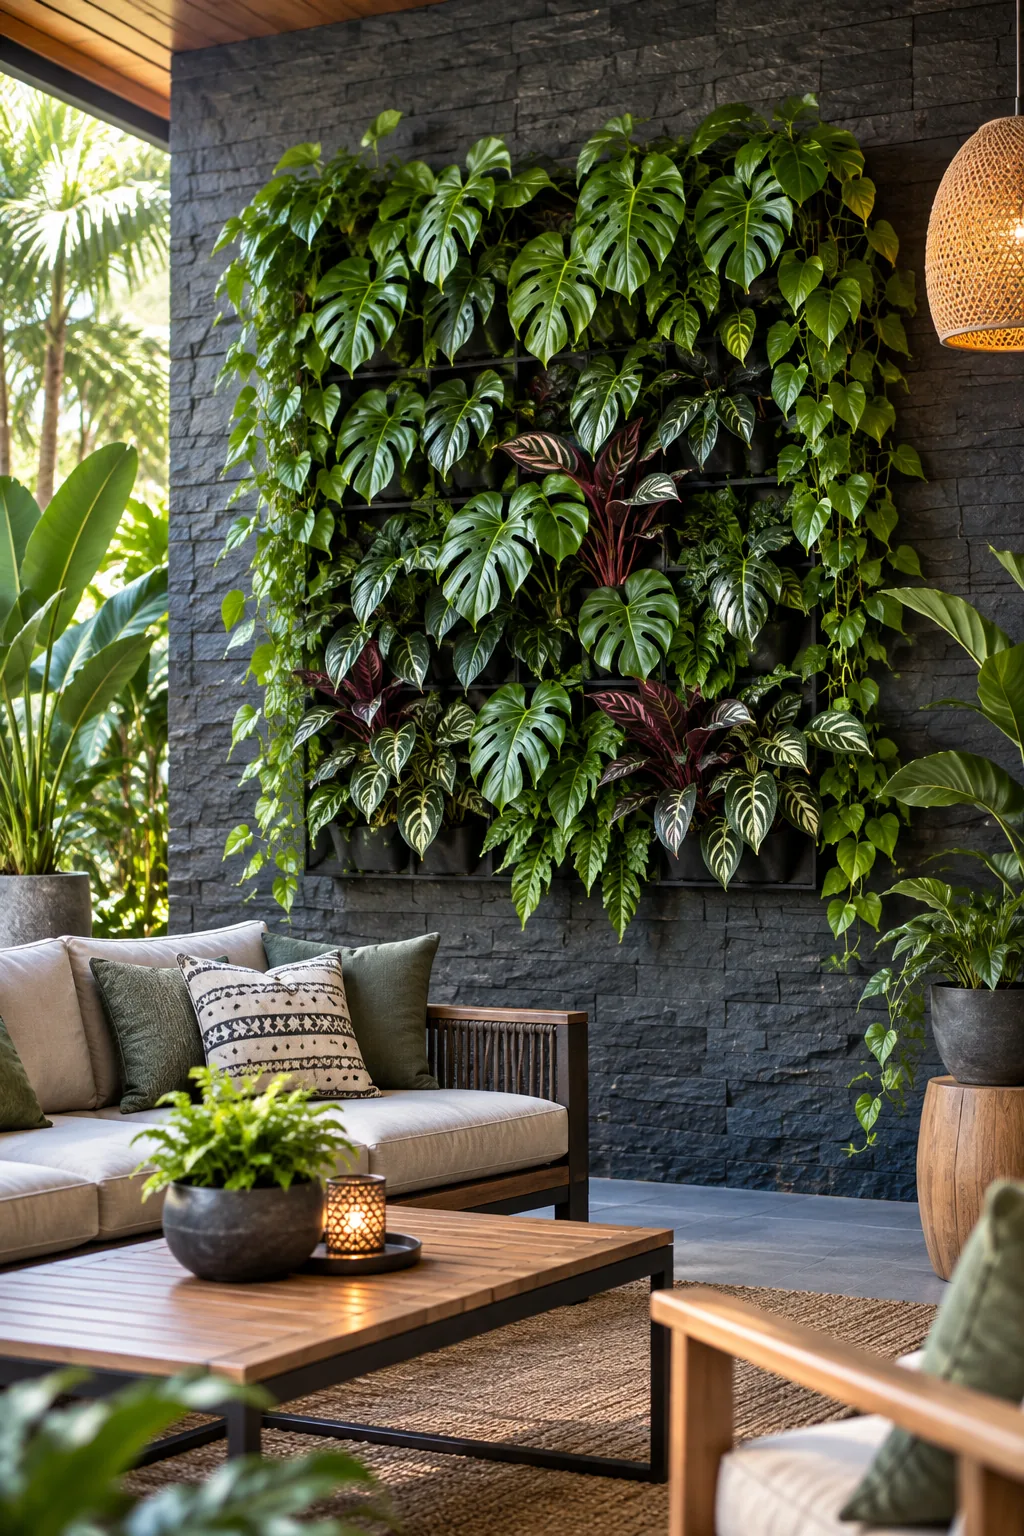
Tropical Dark Slate Patio: Pair deep slate walls with broad-leaf tropicals like monstera for a moody, high-contrast outdoor retreat.
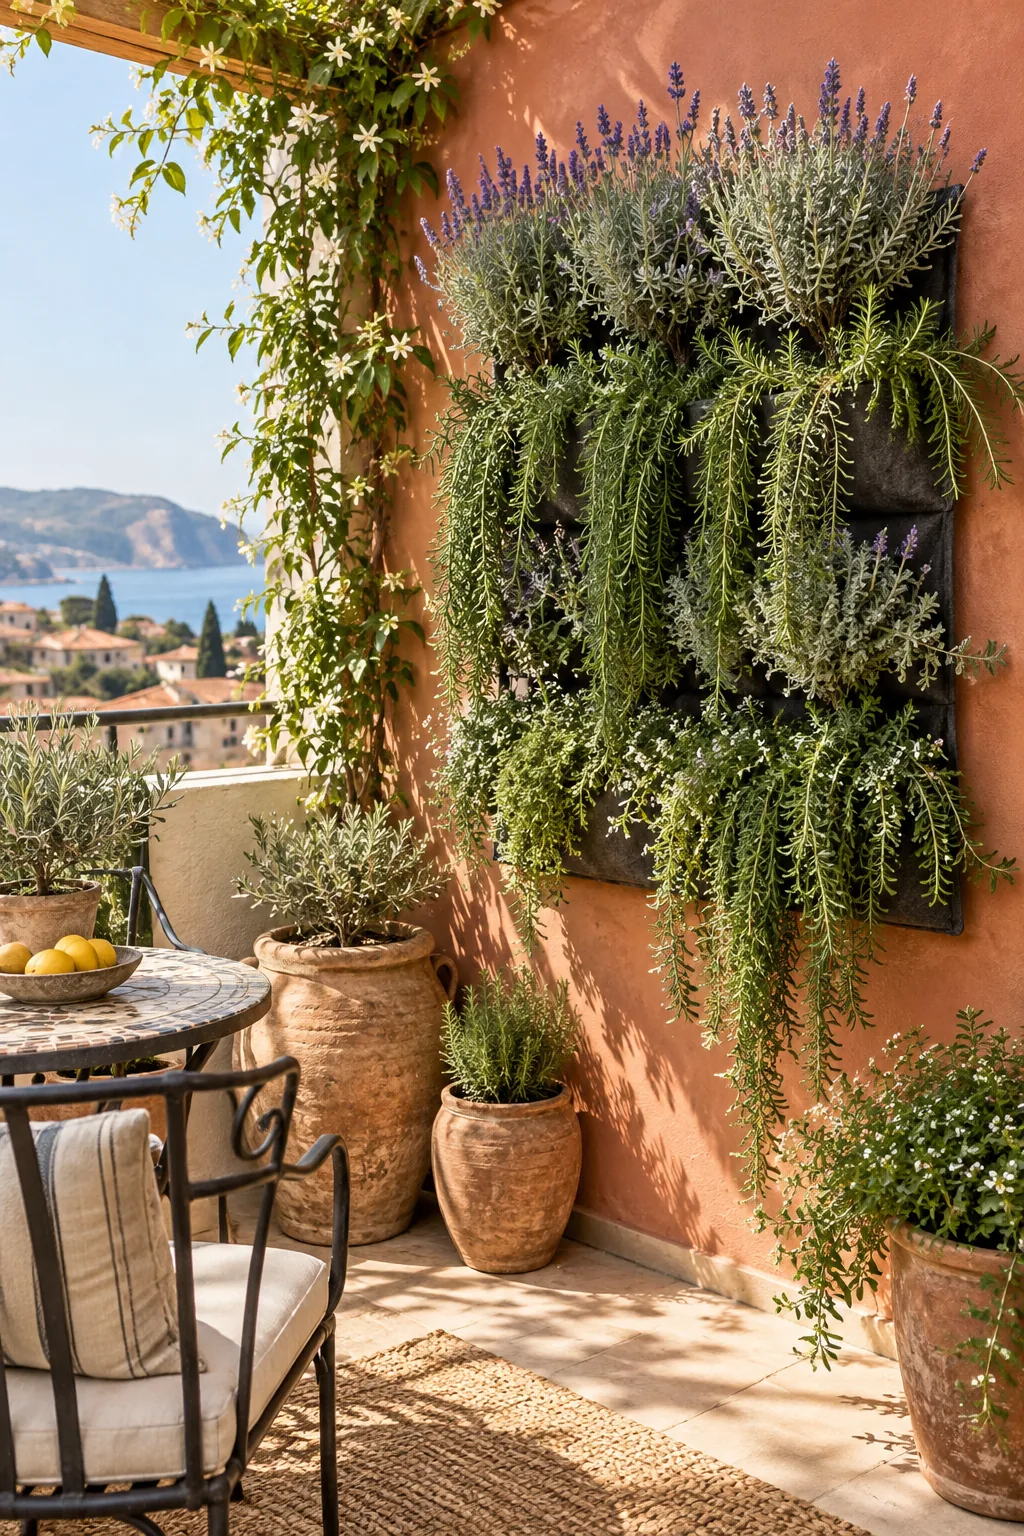
Sun-Drenched Mediterranean Balcony: Embrace full sun with a terracotta backdrop and drought-friendly Mediterranean herbs that release fragrance in the heat.
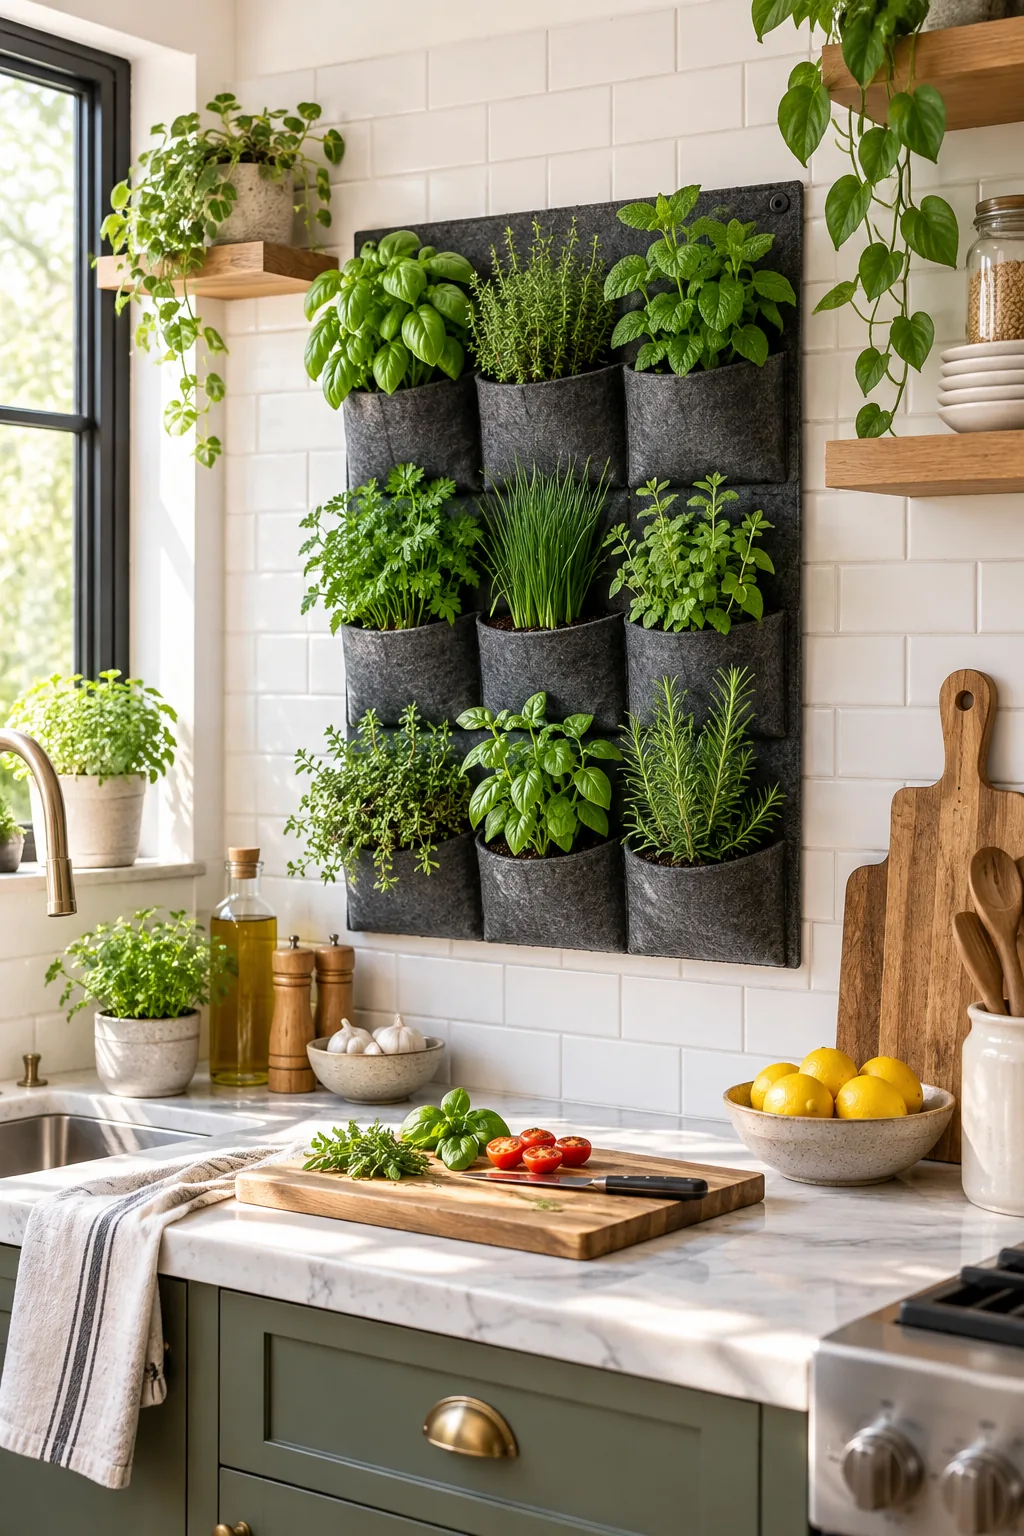
Modern Indoor Herb Kitchen: Bring the living wall indoors by mounting a smaller felt grid directly over kitchen tile for fresh herbs on demand.
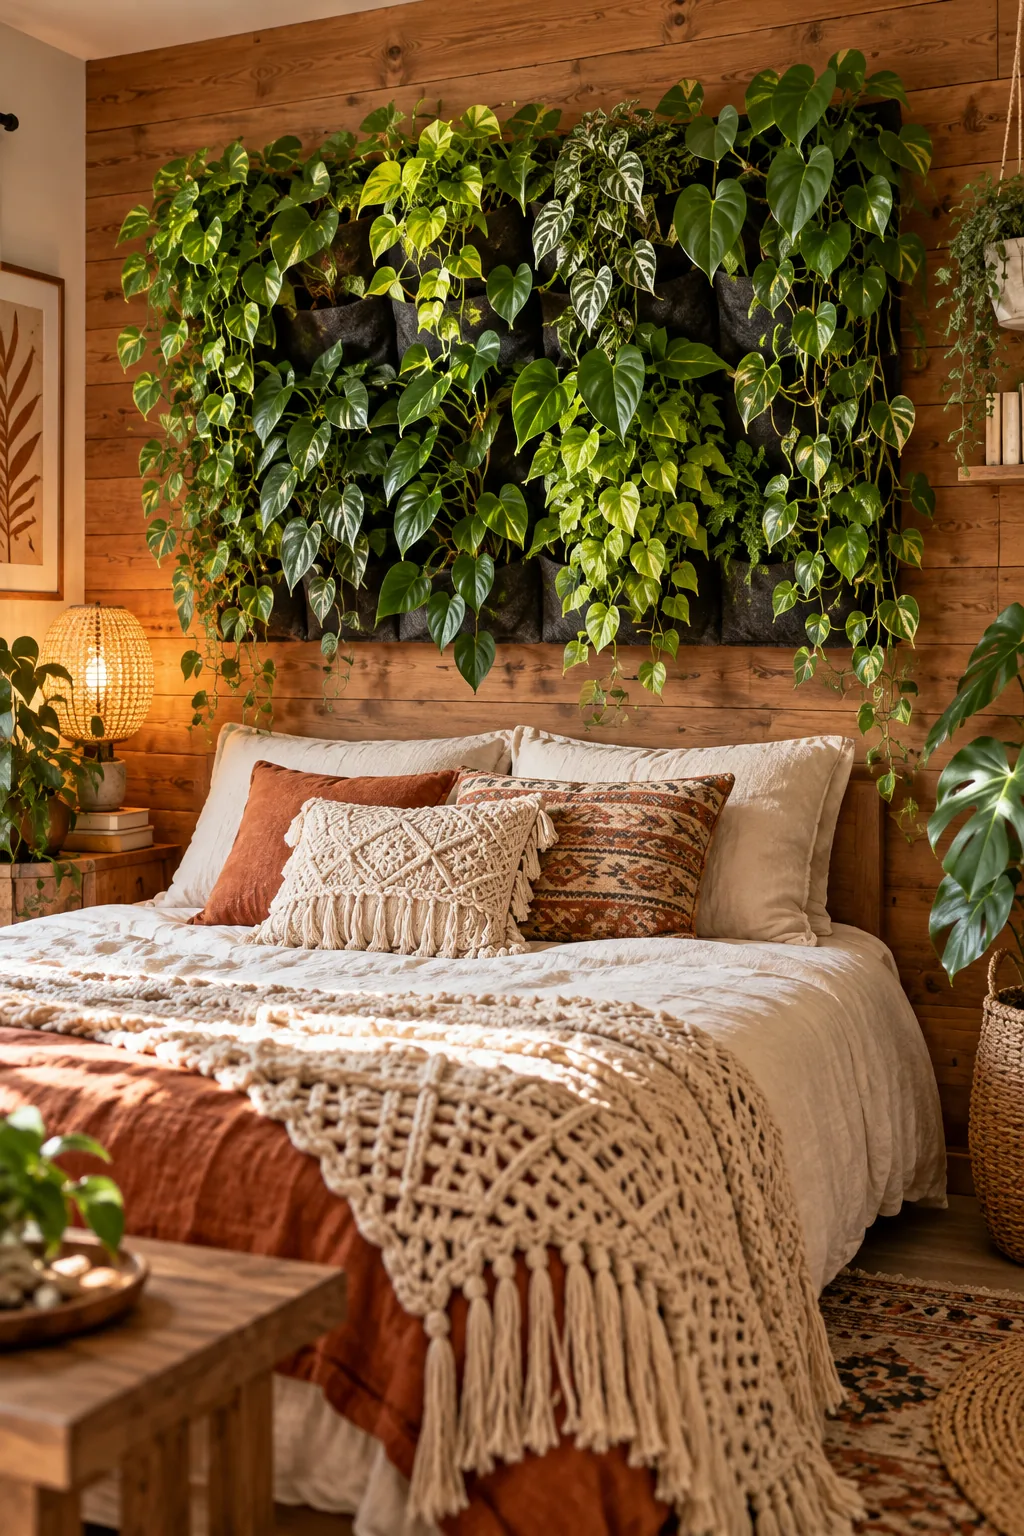
Cozy Bohemian Wood Bedroom: Soften wood-paneled bedroom walls with a cascading curtain of low-light trailing plants like golden pothos.