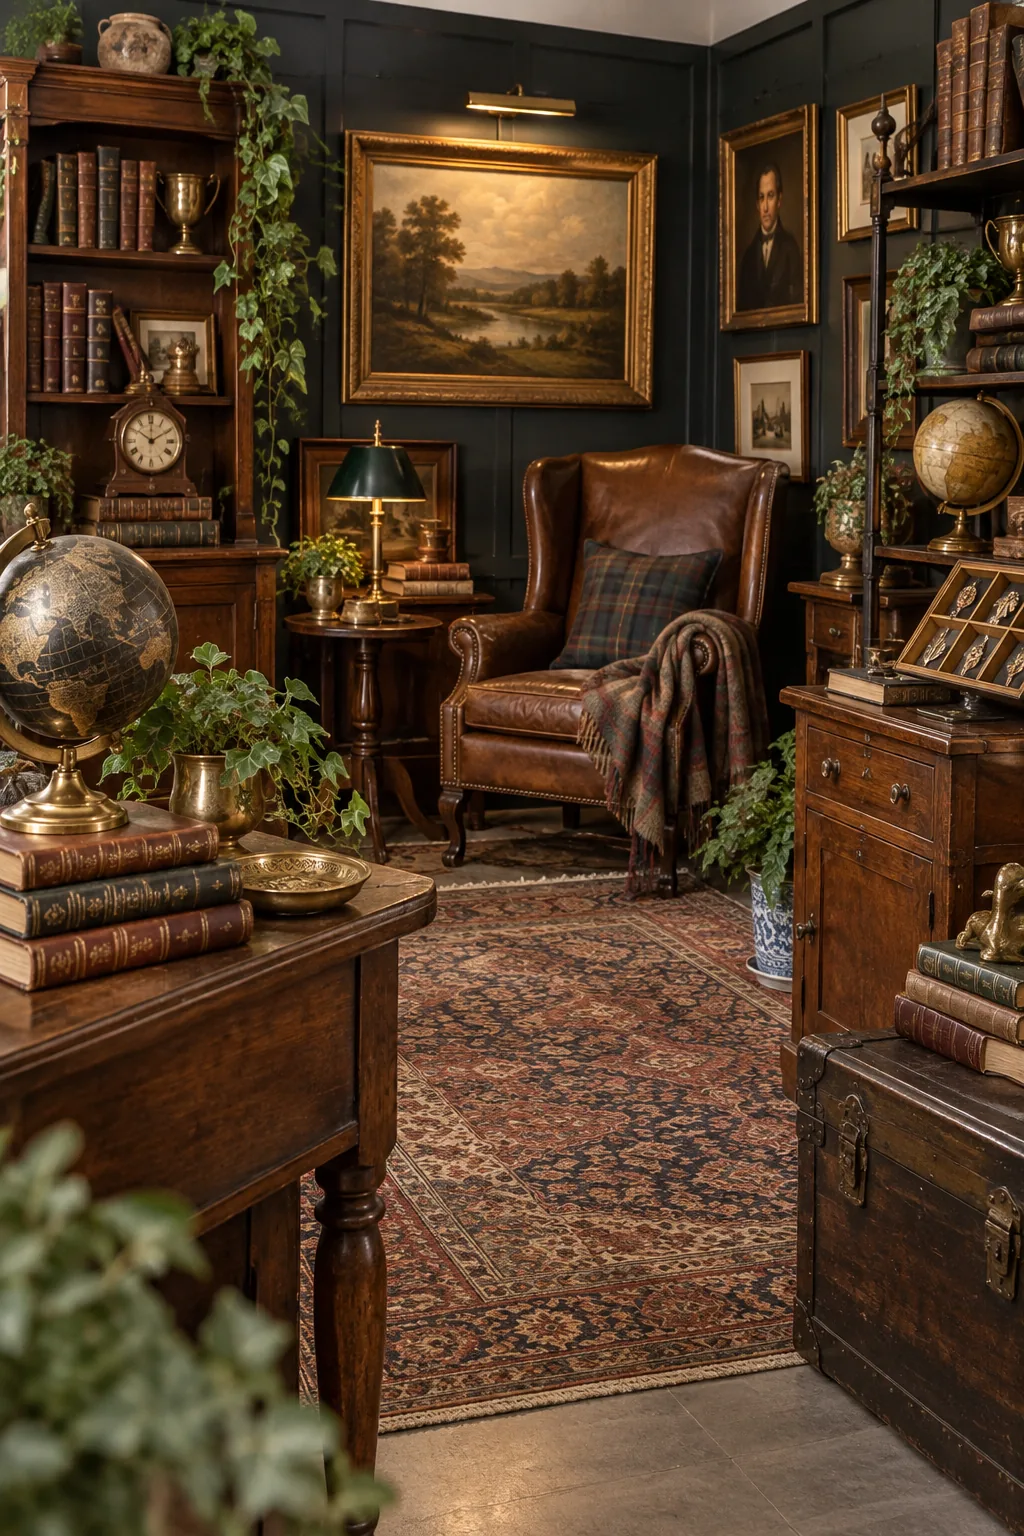
Small Antique Booth Layout: The Stop-and-Shop Checklist
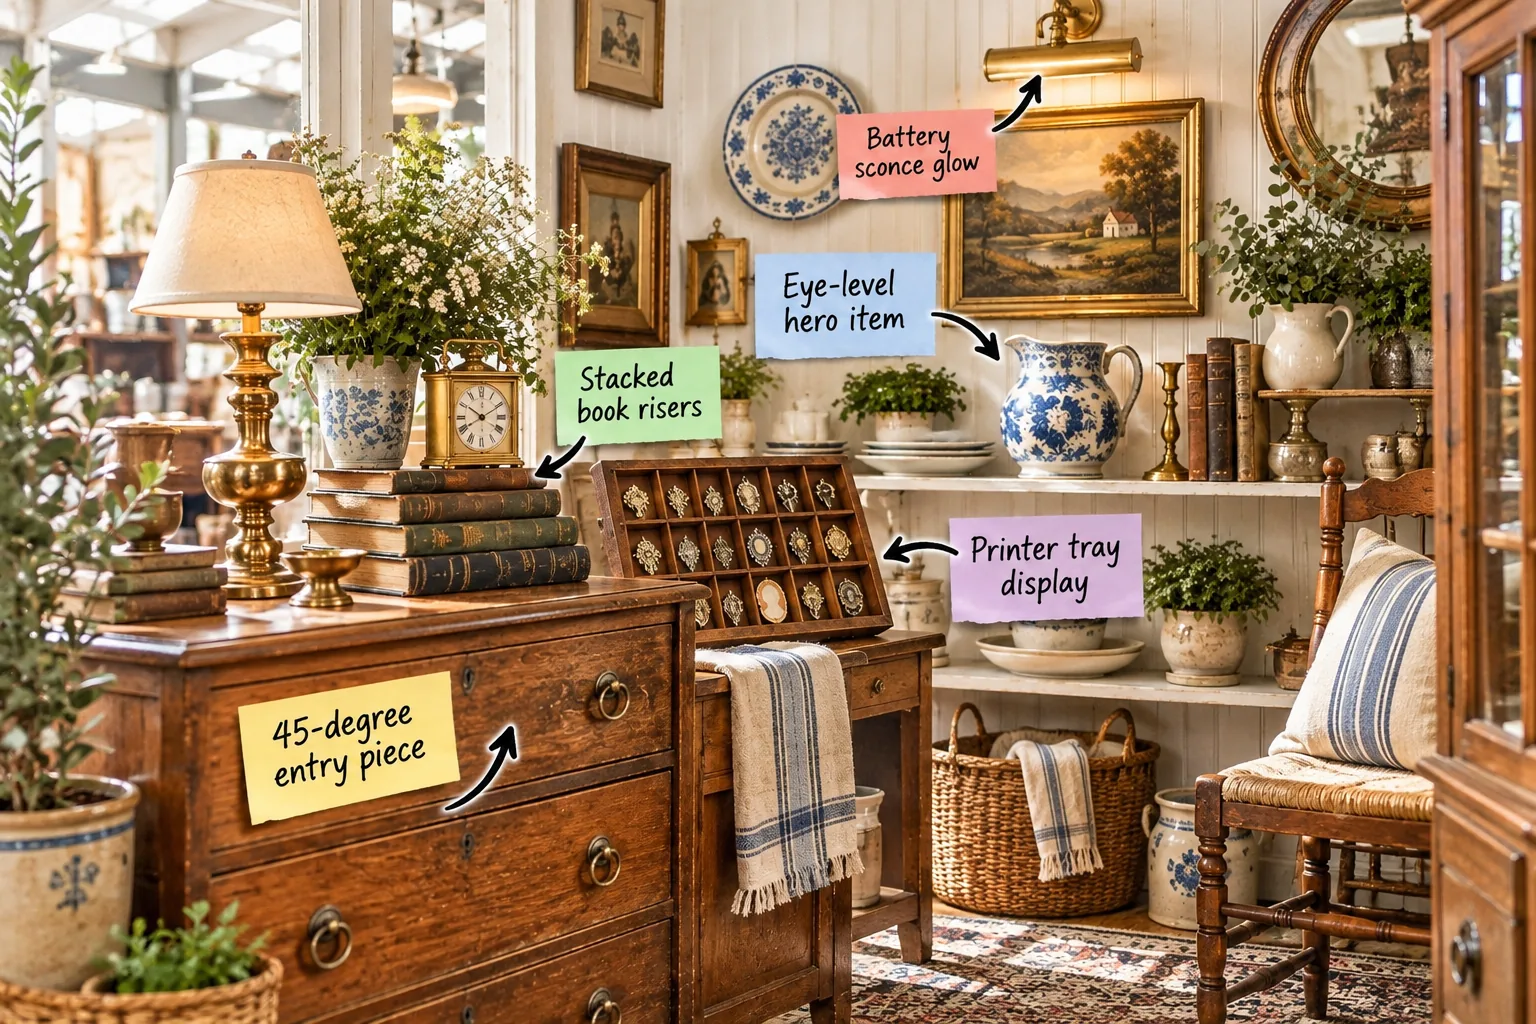
Arranging your vintage space to draw customers in requires a deliberate strategy, which is why you will be able to maximize foot traffic and highlight premium items using our step-by-step merchandising checklist. This complete booth layout and merchandising checklist delivers the exact stop-and-shop layout you need to increase your weekend sales.
The 45-Degree Entry Piece
In my Denver design projects, I treat thresholds like a handshake, so I always position a heavy wooden cabinet angled at exactly 45 degrees at the front corner to physically widen the booth entrance. This strategic angle naturally funnels aisle traffic directly into your curated space.
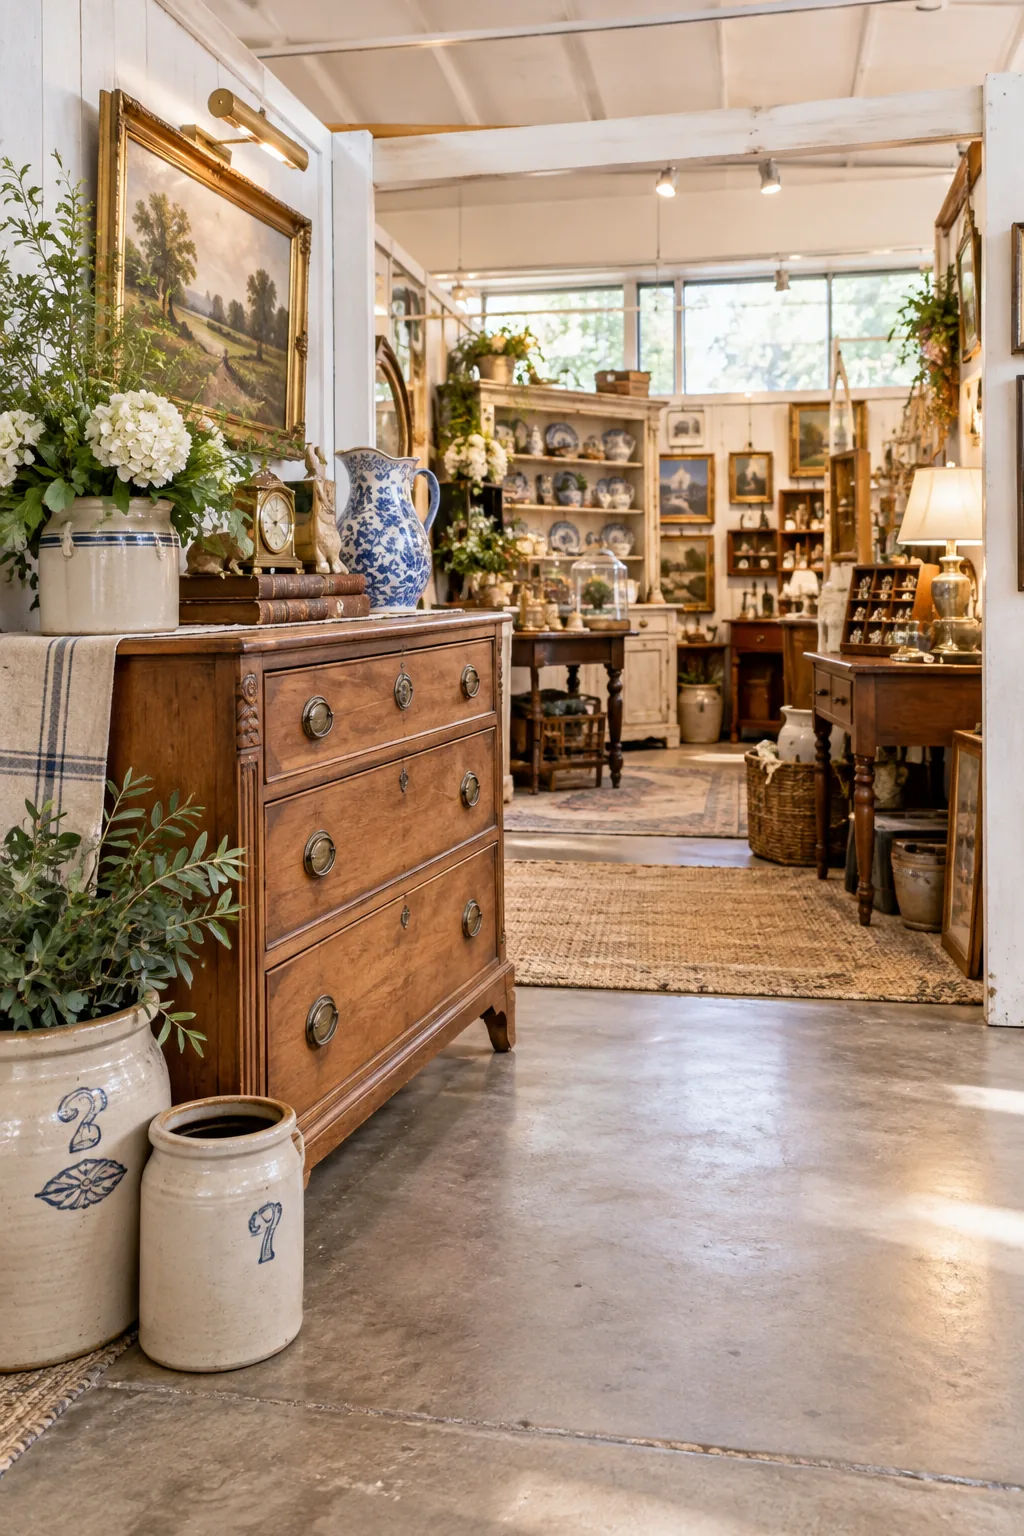
It is tempting to push all furniture flat against the walls to maximize floor space, but this often creates a rigid, uninviting box. Avoid these common entrance layout errors to ensure shoppers actually step inside.
Defining the Entry Walkway
A successful antique booth requires an opening of at least 36 inches for comfortable browsing. Measuring your entry path ensures you never accidentally pinch the primary circulation route during busy weekend markets.
| Walkway Type | Minimum Width | Target Audience |
|---|---|---|
| Main Entrance | 36 inches | Standard shoppers and strollers |
| Secondary Aisle | 32 inches | Single browsers |
| Dead End Path | 40 inches | Turnaround space required |
Accommodating Strollers and Wheelchairs
Planning for accessibility is a non-negotiable chess move in retail design. Maintaining a clear path allows parents with strollers and shoppers using wheelchairs to navigate your vintage collections without fearing they might knock over fragile items.
Funneling Traffic Inward
An angled entry piece acts as a visual funnel that gently guides the human eye toward the center of your space. This subtle shift in geometry breaks the rigid grid of standard vendor aisles and invites immediate exploration.
Avoiding the Box Effect
Pushing every dresser and table flat against the perimeter walls leaves a cavernous, empty center that feels intimidating to enter. Breaking the right angles introduces a welcoming, room-like flow that mimics a professionally styled residential interior.
Eye-Level Hero Placements
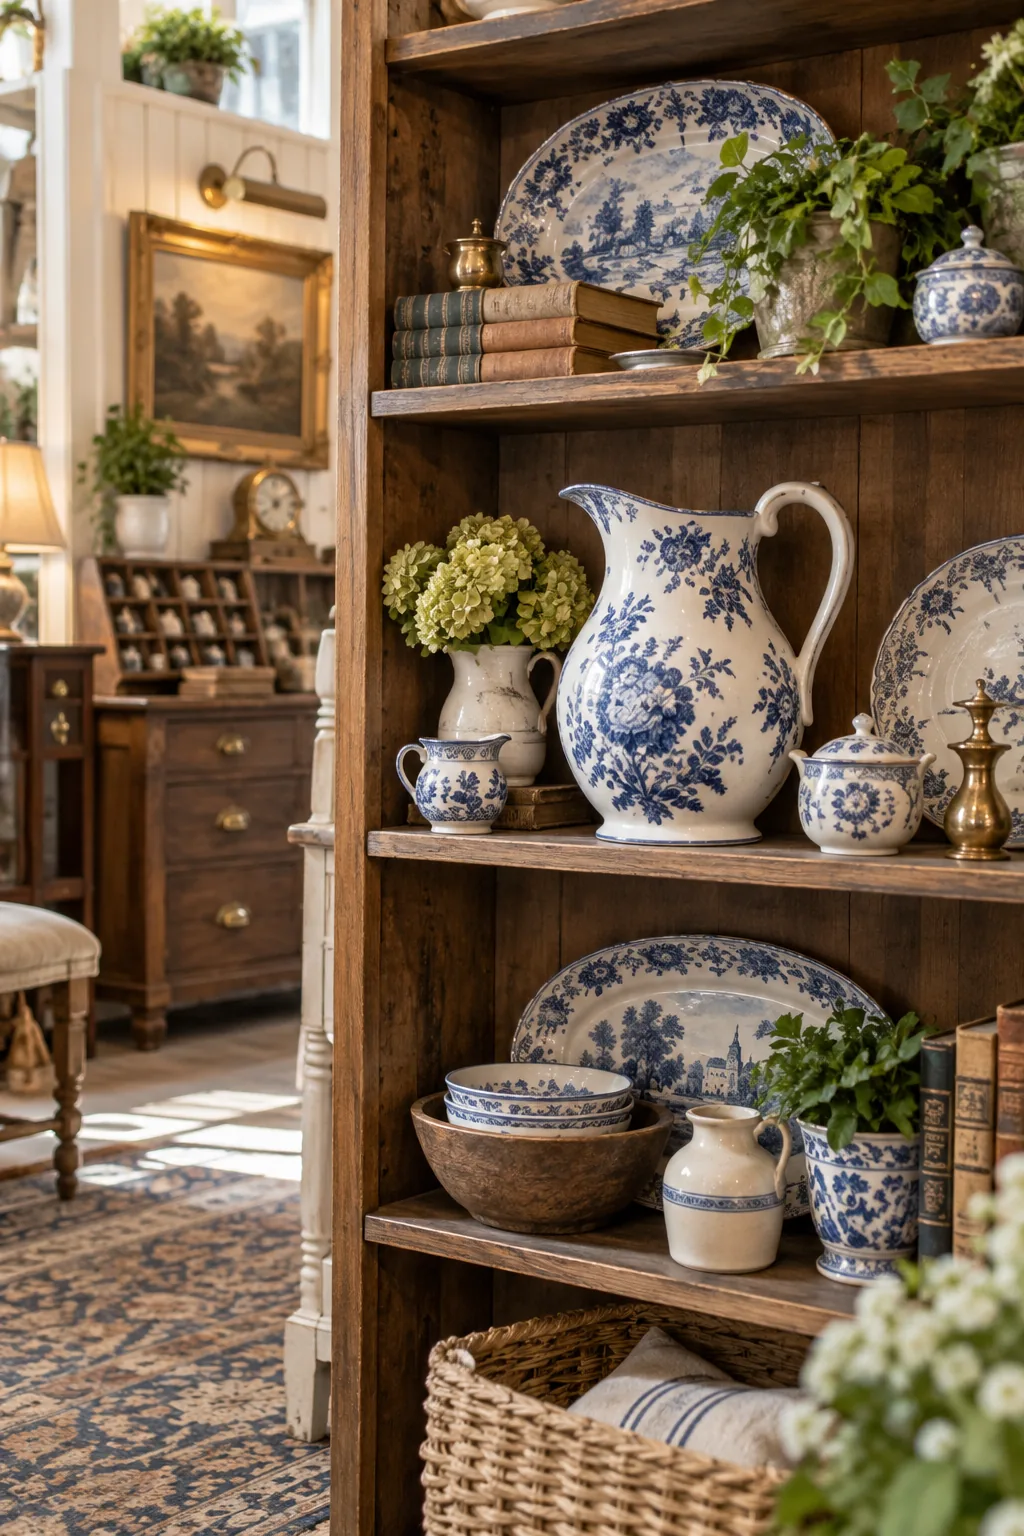
I always tell my Denver clients that premium inventory sells faster when placed directly in the customer’s natural sightline, which means positioning your highest-margin items exactly at the 60-to-64-inch eye level. Elevating a premium ironstone pitcher to this height guarantees it commands immediate attention.
Identifying Your High-Margin Items
Your hero placements should be reserved strictly for pieces that define your brand and carry the best profit margins. Placing a rare ironstone pitcher or a signed ceramic vase in this prime real estate maximizes your return on square footage.
The Science of the Shopper’s Gaze
The average adult shopper naturally scans a room at roughly 60 to 64 inches from the floor. Aligning your most valuable vintage finds with this horizontal plane removes visual friction and makes purchasing decisions feel effortless.
Creating Secondary Focal Points
Once your hero item captures their attention, you must guide the shopper’s eye downward to secondary merchandise. Stepping your display heights creates a cascading visual triangle that keeps customers engaged as they scan the surrounding shelves.
Wireless Battery Sconce Glow
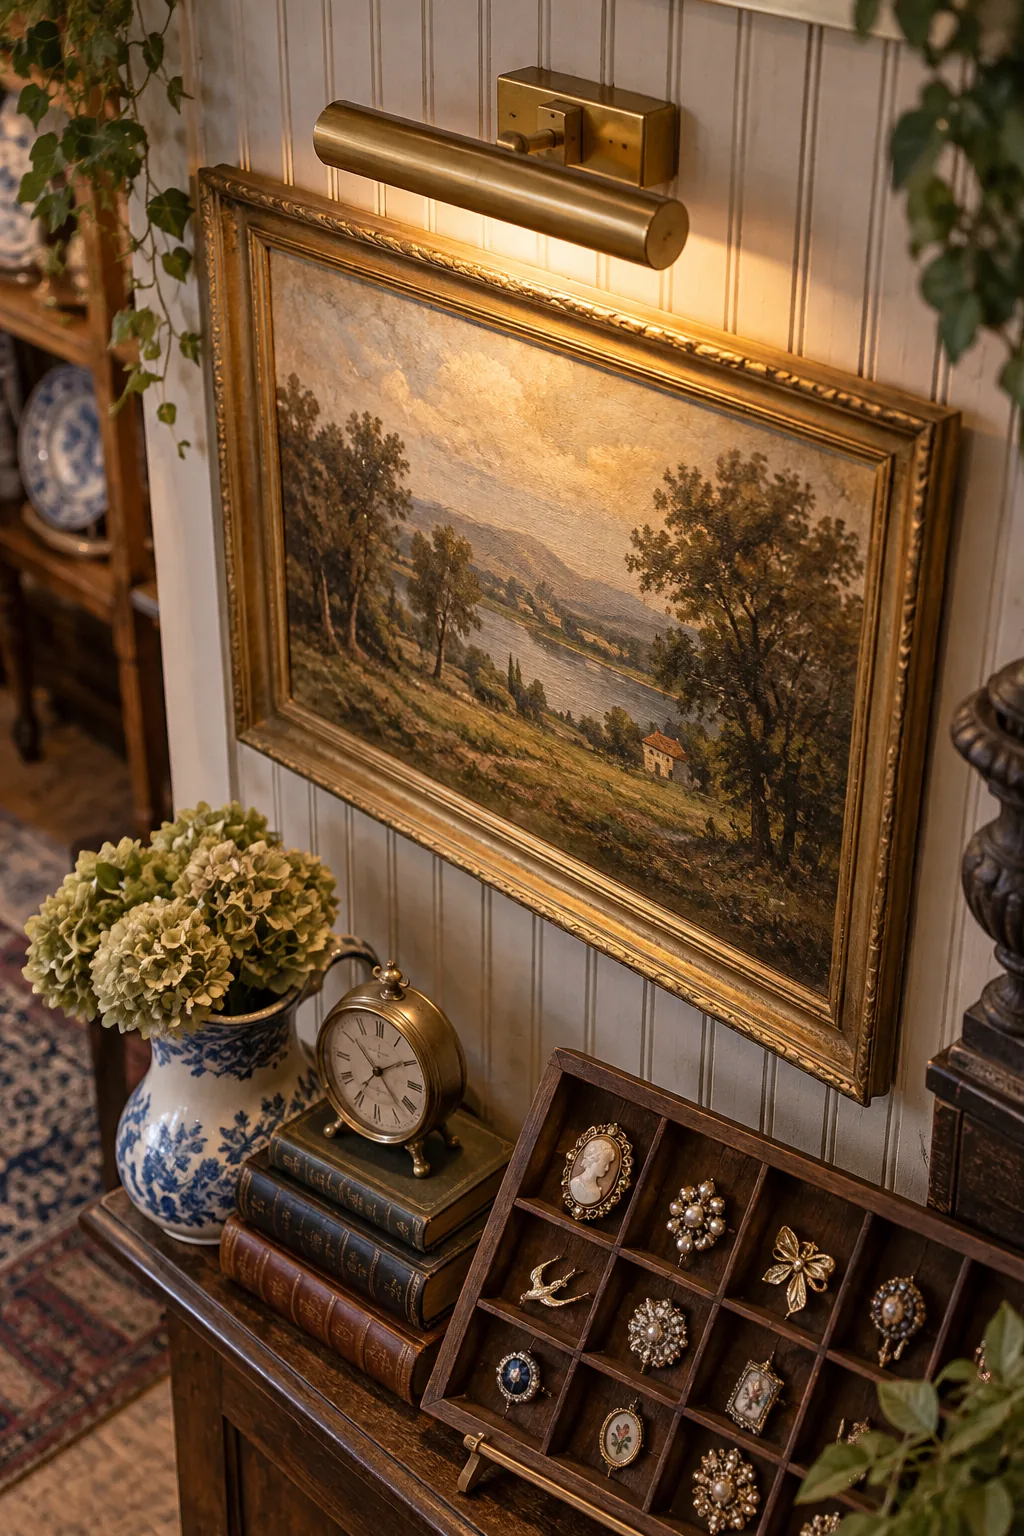
You can add incredible warmth and highlight wall art by mounting a wireless brass picture light directly over a vintage oil painting. Using warm LED bulbs rated at 2700K creates a cozy, high-end boutique atmosphere without requiring any hardwired electricity.
Selecting the Right Color Temperature
Lighting dictates the entire mood of your antique booth, and anything cooler than 3000K will wash out the rich patina of your antiques. A 2700K bulb perfectly mimics the inviting glow of traditional incandescent residential lighting.
Mounting Without Hardwiring
Battery-operated sconces are the ultimate tactical advantage for temporary vendor spaces with limited utility access. These clever fixtures mount with standard picture hooks, allowing you to reposition your accent lighting whenever you rotate your gallery wall.
Highlighting Vintage Textures
Directional light grazing across an old canvas reveals the dimensional brushstrokes and cracked varnish that collectors actively seek. This focused illumination pulls the painting out of the shadows and transforms a flat wall into a dynamic focal point.
Stacked Book Risers
Whenever I style a tabletop in my own home, I rely on stacking 3 to 5 vintage books to break up a flat, uninspired landscape. This simple layering technique lifts smaller focal points, like a brass clock, into a much more prominent viewing position.
Breaking Up Flat Landscapes
A continuous horizontal plane of merchandise quickly overwhelms the eye and causes small treasures to blend together. Introducing vertical interest through stacked risers forces the shopper to pause and process each individual vignette.
Choosing the Right Vintage Books
Select books with distressed fabric covers that complement the overall color palette of your current seasonal display. The spines should be thick enough to provide genuine elevation, creating a sturdy architectural foundation for the delicate items resting above.
Positioning the Brass Clock
Placing a metallic object like a brass clock atop your book stack catches the ambient light and draws immediate focus. This calculated contrast between soft, worn paper and polished metal exemplifies the Eastern design principle of balancing opposing elements.
Printer Tray Displays for Small Items
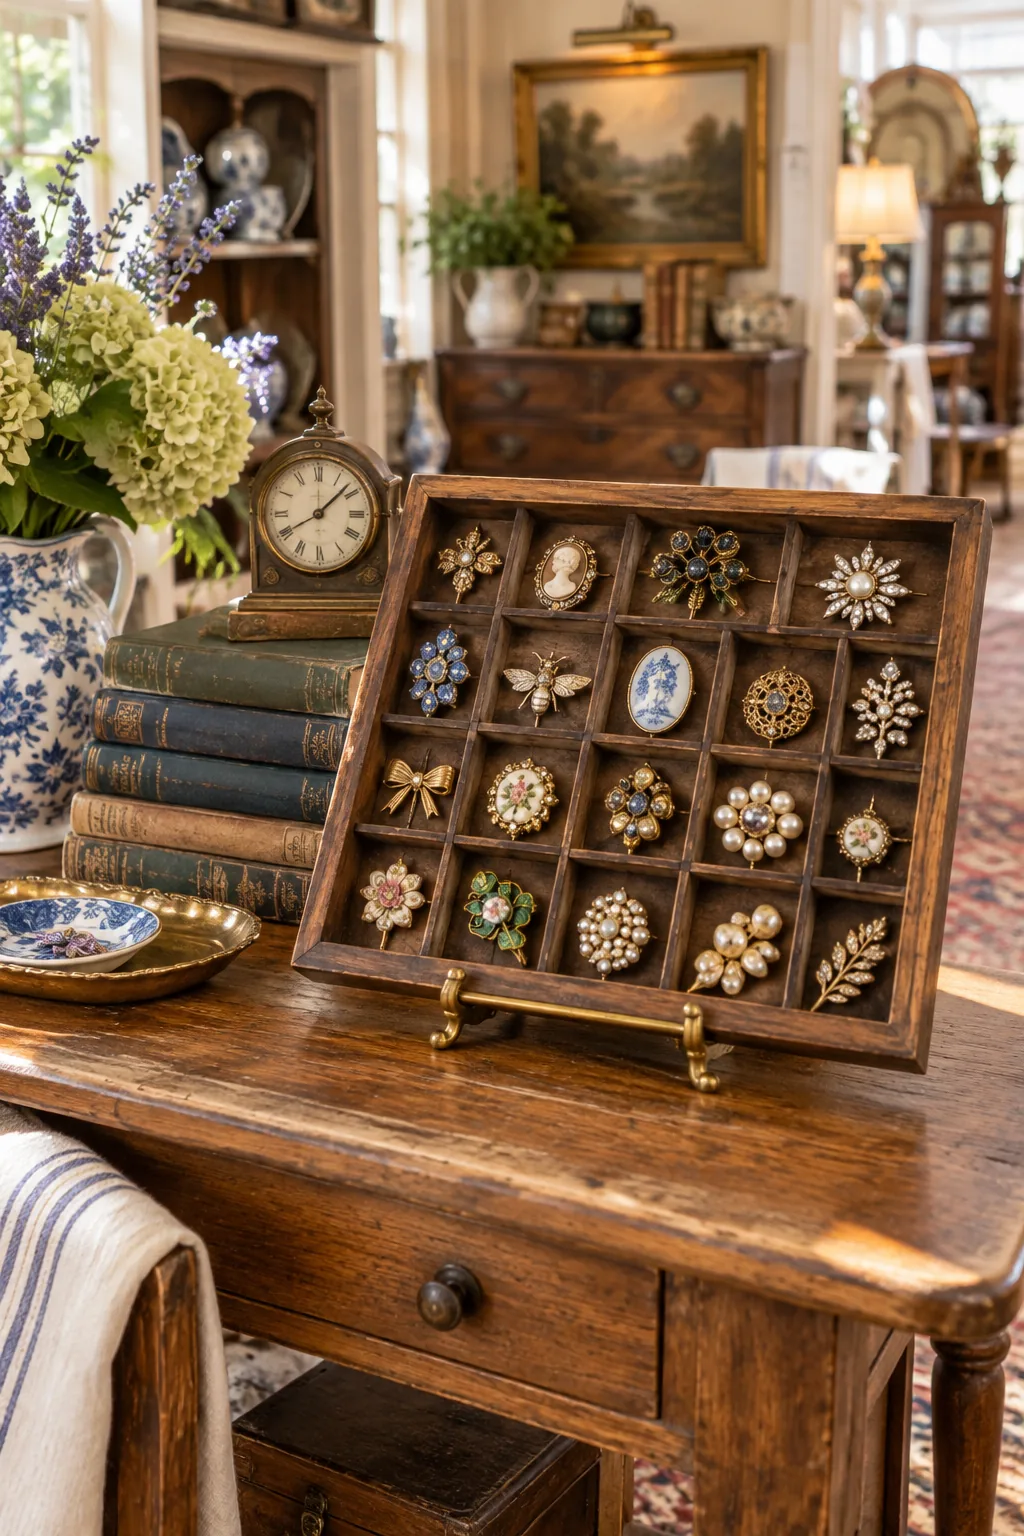
Tiny, easily lost items like vintage brooches demand structured organization, which is why displaying them inside a wooden printer tray works so beautifully. Tilting the tray at a 30-degree angle on a sturdy plate stand ensures shoppers can clearly see the contents from the main aisle.
Securing the Plate Stand
A heavy wooden tray filled with delicate jewelry requires a robust wrought-iron or thick acrylic easel for total stability. Testing the balance point prevents the display from tipping forward when a curious customer reaches for a specific compartment.
Grouping by Color and Era
Treating each small wooden compartment as an individual frame allows you to curate micro-collections that tell a cohesive story. Arranging your brooches by distinct color families or specific historical eras makes the dense display feel intentional rather than cluttered.
Preventing Lost Inventory
Small valuables scattered loosely across a table are highly susceptible to being brushed onto the floor or misplaced during busy hours. The recessed grid of a printer tray physically contains these tiny assets while elevating their perceived value.
Establishing a Restocking Routine
A highly structured stop-and-shop layout only functions effectively if the negative space remains balanced after a major sale. Mapping out replacement pieces ahead of time ensures your carefully calculated visual triangles never collapse into empty gaps.
Rotating Eye-Level Inventory
Frequent visitors to your antique booth will quickly gloss over stagnant merchandise that remains in the exact same sightline for weeks. Swapping your 60-inch hero placements every fortnight forces regular shoppers to re-evaluate your entire collection with fresh eyes.
Refreshing the Battery Lighting
The warm glow that defines your boutique atmosphere will inevitably fade as the wireless sconce batteries slowly drain. Establishing a strict routine to recharge or replace these cells before the busy Saturday morning rush guarantees your art always looks its best.
The Stop-and-Shop Layout Checklist
When I finalize a showroom floor, I always walk through the entrance just as a new customer would to verify the flow. Use this final layout checklist to ensure your booth features clear walkways, varied display heights, and the proper warm lighting necessary for peak sales.
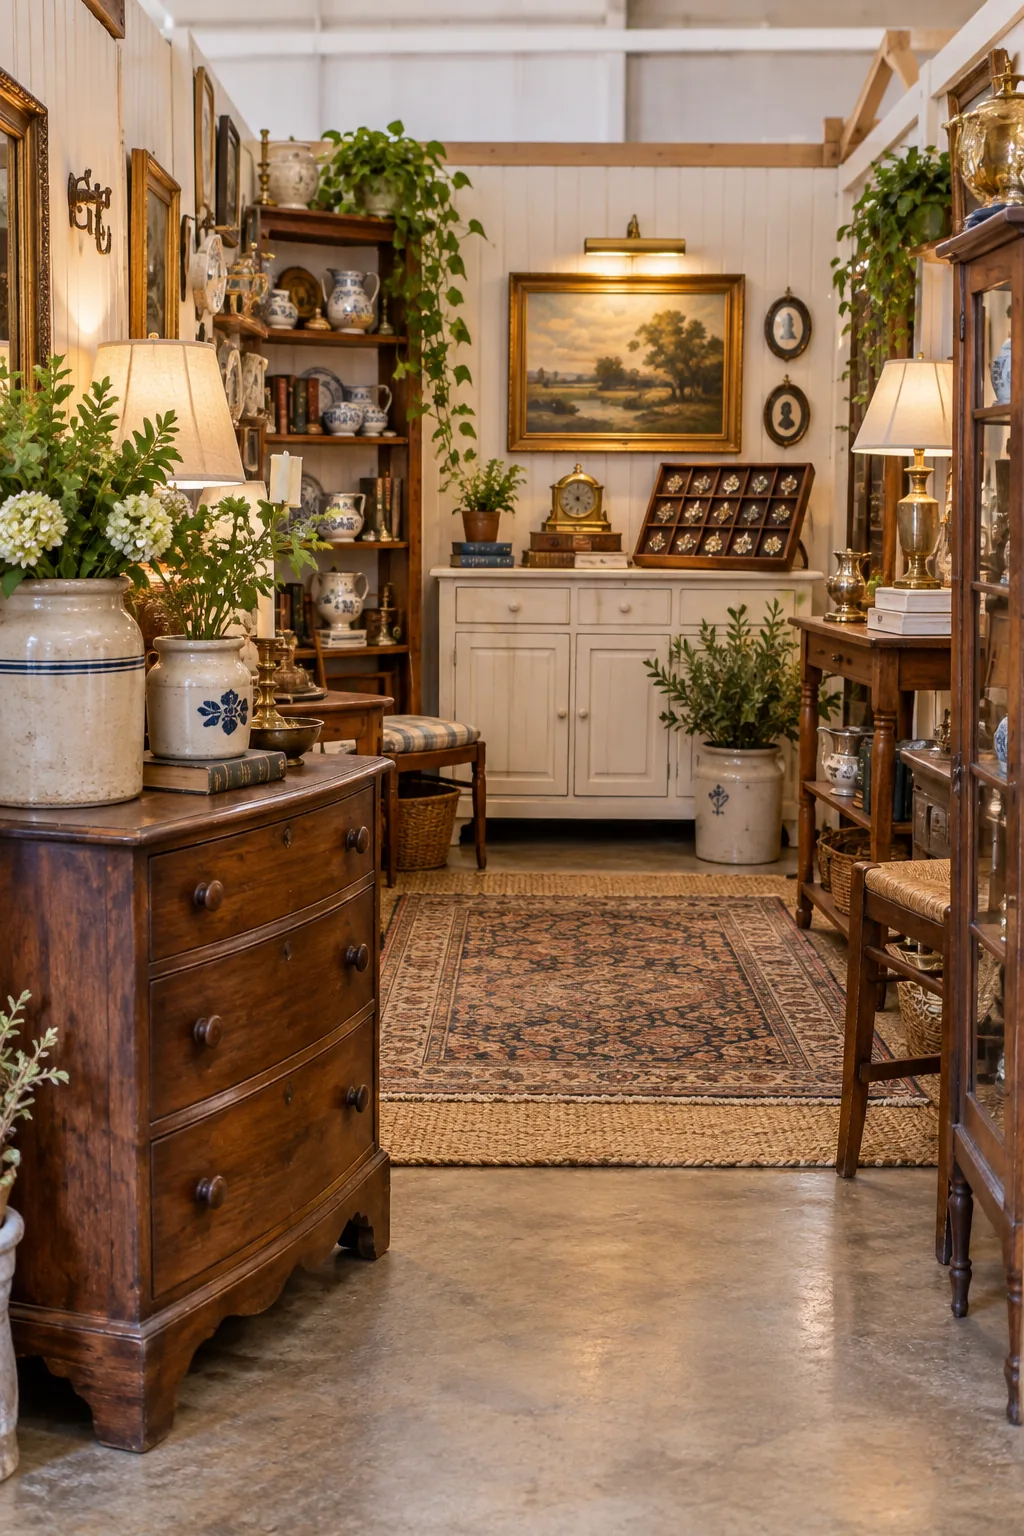
Before leaving your space for the weekend rush, you must confirm that every physical and visual barrier has been removed. Use this final merchandising checklist to guarantee your vintage layout is completely optimized for a profitable weekend.
Antique Booth Styling Inspiration
Explore these distinct booth styles to find the perfect aesthetic for your vintage inventory.
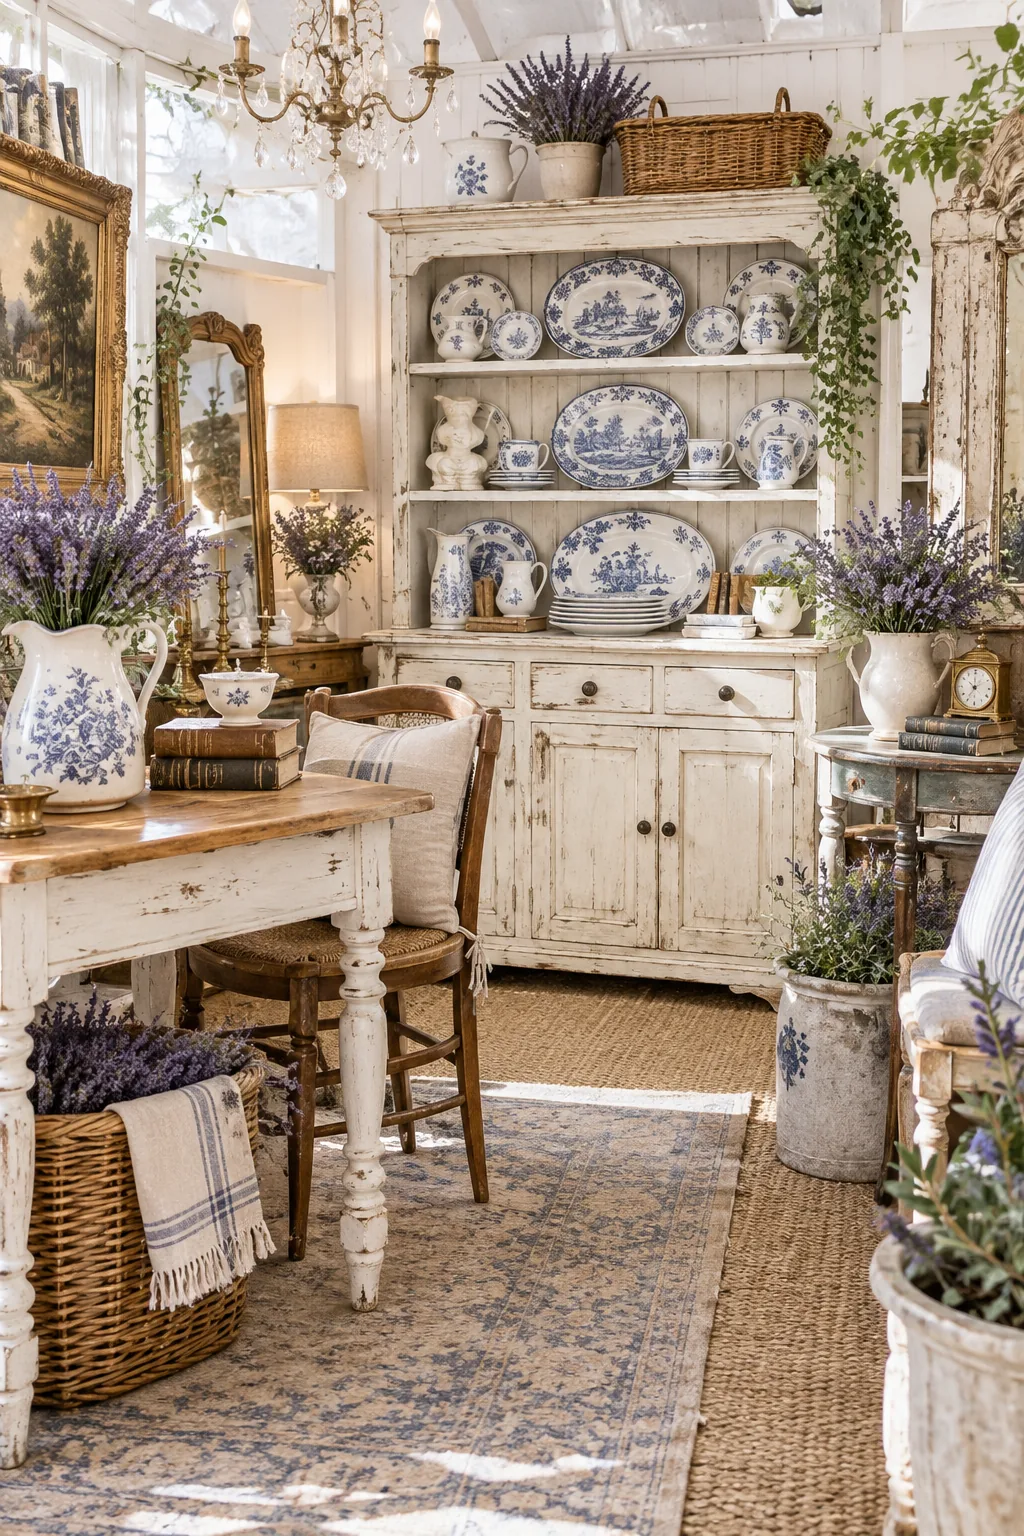
Bright French Country Vintage: Distressed white finishes and lavender accents give this booth a soft, romantic feel. Use mismatched ironstone plates as a bright, cohesive backdrop for smaller goods.
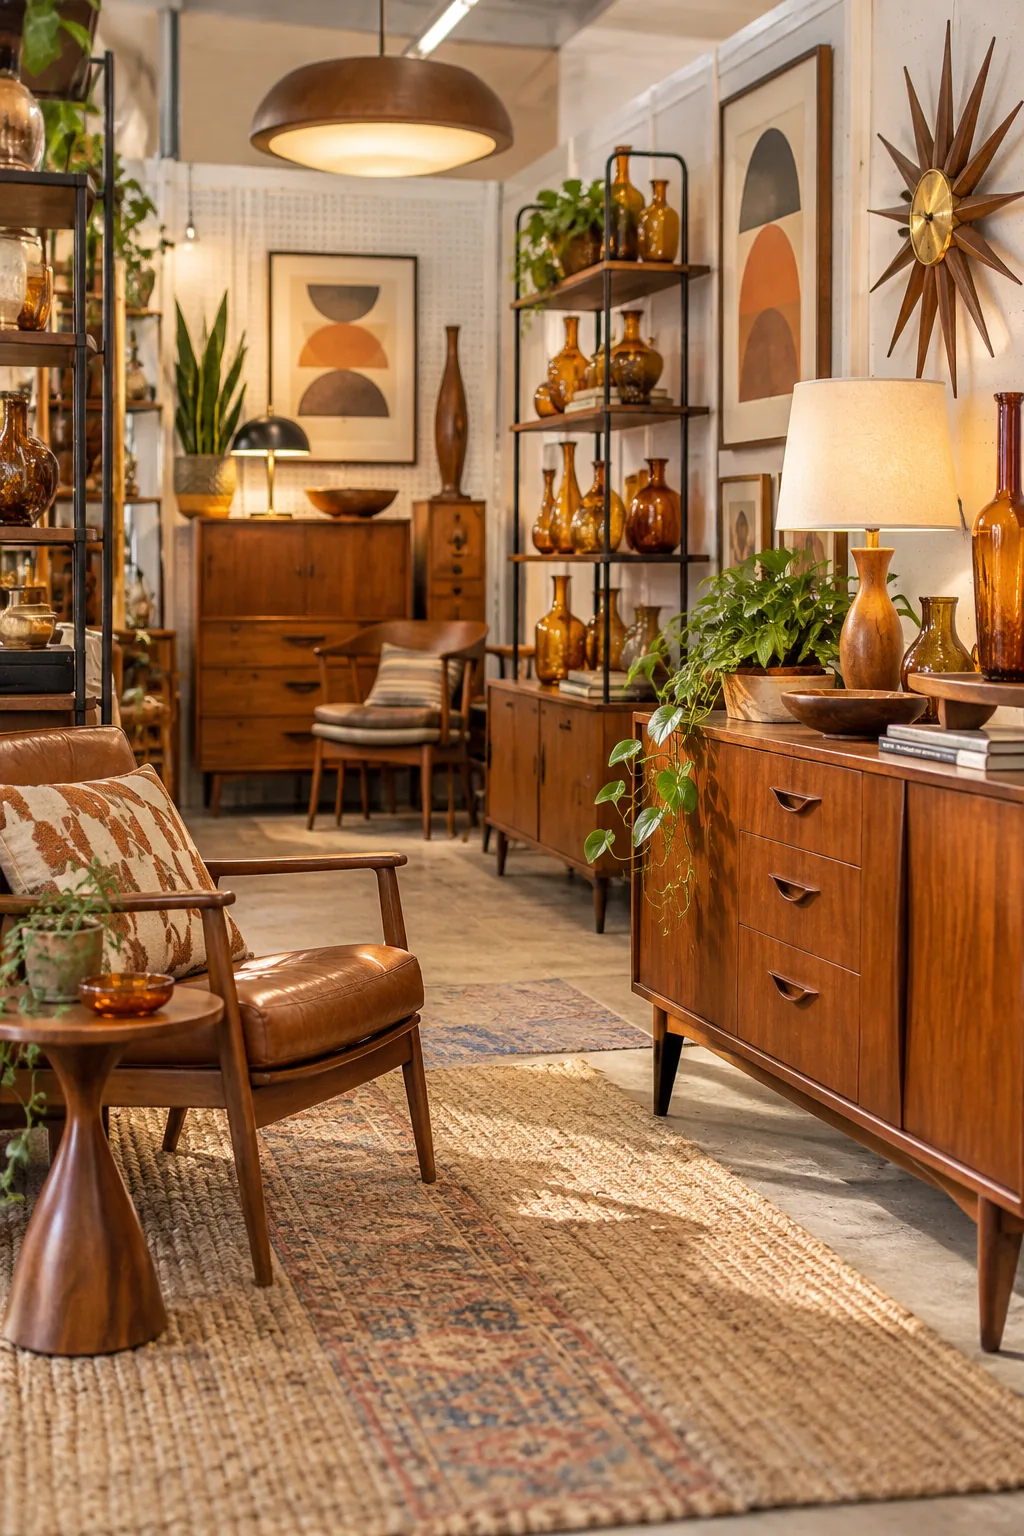
Warm Mid-Century Modern: Warm teak furniture and geometric shapes define this mid-century layout. Group amber glass bottles together near a light source to create a glowing focal point.
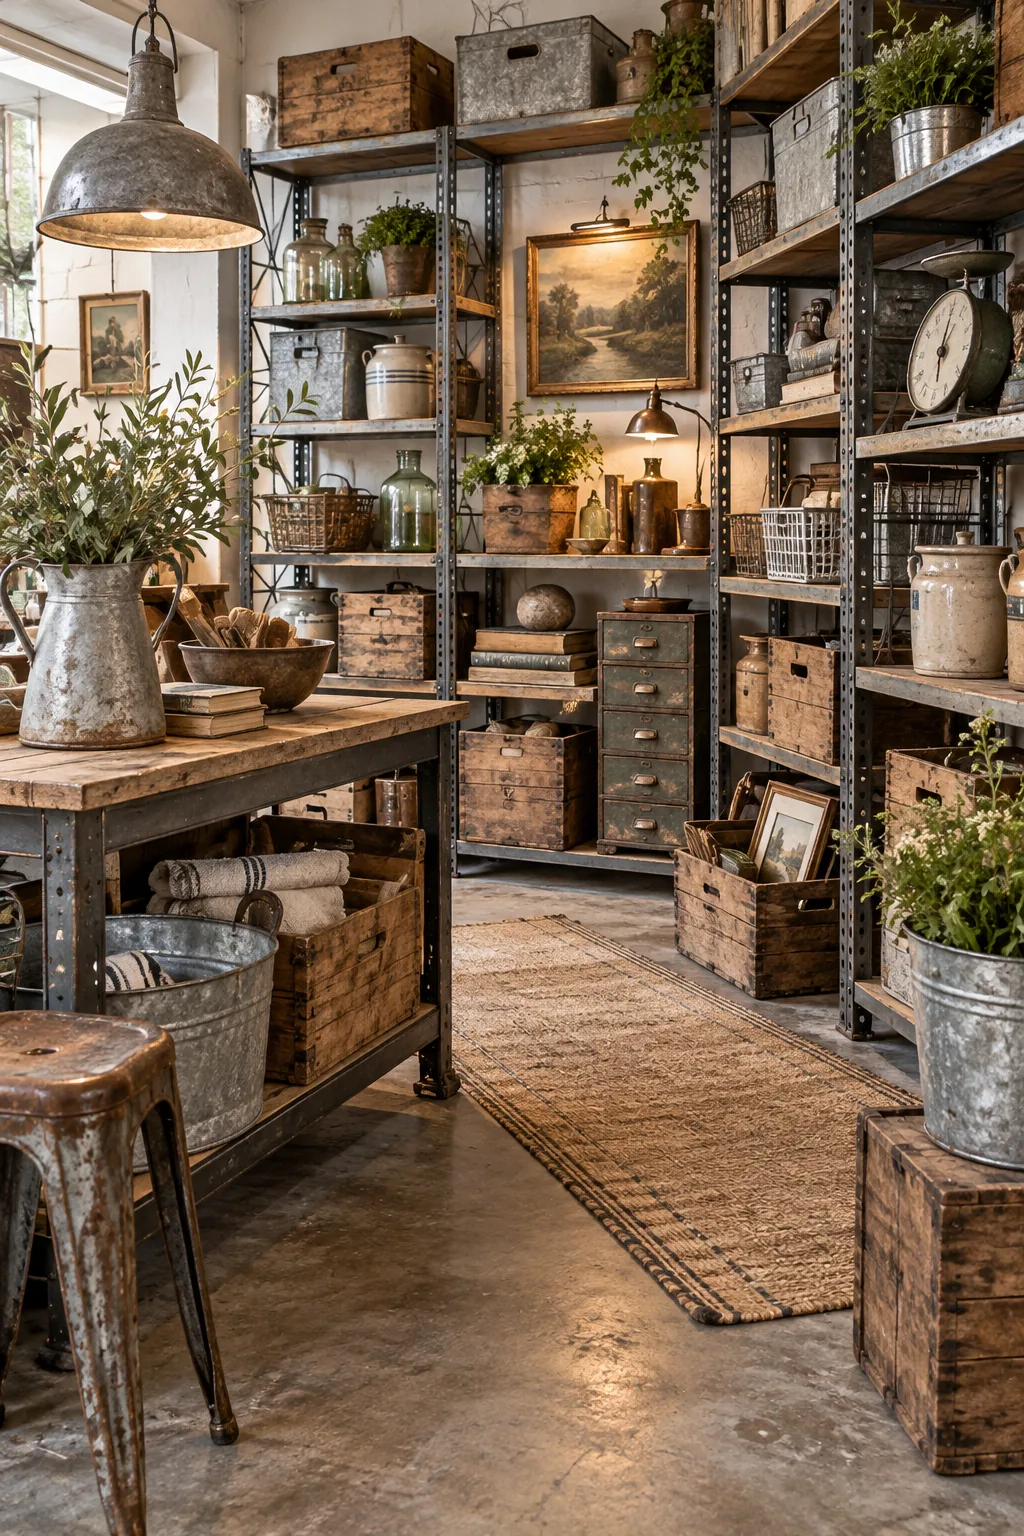
Utilitarian Industrial Vintage: Raw wood and galvanized metal bins create a sturdy, utilitarian vibe. Utilize heavy-duty freestanding metal shelving to maximize vertical display space without blocking sightlines.
Moody Dark Academia: Moody dark walls and rich mahogany build a cozy, library-like atmosphere. Stack vintage leather-bound books to elevate brass globes and antique magnifying glasses.