
At Home Spa Day Setup: The Sanctuary Sequence & Checklist
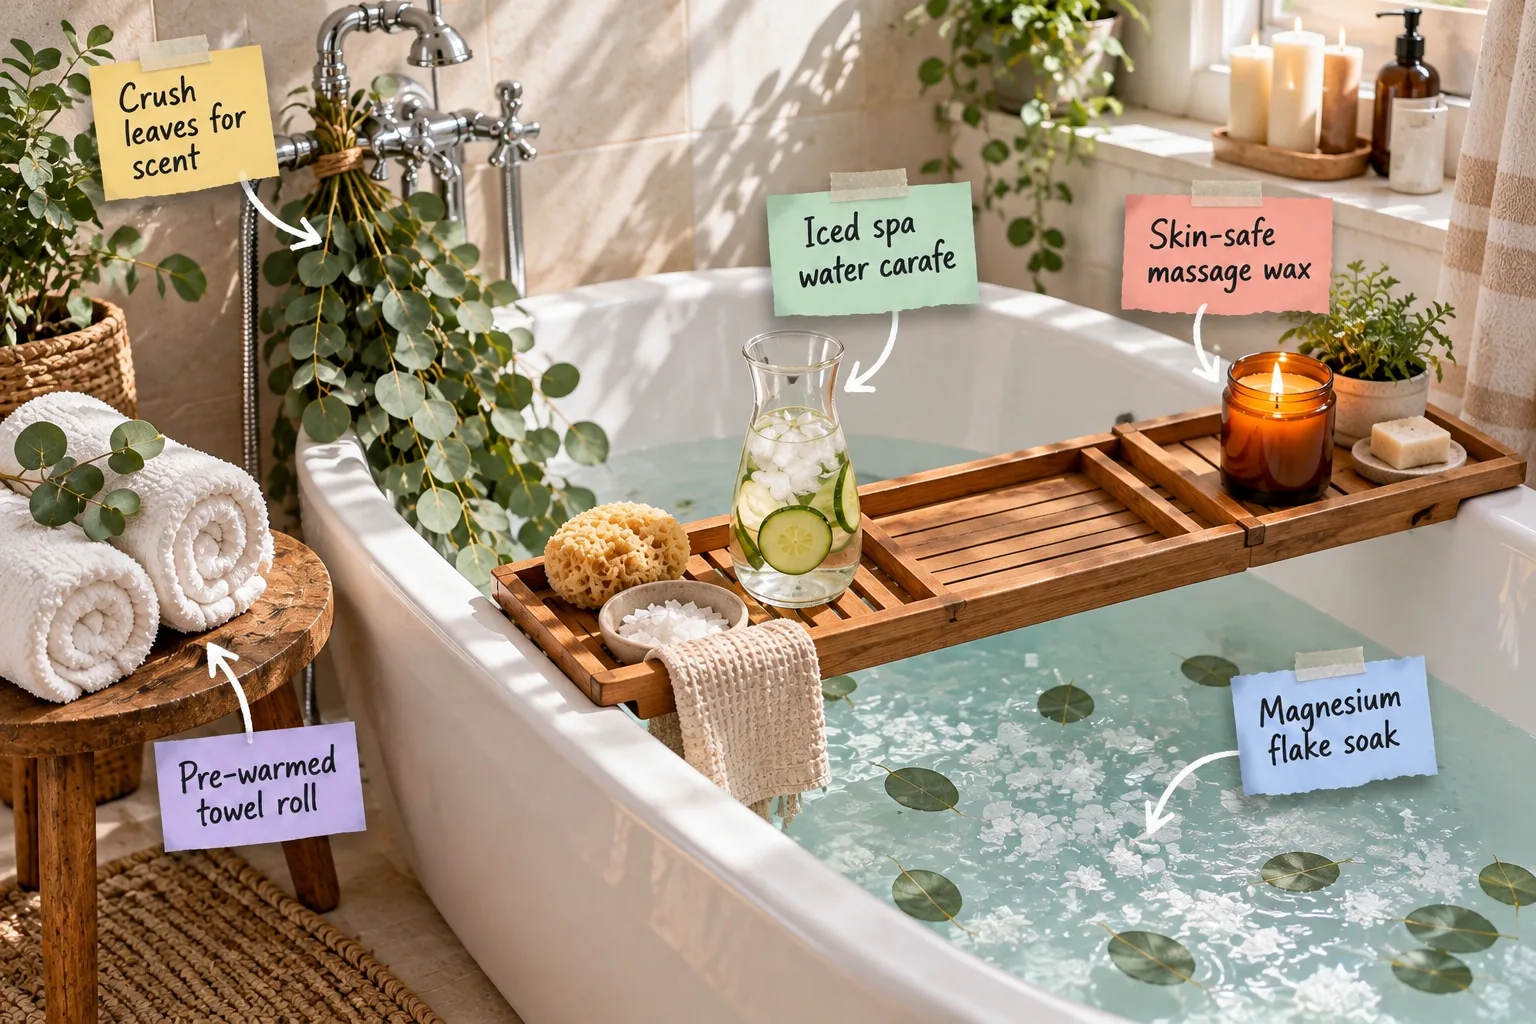
Transform your standard bathtub into a luxurious retreat with this step-by-step preparation checklist and downloadable spa sequence. You will be able to arrange a deeply relaxing bath sanctuary and follow a structured sequence for a complete spa experience at home.
Activating the Eucalyptus Steam
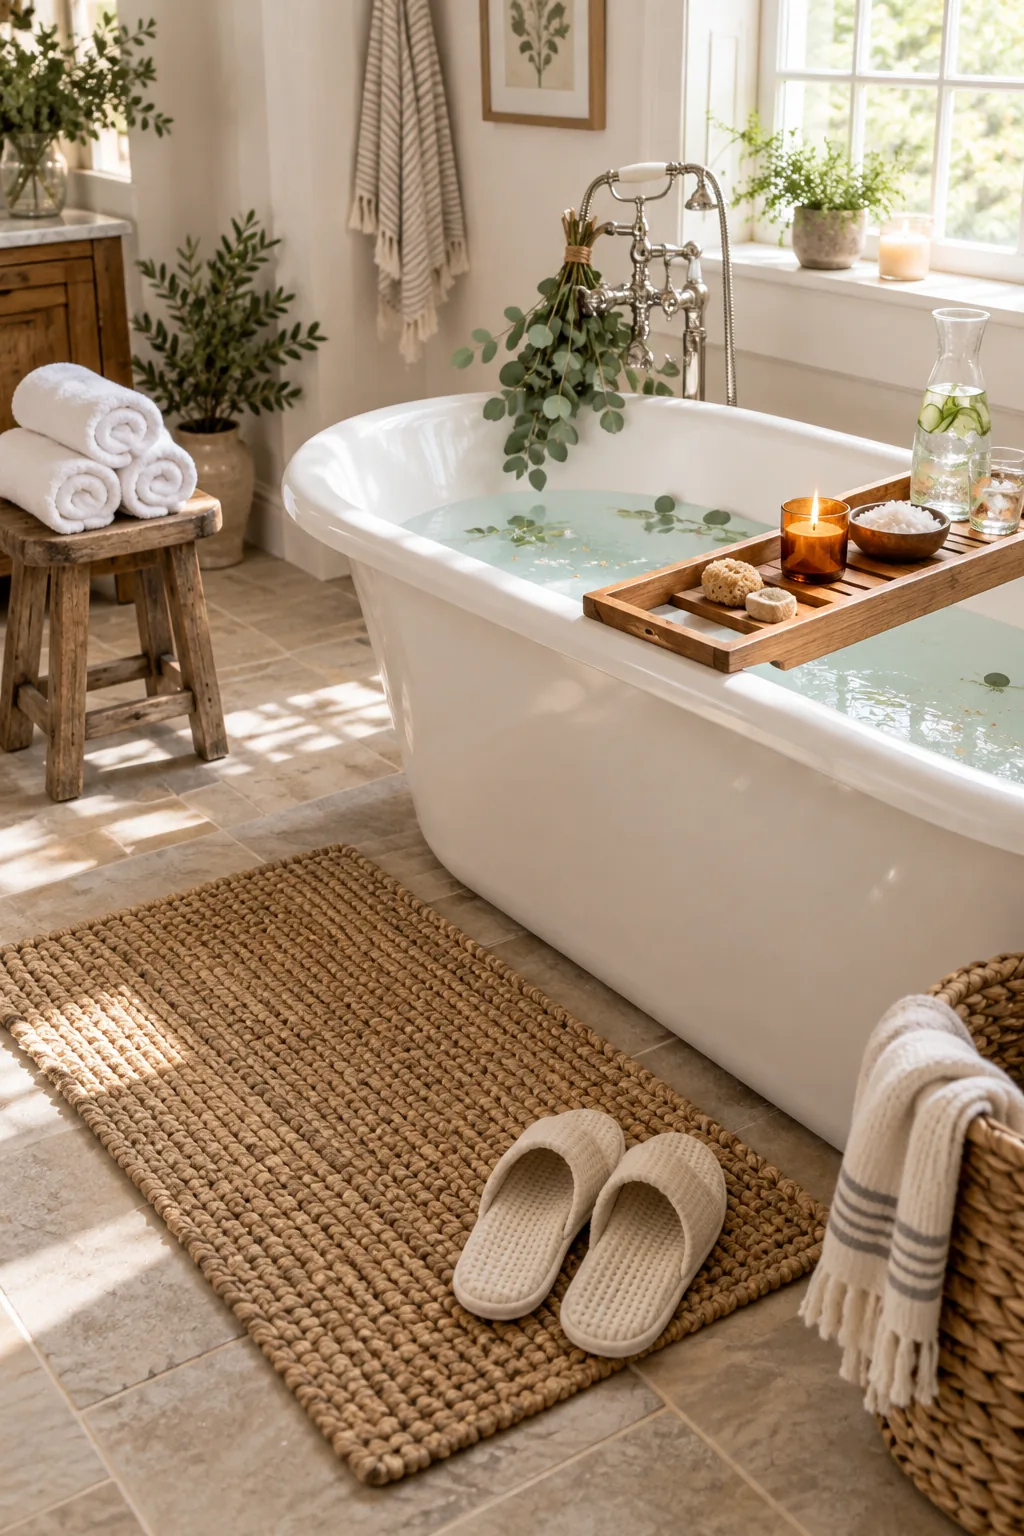
Tie a fresh eucalyptus bundle to the showerhead or tub filler using natural twine to start your preparation. Crush the lower leaves gently with your fingers to release the essential oils before running the hot water, allowing the steam to carry the scent throughout the room.
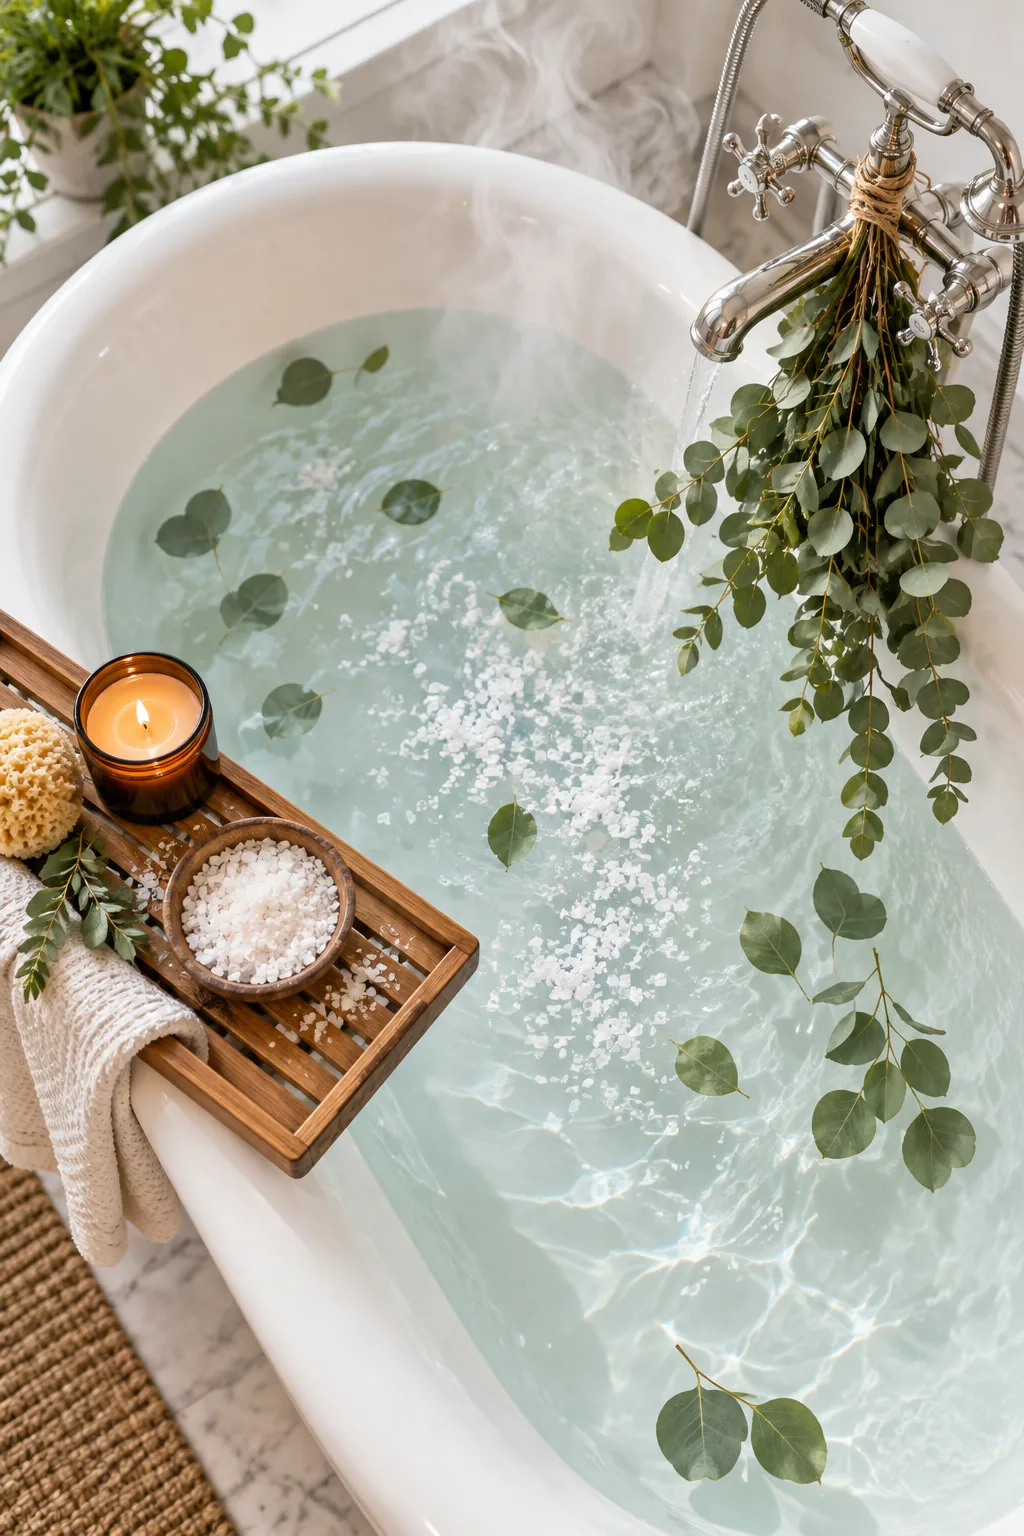
Positioning the branches directly in the steam path rather than submerging them in the bathwater prevents the leaves from breaking apart and clogging your drain. The heat activates the natural compounds, creating a clearing, aromatic environment that mimics a professional steam room.
Timing the Steam Release
Run your hot water for at least five minutes before stepping into the bathroom to allow the eucalyptus oils to fully vaporize. Keeping the door tightly closed during this initial phase traps the aromatic steam, transforming the space into a highly concentrated thermal sanctuary.
Securing the Botanical Bundle
Wrap your natural twine tightly around the stems at least three times, finishing with a secure double knot to prevent slipping. Avoid using rubber bands or plastic ties, as these materials can degrade quickly under intense heat and release unpleasant chemical odors into your pristine environment.
Dissolving the Magnesium Flakes
Add 1 to 2 cups of magnesium flakes to the warm running water to build the foundation of your soak. These mineral flakes dissolve much faster than traditional Epsom salts and leave less chalky residue on the tub surface, making cleanup effortless later.
Swirl the water gently with your hand to ensure the flakes distribute evenly across the bottom of the tub before you step in. This highly bioavailable form of magnesium absorbs efficiently through the skin, helping to release muscle tension built up from a long week.
Comparing Bath Minerals
While standard salts work well for basic relaxation, pure magnesium chloride flakes deliver a significantly higher concentration of soothing minerals per cup. I always recommend keeping a dedicated glass jar of these flakes near the tub so you never have to hunt for them.
| Mineral Type | Dissolve Rate | Best For | Tub Residue |
|---|---|---|---|
| Magnesium Flakes | Very Fast | Muscle Recovery | Minimal |
| Epsom Salt | Moderate | General Soak | Moderate |
| Sea Salt | Slow | Skin Exfoliation | High |
Storing your minerals in an airtight container prevents them from clumping together due to the ambient bathroom humidity. A wooden scoop helps measure the exact amount without introducing moisture from wet hands into your bulk supply, preserving the integrity of the remaining flakes.
Managing the Bath Temperature
Keep the water around 98 to 100 degrees Fahrenheit to prevent overheating during a long soak, checking it with a basic bath thermometer. Monitoring the heat level is especially important if you plan to stay in the tub for more than twenty minutes.
If the water begins to cool too much after twenty minutes, simply drain a small amount and run the hot tap briefly to bring the temperature back up. Maintaining a steady, comfortable warmth is far more restorative than starting with an unbearably hot bath.
Setting Up the Hydration Station
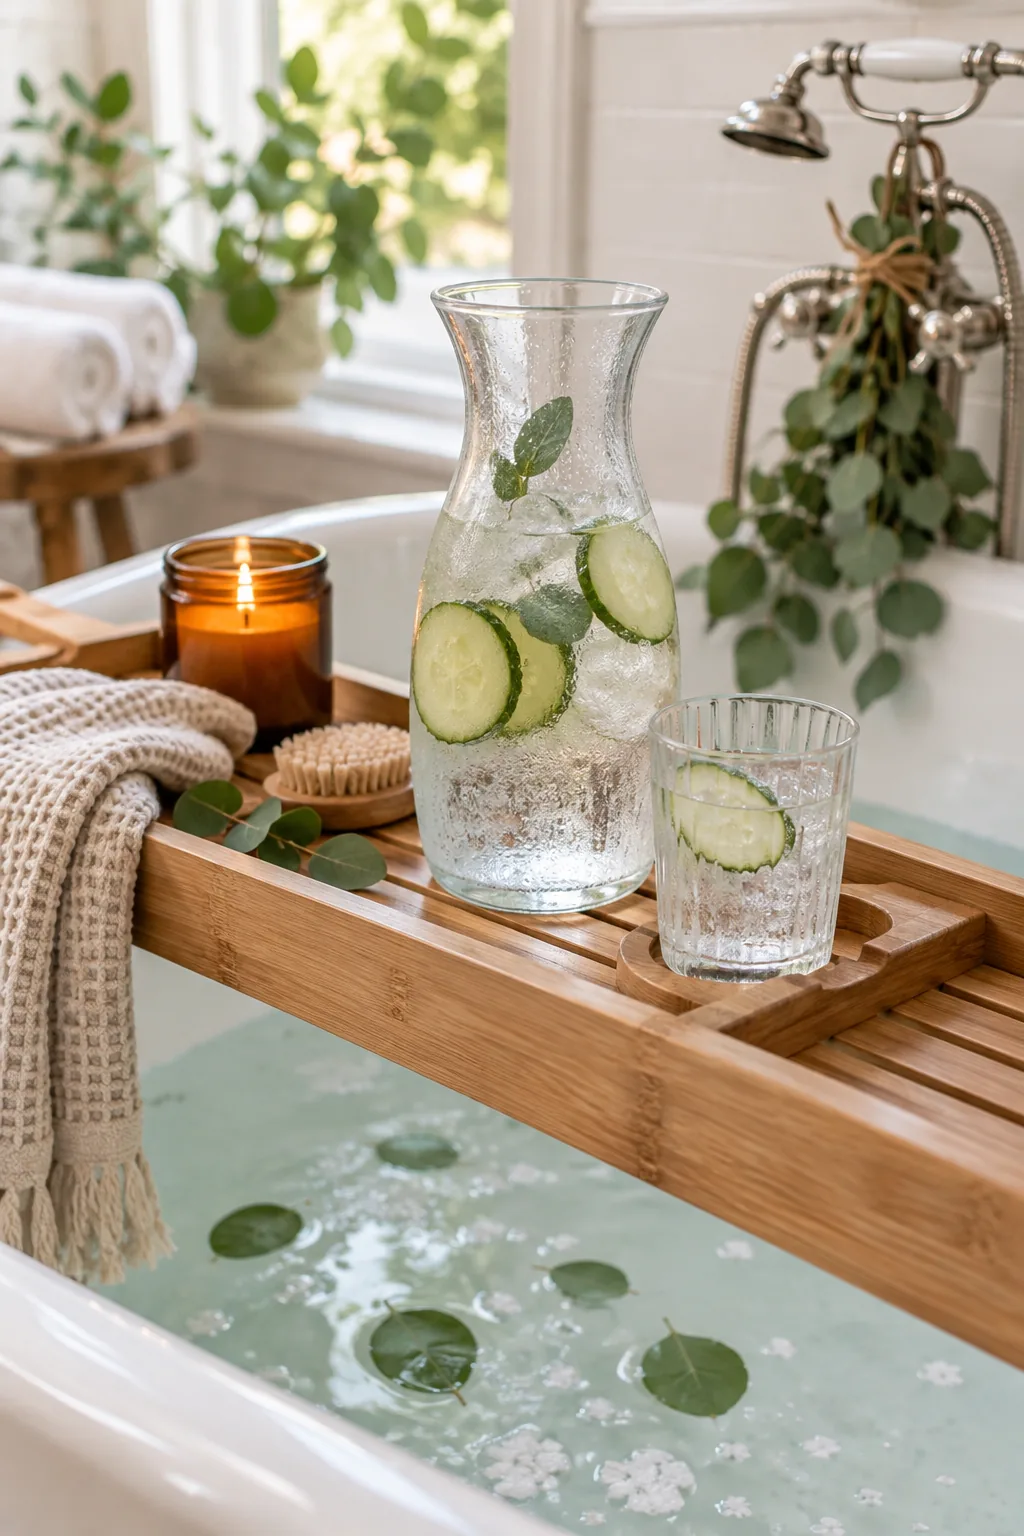
Place a wooden bath tray securely across the tub edges to hold a glass carafe of iced water during your session. Add fresh cucumber slices to the carafe for a refreshing spa touch, ensuring cold hydration is always within arm’s reach while you soak.
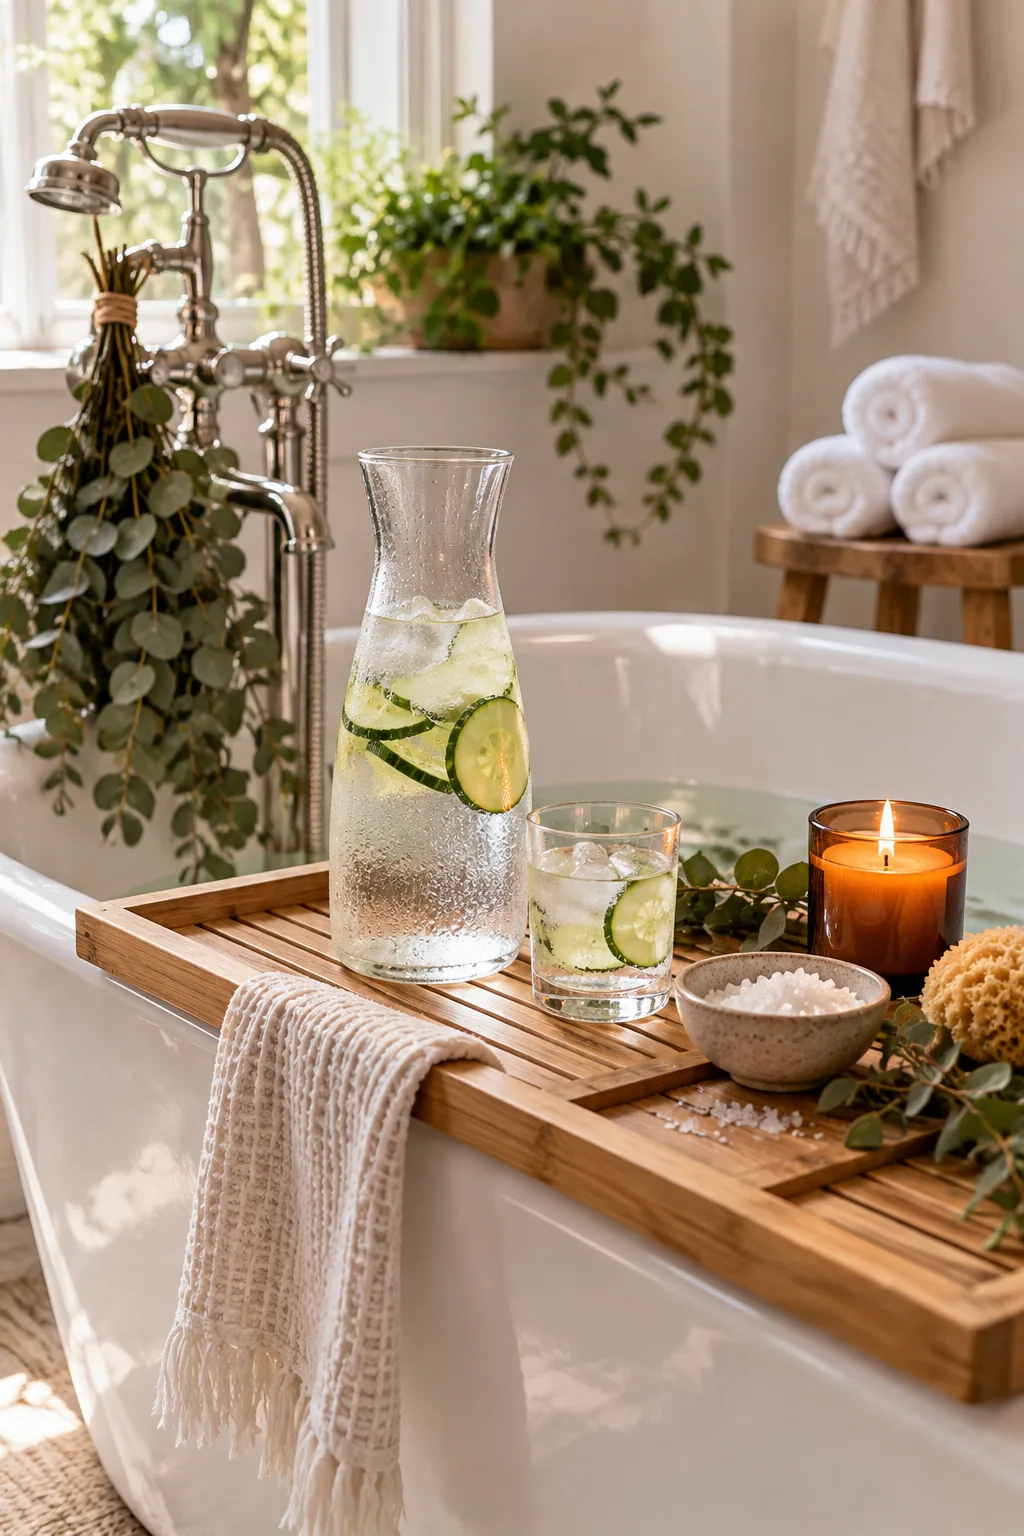
Balancing the external heat of the bath with internal cooling prevents the sluggish, dehydrated feeling that often follows a hot soak. A sturdy tray with a dedicated groove for your glass ensures nothing tips over into the soapy water below.
Customizing the Spa Water
While cucumber is a classic choice, you can easily alter the flavor profile by adding fresh mint sprigs or a few crushed berries to the carafe. Preparing this water an hour ahead of time allows the subtle flavors to infuse fully into the ice.
- Slice cucumbers thinly on a mandoline to maximize their surface area for rapid infusion.
- Fill the glass carafe with filtered water and dense ice cubes for the cleanest taste.
- Let the mixture rest in the refrigerator for one hour before your bath to fully develop the flavors.
Keeping a small hand towel on the tray next to your drink allows you to quickly dry your fingers before picking up the slippery, condensation-covered glass. This small preparation step makes the entire soaking experience feel seamless and professionally curated.
Lighting the Massage Candle
Position a skin-safe massage candle safely on the edge of the tray or a wide tub rim to begin melting the treatment. In my own Boston brownstone, I always light the wick just before stepping into the water so the timing aligns perfectly.
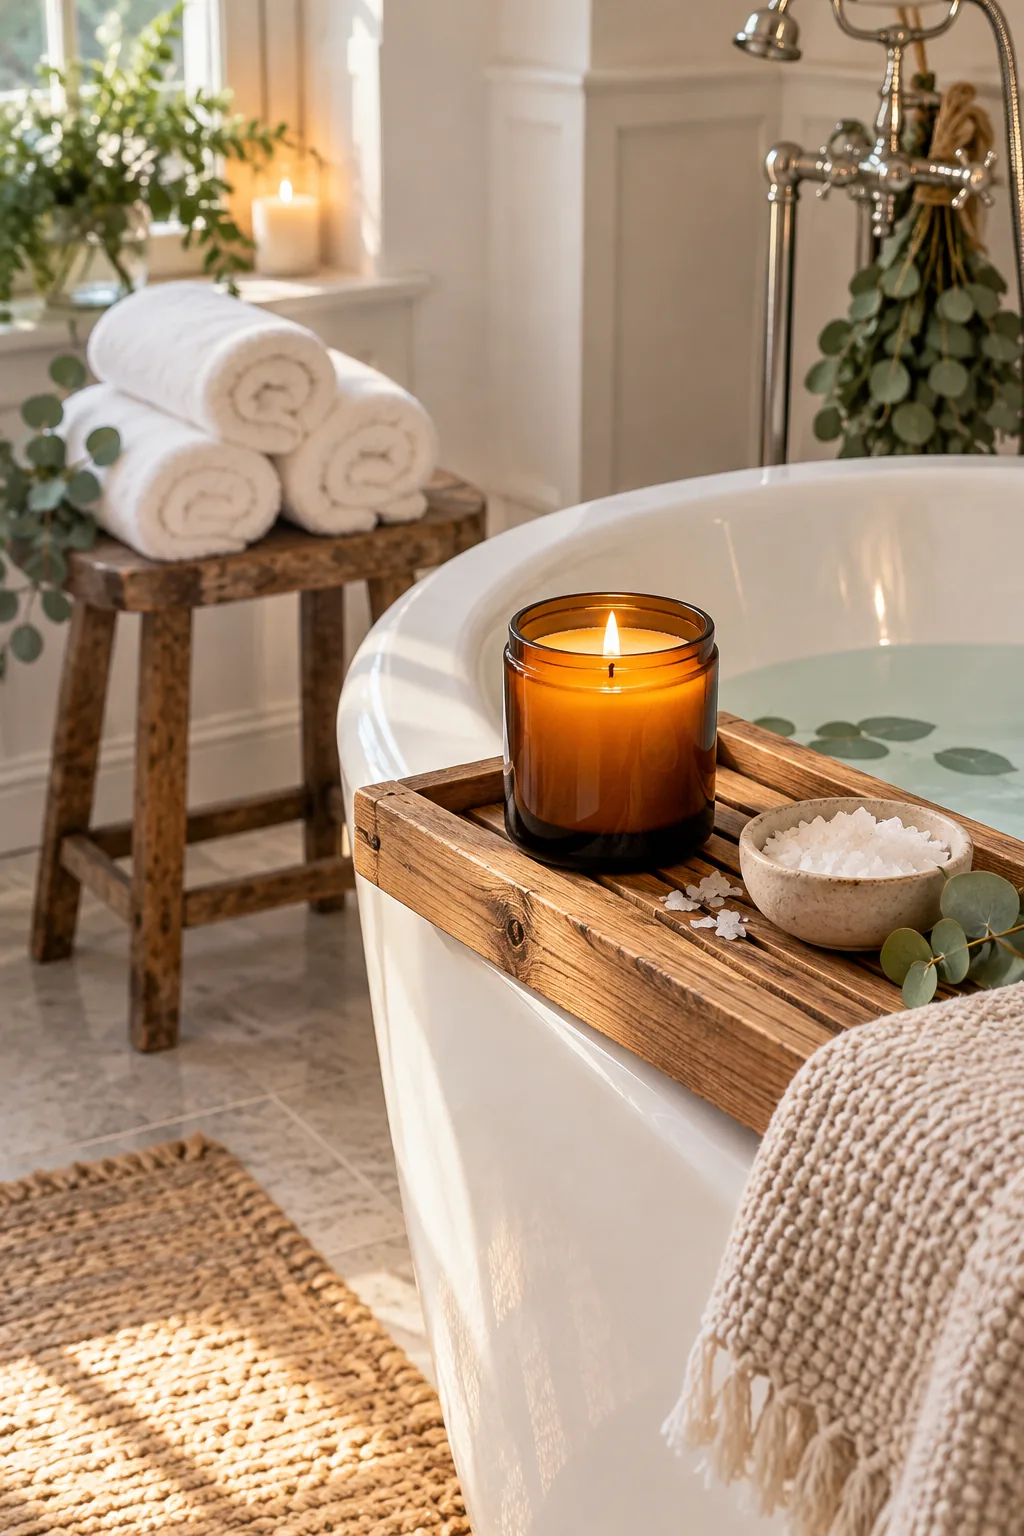
Let it burn for 10 to 15 minutes so the wax melts into a warm, nourishing pool of oil for post-bath hydration. Snuff the flame carefully once a sufficient pool has formed, ensuring no soot falls into the pristine melted oils.
Positioning the Candle Safely
Always place the candle on a completely flat, non-flammable surface well away from any overhanging towels or eucalyptus branches. Maintaining a clear radius of at least twelve inches around the open flame guarantees a safe, worry-free environment while you close your eyes to relax.
Selecting the Right Wax Base
Verify that your massage candle is formulated with cosmetic-grade soy or coconut wax and specifically labeled for safe skin application. Standard decorative candles contain paraffin and synthetic fragrances that can cause severe irritation or burns when applied directly to sensitive, freshly soaked skin.
The Complete Spa Day Sequence
Follow a structured timeline to maximize relaxation, starting with dry brushing and ending with moisturization to complete the ritual. Whenever I design a wellness space for a client, I emphasize that the routine itself is just as important as the beautiful fixtures.
Use this simple progression to turn a standard bath into a comprehensive wellness ritual, keeping your mind focused on the present moment. Download the printable sequence to keep the steps organized without needing to check a bright phone screen while you unwind.
Preparing the Warm Towel Station
Roll two fluffy white towels tightly and place them on a small wooden stool right next to the tub for immediate access. Warm them on a radiator or in the dryer for 10 minutes prior to drawing the bath to elevate the experience.
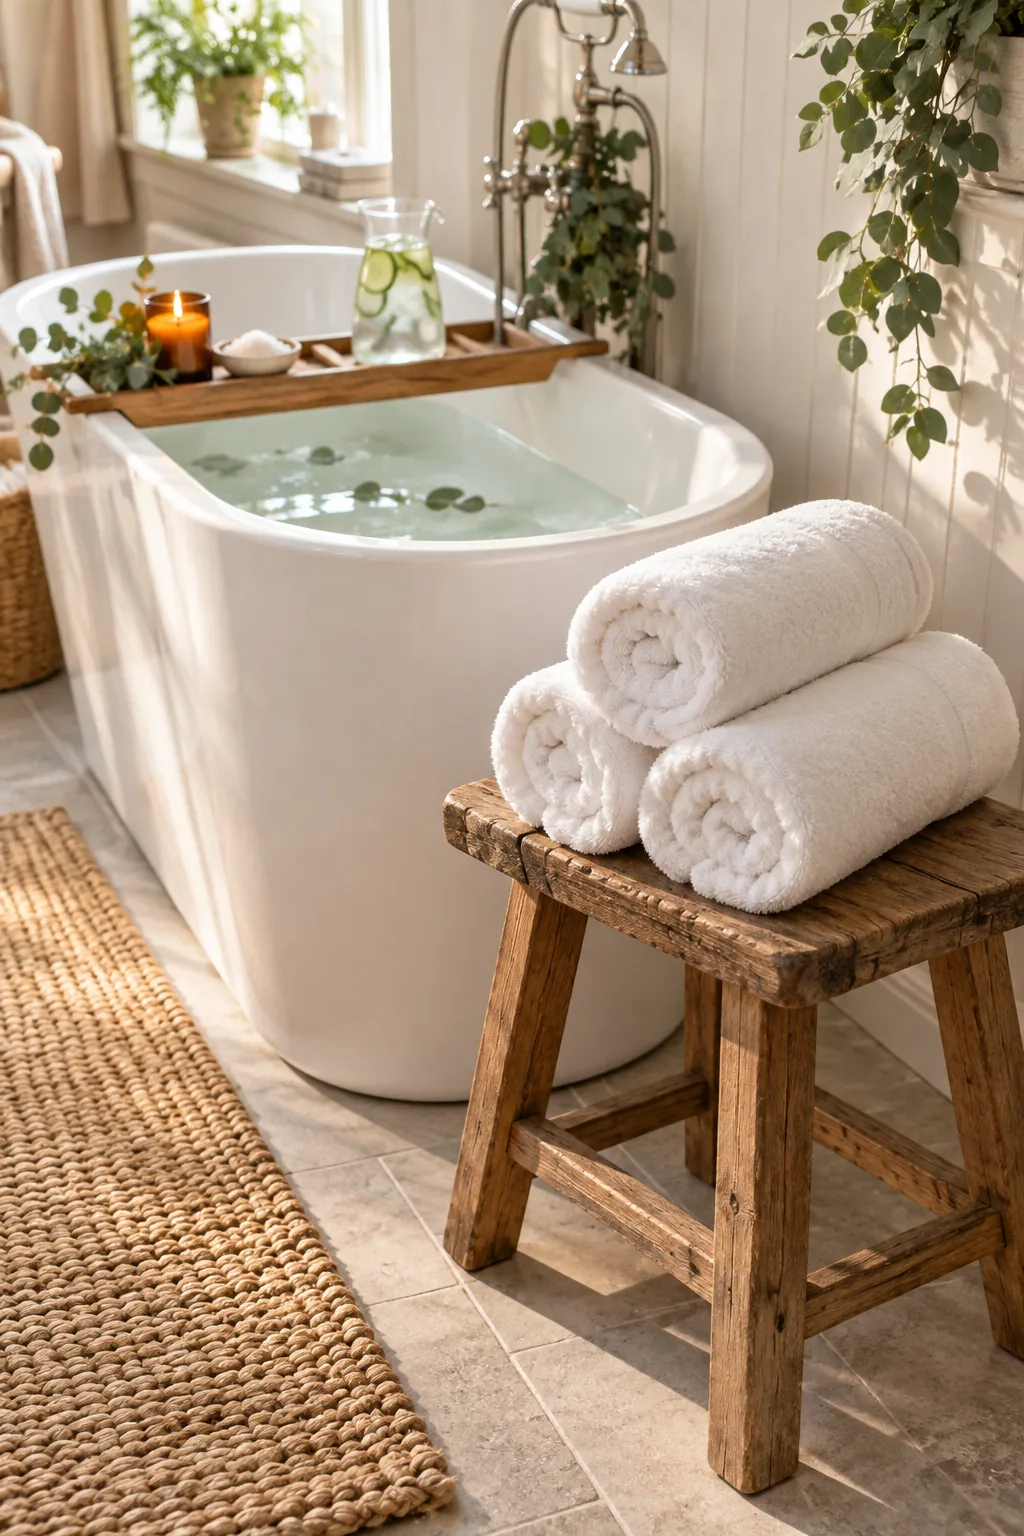
Keeping the textiles within arm’s reach means you never have to step out of the warm water and walk across a cold tile floor shivering. The tight roll retains the core heat much longer than simply folding them flat over a standard towel bar.
Choosing the Right Towel Fabric
Select towels woven from long-staple Turkish or Egyptian cotton, as these natural fibers provide superior absorbency and heat retention. A fabric weight of 600 to 800 GSM offers the perfect balance of plush comfort and manageable drying time for a luxurious daily routine.
Positioning the Towel Stool
Choose a stool made from teak, hinoki, or bamboo, as these dense woods naturally resist moisture and steam damage in a humid bathroom. Place it just outside the immediate splash zone, ensuring the fabrics remain perfectly dry until the exact moment you need them.
More Spa Sanctuary Styles
Adapt the relaxing spa day setup to perfectly match your bathroom's unique aesthetic.
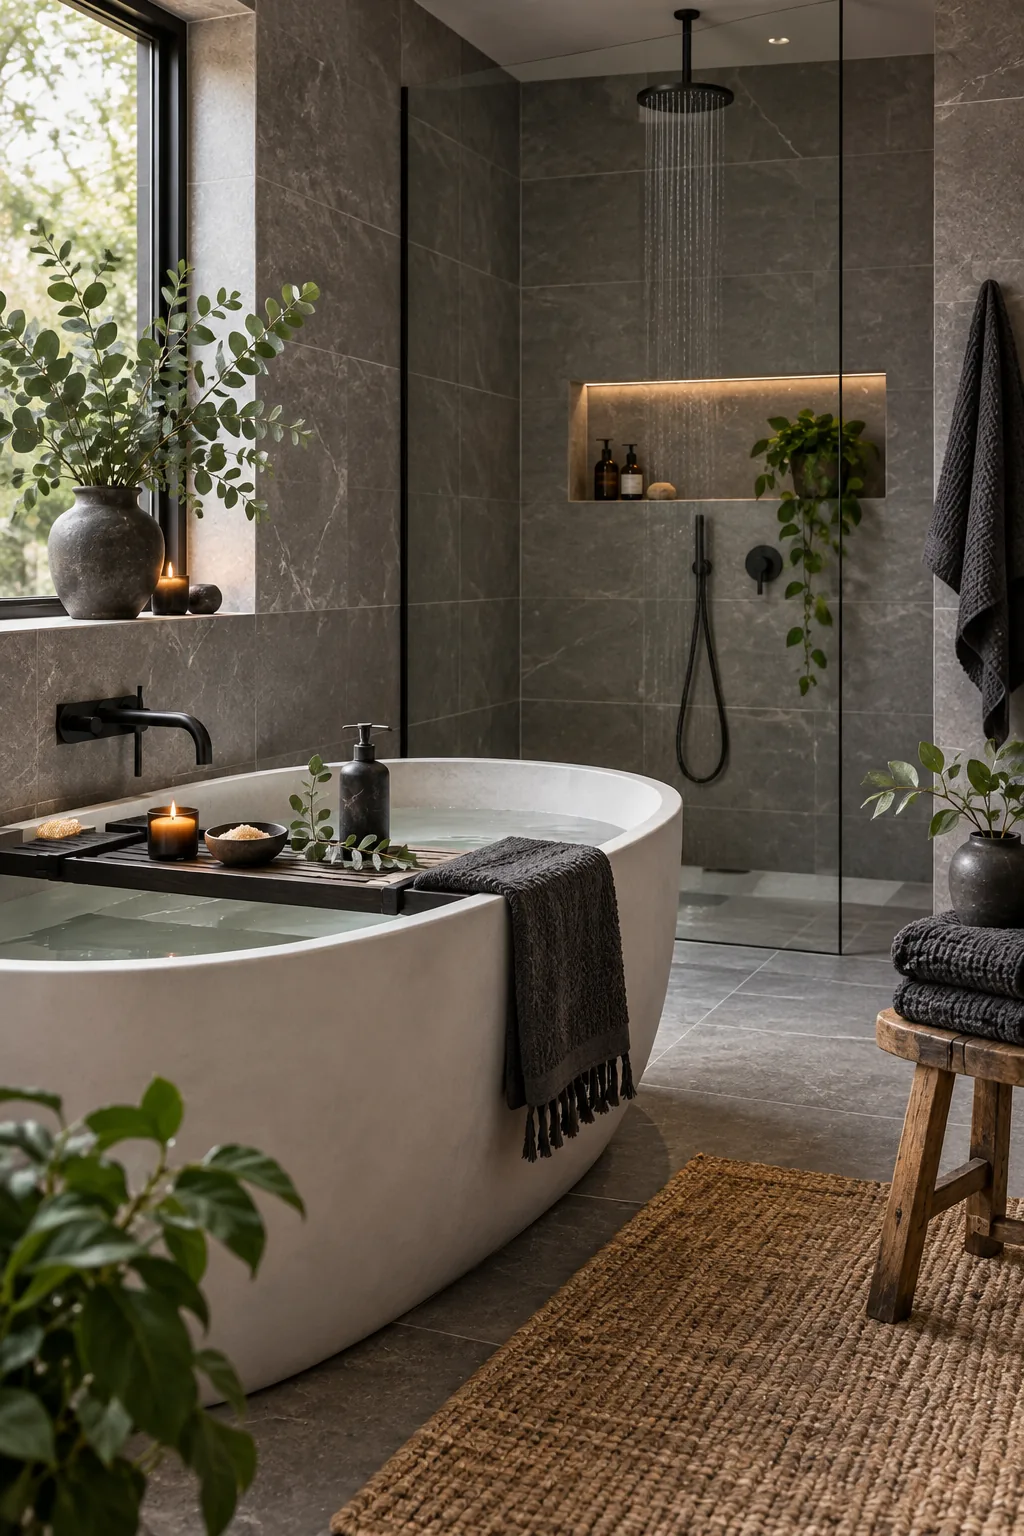
Minimalist Stone Retreat: Swap the warm woods for dark stone and matte black accents to create a sleek, minimalist wet room vibe.
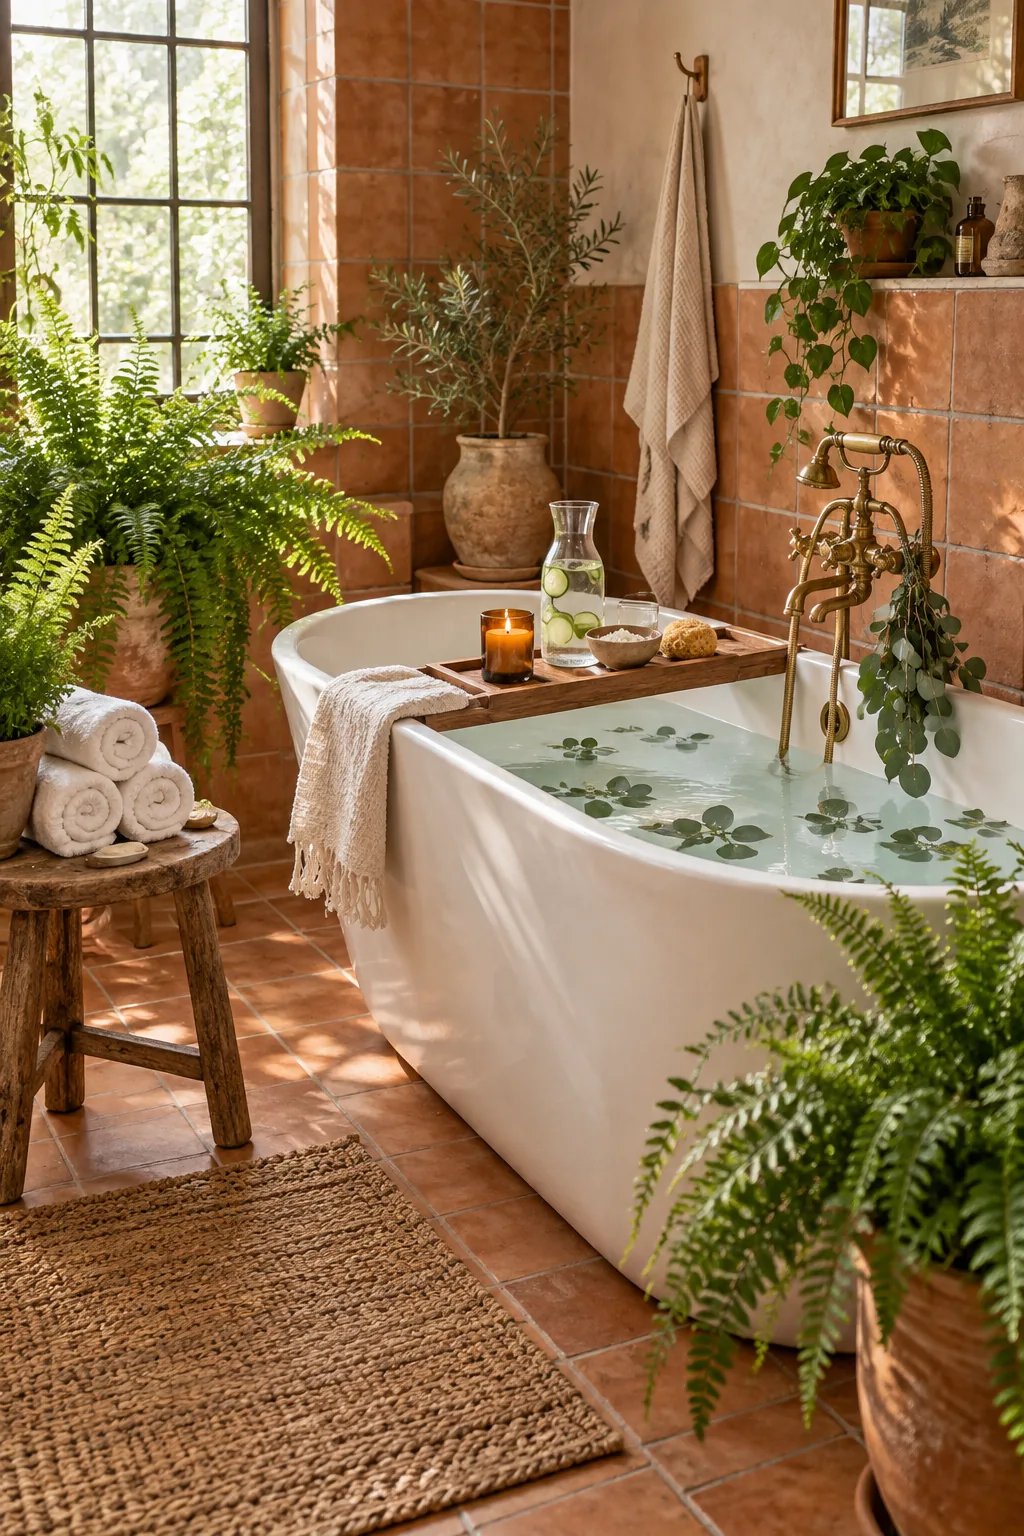
Botanical Garden Bath: Surround the tub with lush potted ferns and warm terracotta details for an immersive indoor garden experience.
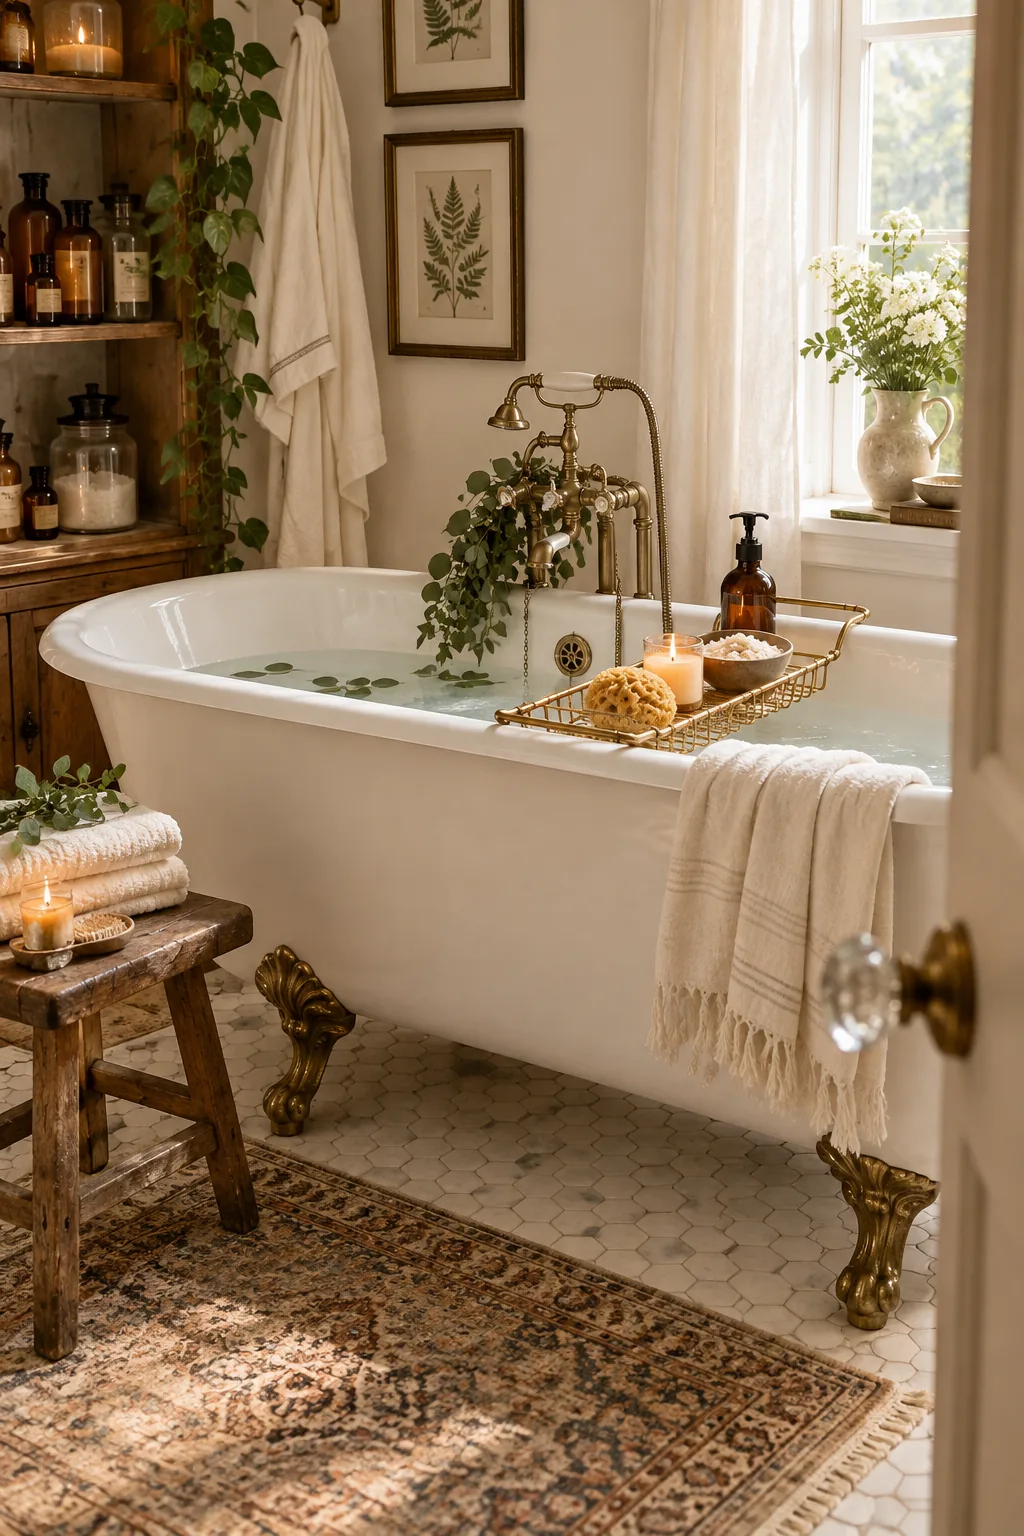
Vintage Apothecary Soak: Lean into a historic mood by styling a classic clawfoot tub with antique brass caddies and amber glass bottles.
Drying Off and Winding Down
Step directly onto a textured natural bath mat and immediately wrap up in the pre-warmed towels to preserve your body heat. I always keep a pair of waffle-knit slippers waiting right on the mat to keep my bare feet off the cold floor.
Apply the melted massage wax to damp skin to lock in moisture before moving to a quiet space to rest. Taking ten minutes to simply lie down and breathe afterward solidifies the deep relaxation benefits of your entire carefully planned sequence.