
How to Build a DIY Pondless Urn Fountain: Parts & Steps
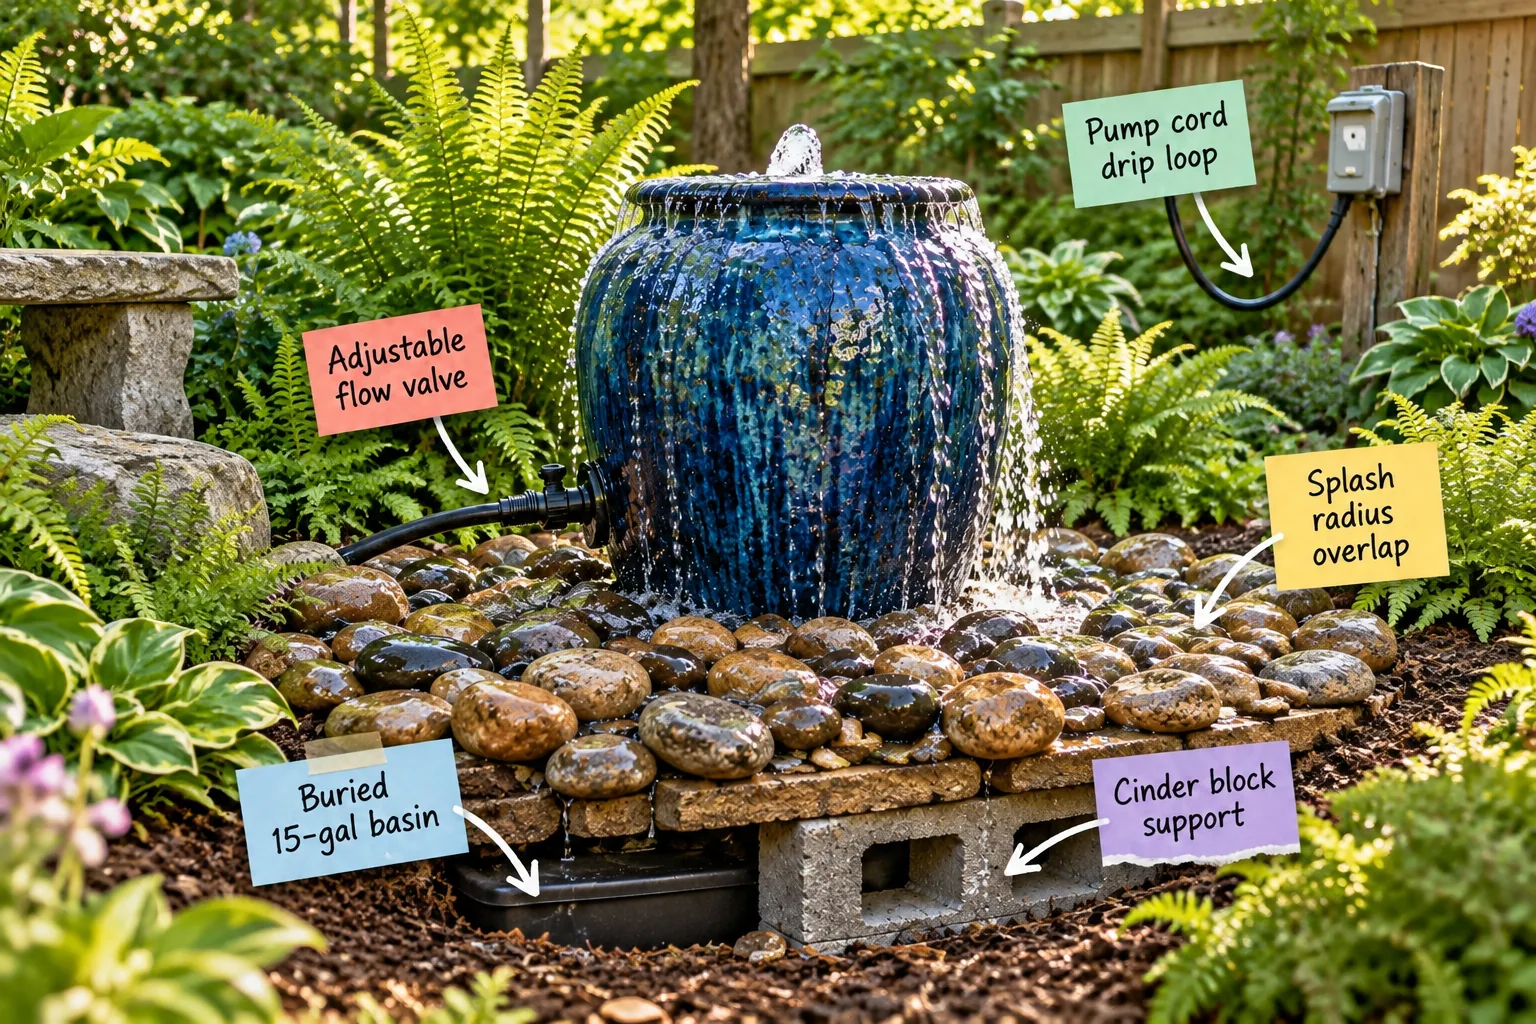
You will be able to gather the exact materials from our comprehensive parts list and assemble a stable, splash-proof pondless fountain in your own backyard. Uncover the hidden setup behind this bubbling feature, understand the structural foundation, and grab the complete step-by-step build sequence below to start your weekend project today.
The Hidden Pondless Advantage
Burying the heavy water reservoir creates a significantly cleaner, safer water feature because hiding the mechanics below ground eliminates standing water entirely, which drastically reduces stubborn algae growth and prevents mosquitoes from breeding.
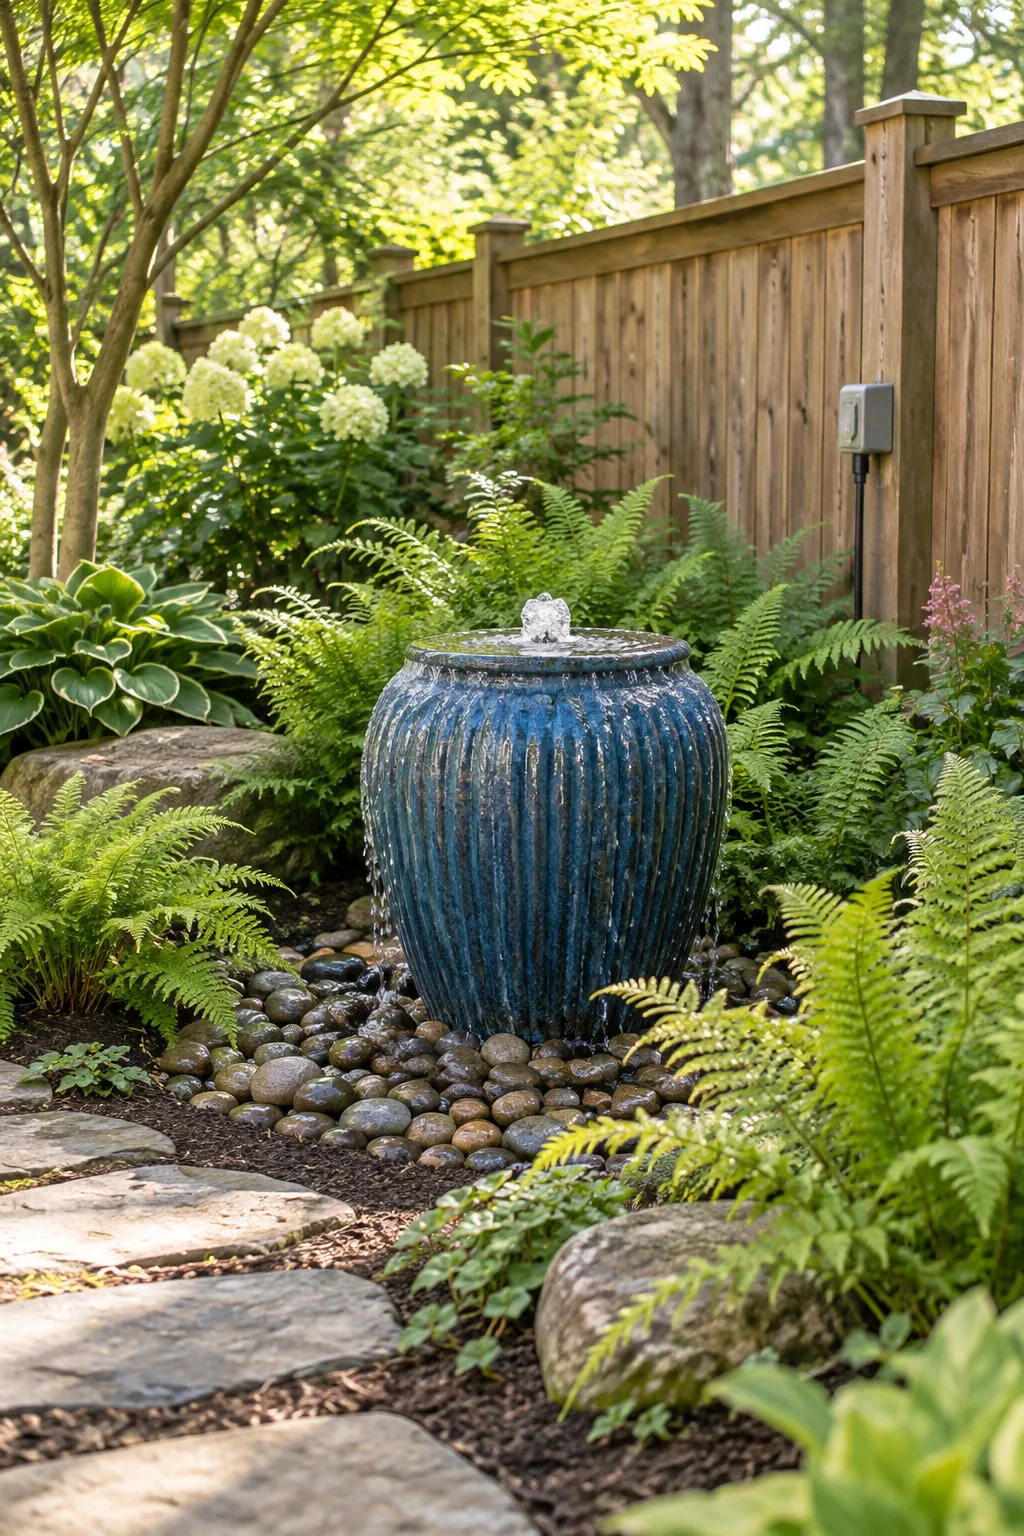
With the functional hardware completely concealed beneath a natural stone bed, the visual focus remains squarely on the decorative ceramic urn. This hidden approach also protects the delicate plastic pump components from direct UV damage and freezing surface temperatures.
Choosing the Right Location
Selecting the perfect spot requires balancing backyard aesthetics with strict electrical safety requirements and solid ground conditions for heavy loads.
- Power proximity: Position the site within 10 to 15 feet of a GFCI-protected outdoor outlet to avoid dangerous extension cords that can easily short out in the rain or get sliced by a lawnmower.
- Ground stability: Choose undisturbed, deeply compact soil rather than freshly tilled garden beds to prevent the heavy water-filled urn from settling unevenly and tilting over time.
- Debris clearance: Avoid placing the feature directly under messy deciduous trees that will constantly drop leaves, heavy seeds, and small twigs directly into your filtering rocks.
Once you map out a spot that meets these crucial criteria, mark the exact footprint of your basin on the grass with marking paint before you ever pick up a shovel.
Sizing the Buried Basin
Selecting the right underground reservoir is absolutely crucial, requiring a Buried 15-gal basin as the minimum volume. Before dropping that basin into the ground, verify the hole is within safe reach of a GFCI-protected outlet, as proximity to a grounded power source dictates your final placement options.
A deep, high-capacity reservoir also means you will only need to top off the water level with a garden hose once every few weeks, effectively protecting the internal pump motor from burning out prematurely due to accidental dry running.
Building the Cinder Block Support
A large water-filled ceramic urn is incredibly heavy and requires a solid Cinder block support to safely bridge that massive weight down to the solid earth, while still leaving enough room in your minimum 15-gallon basin to ensure the pump stays submerged during hot weather.
A collapsing fountain is a dangerous mess that can destroy your expensive pottery, so avoid these common structural errors when building your hidden foundation.
Setting and Leveling the Urn
Once your structural concrete blocks are completely secure, carefully center the empty urn and use a standard bubble level across the top rim in multiple directions.
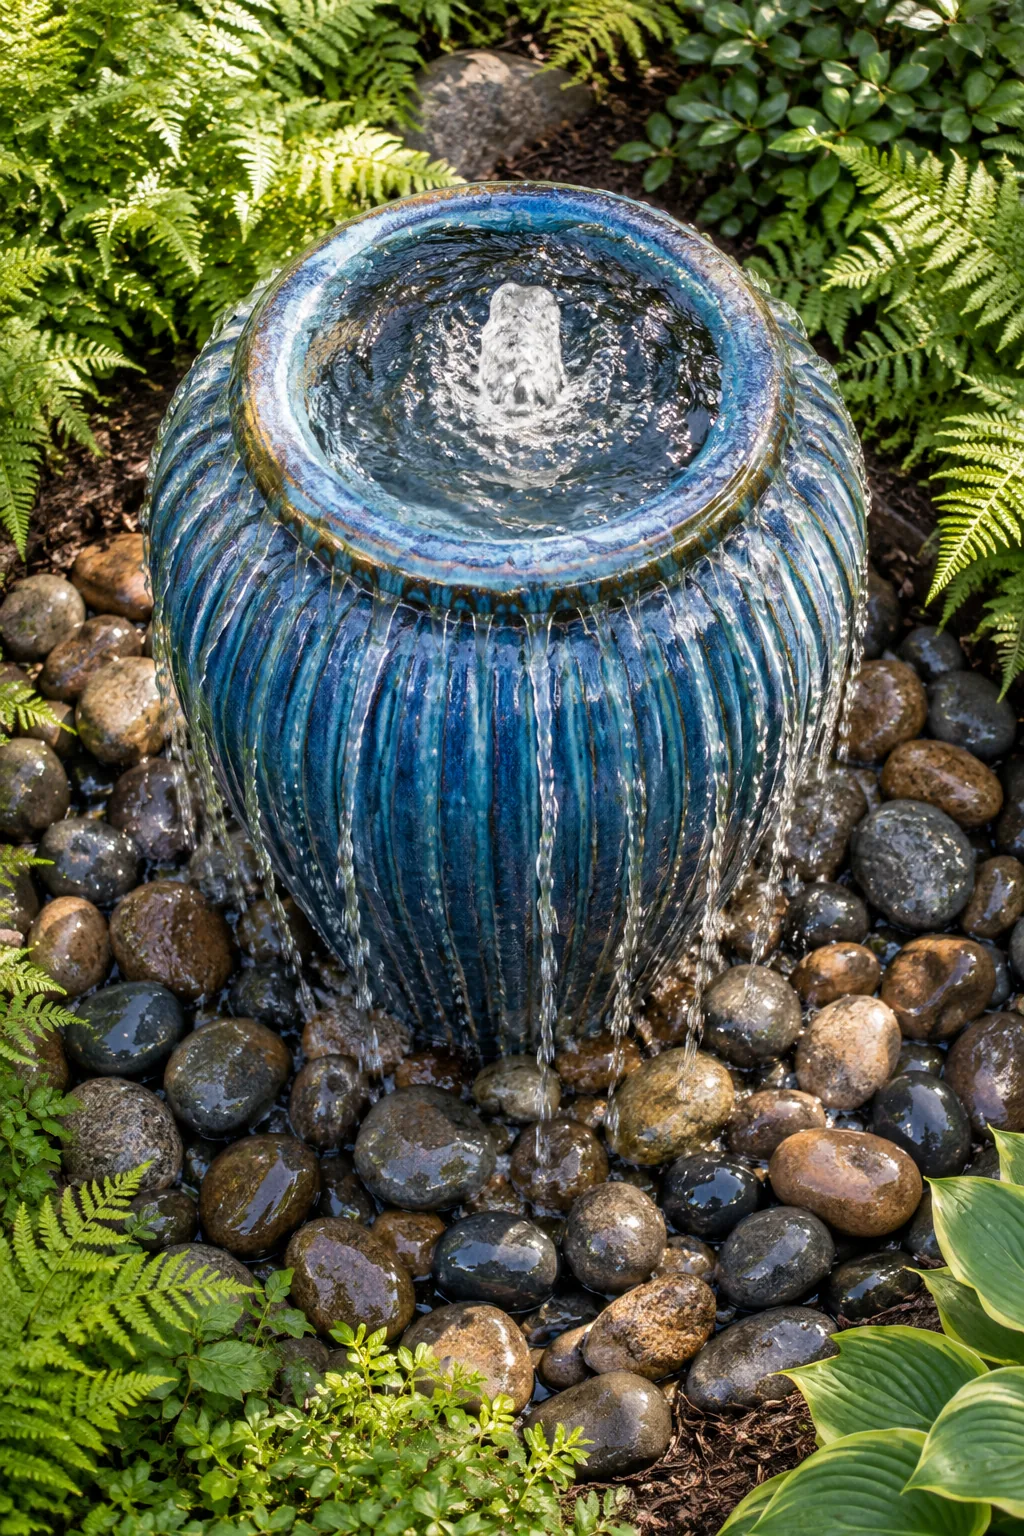
Perfect leveling is non-negotiable because water always follows gravity, and even a slight physical tilt will leave one side of the pottery completely dry. When I built my very first backyard water feature, I foolishly skipped the level and the water only flowed out the back side, forcing me to drain the heavy setup and wedge plastic shims under the base.
Installing the Adjustable Flow Valve
Connecting the pump tubing to the base of the urn requires an inline Adjustable flow valve to precisely dial the water pressure up or down. Without this critical control point, a standard 400-GPH pump will shoot a messy, uncontrollable geyser straight out of the top.
| Valve Setting | Water Effect | Splash Level | Maintenance Impact |
|---|---|---|---|
| 25% Open | Gentle trickle down sides | Zero splash | Lowest evaporation |
| 50% Open | Soft bubbling at the rim | Minimal drops | Ideal daily setting |
| 75% Open | Active cascading flow | Moderate splash | Requires weekly refills |
| 100% Open | High shooting geyser | Heavy water loss | Pump burns out quickly |
I once assumed the pump’s factory setting would be perfectly fine for my tall planter. The resulting high-pressure spray completely soaked my patio furniture until I spliced in a cheap plastic flow valve to calm the eruption.
Calculating Splash Radius Overlap
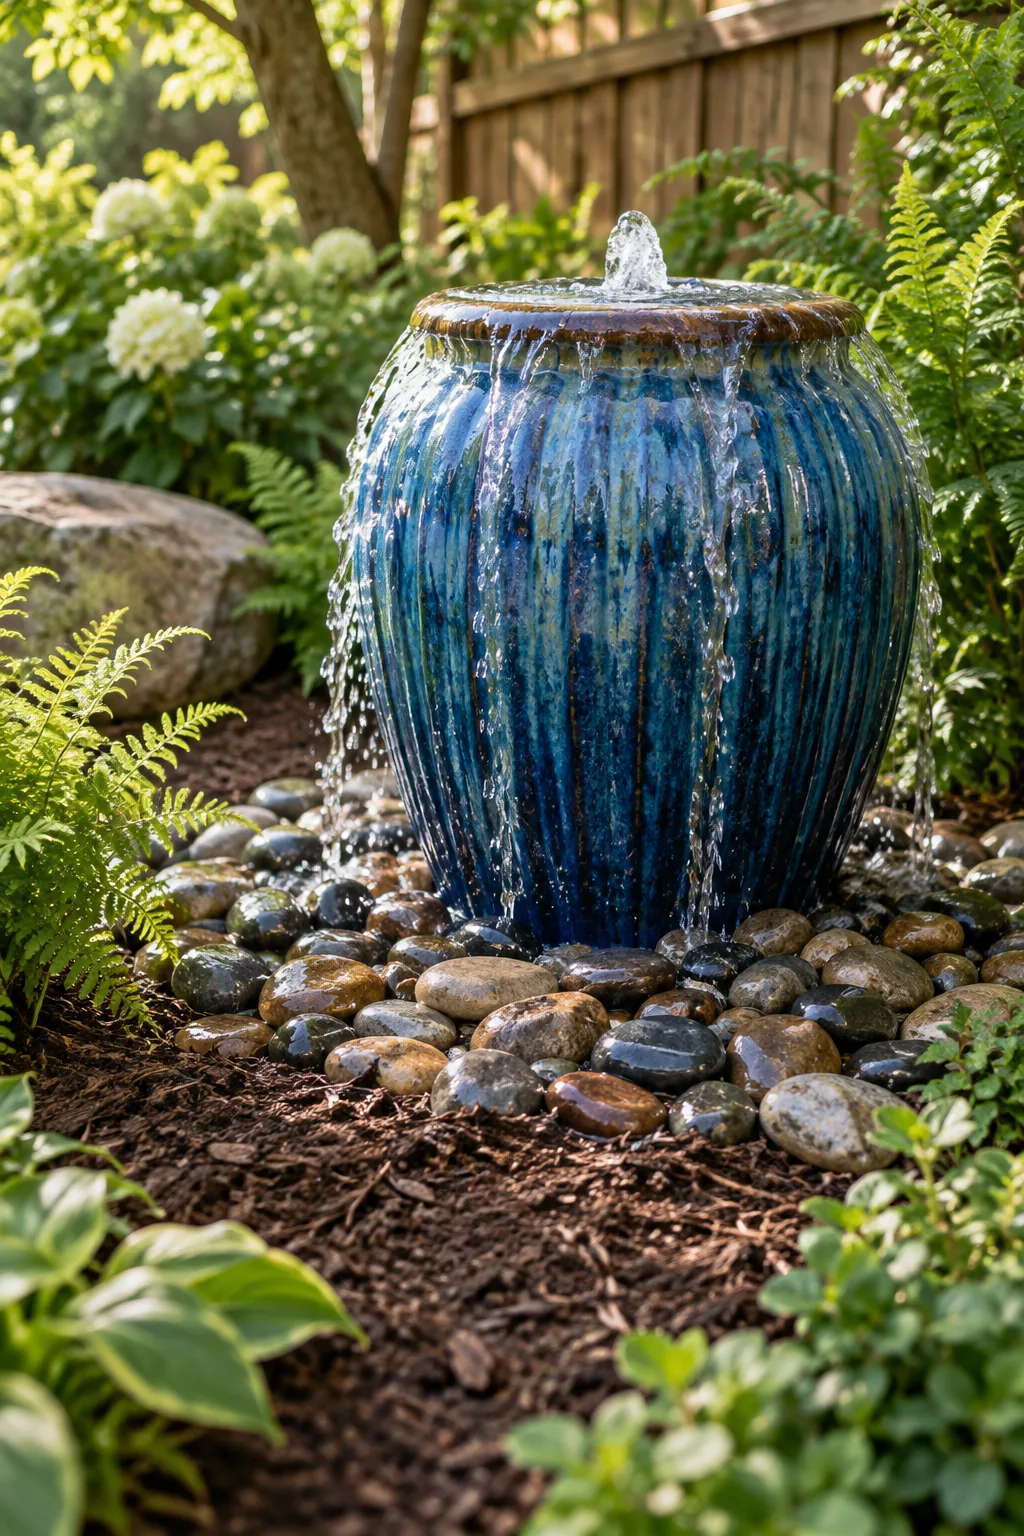
You must extend the decorative river rock bed outward to create a precise Splash radius overlap that catches stray droplets and returns them to the basin. Plan to extend this stone perimeter at least 8 to 12 inches past the widest physical point of your ceramic urn.
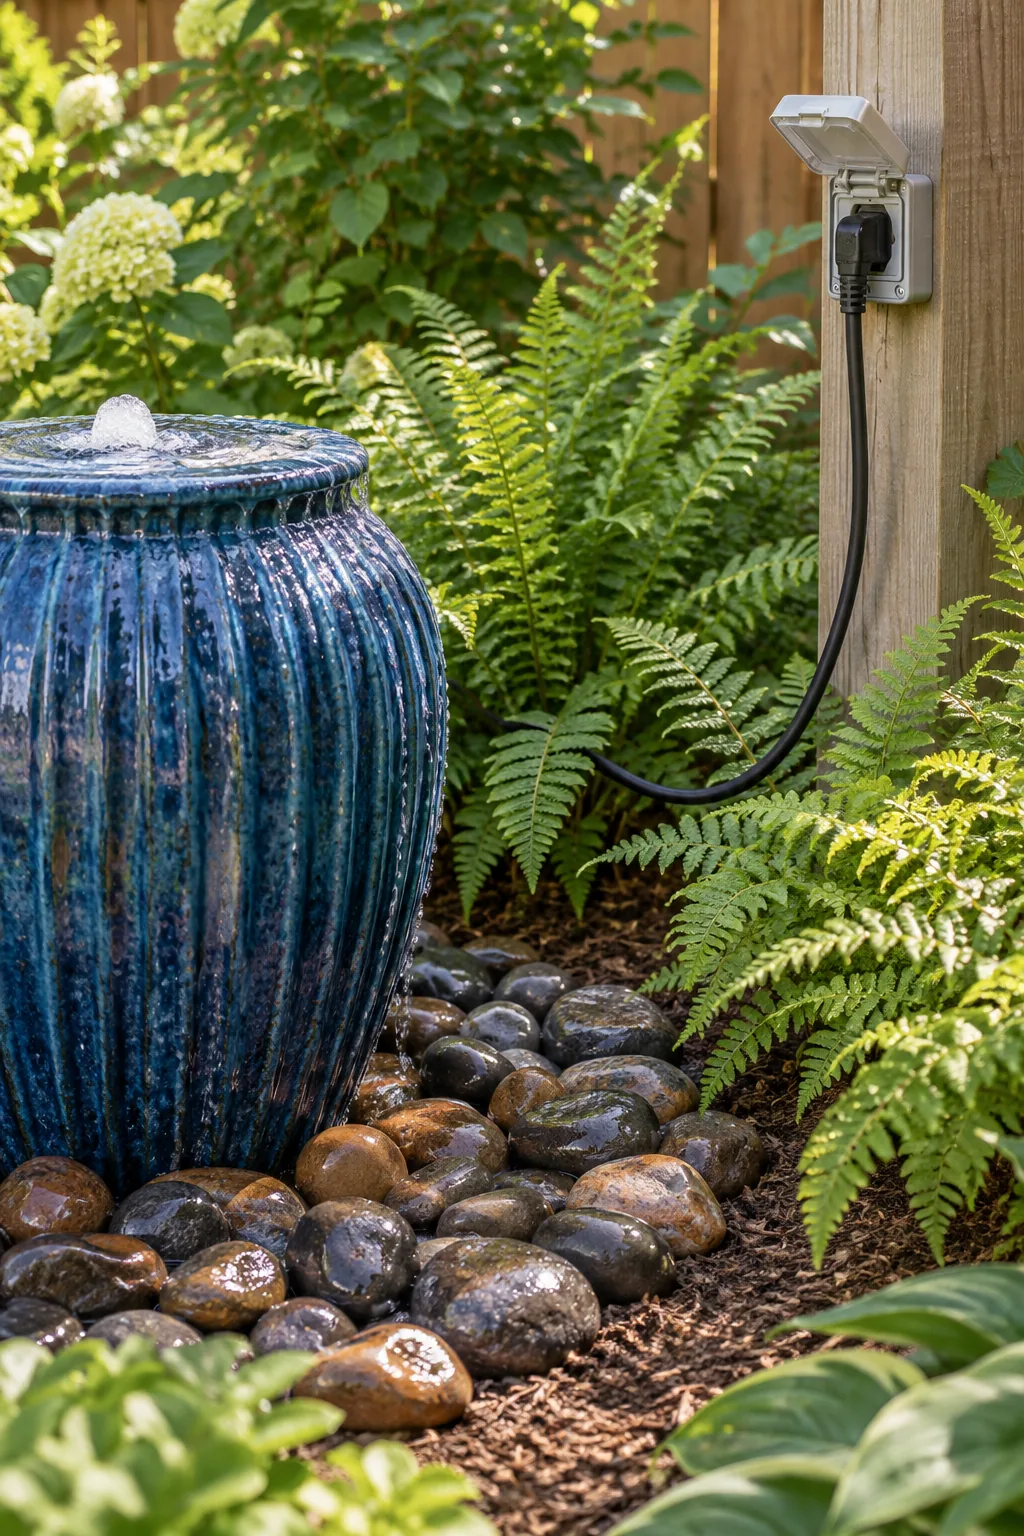
I learned this overlap rule the hard way when strong Austin winds blew my fountain’s cascade completely sideways. The stray droplets bypassed the narrow rock bed and slowly drained the entire underground reservoir directly into my surrounding garden mulch.
Creating a Pump Cord Drip Loop
Electrical safety is absolutely paramount for any outdoor water feature, so always create a Pump cord drip loop by leaving a drooping U-shape in the power line just before the outlet. This simple gravity trick ensures that morning condensation drips safely onto the ground instead of infiltrating the sensitive socket.
Finishing with River Rocks
Covering the plastic basin grate and concrete blocks with decorative stones is the final aesthetic step that truly naturalizes the entire installation. As you arrange these stones, ensure you maintain the drooping U-shape in the power cord, leaving enough slack for gravity to force stray moisture to fall before reaching the electrical socket.
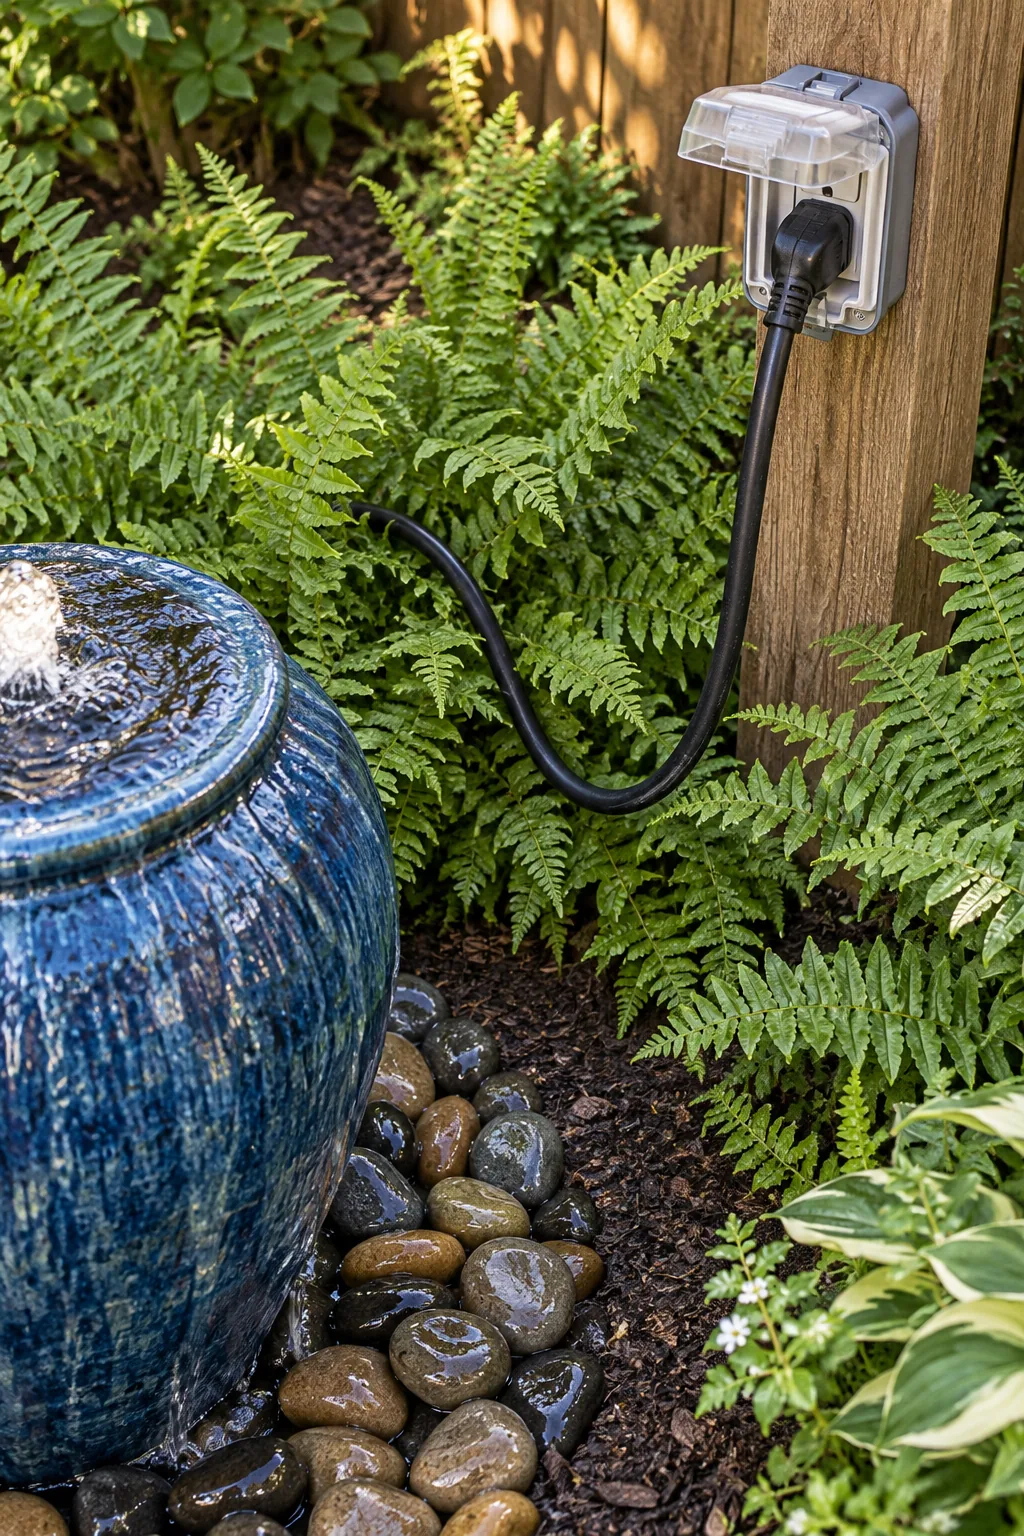
Before you finalize the arrangement of those beautiful stones around the base of your fountain, take five minutes for this crucial preparation step to protect your equipment.
5 Pondless Fountain Styles to Try
Once you understand the hidden mechanics, you can adapt the visible fountain to match any garden aesthetic.
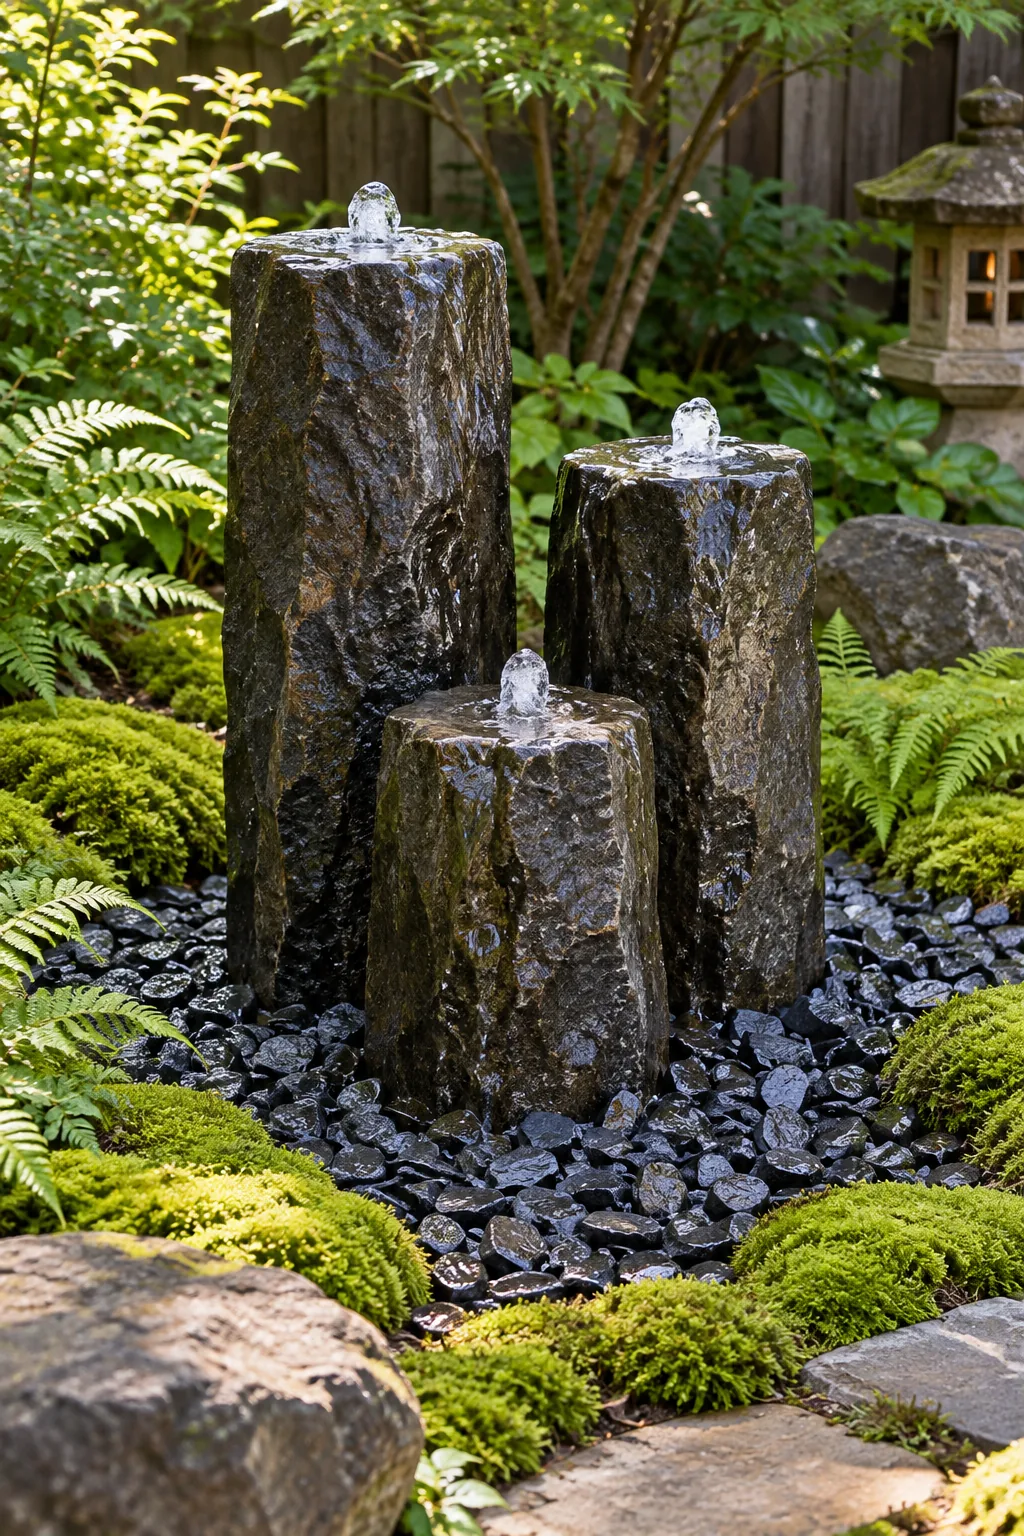
Zen Basalt Stone Columns: Natural basalt columns create a striking vertical element, while dark slate chips and surrounding moss complete the tranquil, Japanese-inspired garden aesthetic.
Rustic Corten Steel Bowl: The rich, rusted patina of a Corten steel bowl contrasts beautifully with fine pea gravel and the soft movement of tall ornamental grasses.
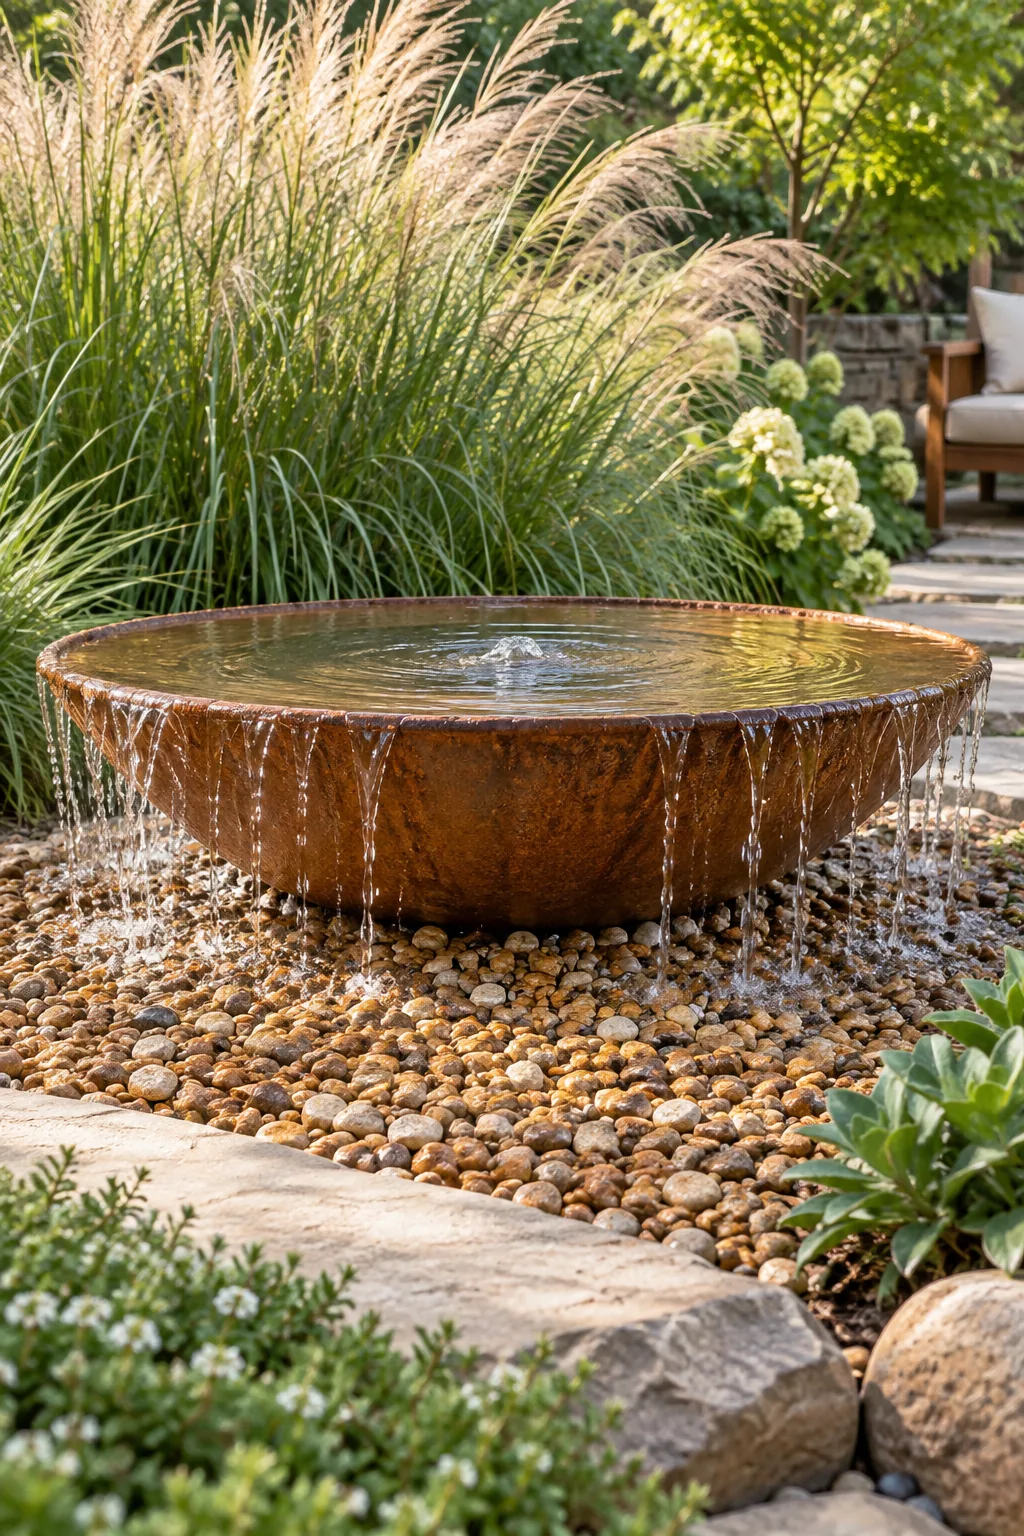
Modern Minimalist Concrete Sphere: A cast concrete sphere offers a sleek, architectural look that pairs perfectly with oversized black beach pebbles in a structured courtyard.
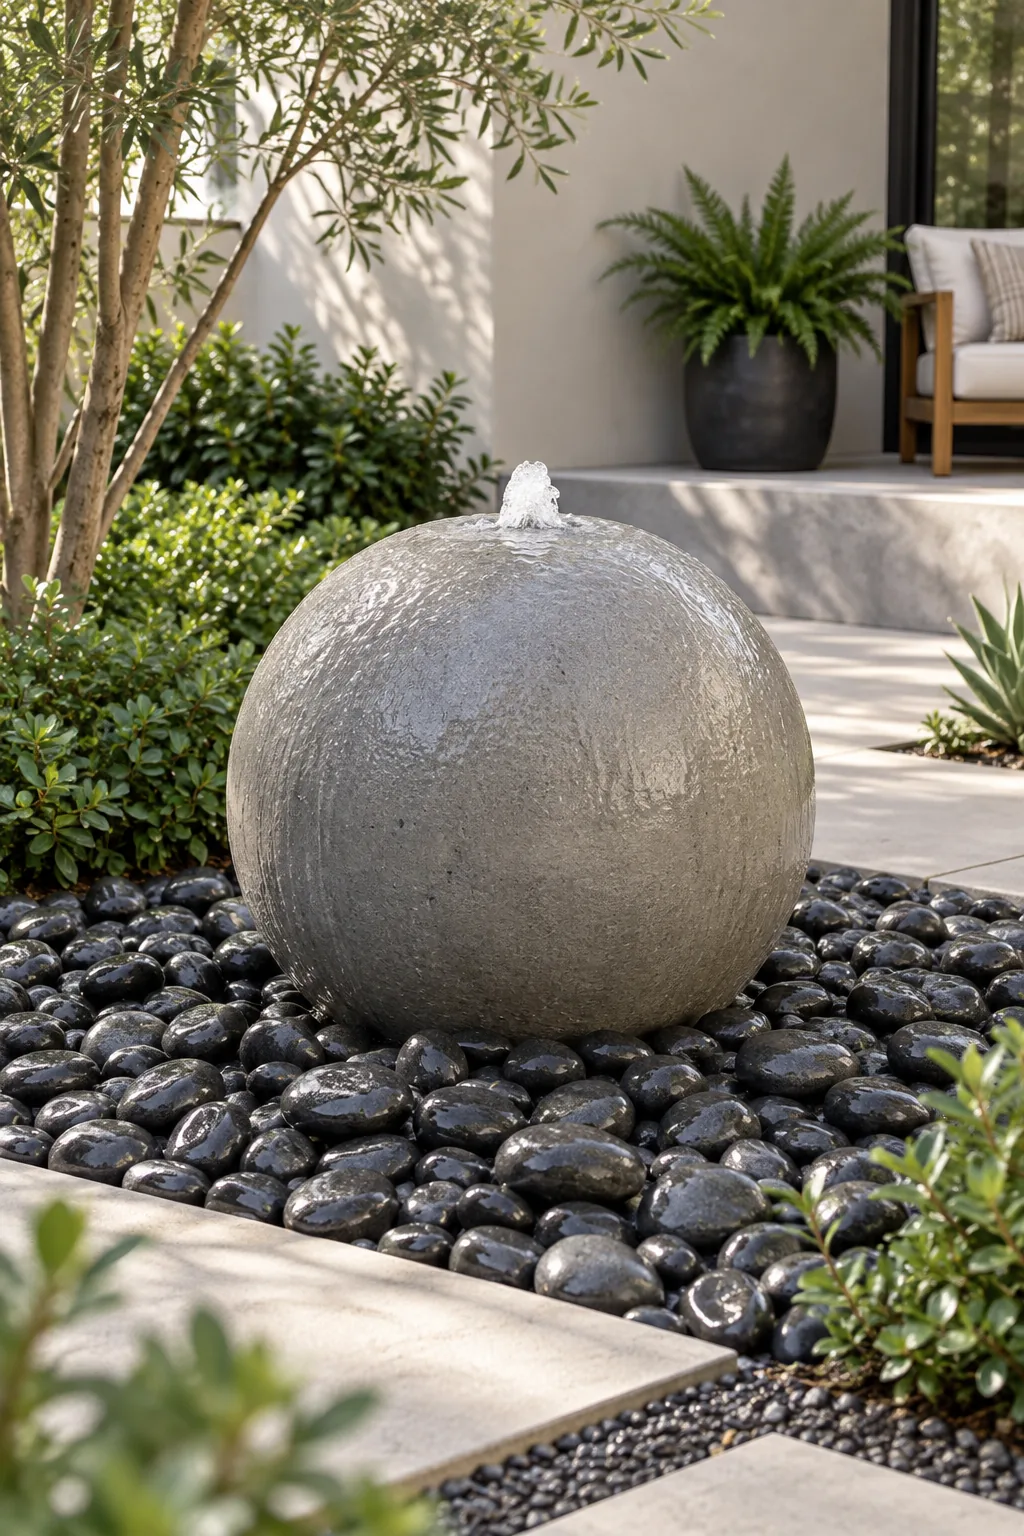
Mediterranean Terracotta Amphora: Tipping a traditional terracotta amphora creates a directional water flow that looks effortlessly natural when surrounded by crushed limestone and fragrant lavender.
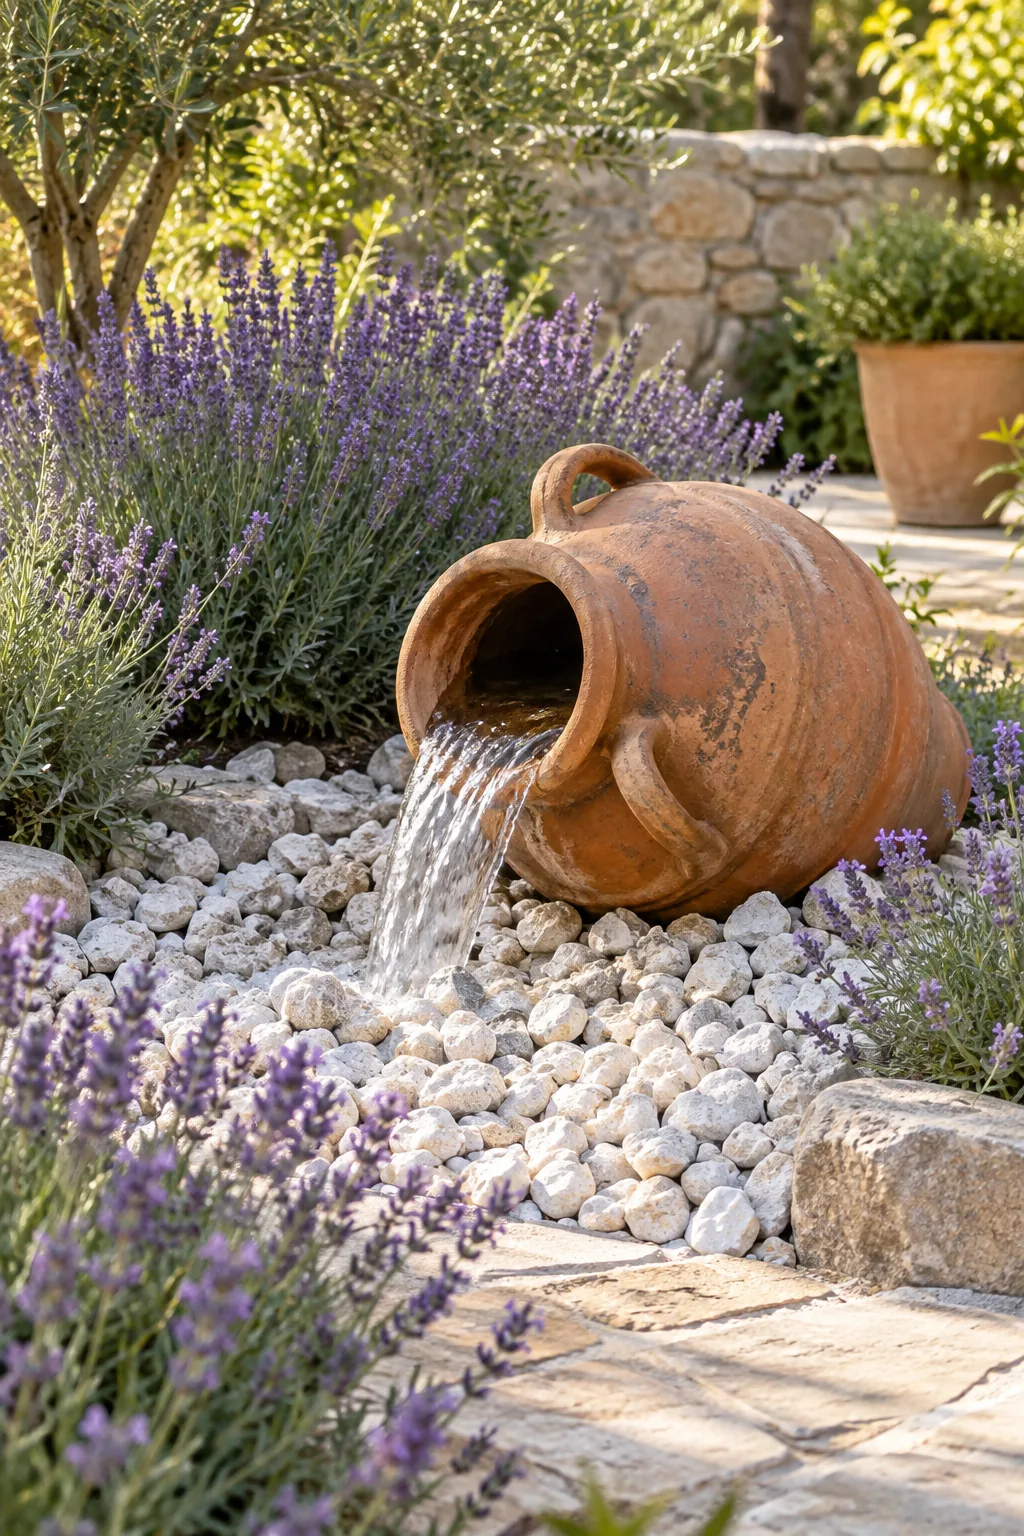
Antique Granite Millstone Bubbler: Repurposing an antique granite millstone adds instant history and texture to a patio edge, especially when softened by fragrant creeping thyme.
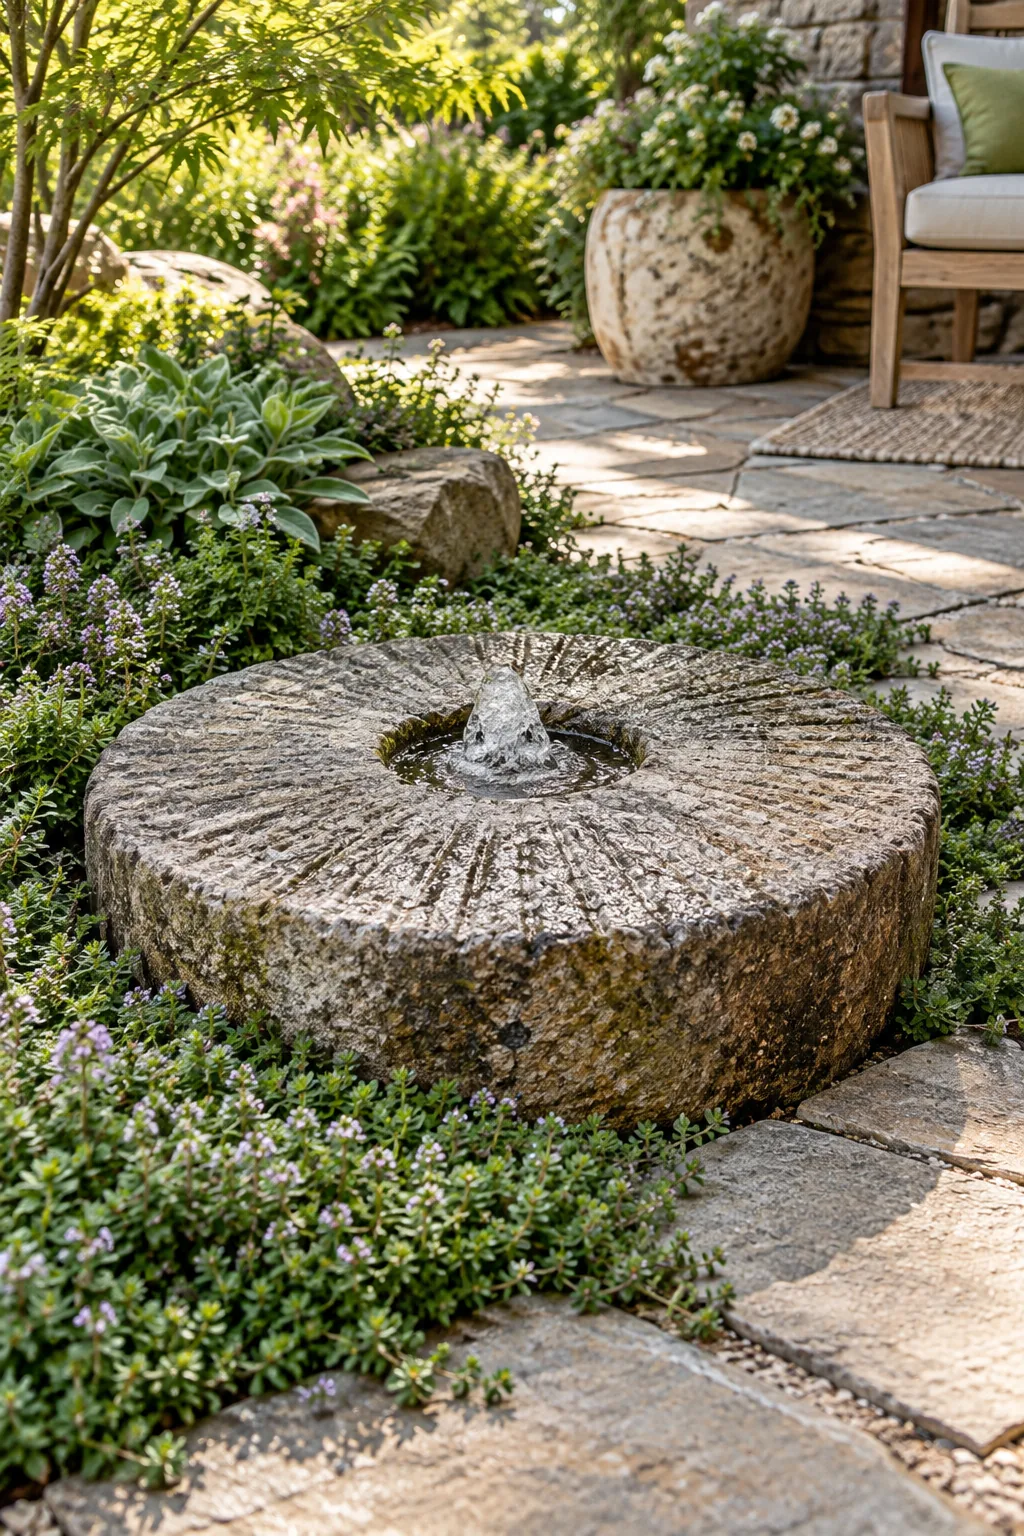
Complete Parts List & Build Sequence
Gathering your materials before digging will streamline your weekend assembly and prevent frustrating mid-project hardware store runs. You will need a 15-gallon plastic basin, two concrete cinder blocks, a 400-GPH pump, flexible vinyl tubing, an inline adjustable flow valve, and four bags of smooth river rocks.
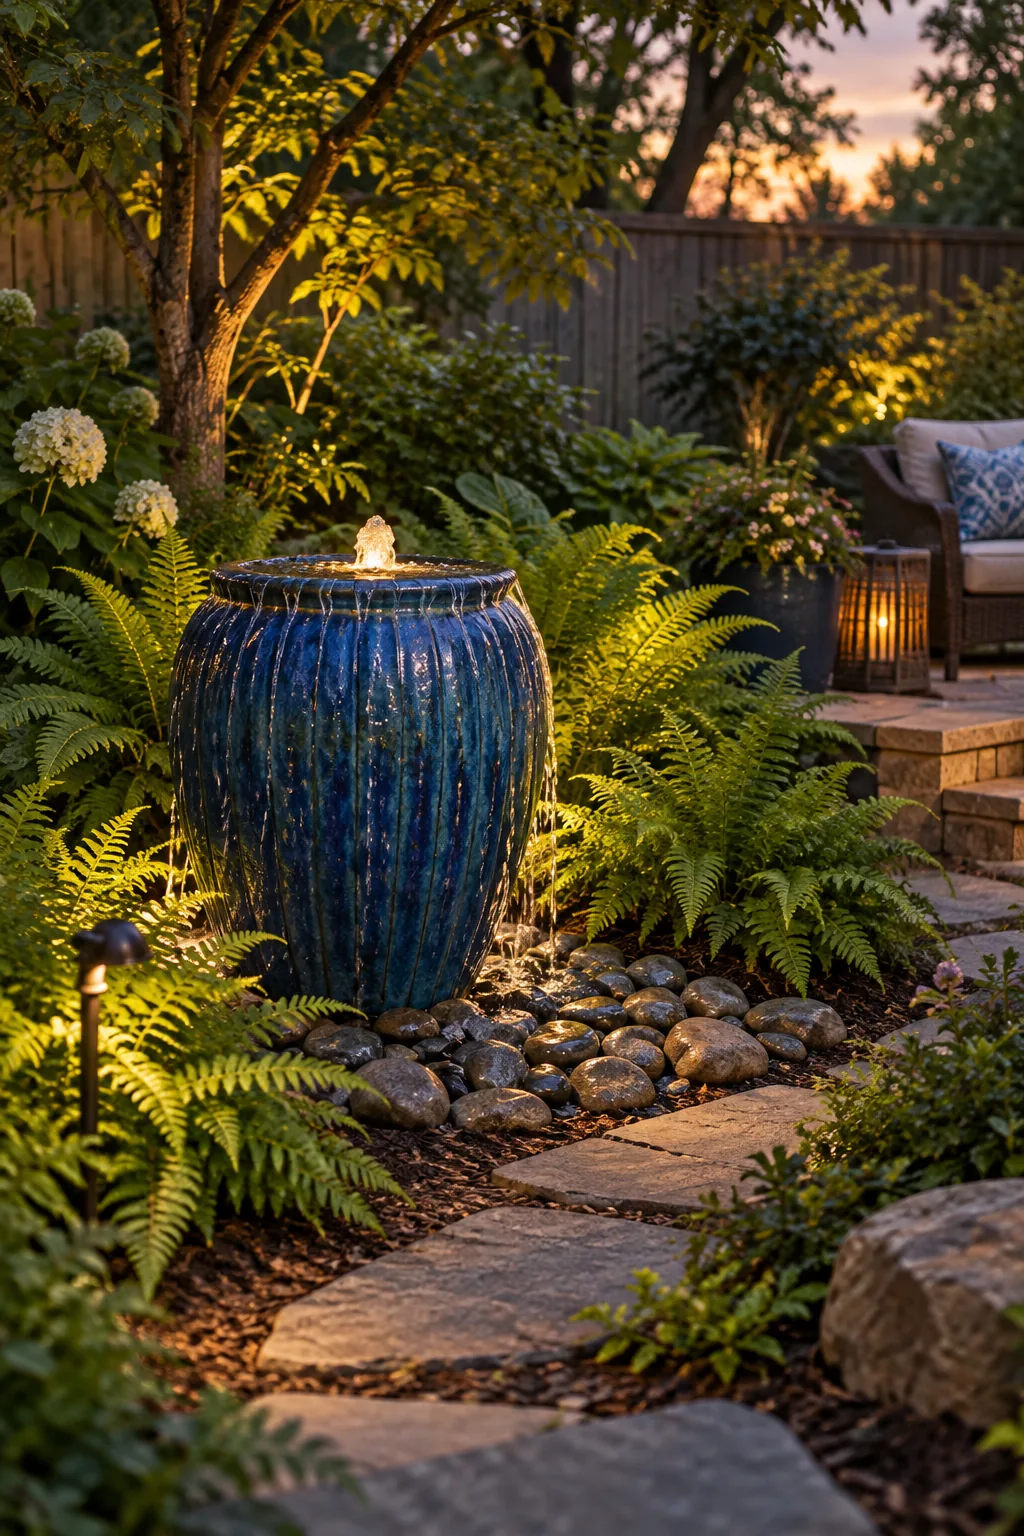
With your supplies neatly staged on the patio, follow this exact assembly sequence to build a stable, professional-grade water feature from the ground up without missing any critical hidden details.
- Dig a perfectly level hole and seat the 15-gallon basin flush with the surrounding soil so the top rim remains completely hidden.
- Place the concrete cinder blocks inside the basin and cut a matching access hole in the plastic lid to route the tubing.
- Set the ceramic urn directly on the blocks, check for perfect level across the rim, and route the internal tubing down to the pump.
- Fill the underground reservoir with water, plug in the pump using a safe drip loop, and carefully dial in the inline flow valve.
- Conceal the exposed plastic grate and the structural blocks entirely with your freshly rinsed river rocks for a natural finish.