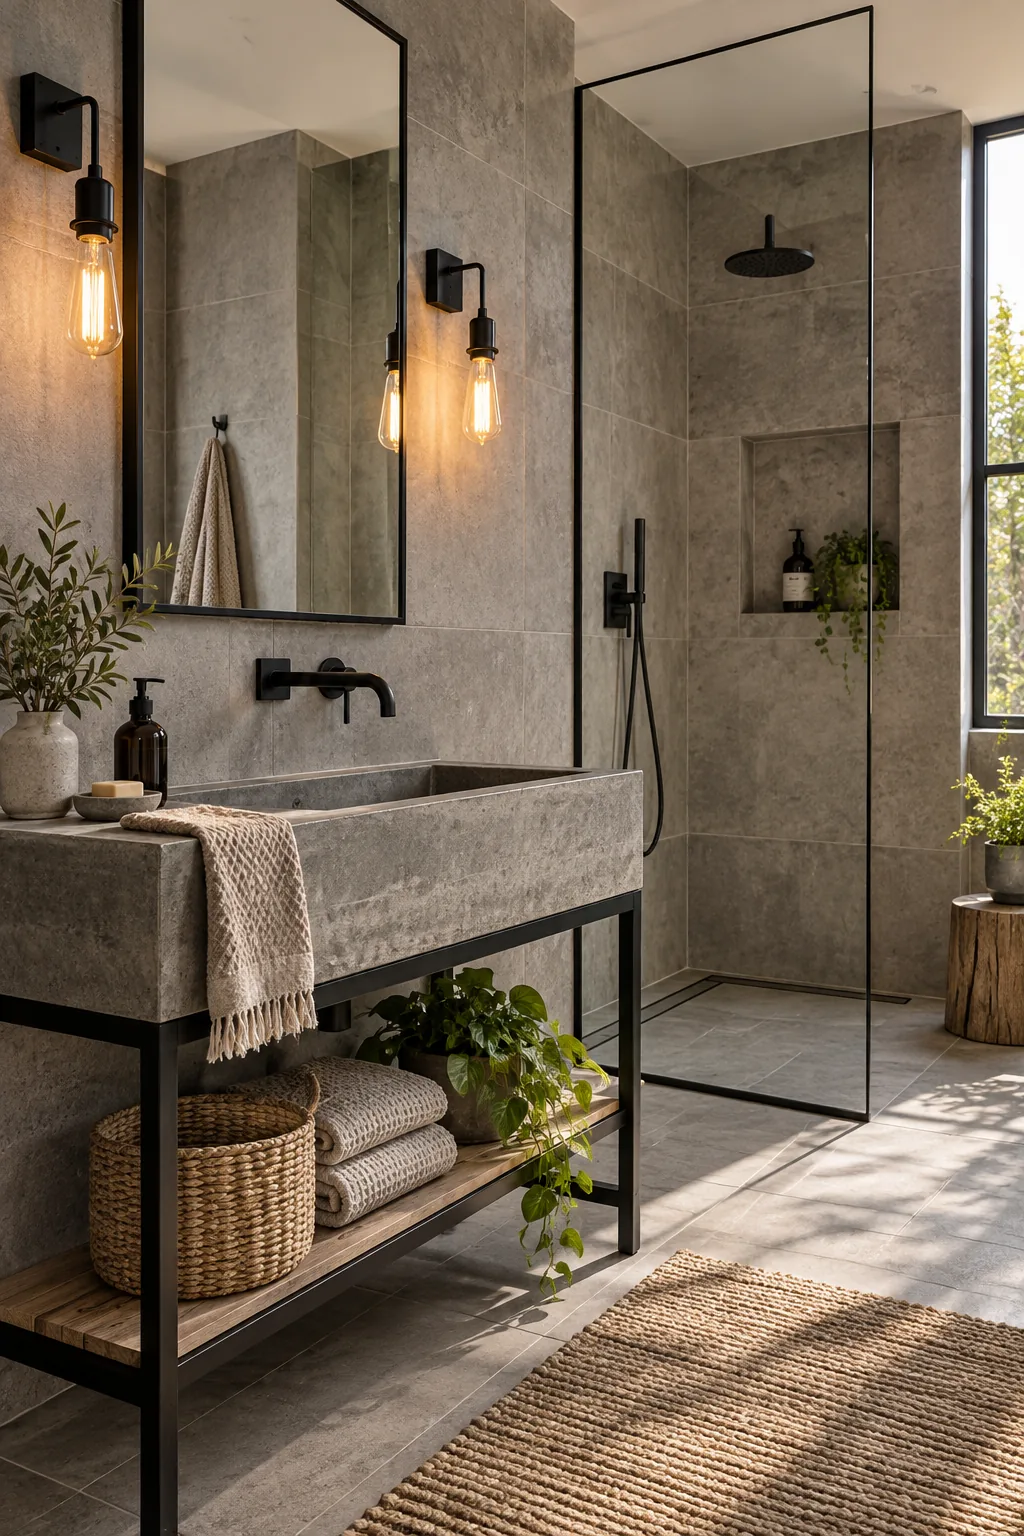
The Bathroom Rough-in Checklist: Standard Heights & Placements
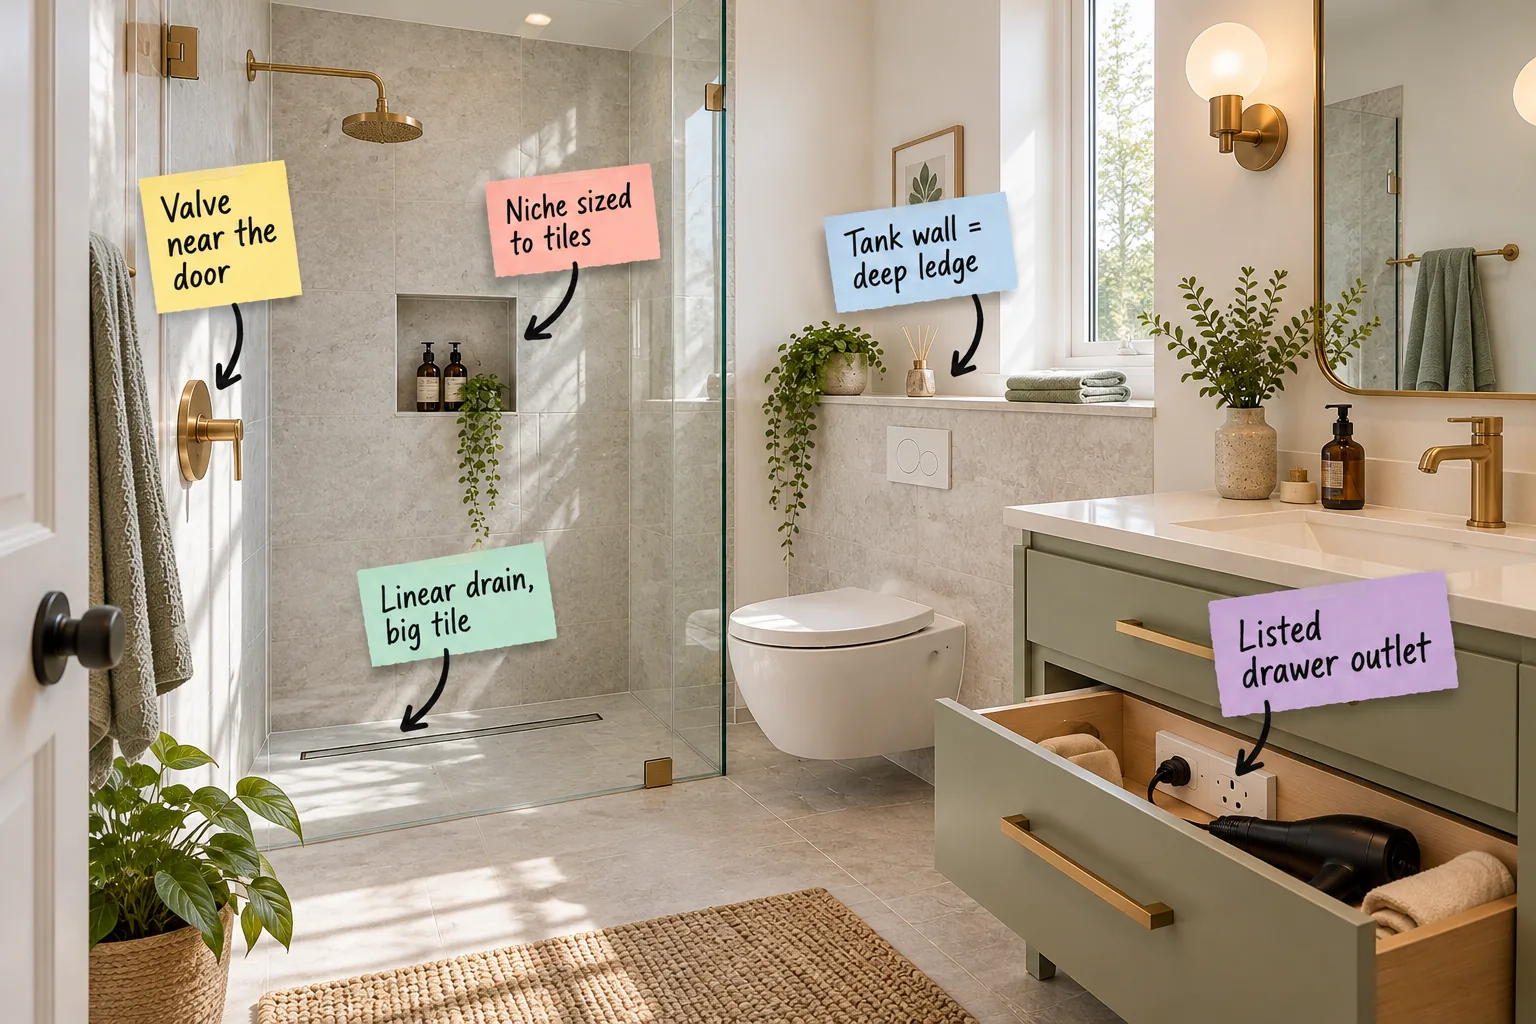
Planning a bathroom remodel means making critical spatial decisions long before the drywall goes up, so I put together The Before-the-Tile Rough-In Checklist to help you confidently mark exact framing locations and hand standard measurement specs to your plumber and electrician.
Placing the Shower Valve for Dry Starts
Positioning the shower control near the entry door rather than directly under the showerhead prevents cold water shocks and lets you start the water without getting wet.
Your plumber needs this exact offset location marked on the studs before running the PEX lines, typically setting the valve at a standard height of 36 to 48 inches above the finished floor.
- Mark the valve center 15 to 18 inches from the door glass.
- Verify the handle swing clears all adjacent glass panels.
- Align the trim plate height with adjacent niche framing.
Coordinating Thermostatic Valve Components
If you upgrade to a thermostatic system, you must separate the temperature dial from the volume controls, mounting the primary diverter exactly 10 to 12 inches above the mixing valve for optimal plumbing routing.
Establishing the Primary Showerhead Height
Once your lower controls are marked, you must establish the primary showerhead height to ensure comfortable clearance, typically setting the drop-ear elbow at 80 to 84 inches from the floor.
Setting the Ideal Shower Bench Height
A built-in seat brings Western comfort to Eastern bathing rituals, requiring structural framing set at 17 to 19 inches high so the final tiled surface matches a standard chair profile.
Reinforcing the Walls for Future Grab Bars
Installing solid 2×8 wood blocking between the studs guarantees you can safely mount heavy fixtures later without relying on hollow-wall anchors that eventually fail under weight.
| Fixture Type | Standard Blocking Height | Recommended Width |
|---|---|---|
| Horizontal Grab Bar | 33 to 36 inches | 30 inches |
| Vertical Entry Bar | 36 to 54 inches | 12 inches |
| Towel Hooks | 60 to 65 inches | 24 inches |
| Robe Hooks | 65 to 70 inches | 12 inches |
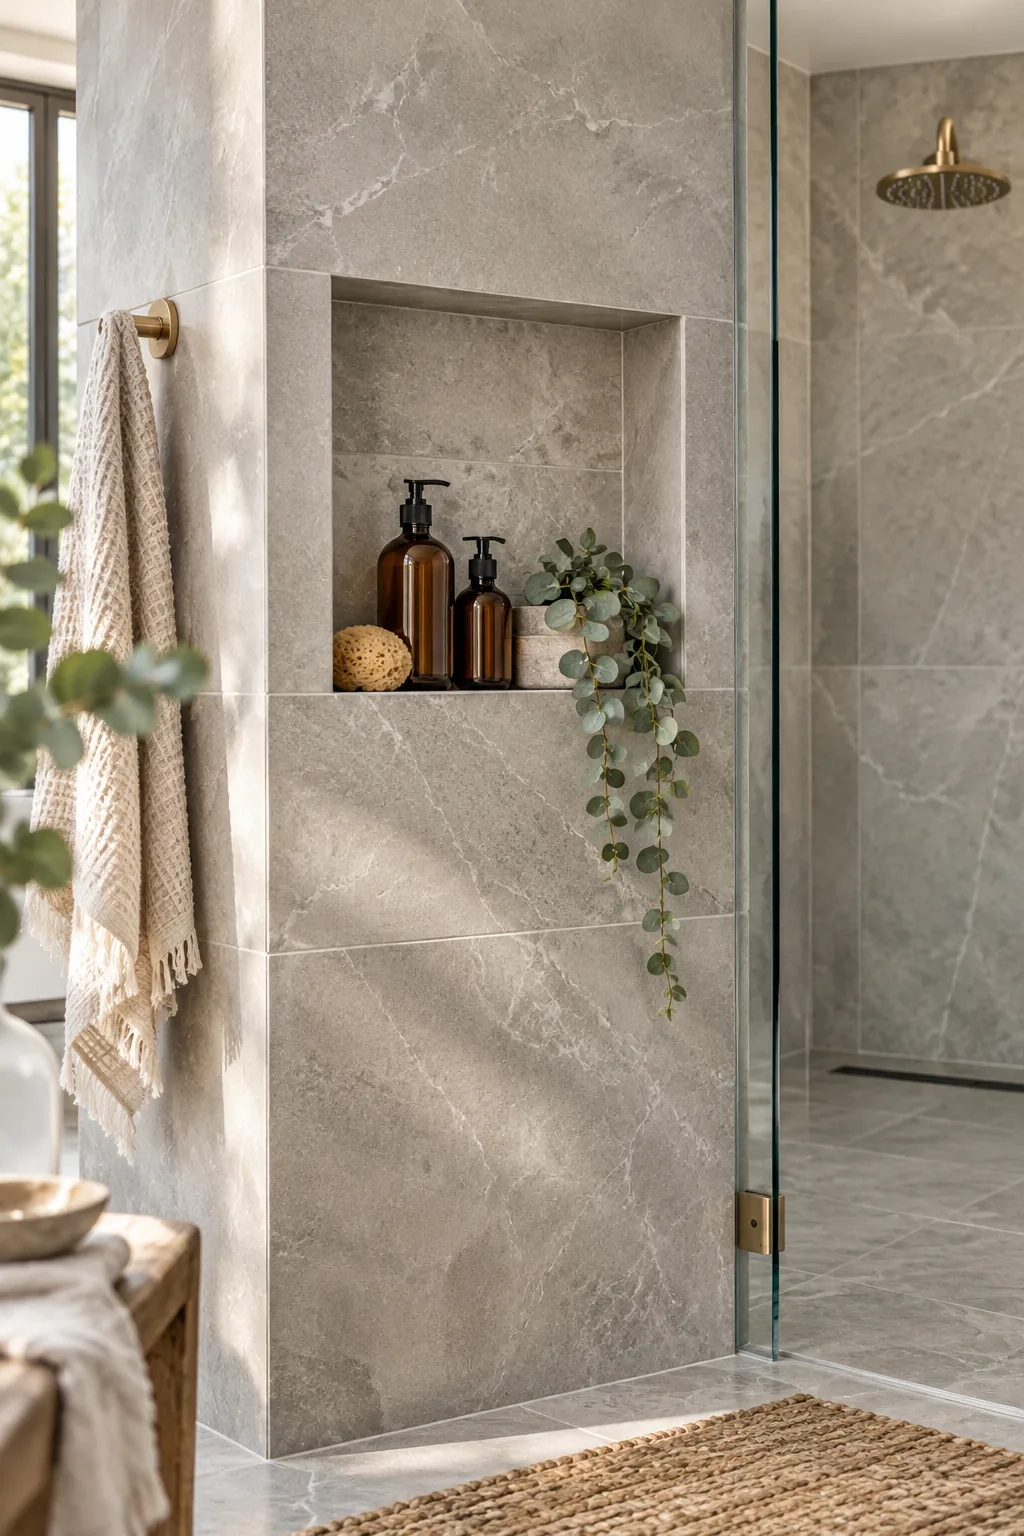
Sizing the Niche to Your Tile
To achieve a seamless look, you must size the recessed niche to land exactly on full-tile grout lines by choosing the specific tile before framing, a lesson I learned the hard way in my own Denver master bath.
Getting the niche to land perfectly on a grout line requires working backward from your chosen materials to calculate the exact layout.
Waterproofing the Niche Rough-In
Structural framing must account for water management, meaning the bottom sill plate requires a deliberate 1/16-inch forward pitch before the final membrane is applied.
- Cut the cement board to fit tightly within the stud bay.
- Apply the liquid or sheet waterproofing membrane over all seams.
- Install pre-formed corner patches to prevent capillary leaks.
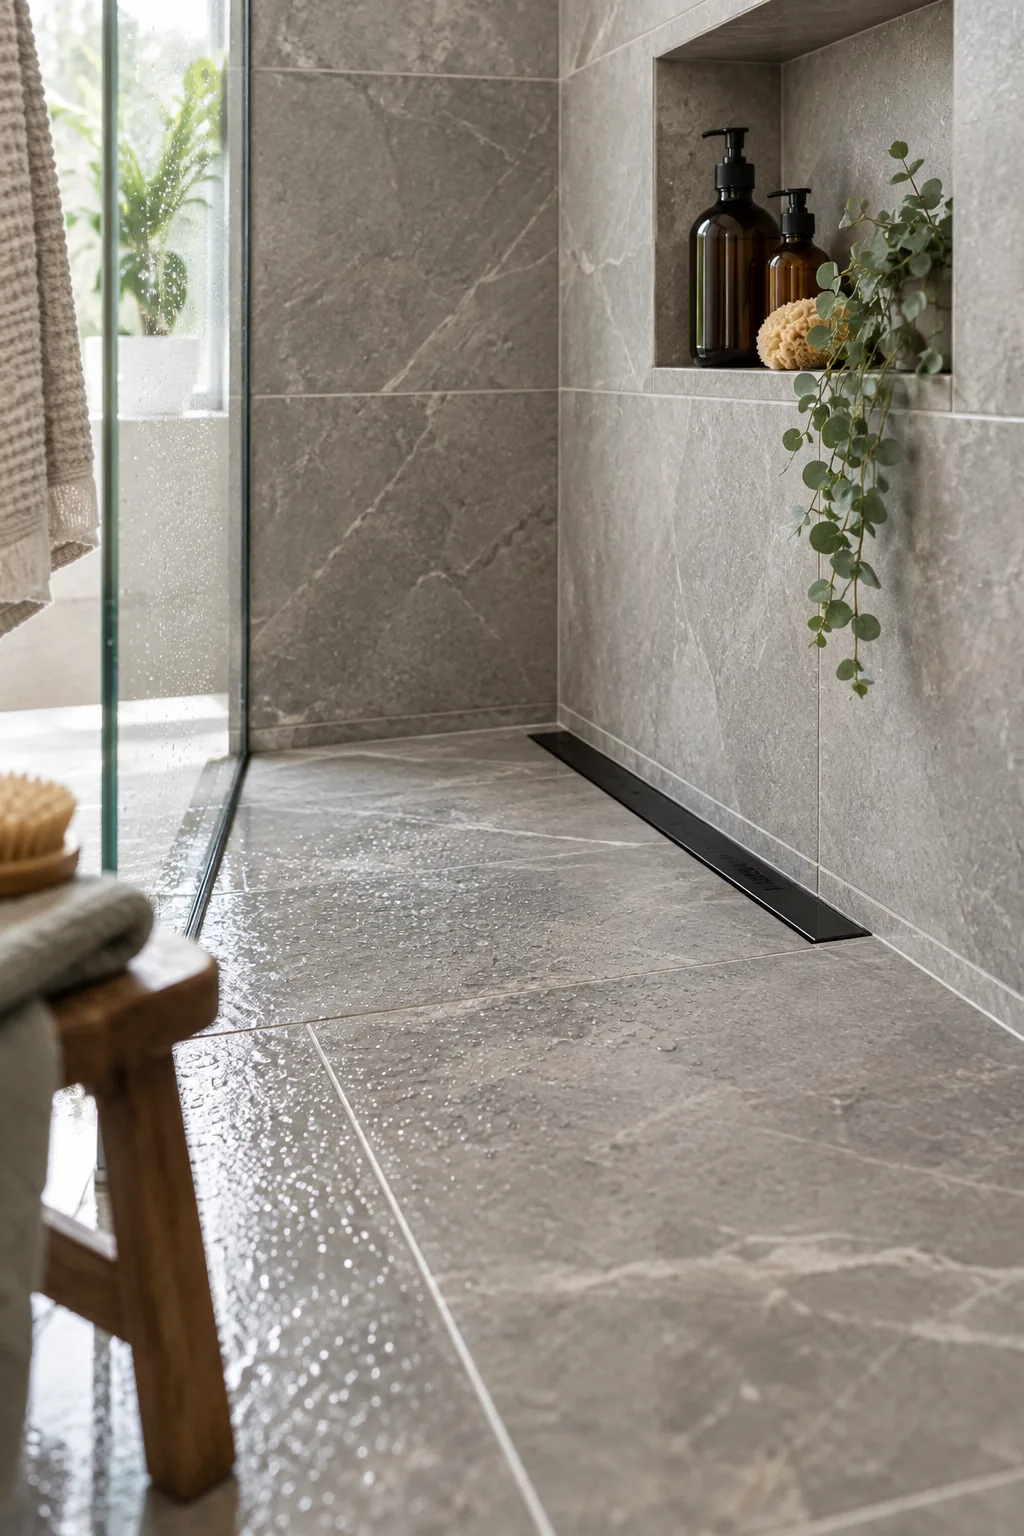
Sloping Large Floor Tiles to a Linear Drain
Using a linear drain allows for a single-plane slope and large-format floor tiles, preventing the awkward diagonal cuts I always try to avoid in my clean-lined projects.
During the rough-in phase, your plumber must position the drain trough against the back wall and ensure the floor framing accommodates the standard requirement of a 1/4-inch per foot slope.
Dropping the Subfloor for Curbless Entry
Achieving that seamless transition from the dry bathroom floor into the shower requires your framer to drop the joists by exactly two inches to accommodate the sloped mud bed.
Sizing the Radiant Floor Heating Mat
If you plan to warm those large stone tiles, the electrician must run a dedicated conduit to the floor before installing the uncoupling membrane, keeping the heating wires two inches away from the drain flange.
Hiding the Toilet Tank Behind a Tiled Ledge
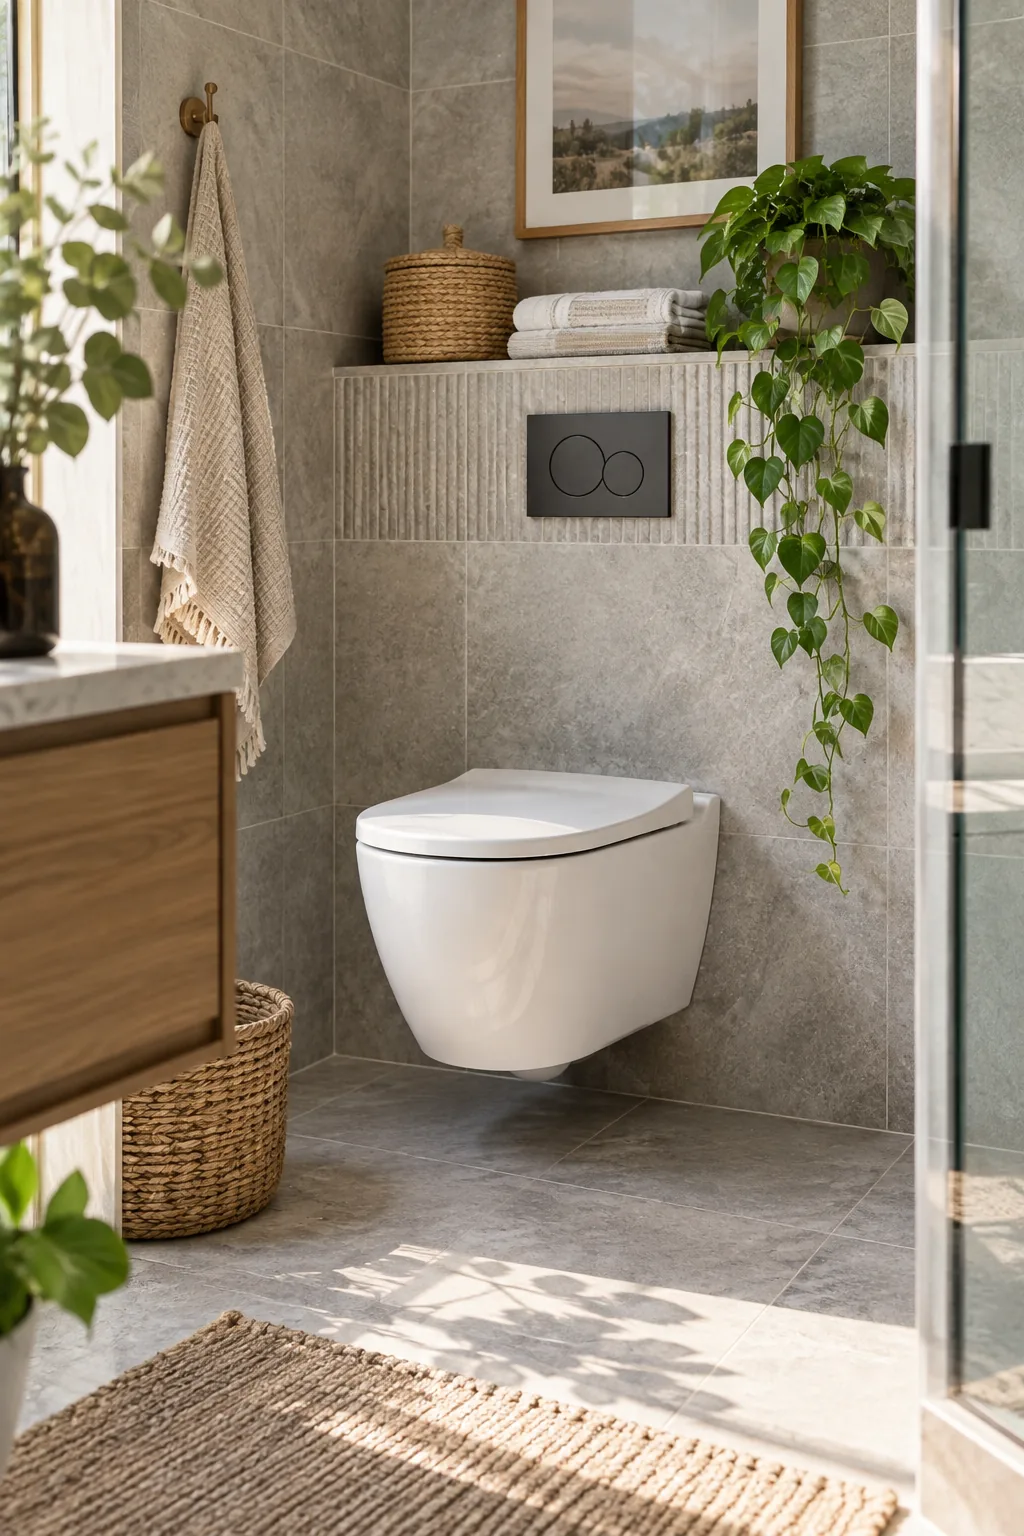
Breaking down the framing requirements for a wall-hung toilet reveals that the in-wall carrier replaces the traditional tank and requires a standard framing height of 45 to 48 inches, a trick I used in my own powder room.
Routing the Vent Stack and Waste Lines
The concealed carrier system demands precise plumbing alignment, requiring the plumber to route a rigid 3-inch minimum waste line entirely within the standard 2×6 stud cavity.
Wiring the Vanity for a Listed Drawer Outlet
Framing an in-wall carrier to support a wall-hung toilet not only saves floor space but naturally creates a shallow, usable tiled ledge above the bowl once finished.
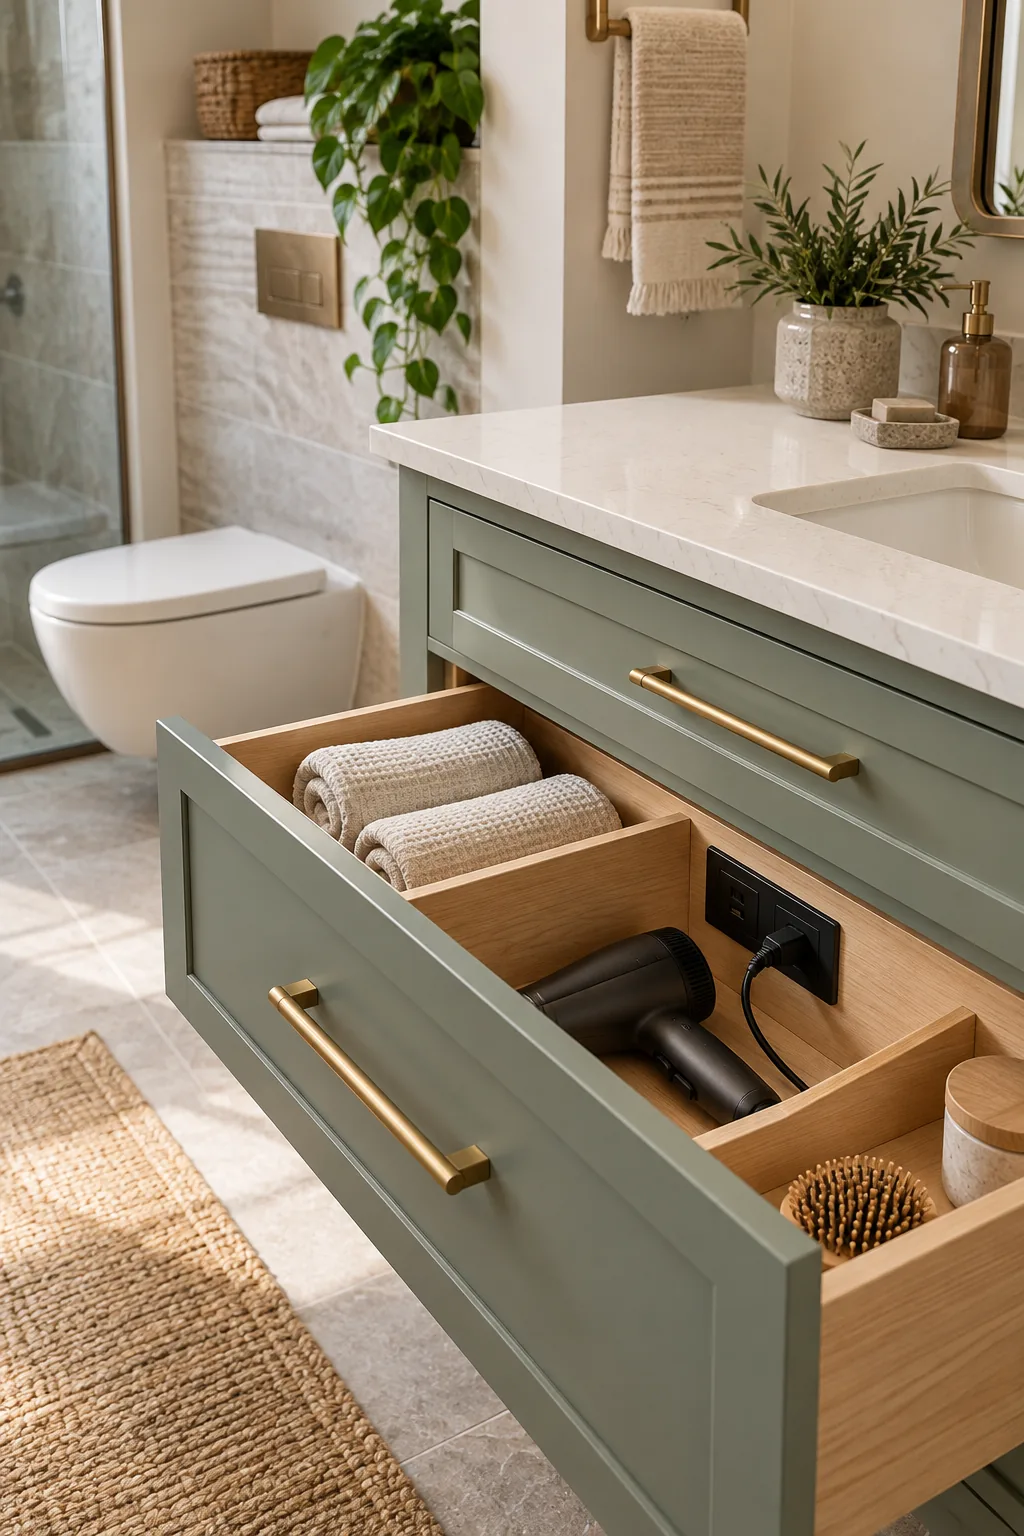
Moving to the vanity station, keeping hair tools off the counter requires planning a dedicated 20-amp GFCI-protected circuit for an in-drawer power unit.
Blocking the Wall for a Floating Vanity
Suspending heavy cabinetry above the floor demands serious structural support, requiring continuous 2×12 wood blocking installed flush between the studs exactly where the cabinet mounting rails will sit.
Recessing the Medicine Cabinet
Achieving a flush mirror surface means framing a custom header box between the studs, typically sized 14.5 inches wide to slide perfectly into a standard stud bay without cutting structural supports.
Locating the Towel Warmer Junction Box
Hardwired towel warmers eliminate ugly dangling cords, but your electrician must place a single-gang junction box precisely at the bottom right or left mounting bracket location before drywalling.
Positioning Sconces for Flattering Light
Planning a dedicated circuit for a safety-listed in-drawer power unit keeps counters clear while meeting electrical codes safely, a system I insist on for every master bath I design.

Once the vanity power is resolved, you must cover the electrical rough-in for vanity lighting, stating the standard placement of 60 to 65 inches from the floor.
Confirming Vanity Mirror Clearances
Leaving adequate breathing room around your glass prevents a cramped look, so I always verify that the top of the backsplash sits at least two inches below the mirror frame.
Planning Ventilation and Exhaust Fans
Moisture management starts in the ceiling framing, where you must position the exhaust fan housing directly over the shower edge and route the insulated ductwork straight to the exterior.
The Before-the-Tile Rough-In Checklist
Placing vanity sconces at the correct height and 28 to 30 inches apart ensures even, shadow-free illumination at the mirror during your morning routine.
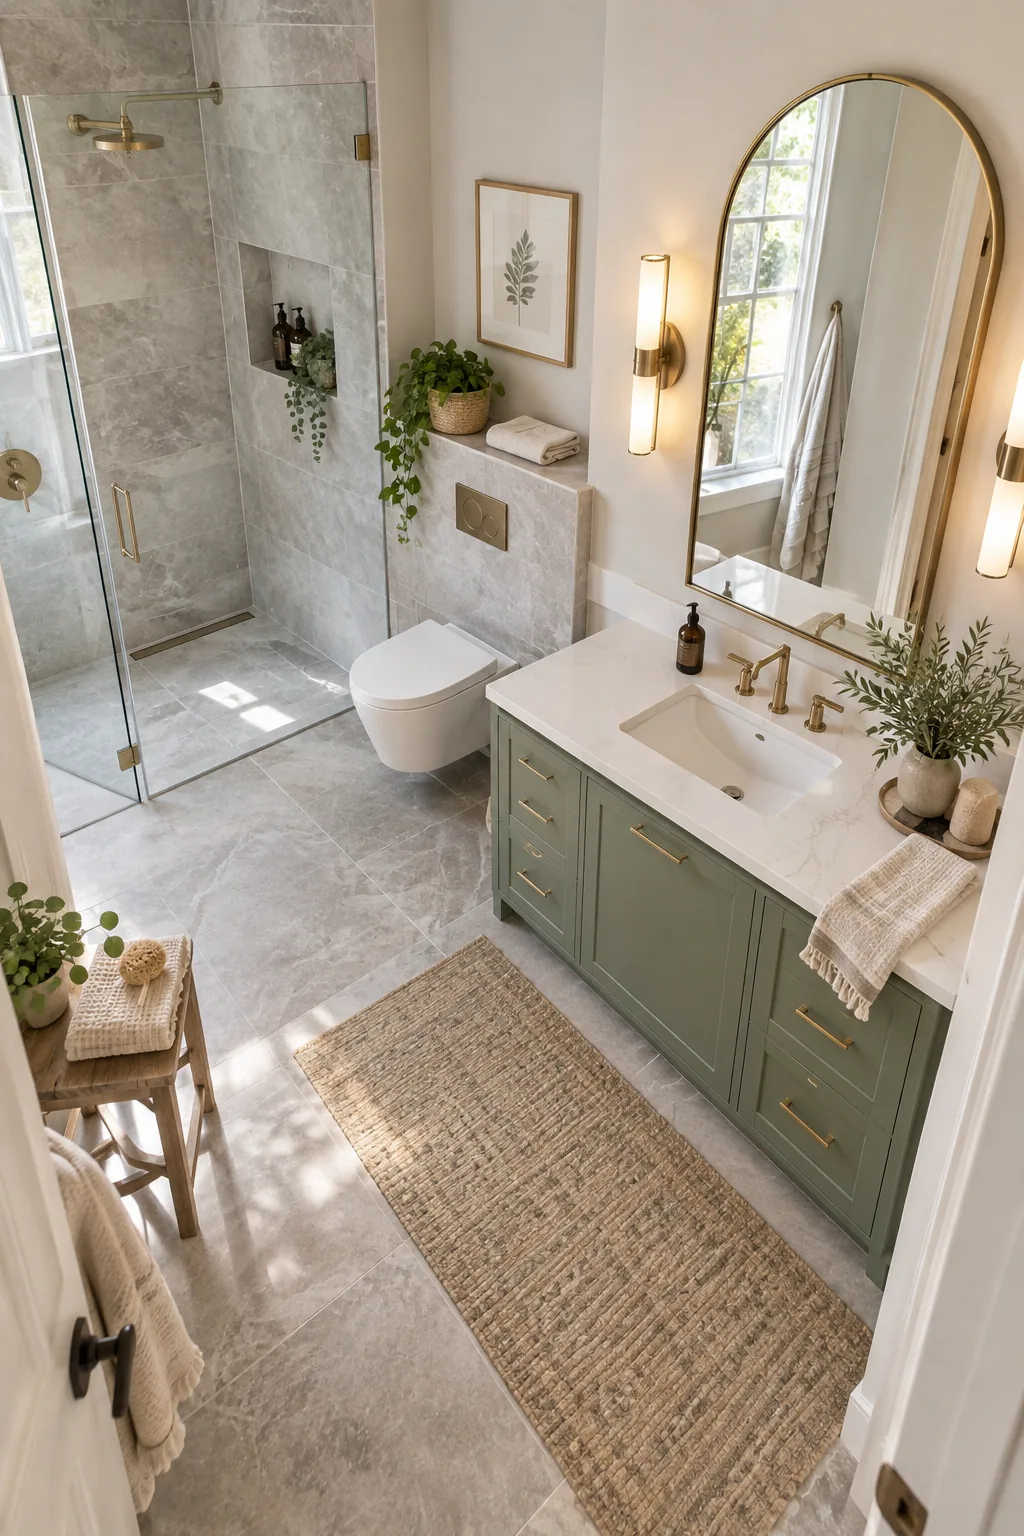
Before the drywall goes up, walk through the space with your trades and verify these critical elements against your printed sheet.
The Final Walkthrough Before Drywall
Documenting the open walls and verifying all measurements before the drywall is installed guarantees flawless surface finishes and perfectly aligned fixtures.

I always advise taking photos of all open walls with a tape measure held up to the plumbing and electrical lines, creating a permanent reference map of what lies behind the tile for future installations.
5 Finished Looks Built on Perfect Rough-Ins
Once the plumbing and electrical are perfectly placed, you can take the surface finishes in any direction.
Organic Modern Oak and Limestone: Warm up a streamlined layout by pairing a natural rift-sawn oak vanity with the soft, tactile texture of tumbled limestone floors.

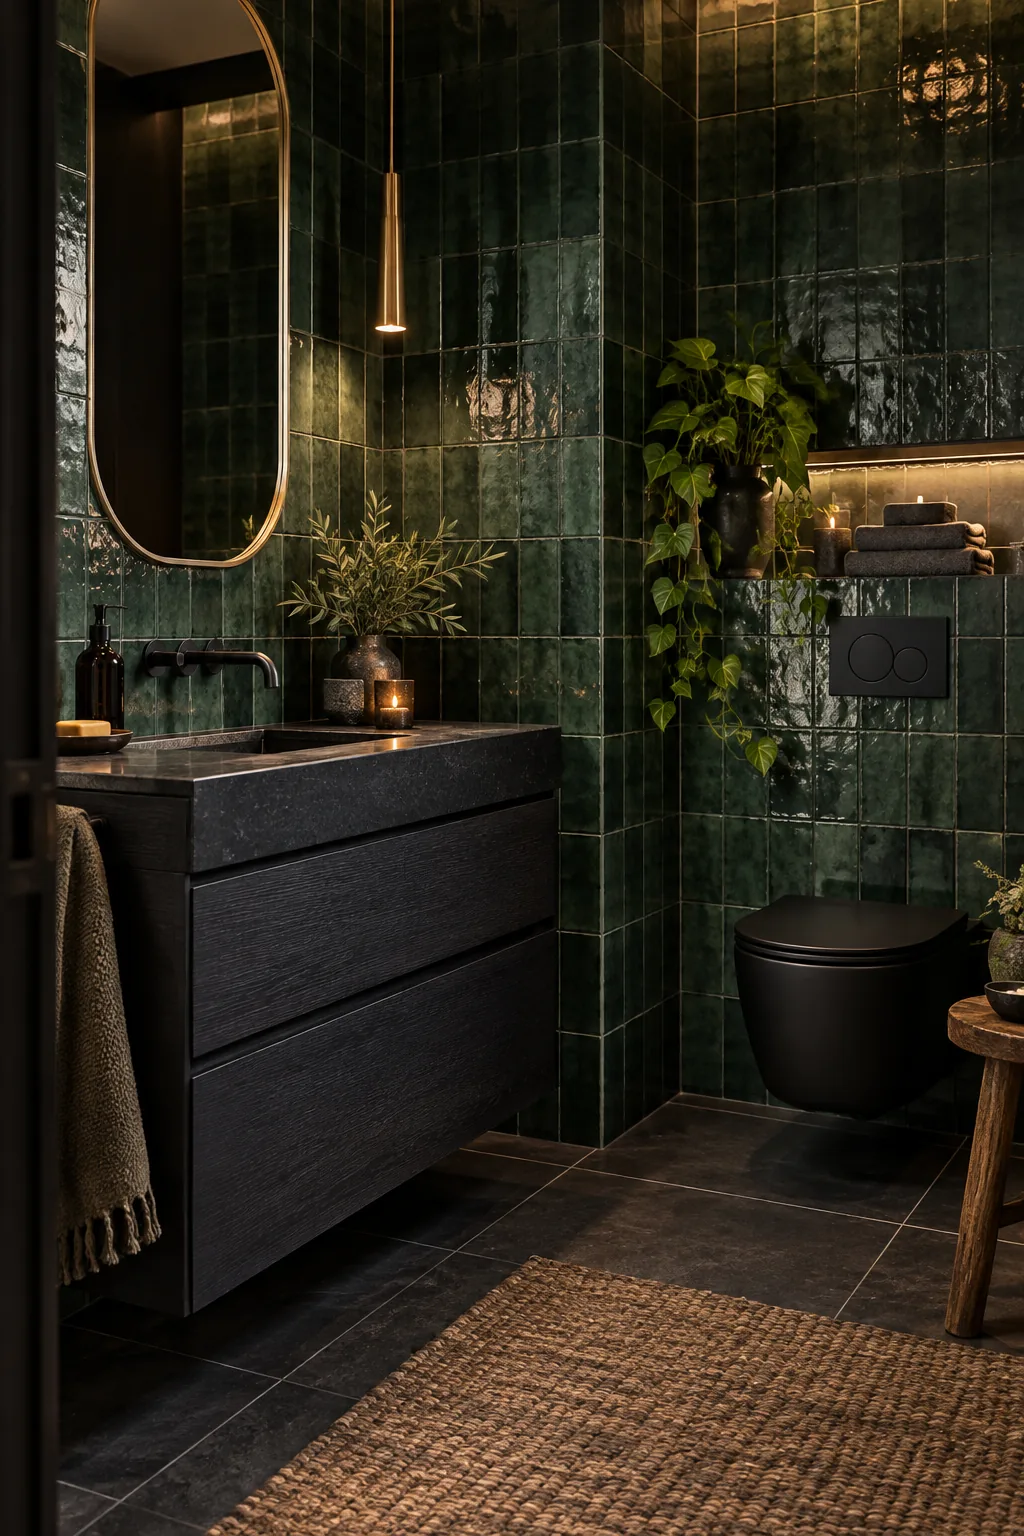
Moody Emerald and Matte Black: Create depth in a small footprint by wrapping the walls in glossy emerald zellige tiles and grounding the space with matte black fixtures.
Classic Calacatta and Polished Nickel: Elevate standard rough-in placements with timeless materials like heavily veined Calacatta marble and brilliant polished nickel hardware.

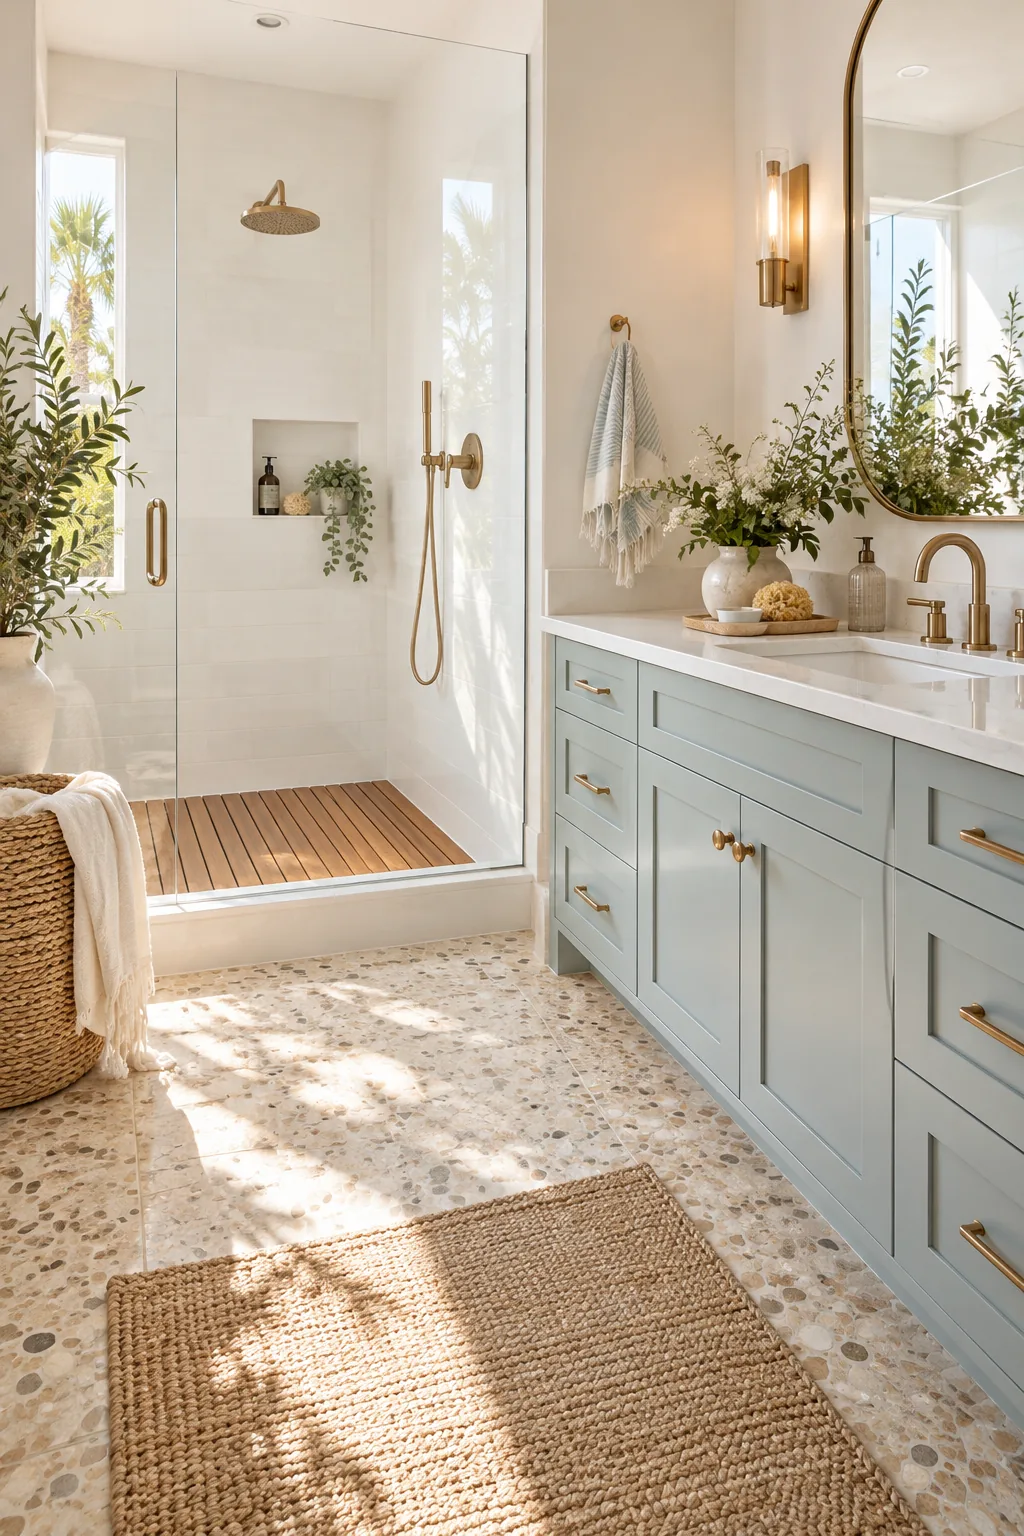
Coastal Spa Terrazzo and Teak: Bring a vacation feel home by combining sandy terrazzo floors with a light seafoam vanity and a warm teak shower insert.
Industrial Concrete and Matte Metal: Embrace a utilitarian aesthetic by pairing a raw concrete basin with stark matte black metal framing and large-format gray tiles.