3D October Bulletin Board: Printable Bat Templates & Map
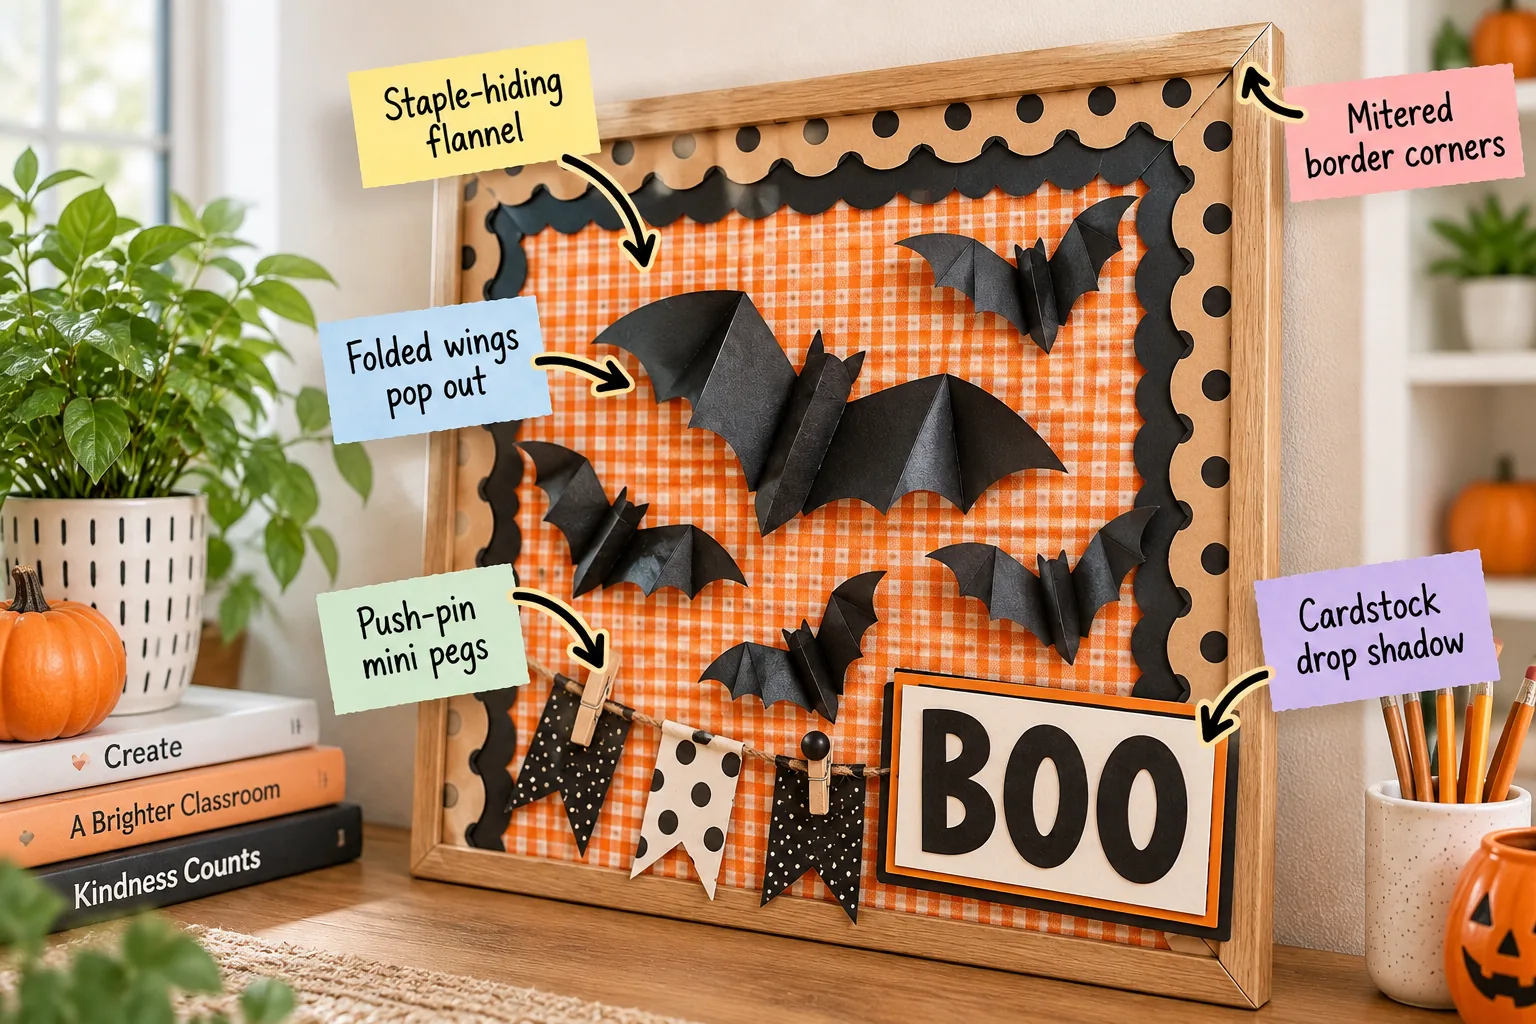
Transform your classroom with a high-texture display using our free printable 3D bat templates and exact placement map. You will be able to assemble this exact dimensional board from the background forward, creating a dynamic seasonal focal point that holds up all month.
Smooth Out the Base with Flannel
Using flannel fabric instead of paper hides staple holes completely and provides a durable base that will not tear when you reposition elements. The woven texture also adds a cozy, tactile quality that flat backgrounds simply cannot match.
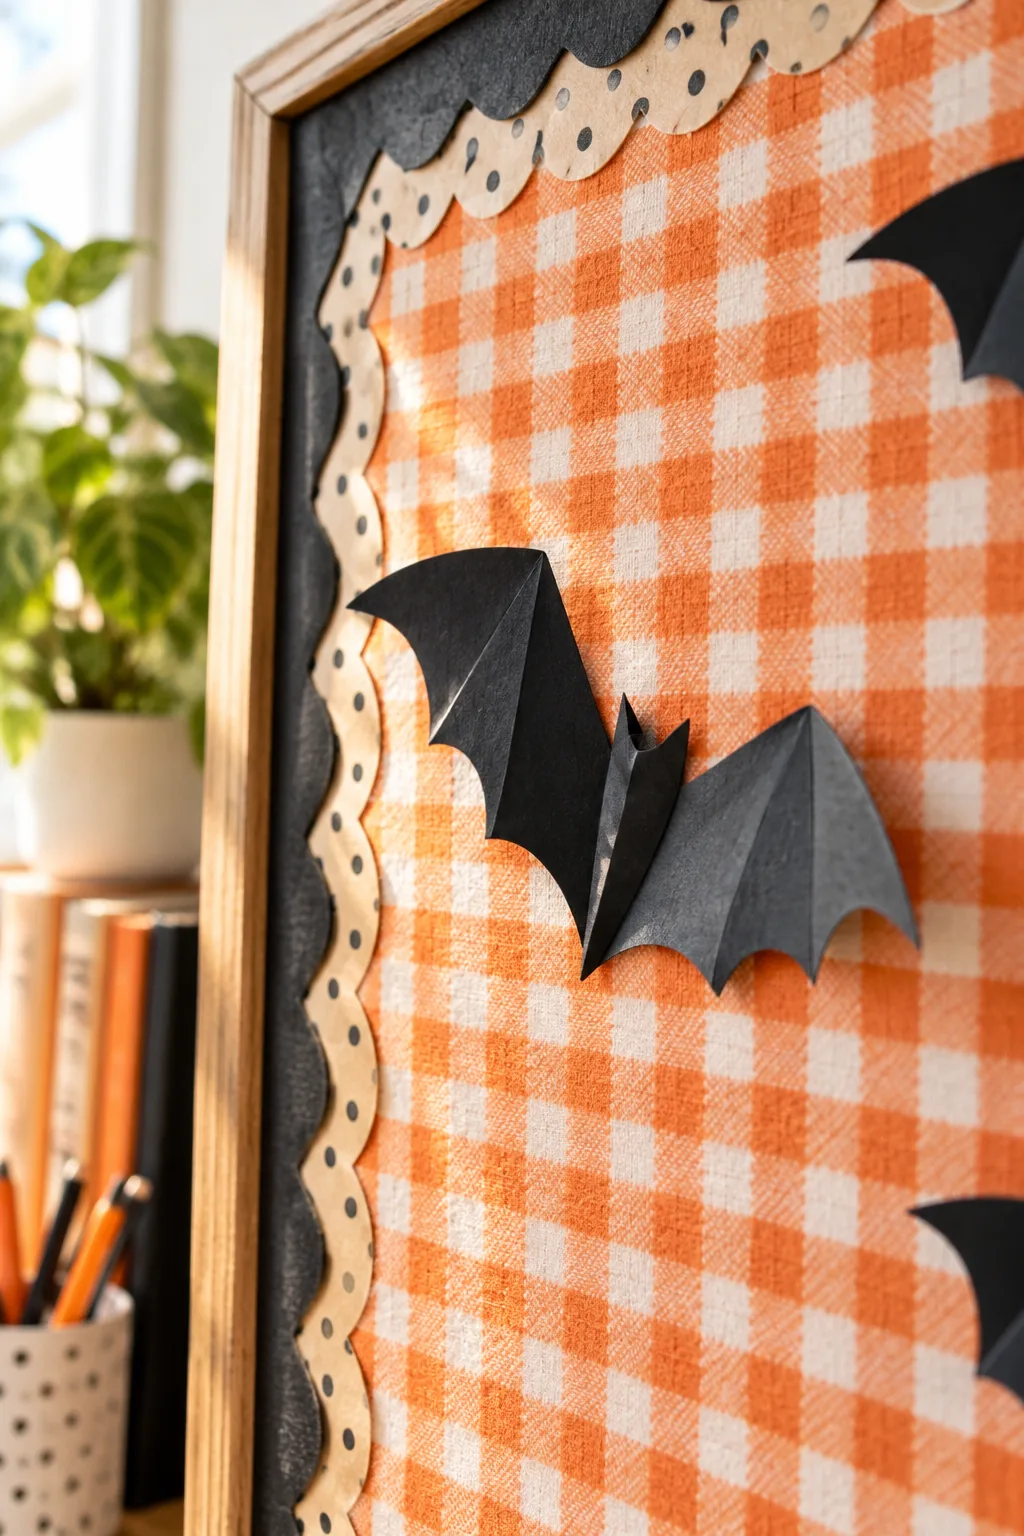
Cut your orange gingham flannel exactly 2 inches wider than the board on all sides so you have plenty of material to grip while stretching. This extra allowance makes it significantly easier to pull the pattern completely straight.
Prepare the Corkboard Surface
Before attaching your new background, strip the board entirely down to the cork and remove any lingering staples. Starting with a perfectly clean slate ensures the new fabric layer sits completely flush without any unsightly bumps pushing through.
Stretch and Staple the Fabric
Pull the fabric tightly from the center outward before stapling it securely to the inner edge of the wooden frame. Maintaining even tension across the entire board prevents the flannel from sagging or rippling as the classroom humidity changes.
Cut Mitered Border Corners
Cutting a precise 45-degree mitered corner prevents bulky overlapping and keeps your layered borders sitting perfectly flat against the fabric background. This small structural detail instantly elevates the entire display from a standard craft project to a professional installation.
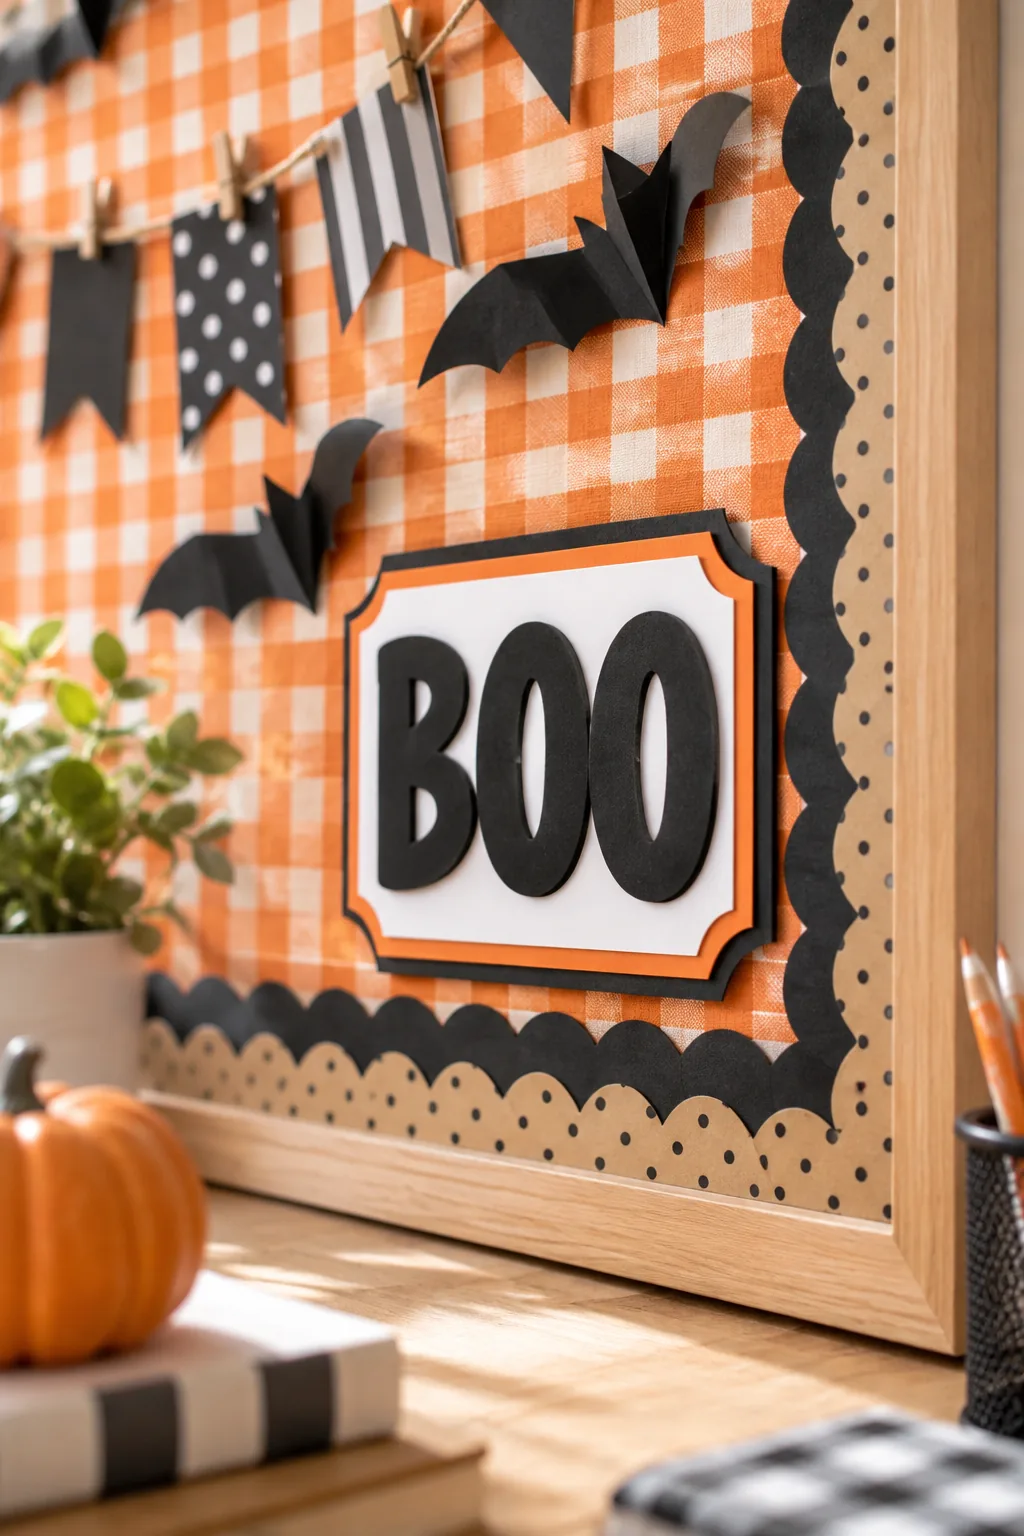
Instead of overlapping the ends, use a metal ruler to cut both border layers at a sharp 45-degree angle exactly where they meet. Taking your time here guarantees the distinct patterns align perfectly at the corner seams.
Layer the Scalloped and Dotted Borders
Layer a scalloped black border directly over a dotted kraft paper border to beautifully frame the bright orange gingham fabric. The contrasting patterns add crucial visual interest without clashing with the bold seasonal lettering in the center.
| Border Layer | Pattern | Width |
|---|---|---|
| Outer Frame | Scalloped Black | 3 inches |
| Inner Frame | Dotted Kraft | 2.5 inches |
This specific combination creates a seamless, professional frame that draws the eye directly toward the center display. The subtle kraft paper dots soften the harsh transition between the dark scalloped edge and the vibrant fabric background.
Align the Border Edges
Use the inner lip of your wooden frame as a physical guide to keep the kraft paper border perfectly straight as you staple it down. Pinning the borders temporarily with thumbtacks allows you to step back and check the alignment.
Build a Cardstock Drop Shadow
Creating a dimensional drop shadow by offsetting cardstock layers behind the main lettering adds incredible depth to the board. I used this exact trick on my own home office vision board last fall, and the resulting 3D effect was absolutely striking.
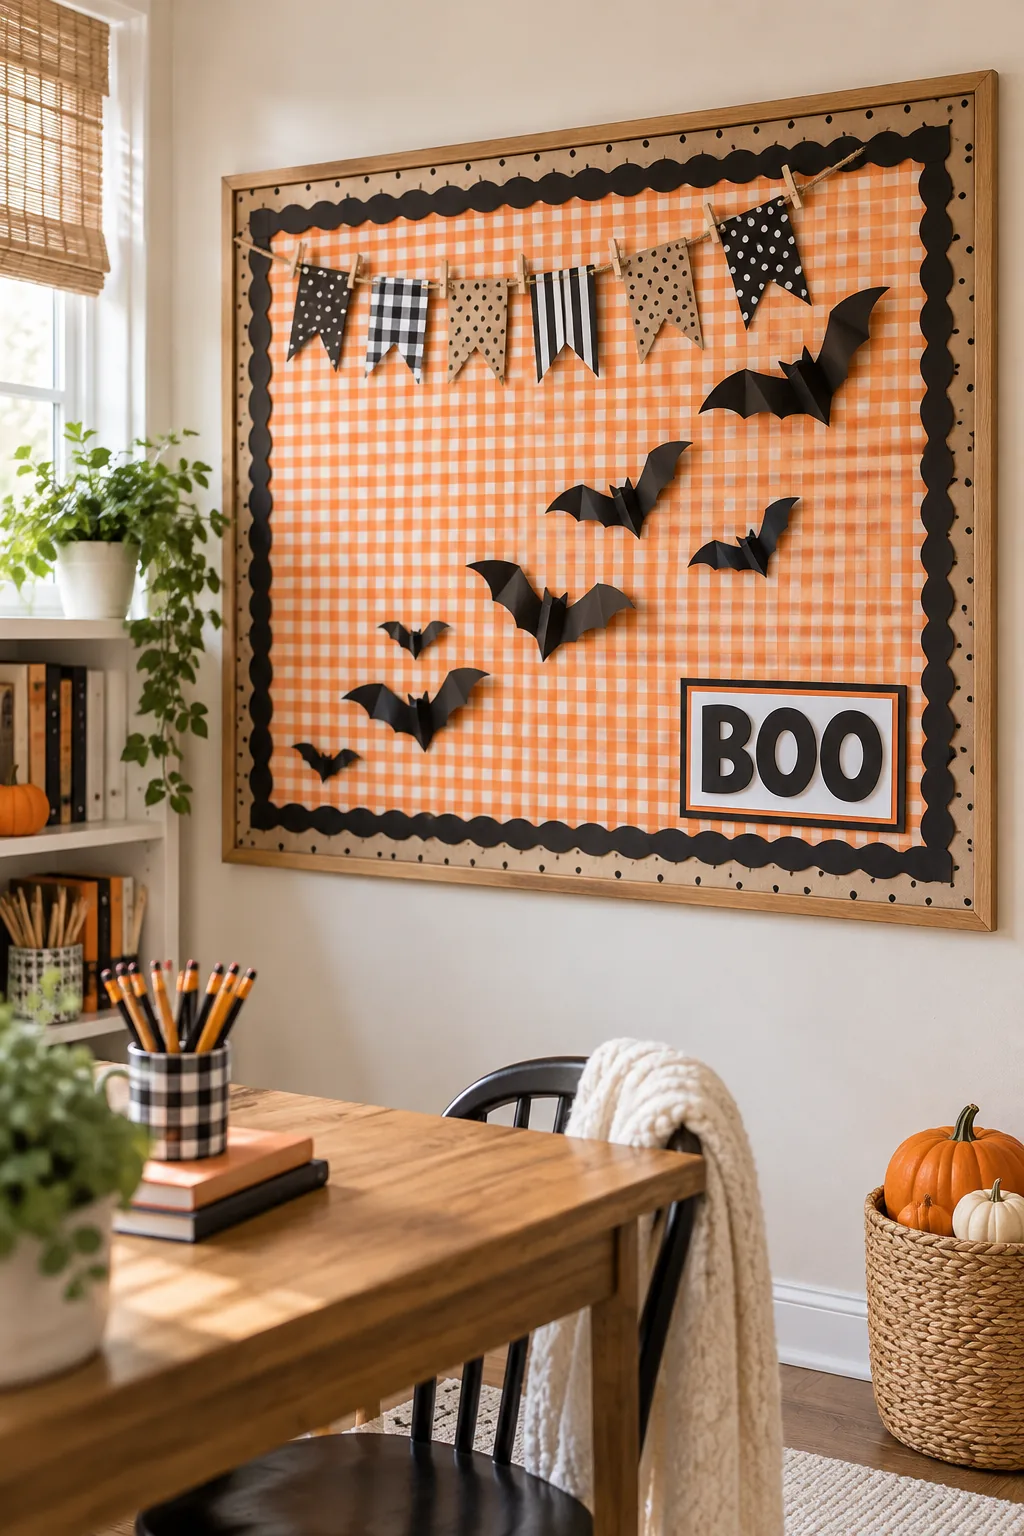
Make the main title pop by mounting black letters on white cardstock, then placing a black and an orange layer directly behind them. This triple-layered approach gives the seasonal greeting a heavy, grounded presence in the center.
Offset the Shadow Layers
The secret to a convincing faux shadow is precise, consistent spacing across every single letter in your main display. Taking the time to measure these offsets guarantees a cohesive look that mimics real directional lighting.
- Align the black backing layer perfectly with the white letter.
- Shift the black layer exactly 1/4 inch downward.
- Shift the black layer exactly 1/4 inch to the right.
Offsetting the back layers by exactly 1/4 inch down and to the right creates a bold, dimensional drop shadow effect. Apply a dab of glue between each layer to lock this exact alignment in place before mounting.
Select High-Contrast Paper Weights
Always choose a sturdy 65 lb cardstock for your shadow layers, as standard construction paper is simply too thin. Heavier paper resists curling and maintains those crisp, sharp edges that make the drop shadow illusion so effective.
Crease the Bats for 3D Flight
Flat paper bats blend into the background, so you must score the heavy black cardstock straight down the center line. Preparing the fold beforehand is the only way to achieve a sharp, intentional crease without wrinkling the delicate wingtips.
Score the Center Lines
Running a bone folder firmly down the middle of each bat creates a clean groove that makes folding significantly easier. This crucial prep step ensures every bat in your colony maintains an identical, symmetrical shape once mounted.
This targeted crease prepares the bats for their dynamic upward flight path across the center of the display. The rigid fold guarantees the wings will stay lifted off the board for the entire autumn season.
Download the Bat Templates and Layout Map
Folding the bat wings upward at a 30-degree angle creates a striking 3D pop-out effect that casts realistic shadows on the flannel base. This specific angle catches the overhead classroom lights perfectly without revealing the mounting tape underneath.
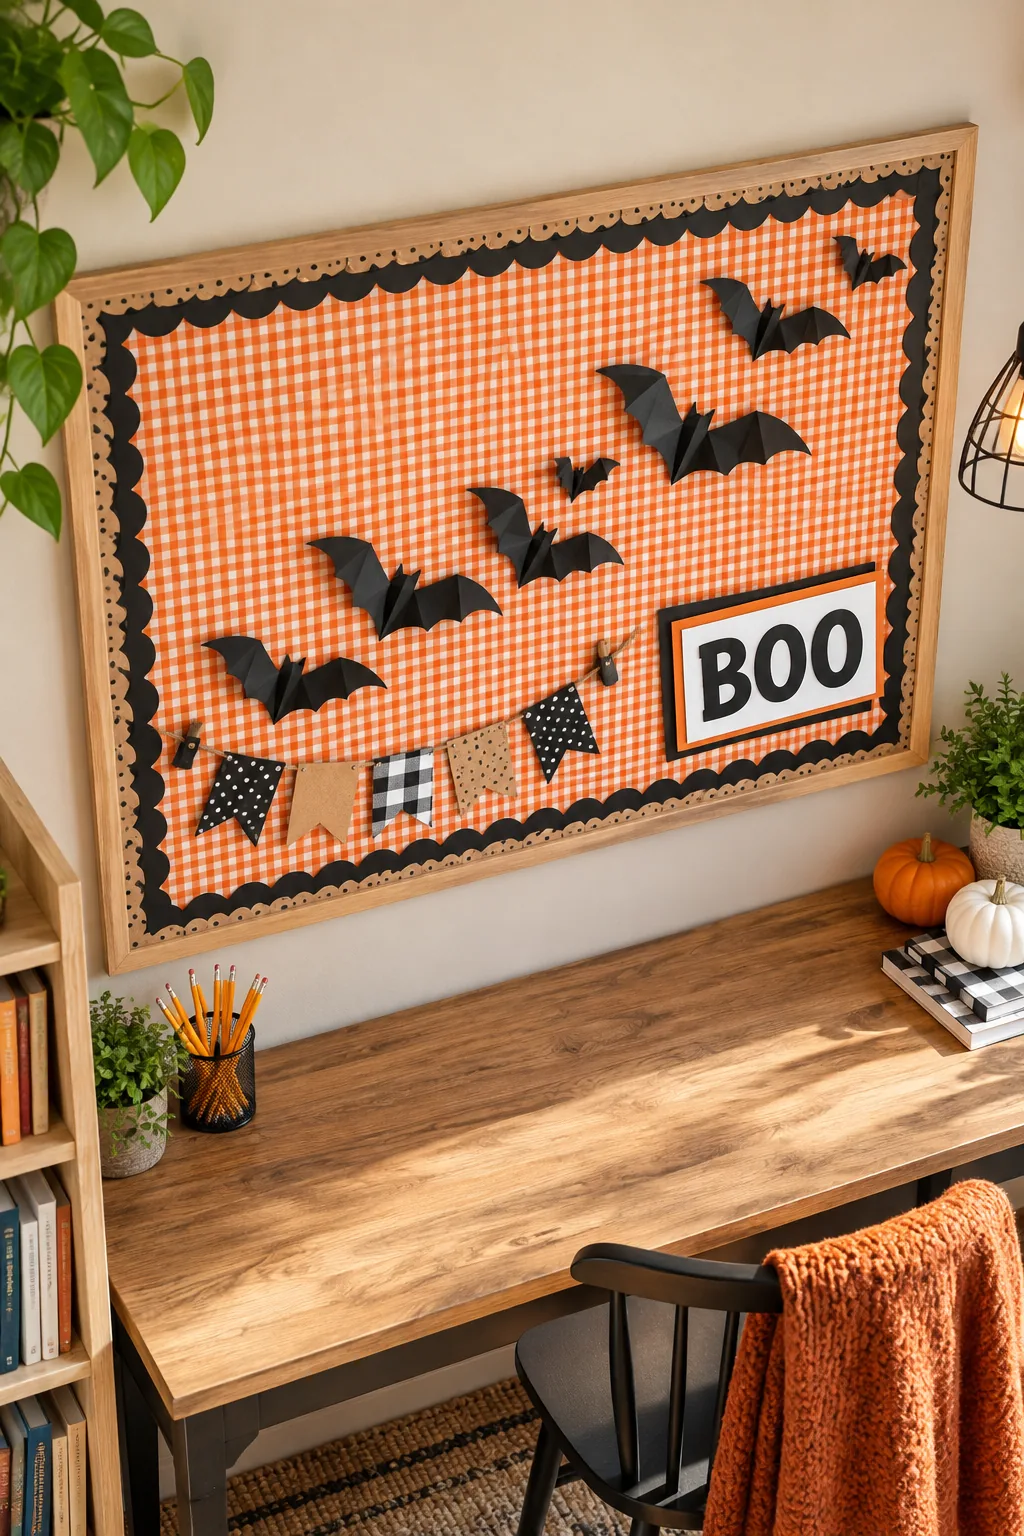
Take the guesswork out of sizing and placement by using our printable PDF to cut bats in three specific sizes: 4-inch, 6-inch, and 8-inch wingspans. Having precise templates ensures your handmade colony looks intentional and perfectly proportioned.
Scale the Bat Wingspans
Mixing the three different wingspans creates a clever forced perspective trick, making the smaller bats look like they are flying further away. This simple optical illusion adds massive depth to an otherwise flat bulletin board surface.
Map the Flight Path
Following a specific layout map and using varied bat sizes creates a dynamic, convincing flight path across the entire board. A planned trajectory prevents the bats from looking like a disorganized cluster and guides the viewer’s eye upward.
Follow the included grid map to space the bats perfectly across a standard 3×4 foot board for maximum visual impact. The map specifically concentrates the largest bats near the bottom left, tapering off to the smaller sizes at the top right.
String a Mini Pennant Banner
Add a secondary focal point at the bottom left with a miniature banner made from 2-inch wide pennants strung along natural jute twine. This charming detail anchors the display and balances the heavy cluster of bats taking flight above it.
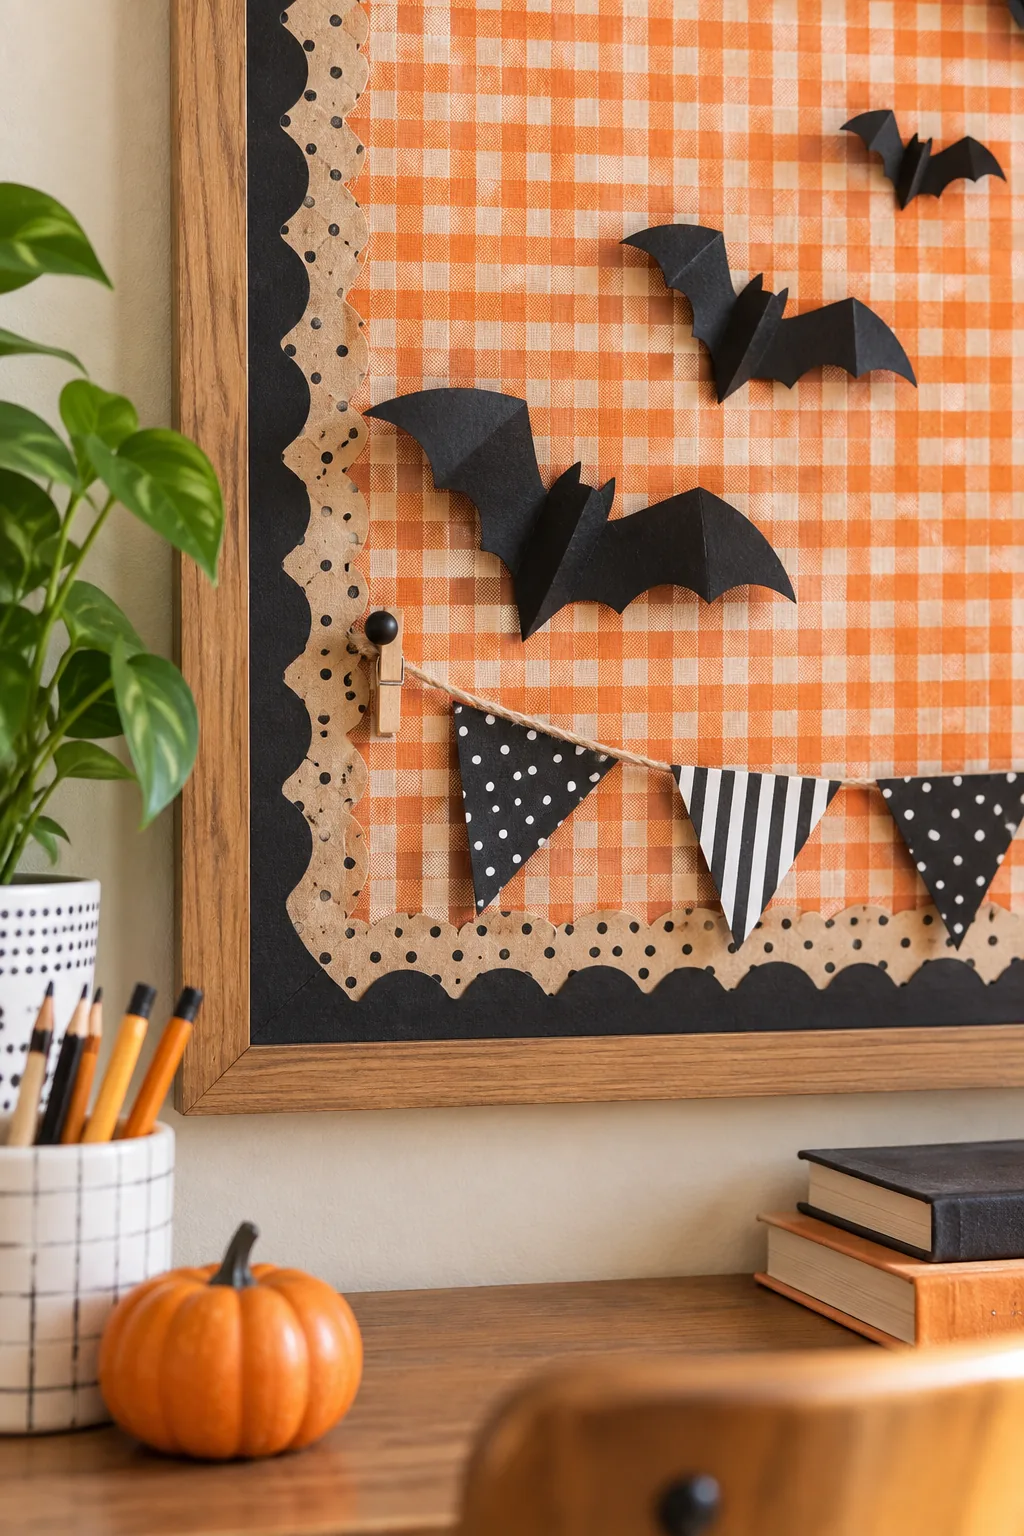
Fold the Pennants Cleanly
A clean fold keeps the banner looking neat from all angles, especially if the board is mounted at eye level. Taking a moment to score the fold line guarantees the patterned paper will not crack or bubble over the twine.
Space the pennants exactly 1 inch apart for visual balance along the twine. Consistent spacing prevents the flags from bunching up and ensures the natural jute texture remains visible between each colorful paper triangle.
Anchor Details with Push-Pin Pegs
Creating custom push-pin mini pegs is a brilliant way to anchor twine and add tactile details to the corners. I originally tested this hardware hack for my kitchen memo board, and it holds surprisingly well even when the door slams.
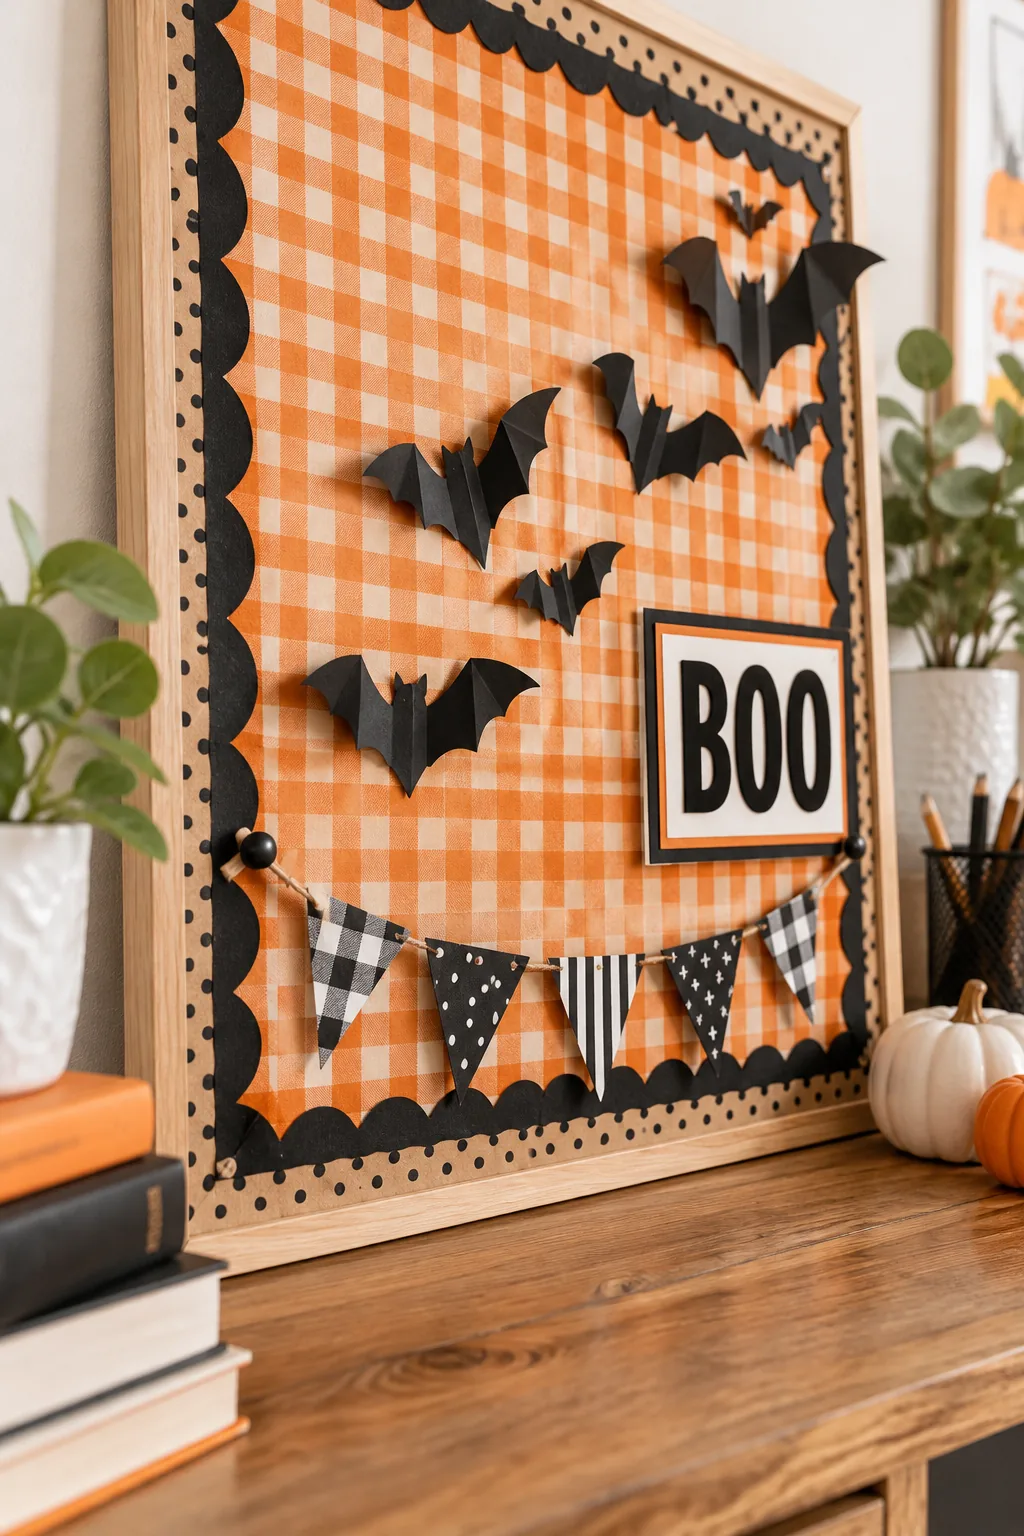
Secure the twine using this decorative hardware hack by gluing a mini wooden clothespin directly to a solid black thumbtack. This clever combination allows you to adjust the banner tension easily without repeatedly piercing the corkboard.
Secure Heavy Layers for the Season
Using rolled mounting tape on the center crease secures heavy dimensional pieces firmly without flattening their carefully folded wings. Standard glue sticks simply cannot handle the weight of layered cardstock pulling away from the fabric background.
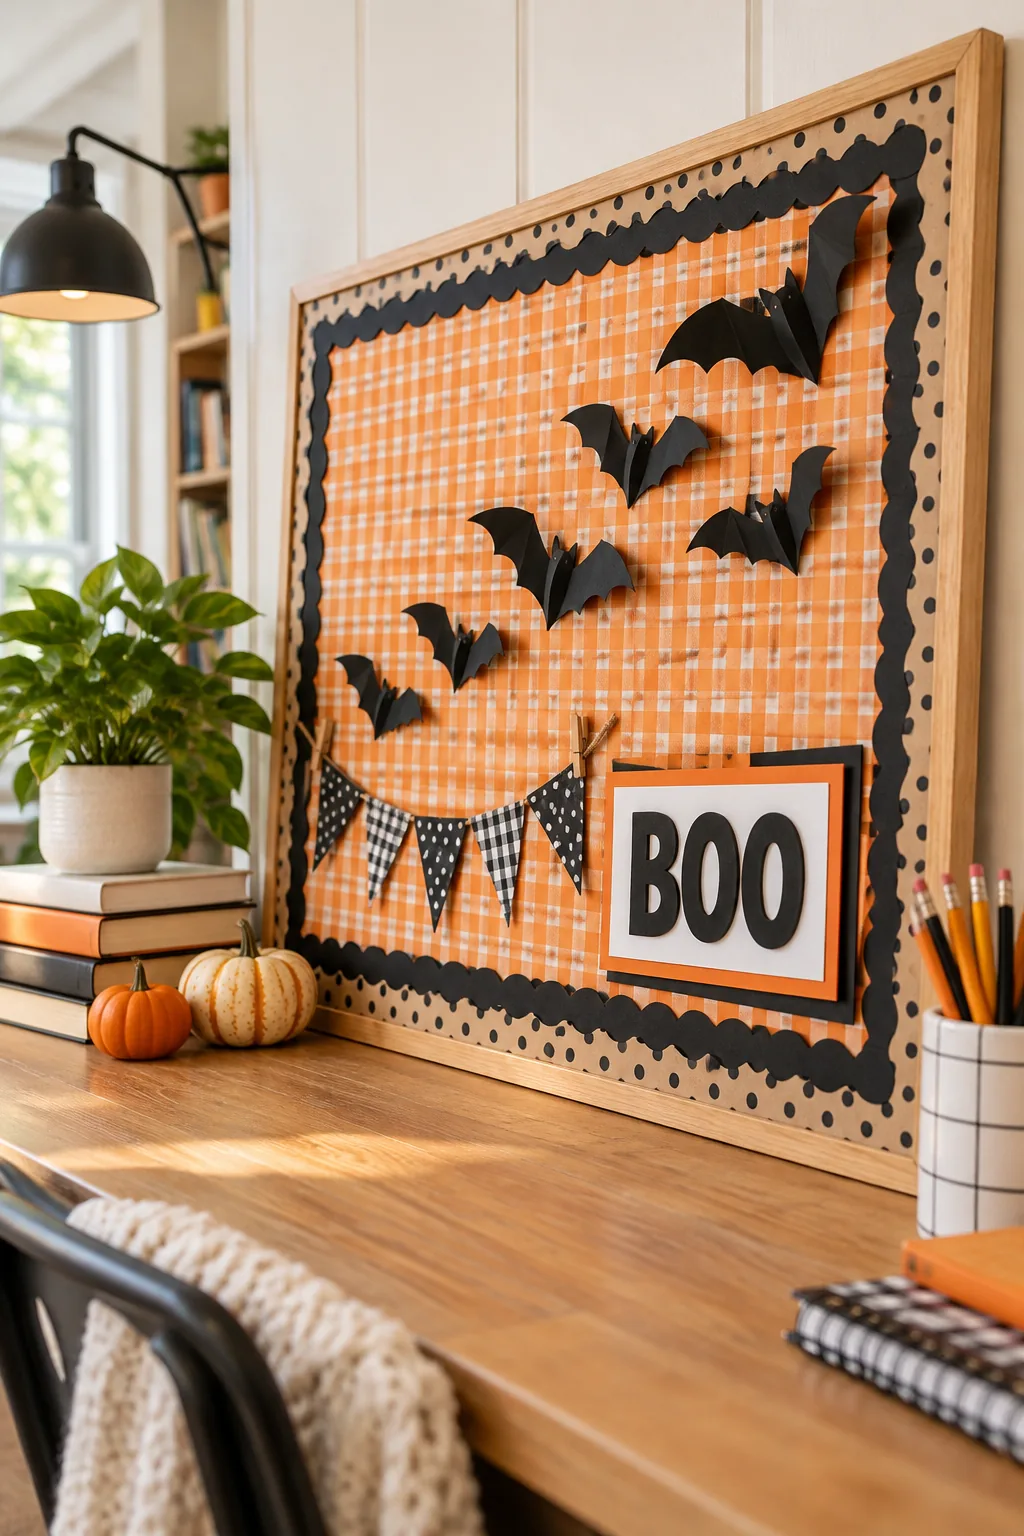
Apply Mounting Tape to the Crease
Dimensional boards require stronger adhesives to last through October without sagging, so use rolled mounting tape instead of standard glue for the heavy cardstock signs. The foam core of the tape provides an extra boost of lift that enhances the 3D effect.
Applying a 1-inch strip of tape exclusively to the center crease ensures the wings remain completely free and lifted off the fabric. Press firmly on the spine for ten seconds to lock the adhesive into the textured flannel base.
More October Bulletin Board Ideas
Adapt the 3D bat technique to fit any classroom theme or color palette.
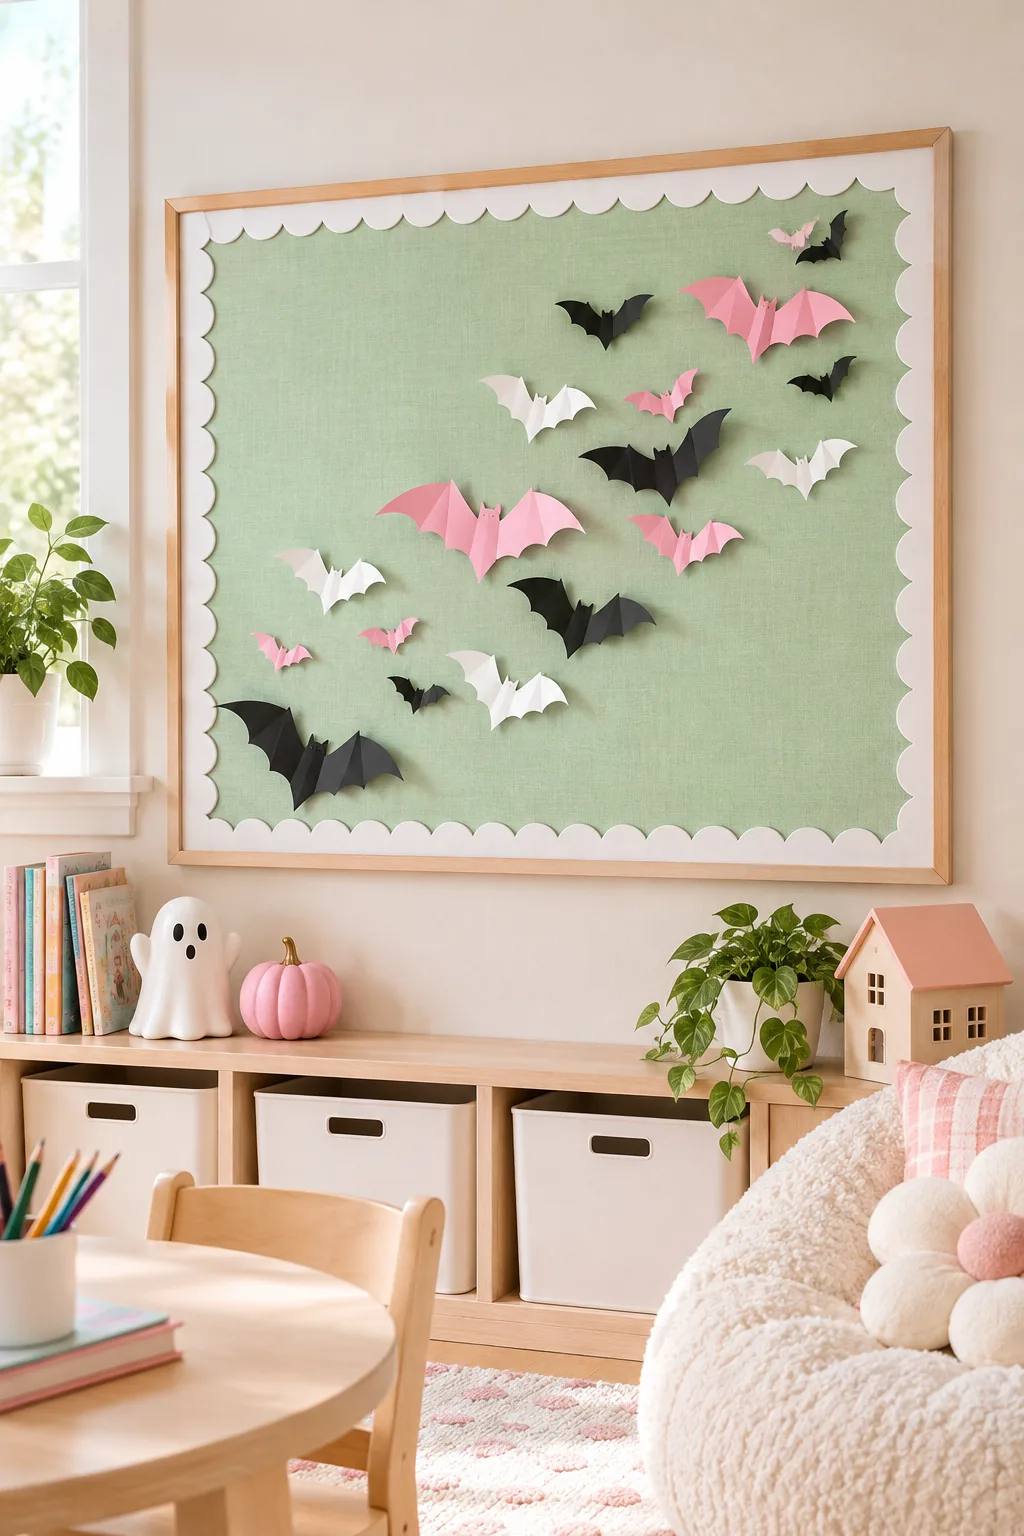
Pastel Halloween Playroom: Swap traditional orange for mint green and pink to create a friendly, softer Halloween display perfect for early childhood spaces.
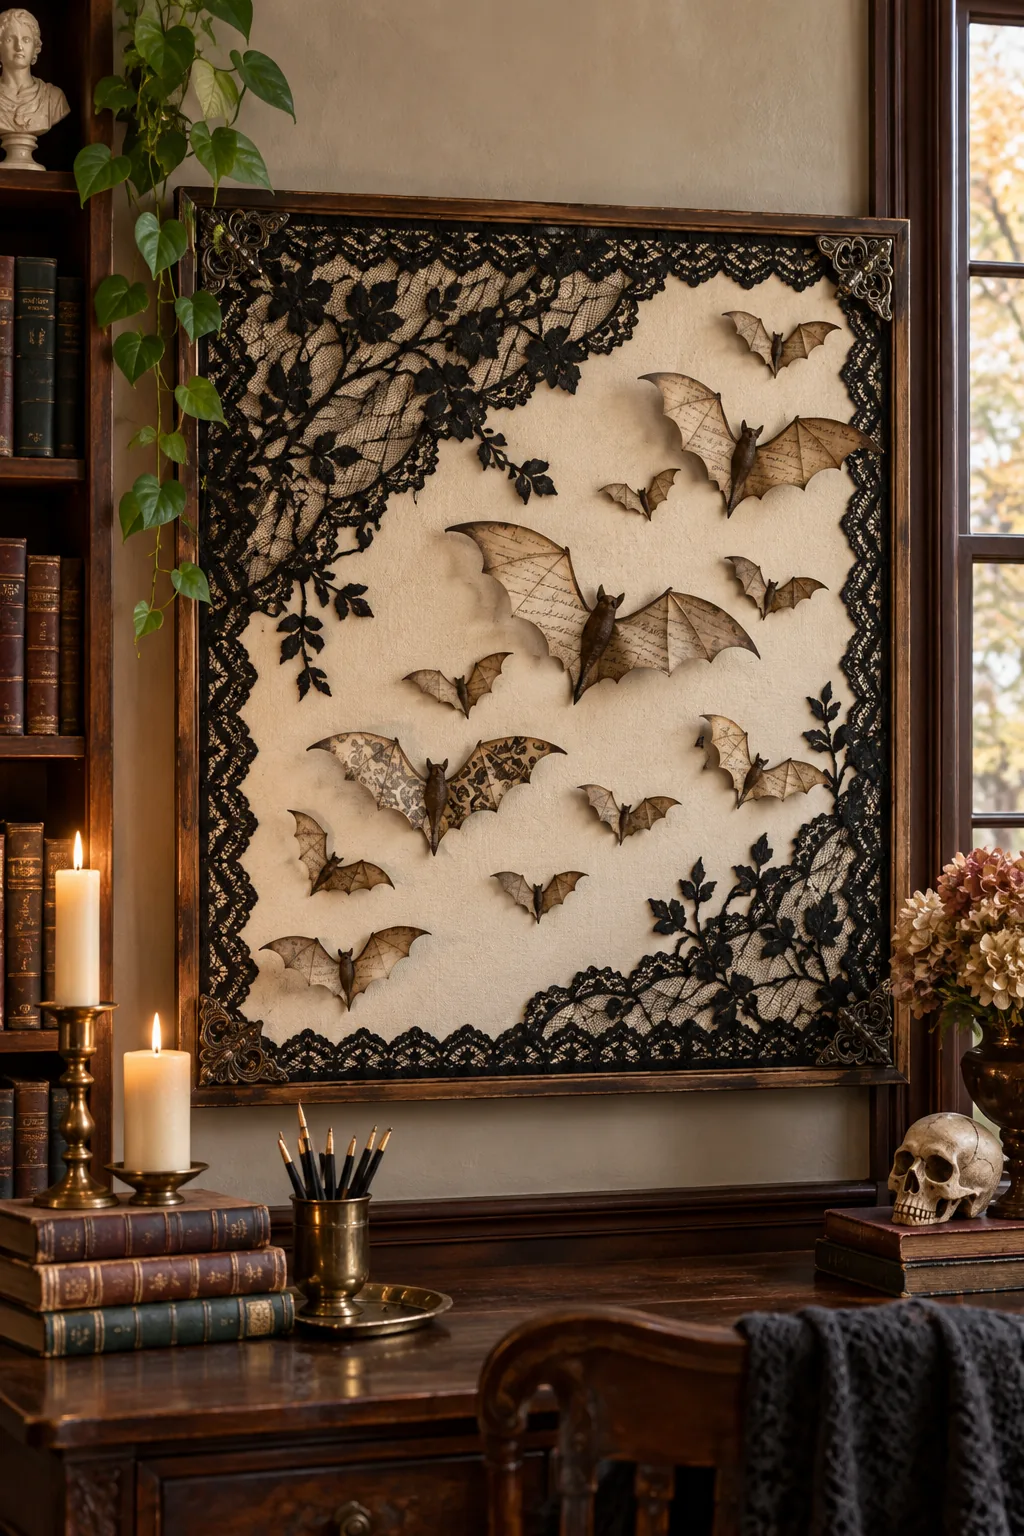
Vintage Gothic Library: Layer black lace over a cream base and use sepia-toned paper for the bats to achieve an elegant, moody aesthetic.
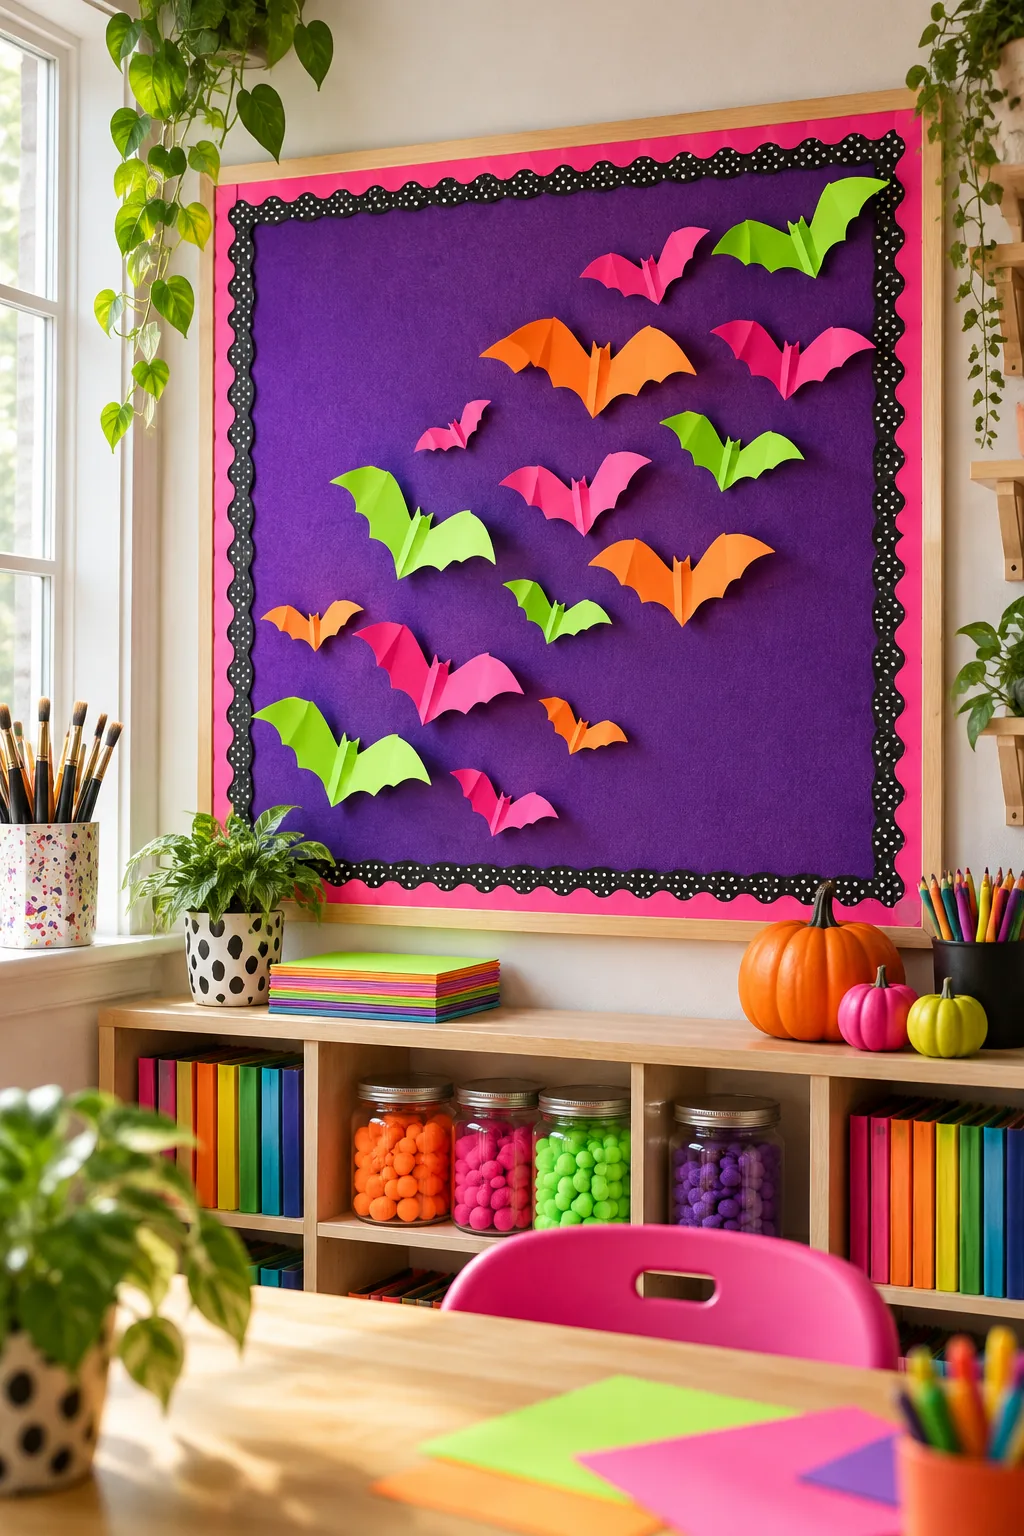
Electric Neon Brights: Use high-contrast neon cardstock against a deep purple background to make the folded bat wings visually jump off the board.
Minimalist Neutral Homeschool: Stick to natural linen, white cardstock, and kraft paper for a subtle seasonal nod that blends seamlessly into neutral home decor.
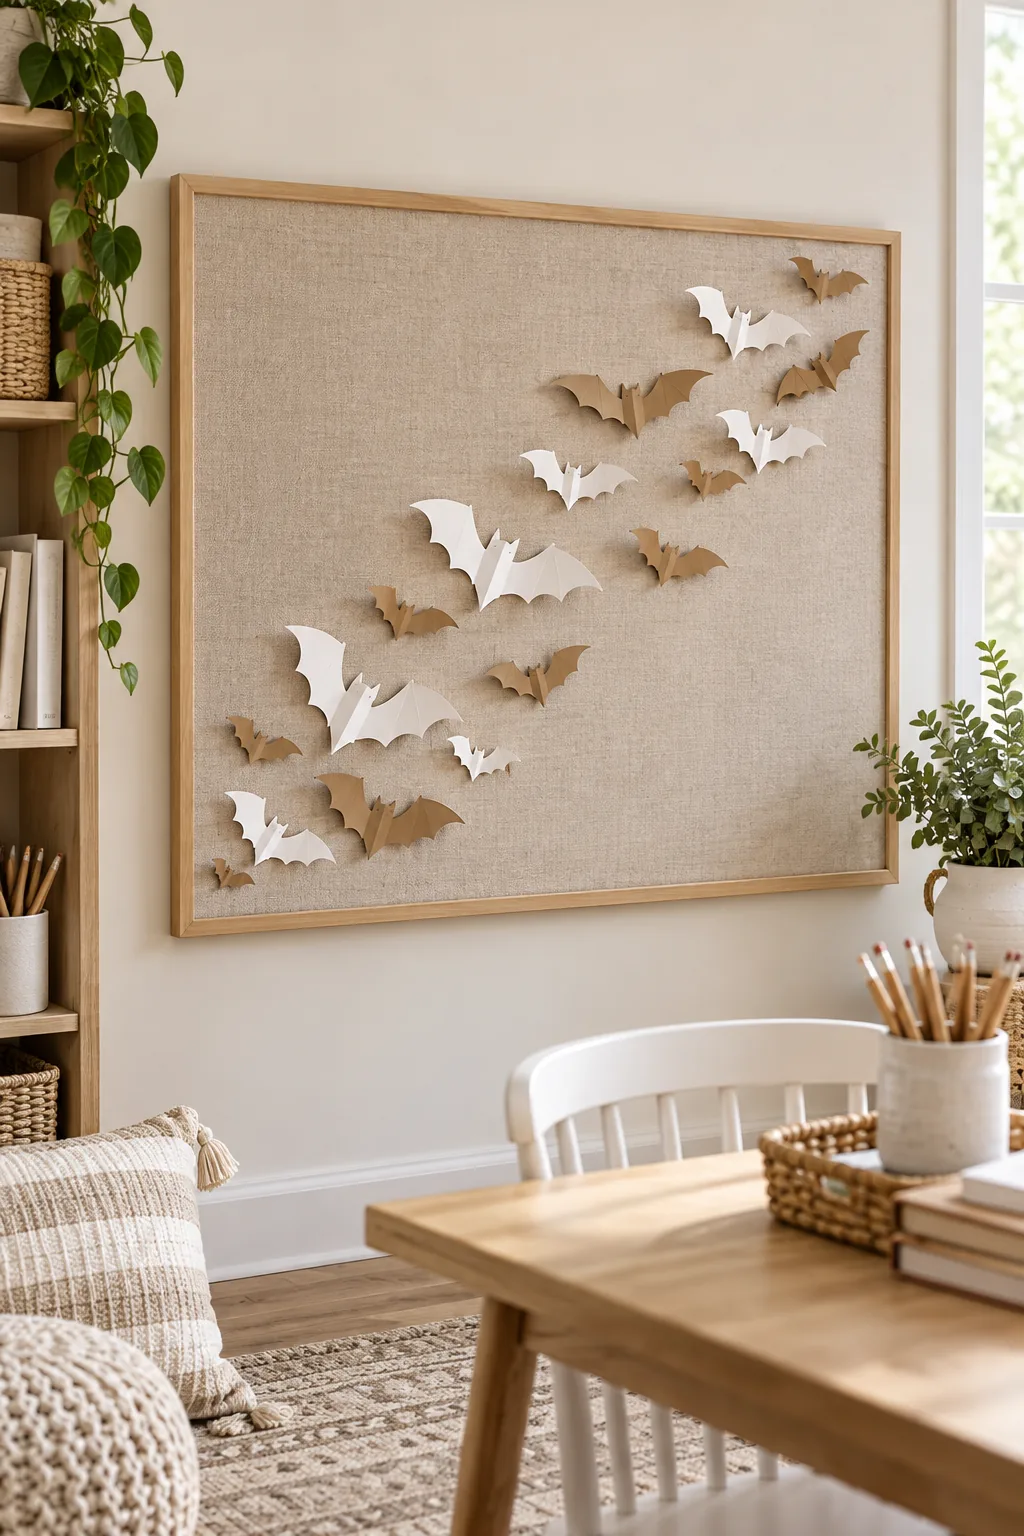
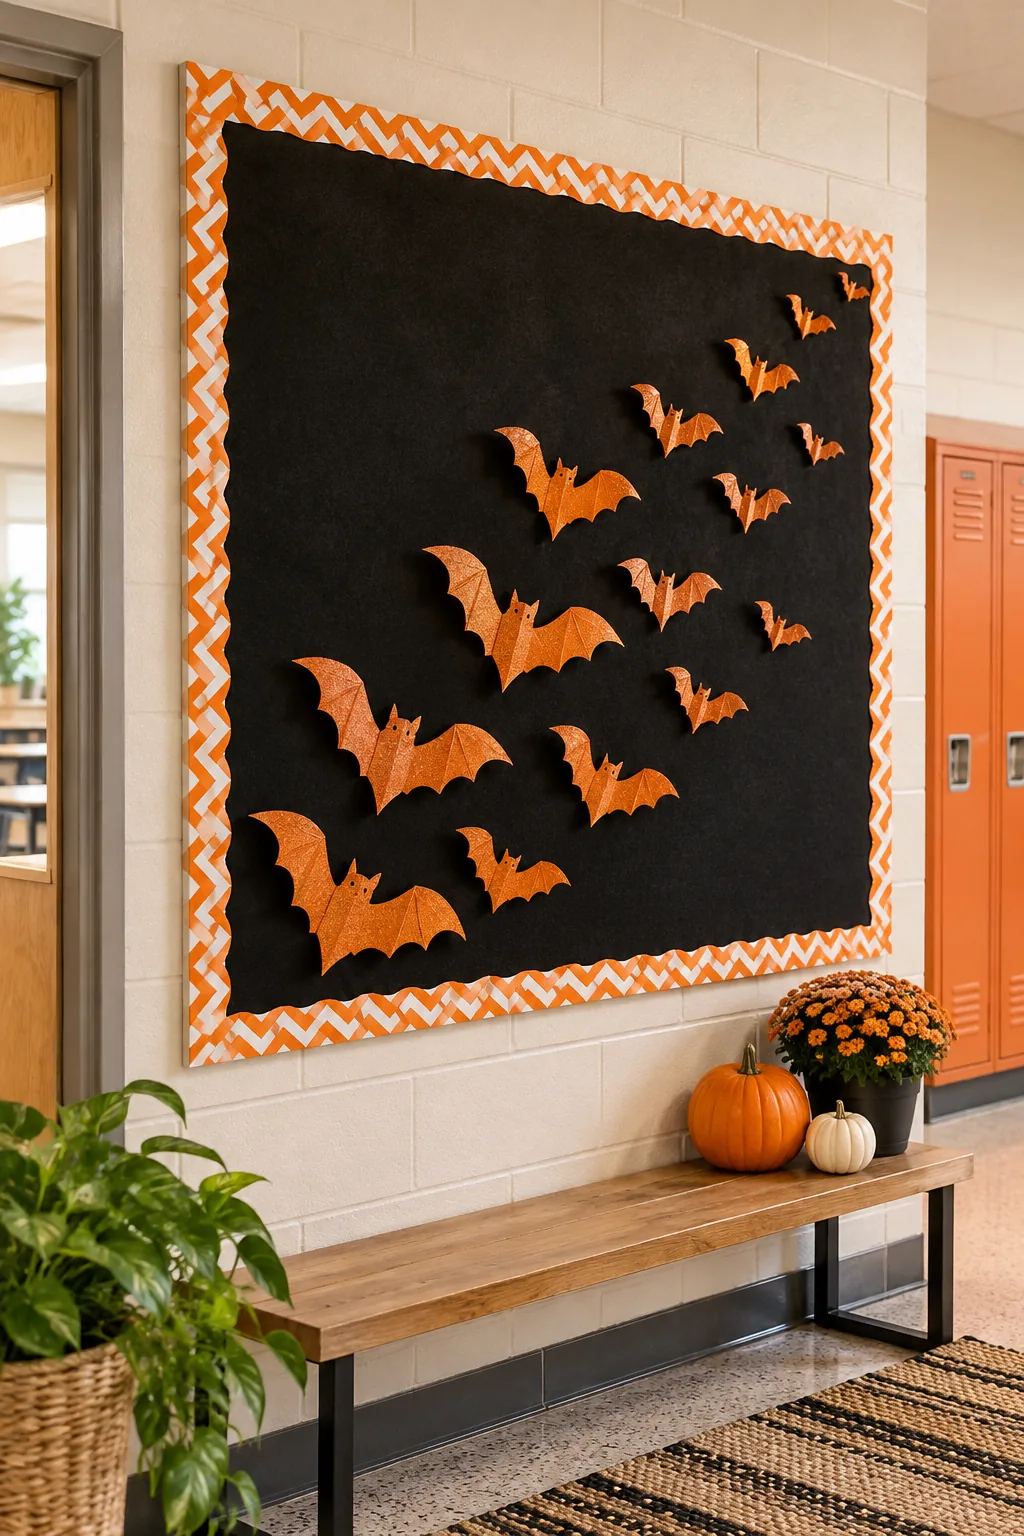
Classic Orange and Black: Reverse the traditional color scheme by using a deep black felt background to make bright orange glitter bats the star of the show.