How to Create a Spa Day at Home (with a 2-Hour Schedule)
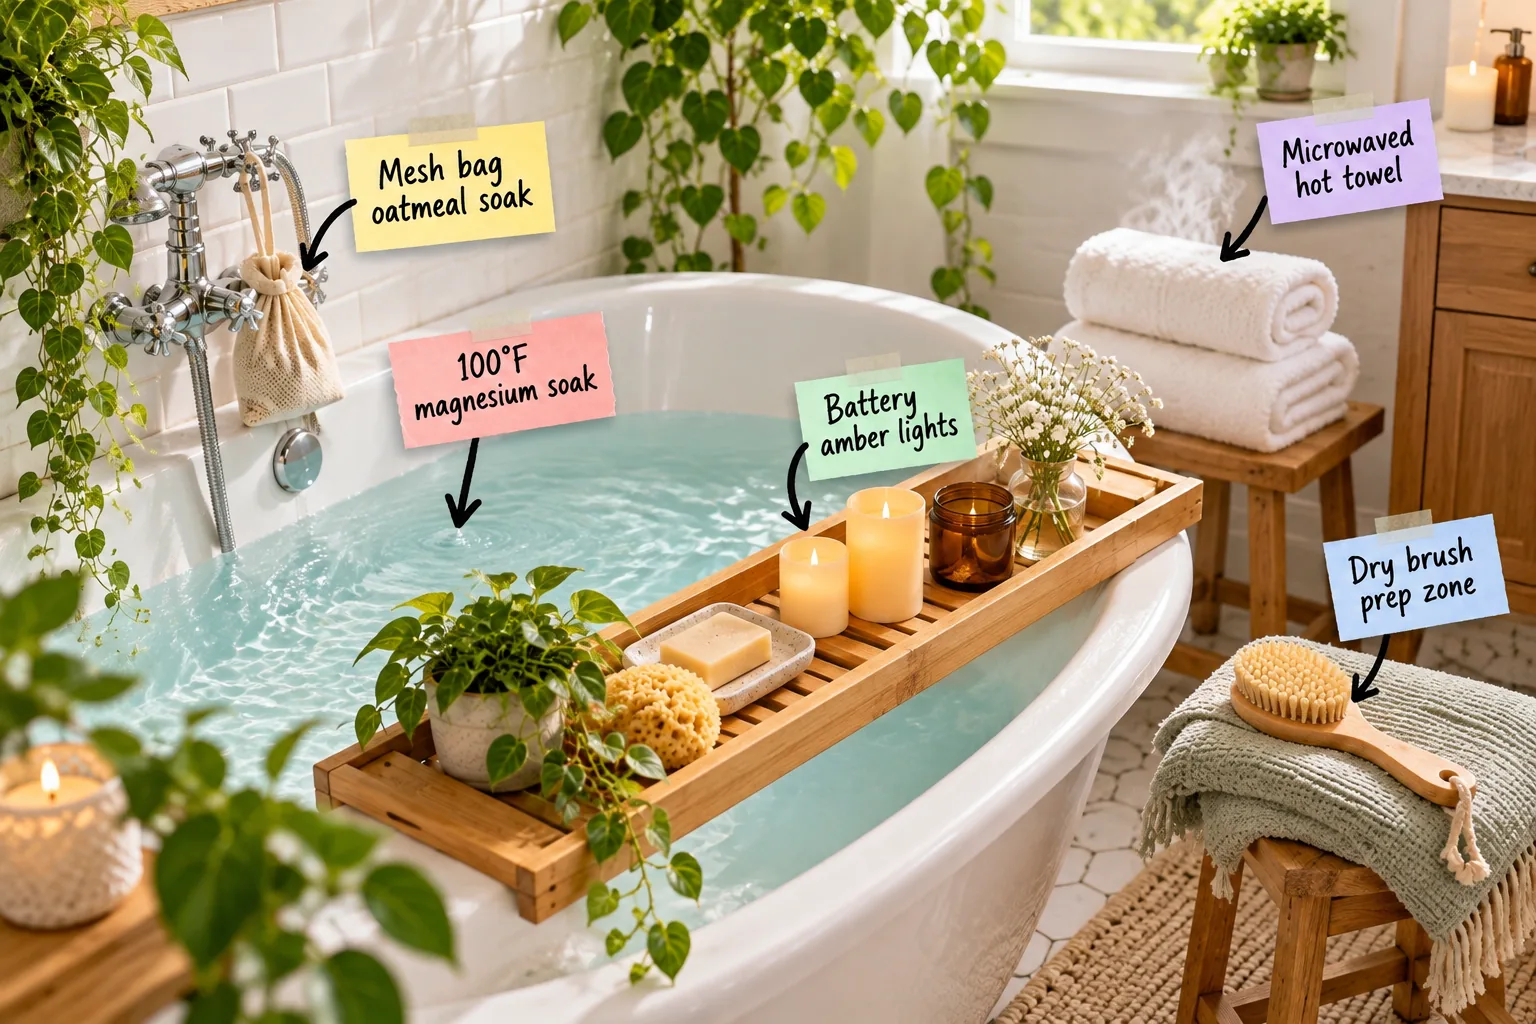
Download our step-by-step 2-hour schedule to transform any small bathroom into a restorative retreat, giving you a precise timeline to prep, soak, and completely unwind using simple household items.
Your 2-Hour Home Spa Schedule
Following a structured 120-minute timeline keeps you completely relaxed, breaking your session into 15 minutes of prep, 20 minutes of dry brushing, a 45-minute soak, and 40 minutes of cooldown.
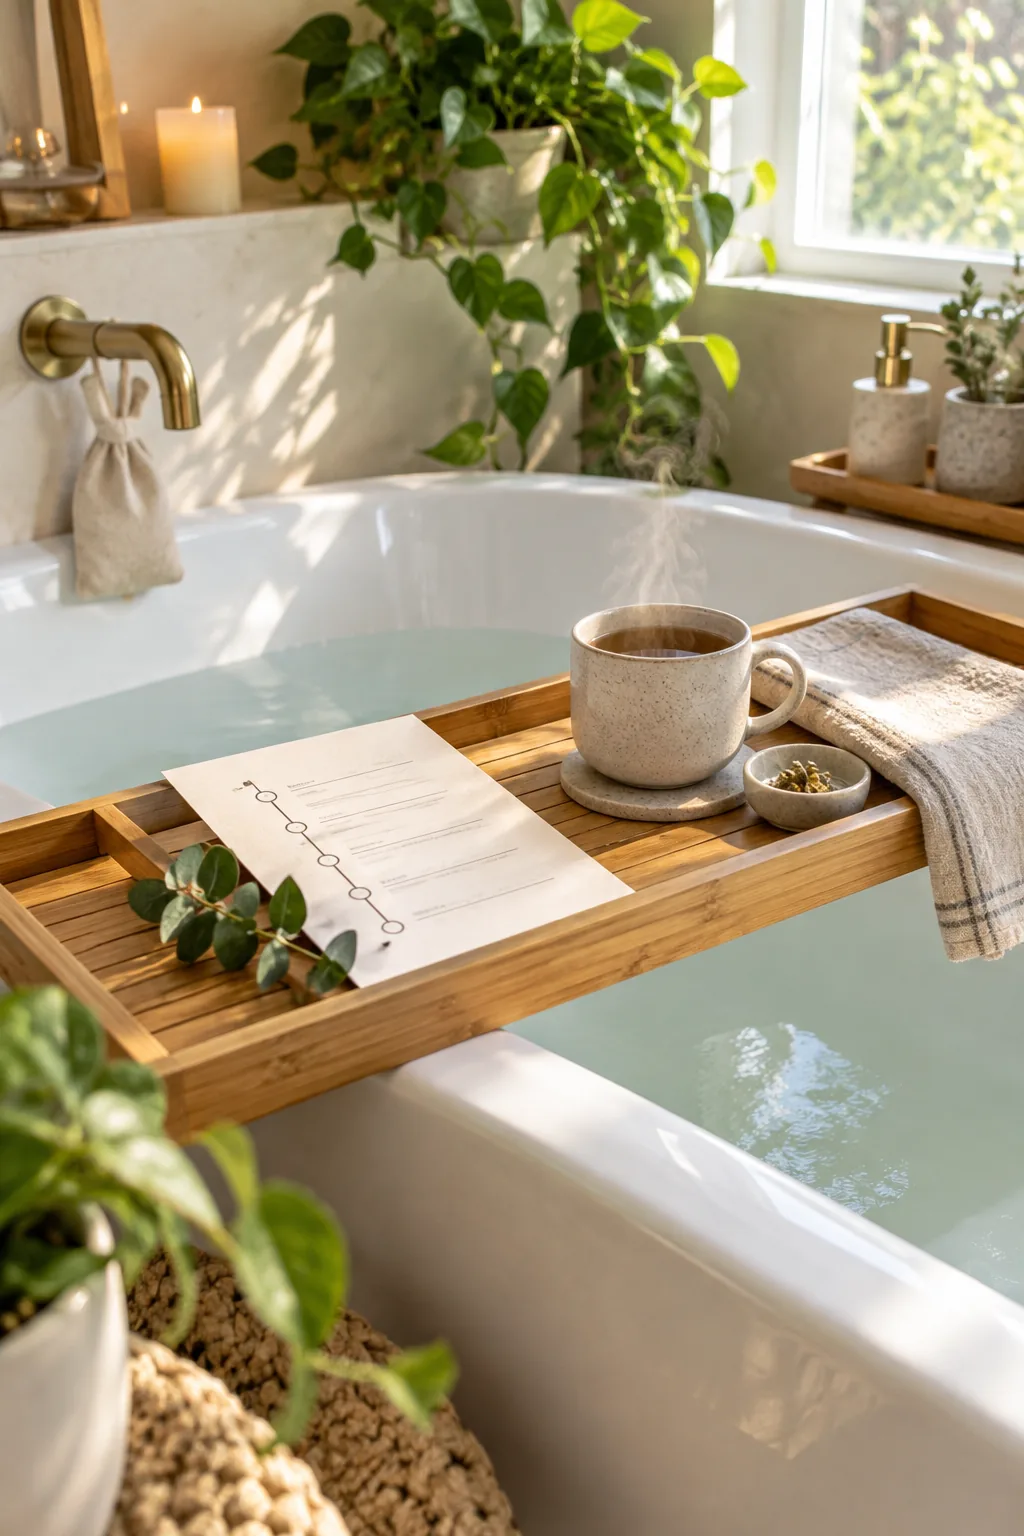
Place the physical schedule directly on your bamboo bath tray so you can transition gracefully through each distinct phase without ever breaking your state of relaxation to check a screen.
Breaking Down the 120-Minute Timeline
Having clear timeblocks prevents the entire experience from feeling rushed, ensuring your body has adequate time to adjust to the heat and fully absorb the restorative benefits of the bathwater.
| Phase | Duration | Focus | Location |
|---|---|---|---|
| Room Prep | 15 mins | Lighting and water | Bathroom |
| Dry Brushing | 20 mins | Lymphatic drainage | Prep Zone |
| Magnesium Soak | 45 mins | Muscle relaxation | Bathtub |
| Rest & Cooldown | 40 mins | Moisture retention | Bedroom |
Stick closely to these specific intervals, as lingering in hot water for more than 45 minutes can actually dehydrate your skin rather than locking in the soothing moisture you desperately need.
Setting Up the Dry Brush Prep Zone
Arrange a dedicated space just outside the tub for your dry brushing station, using a small wooden stool to keep your tools dry and easily accessible before you step into the water.
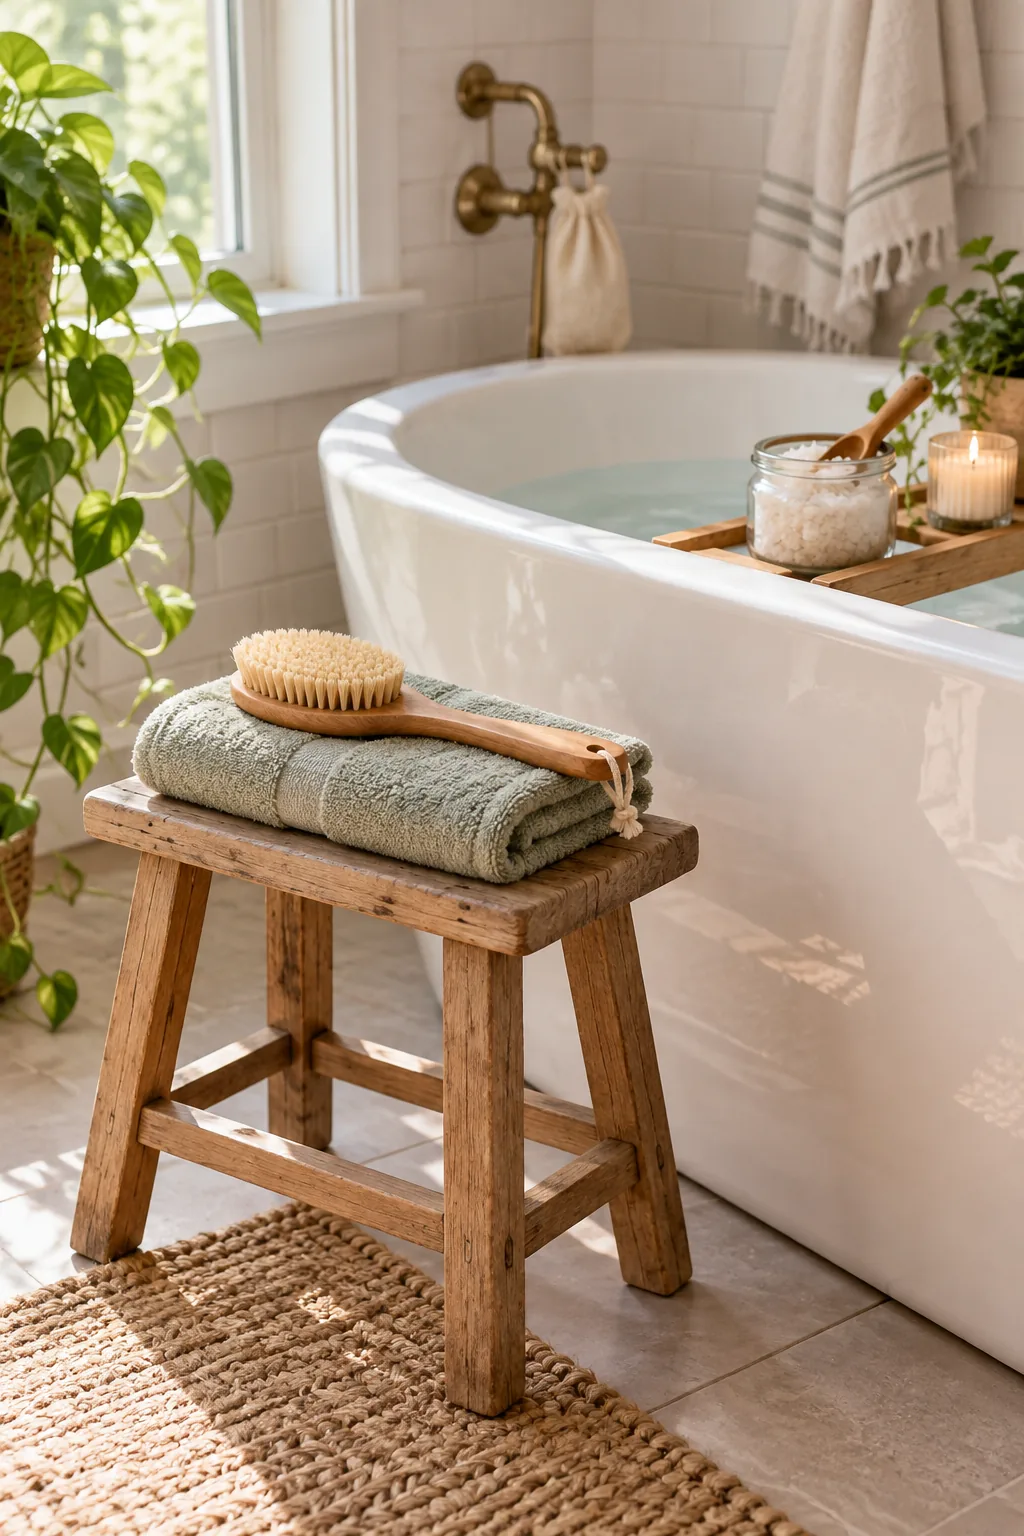
Dedicate 5 to 10 minutes to this crucial prep step, which exfoliates dead skin cells and stimulates circulation so your body is fully primed to absorb the soothing bath ingredients.
The Technique for Effective Dry Brushing
Using a firm natural bristle brush on completely dry skin requires a specific directional approach to maximize the lymphatic drainage benefits without causing any unnecessary irritation or unwanted surface redness.
- Start at the soles of your feet and work your way upward.
- Use short, firm strokes always moving directly toward your heart.
- Brush your arms beginning at the hands and sweeping up to the shoulders.
- Use gentle circular motions clockwise across your stomach.
Shower off very quickly with lukewarm water to rinse away the exfoliated skin cells before you officially begin the soaking phase of your carefully planned home spa schedule.
Hanging the Mesh Bag Oatmeal Soak
Fill a small muslin bag with 1/2 cup of whole rolled oats and hang it directly under the tub spout. I started doing this in my own Boston apartment after a plumber warned me about loose oats, and it creates the silkiest water imaginable without clogging the drain.
Squeeze the wet fabric bag gently a few times while the tub fills to release even more of that soothing, milky oat essence directly into your warm bathwater.
Drawing the 100°F Magnesium Soak
Draw your bathwater to exactly 100°F for optimal muscle relaxation, then dissolve 2 cups of magnesium flakes into the warm water. I keep a waterproof thermometer in my bathroom precisely for this, as guessing the temperature often left me feeling dizzy instead of rested.
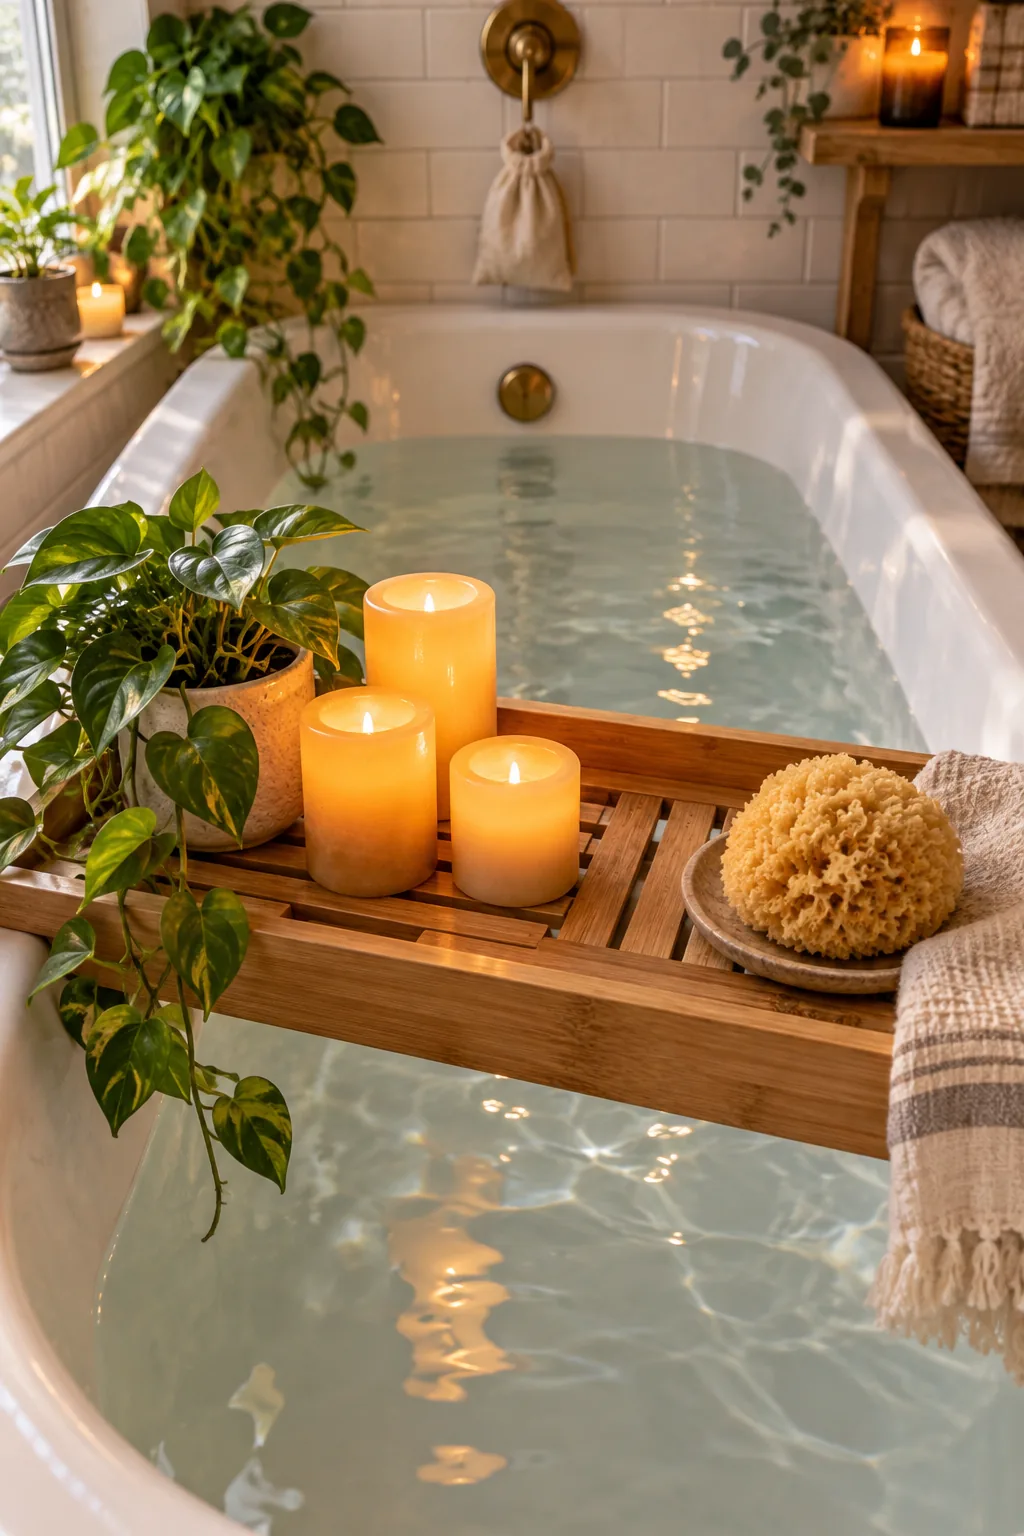
Magnesium flakes absorb much more efficiently than traditional Epsom salts, working rapidly to ease deep muscle tension and quiet your nervous system during the dedicated 45-minute soaking window.
Managing Bathroom Ventilation
Keeping the bathroom door slightly cracked or running a quiet exhaust fan on low prevents the small space from turning into an uncomfortable sauna. Proper airflow ensures you can comfortably stay in the warm water for the full duration without feeling lightheaded or overheated.
Safe Ambiance with Battery Amber Lights
A true spa atmosphere relies on soft, warm lighting, so arrange 3 to 5 battery-operated flameless candles with amber bulbs directly on your wooden bath tray.
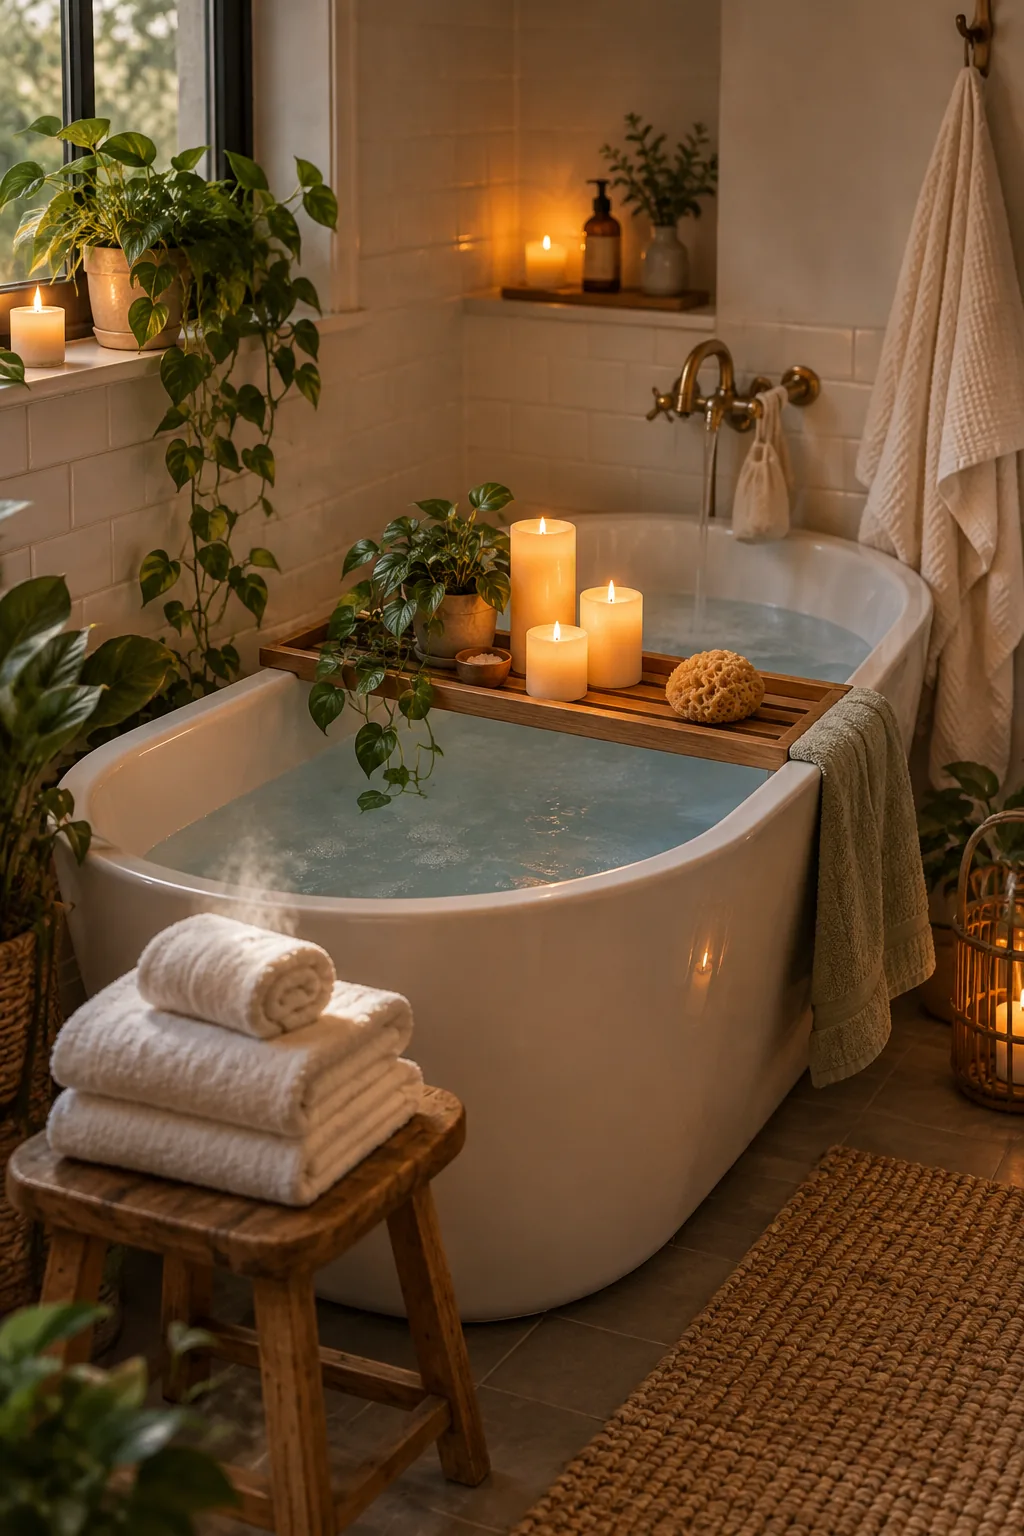
This setup provides a gorgeous, flickering glow while completely eliminating severe hazards when you are blindly reaching for items or adjusting your position in a confined space.
Adapting the Setup for a Small Bathroom
Working with a compact footprint requires highly intentional styling, as too many products can quickly make the space feel chaotic and cramped rather than genuinely calming.
Store your backup towels and post-bath moisturizers in a woven basket just outside the door to keep your immediate visual field completely clear, organized, and beautifully serene.
Rolling the Microwaved Hot Towel
Dampen a clean hand towel, wring it out completely so it is barely moist, and microwave it for exactly 30 seconds before tightly rolling it to trap the steam.
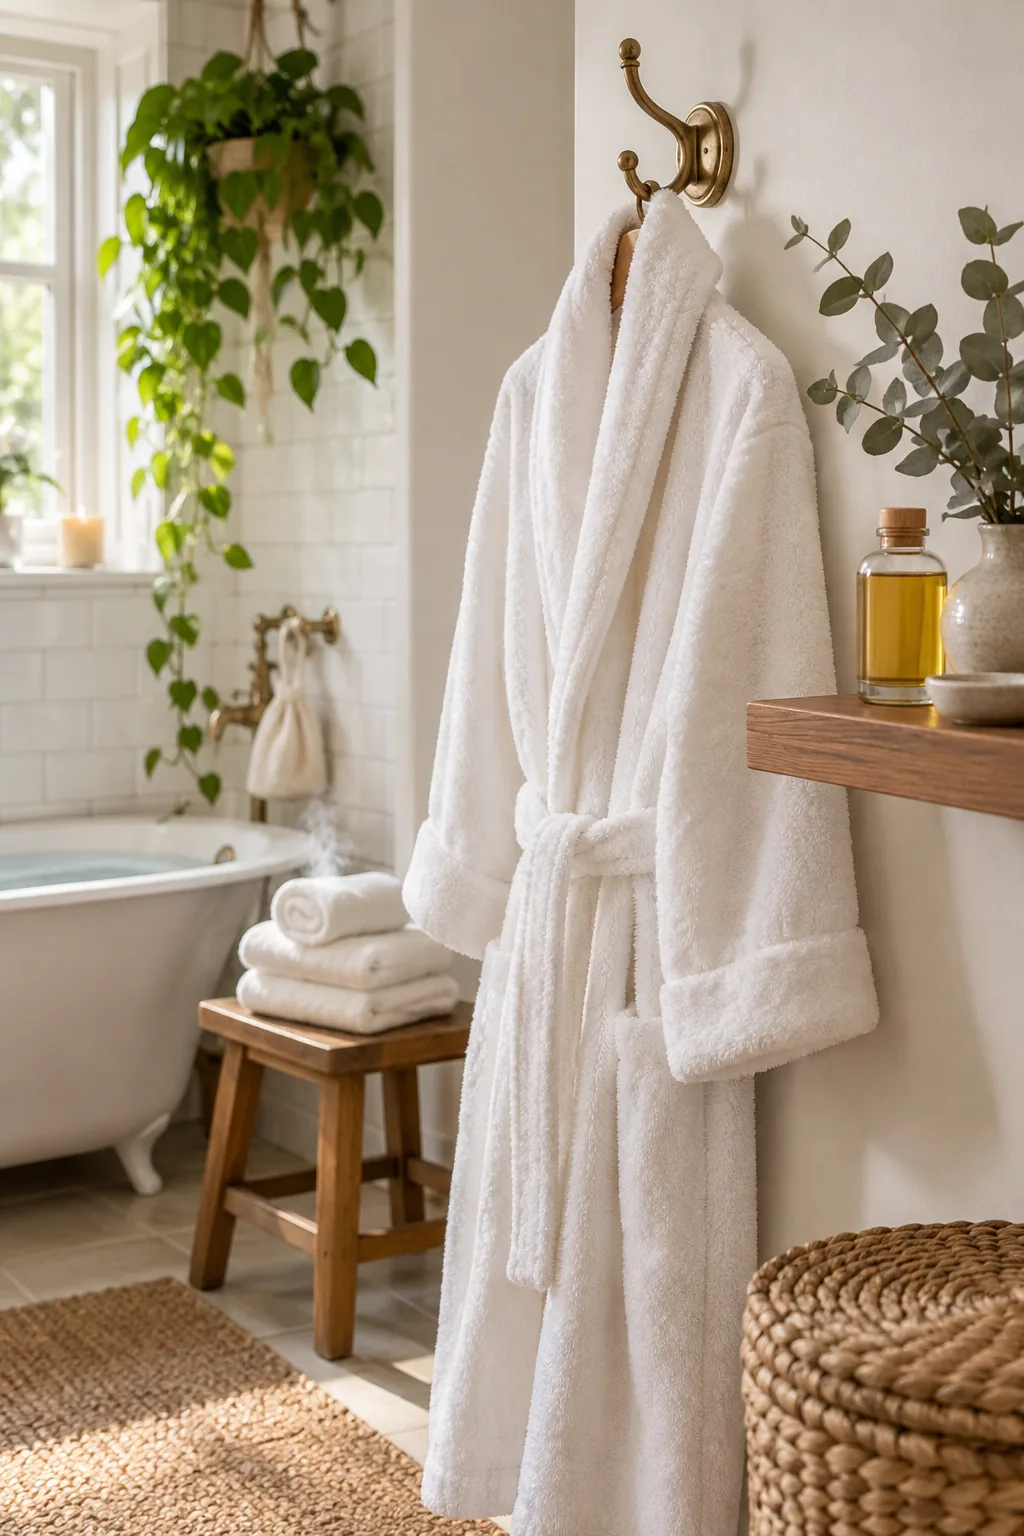
Drape this steaming wrap securely around your neck or gently over your face while you soak, letting the trapped moisture seamlessly open your pores and release deep facial tension.
Selecting the Right Towels for Heat Retention
The material you choose for your microwaved hot towel significantly impacts how long the steam actually lasts, making 100 percent heavy-weight cotton the absolute best choice for this specific treatment.
- Avoid synthetic blends that can warp or melt slightly when exposed to microwave heat.
- Choose a thick terry weave to trap the maximum amount of hot moisture.
- Stick to smaller hand towels, which roll tighter and hold their core temperature longer.
Keep a secondary dry towel nearby to wipe away any excess condensation from your forehead once the heated cotton wrap eventually cools down to ambient room temperature.
Maximizing Your Time in the Tub
Once you are settled in the warm water with your hot towel perfectly in place, focus entirely on deep, rhythmic breathing rather than instinctively reaching for a book or device.
Close your eyes and allow the magnesium and oat-infused water to work on your tired muscles until the temperature naturally begins to drop, signaling the end of the soak.
Hydrating During the Cooldown Phase
Replacing the internal fluids lost while sweating in the hot bathwater is just as critical as applying external moisturizers to your skin. Drink at least sixteen ounces of cool water over the course of your 40-minute rest period to flush out toxins and prevent headaches.
The Final Post-Soak Routine
The final 40 minutes of your schedule focus heavily on locking in moisture, so apply a rich body oil within 3 minutes of stepping out of the tub. After doing this consistently in my own routine, I noticed my skin stayed beautifully hydrated through the entire brutal New England winter.
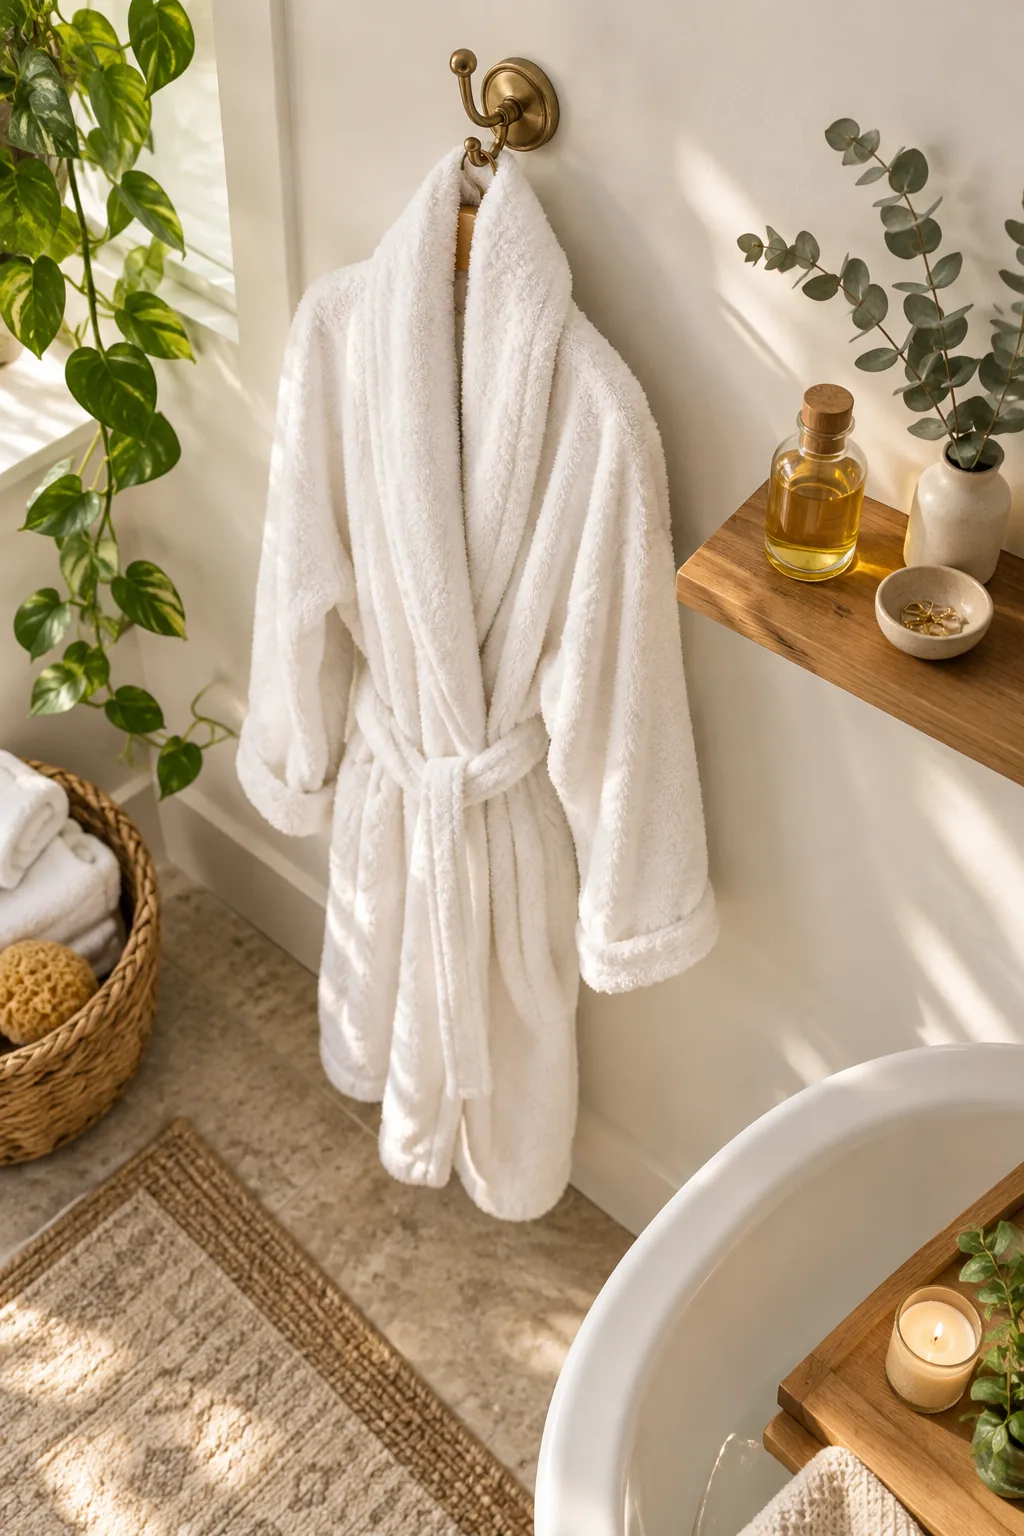
Wrap yourself immediately in a heavy, oversized robe and lie down in a quiet, dimly lit room to let your body temperature naturally normalize and complete the restorative cycle.
3 Ways to Style Your Home Spa
Choose a distinct color palette and mood to make your bathroom feel like a luxury destination.
Minimalist Neutral Spa: Keep visual clutter to an absolute minimum by using matching matte ceramic containers and a monochromatic sand palette.
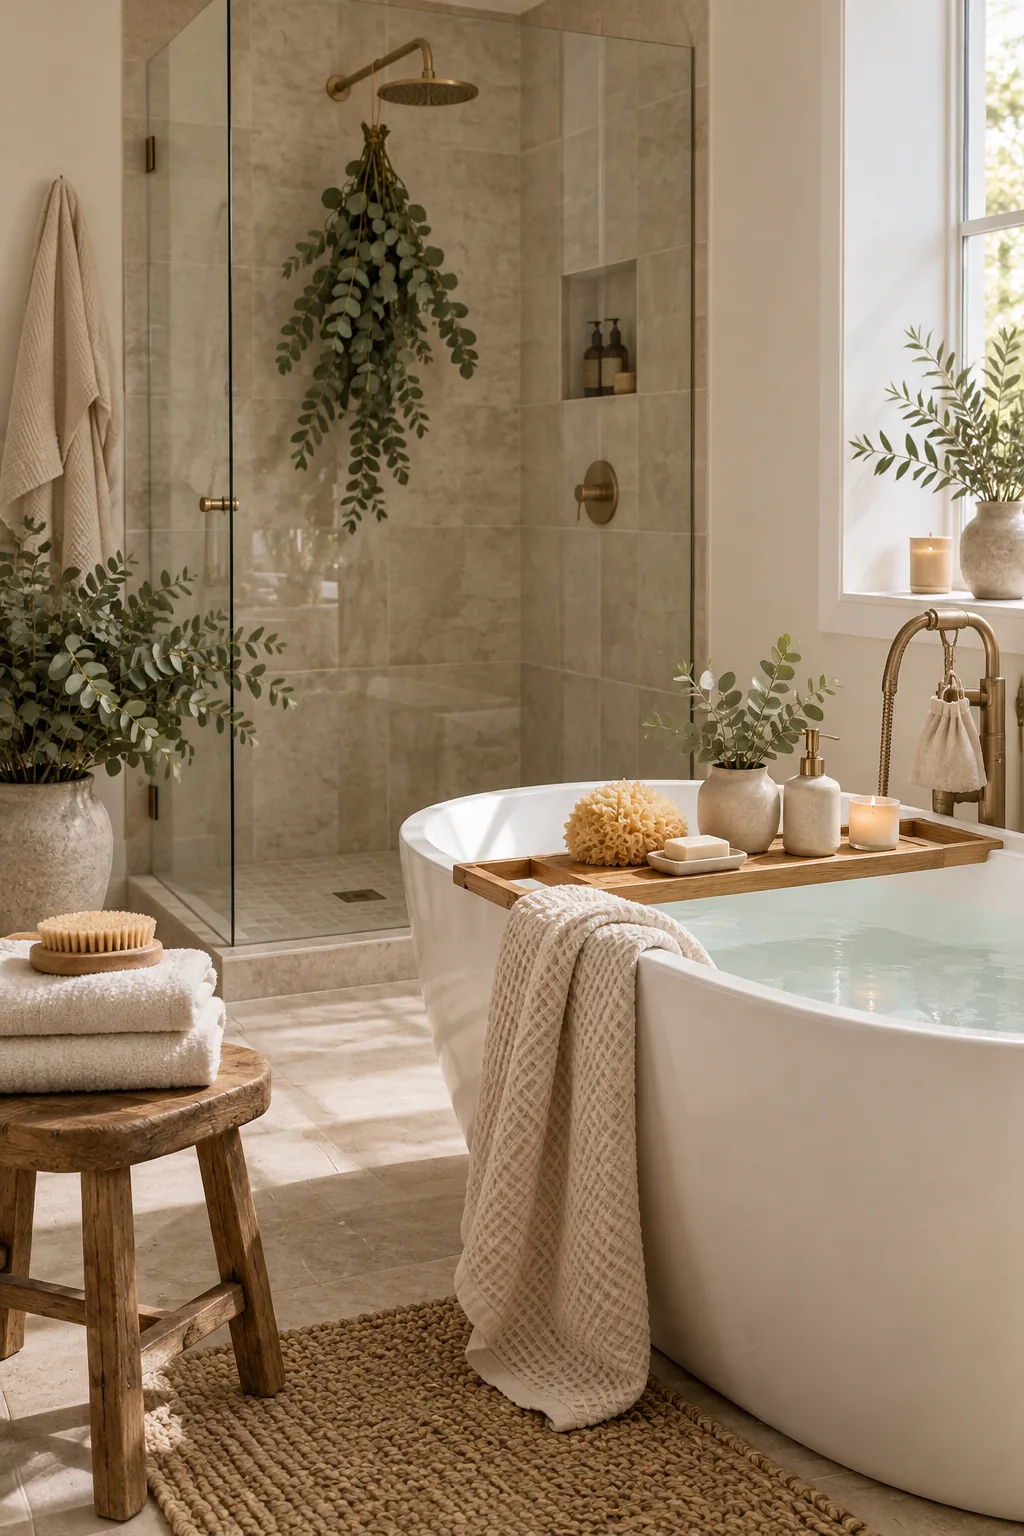
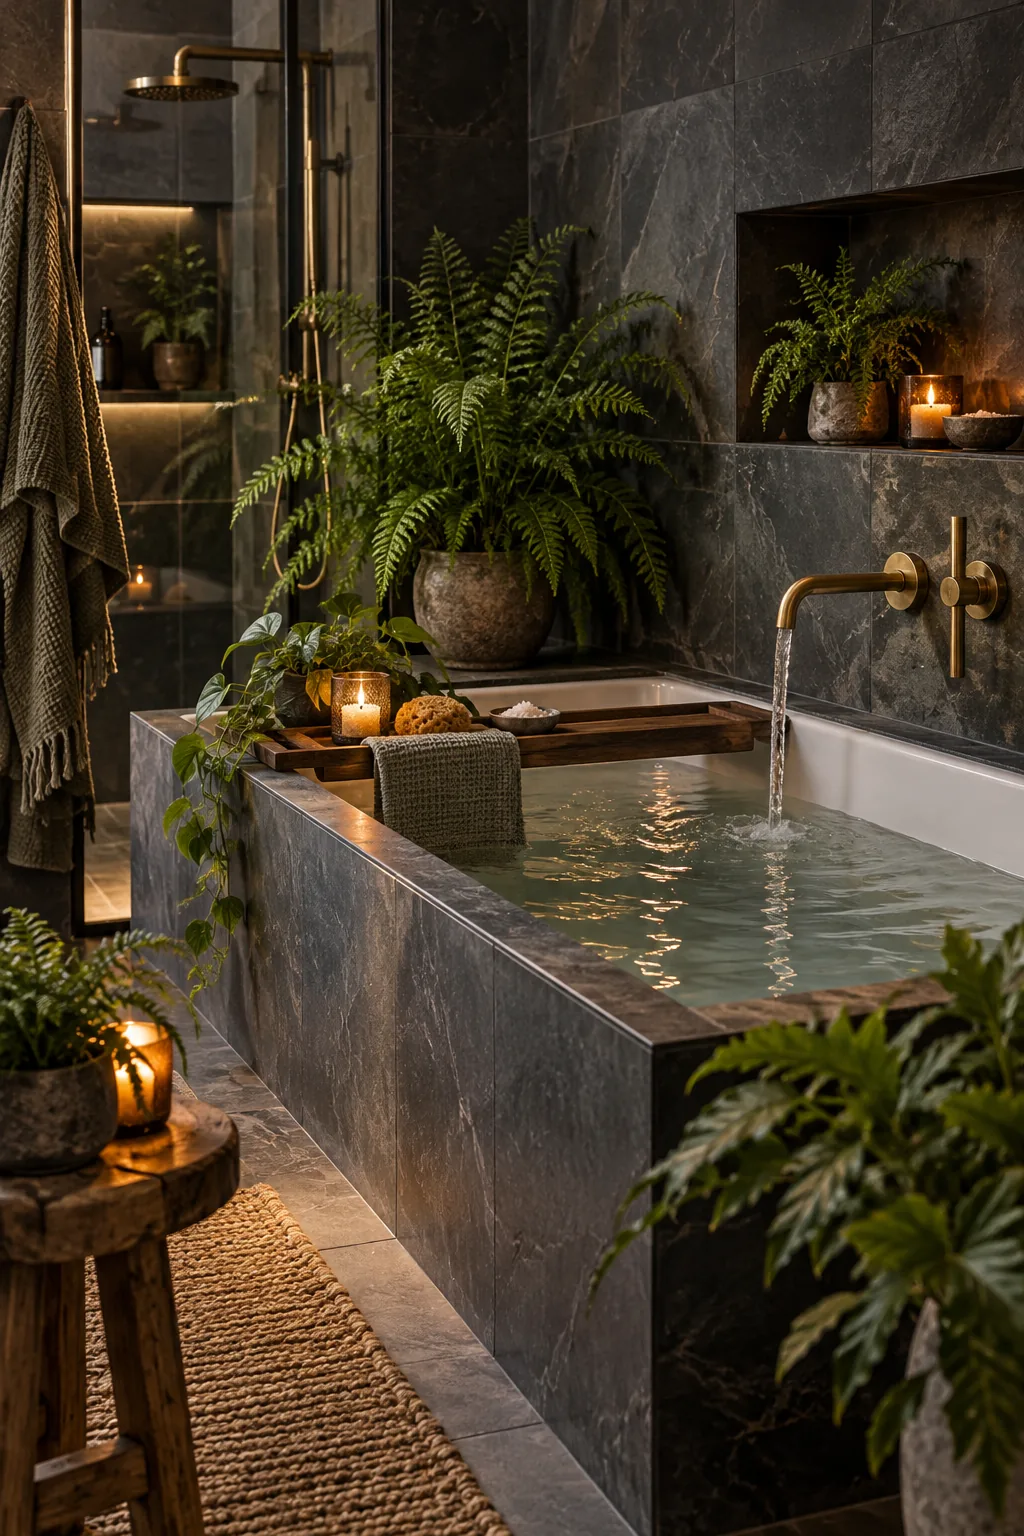
Moody Slate Retreat: Embrace a darker, more dramatic atmosphere with charcoal slate tiles and rich brass accents that glow beautifully under candlelight.
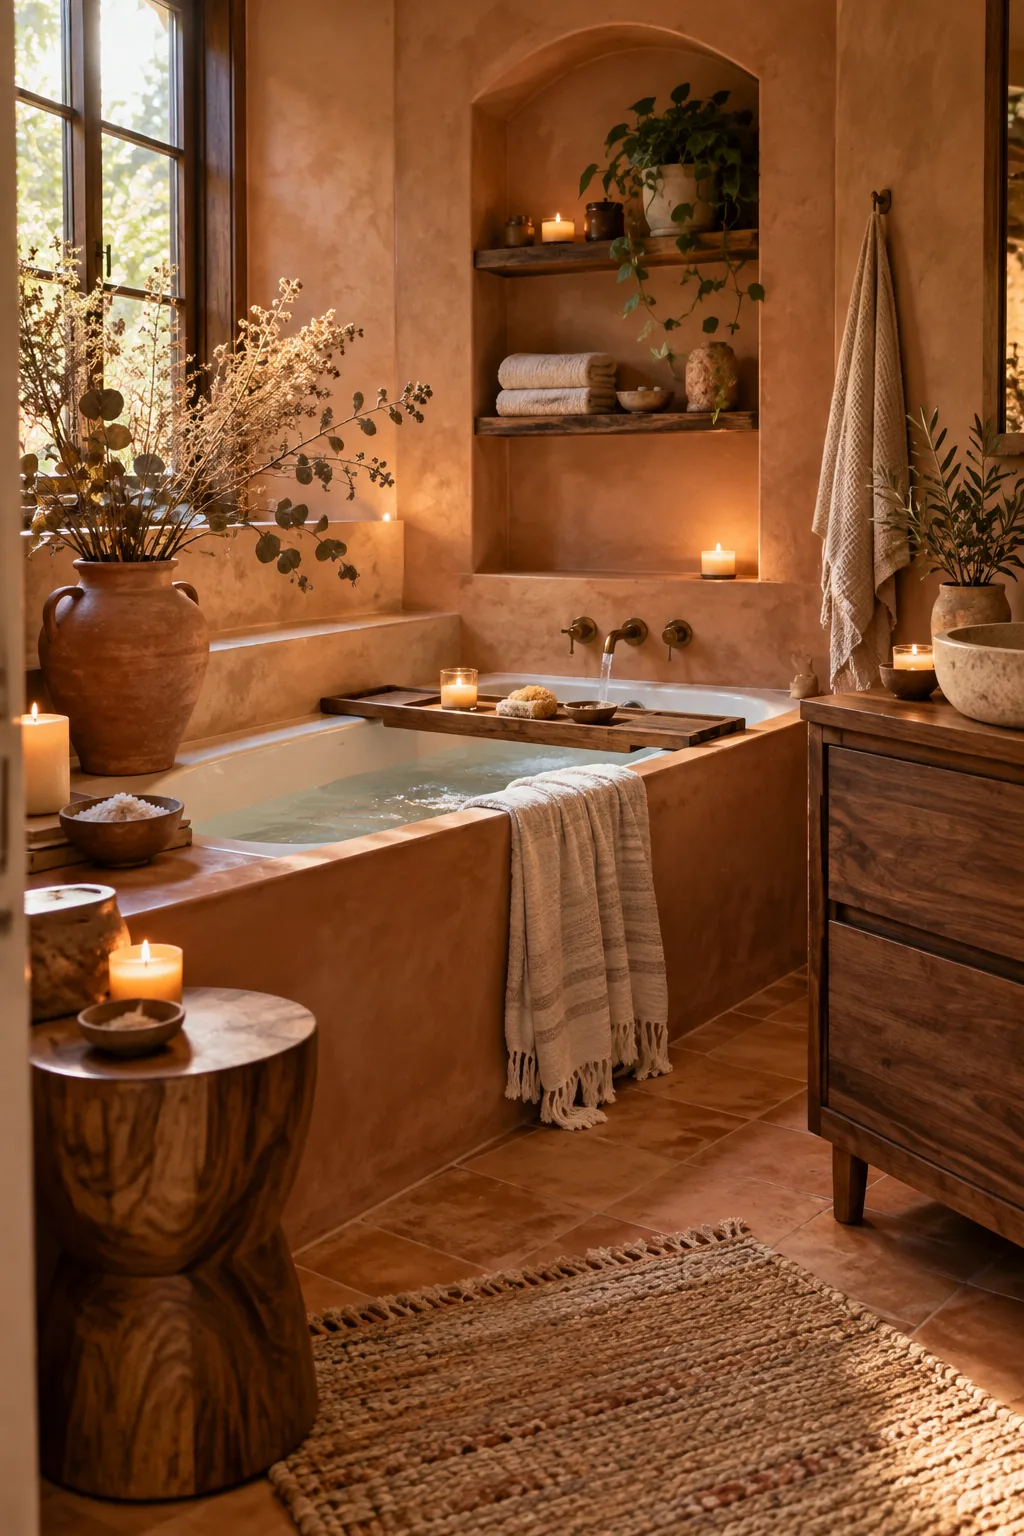
Earthy Clay Sanctuary: Bring warmth into a stark white bathroom by introducing terracotta vessels, natural walnut wood trays, and textured dried botanicals.