
9+ Brilliant Kitchen Island Back Panel Ideas
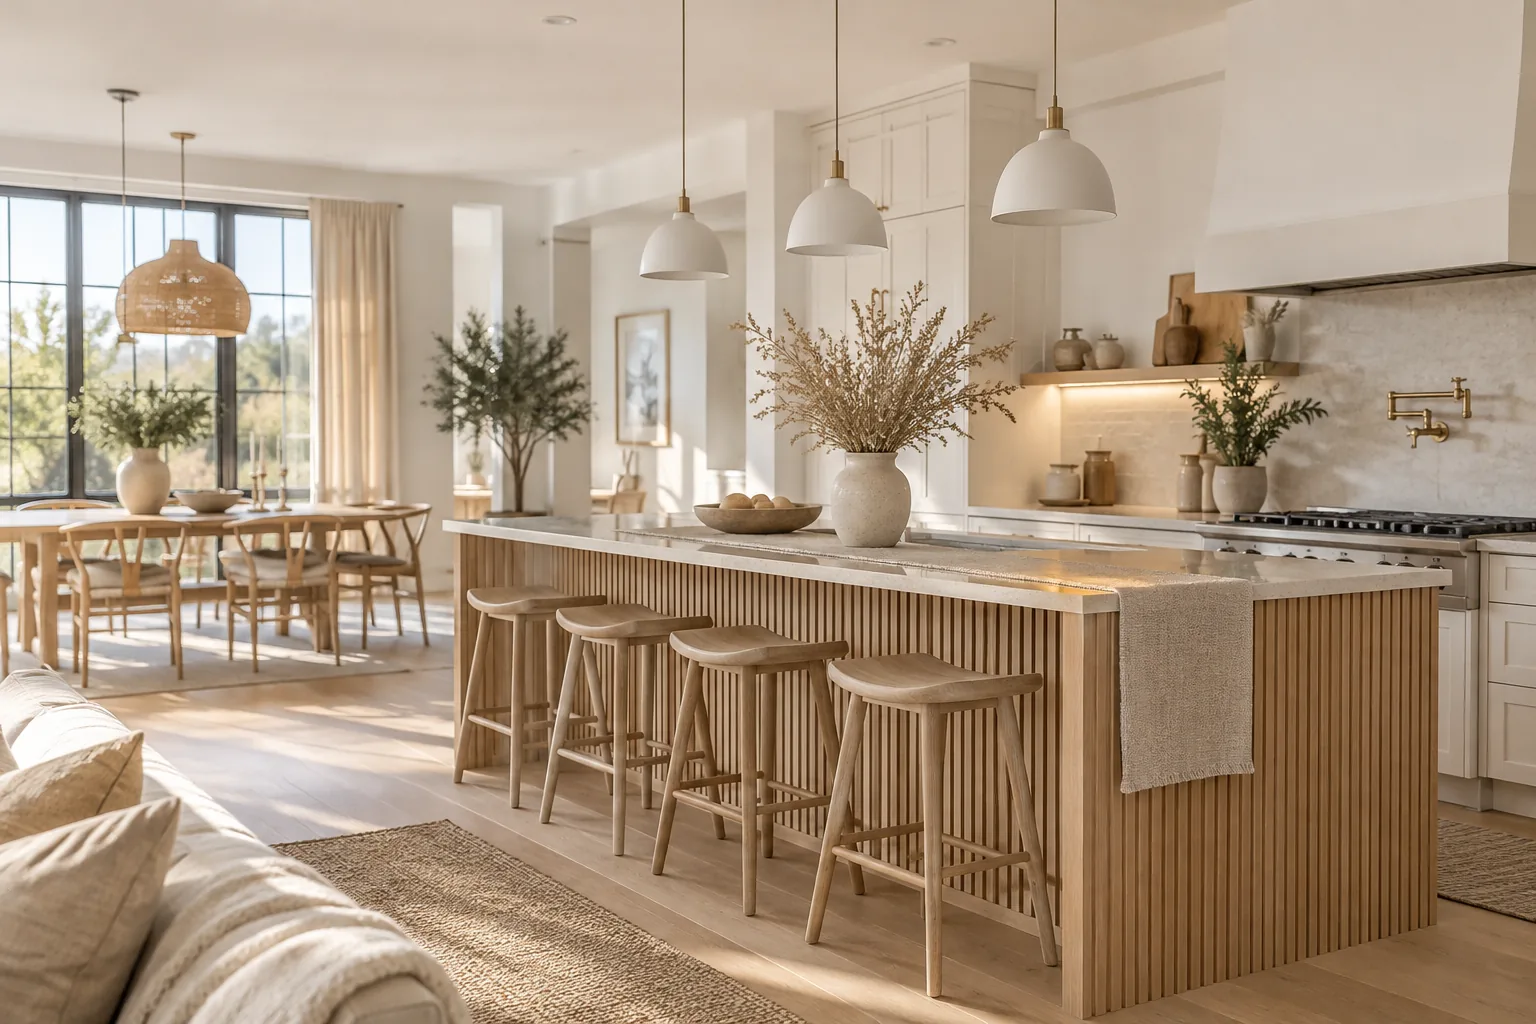
The blank space facing your bar stools is the biggest missed opportunity in most kitchen designs. We are going to fix that boring drywall with materials that actually handle daily kicks and scuffs while looking completely custom.
1. Go Moody with Vertical Shiplap
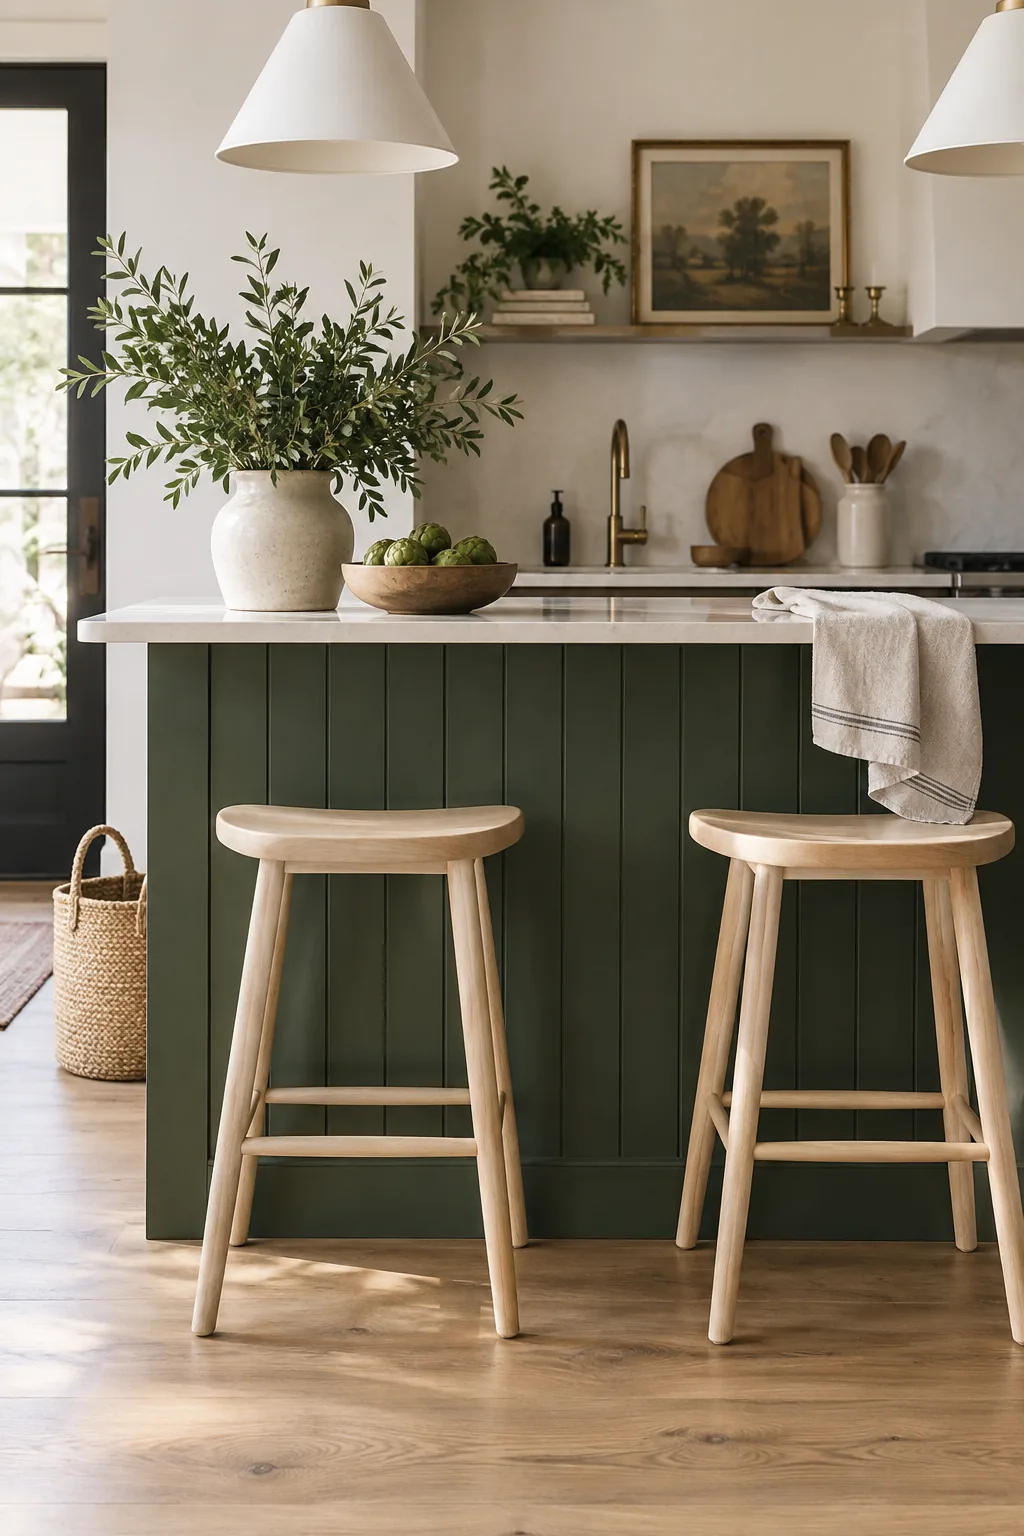
Vertical shiplap works so well here because it draws the eye up and visually raises your ceiling height. You can paint it in a deep, moody color to ground the island and hide those inevitable shoe marks. It instantly adds architectural interest to a plain builder-grade box.
Just make sure to use a scrubbable paint finish for easy cleaning.
2. Warm Up with Fluted Wood
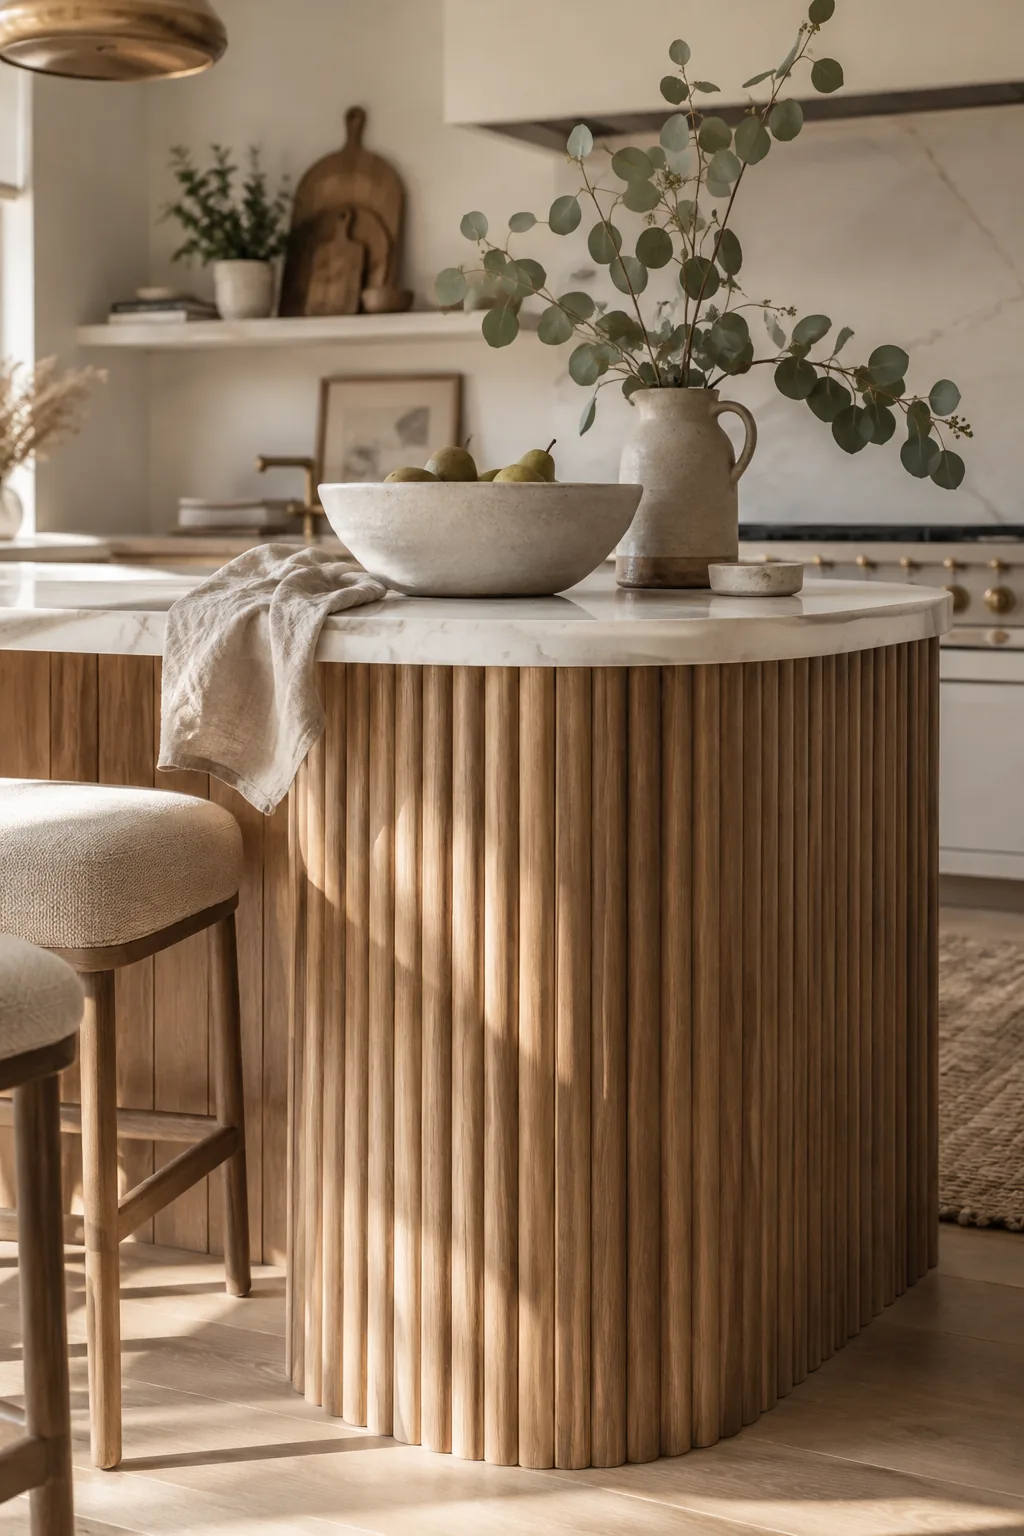
A fluted wood panel creates a high-end, contemporary look that warms up cold stone countertops. The repeating curves add incredible texture and catch the natural light beautifully throughout the day. You can buy these panels pre-milled in large sheets, so installation is surprisingly fast. Just cut them to size, apply construction adhesive, and finish the edges with a simple trim piece.
- Pre-milled fluted wood sheets
- Heavy-duty construction adhesive
- Matching edge trim
3. Wrap the Flooring Upwards
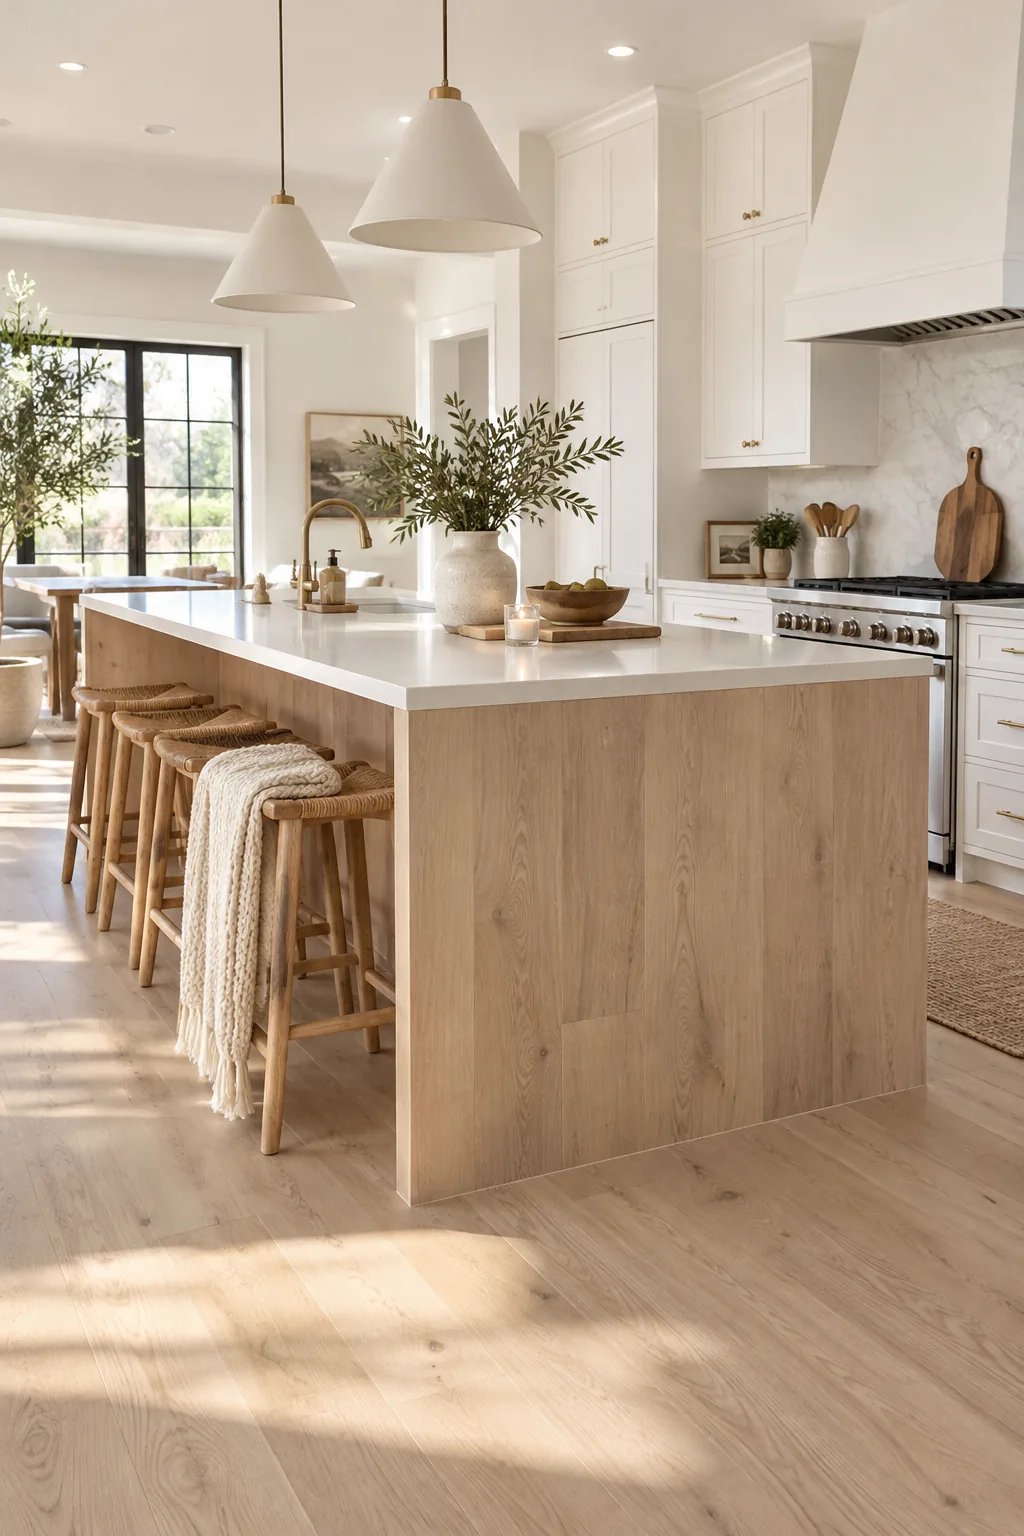
Continuing your floor material up the back of the island works perfectly because it creates a seamless transition that grounds the entire room. If you have luxury vinyl plank or engineered hardwood, running it vertically on the island is a durable and budget-friendly upgrade. The wood tones bring instant warmth to an otherwise stark white kitchen.
Use a matching stair nose molding to finish the outside corners cleanly.
4. Create a Floating Illusion
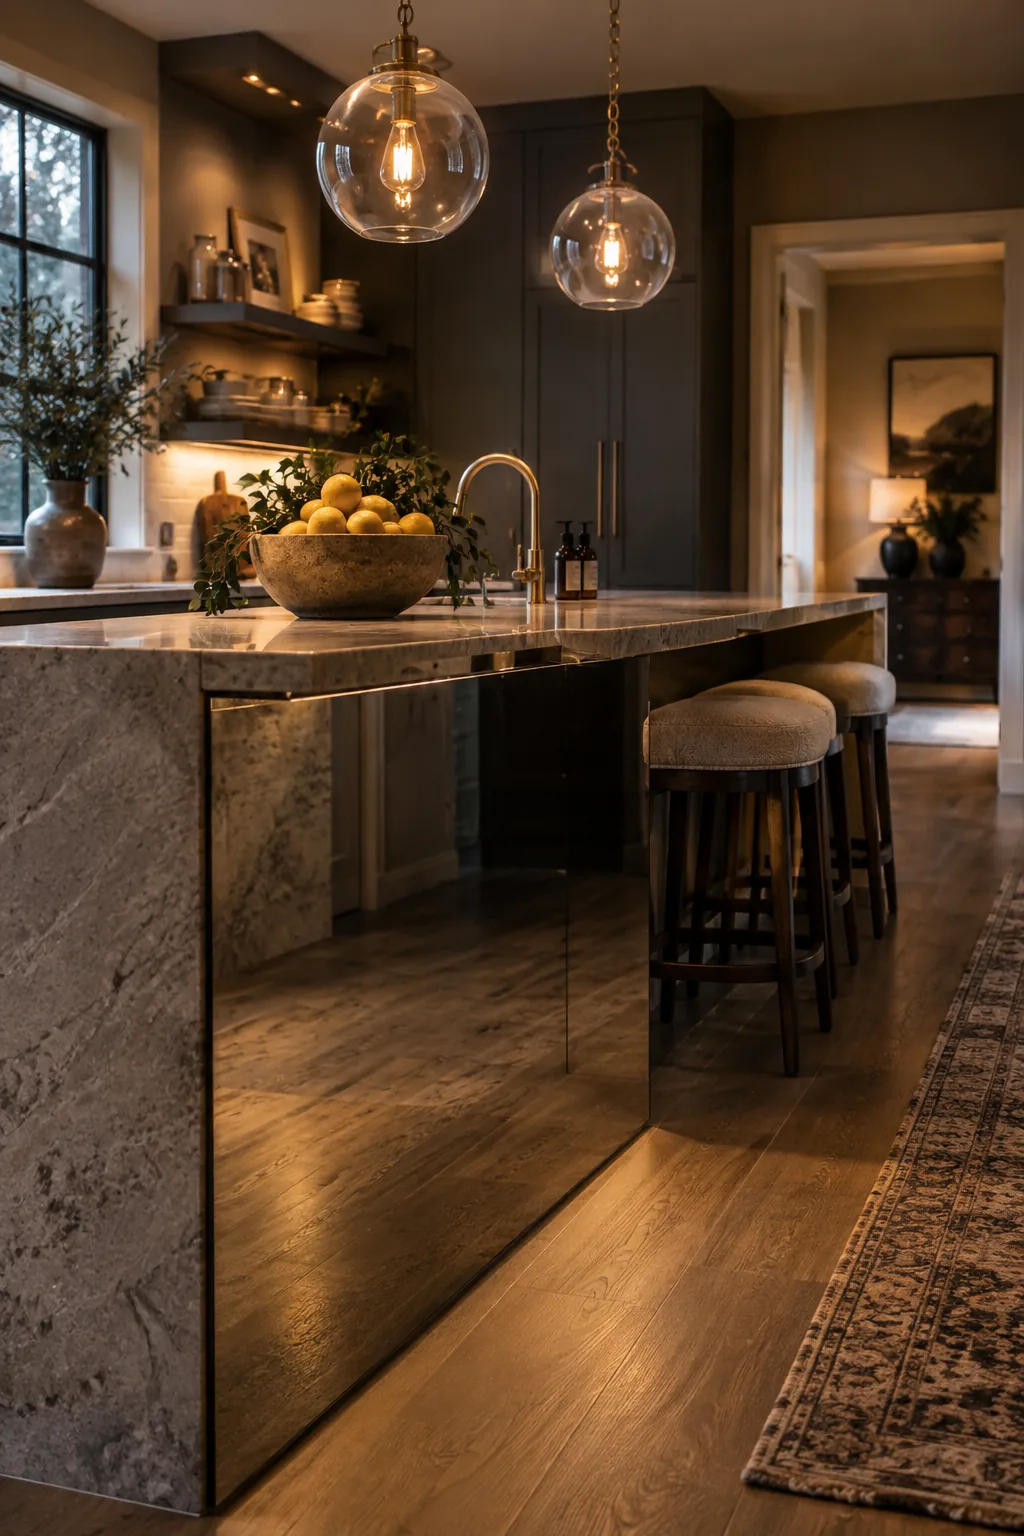
A mirrored back panel creates the illusion of a massive, sprawling floor plan by reflecting your kitchen flooring. It makes the island look like it is floating, which is a fantastic trick for smaller spaces. Opt for an antiqued or smoked glass to keep it looking sophisticated rather than like a retro dance studio.
5. Fake Custom Cabinetry
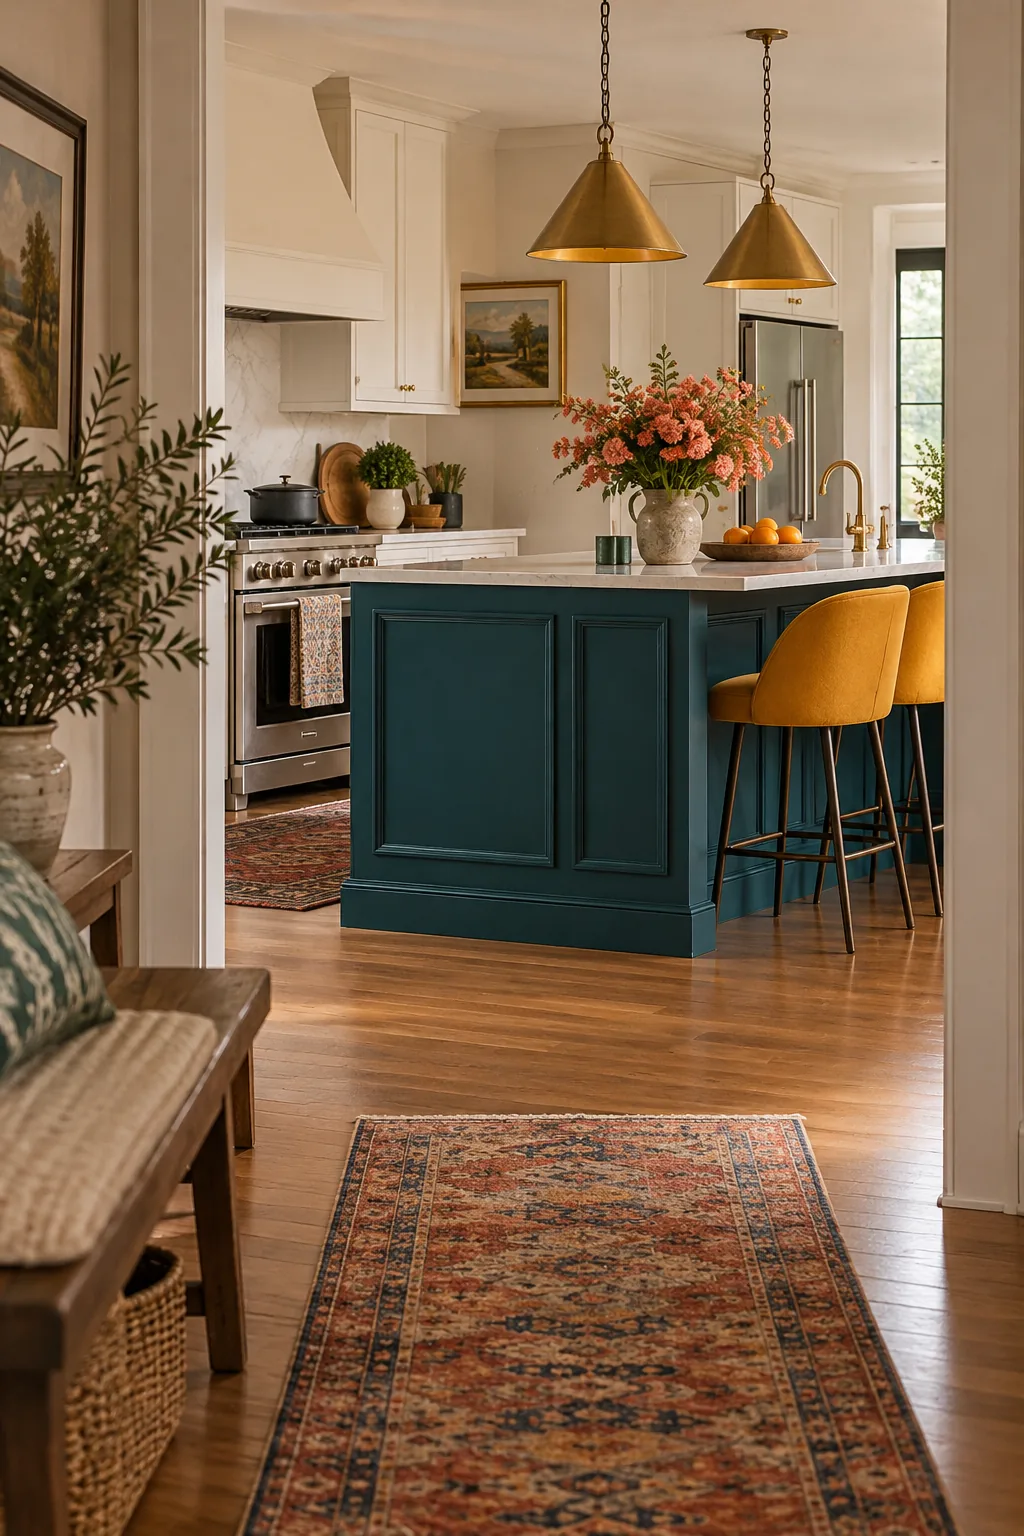
Paint your existing drywall back panel in a dark, contrasting accent color. This is the cheapest way to make your island stand out.
Add simple picture frame molding before you paint to fake a custom cabinet look. It takes a few hours and completely elevates the finish.
Seal the painted surface with a clear matte topcoat. This protects the finish from swinging feet and bar stool legs.
6. Bring in Faux Stone
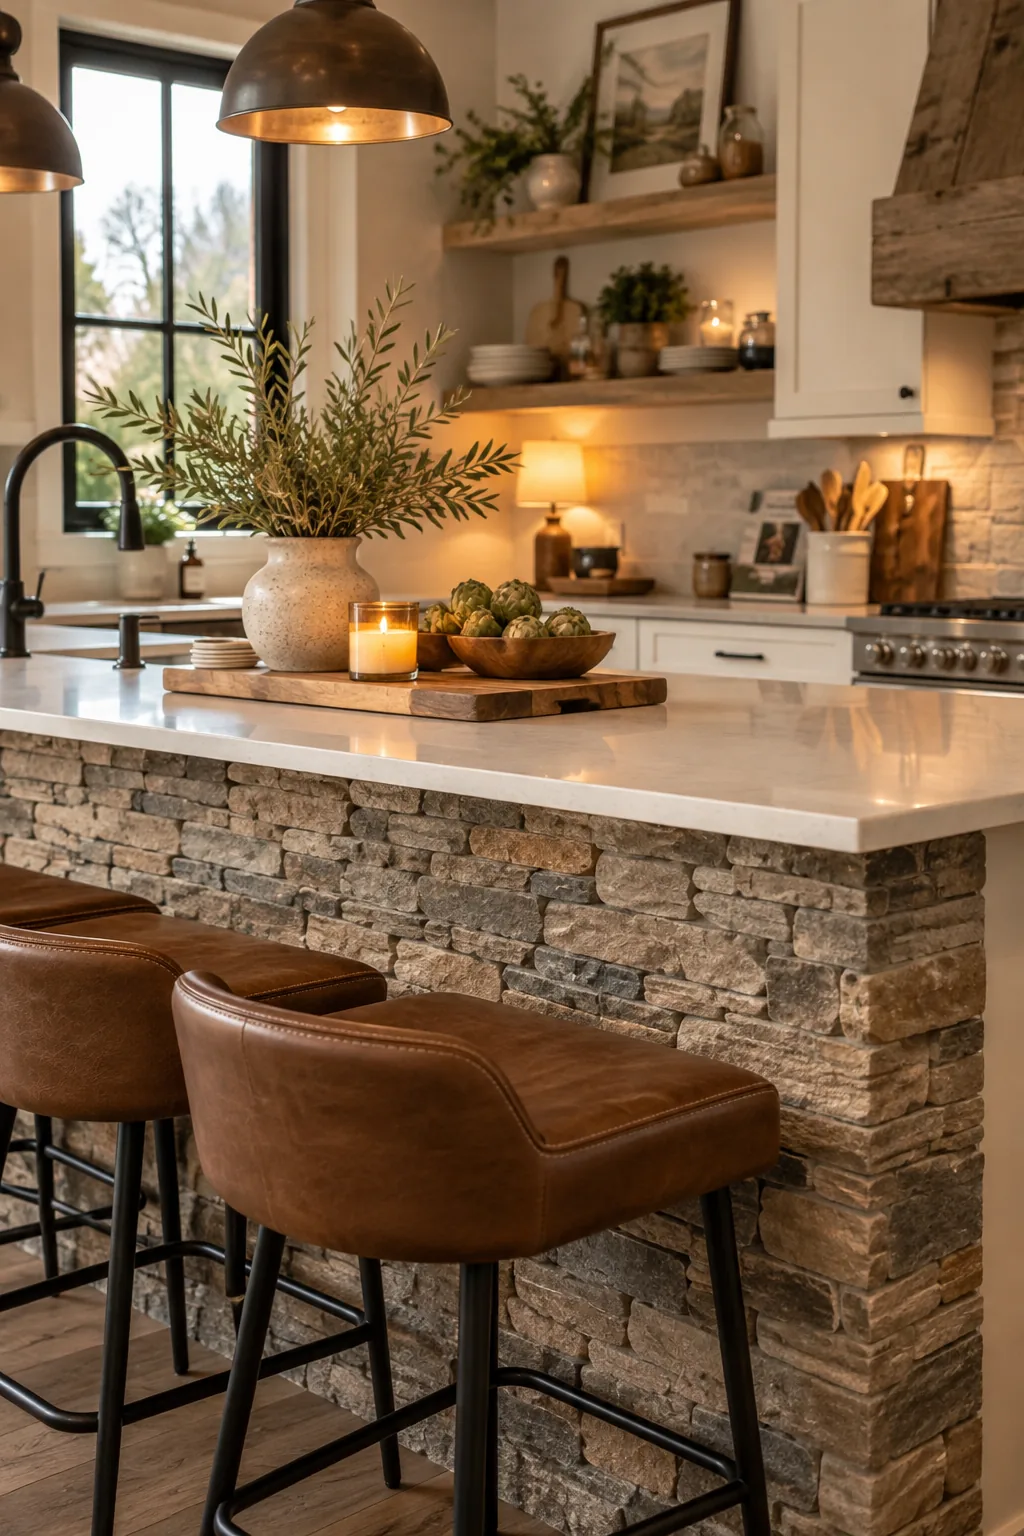
A faux stone veneer creates a rugged, rustic look that pairs beautifully with smooth quartz or marble countertops. It brings an exterior architectural element inside, giving your kitchen a cozy, custom lodge feel. You do not need to hire a mason to get this texture in your space. Many lightweight cast stone panels interlock seamlessly and install directly over drywall with basic tools.
- Interlocking faux stone panels
- Notched trowel
- Premixed masonry adhesive
7. Sneak in Shallow Storage
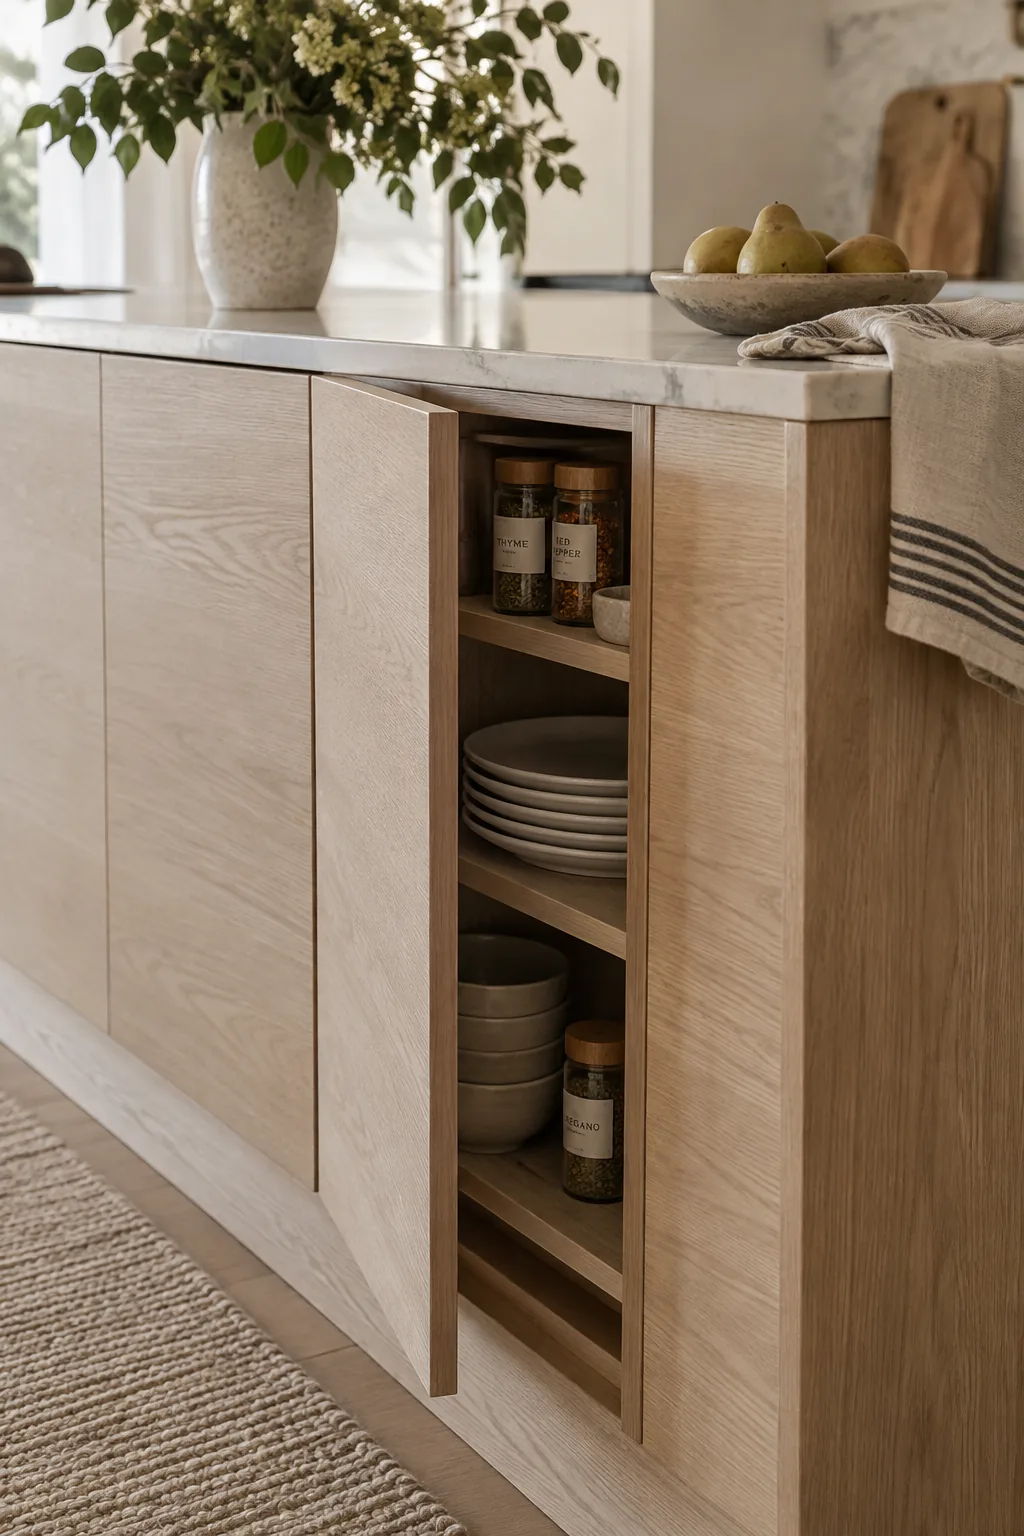
Standard kitchen islands have about 15 square feet of unused back panel space.
You can turn that dead zone into shallow hidden cabinets for seasonal items. Even a six-inch depth is enough to store platters, holiday dishes, or a massive collection of spices. Push-to-open cabinet hardware keeps the front completely flush and invisible.
- Push-to-open magnetic latches
- Concealed European hinges
- Adjustable shelf pins
8. Flip the Beadboard
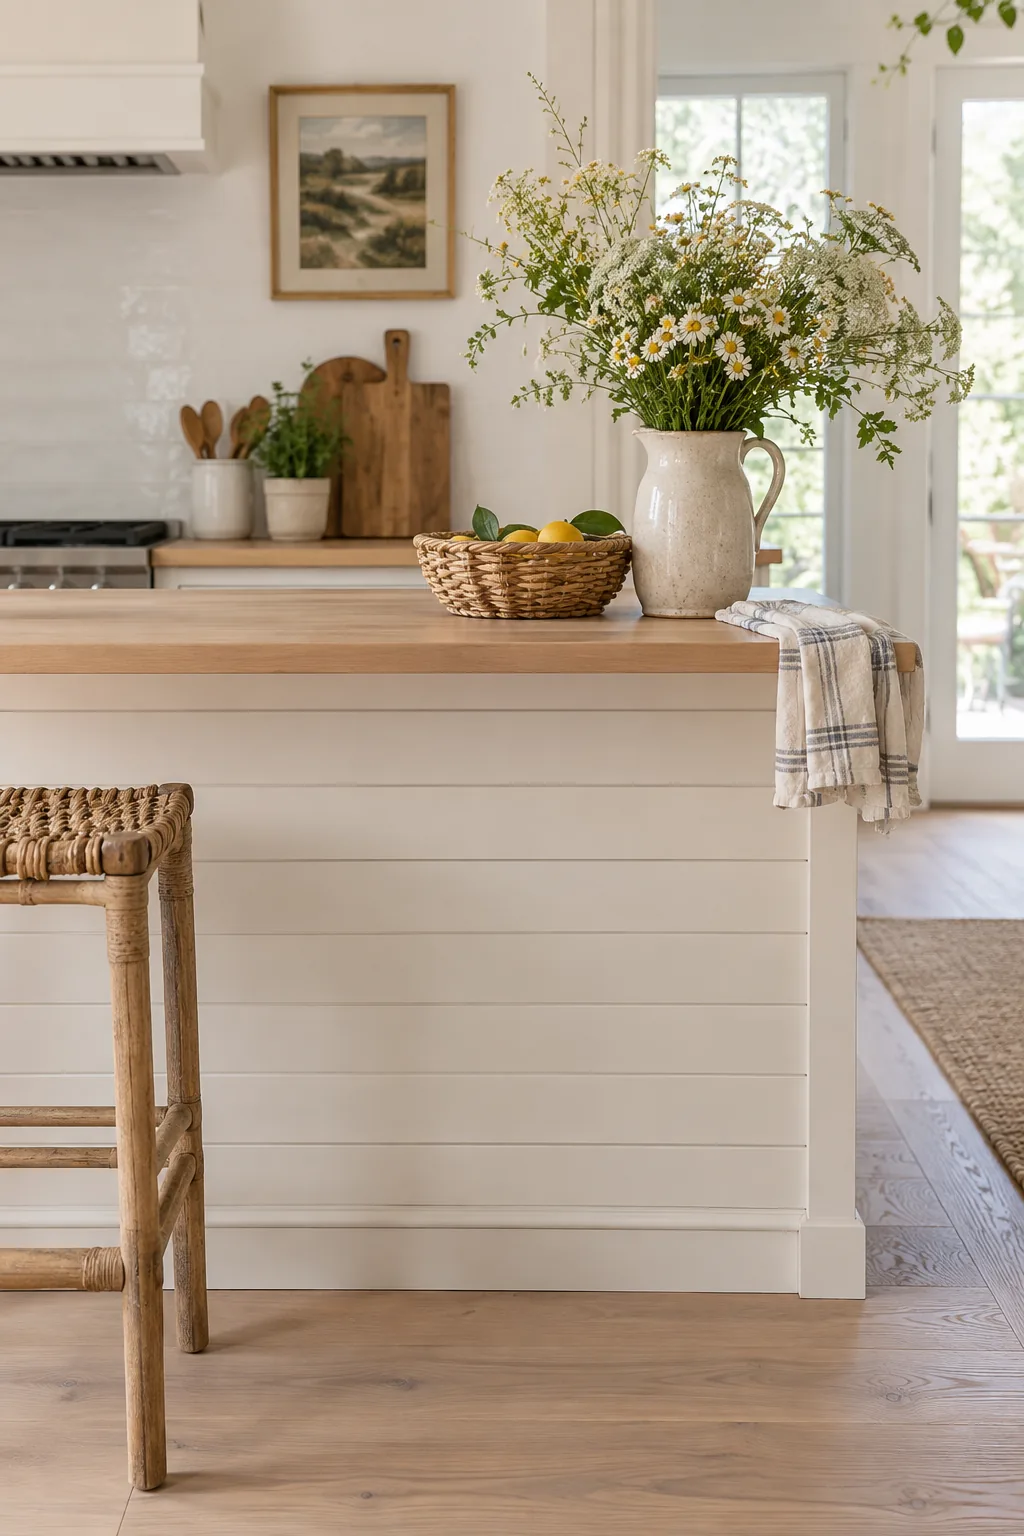
I always try to sneak classic beadboard into my cottage and farmhouse projects. It is incredibly inexpensive and instantly gives a plain island that coveted custom carpentry feel. I love running the grooves horizontally instead of vertically for a slightly modern twist on a traditional favorite.
9. Make a Metal Statement
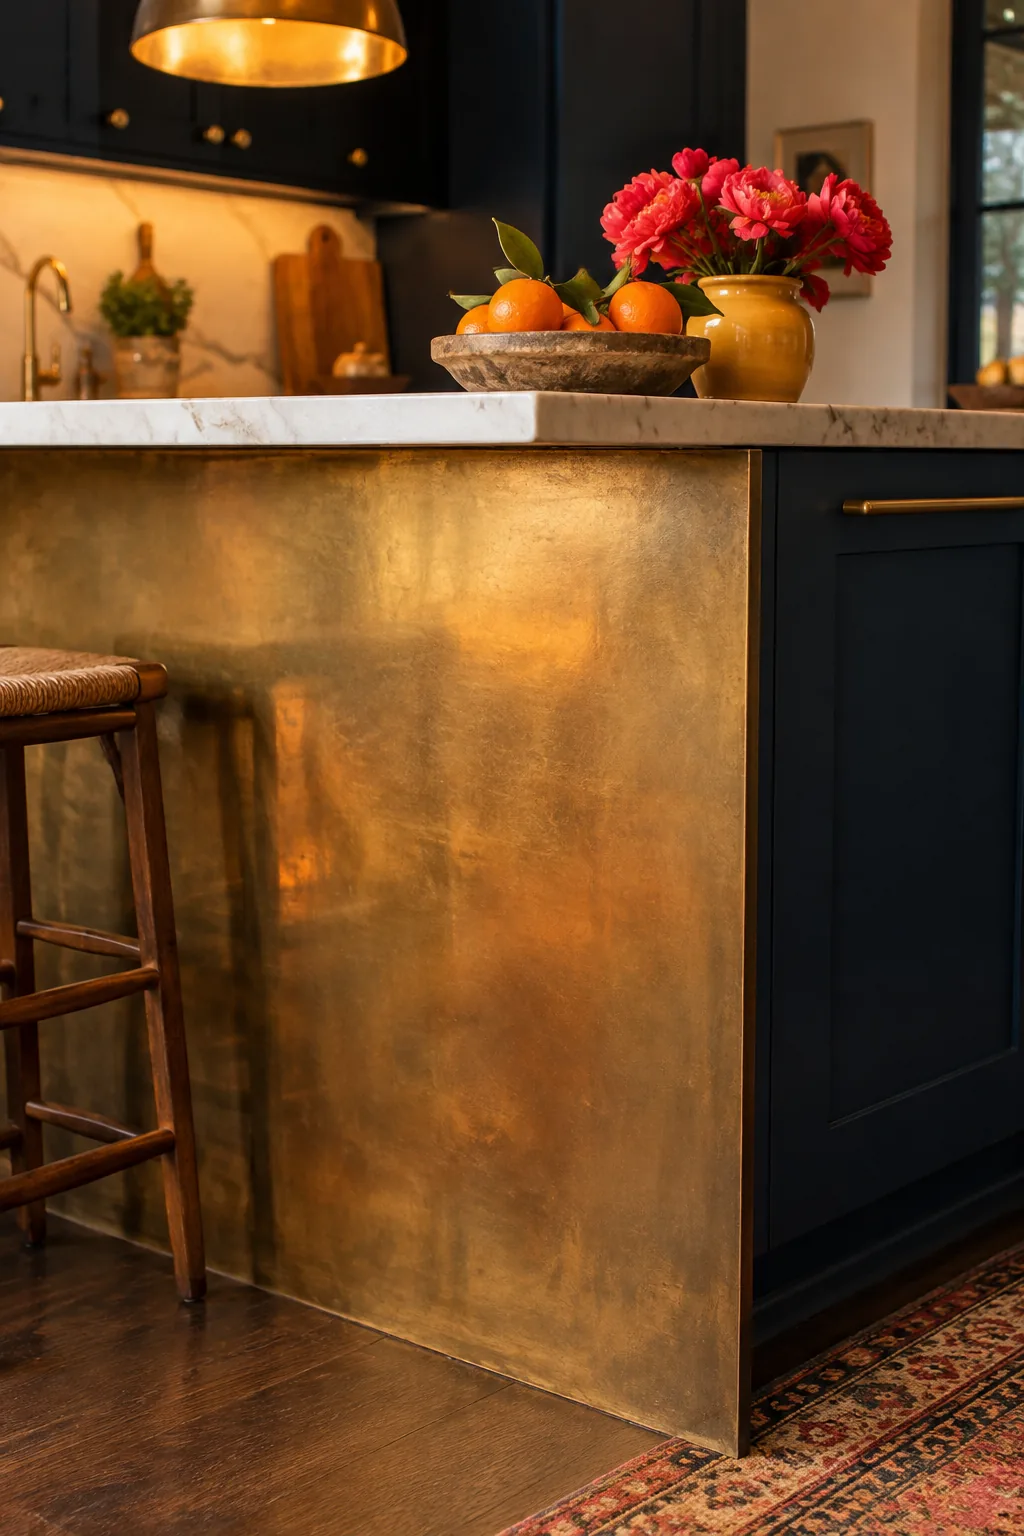
A single sheet of brass or copper sheeting will cost a few hundred dollars but looks like a million bucks. The metal naturally patinas over time, creating a living finish that gets better with every passing year. It reflects warm light into the room and acts as a stunning statement piece against dark cabinetry.
10. Install Patterned Cement Tile
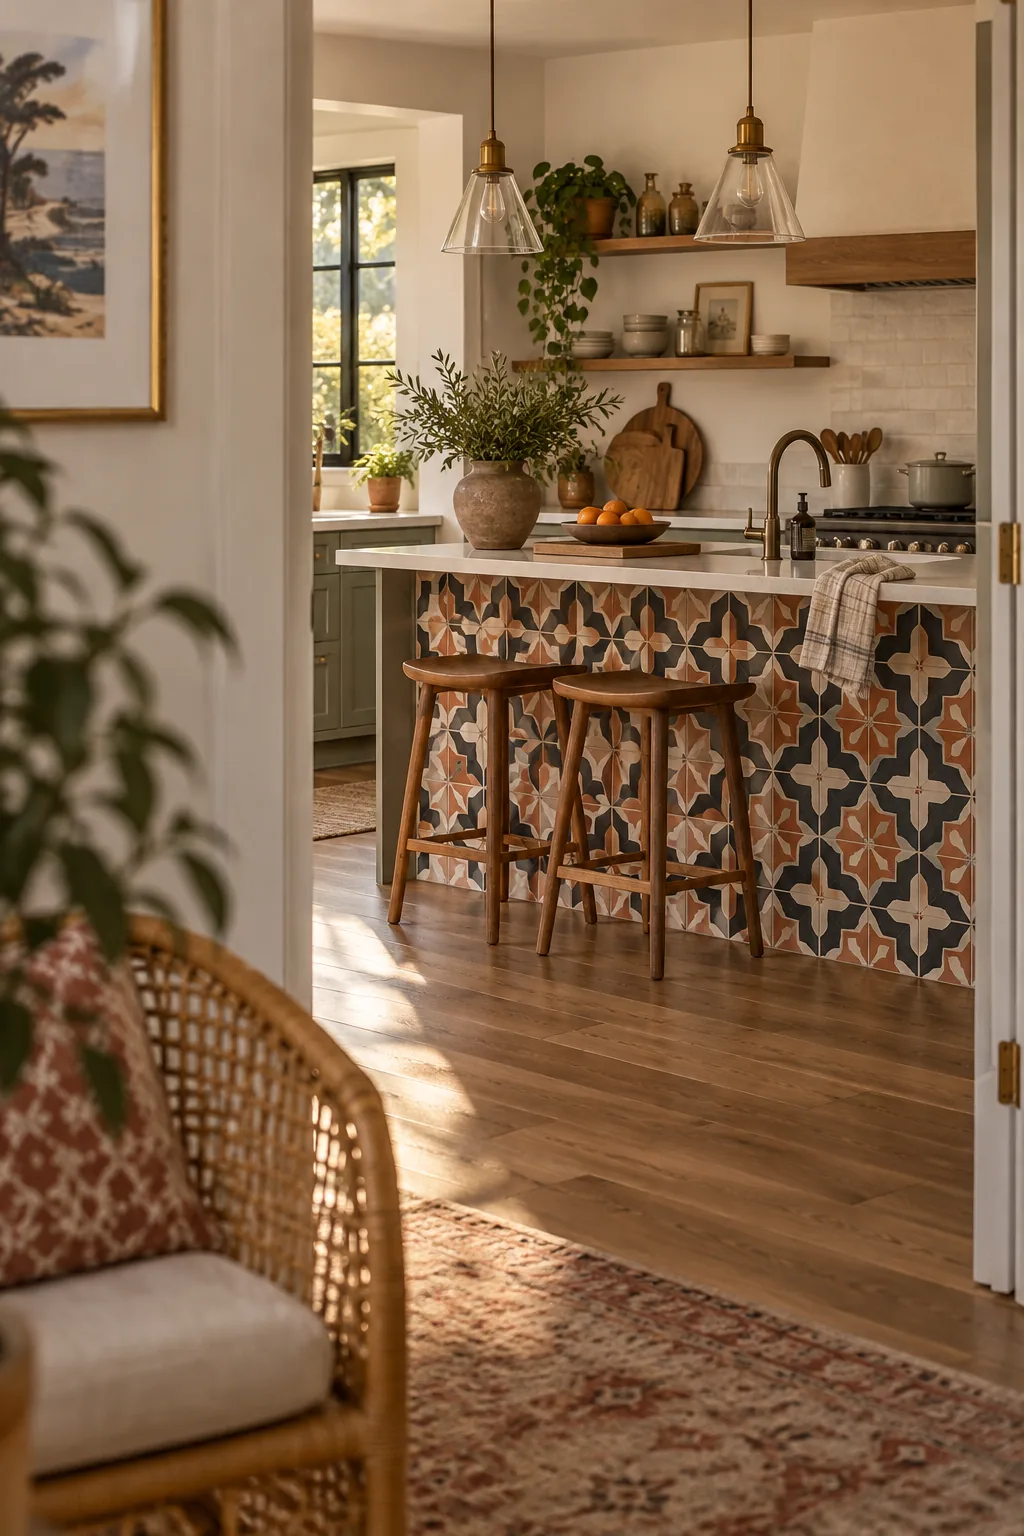
Most people forget that patterned cement tiles work just as well under a counter as they do on a backsplash. The heavy traffic area under an island overhang is the perfect place for a durable, wipeable surface. A bold geometric pattern completely transforms the room and hides dirt brilliantly. You just need to prep the drywall properly before applying your mortar.
- Patterned cement tiles
- Flexible thinset mortar
- Stain-resistant grout