
Living Room Window Treatment Makeover: Custom Drape Guide
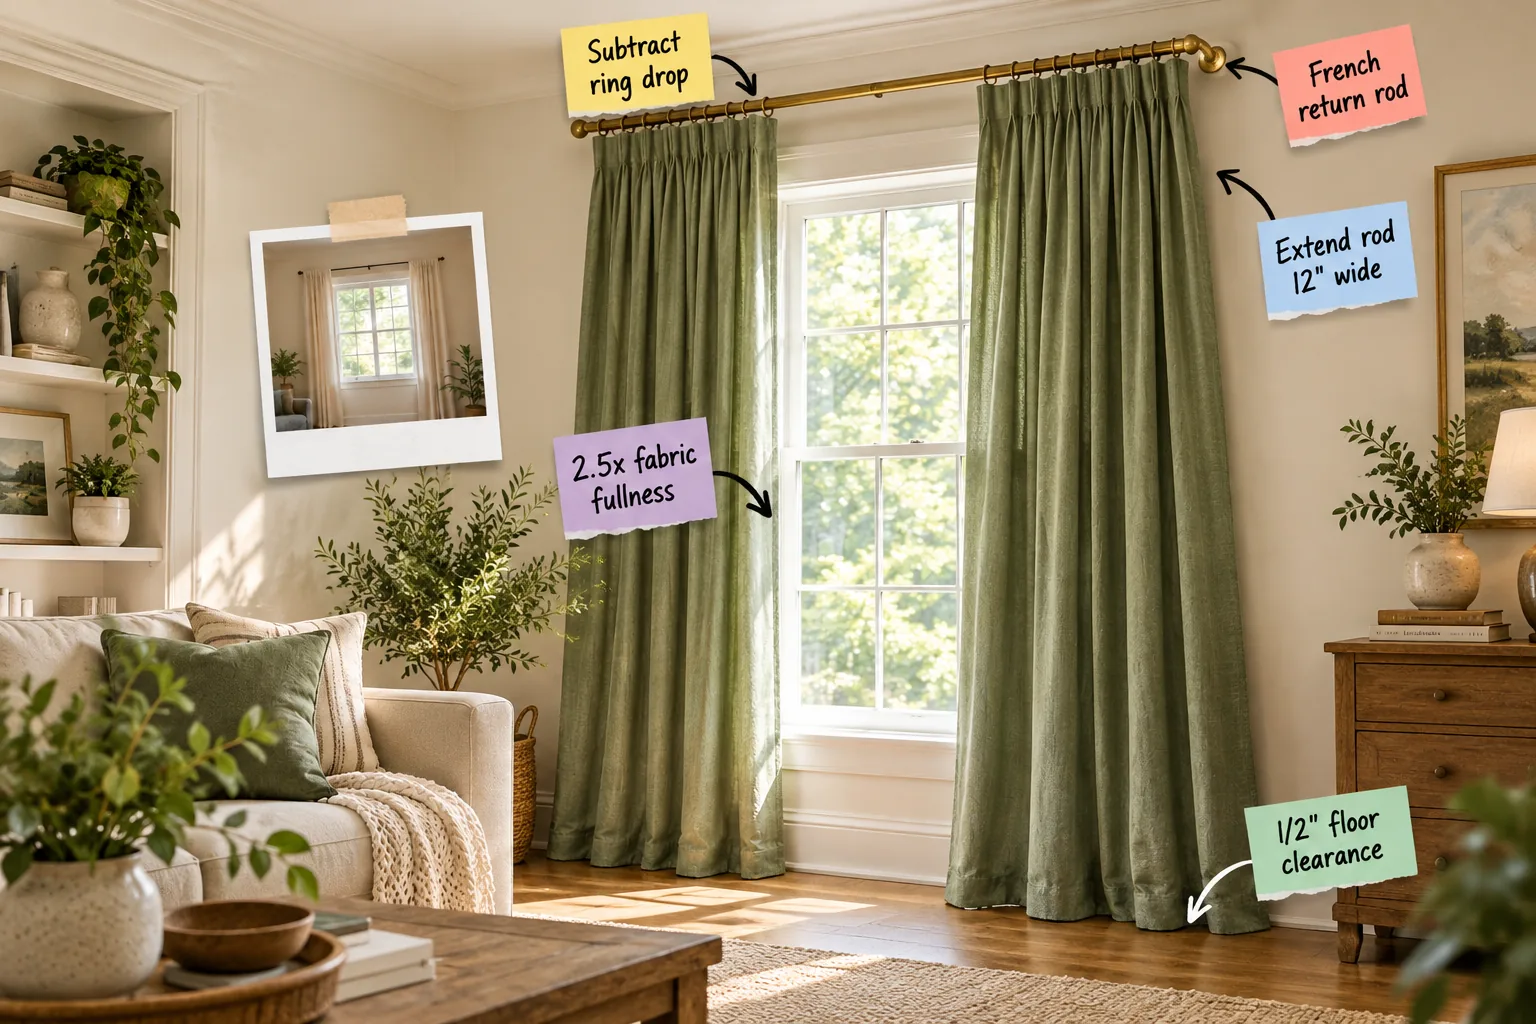
Transform your living room space with my custom drape measurement cheat sheet to get perfectly sized, professionally tailored curtains every single time. You will be able to measure, select, and install luxury-looking drapes with perfect proportions using these precise architectural formulas.
The Impact of Upgrading Your Window Treatments
Standard curtain panels often look skimpy and make windows feel significantly smaller than they actually are. By moving from narrow, low rods to a grander scale, you instantly elevate the room’s architecture and balance the visual weight of your space.
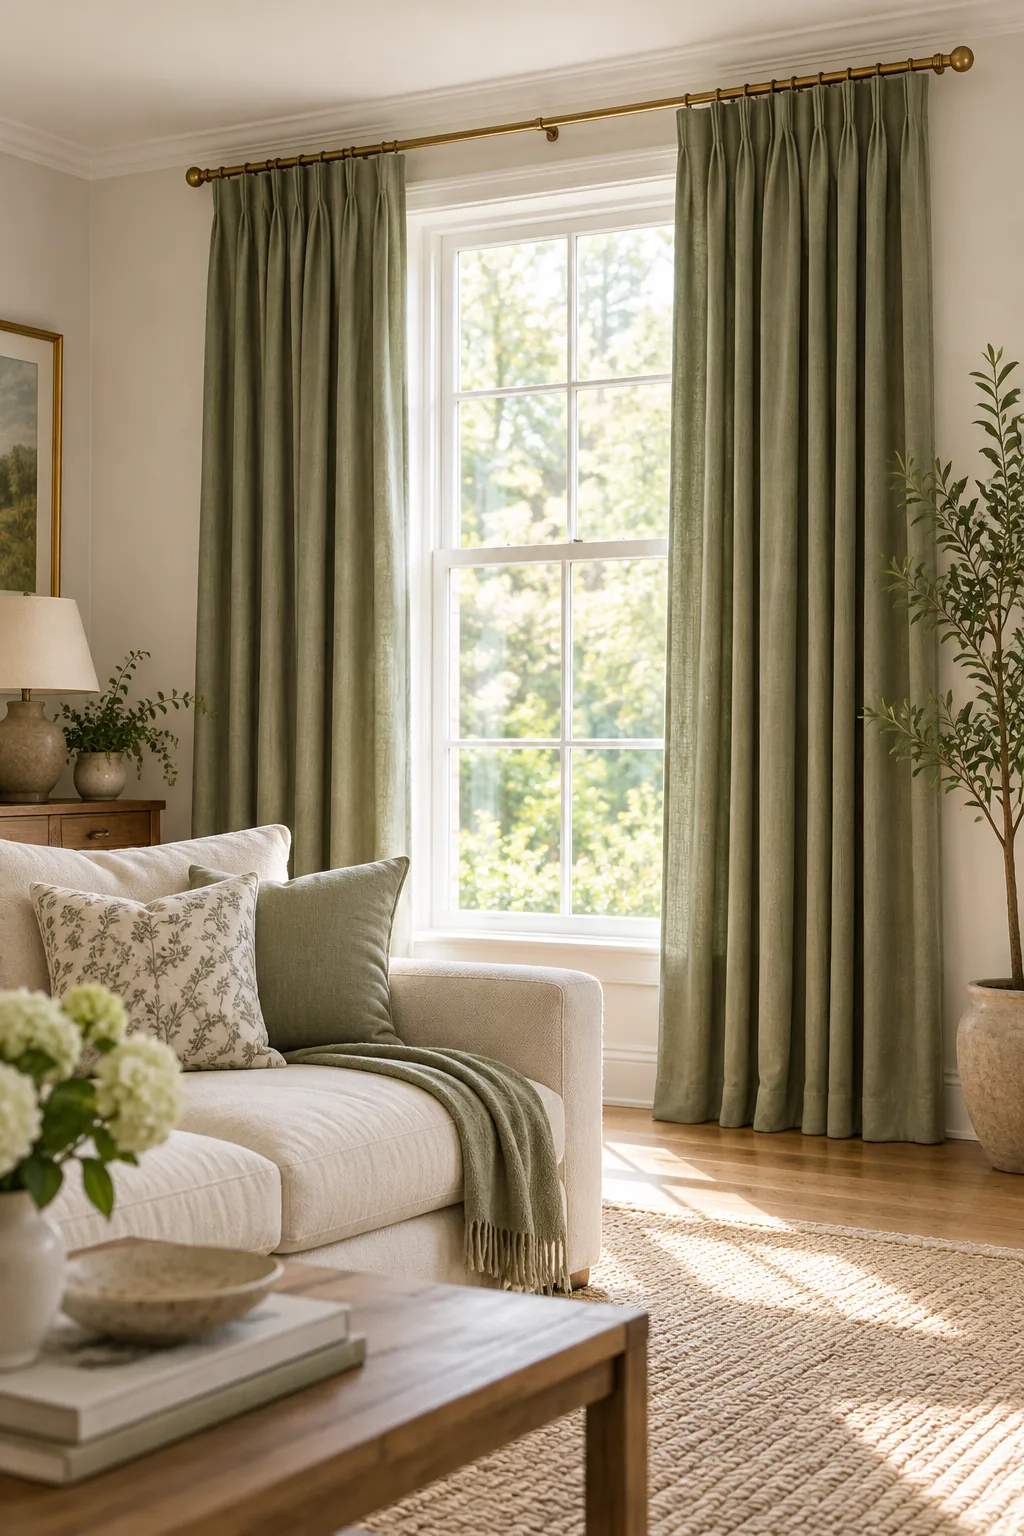
Eastern design principles emphasize harmony, and bringing your window treatments up and out establishes that essential symmetry before we even touch the hardware.
Evaluating Your Current Window Proportions
Before purchasing any materials, take a critical look at how your current setup interacts with the room’s natural light. Most builder-grade installations crowd the glass, restricting sunlight and creating a cramped, heavy feeling in your primary living areas.
The Psychology of Vertical Lines
Tall, unbroken lines draw the human eye upward, tricking the brain into perceiving a much higher ceiling. Maximizing vertical space is a foundational trick I use in almost every Denver home I design, regardless of the actual square footage.
Assessing Your Window Casing
Before drilling any holes, examine the depth and style of your existing window trim. Thick, ornate woodwork pushes your panels further into the room and demands hardware with a substantially deeper projection bracket.
Upgrading to a French Return Rod
In my own Denver living room, a French return rod eliminated side glare, but this hardware upgrade requires one extra measurement check.
Choosing the Right Hardware Finish
Unlacquered brass adds warmth and a subtle patina that beautifully complements natural linen fabrics over time. If your room features cooler tones, polished nickel offers the same high-end structural benefits while harmonizing with gray or blue undertones.
Selecting the Proper Wall Anchors
Heavy linen panels exert significant downward force on your mounting brackets every time you pull them open. Always bypass the flimsy plastic drywall plugs included in most kits and upgrade to heavy-duty toggle bolts for absolute security.
Extending the Rod for Maximum Light
To make your windows look massive, the rod must extend exactly 12 inches past the window edge on both sides. This dedicated stackback space allows heavy fabric to rest completely against the wall.
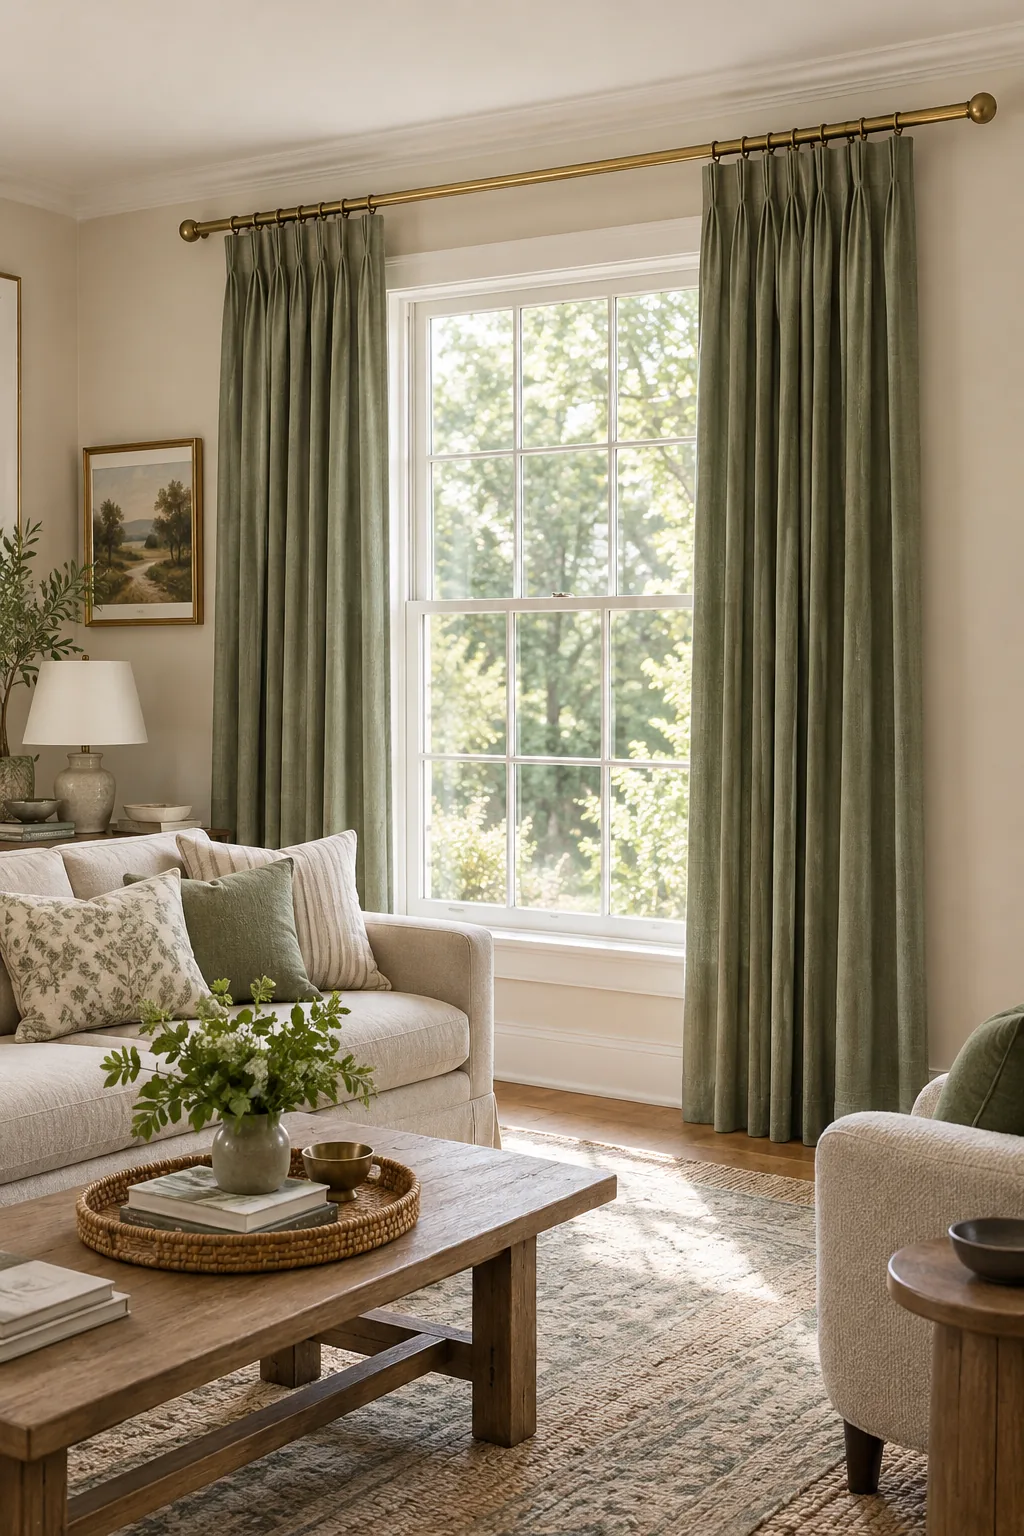
Keeping the actual glass unobstructed maximizes your solar gain during the day and creates a brilliant optical illusion of architectural width.
Managing Wall Space and Art Placement
Pushing your drapery panels out twelve inches means you must intentionally reevaluate your adjacent wall decor. Give your curtains at least six inches of breathing room before hanging any framed art to prevent the space from feeling cluttered.
Balancing Asymmetrical Windows
If your window sits off-center on the wall, you can use extended drapery rods to correct the room’s visual balance. Simply extend the rod further on the narrower side to create the illusion of a perfectly centered architectural feature.
Determining the Ideal Rod Height
Mounting the rod as high as possible draws the eye up and makes ceilings feel significantly taller. Instead of guessing, measure from the floor to just below your ceiling to find your precise hardware placement.
Working Around Crown Molding
If your living room features decorative crown molding, drop your measurement exactly one inch below the bottom edge of the trim. This slight gap prevents the brass rings from scraping the woodwork while maintaining that crucial ceiling-height illusion.
Aligning Multiple Windows in One Room
When dealing with a room that features several windows of varying heights, establish one continuous visual line. Mount all your hardware at the height of the tallest window to unify the space and prevent a chaotic, staggered appearance.
The Role of Center Support Brackets
Any curtain rod spanning more than sixty inches requires a sturdy center support bracket to prevent the metal from bowing over time. Position this bracket precisely in the middle to ensure your rings glide smoothly without catching on a sagging pole.
The Ring Drop Calculation
When determining actual fabric length, you must subtract the ring drop from your total floor-to-rod measurement. The exposed ring connecting the brass rod to the drape header typically adds 1.5 to 2 inches of length.
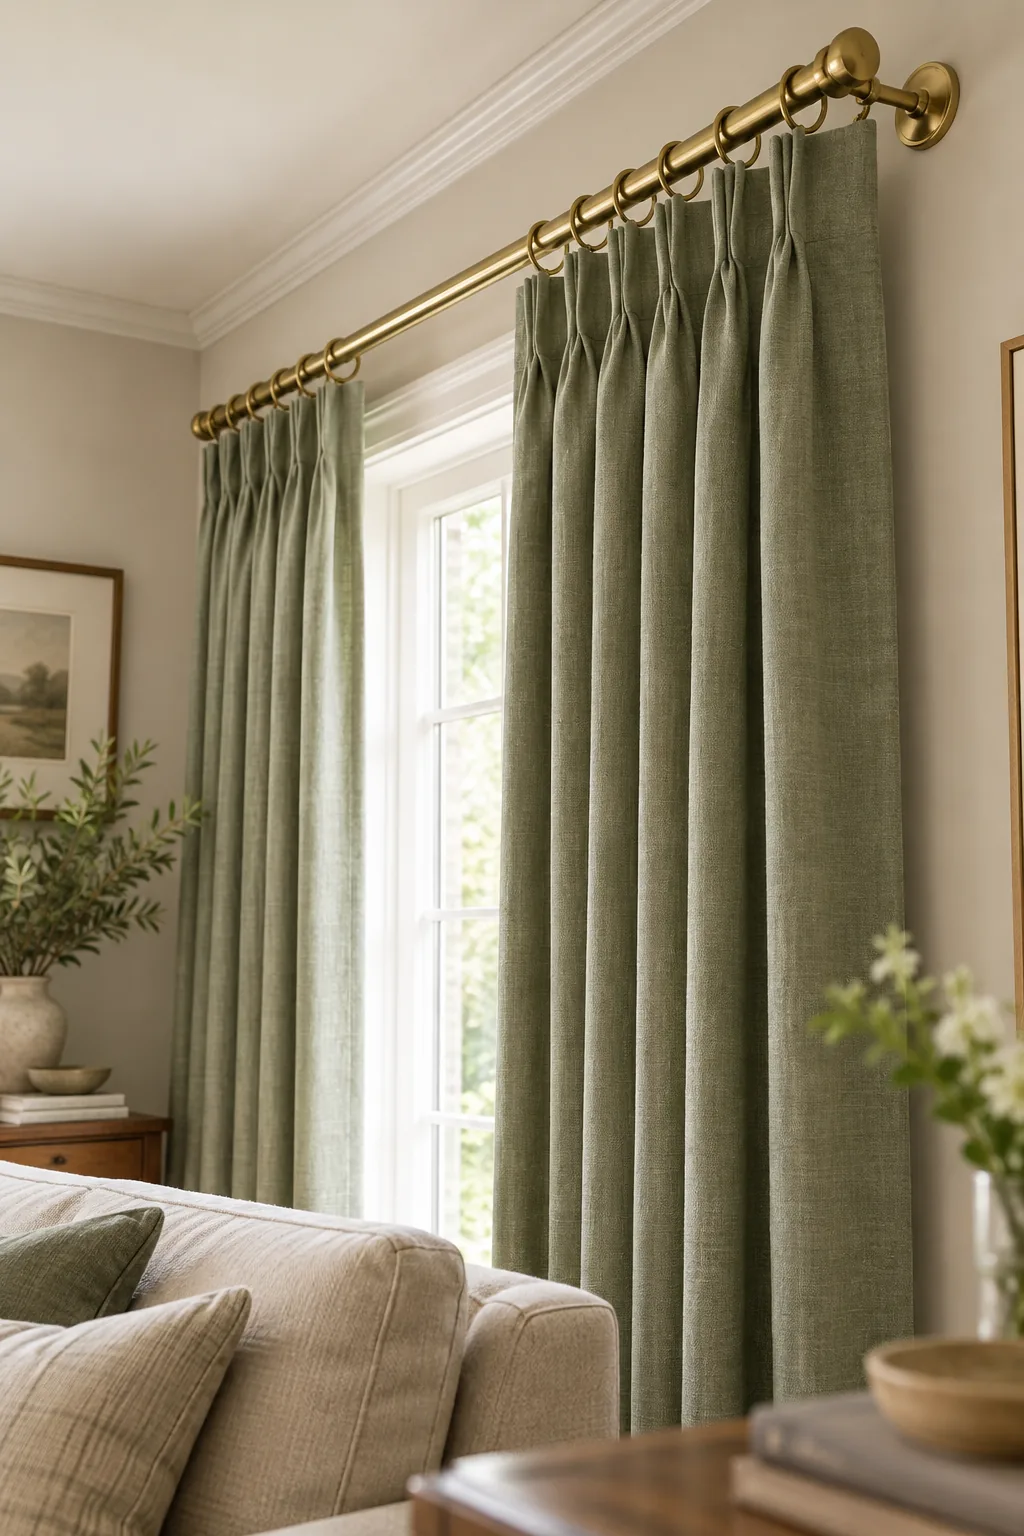
If you ignore this crucial deduction, your carefully measured panels will inevitably puddle on the floor and ruin the tailored aesthetic.
Understanding Hardware Clearances
Different ring styles have varying inner diameters, which directly impacts how far your fabric hangs below the metal pole. Always purchase your rings first and measure their exact drop before finalizing your custom drapery order.
Calculating Return and Overlap
In addition to your main width, you must account for the fabric that wraps back to the wall and overlaps in the center. Add an extra eight inches to your total flat width calculation to guarantee your drapes close completely without any light gaps.
Achieving Luxury with 2.5x Fullness
Custom drapes look lush because of their sheer volume, which requires generous fabric calculations. To achieve this high-end look, apply the 2.5x fabric fullness formula before ordering your panels.
| Look | Multiplier | Best Fabric |
|---|---|---|
| Standard | 1.5x | Light Cotton |
| Tailored | 2.0x | Medium Blends |
| Luxury | 2.5x | Heavy Linen |
Simply multiply your total rod width by 2.5 to determine the flat width of fabric needed before any pleating begins.
Why Fabric Weight Matters
Heavyweight Belgian linen holds its shape beautifully and provides the necessary structure to support a two-and-a-half times fullness ratio. Lighter fabrics tend to billow and lose their crisp pleats, making the generous width look messy rather than intentional.
The Importance of Blackout Lining
Unlined linen looks beautiful but allows harsh sunlight to degrade the natural fibers and wash out your room’s color palette. Adding a premium blackout lining protects your investment and adds necessary structural weight to the back of the panel.
Selecting the Right Header Style
A tailored pinch pleat header organizes that massive 2.5x fullness into structured, uniform folds. This specific header style ensures the heavy linen drapes beautifully from the rings without flaring out at the bottom.
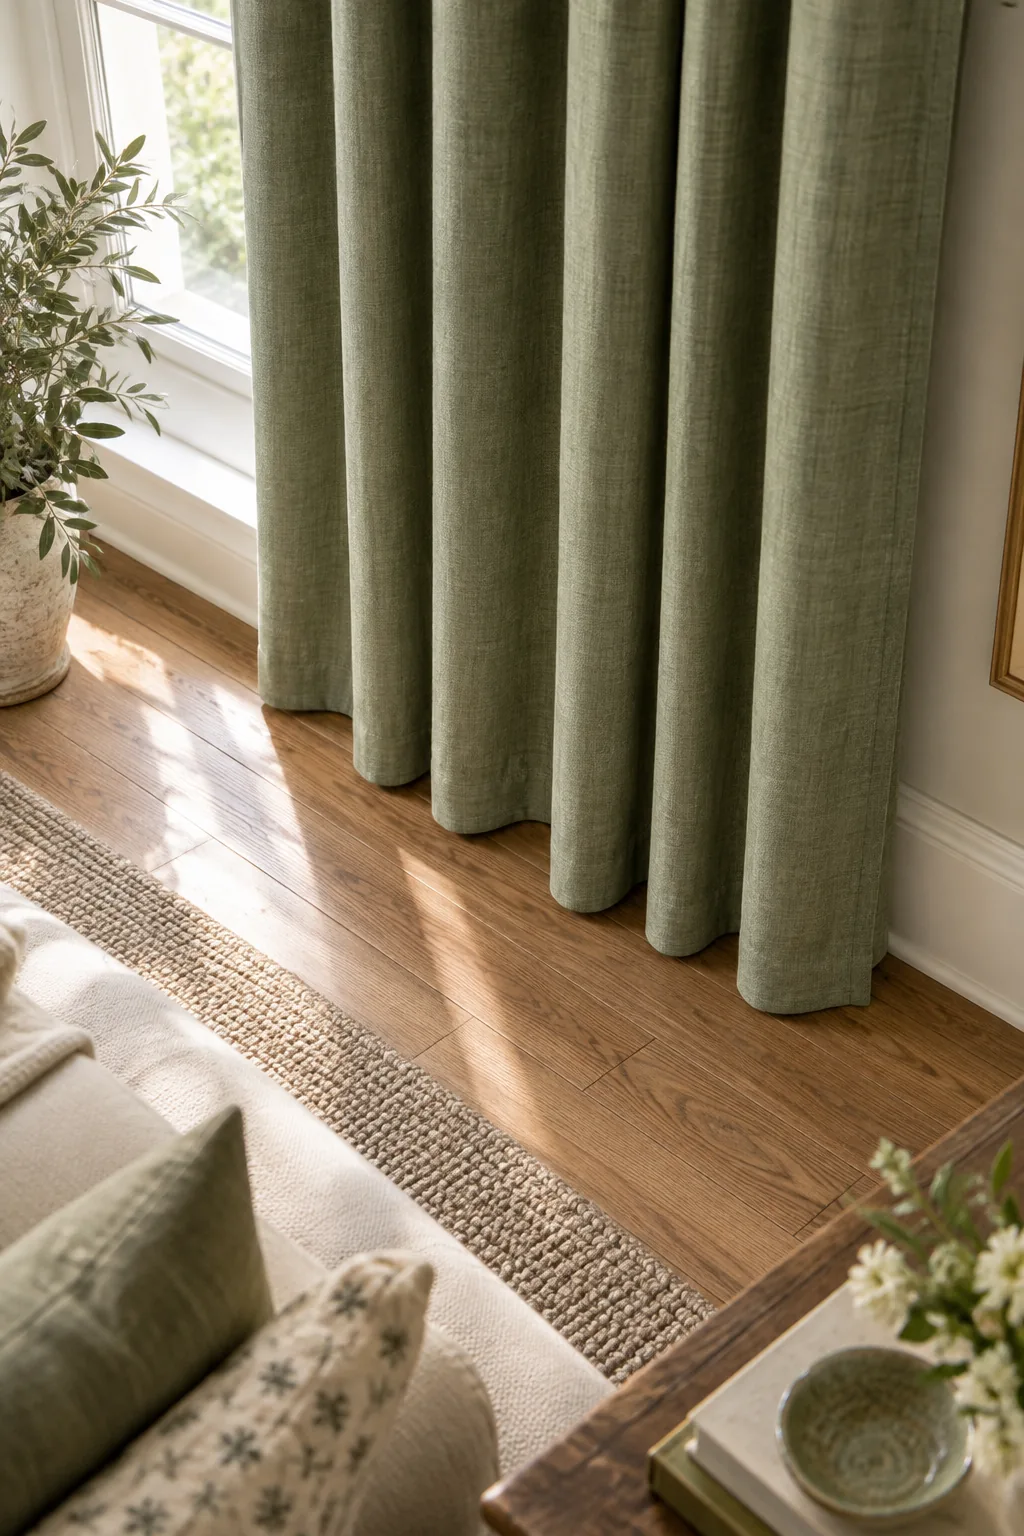
Controlling the fabric volume at the top guarantees those neat, vertical lines cascade perfectly all the way down to your baseboards.
Choosing the Right Pleat Spacing
The distance between each pinch pleat dictates how deeply the fabric folds when pushed back against the wall. A spacing of four to five inches creates a structured, modern fold, while tighter spacing yields a more traditional, ruffled appearance.
The Mechanics of Drapery Hooks
Insert sharp drapery pins directly into the back of each pinch pleat to connect the fabric to your brass rings. Adjusting the exact insertion point of these pins allows you to fine-tune your final panel length by up to an inch.
Understanding Fabric Memory and Training
New drapes rarely fall into perfect folds immediately upon hanging; they need to be trained to hold their shape. Tie your open panels loosely with wide ribbons for the first week to establish permanent fabric memory in the pleats.
Layering with Woven Wood Shades
For a highly textured, layered look, install natural woven wood shades inside the window frame behind your custom drapes. This combination provides flexible privacy during the day while allowing the heavy linen to frame the natural materials beautifully.
Nailing the Half-Inch Floor Clearance
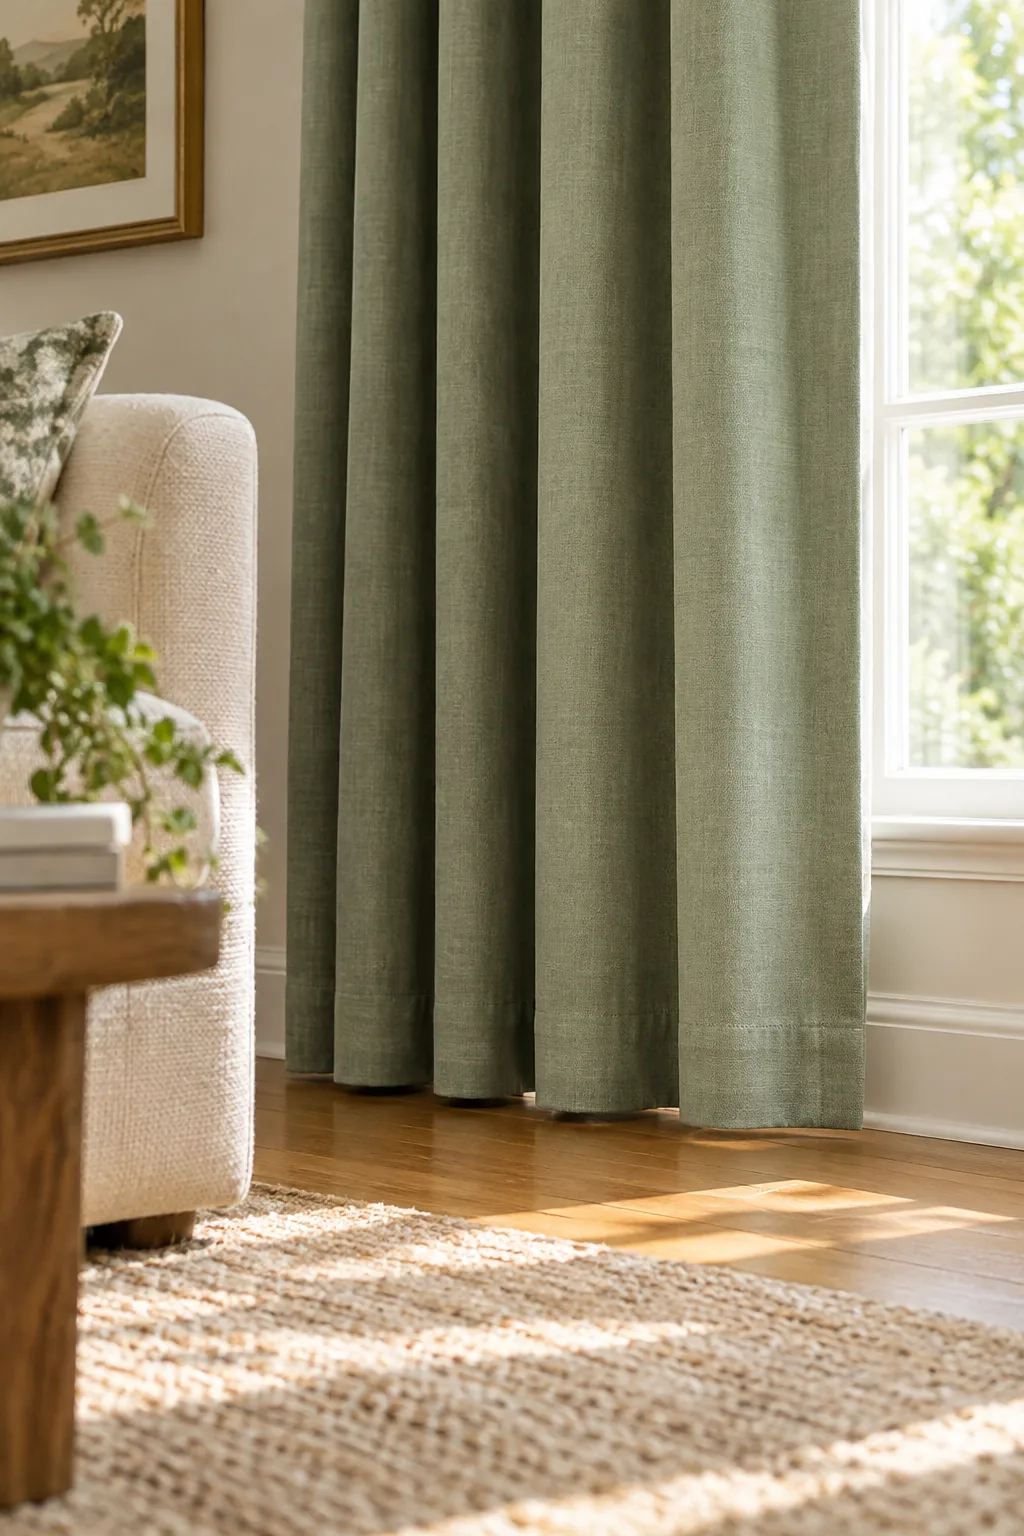
Getting the hem height right is the final step that separates a professional installation from a DIY attempt. In my own home, maintaining exactly a 1/2-inch floor clearance keeps my linen hems pristine and completely dust-free.
Adjusting for Floor Unevenness
Historic homes and settling foundations often result in floors that slope slightly from one side of the window to the other. Always measure your floor-to-ceiling height on both the left and right sides to catch any structural discrepancies early.
The Impact of Humidity on Natural Fibers
Linen is a living material that responds dynamically to the moisture levels in your home environment. During humid summer months, your panels may drop an extra quarter-inch, which makes that initial half-inch clearance absolutely vital for long-term wear.
Steaming for Final Precision
Freshly unpacked linen panels carry deep creases that temporarily shorten their apparent length by a fraction of an inch. Thoroughly steam your newly hung drapes before making any final judgments about your precise half-inch floor clearance.
5 Custom Drape Looks to Inspire Your Space
Find the perfect fabric and hardware combination for your own window transformation.
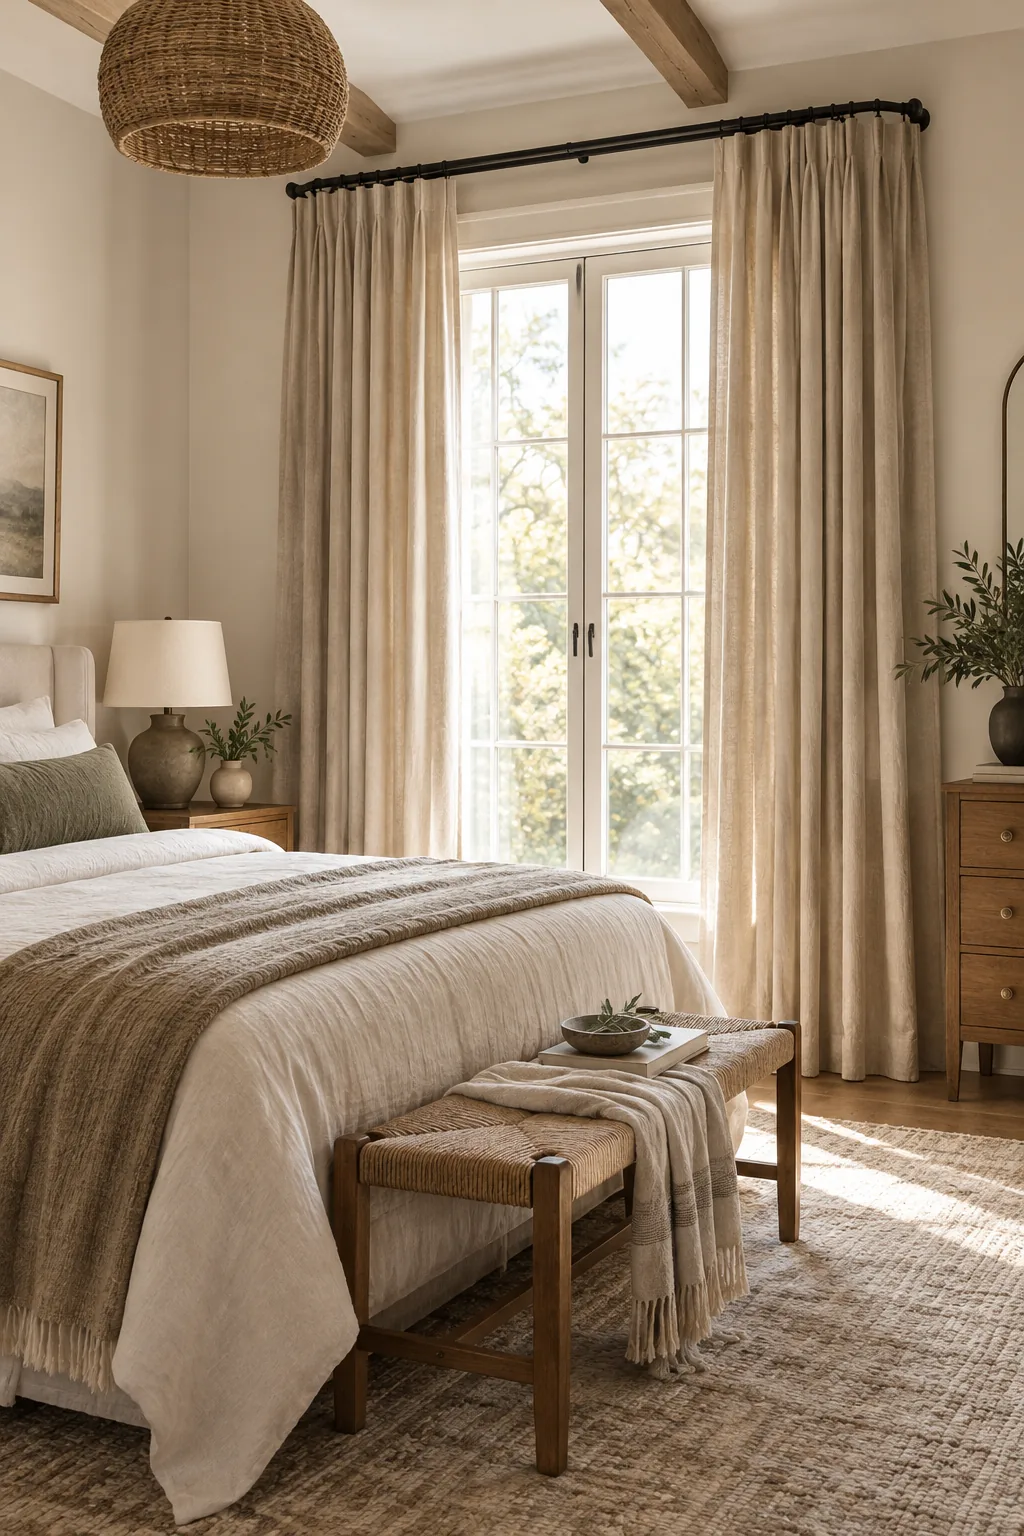
Organic Modern in Sand: Warm sand linen paired with matte black hardware creates a grounded, restful atmosphere in the bedroom.
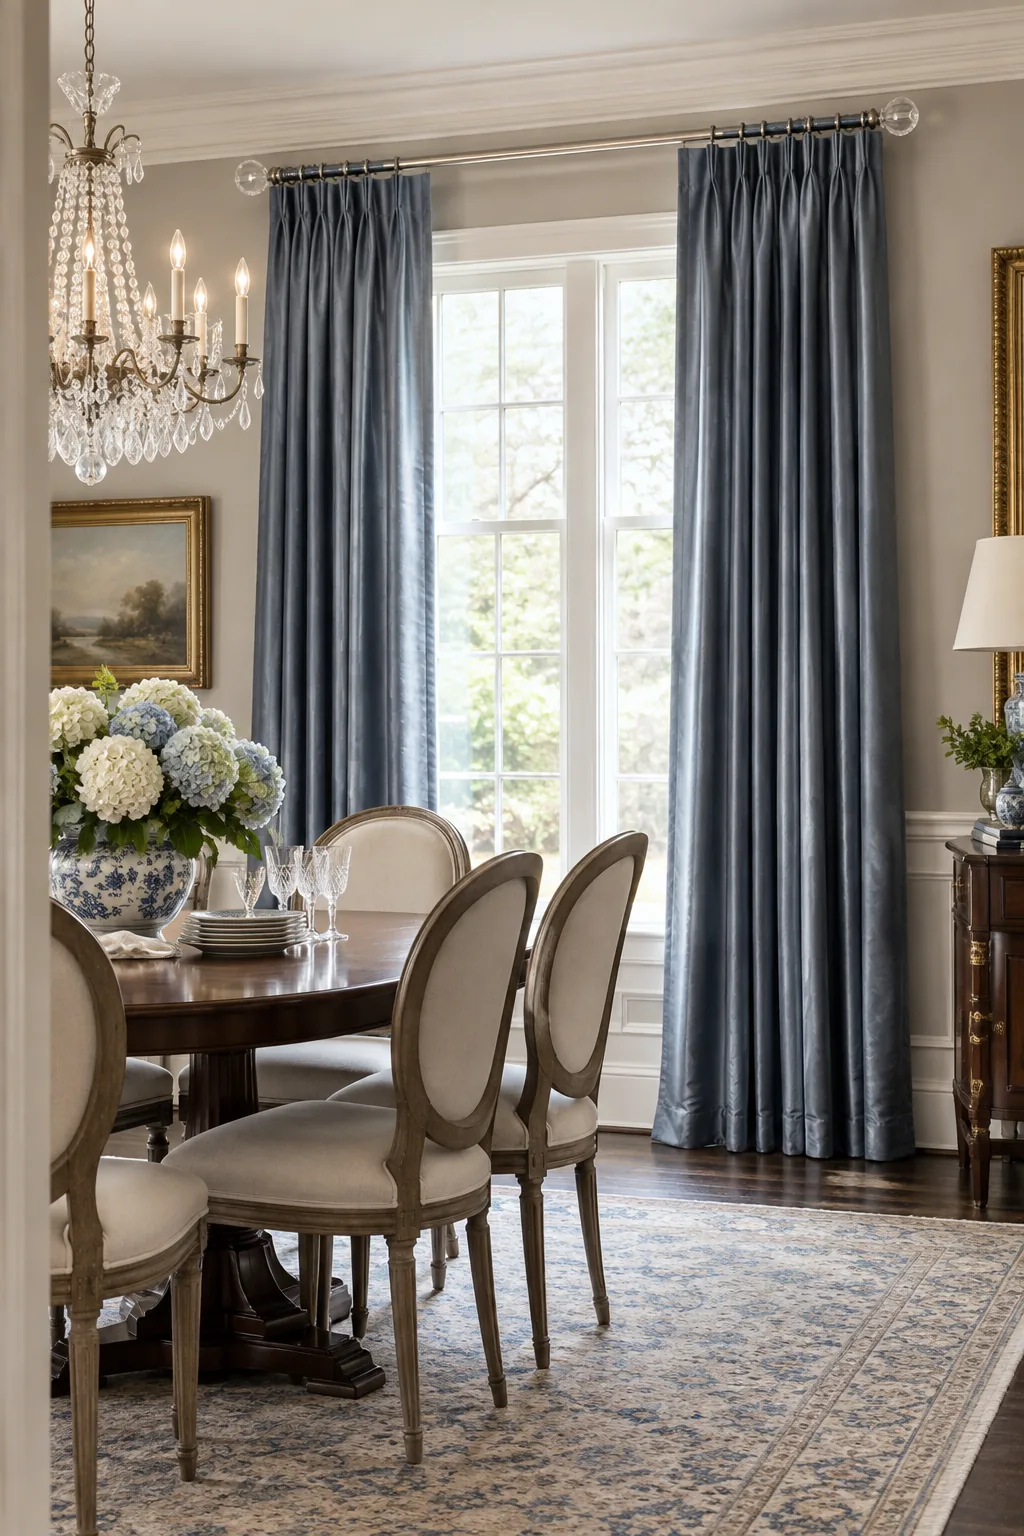
Traditional Elegance in Slate: Lustrous slate blue fabric and polished nickel instantly elevate a formal dining room setting.
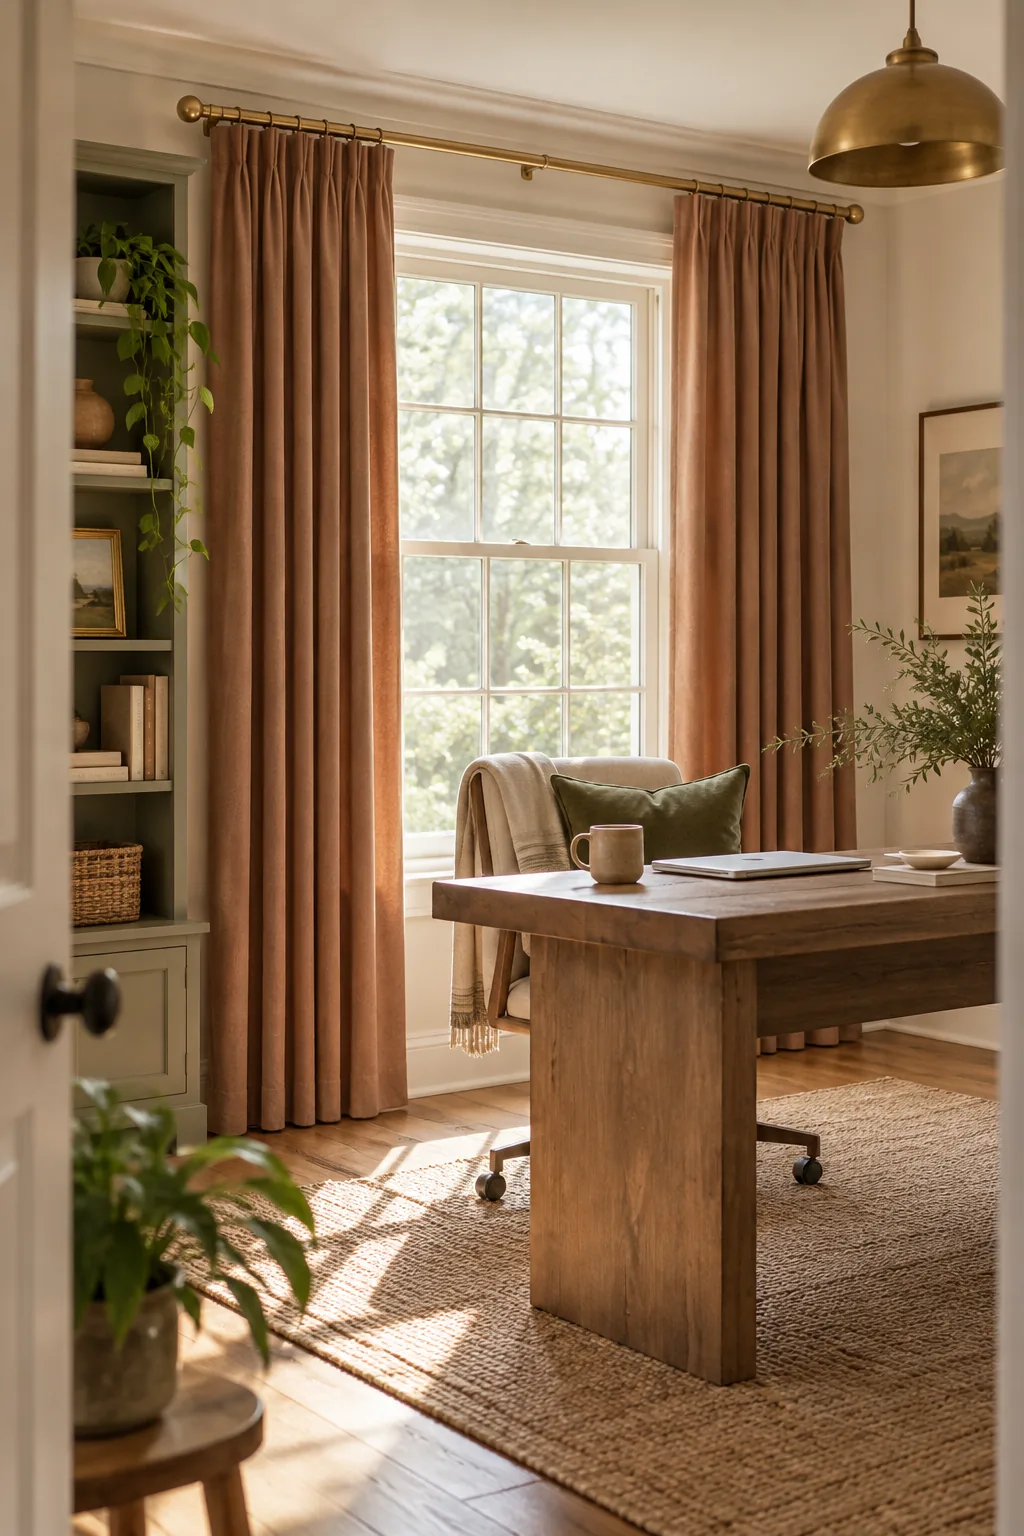
Earthy Minimalist in Clay: Unlacquered brass gracefully ages alongside warm clay tones for a subtle, lived-in workspace.
Moody Vintage in Plum: Rich plum velvet absorbs light and adds incredible acoustic dampening to a cozy reading room.
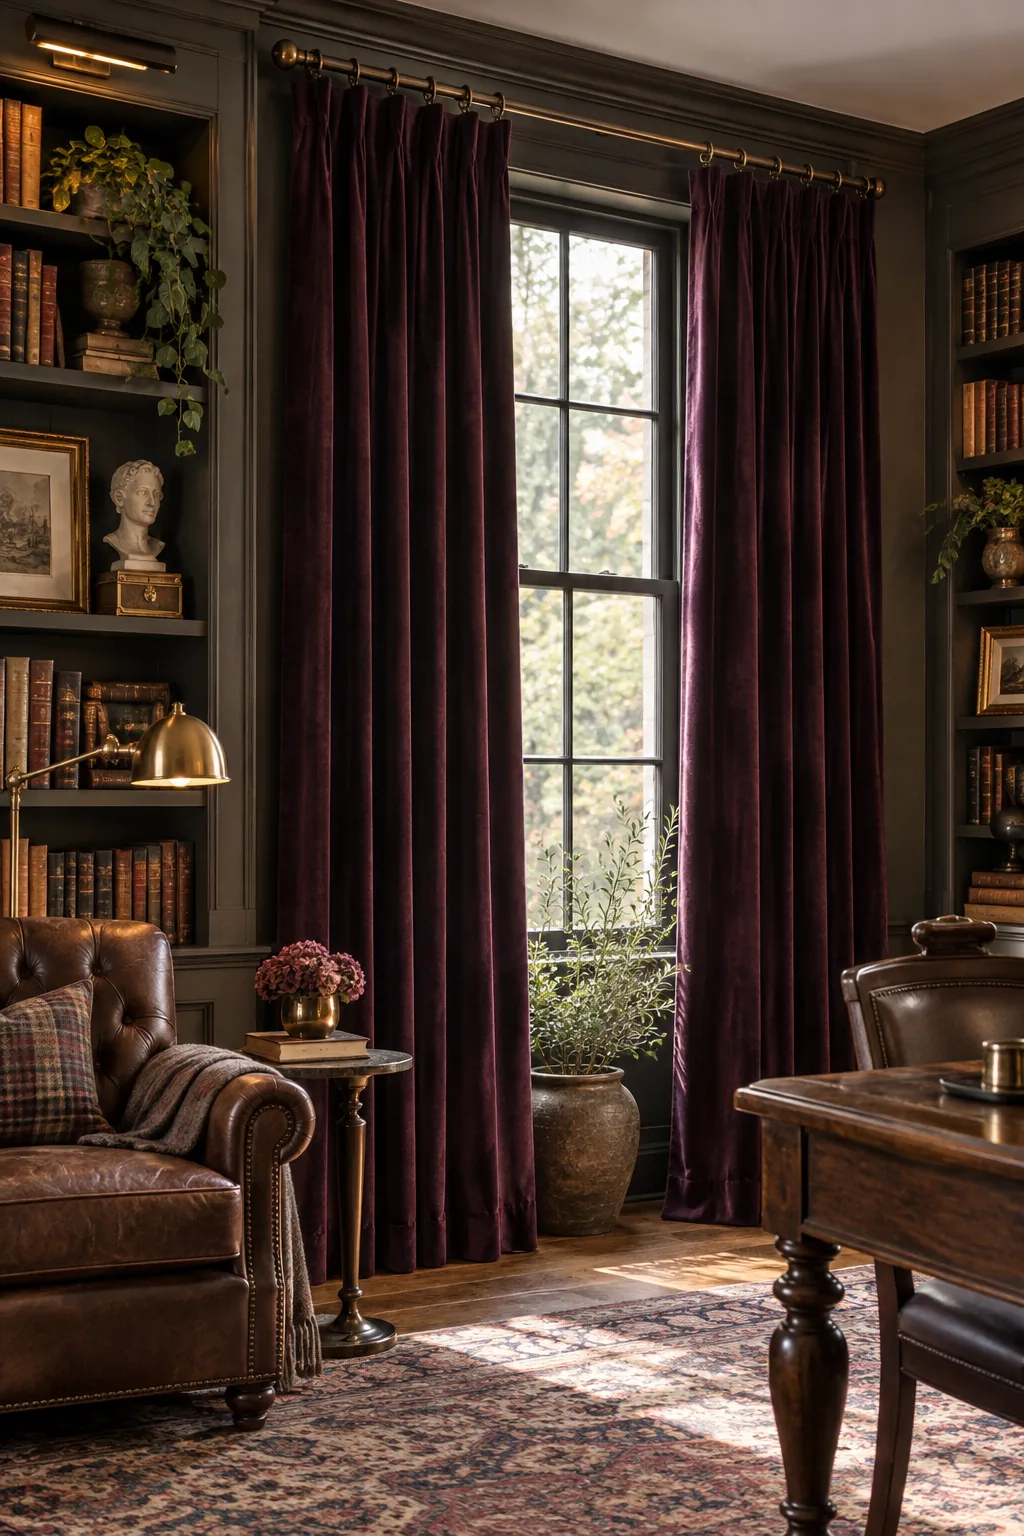
Coastal Breezy in White: Lightweight white sheers on natural oak hardware filter harsh sunlight while catching the breeze.

Your Custom Drape Measurement Cheat Sheet
Here is the complete formula list to save and reference for your upcoming window treatment project. Following this exact sequence ensures your final panels hang with perfect, custom-level precision.
- Rod Width: Window width plus 24 inches total.
- Fabric Width: Total rod width multiplied by 2.5.
- Panel Length: Floor-to-rod height, minus 2-inch ring drop, minus 1/2-inch clearance.
These precise calculations yield the exact dimensions required for a flawless, hovering hem.
Keep these numbers handy when ordering, and you will never second-guess your drape dimensions again.