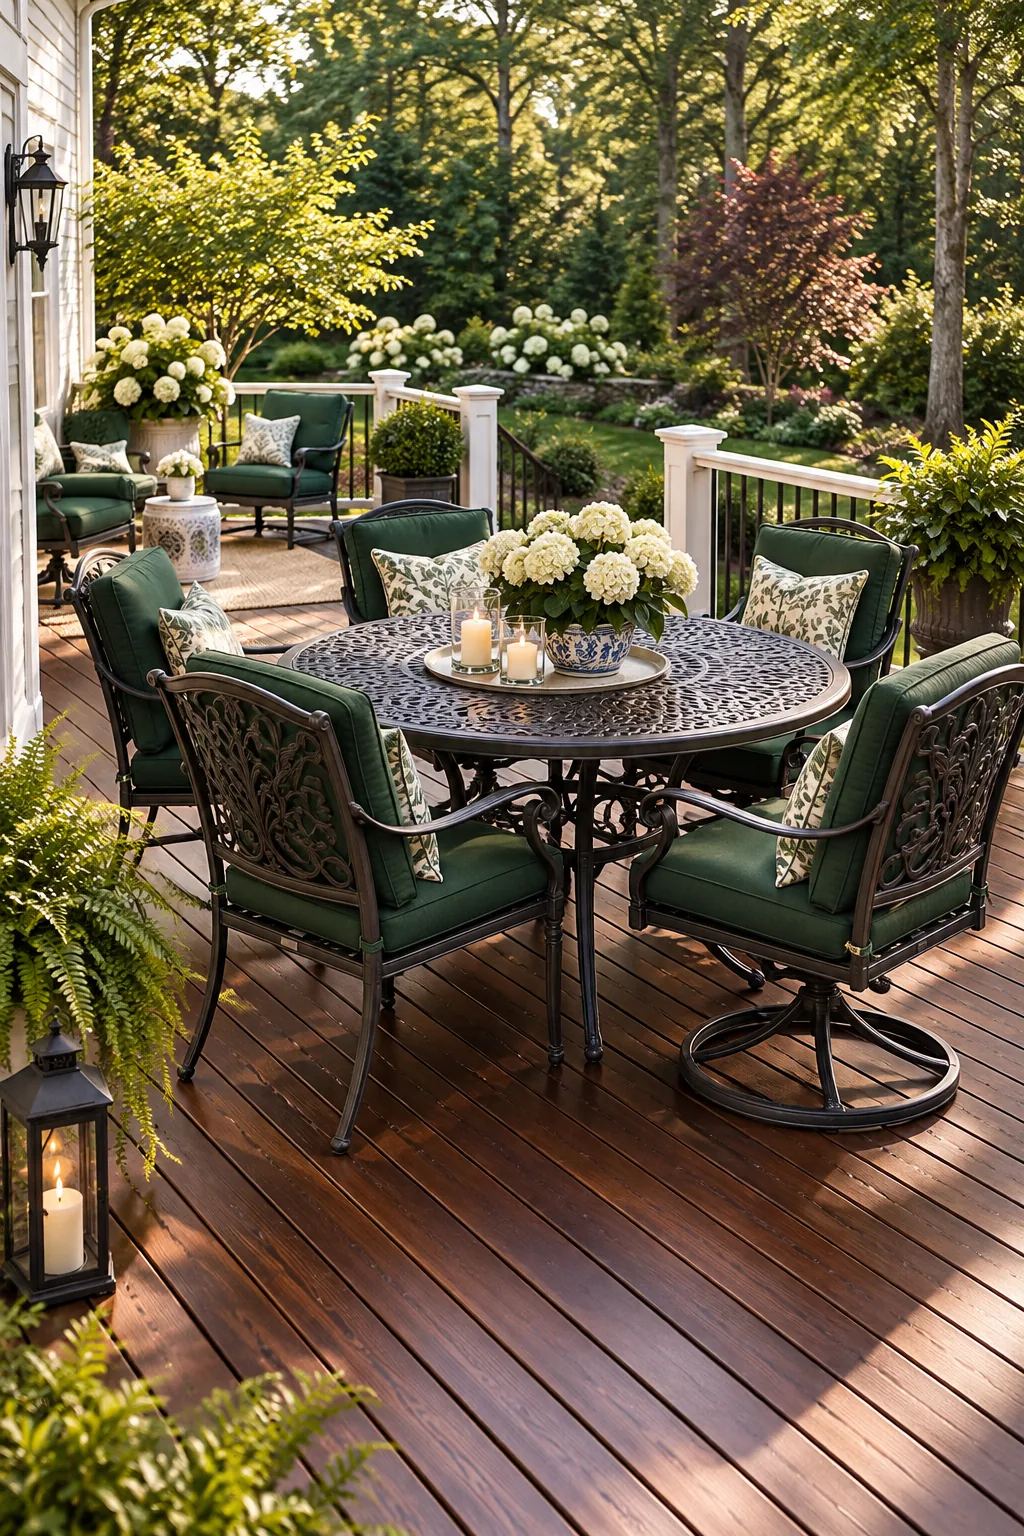
Print the Deck Furniture Layout Board-Count Cheat Sheet
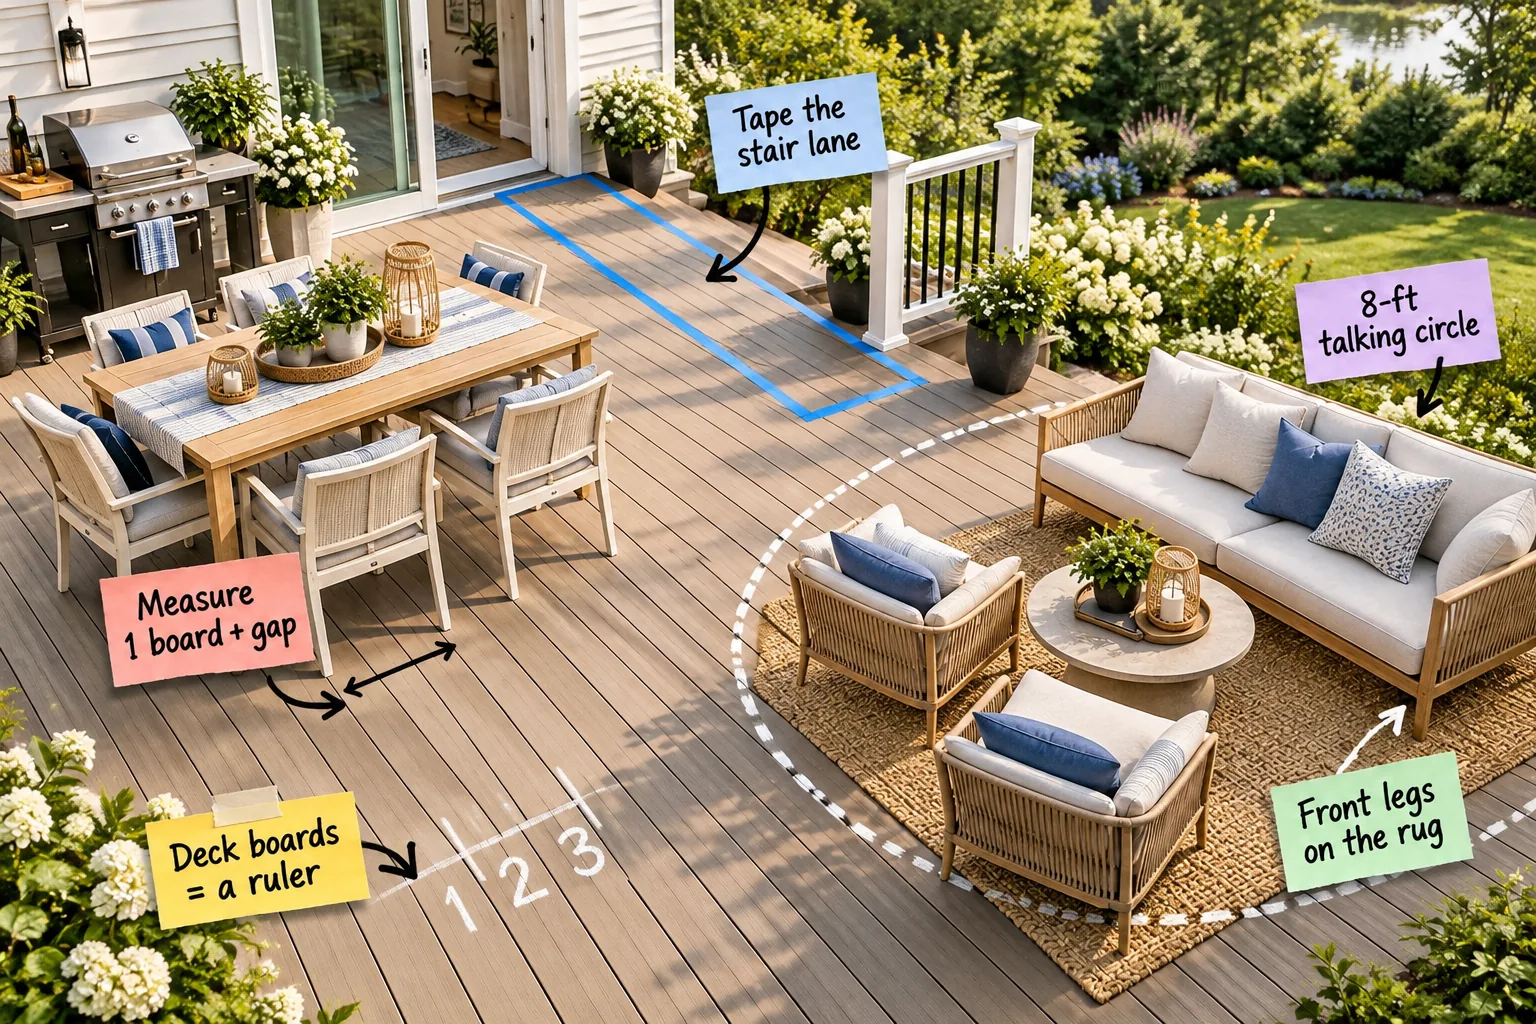
You will perfectly arrange your outdoor furniture in under an hour by counting the deck boards beneath your feet. Print our free Deck Layout Board-Count Sheet to instantly convert standard clearances into a foolproof visual grid.
Reading Your Built-In Ruler
Standard five-and-a-half-inch deck boards combined with a quarter-inch gap create a reliable 5.75-inch measurement grid right under your feet. This repeating pattern allows you to map out distinct zones without constantly referencing a tape measure.
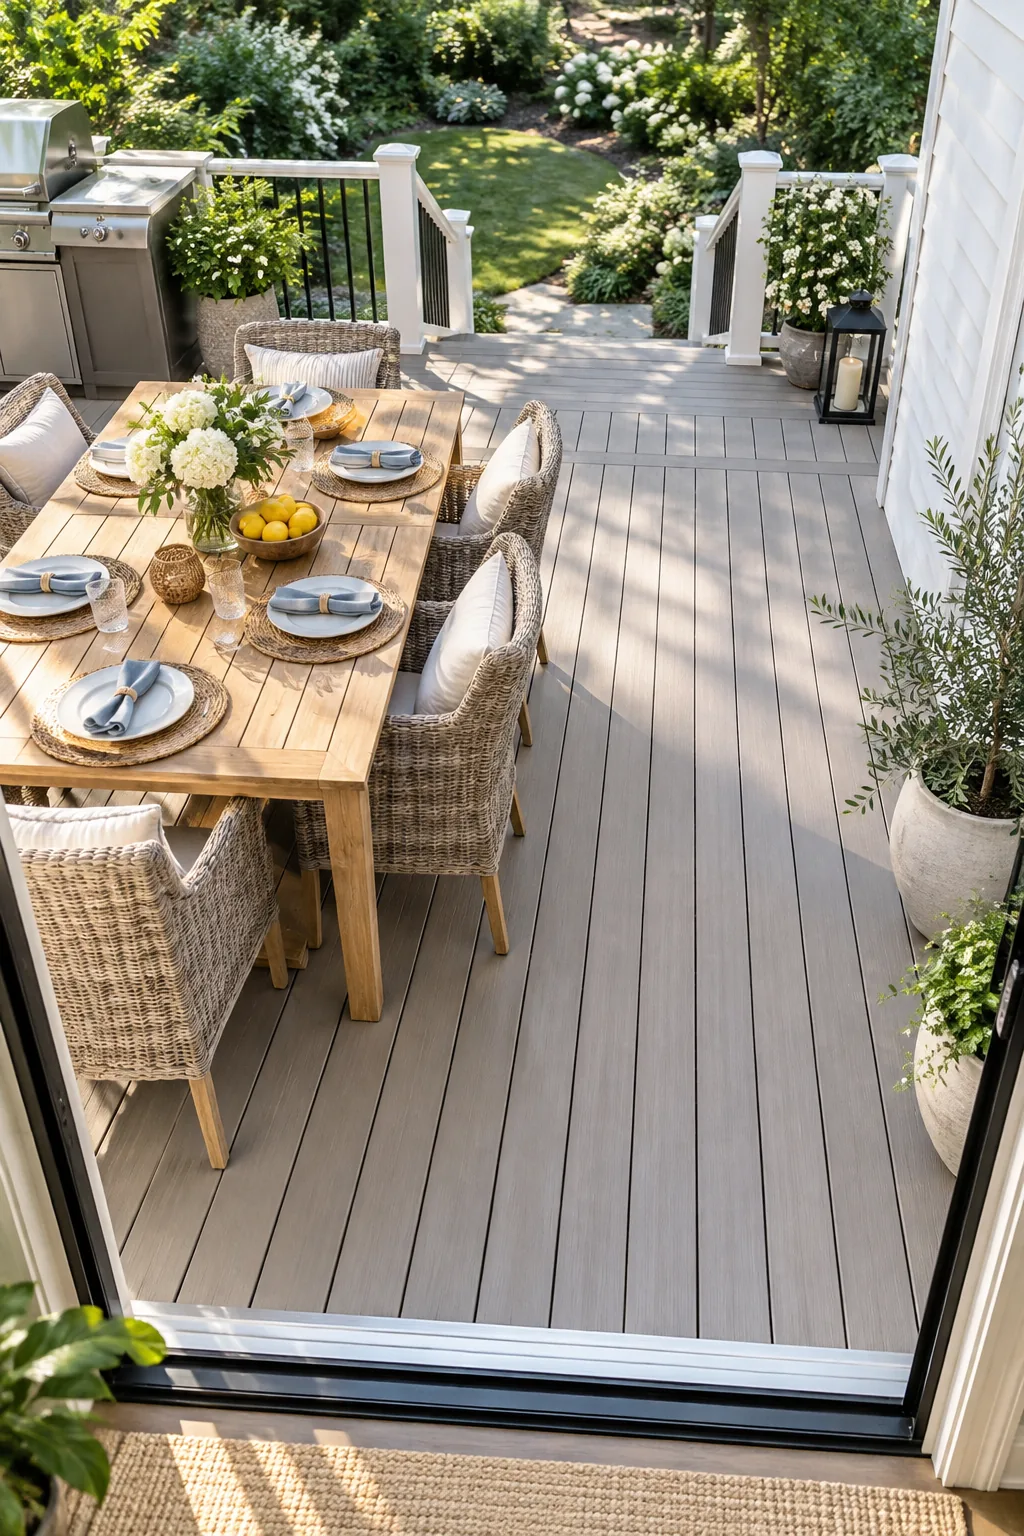
Counting these structural planks is significantly faster and intuitively helps you align heavy furniture squarely with your home’s architecture. Developing an eye for this built-in ruler transforms an overwhelming empty patio into a structured, easily manageable floor plan.
Adjusting for Wide-Plank Decking
If your modern outdoor space features contemporary wide-plank composite boards, your built-in grid requires a slightly different mathematical approach to maintain proper spacing. Converting your standard clearances ensures your functional proportions remain visually balanced and completely safe.
| Clearance Zone | Standard 5.5-Inch Board Count | Wide 7.25-Inch Board Count | Total Distance |
|---|---|---|---|
| Dining Chair Push-Back | 5 boards | 4 boards | ~29 inches |
| Main Traffic Lane | 6 boards | 5 boards | ~36 inches |
| Grill Safety Buffer | 4 boards | 3 boards | ~24 inches |
| Coffee Table Gap | 3 boards | 2 boards | ~17 inches |
| Lounge Talking Circle | 17 boards | 13 boards | ~96 inches |
Always measure your specific board width and gap spacing before finalizing your layout, as manufacturing tolerances can vary slightly between different composite decking brands.
Securing the Main Traffic Lane
The most critical move in any outdoor space is defining a clear 36-inch walking path straight from your sliding door to the stairs. Establishing this primary artery prevents awkward bottlenecks when guests are carrying heavy trays of food.
- Trace the most natural exit route directly from the threshold to the top step.
- Count exactly six standard deck boards to establish the minimum safe lane width.
- Mark this invisible boundary with bright painter’s tape before placing any furniture.
- Keep all chair legs, umbrella stands, and large planters strictly outside this designated safety zone.
Taping this essential thoroughfare first ensures your family can move freely without dodging pulled-out dining chairs or sharp table corners.
Balancing the Visual Weight
Eastern design principles teach us that a harmonious layout requires balancing heavy, solid objects with open, breathable negative space across your deck. Distributing this visual weight evenly prevents your newly arranged patio from feeling lopsided or overwhelmingly cluttered on one side.
Sizing the Dining Push-Back
Establishing a 36-inch clear path from the door to the stairs requires keeping primary walkways completely clear of pulled-out chairs. Routing this main artery past the table ensures guests can navigate the deck safely during a busy dinner party.
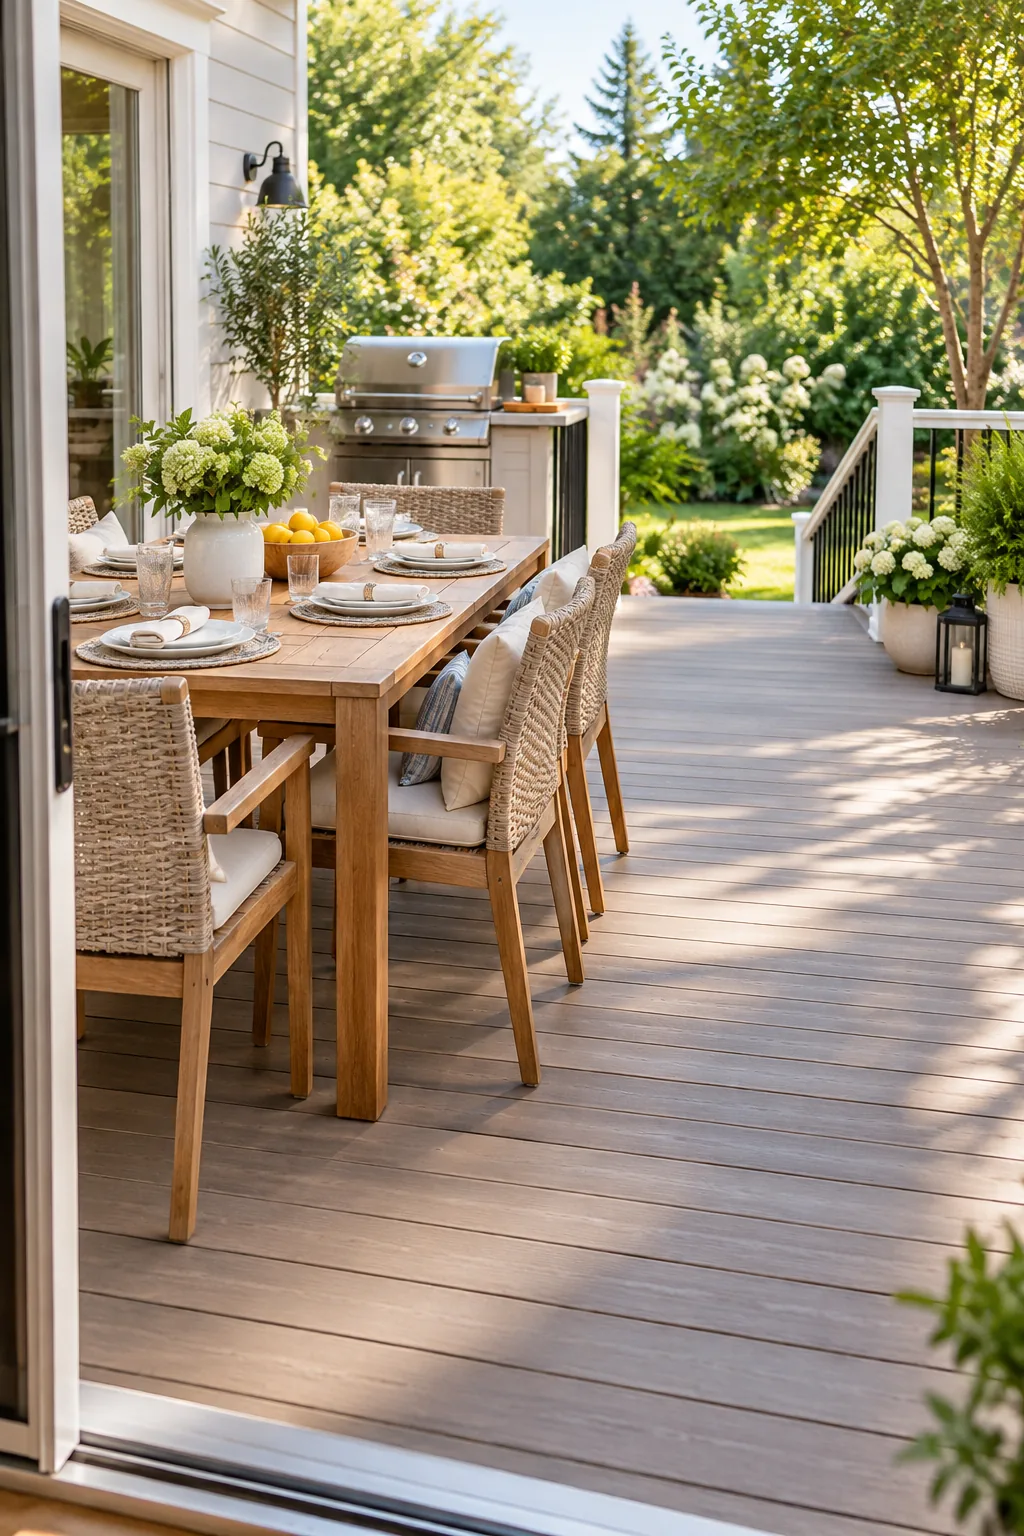
A standard 24-inch chair push-back requires roughly four planks, but leaving one extra board plus a gap ensures guests can easily walk behind a seated person. On a recent patio project in Boulder, I taped out this exact five-board dining buffer to eliminate that awkward shuffling dance.
Avoiding Dining Layout Pitfalls
Even with the right board count, a few common placement errors can still make your dining zone feel cramped. Correcting these minor miscalculations before you finalize the arrangement keeps the space effortlessly fluid.
Double-checking these specific friction points guarantees that your carefully counted board measurements translate into genuine, usable comfort for your guests.
Positioning the Grill Corner
Safe grill placement requires keeping intense heat safely away from your home’s siding, low overhanging eaves, and the main family traffic flow. I learned this when a slightly misplaced smoker warped my vinyl siding, so I strictly enforce a four-board safety perimeter.
Managing the Umbrella Canopy
While board counts handle the floor plan, you must also ensure your open umbrella canopy clears the house eaves and any hanging string lights. Centering the pole over a specific deck seam helps align the overhead shade perfectly with your dining table.
Establishing the Grill Prep Zone
A truly functional cooking station needs at least three boards of open space on either side of the grill for setting down heavy platters. Reserving this dedicated prep zone prevents the chef from constantly bumping into guests mingling near the dining table.
Shaping the Conversation Circle
Maintaining a safe four-board distance between the grill and the house siding prevents dangerous heat buildup while keeping the chef connected to the party. This essential buffer zone protects your architecture while establishing a clear boundary for the adjacent lounge area.
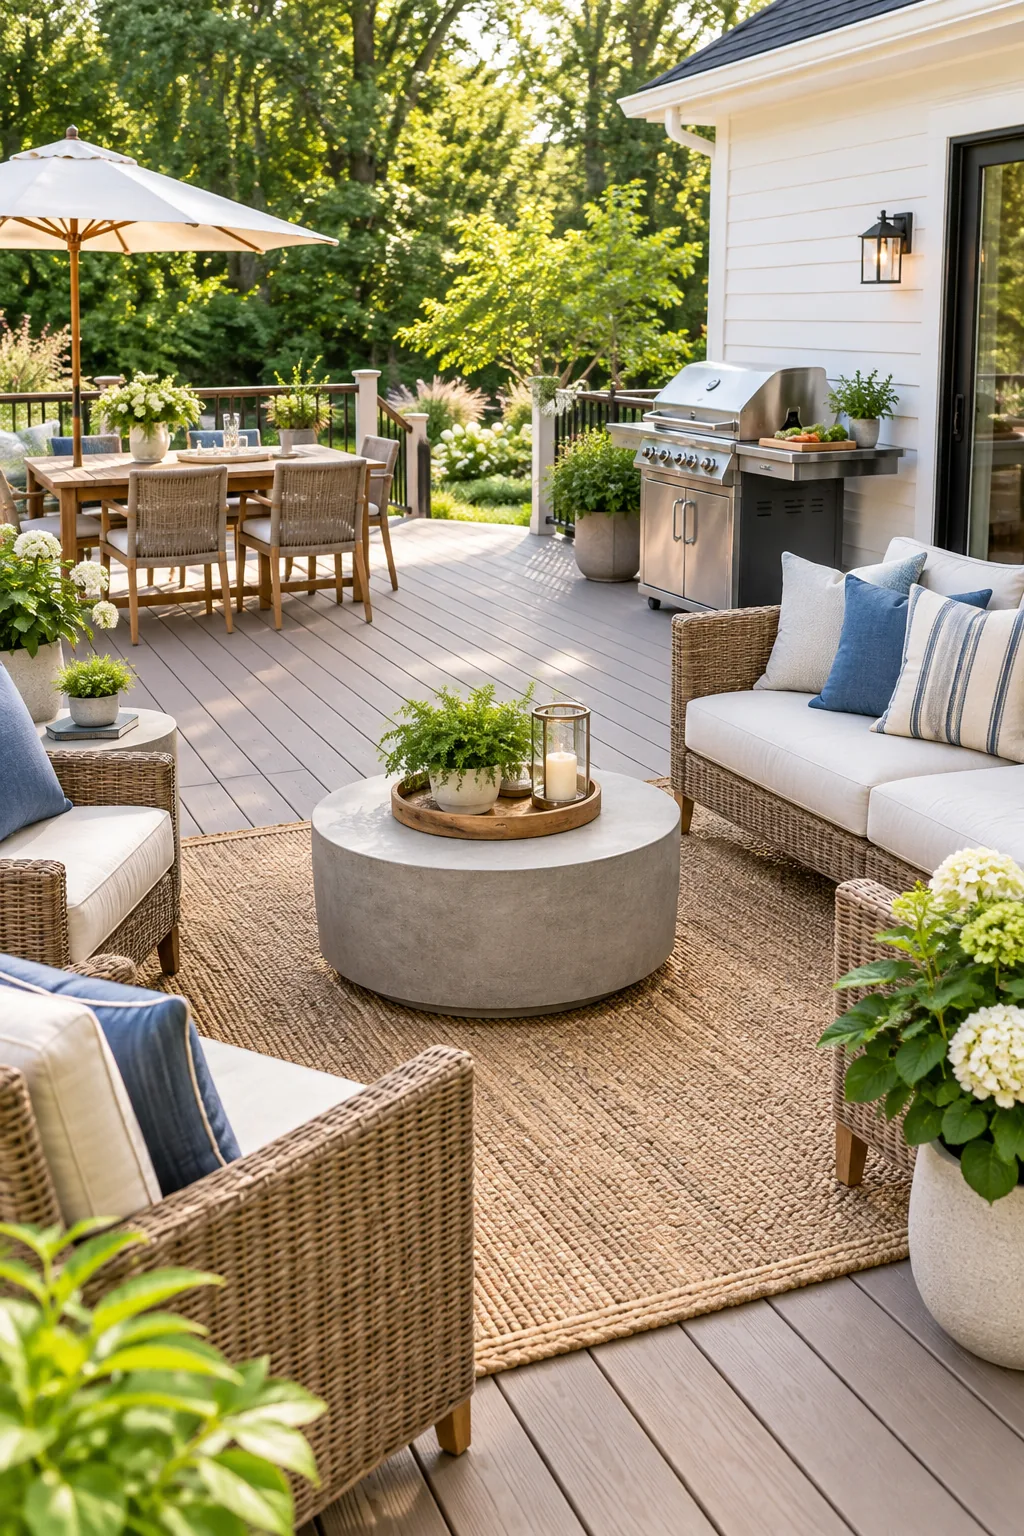
To keep your lounge seating intimate but never crowded, establish an 8-foot talking circle that naturally anchors the space. This generous diameter translates to roughly 16 or 17 standard deck boards stretched directly across your main seating arrangement.
Orienting the Lounge View
Before locking in your furniture placement, decide whether your primary lounge seating should face the vibrant backyard landscaping or angle toward the house. Aligning the main sofa parallel to the deck planks naturally directs your guests’ gaze outward toward the best view.
Anchoring the Lounge Rug
Placing the front legs of your sofa and lounge chairs on the rug creates a distinct visual boundary that connects the entire seating arrangement. This simple textile layer softens the rigid geometry of the wooden deck planks beneath your feet.
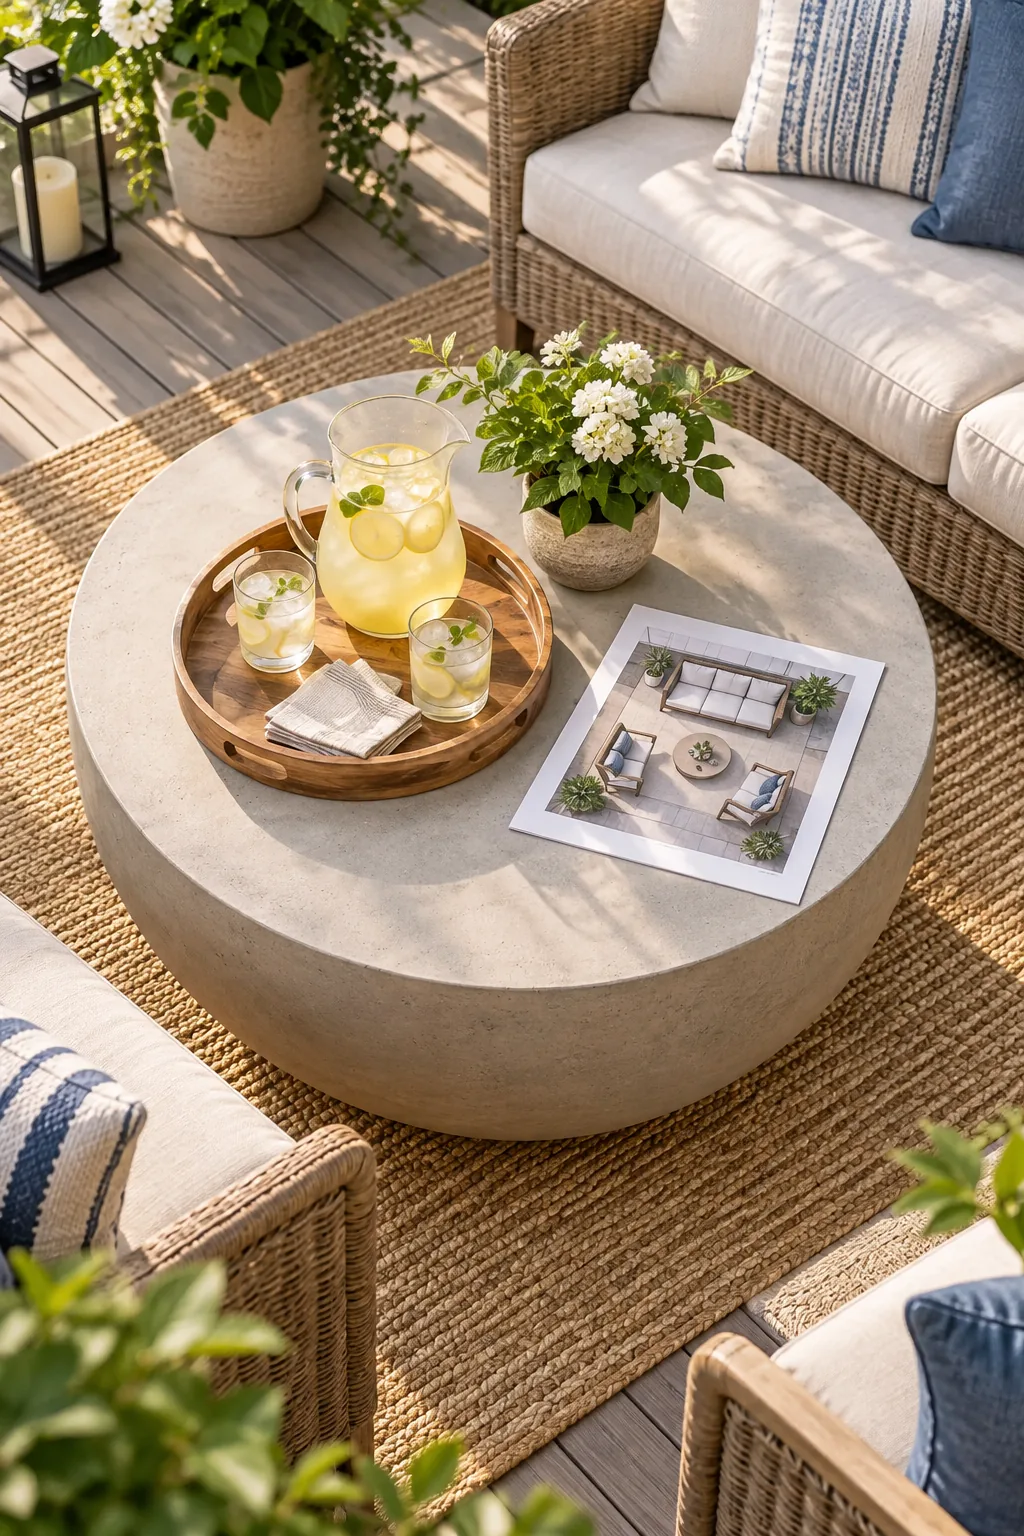
Grounding the furniture this way transforms a scattered collection of chairs into a cohesive, intentional outdoor living room. The rug acts as an anchor, preventing the pieces from visually floating away toward the dining zone.
Setting the Coffee Table Gap
The ideal reach distance between your lounge seating and the coffee table requires exactly three deck boards of open space. If you are upgrading your lounge furniture this season, test the proportions before you buy.
I always test these taped clearances at home with an actual tray of drinks, proving that a three-board gap perfectly bridges the distance without feeling disconnected.
Layering the Side Tables
Tucking compact side tables between your lounge chairs requires exactly two boards of clearance to avoid crowding the armrests. This subtle spacing ensures every guest has a dedicated spot for their drink without encroaching on their neighbor’s personal space.
Accommodating the Fire Pit
If your lounge area centers around a gas fire pit instead of a coffee table, expand your central clearance to a full four boards. This wider gap protects knees from the heat while safely accommodating the larger footprint of the burner pan.
Accommodating Traffic Around the Lounge
Always leave a secondary two-board walking path behind your main outdoor sofa if it floats in the middle of the deck. This subtle bypass route prevents guests from awkwardly squeezing past seated conversations when navigating toward the backyard stairs.
Your Deck Board-Count Cheat Sheet
Using our printable layout sheet allows you to quickly reference standard clearances and board counts for both traditional and wide composite decking. Keep this guide handy as you begin transferring your digital plans into real-world taped boundaries.
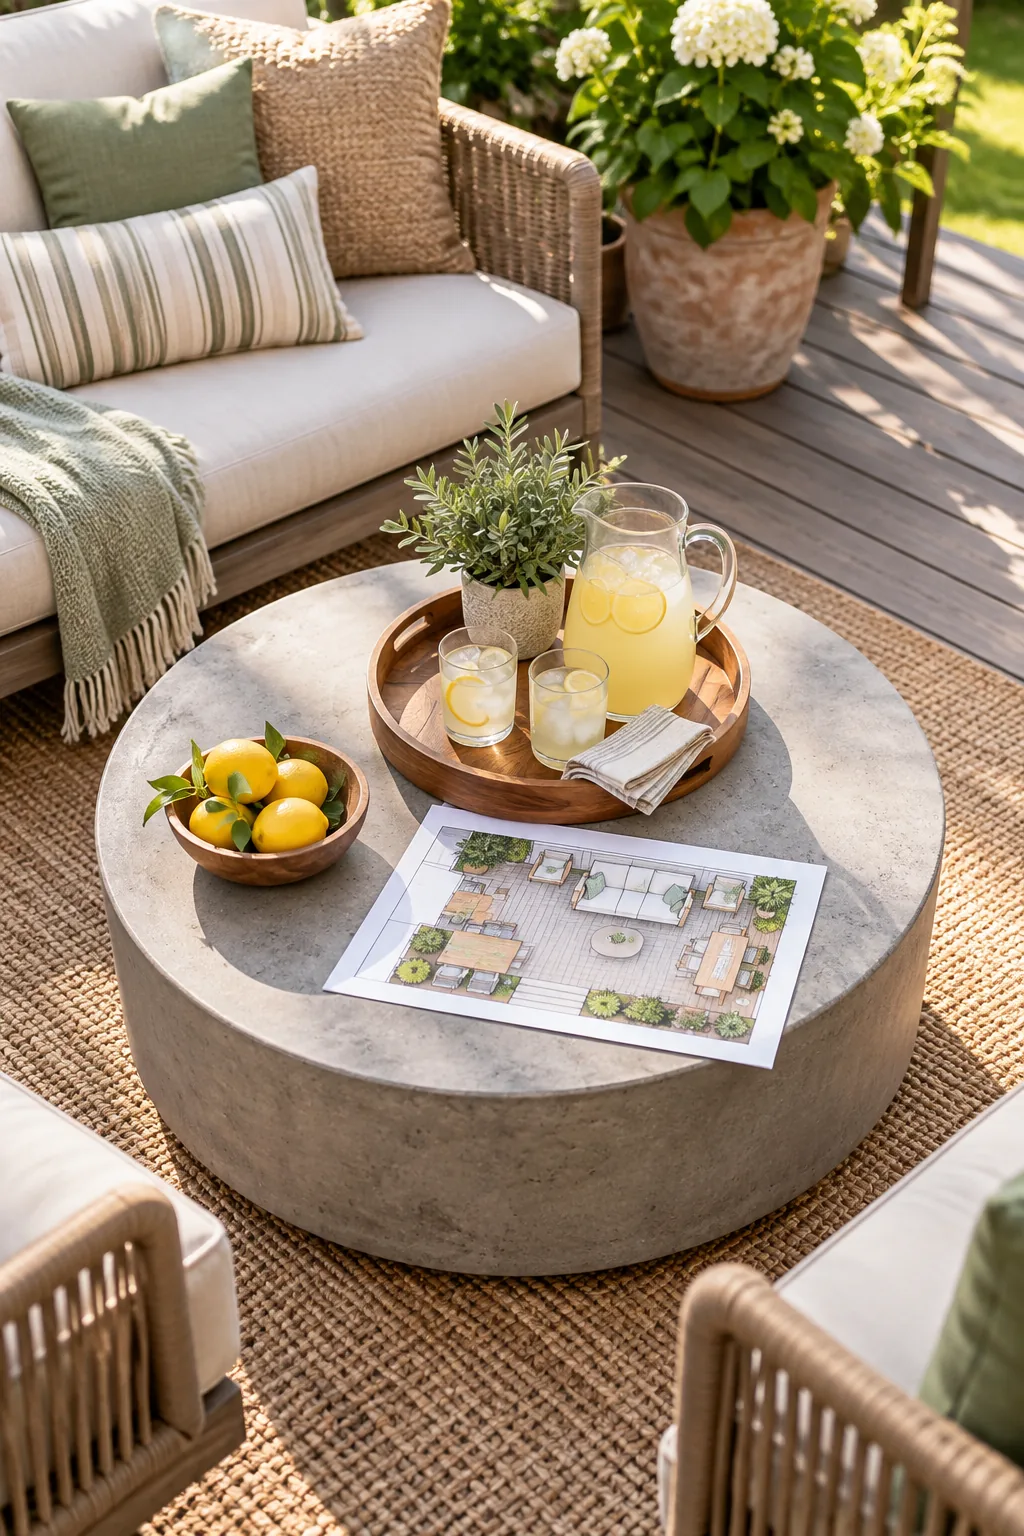
Before moving heavy furniture, grab your printed guide and a roll of painter’s tape to map out the zones. This quick preparatory step saves your back and prevents accidental scratches on your newly finished deck surface.
Pinning this visual guide to your patio door keeps those critical board-count measurements top of mind while you slide the final pieces into place.
Four Distinct Deck Styling Ideas
Once your layout is locked in, choose a styling direction that fits your home's architecture.
Crisp Coastal Blue: White wicker and deep navy cushions create a classic maritime feel that pops beautifully against light gray composite decking.

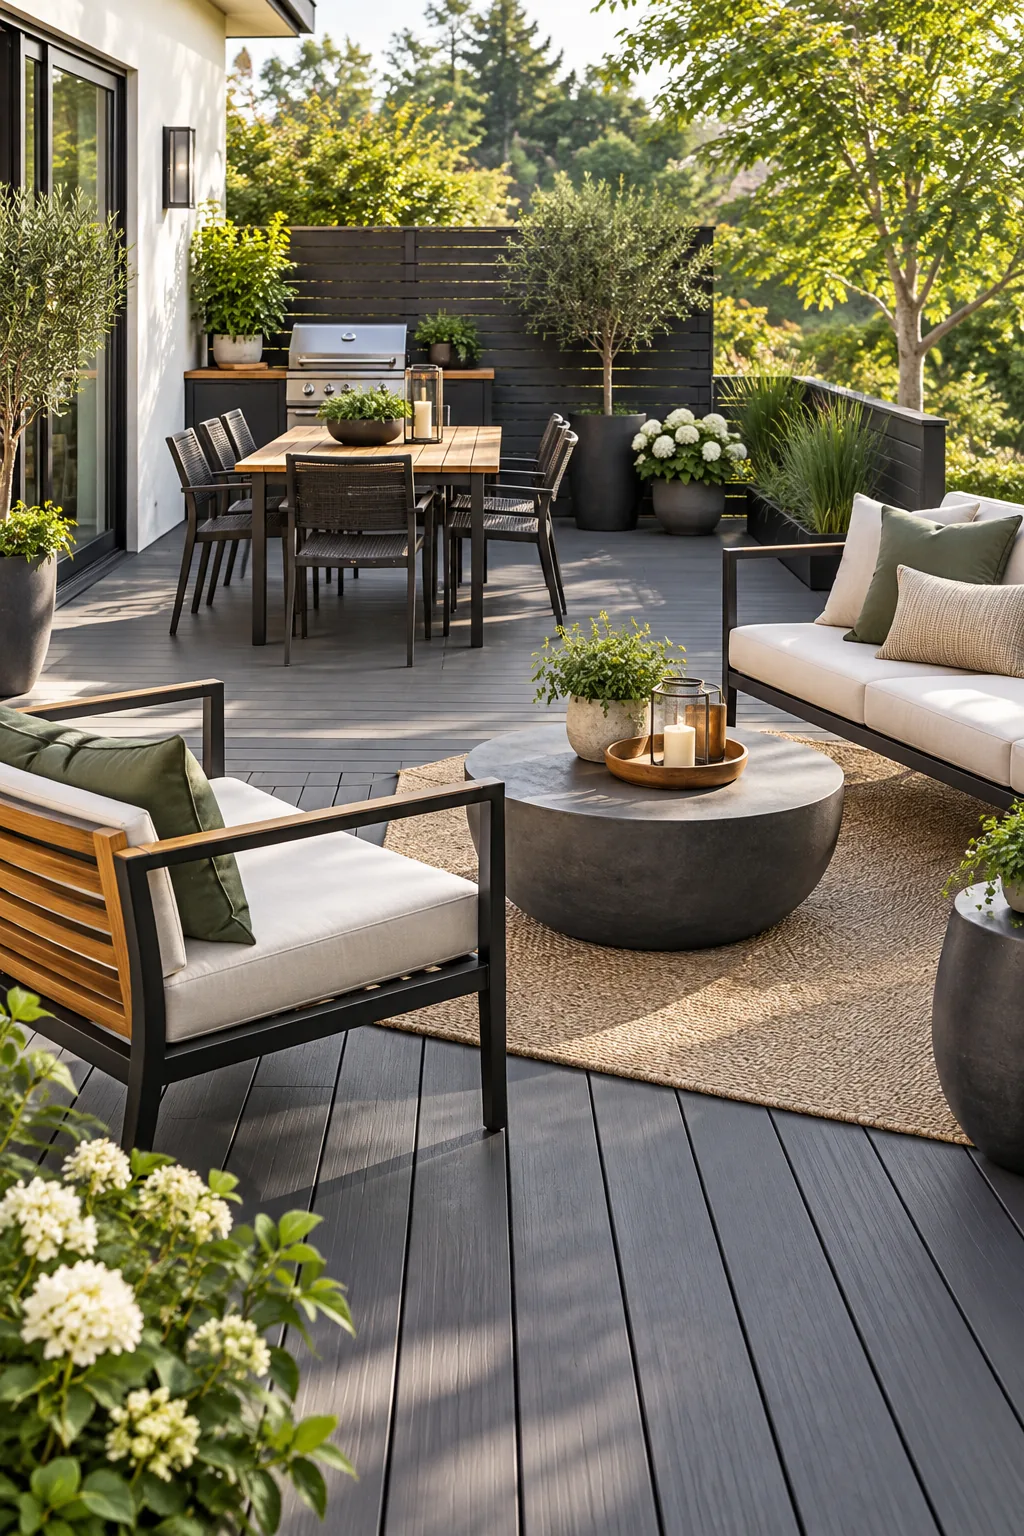
Modern Minimalist Contrast: Sleek black metal frames paired with warm teak accents offer a striking, sophisticated contrast against dark charcoal boards.
Warm Bohemian Oasis: Layer a terracotta patterned rug under natural rattan furniture to bring earthy, relaxed warmth to a classic cedar deck.

Timeless Traditional Garden: Heavy cast aluminum frames and lush forest green cushions provide an elegant, enduring look that complements rich mahogany stains.