Bird Cage Decor: Thrifted Planter Makeover & Supply List
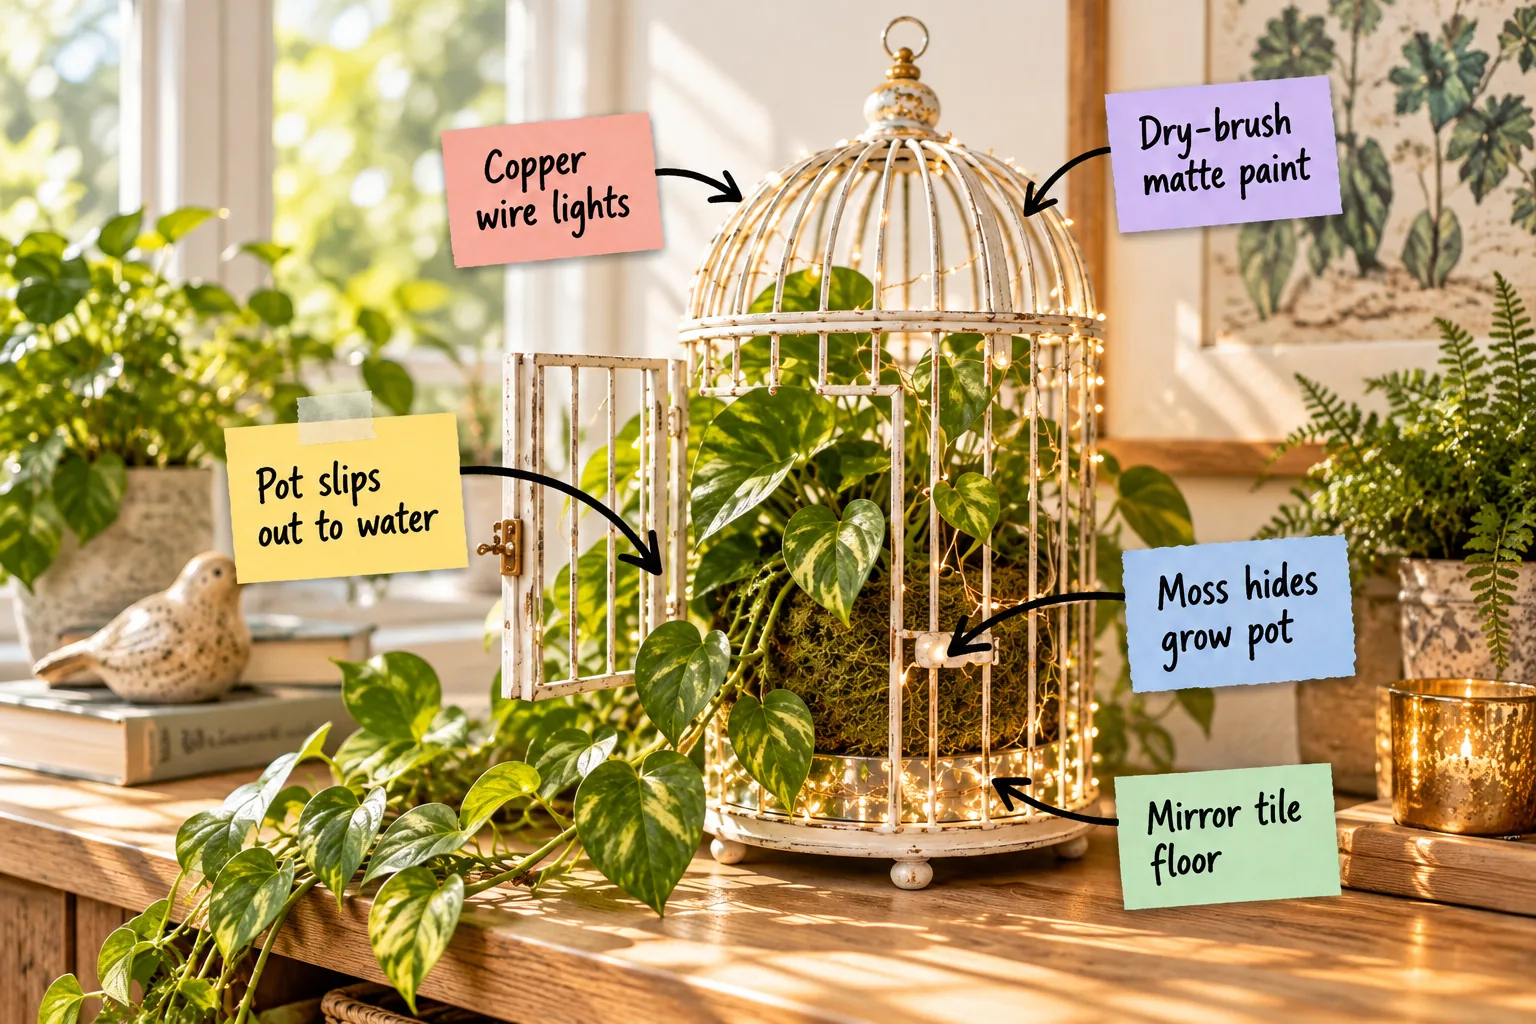
Transform a thrifted wire frame into stunning bird cage decor with our printable makeover sheet and shopping list. You will be able to prep, paint, and assemble this glowing, easy-to-water planter using the exact materials and step sequence provided in the guide.
Selecting a Cage with the Right Door Size
We will build this spectacular piece layer by layer, but it all starts with the metal frame and the door opening that dictates your maximum pot size. You must measure the width of the open door before buying your trailing plants or any interior components.
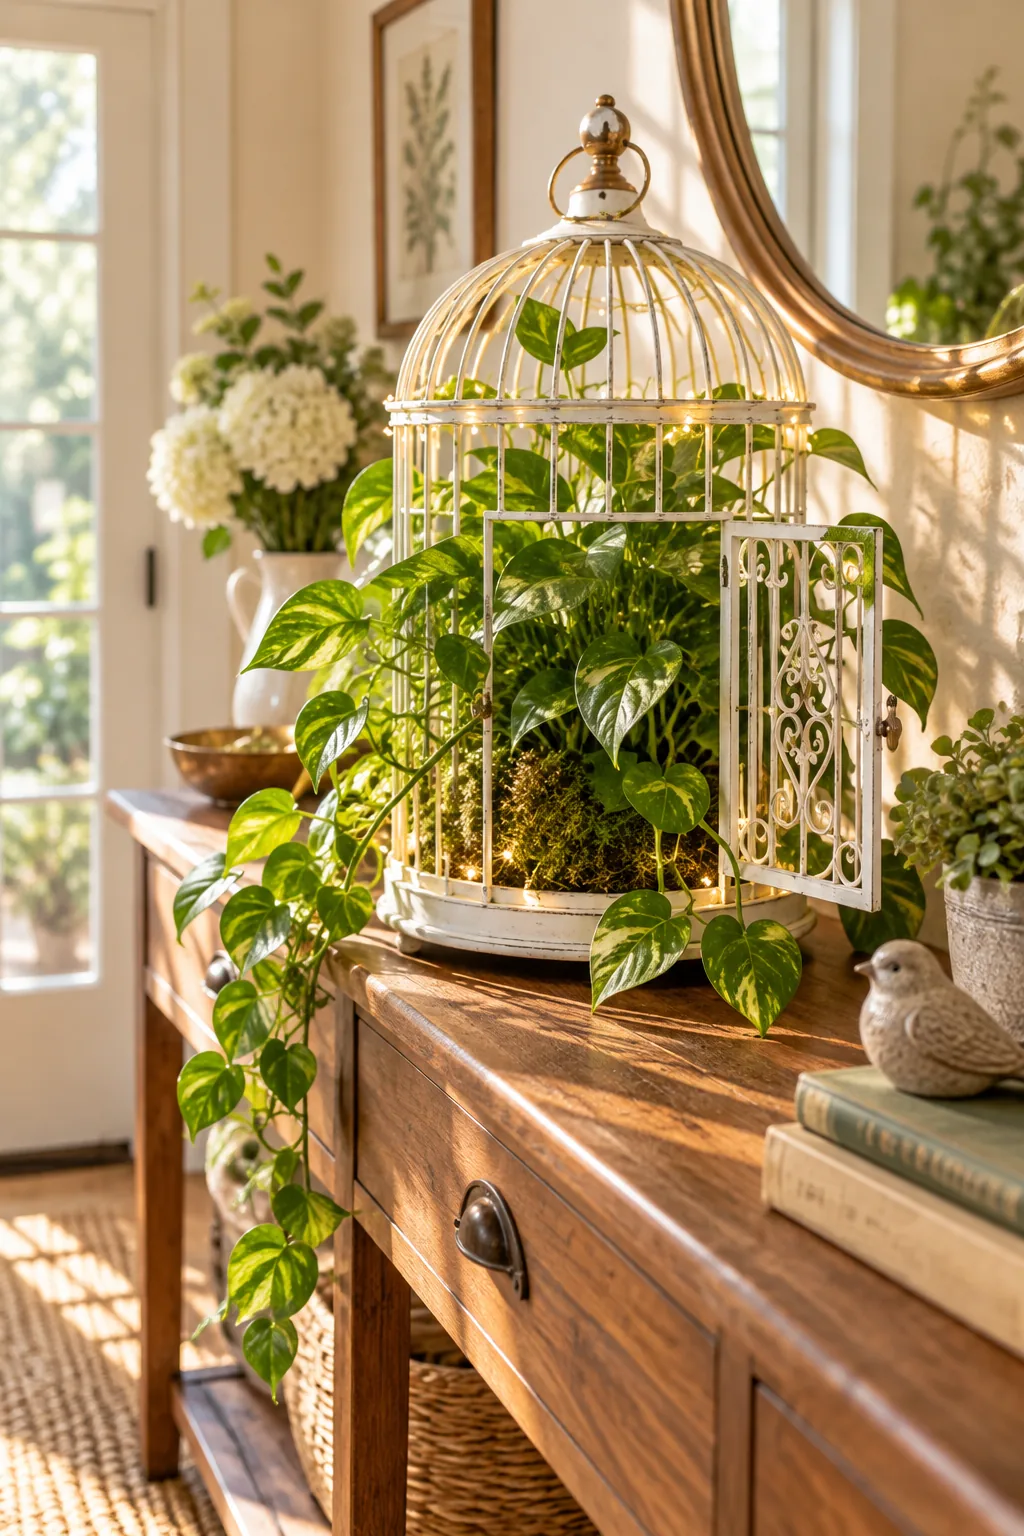
I strongly recommend measuring the narrowest point of the door frame and subtracting exactly half an inch to find your ideal nursery pot diameter. This simple calculation guarantees your greenery will clear the metal bars smoothly without snapping delicate stems or crushing the leaves.
Measuring the True Clearance
Many vintage birdcages feature decorative scrolls, heavy hinges, or angled latches that significantly reduce the actual usable width of the entryway. You need to account for these architectural details by measuring the interior width at the very bottom of the door, ensuring your finished moss-wrapped base will still fit inside while leaving a half-inch buffer.
Faking Patina with a Dry-Brush Finish
Most thrifted cages have shiny brass or harsh dark iron finishes that feel far too heavy for a soft, organic botanical display. We use a simple dry-brush technique with matte white paint over the original metal to instantly soften the rigid, industrial structure.
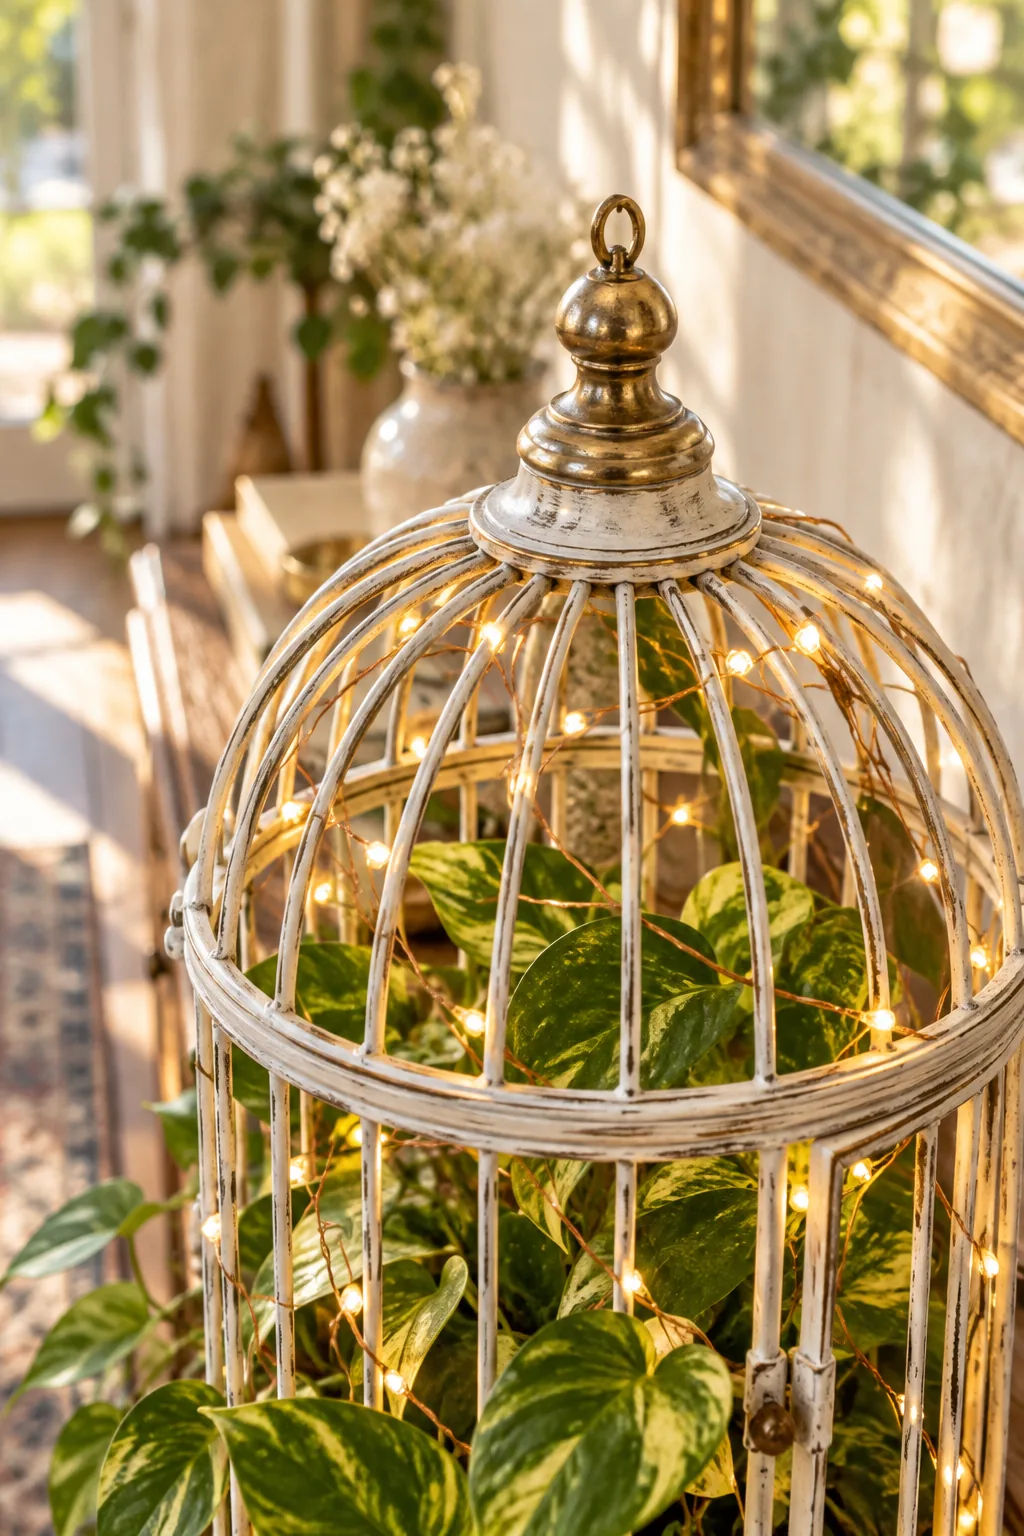
Keep your brush almost entirely dry and sweep it lightly across the highest ridges of the wire frame. Leaving 20 percent of the underlying metal exposed creates a natural, aged look that feels like genuine vintage patina rather than a fresh, heavy coat of paint.
Prepping the Metal Surface
Paint will simply bead up and peel off an oily or high-gloss thrifted frame without proper surface preparation before you begin. You must scuff the existing clear coat or lacquer to give your matte white dry-brush layer something strong and textured to grip onto.
| Original Finish | Prep Method | Grit Required |
|---|---|---|
| High-Gloss Brass | Lightly sand vertical bars | 120-grit sponge |
| Rusted Iron | Brush away loose flakes | Wire brush |
| Painted Wood | Scuff existing topcoat | 220-grit paper |
| Coated Plastic | Wipe with degreaser | Abrasive pad |
Wipe the entire cage down thoroughly with a damp microfiber cloth after scuffing to remove any lingering dust or metal shavings. A clean, properly textured surface ensures your dry-brushed highlights will cure evenly and withstand the constant humidity from your trailing plants over time.
Doubling the Glow with a Mirror Base
The dense green canopy of a healthy pothos plant often blocks ambient room lighting, casting heavy, unappealing shadows onto the cage floor. We solve this common display problem by placing a small round mirror tile directly on the bottom tray beneath the mossy base.
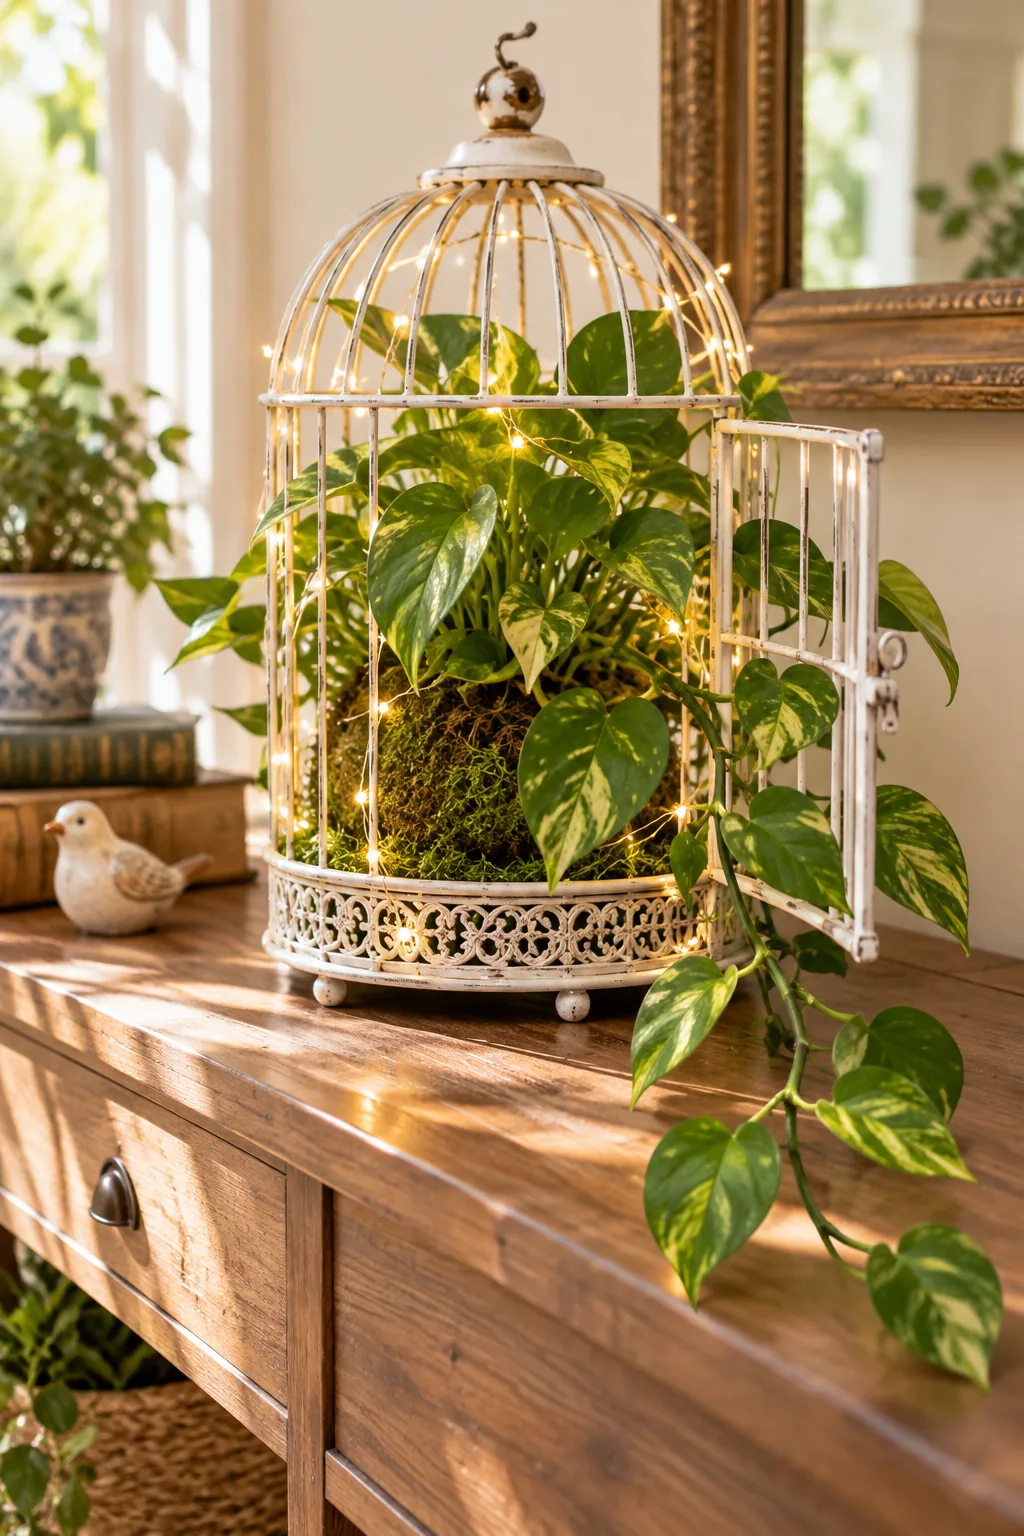
A standard 8-inch or 10-inch craft mirror tile reflects the fairy lights upward, doubling the sparkle and eliminating dark voids under the foliage. This hidden reflective layer instantly transforms a simple, everyday wire planter into a glowing, professional-looking evening showpiece for your home.
Sourcing the Right Reflective Tile
You want a mirror that sits perfectly flat against the metal tray without wobbling or sliding when you move the cage for watering. Look specifically for standard frameless craft mirrors rather than bulky vanity mirrors with decorative borders that consume valuable vertical space.
Test the mirror placement by setting your empty drainage saucer directly in the dead center of the glass before adding any plants. The edges of the mirror should extend just beyond the saucer to catch and bounce the maximum amount of fairy light.
Camouflaging the Plastic Nursery Pot
Bare plastic grow pots instantly ruin the vintage, natural illusion of your carefully painted birdcage display. We hide the standard container and its drainage saucer by wrapping them completely in a thick, continuous cushion of preserved sheet moss to mimic a wild garden element.
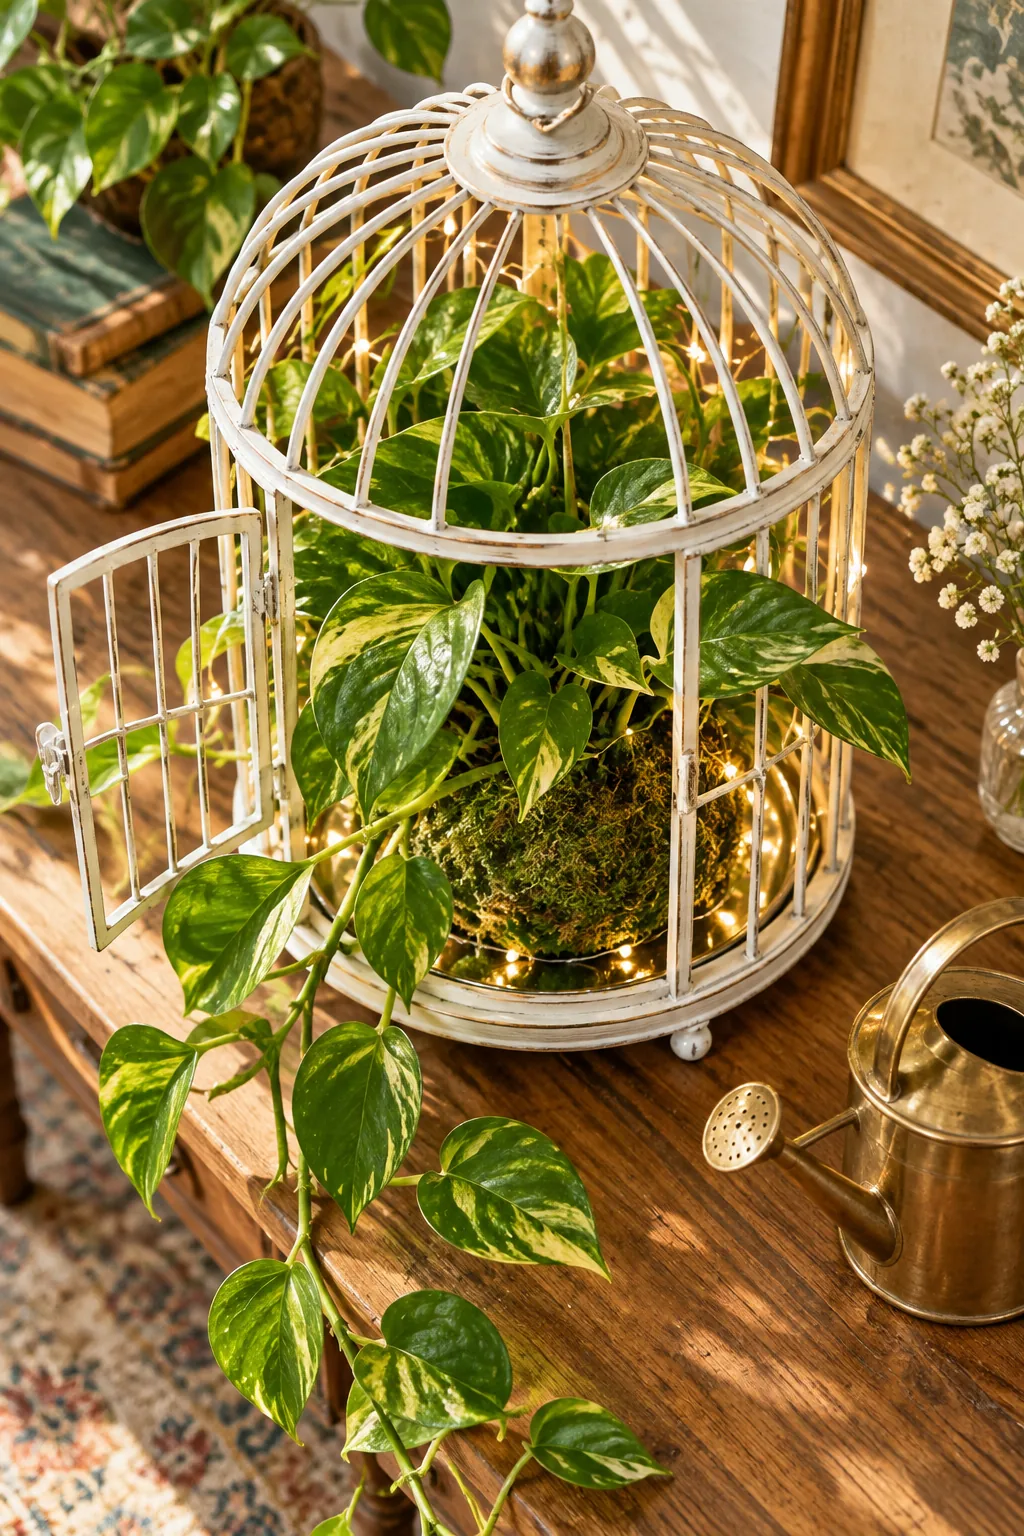
Dry sheet moss can be incredibly brittle and difficult to mold around a tapered plastic pot without tearing. A quick prep step makes the organic material much easier to handle and prevents the messy green fibers from shedding all over your clean workspace.
Securing the Moss Cushion
The damp sheet moss needs reliable structural support to stay tightly hugged against the plastic container while you maneuver it through the cage door. Thin green floral wire acts like invisible thread to bind the organic material securely in place without adding bulk.
- Lay a continuous sheet of damp moss flat on your work surface.
- Place the pot and saucer in the center and fold the moss upward.
- Wrap floral wire tightly around the circumference three times to lock the moss.
Tuck the sharp ends of the wire back deep into the moss cushion to prevent them from scratching your painted mirror tile. Trimming the top edge of the moss ensures it sits perfectly level with the soil line for a seamless, professional finish.
Ensuring Easy Sink Watering
I learned the hard way in my own Austin home that planting directly into a decorative wire cage leads to ruined tabletops and irreversible root rot. The plant must remain in its original nursery pot so the entire moss-wrapped unit can easily slide out through the door.
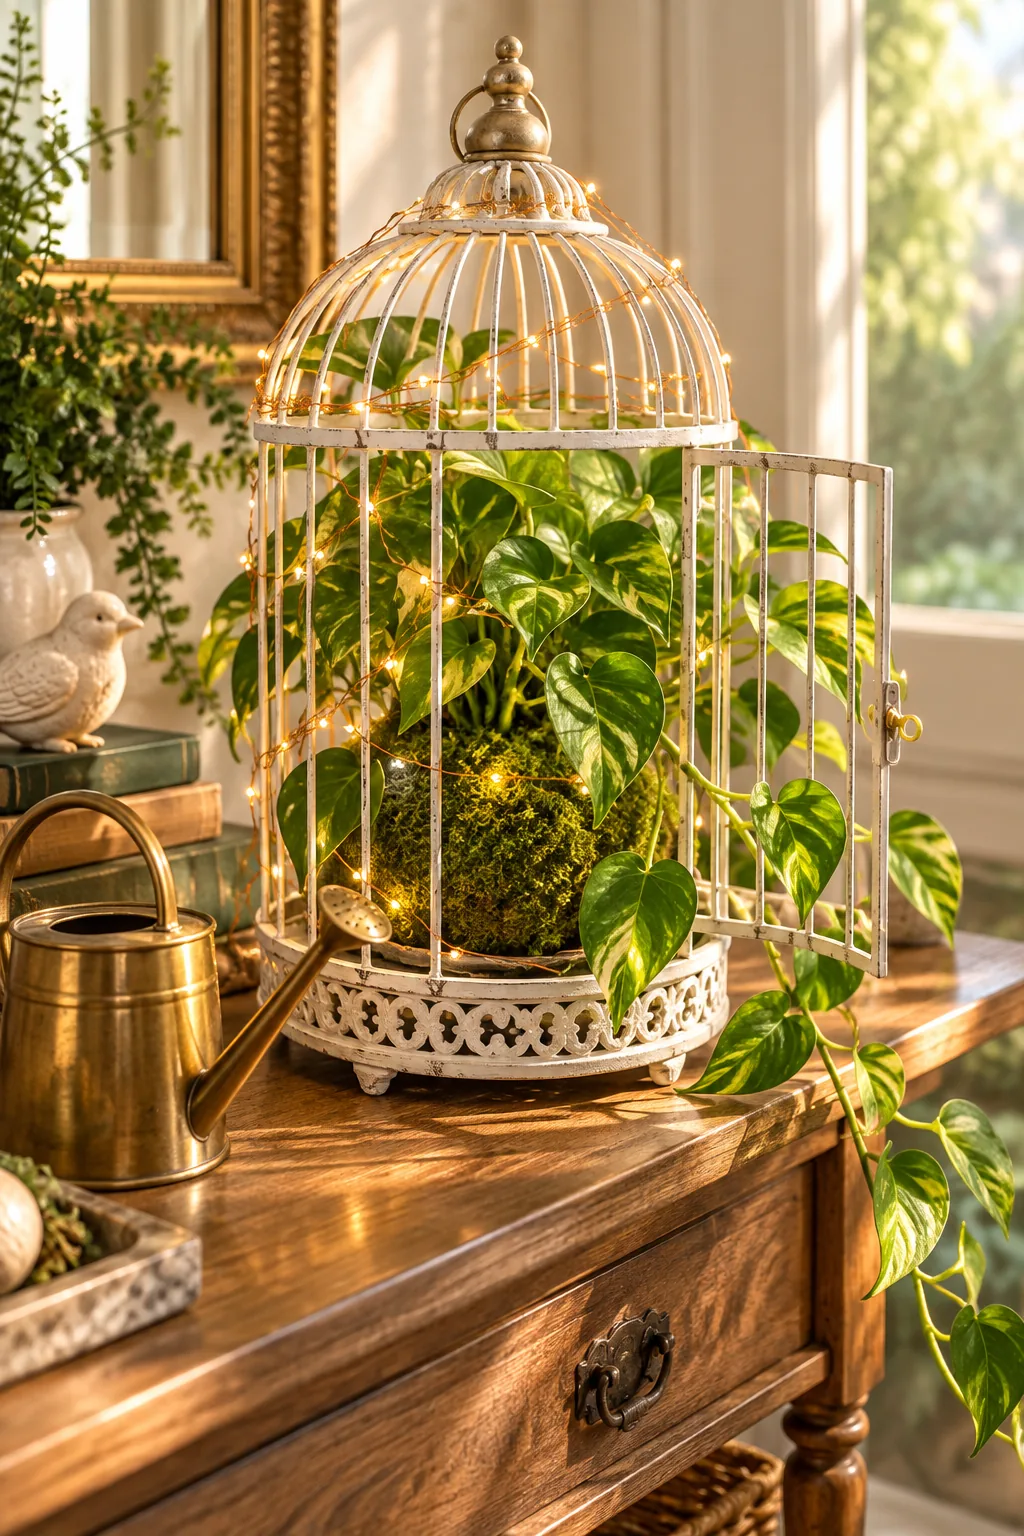
This essential mobility allows you to carry the trailing plant directly to the sink for thorough watering and proper draining. Once the dripping stops completely, you simply slide the dry, mossy cushion back onto the mirror tile without spilling a single drop on your furniture.
Illuminating the Dome with Wire Lights
The magical, floating quality of this decor piece comes entirely from the fine copper fairy-light wire wound tightly along the vertical bars. I always keep a few strands in my workshop because they bend effortlessly around intricate metalwork without adding bulky green cords.
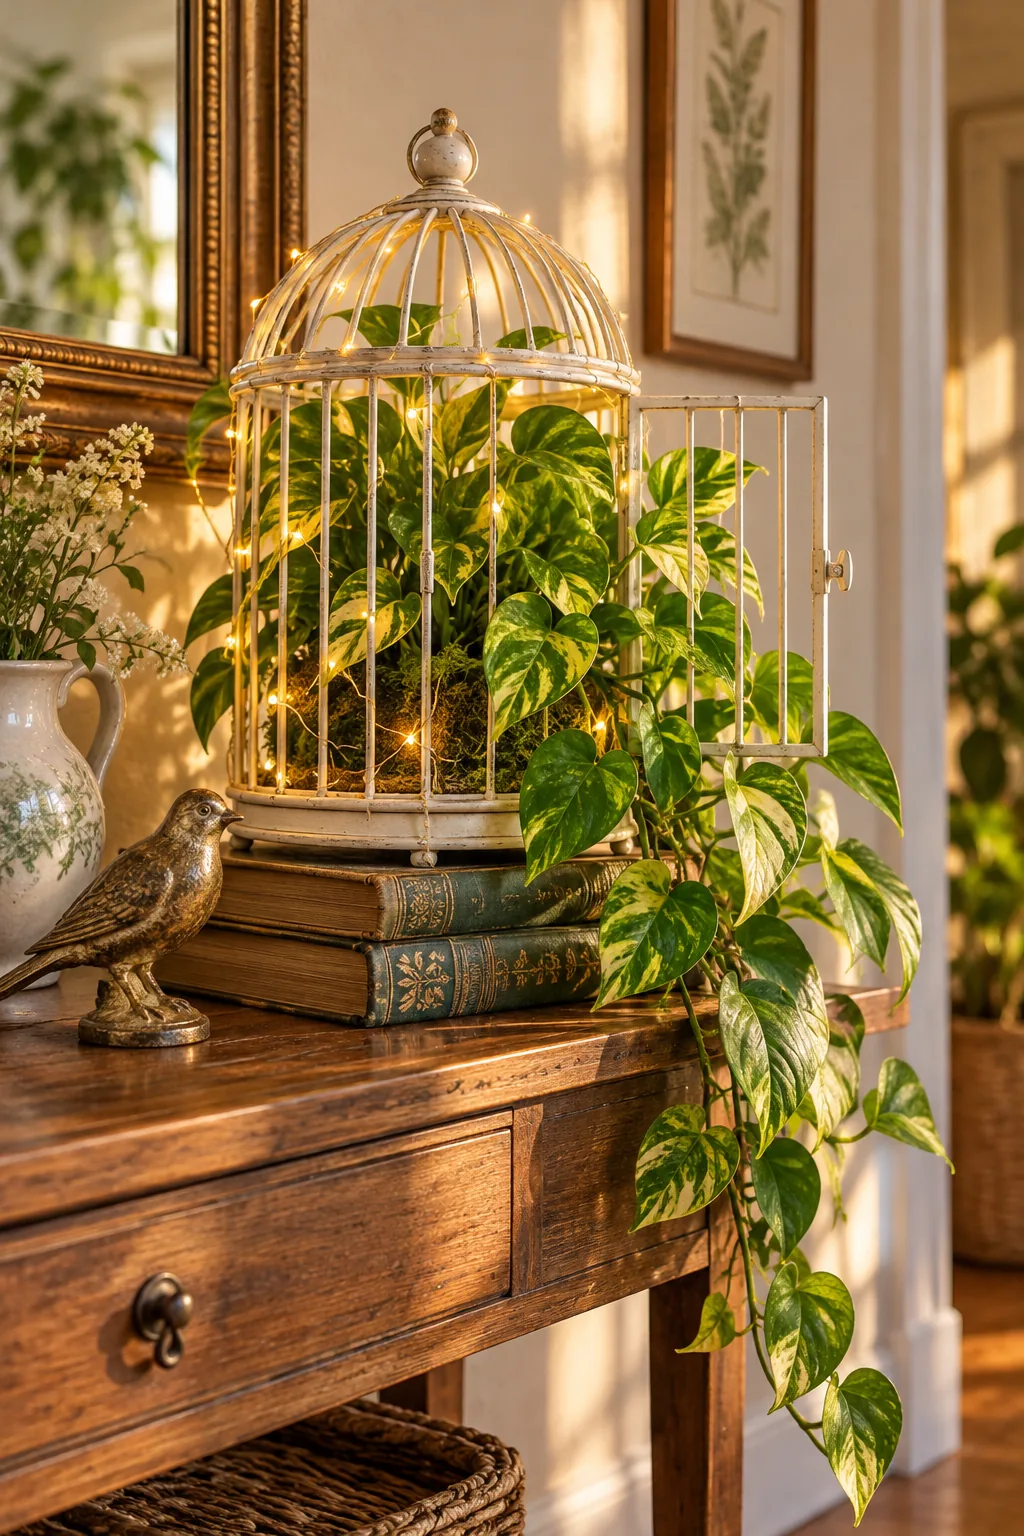
I highly recommend using a 10-foot fairy light strand to achieve full coverage without visual clutter. Start at the bottom back to hide the battery pack, weave up the vertical bars, and circle the top dome to distribute the warm glow evenly across the foliage.
Styling the Trailing Vines
A tightly contained plant looks unnatural and rigid inside a birdcage, so we want the foliage to actively interact with the metal structure. You can gently weave the longest pothos stems through the open door and lower bars to create a natural, overgrown aesthetic.
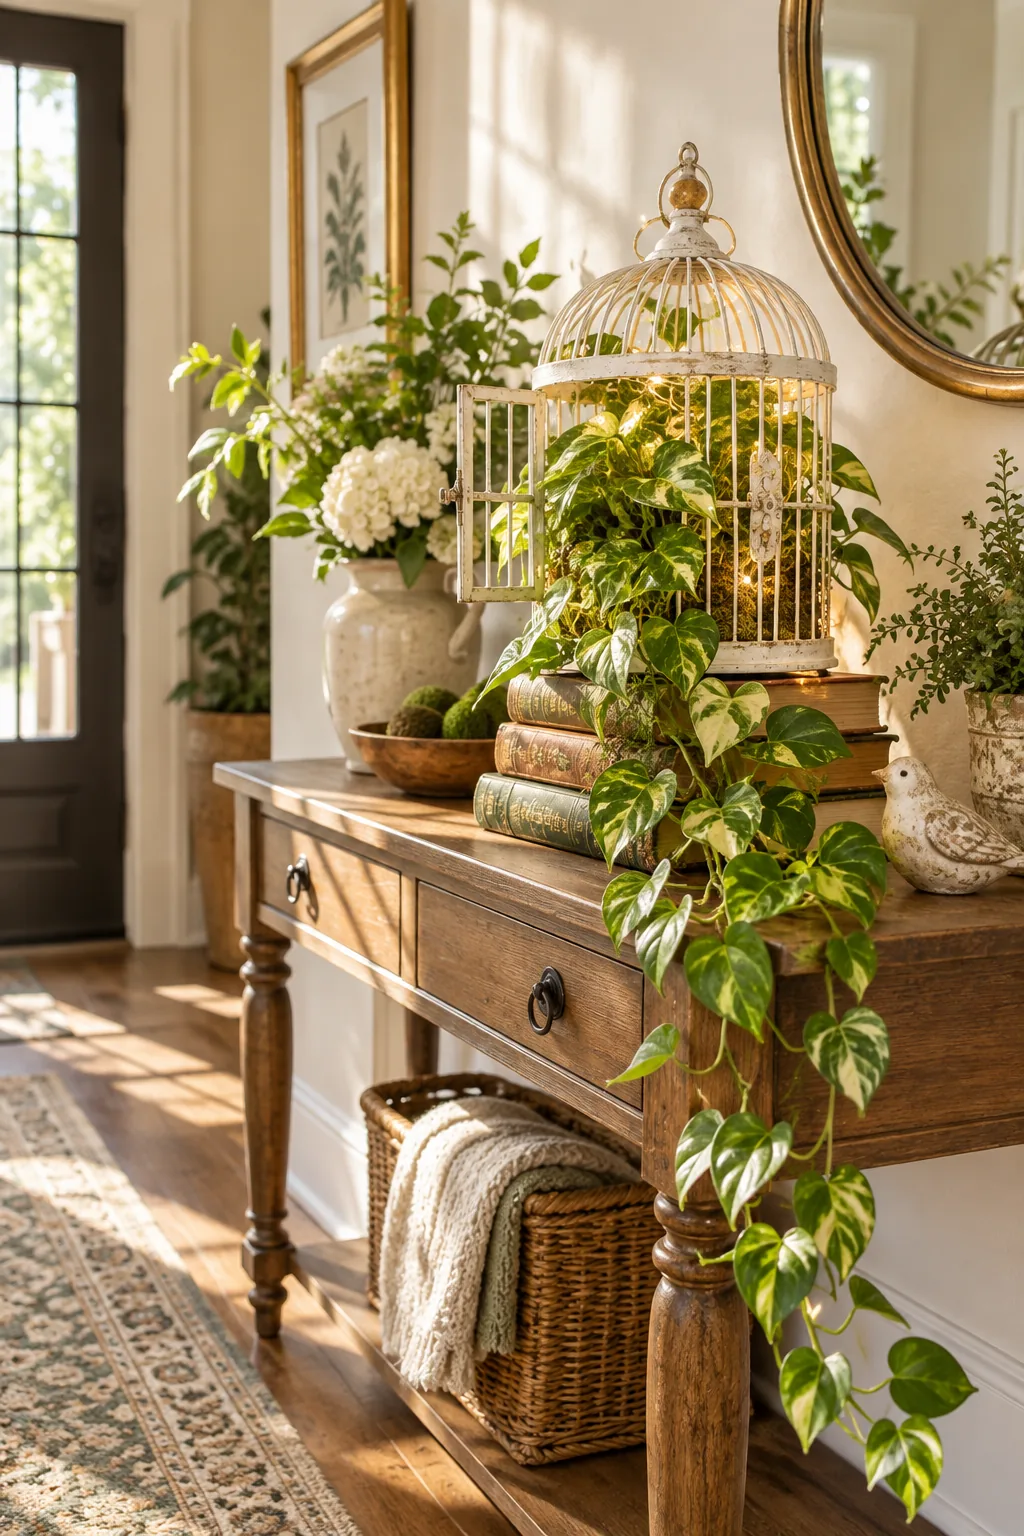
Letting the lush vines spill organically onto the surrounding table softens the stiff metal architecture and beautifully grounds the piece in its environment. Periodically adjust the trailing leaves as they grow so they frame the entryway rather than completely blocking the delicate fairy lights.
Your Printable Birdcage Makeover Guide
Recreating this glowing, moss-wrapped planter is incredibly satisfying when you have all the exact specifications in hand. I designed a printable makeover sheet and shopping list so you can gather supplies with total confidence.
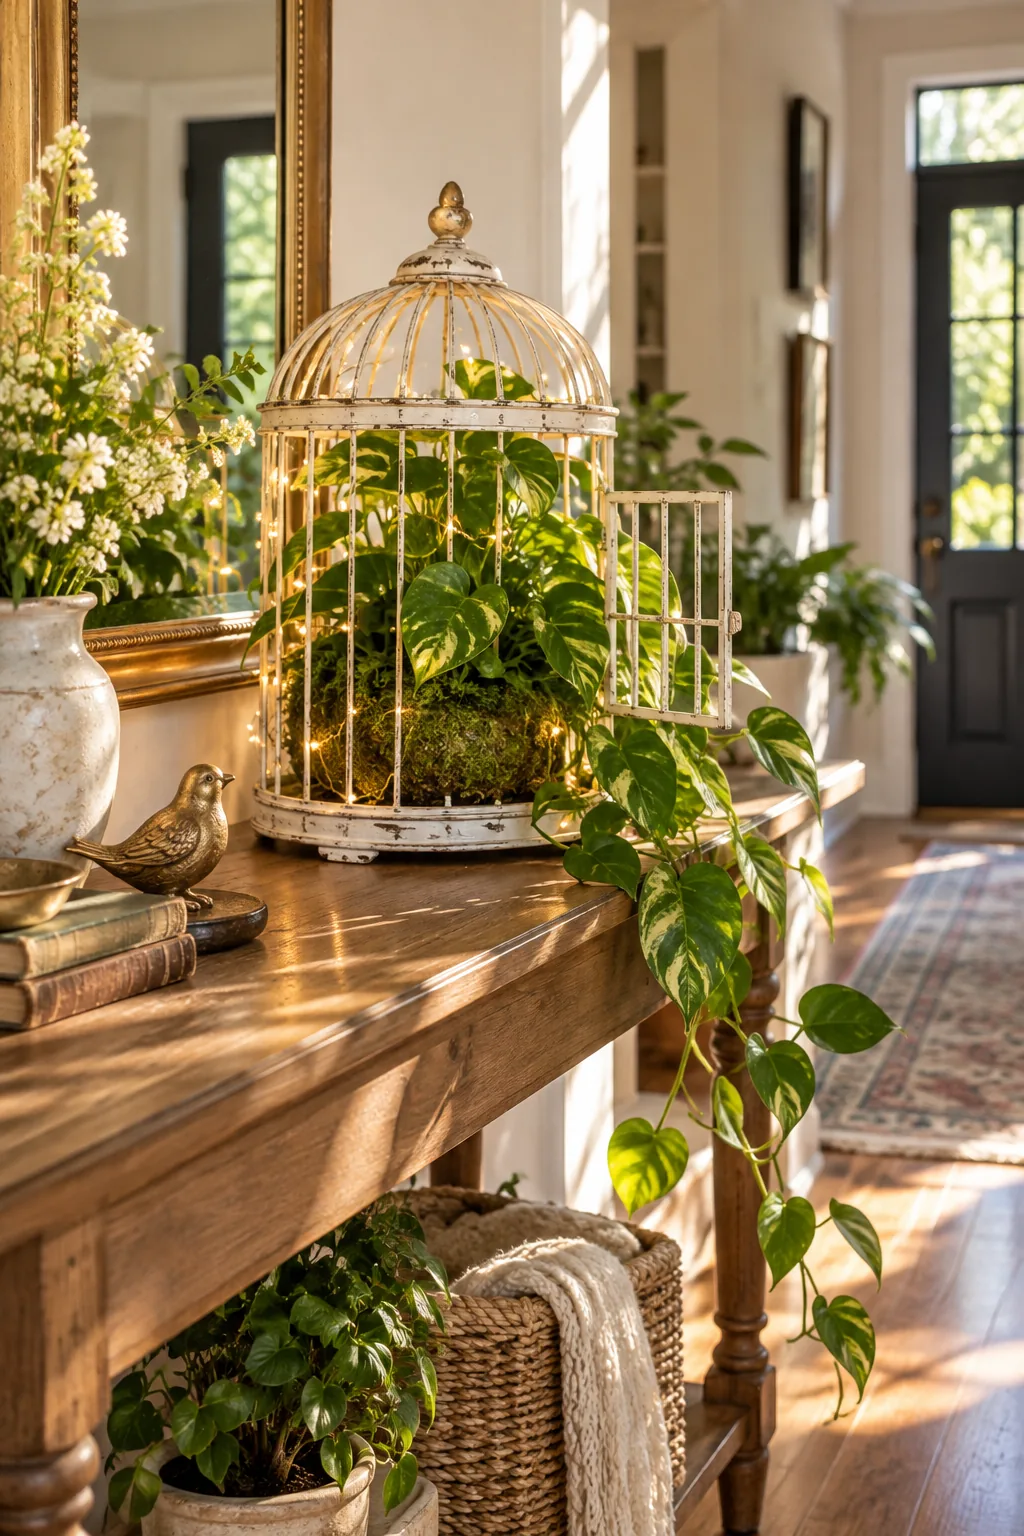
Before heading to the craft store or nursery, verify these core measurements on your thrifted cage to ensure all the components will fit together perfectly.
More Ways to Style a Birdcage Planter
Find the perfect aesthetic for your space by adapting the paint finish and plant choice.
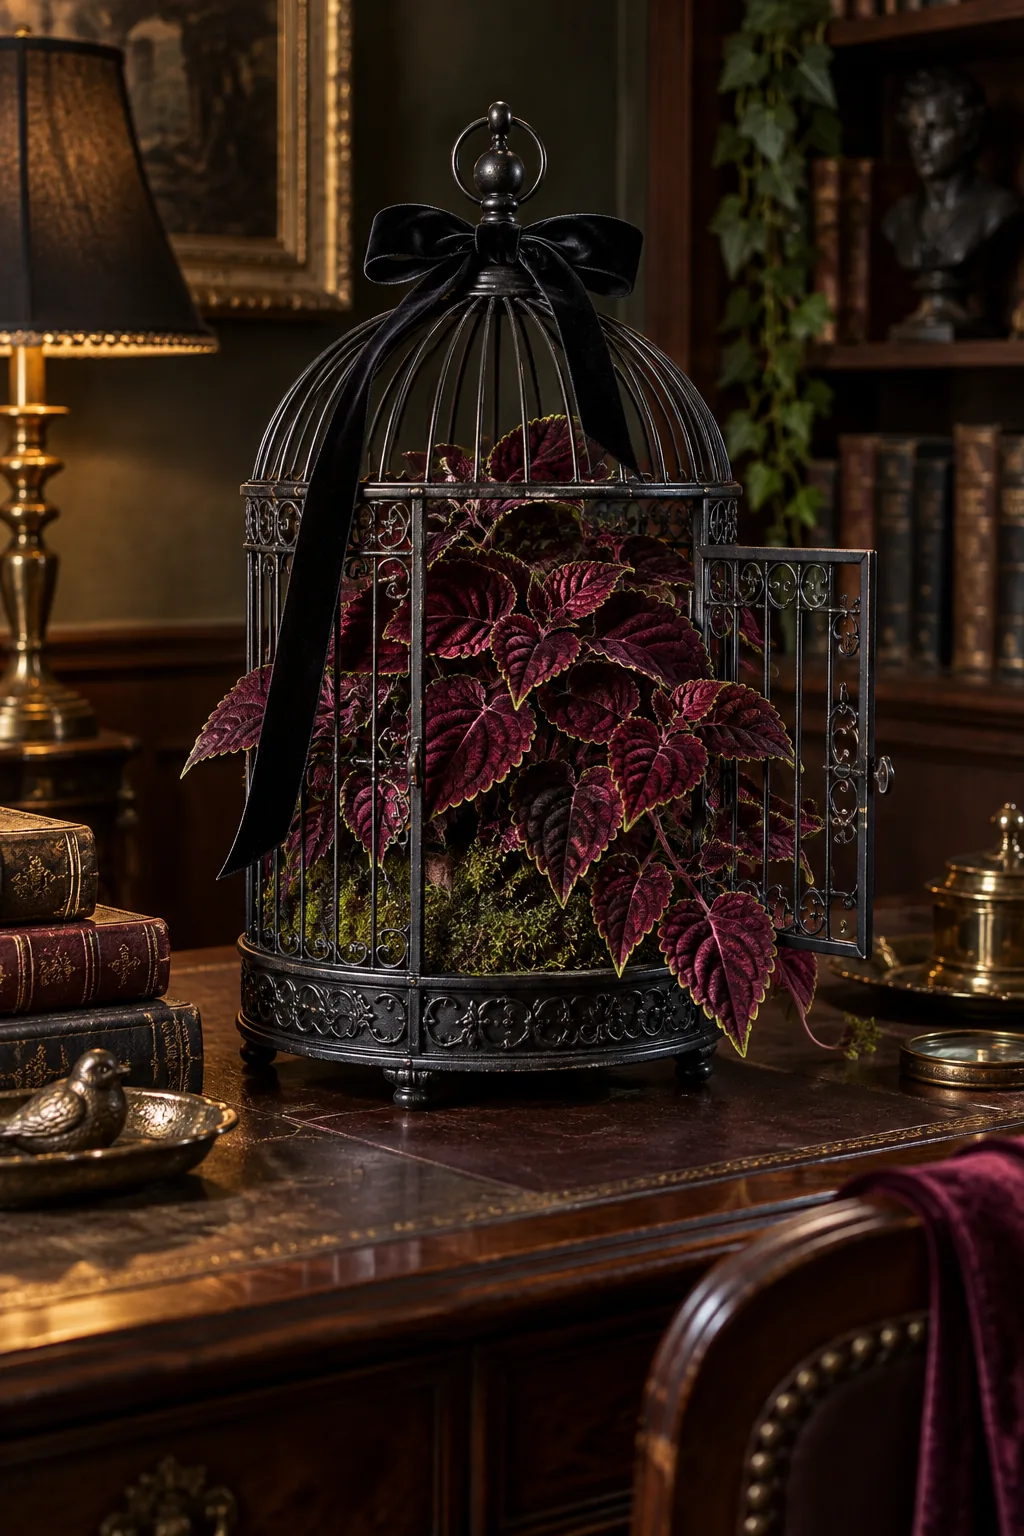
Victorian Gothic Study: A matte black finish paired with dark burgundy foliage creates a moody, dramatic focal point perfect for a home library.
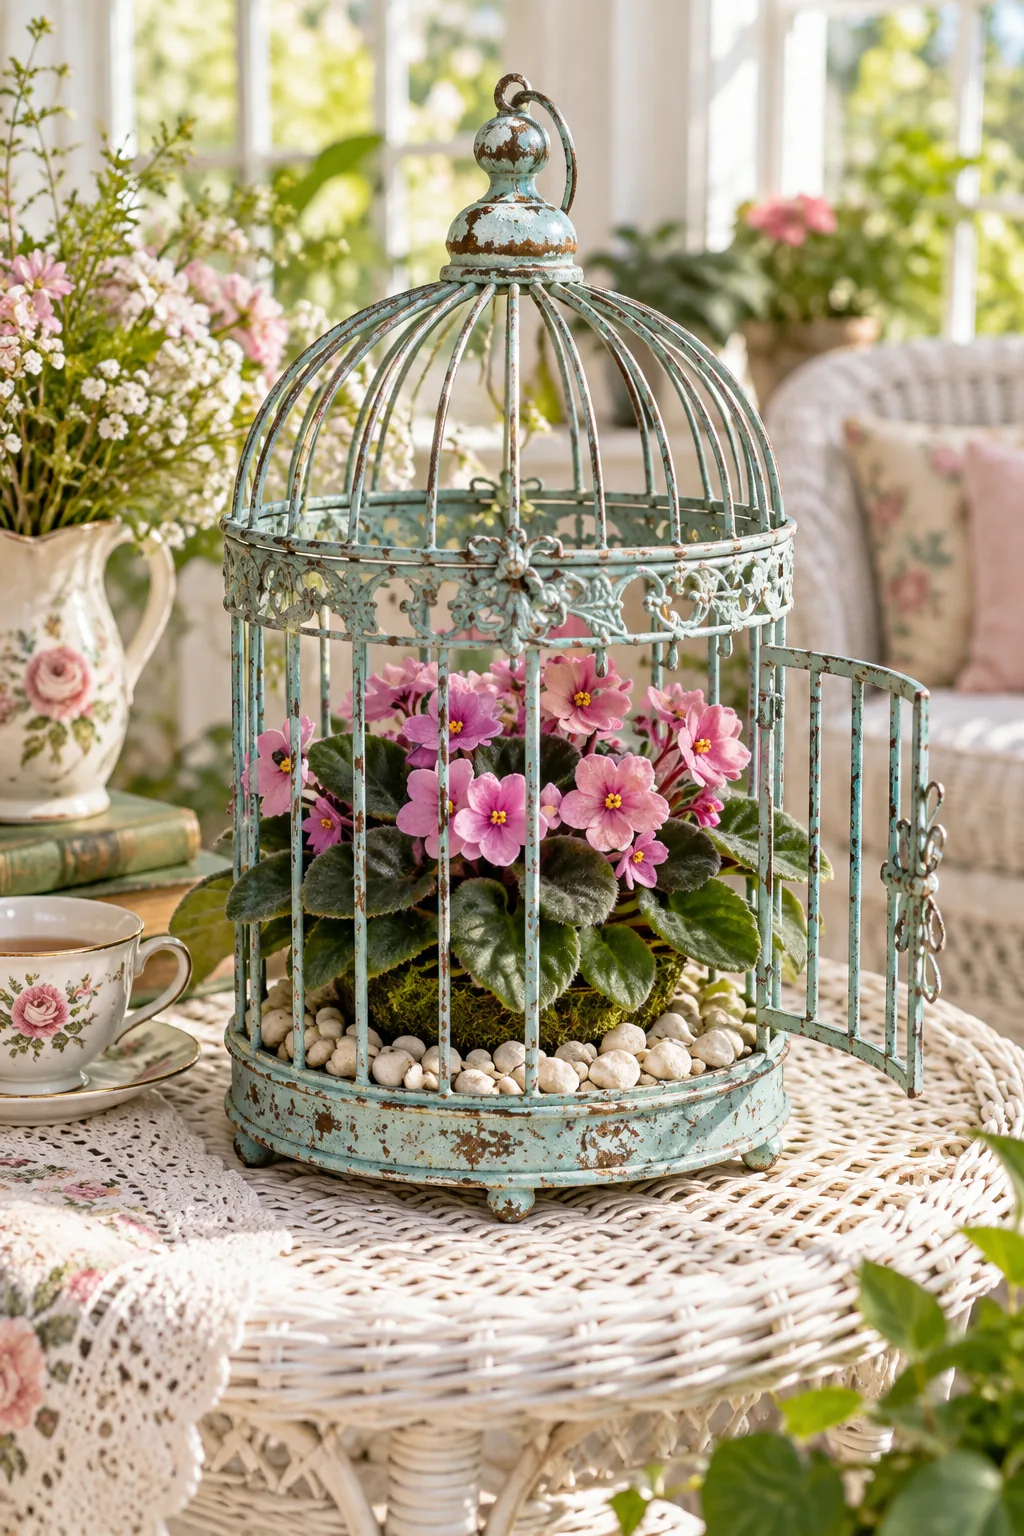
Shabby Chic Sunroom: Distressed teal paint and blooming pink florals bring a soft, romantic energy to bright sunrooms or enclosed porches.
Minimalist Brass Shelf: Leaving a sleek brass cage unpainted and pairing it with a highly structural snake plant offers a surprisingly modern silhouette.
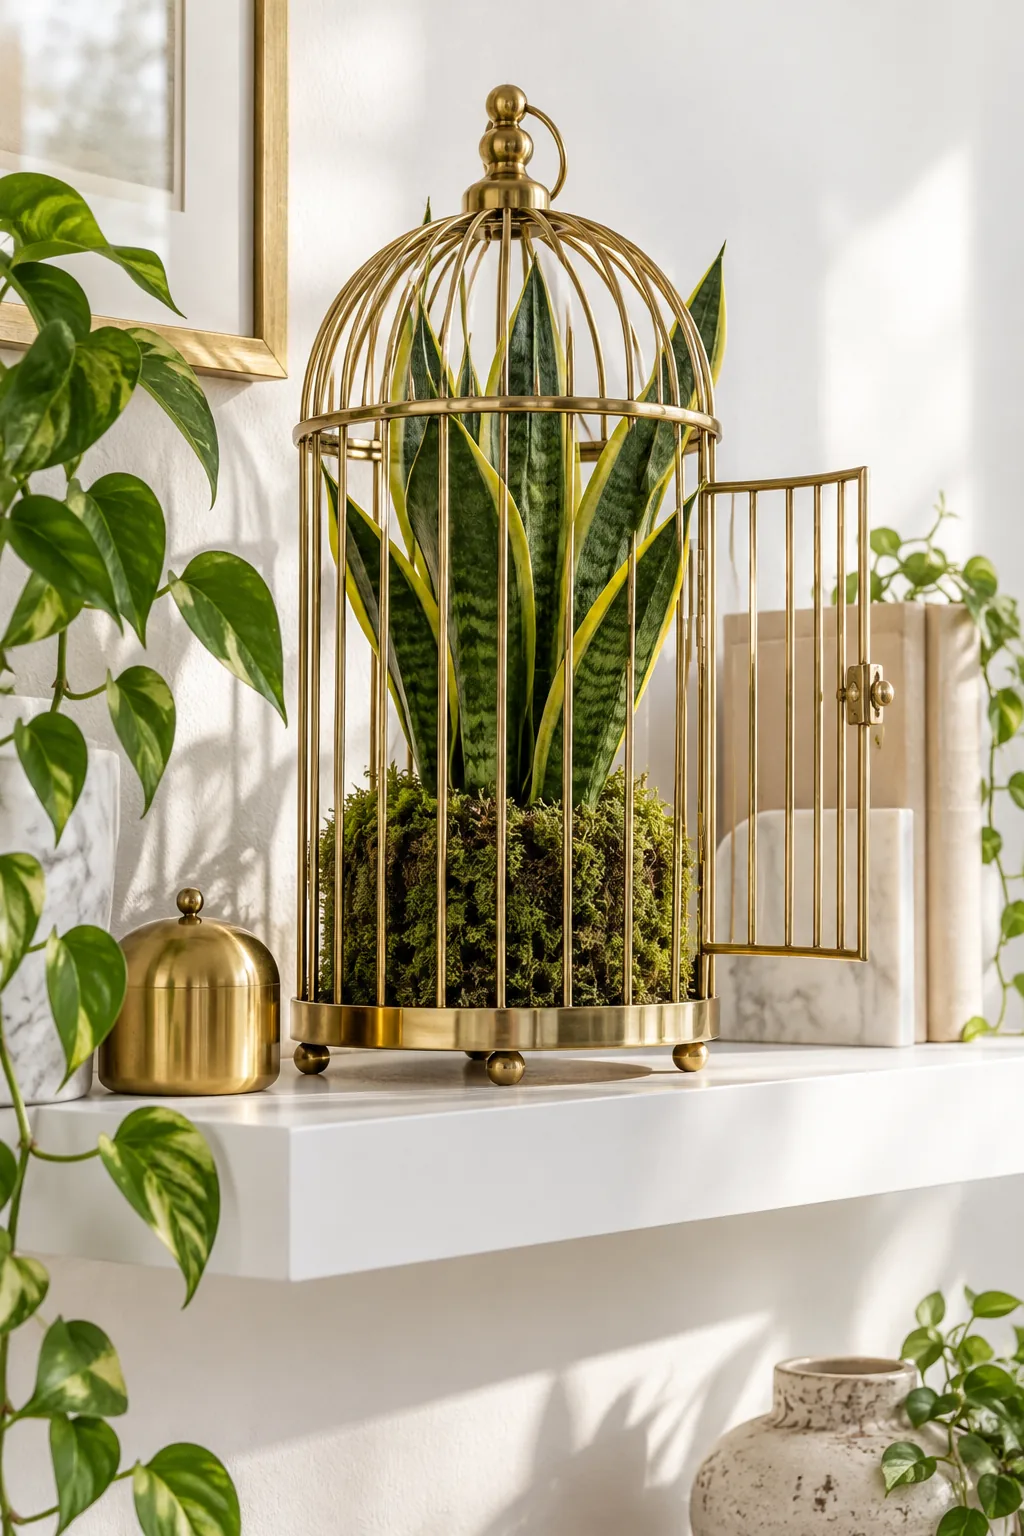
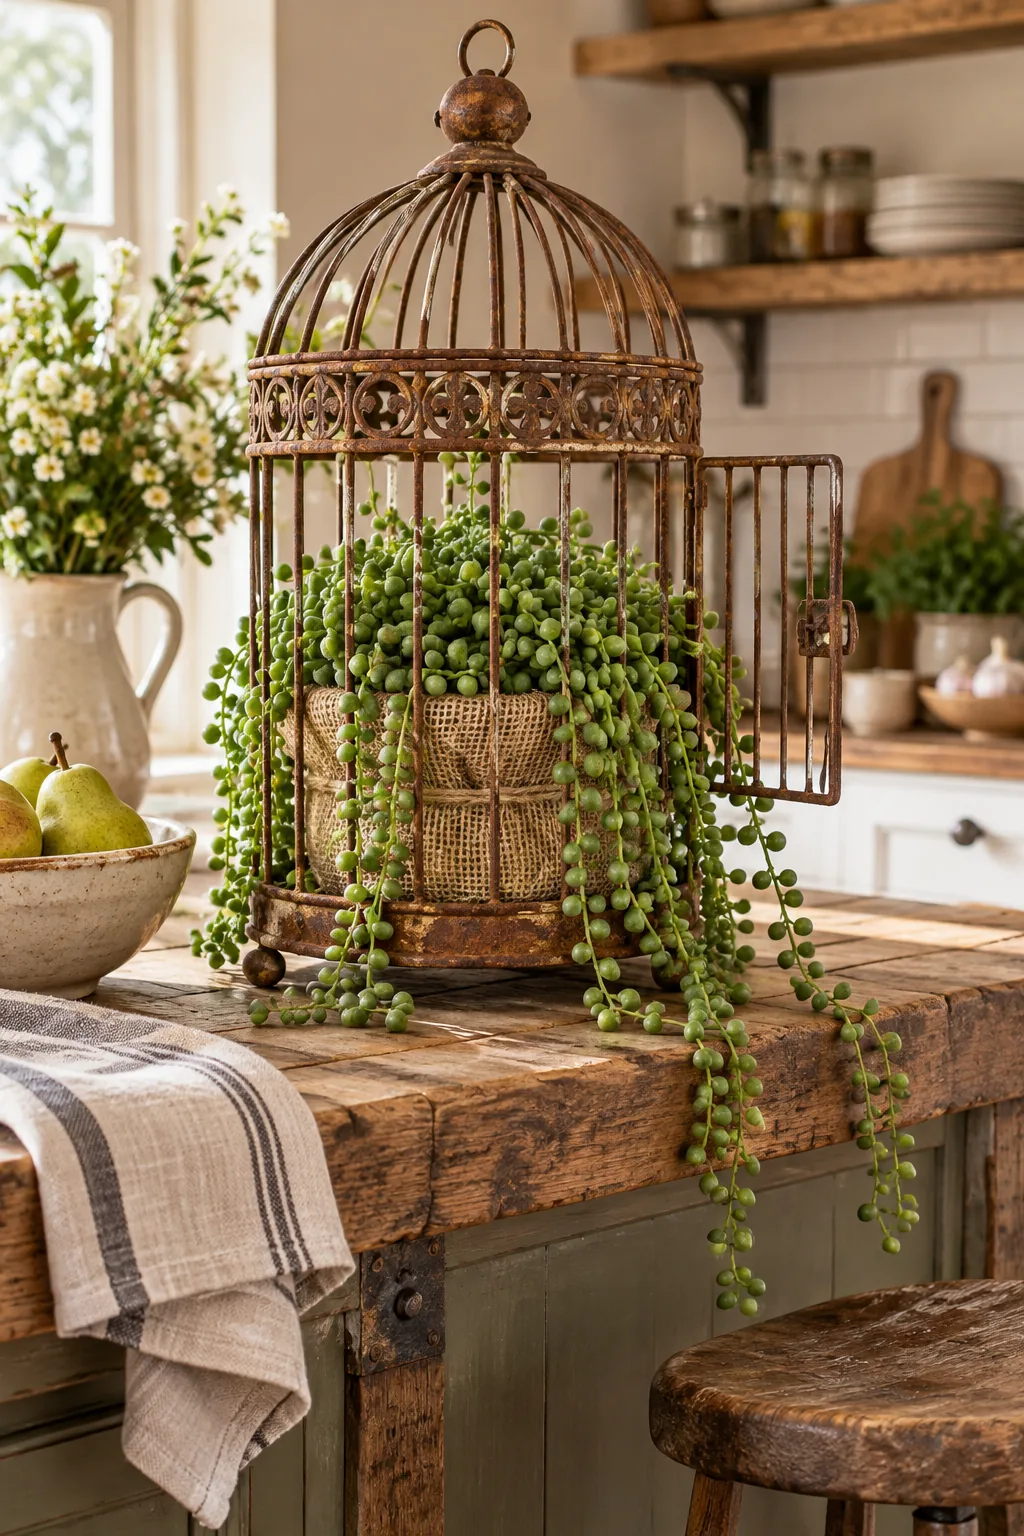
Rustic Farmhouse Kitchen: Embrace genuine rust and weathered iron by wrapping the pot in rough burlap and adding delicate trailing succulents.