How to Plant a Simple Front Yard Flower Bed in One Weekend
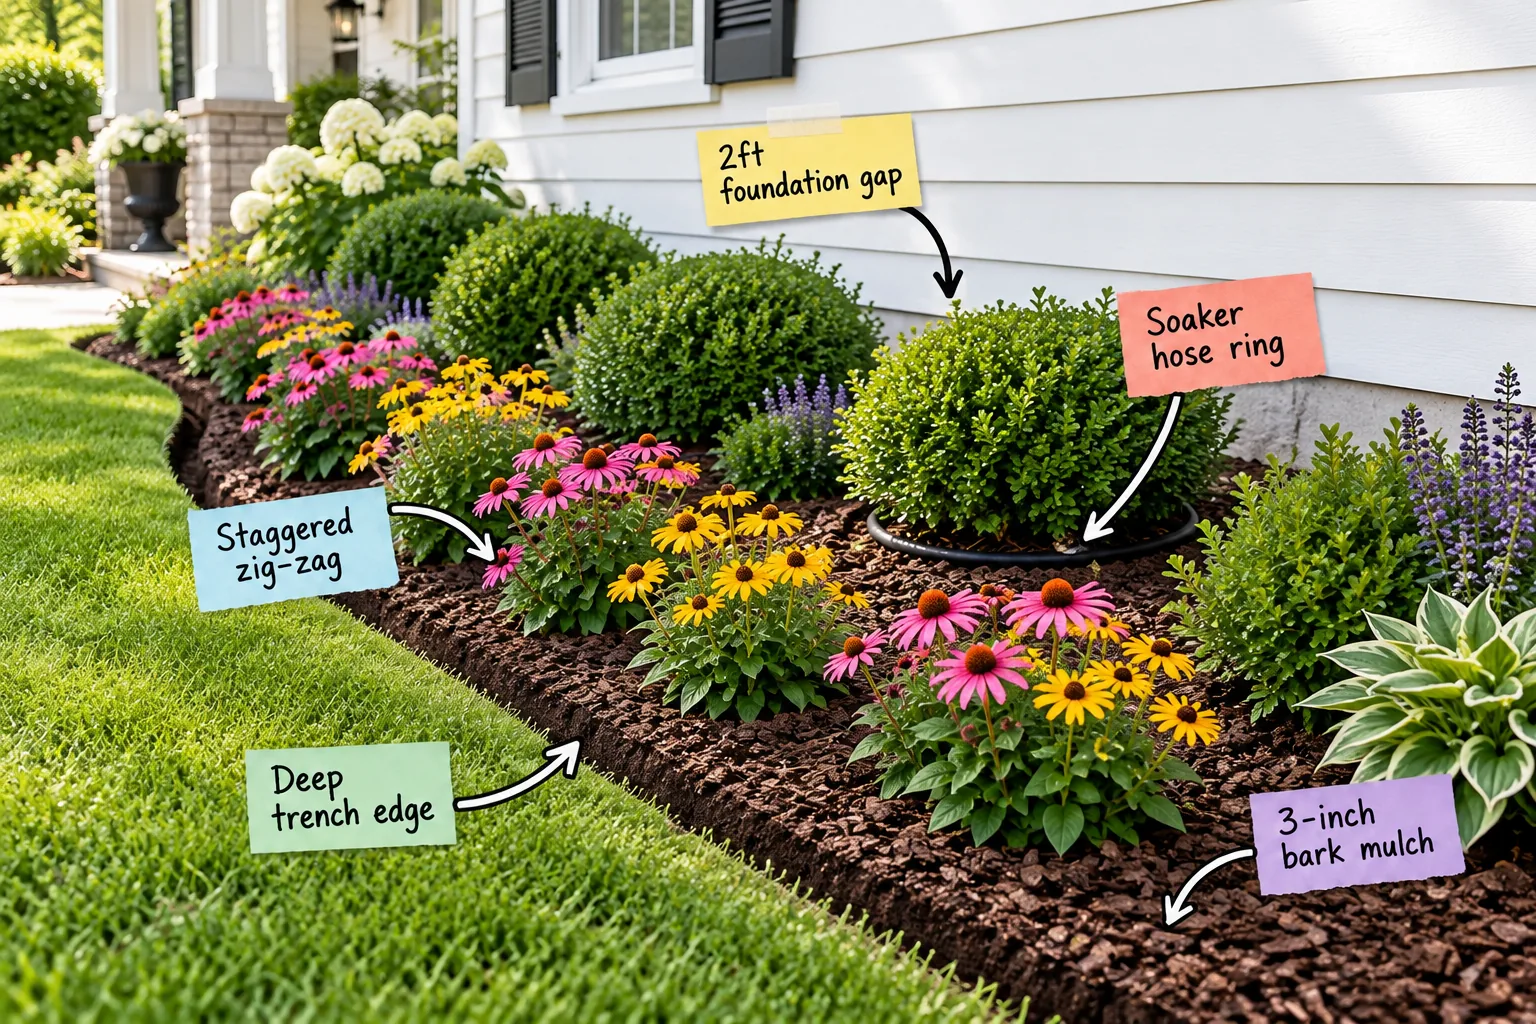
You can mark, dig, and plant a structured foundation flower bed this weekend using my exact spacing map and shopping list. Grab the free weekend planting map below to instantly upgrade your front yard curb appeal with lush, layered blooms!
Leaving the Crucial Foundation Gap
The 2-foot foundation gap between your home siding and the mature shrub line is completely non-negotiable for ensuring healthy airflow. Always measure from the physical foundation wall directly to the center of your planting hole to guarantee accurate spacing.
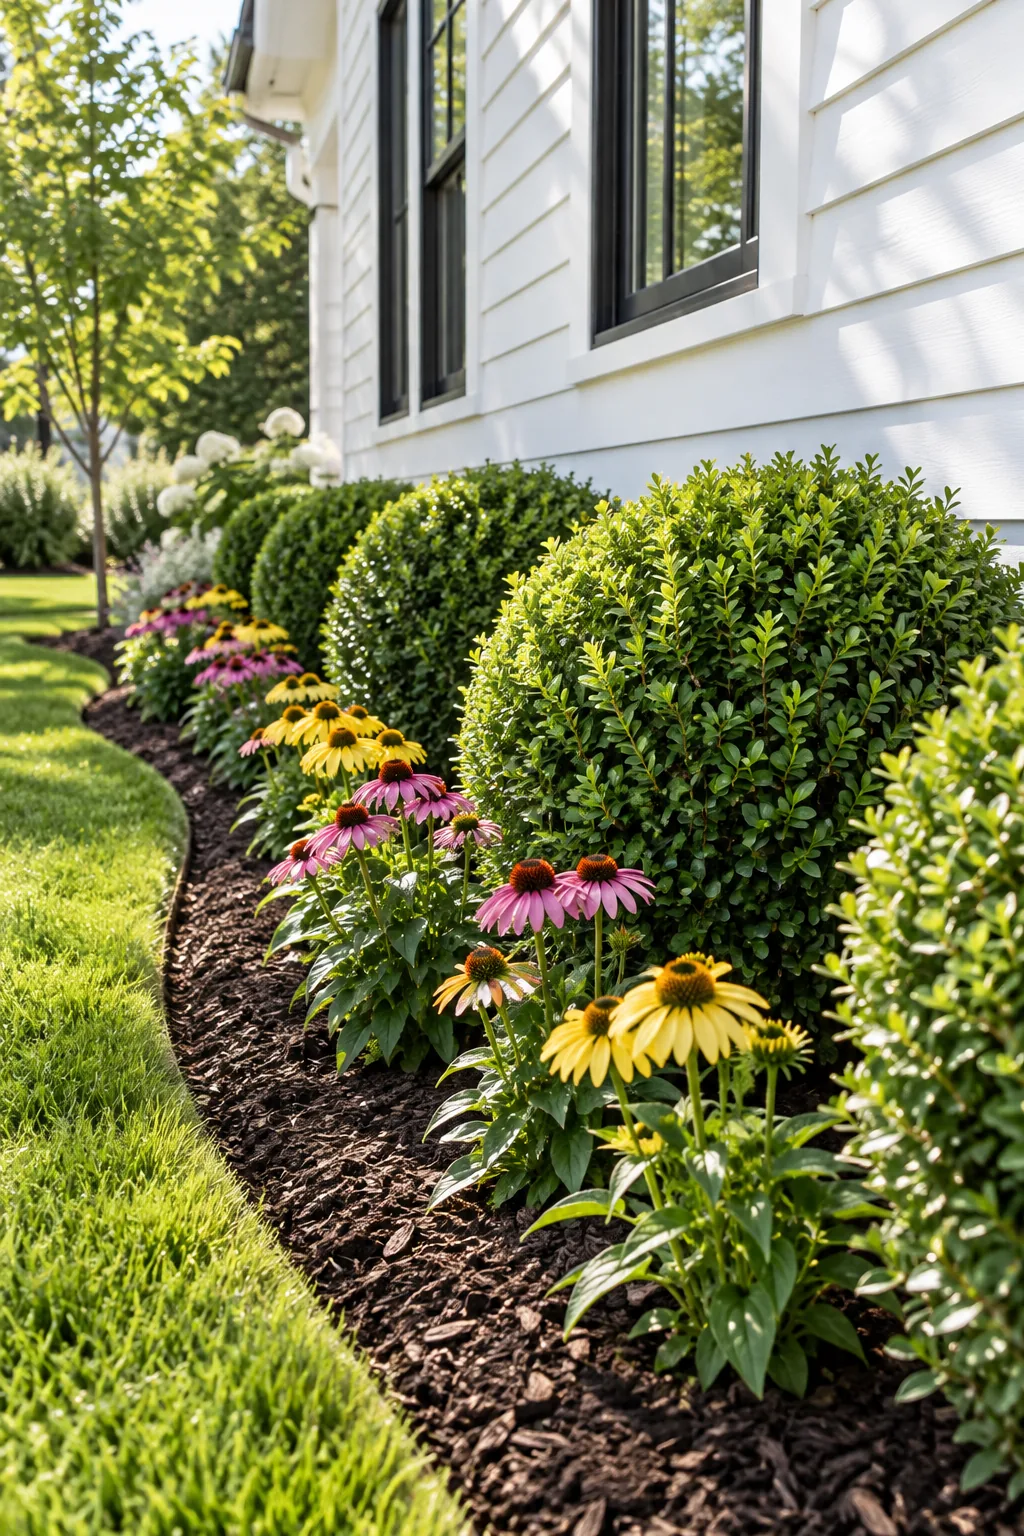
When I planted my first Austin home, I pushed everything against the brick, which trapped moisture and cost me a fortune in repairs. It is tempting to push plants against the wall to save lawn space, but this creates long-term structural issues for both the home and the garden.
Placing the Evergreen Backbone
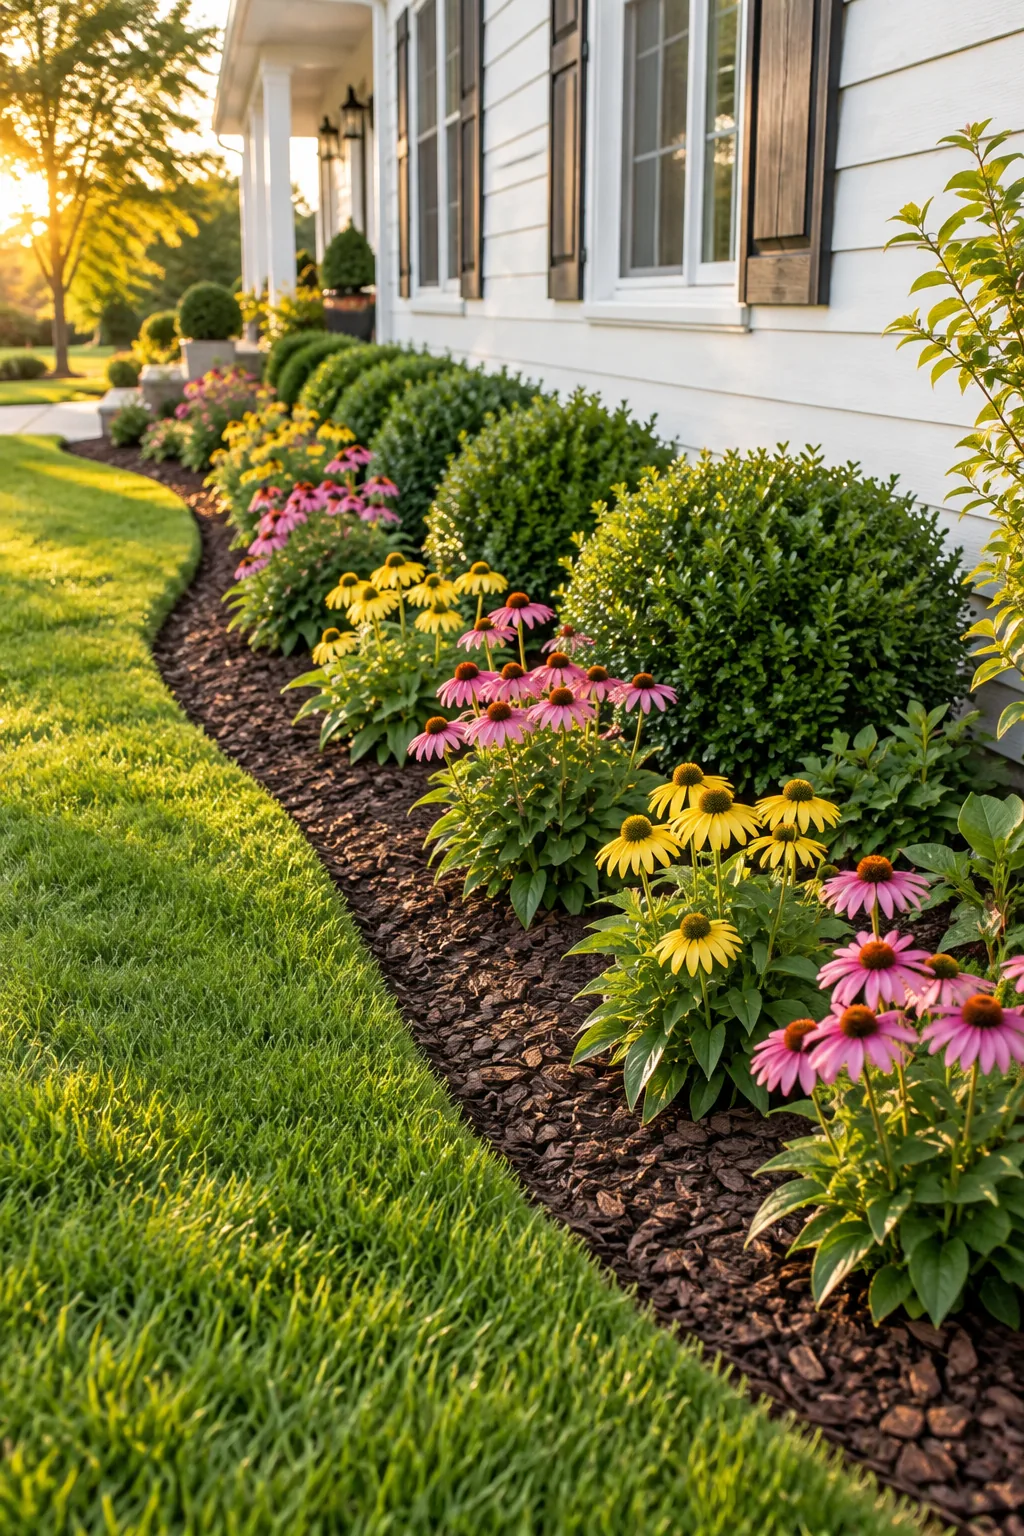
I always start with round evergreen shrubs like boxwoods to build a reliable, year-round structure against the house. Space them exactly 3 feet apart on center to create a continuous but distinct back layer that anchors the entire foundation bed.
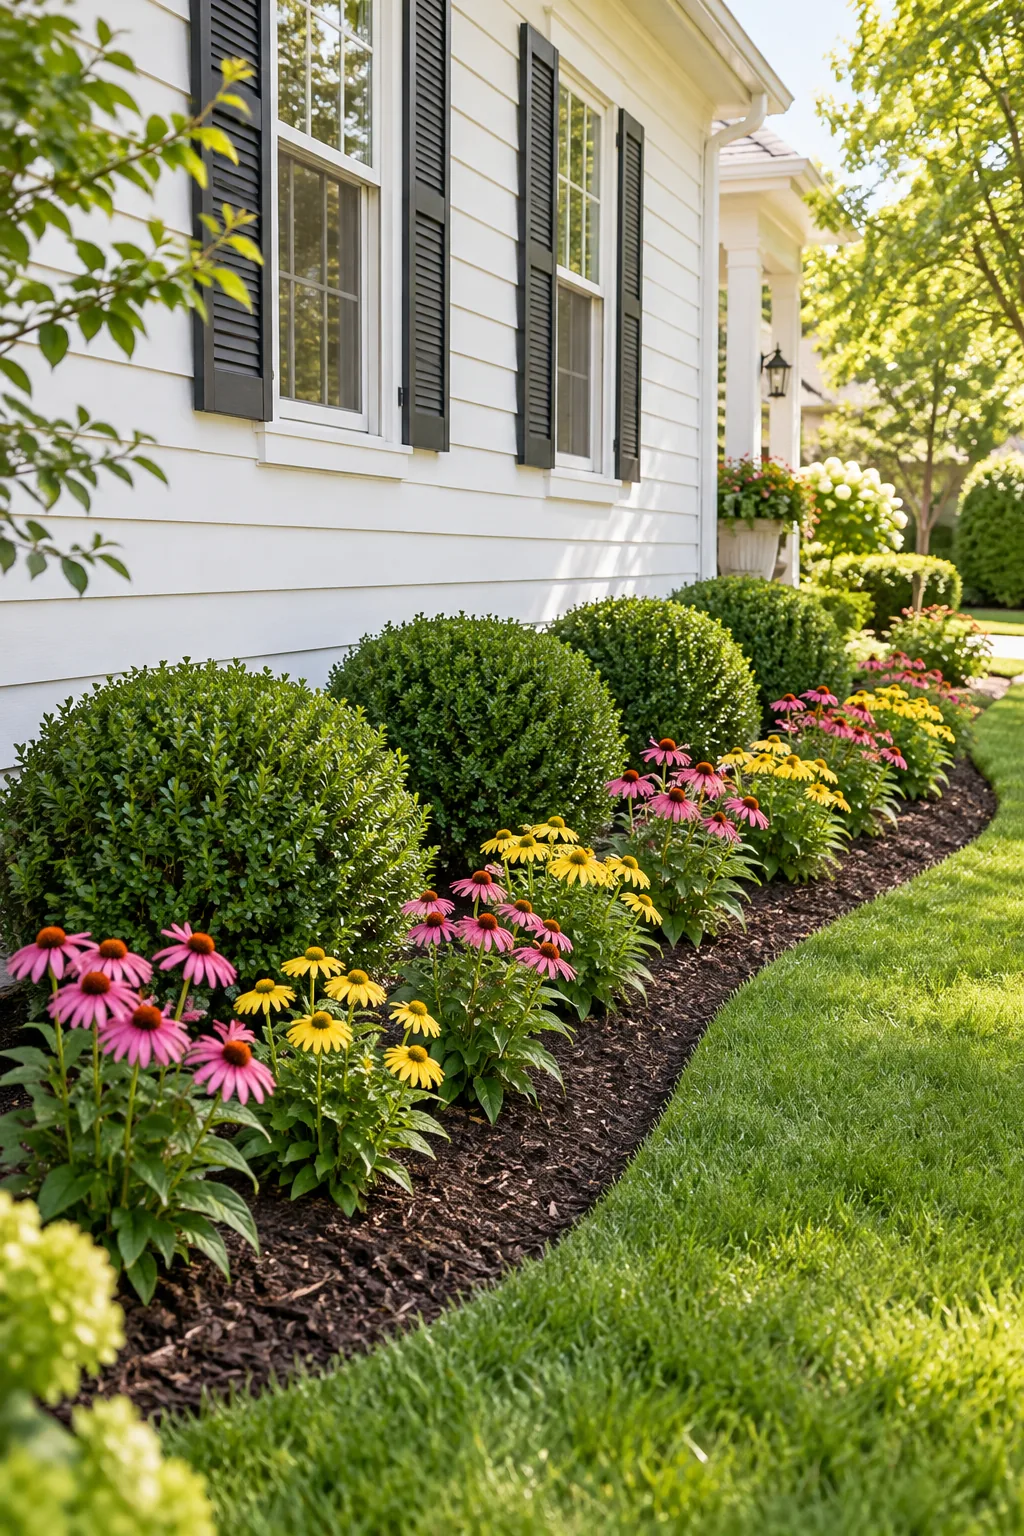
I love how these sturdy evergreens completely hide my ugly utility meters even in the dead of winter. Once this structural backbone is firmly in place, you are ready to set up your automated watering system.
Looping the Soaker Hose Ring
Weave a 1/2-inch black soaker hose carefully around the base of each structural plant before adding the smaller front flowers. This targeted soaker hose ring ensures deep root watering while keeping the delicate foliage completely dry.
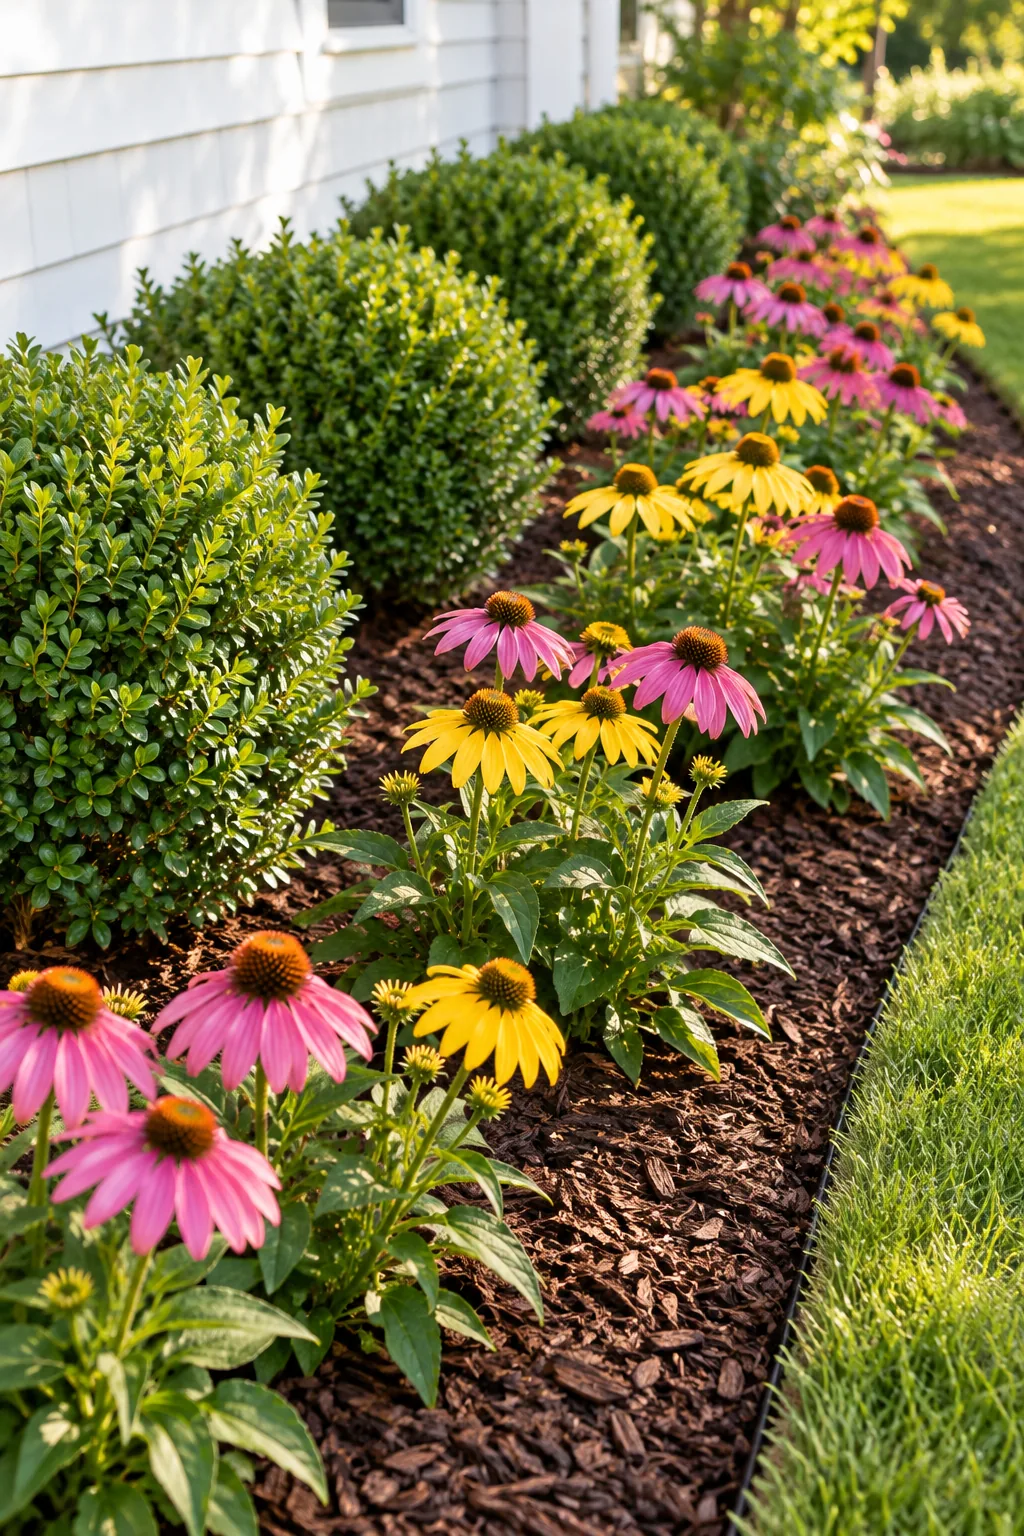
Pinning the flexible hose down right now prevents you from accidentally crushing delicate perennial roots later in the installation process. Next, we will add the bright, eye-catching pops of color to the front border.
Planting the Staggered Zig-Zag
Use an offset triangular placement for the front row of perennials like vibrant coneflowers. Spacing them 18 inches apart in a staggered zig-zag pattern fills visual gaps quickly and creates a lush, unbroken ribbon of color across the yard.
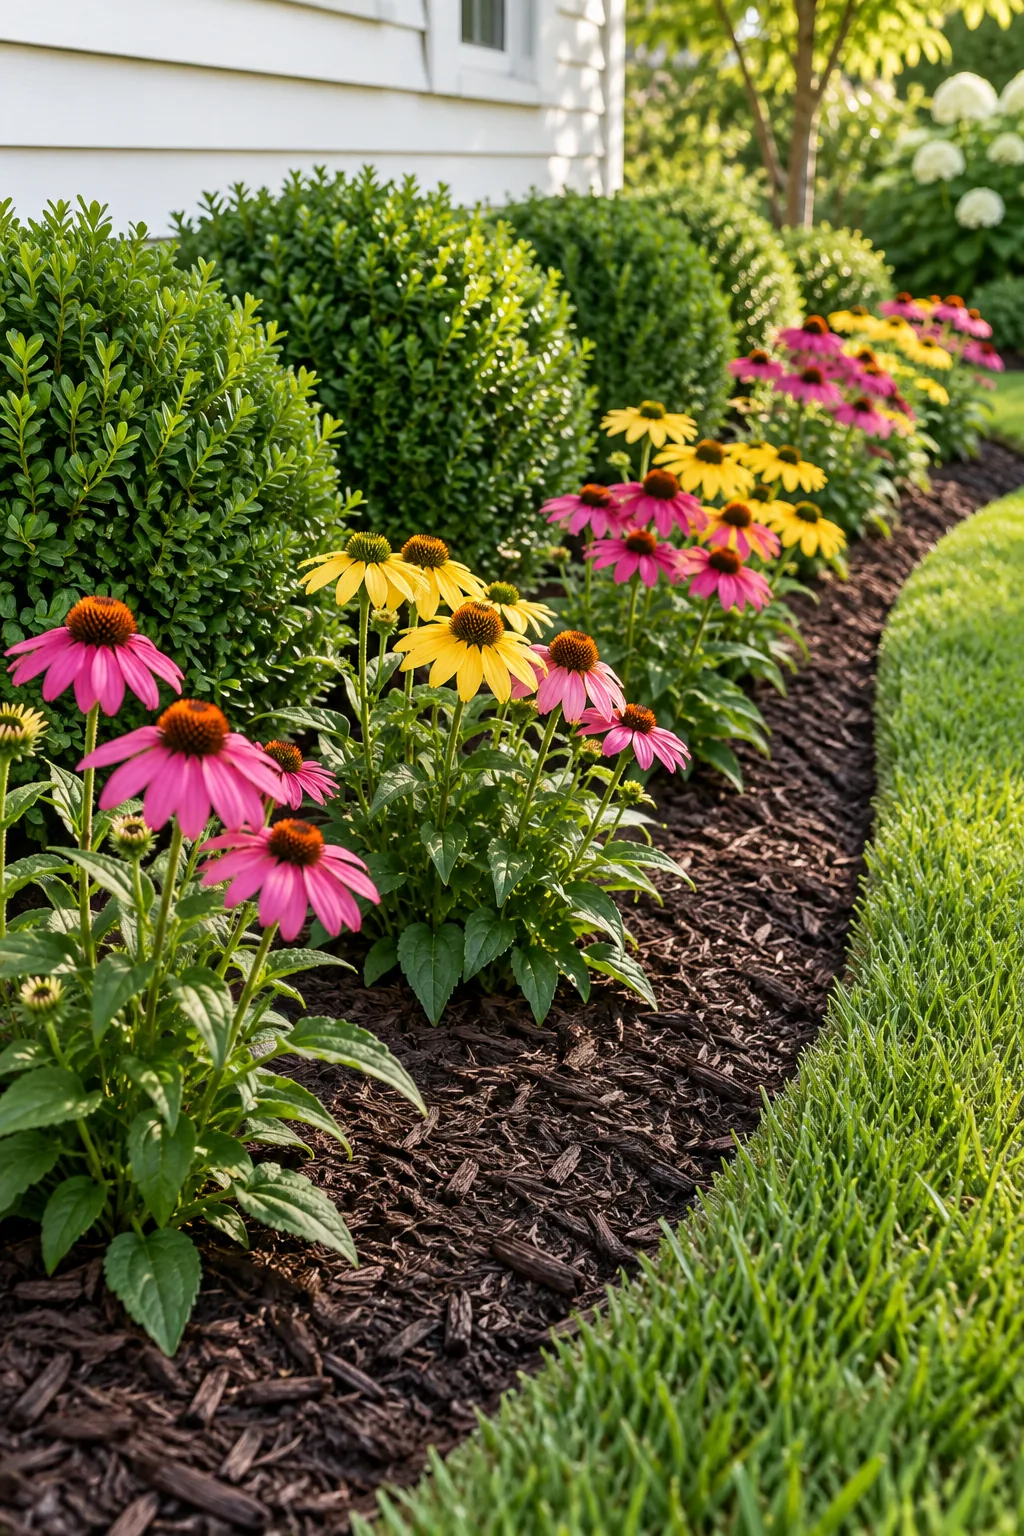
The zig-zag method completely transformed my front walkway by hiding all the bare dirt that used to drive me absolutely crazy. With the plants safely in the ground, it is time to clearly define the outer borders.
Carving a Deep Trench Edge
Cut a crisp, 4-inch deep vertical trench between the lawn and the bed using a heavy-duty half-moon edger. This deep trench edge stops invasive grass creep naturally without requiring flimsy, artificial plastic borders that crack over time.
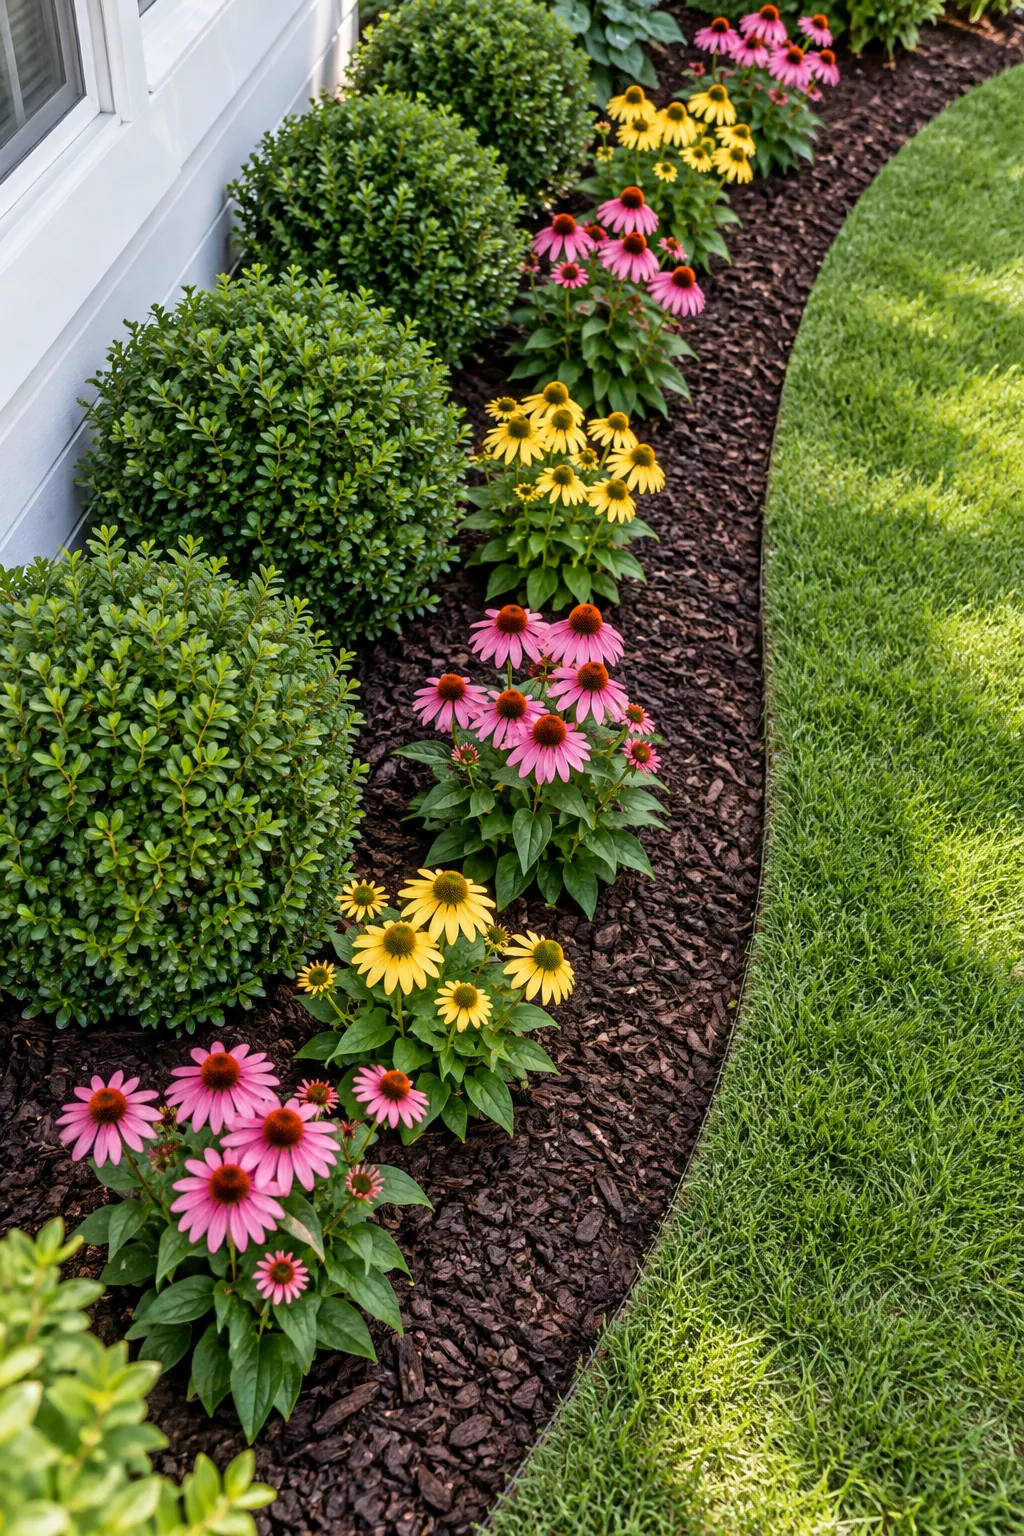
A sharp spade slices right through tough turf roots, leaving a clean, dramatic drop-off that catches rogue mulch perfectly. This simple manual cut makes the whole weekend project look professionally landscaped.
Spreading the 3-Inch Bark Mulch
Spread exactly 3 inches of dark, undyed shredded bark evenly over the exposed garden soil. This rich 3-inch bark mulch layer suppresses aggressive weeds and locks in crucial moisture during the hottest summer months.
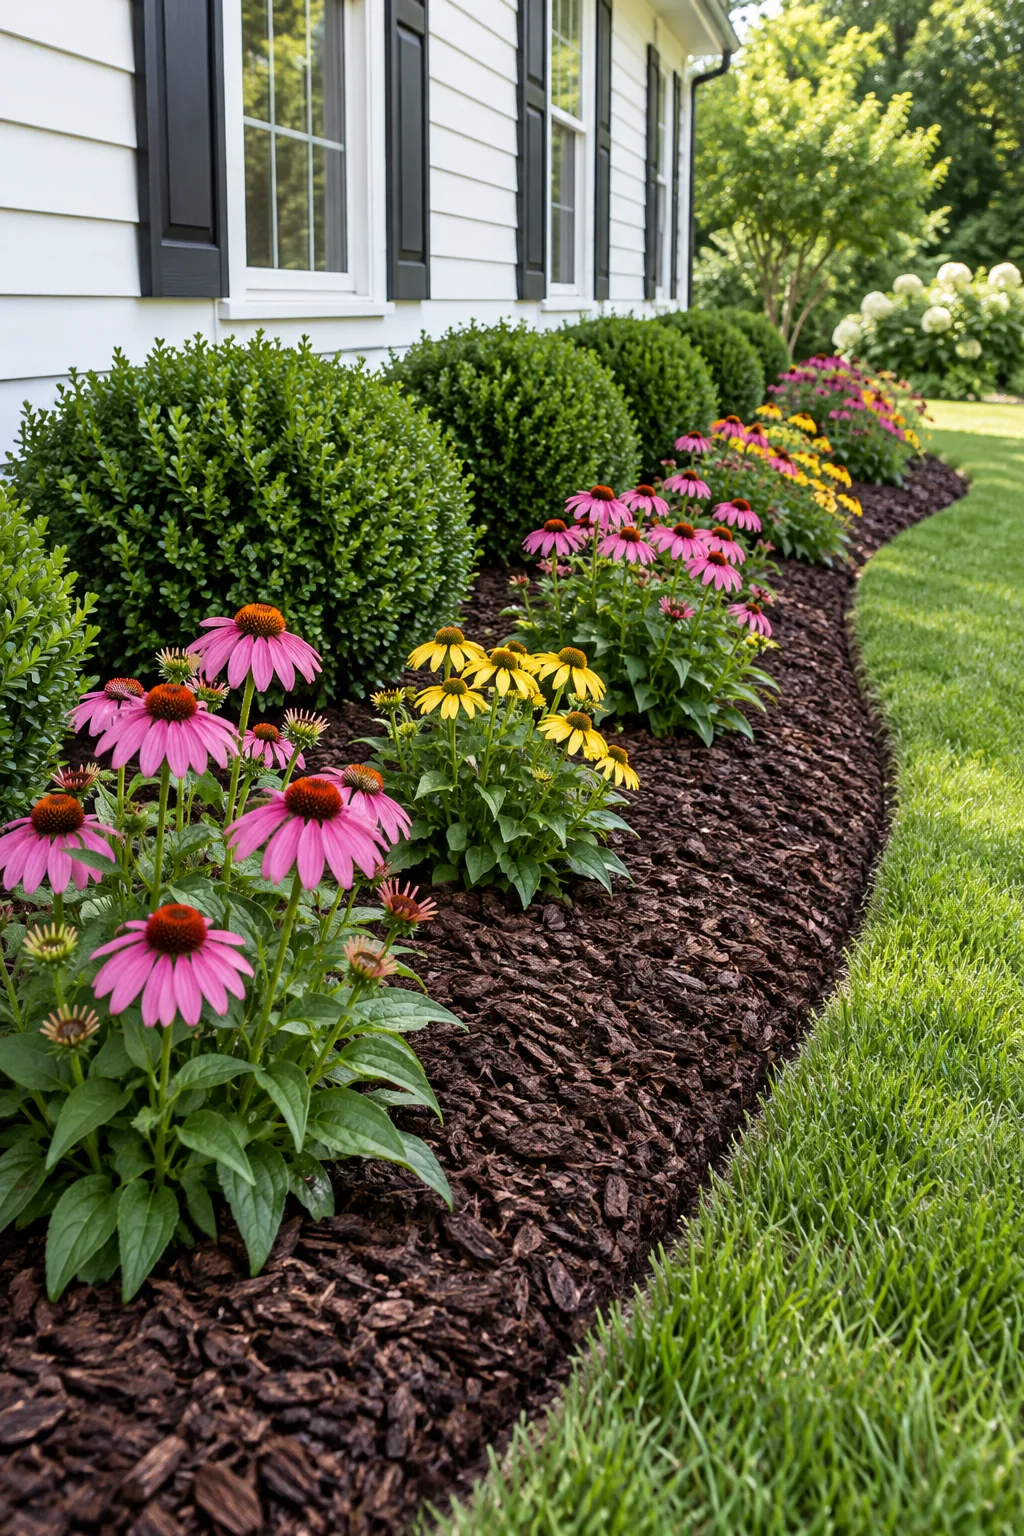
Always keep the organic mulch pulled at least 2 inches away from plant stems to prevent fungal rot and unwanted pest issues. Now that the soil is fully protected, you can easily replicate this exact look.
The Weekend Planting Map and List
Here is your downloadable planting map grid and exact shopping list for a standard 15-foot foundation bed section. You will need exactly 5 boxwoods, 12 coneflowers, 1 soaker hose, and 10 bags of mulch to complete this stunning layout.
Before heading to the local nursery with this shopping list, double-check your specific site conditions against the map’s basic environmental requirements.
Maintaining the Bed Structure
Keep the bed looking incredibly crisp by trimming the trench edge twice a year with your half-moon edger. Deadhead the front-row flowers in late summer to encourage a vibrant second bloom right before the first frost hits.
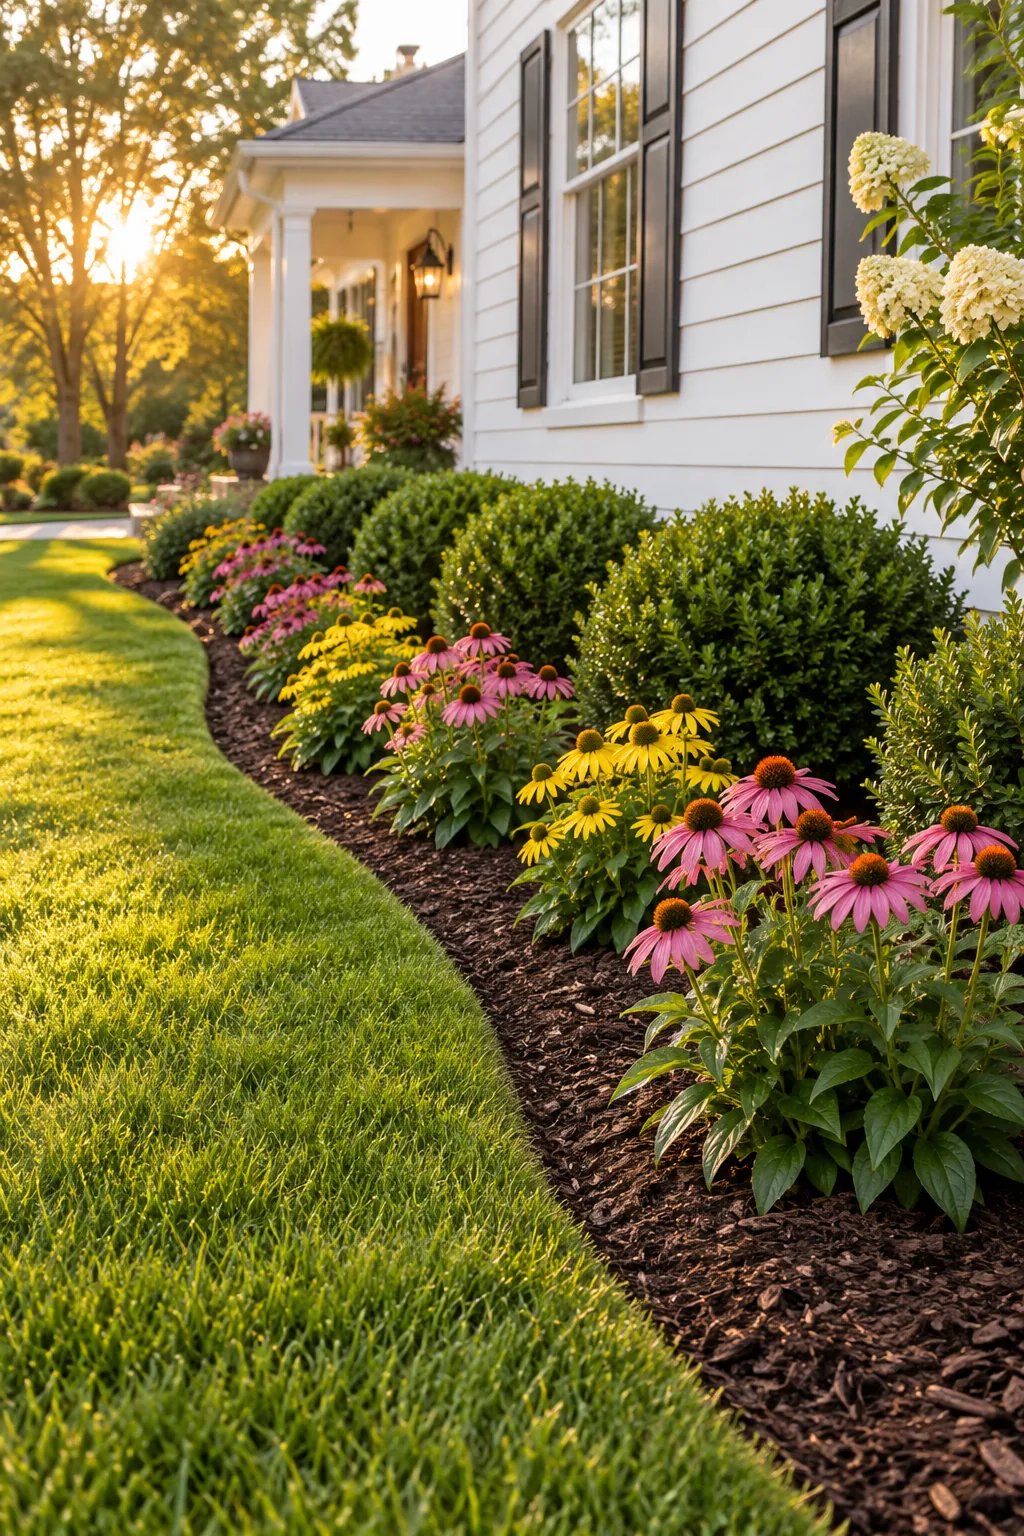
I spend just ten minutes a month snipping spent blooms, and my neighbors always ask if I hired a professional gardener! A little consistent seasonal maintenance ensures your weekend planting project thrives for years to come.
3 more front yard bed styles to try
If the classic boxwood look does not fit your home, adapt the same spacing rules to one of these distinct styles.
Romantic cottage garden style: Swap structured boxwoods for blooming hydrangeas and edge the bed with natural fieldstone for a softer, romantic look.
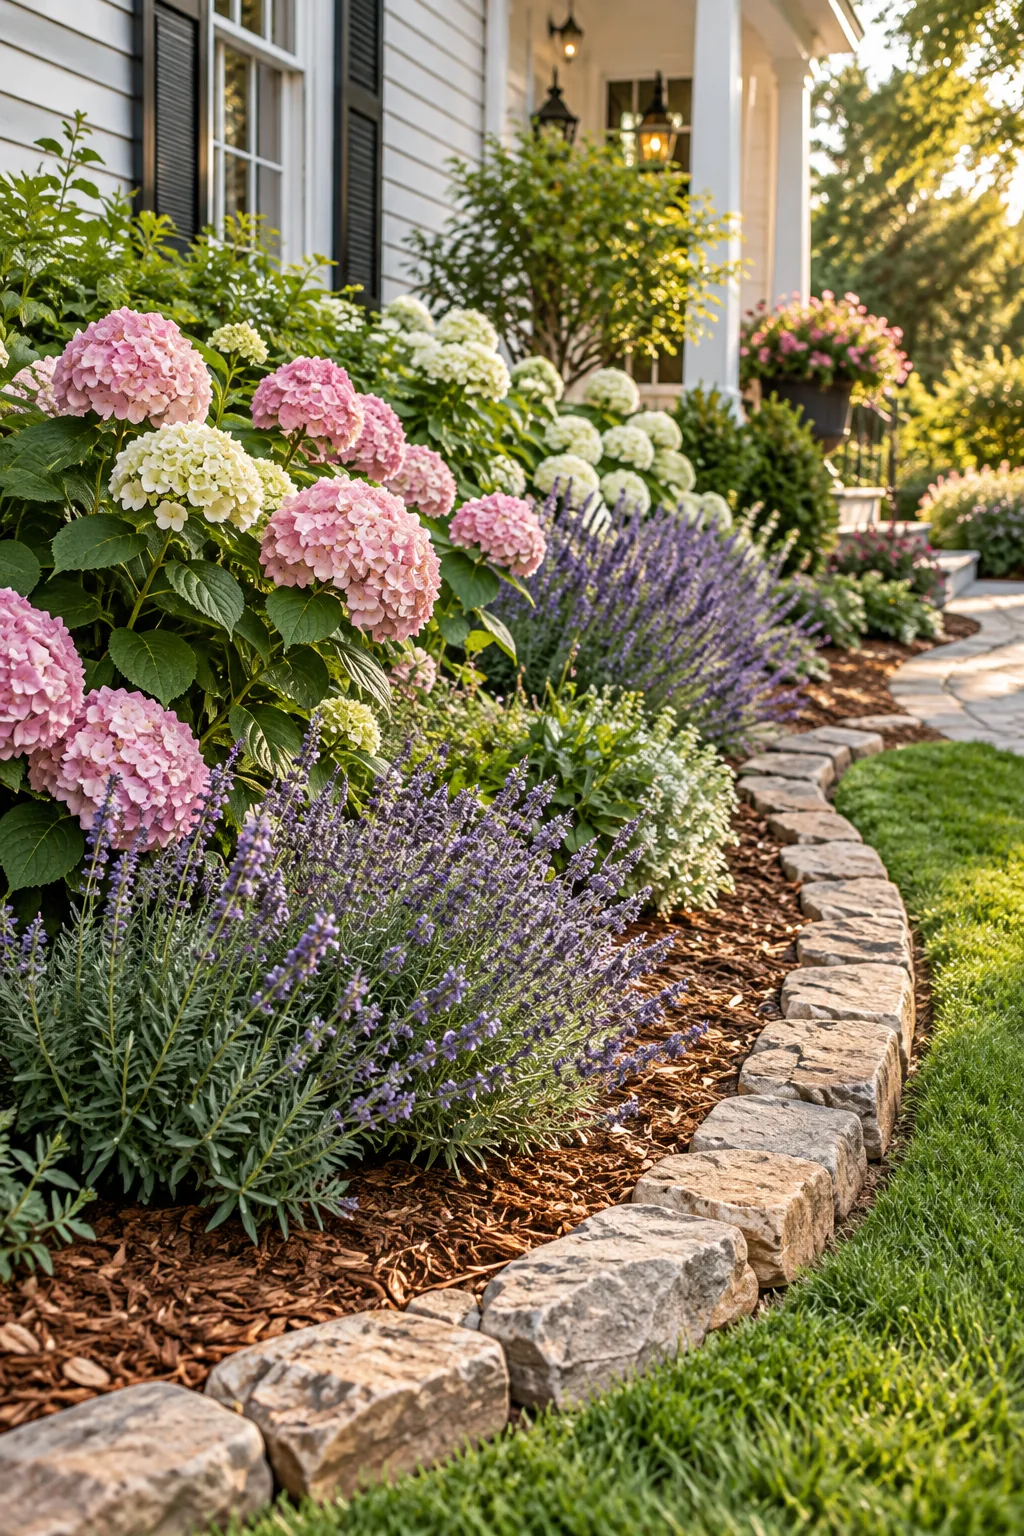
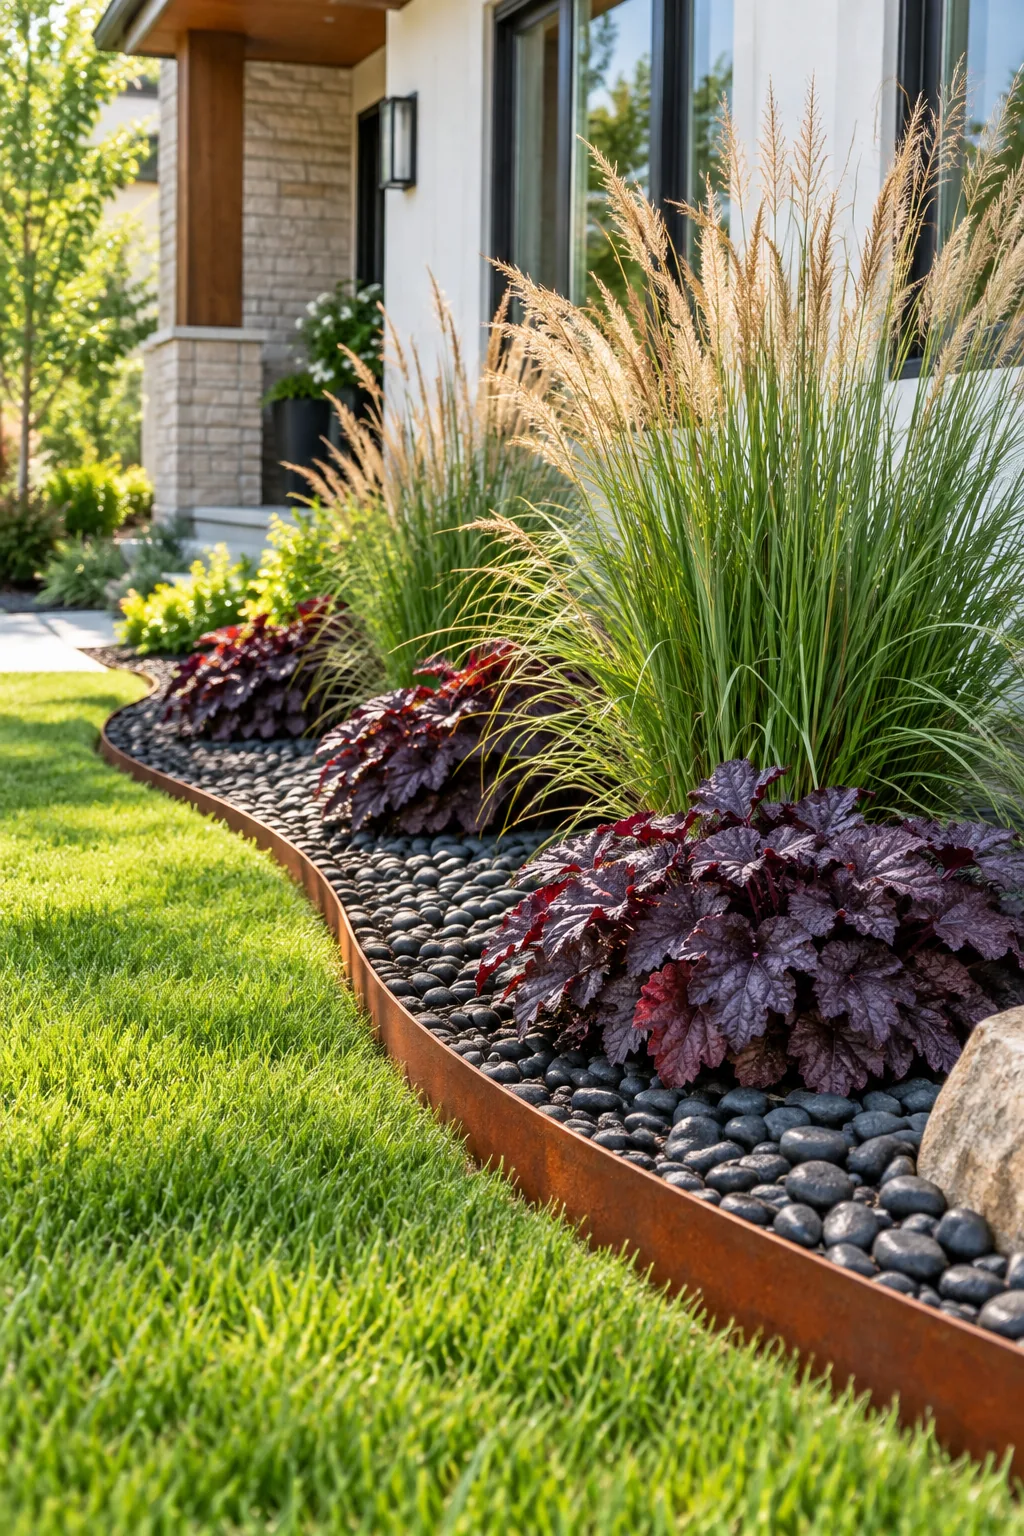
Modern minimalist grass border: Use architectural ornamental grasses and black river rock held back by a crisp steel edge for a low-maintenance modern aesthetic.
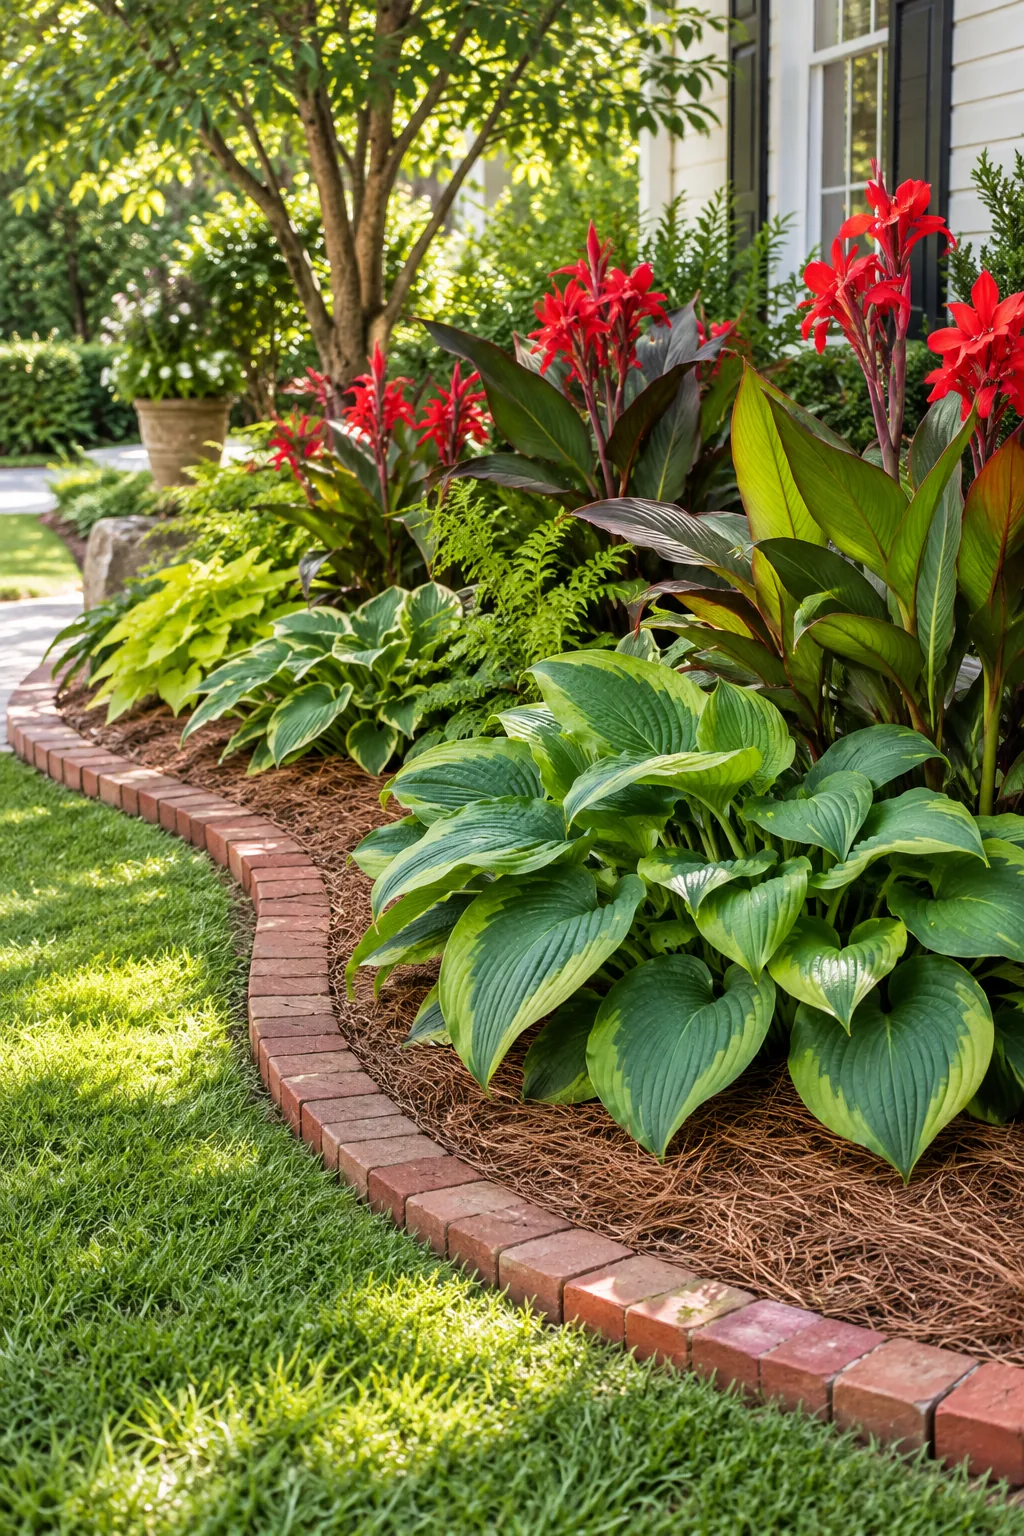
Lush tropical foliage mix: Focus on oversized leaves by pairing giant hostas with tall cannas, finished with a classic curved brick border.