
DIY Wood Slat Wall: Spacing Cheat Sheet & Hidden Framework
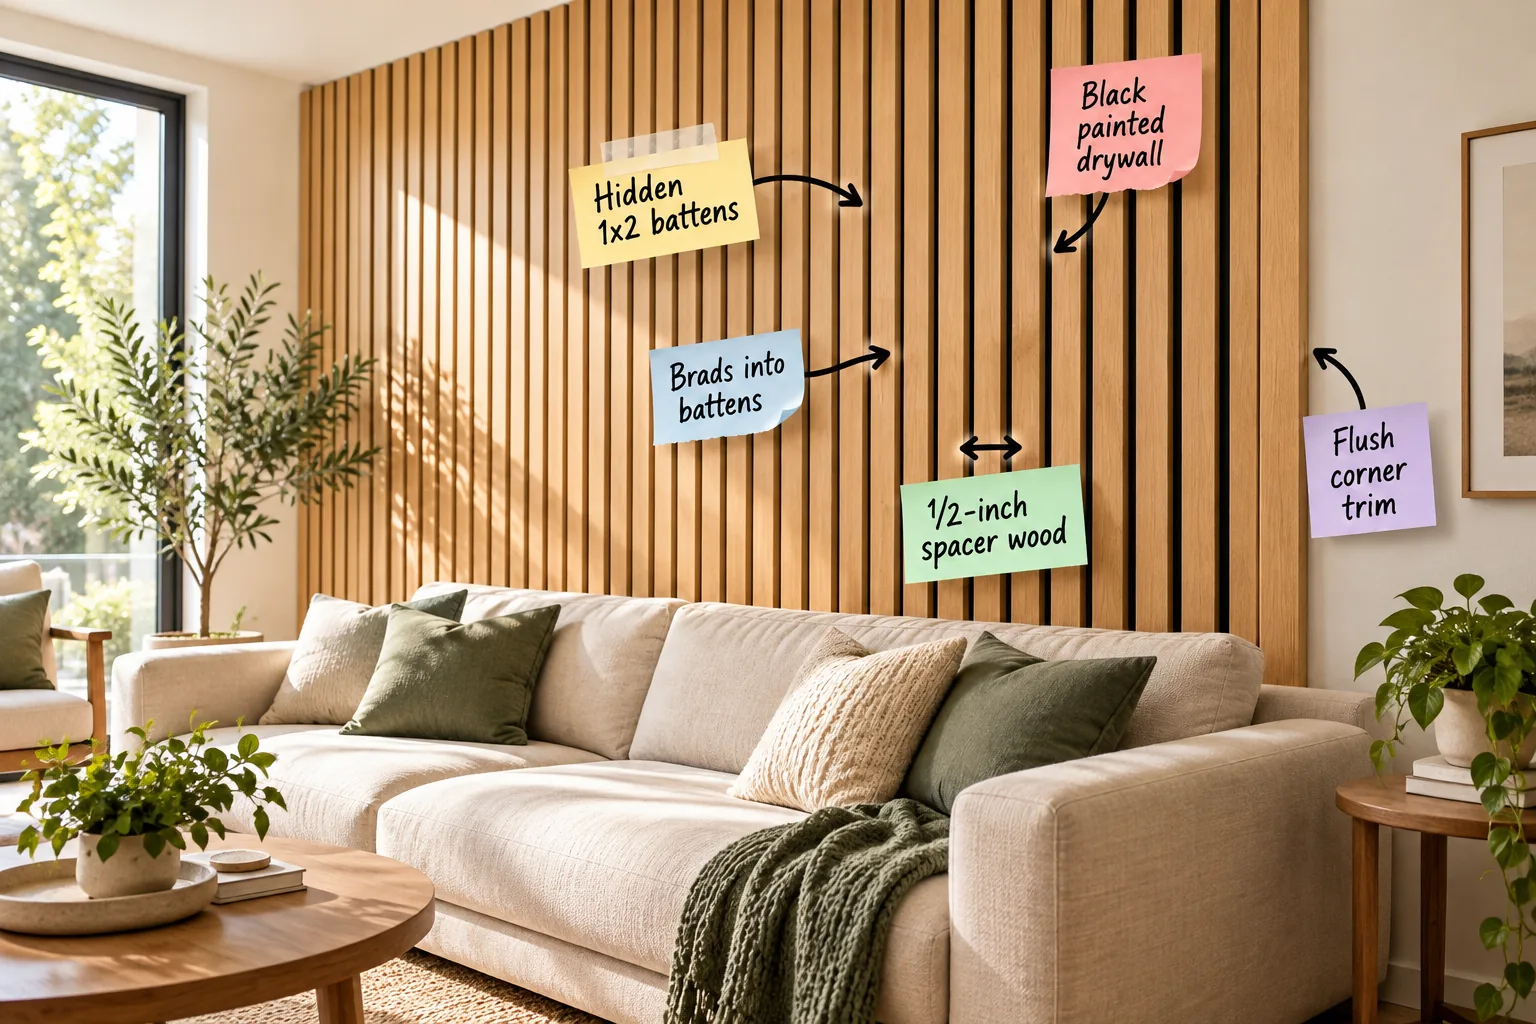
You will be able to calculate your exact wood order, space your slats perfectly, and build a secure, professional-looking accent wall using our printable slat spacing and cut list cheat sheet. We will build this wall layer by layer, starting from the dark background and working outward to the final flush trim.
Gathering Your Materials
Before tearing into your living room, you need to stage all your lumber and tools in one accessible spot. Having your 1×2 select pine battens and pre-finished oak ready ensures you never lose momentum once the actual construction begins.
Prepping the Room for Dust
Building an architectural feature indoors generates a surprising amount of sawdust and debris. You should tape down heavy-duty rosin paper over your floors and drape plastic drop cloths over your furniture to protect everything from the inevitable mess.
Removing Existing Baseboards
If you want a truly modern, built-in aesthetic, you must carefully pry off your existing baseboards with a trim puller. Running the vertical wood slats straight down to the flooring creates a seamless floor-to-ceiling transition that looks entirely custom.
Repairing Drywall Damage
Pulling off old trim often leaves behind jagged holes and torn paper on your underlying drywall. Take a few minutes to patch these gouges with lightweight joint compound so your dark background layer has a perfectly smooth canvas.
Painting the Drywall Black
A dark background is the secret to creating the necessary illusion of endless depth and deep shadow gaps behind your wood slats.
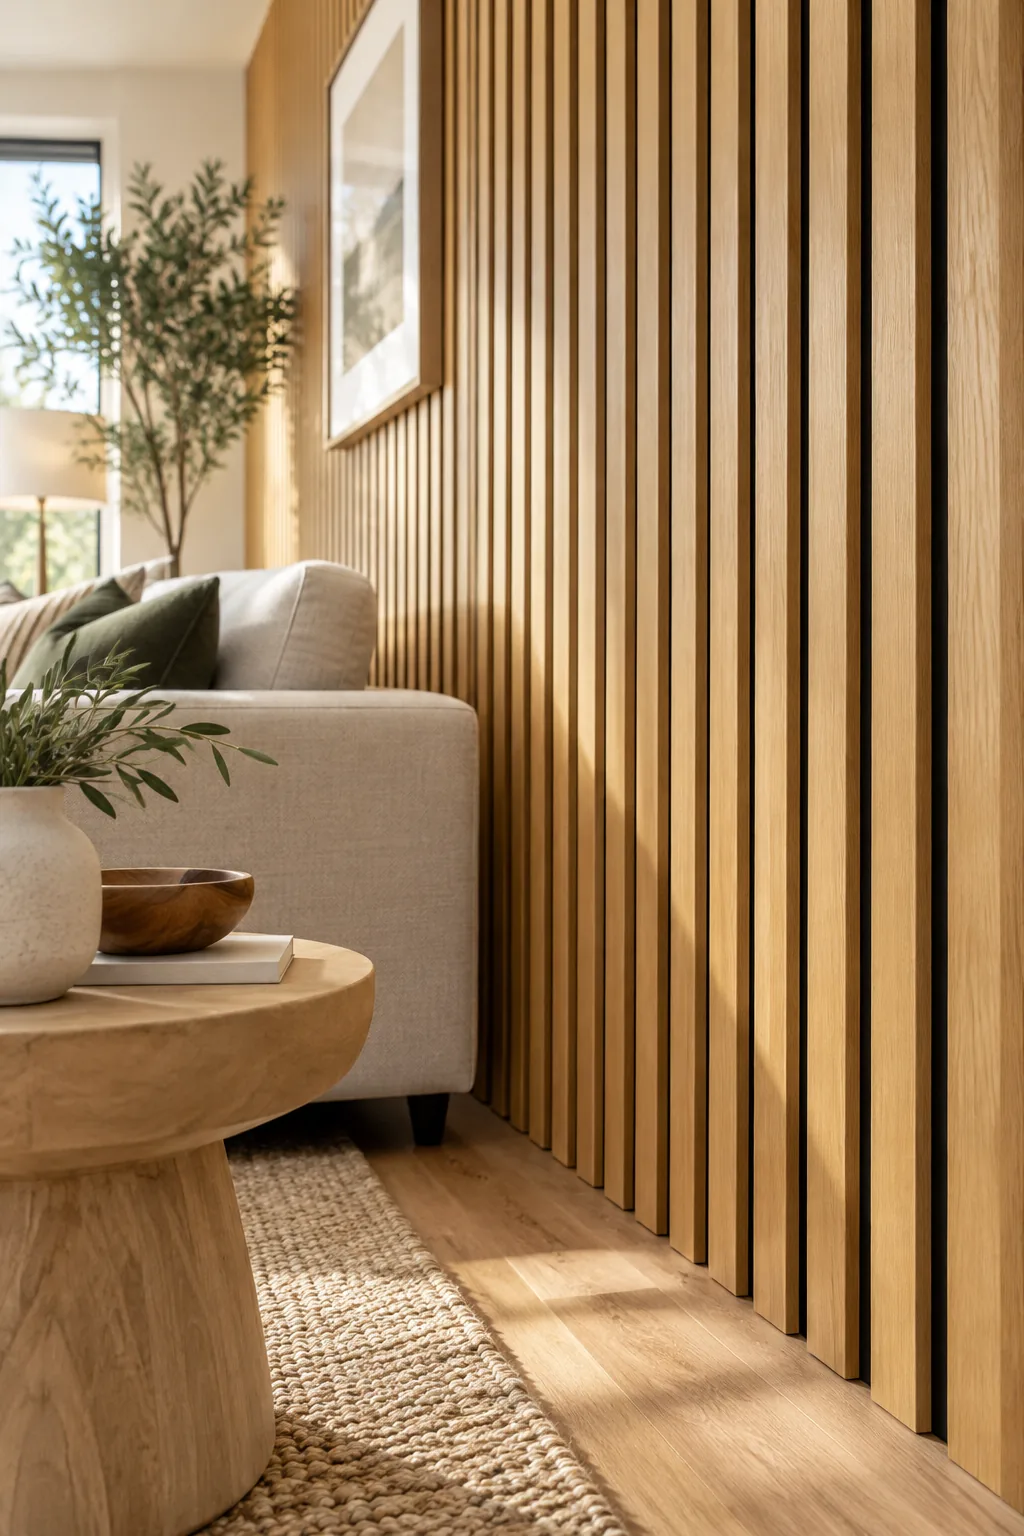
You want to completely hide the wall behind the wood, and a flat black interior paint absorbs light perfectly to camouflage any surface imperfections.
Choosing the Right Matte Finish
Shiny finishes will catch the light filtering between your boards, instantly ruining that high-end architectural illusion.
- Sand away any existing texture so the gaps appear perfectly smooth.
- Apply two solid coats of a true matte or flat black paint.
- Let the wall cure for a full 24 hours before mounting wood.
Locating Your Wall Studs
You cannot rely on drywall anchors to hold hundreds of pounds of solid oak over your sofa. Using a reliable magnetic stud finder makes it incredibly easy to locate the solid wood framing hidden behind your freshly painted surface.
Marking the Vertical Lines
Once you find the studs, use a long level and a piece of chalk to draw straight vertical lines down the entire wall. These visible reference marks guarantee you know exactly where to drive your screws during the next step.
Installing the Hidden Battens
Horizontal 1×2 furring strips act as your structural support layer, giving you a solid, secure nailing surface for every single heavy oak board.
Because this framework holds the entire weight of the solid wood slats, getting the foundation wrong will compromise the whole wall.
Anchoring Securely to Studs
You must drive your 2.5-inch wood screws straight through the horizontal battens and directly into the vertical framing lines you marked earlier. This mechanical connection ensures your new architectural feature will never pull away from the wall.
Checking the Bottom Level
Your lowest horizontal support dictates the alignment for the entire framework above it. Place a four-foot level across this foundational bottom batten and use thin wood shims to correct any dips before driving your final screws.
The Slat Spacing Cheat Sheet
I actually ruined my very first accent wall by just guessing the gaps, ending up with an awkward half-inch sliver of wood at the right corner.
Download our printable slat spacing and cut list cheat sheet to calculate the exact number of slats needed for a perfectly symmetrical layout.
Calculating Your Wood Order
To find your total slat count manually, take your total wall width in inches and divide it by the combined width of one board plus your gap.
| Wall Width | Slat Width | Gap Size | Total Slats Needed |
|---|---|---|---|
| 96 inches | 1.5 inches | 0.5 inches | 48 slats |
| 120 inches | 1.5 inches | 0.5 inches | 60 slats |
| 144 inches | 1.5 inches | 0.5 inches | 72 slats |
Measuring the Ceiling Height
Very few residential ceilings are perfectly level across a ten-foot span. You should measure the vertical distance from floor to ceiling at three different spots to ensure your custom cuts accommodate any slight architectural slopes.
Selecting the Oak Slats
Choosing straight, pre-finished oak boards guarantees long-term stability and saves you hours of messy indoor staining and sealing.
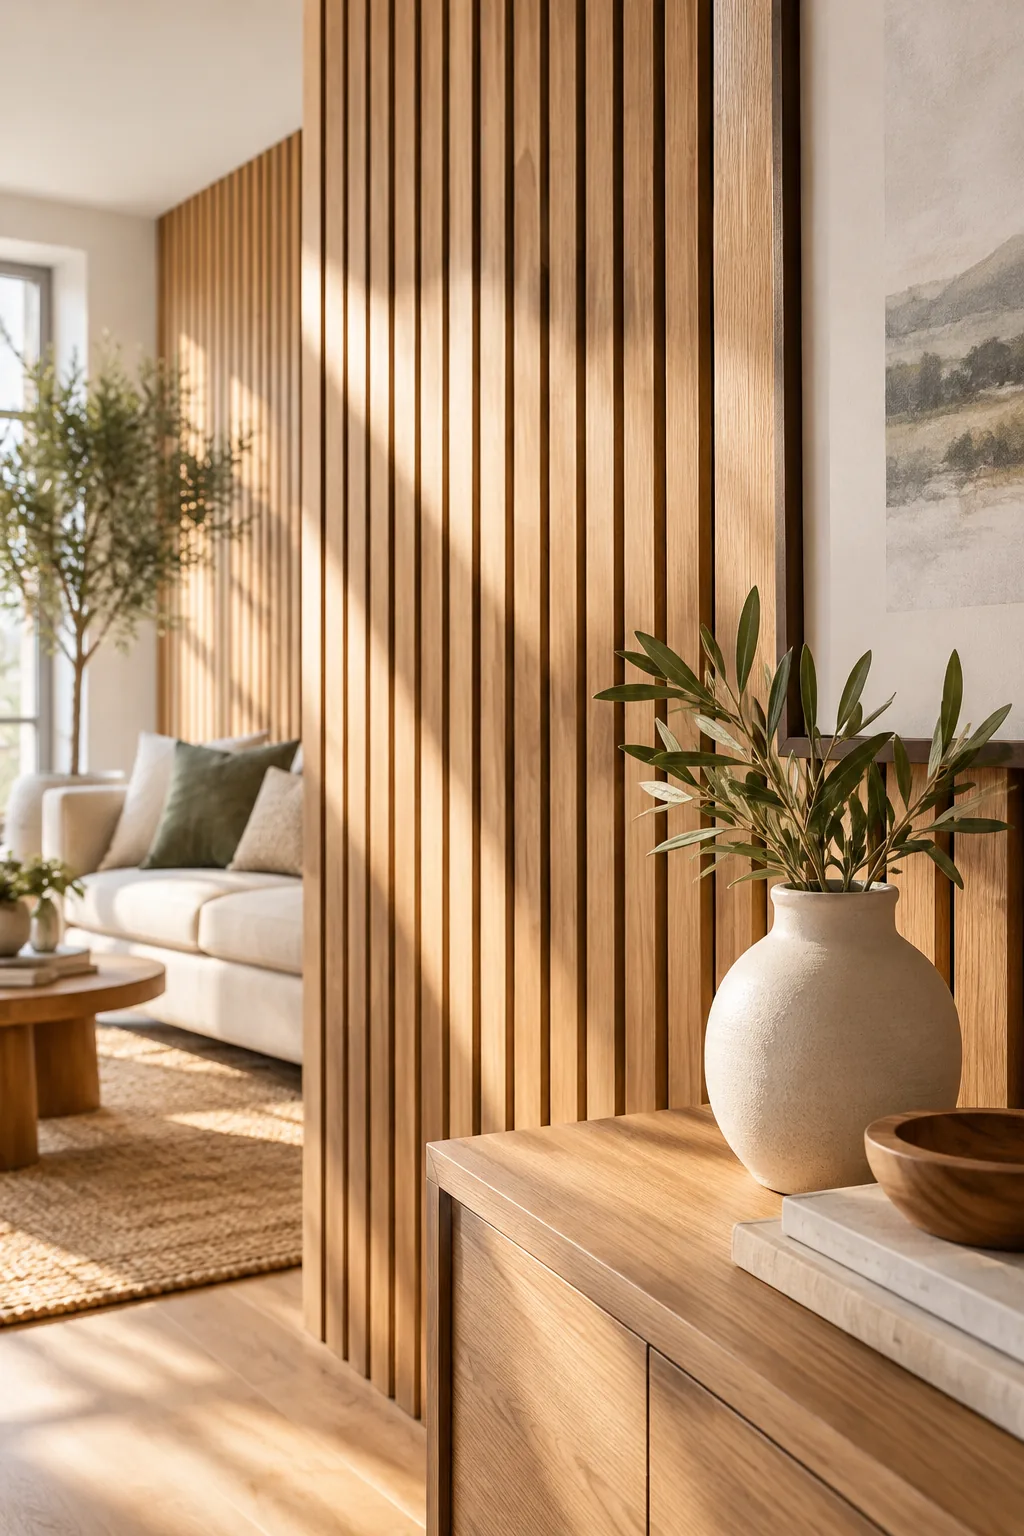
Standard 1×2 select pine or custom-ripped 3/4-inch oak plywood are the absolute best choices to prevent your beautiful vertical lines from warping over time.
Plywood Versus Solid Wood
High-quality plywood features alternating grain layers that lock the board dead straight, making it an incredibly reliable and budget-friendly alternative for tall walls. Solid oak offers gorgeous edge grain, but it is significantly more expensive and prone to seasonal bowing.
Cutting Slats to Length
Set up a miter saw station outside to trim all your vertical boards to the exact height of your room minus a tiny breathing gap. Leaving a 1/4-inch expansion gap allows the natural wood to expand safely.
Sanding the Cut Edges
A spinning saw blade inevitably leaves tiny splinters on the ends of your freshly cut boards. A quick pass with a 120-grit sanding block softens these sharp edges and ensures a clean, professional look at the ceiling line.
Using a Spacer Block
I learned the hard way on my own living room wall that using a scrap piece of 1/2-inch wood as a consistent spacer block between every slat guarantees perfectly parallel lines without constantly measuring.
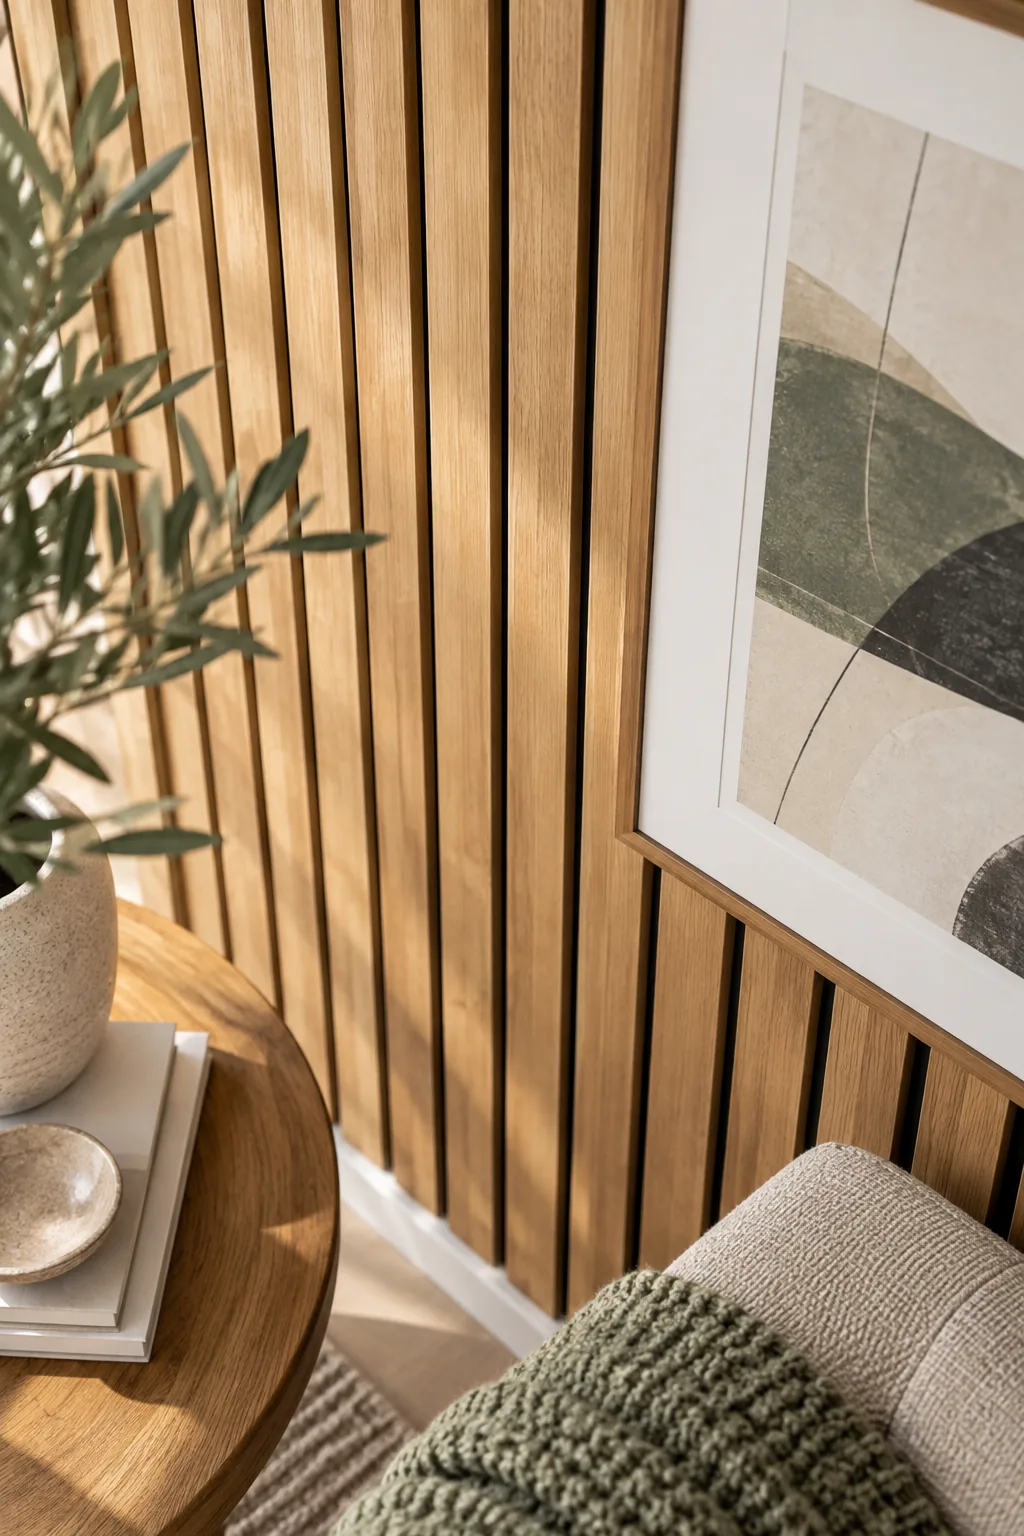
Even with a physical spacer, slight variations in the wood can push your lines off-center by the time you reach the far wall.
Managing Bowed Boards
If you encounter a board with a slight curve, nail the top in place first and physically bend the bottom until it pinches your spacer tightly. This tension forces the wood into perfect vertical alignment against the framework.
Keeping the Lines Plumb
Sliding your 1/2-inch spacer block down the wall as you nail each section ensures the gap remains perfectly uniform from top to bottom. This simple technique prevents the dreadful visual mistake of tapering shadow gaps.
Securing with Brad Nails
I absolutely love this angled nailing trick because it saved me from ruining my drywall with construction adhesive when we eventually decided to change our decor.
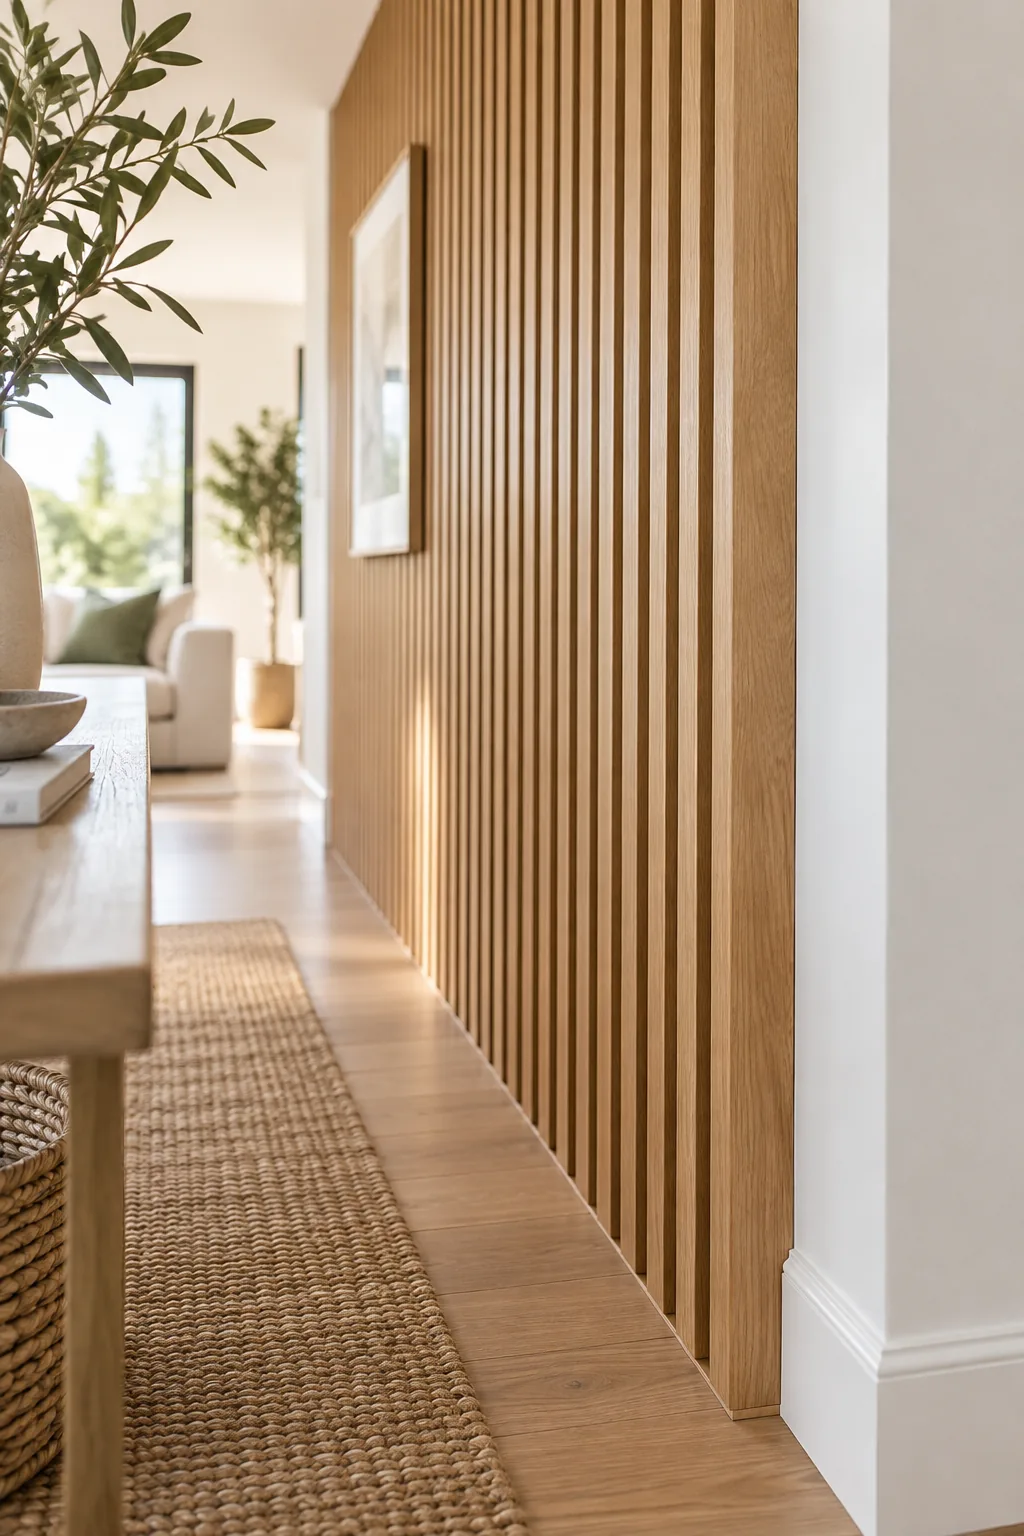
You can lock the boards securely to the battens by using a brad nailer at a slight alternating angle, skipping the messy glue entirely.
Choosing the Right Fastener
You need to shoot 1.5-inch or 2-inch brads straight through the flat face of the oak so they penetrate deeply into your hidden horizontal supports. An 18-gauge nailer provides plenty of holding power without splitting the delicate wood.
Finishing with Flush Corner Trim
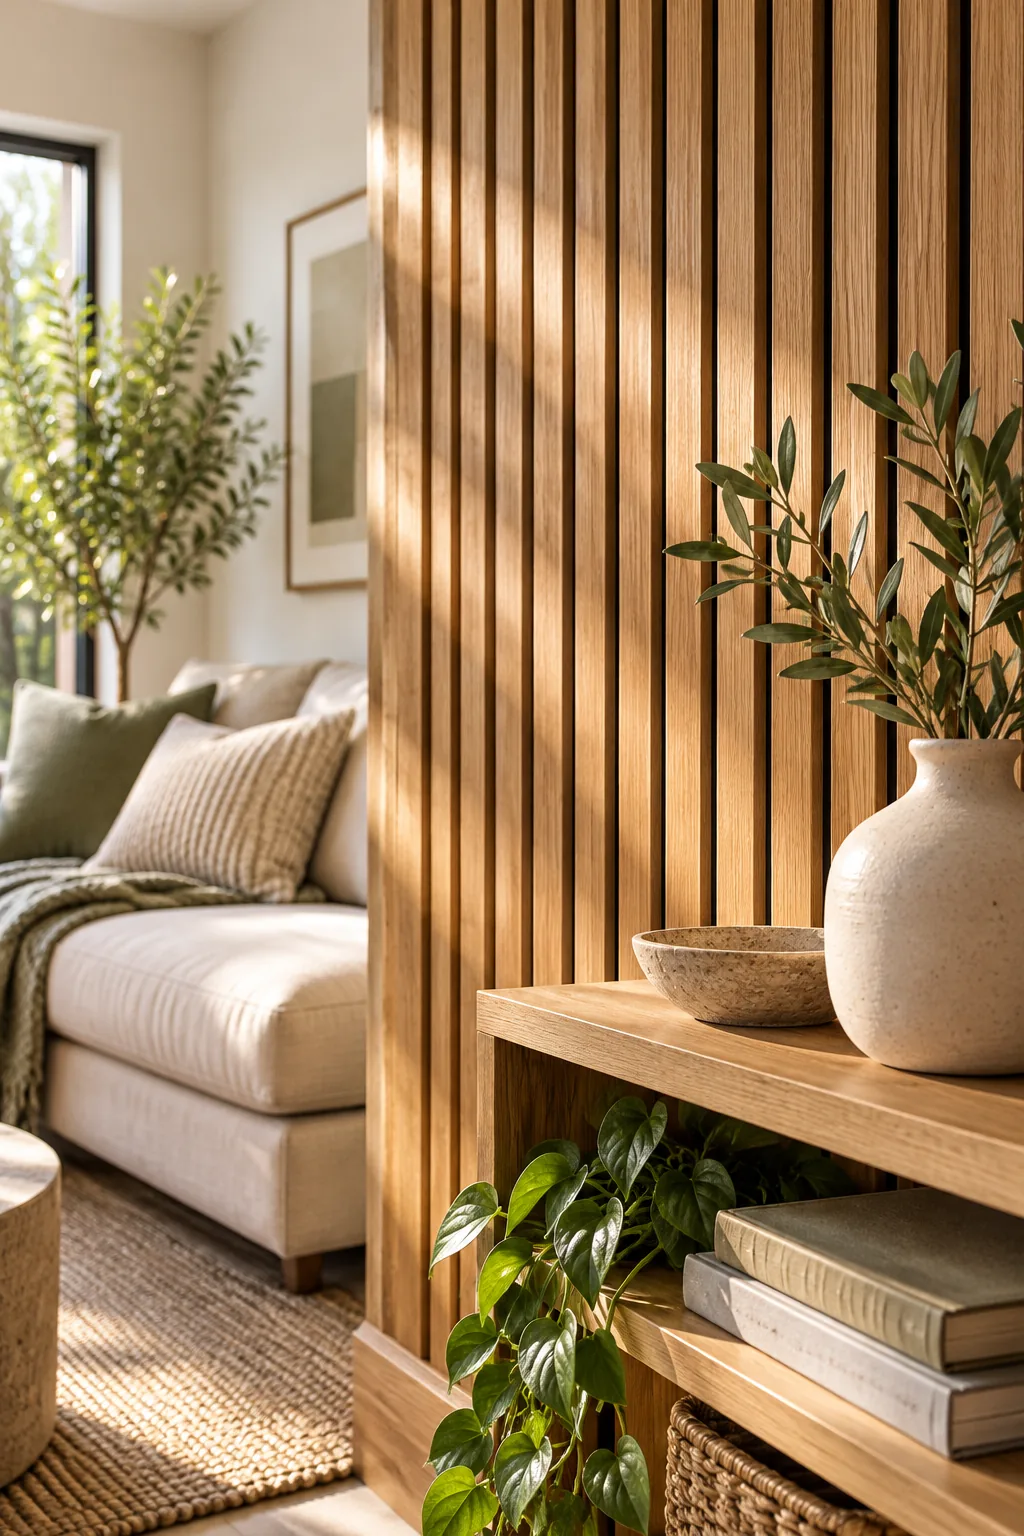
Capping the exposed outside edge with a flush piece of trim completes the solid wood illusion by completely hiding the structural battens from view.
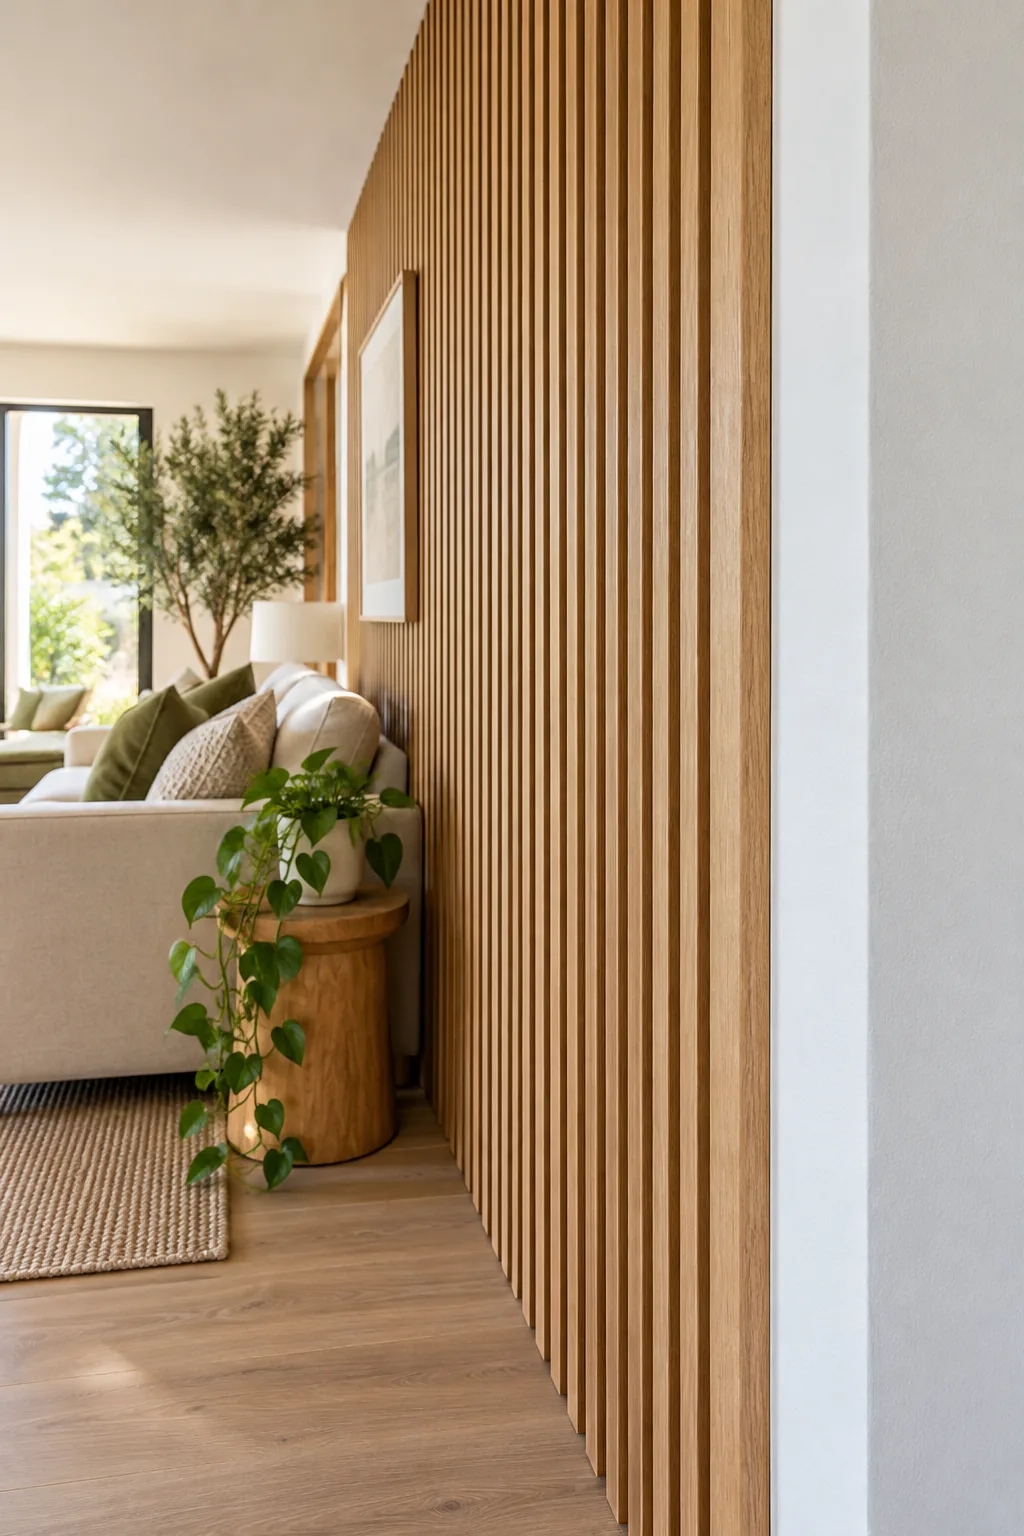
This outer trim piece should overlap the side profile of your horizontal supports while sitting perfectly flush with the front face of your final slat.
Filling the Nail Holes
An 18-gauge brad nail leaves a tiny entry hole that practically disappears into the wood grain once you dab it with a matching color putty. Wipe away any excess filler immediately with a damp microfiber cloth for a seamless finish.
More Slat Wall Styles
Discover how different wood tones and room settings completely change the impact of a slat wall.
Moody Walnut Home Office: Dark walnut slats against a charcoal background create a sophisticated, dramatic atmosphere perfect for a focused workspace.

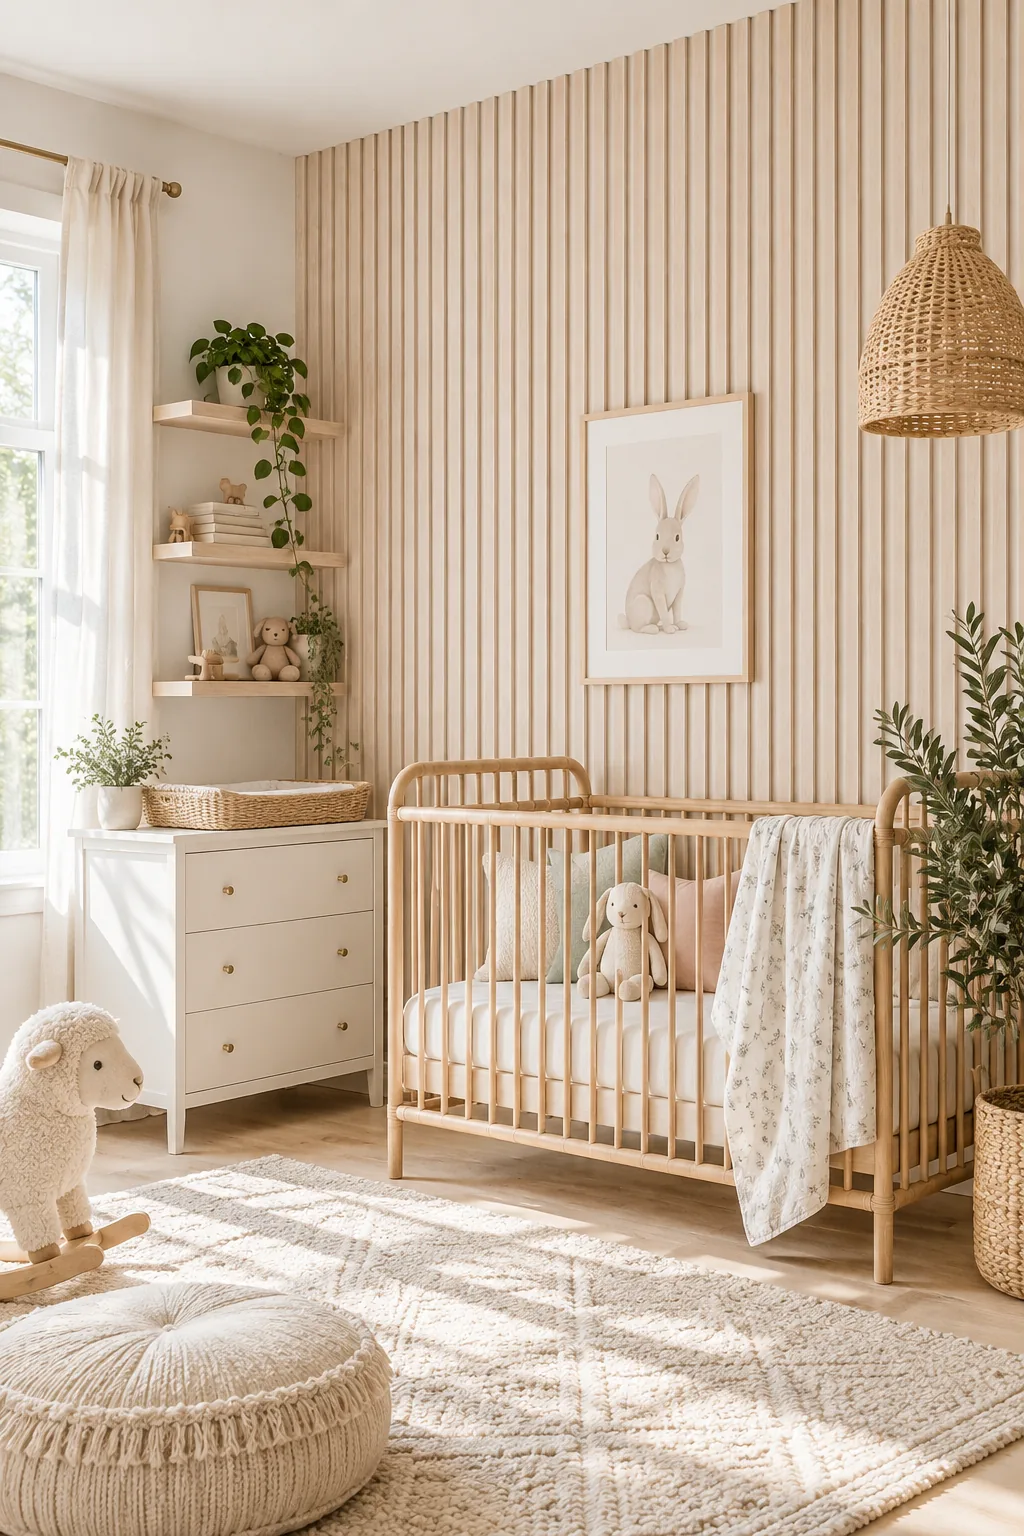
Scandi Whitewashed Nursery: Whitewashed pine paired with a soft white background adds gentle, tactile texture without darkening a bright nursery.
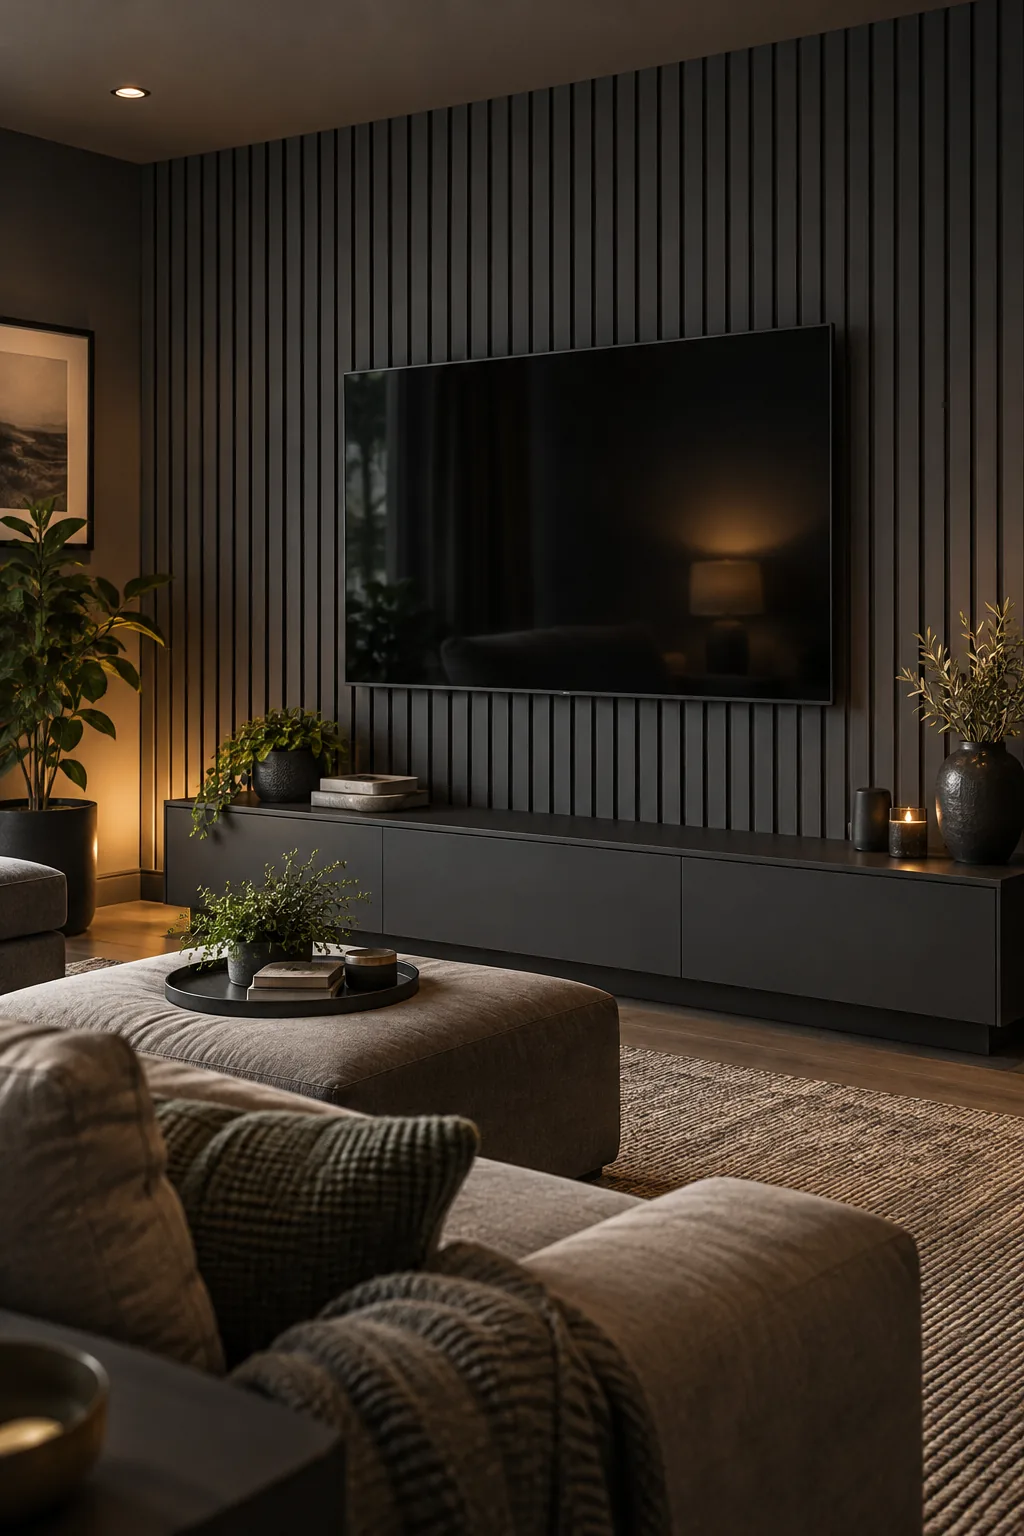
Monochromatic Charcoal Media Room: Painting both the slats and the background the same dark color adds architectural interest while hiding television cords.
Styling the Finished Accent Wall
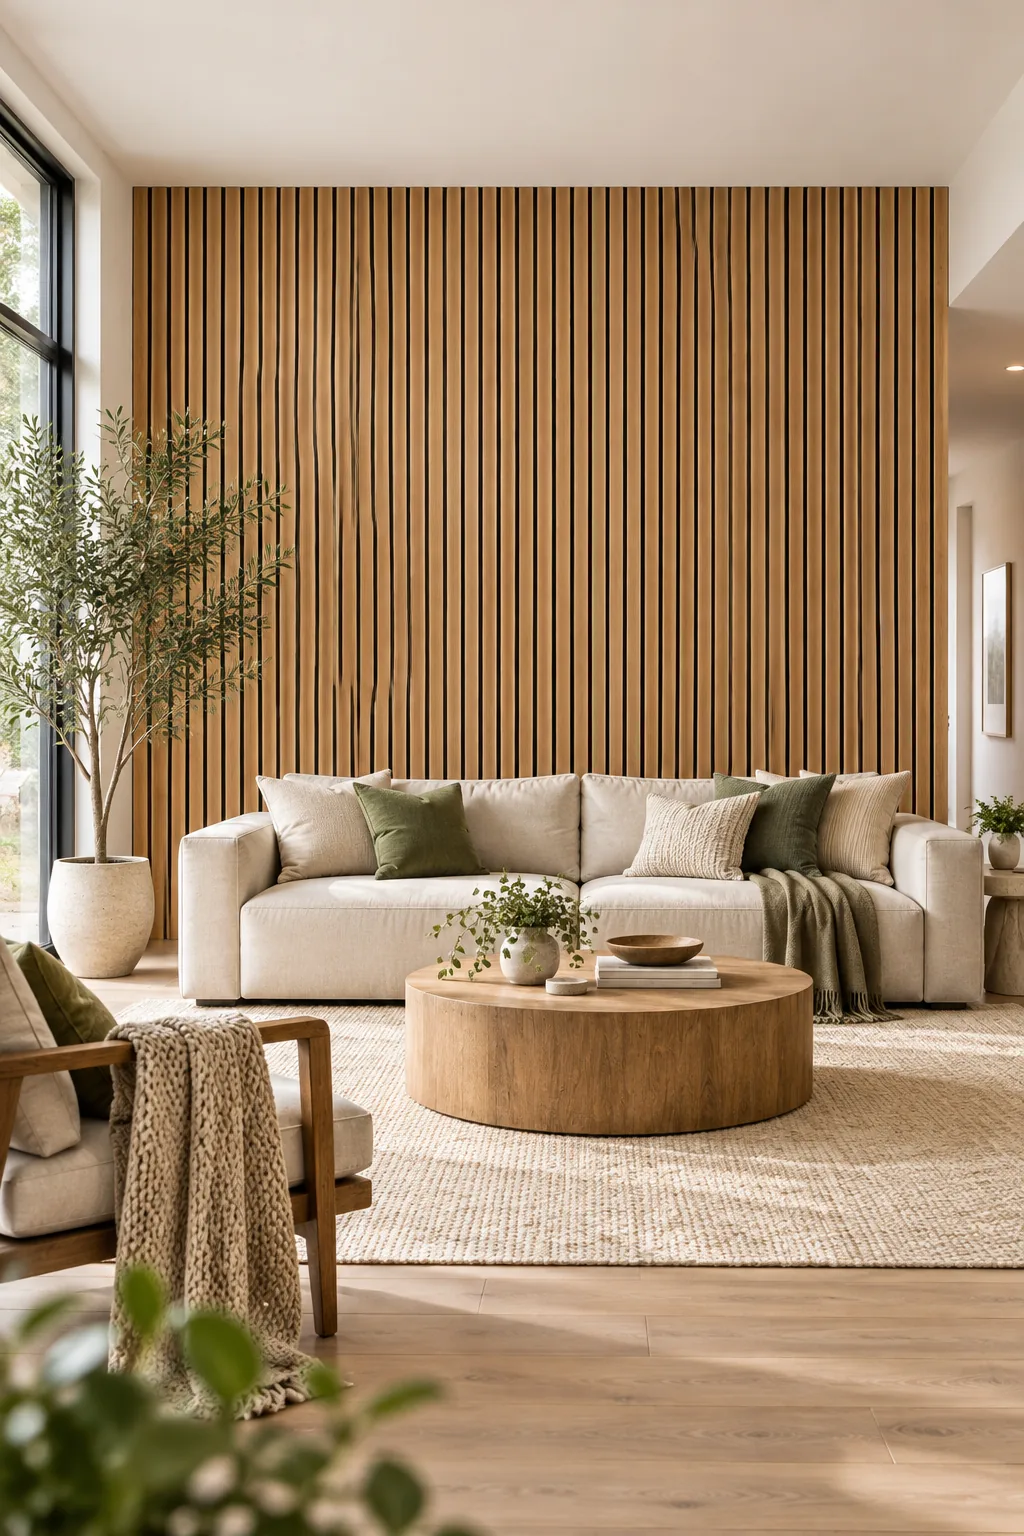
Positioning low-profile furniture against the completed installation maximizes the visual height and allows those striking vertical lines to dominate the room.
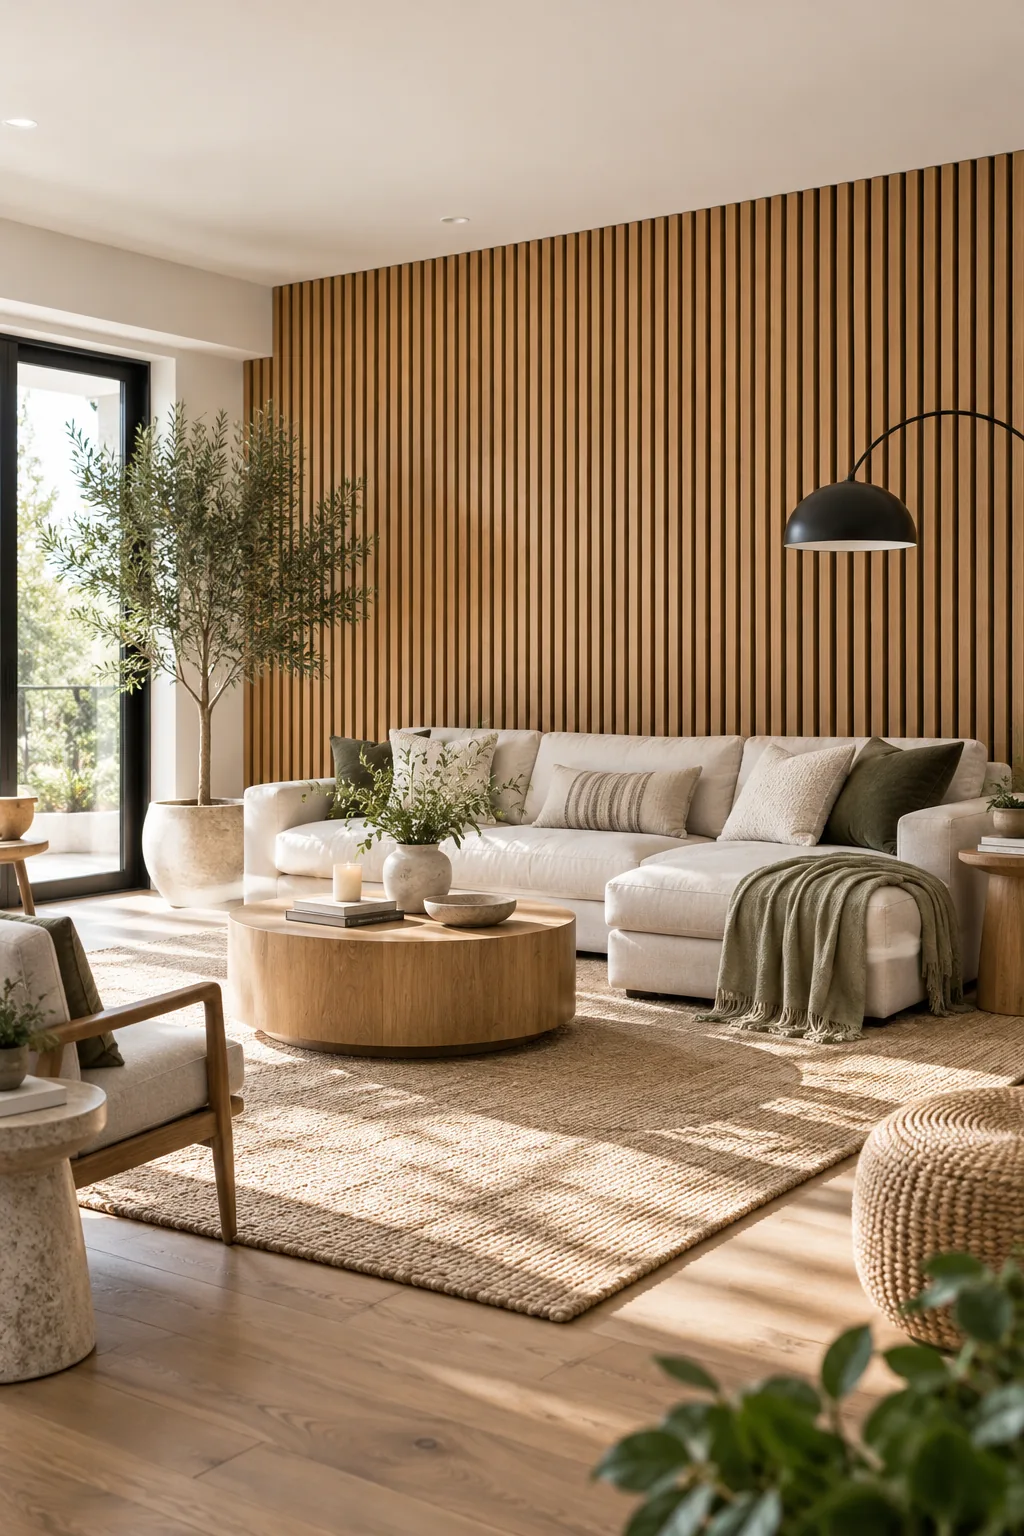
Always leave a slight breathing gap behind your sofas or sideboards to let the deep shadows work their magic and highlight the architectural texture.