Easy Fall Classroom Door: The 3-Month Printable Swap Plan
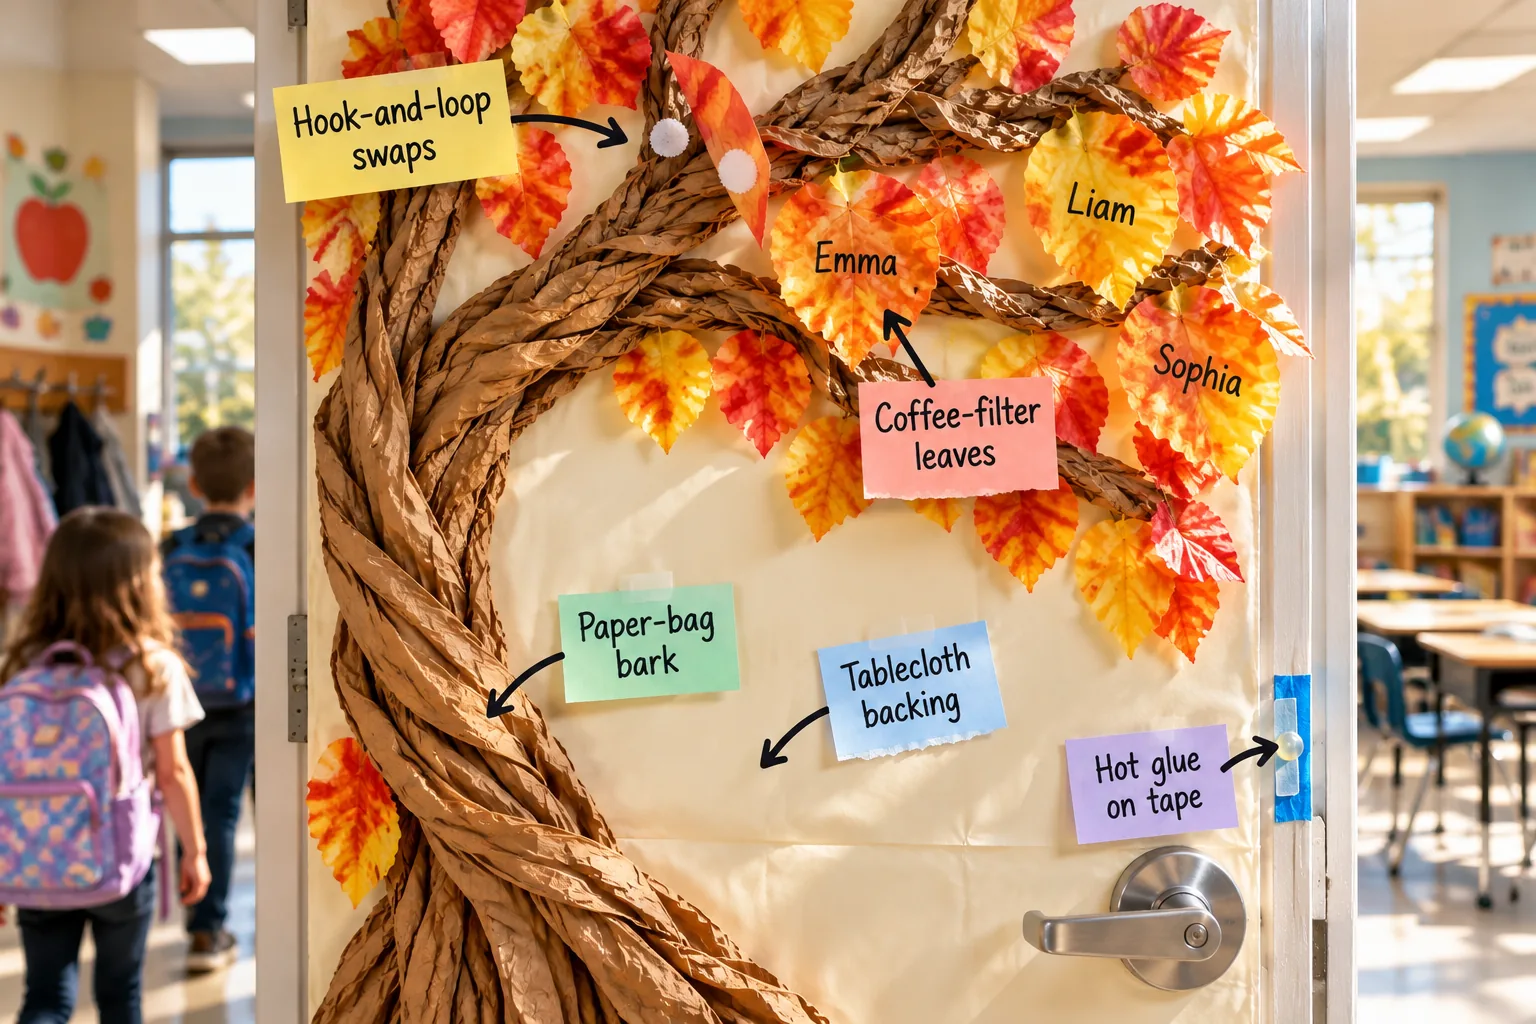
As a former teacher-turned-crafter, I know you need a damage-free, 36-by-80-inch paper tree base that goes up once and easily swaps its seasonal canopy for 25 students through Thanksgiving. Grab my printable Three-Month Fall Door Plan below to get the full supply list, quantities, and prep schedule for this easy progression.
Smooth Cream Tablecloth Base
Start by wrapping a standard 36-by-80-inch classroom door with an inexpensive cream plastic tablecloth. This smooth, uniform background completely hides the institutional door color, provides a clean canvas for your autumn tree, and protects the surface from accidental marker stains.
Trimming the Tablecloth Edges
Cut away any excess plastic hanging past the hinges to ensure the heavy door closes properly without snagging or tearing. Leaving exactly two inches of overhang allows you to fold the material neatly behind the frame for a seamless, professional finish.
Sizing the Background Layer
Classroom entrances vary slightly depending on the building’s age, so verifying your dimensions prevents wasted materials and frustrating installation delays. Measure your opening carefully before cutting the plastic to ensure the cream background stretches perfectly flat across the entire surface.
| Door Type | Width | Height | Tablecloth Size |
|---|---|---|---|
| Standard Classroom | 36 inches | 80 inches | 54 x 108 inches |
| Oversized Hallway | 42 inches | 84 inches | 60 x 120 inches |
| Narrow Office | 32 inches | 80 inches | 54 x 108 inches |
Damage-Free Tape Anchors
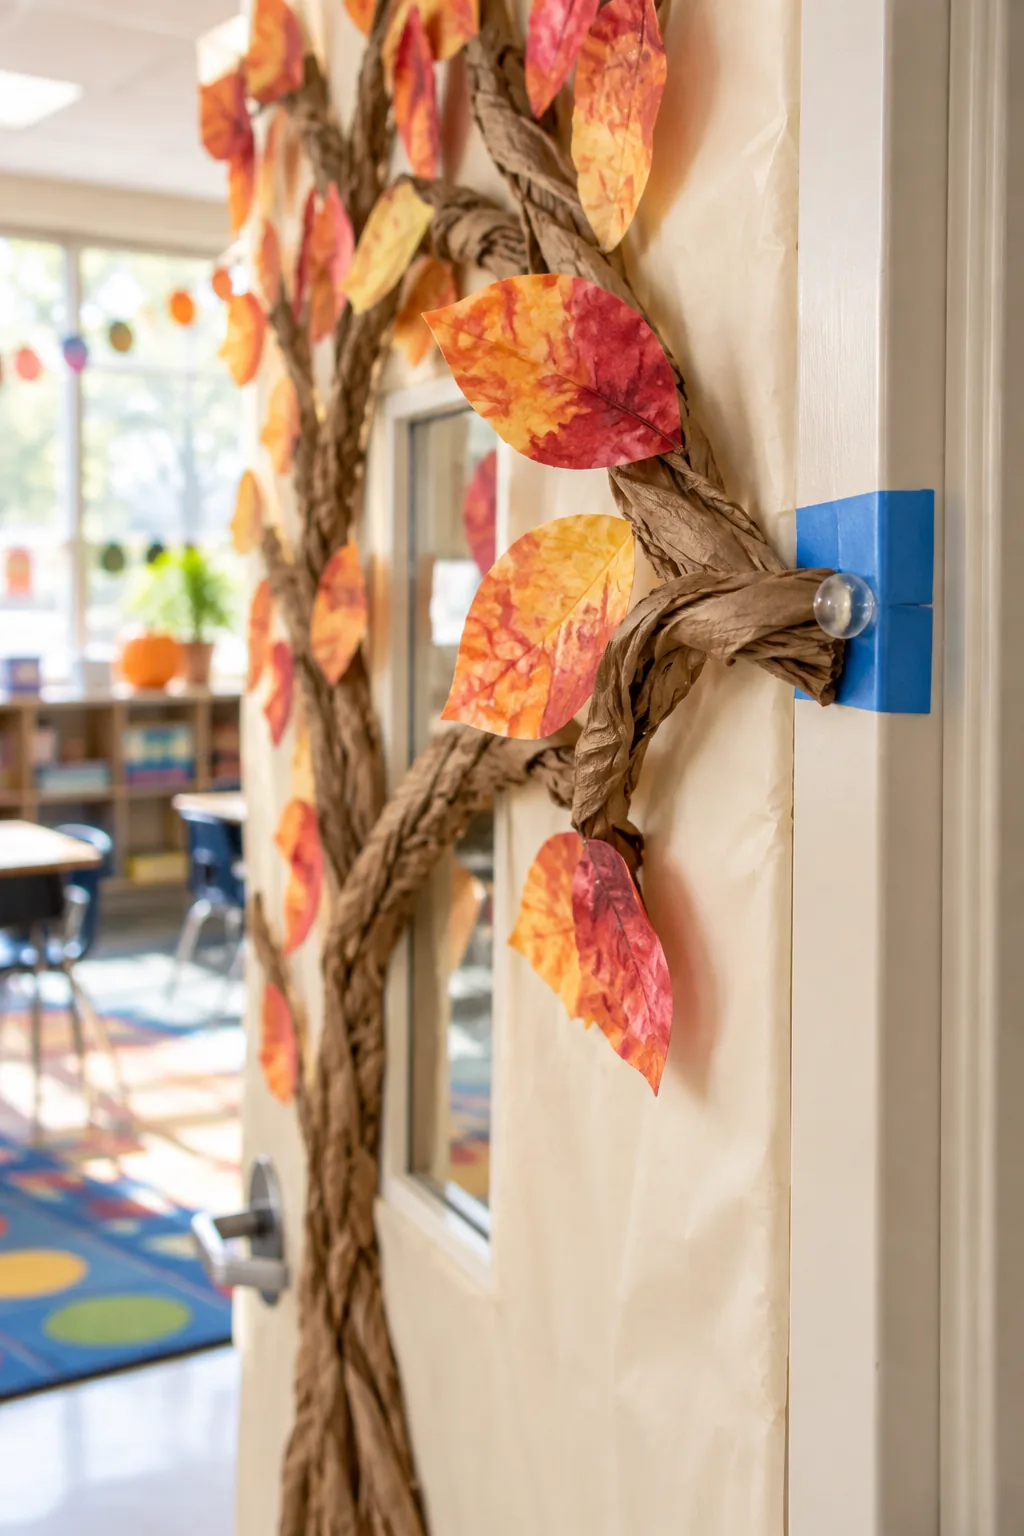
Secure the heavy paper tree without damaging the school’s paint by using a layered tape method. Apply strips of blue painter’s tape directly to the door frame, then add a dot of hot glue onto the tape to hold the branches firmly.
Before heating up your glue gun, ensure your anchoring method won’t cause issues with the facilities department at the end of the semester.
Selecting the Right Painter’s Tape
Always choose a medium-adhesion blue tape designed explicitly for painted surfaces rather than standard masking varieties. This specific adhesive holds the weight of the paper bag trunk securely for three months while guaranteeing a completely clean release in December.
Preparing the Frame Surface
Dust and oils on the metal trim will inevitably cause your tape anchors to peel prematurely under the weight of the tree. Taking five minutes to thoroughly clean the attachment points ensures your decor survives the entire autumn season intact.
- Wipe the outer door frame with a damp microfiber cloth to remove surface dust.
- Dry the metal completely using a clean paper towel.
- Apply rubbing alcohol to a cotton pad and scrub the specific anchor zones.
- Wait exactly two minutes for the alcohol to evaporate before applying tape.
Twisted Paper-Bag Trunk
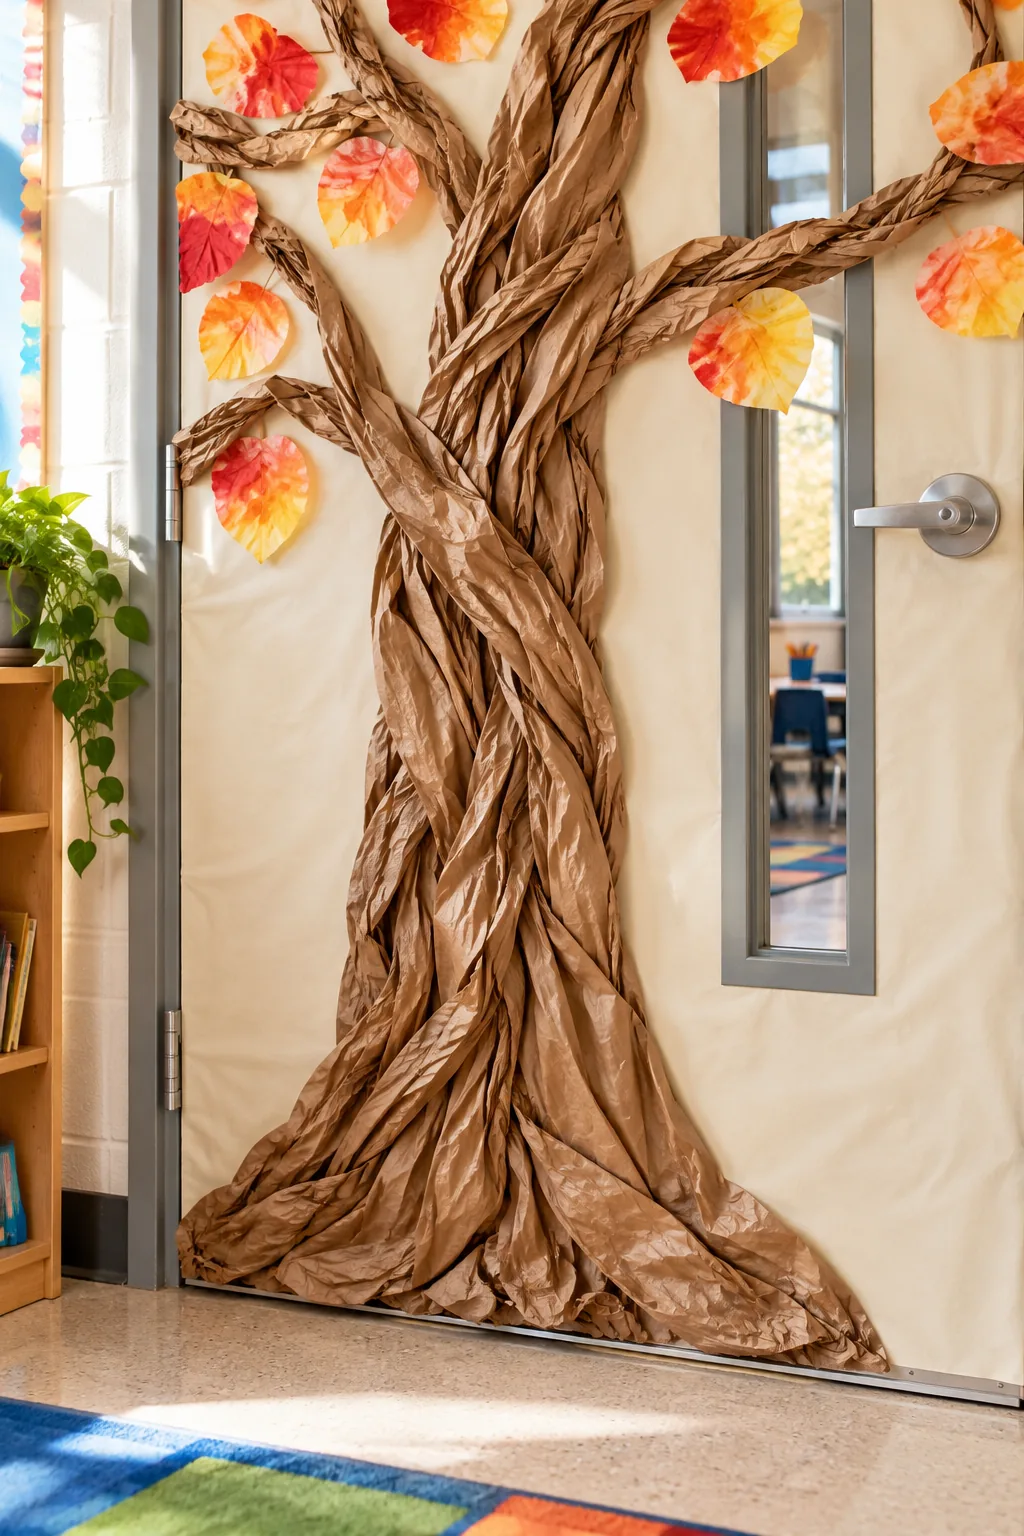
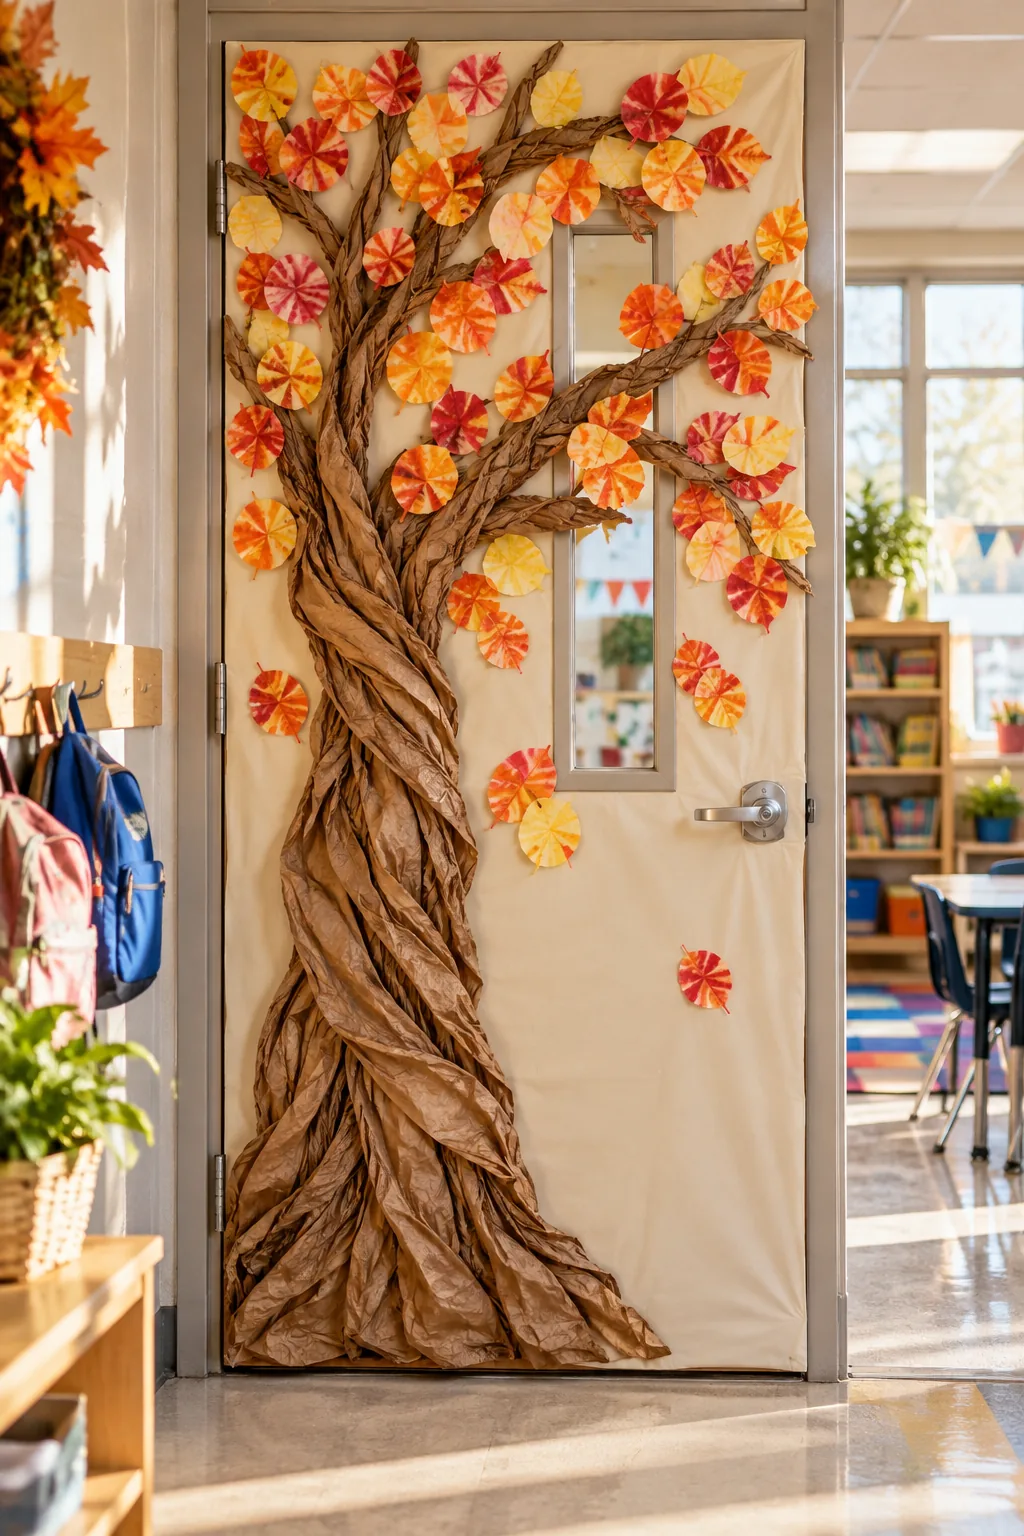
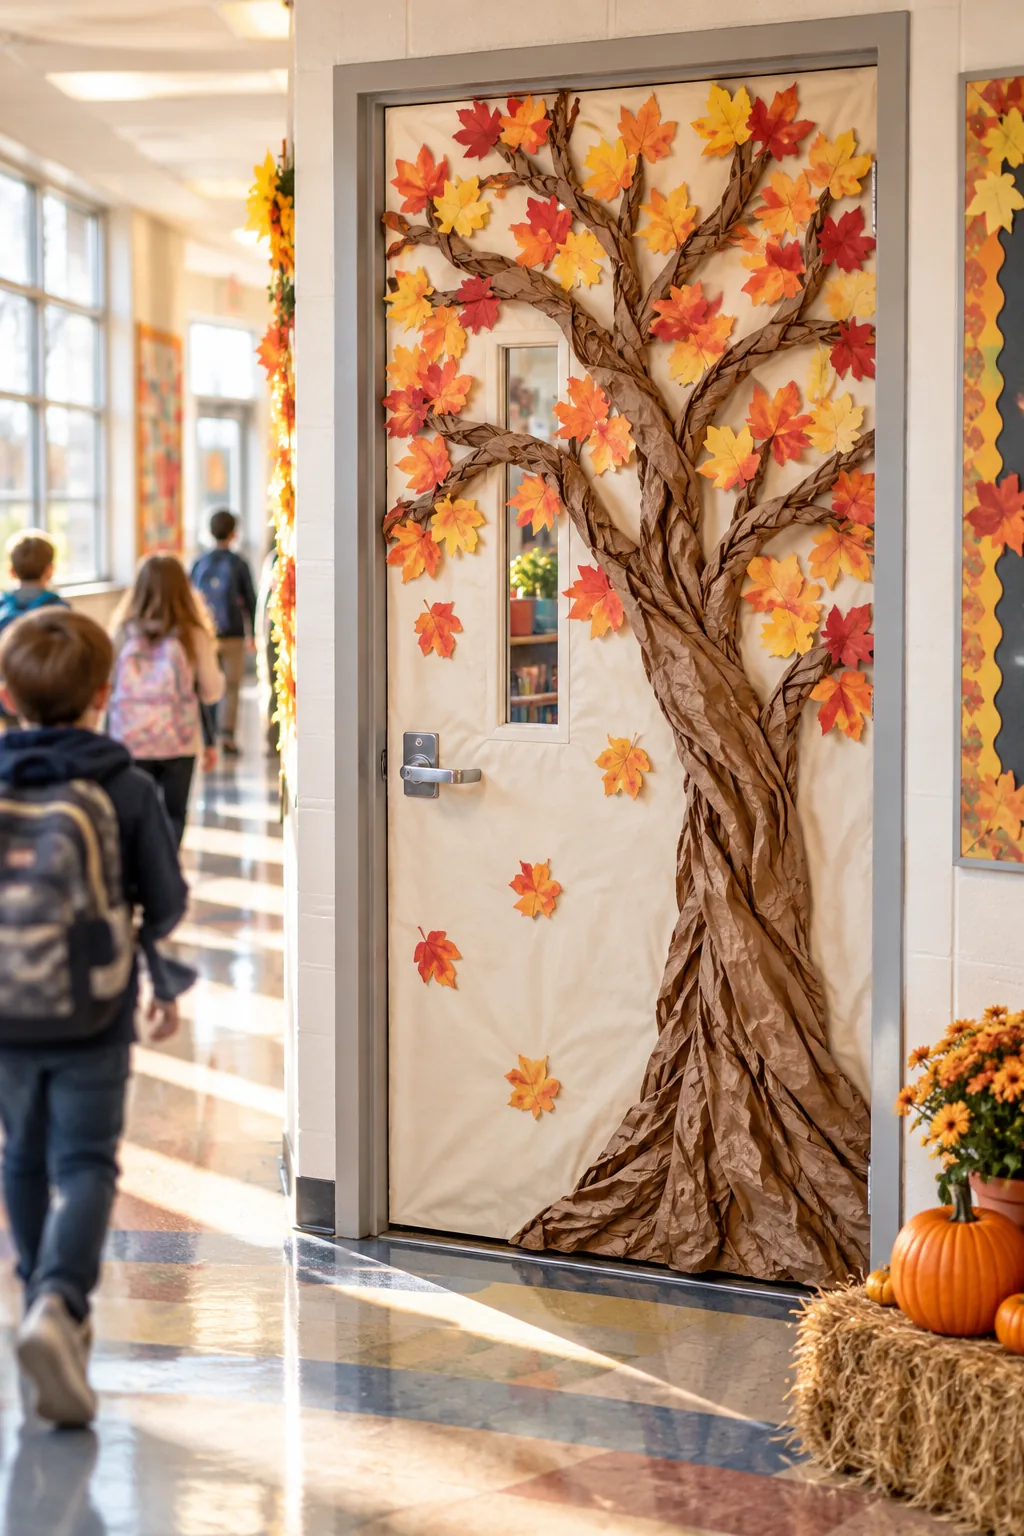
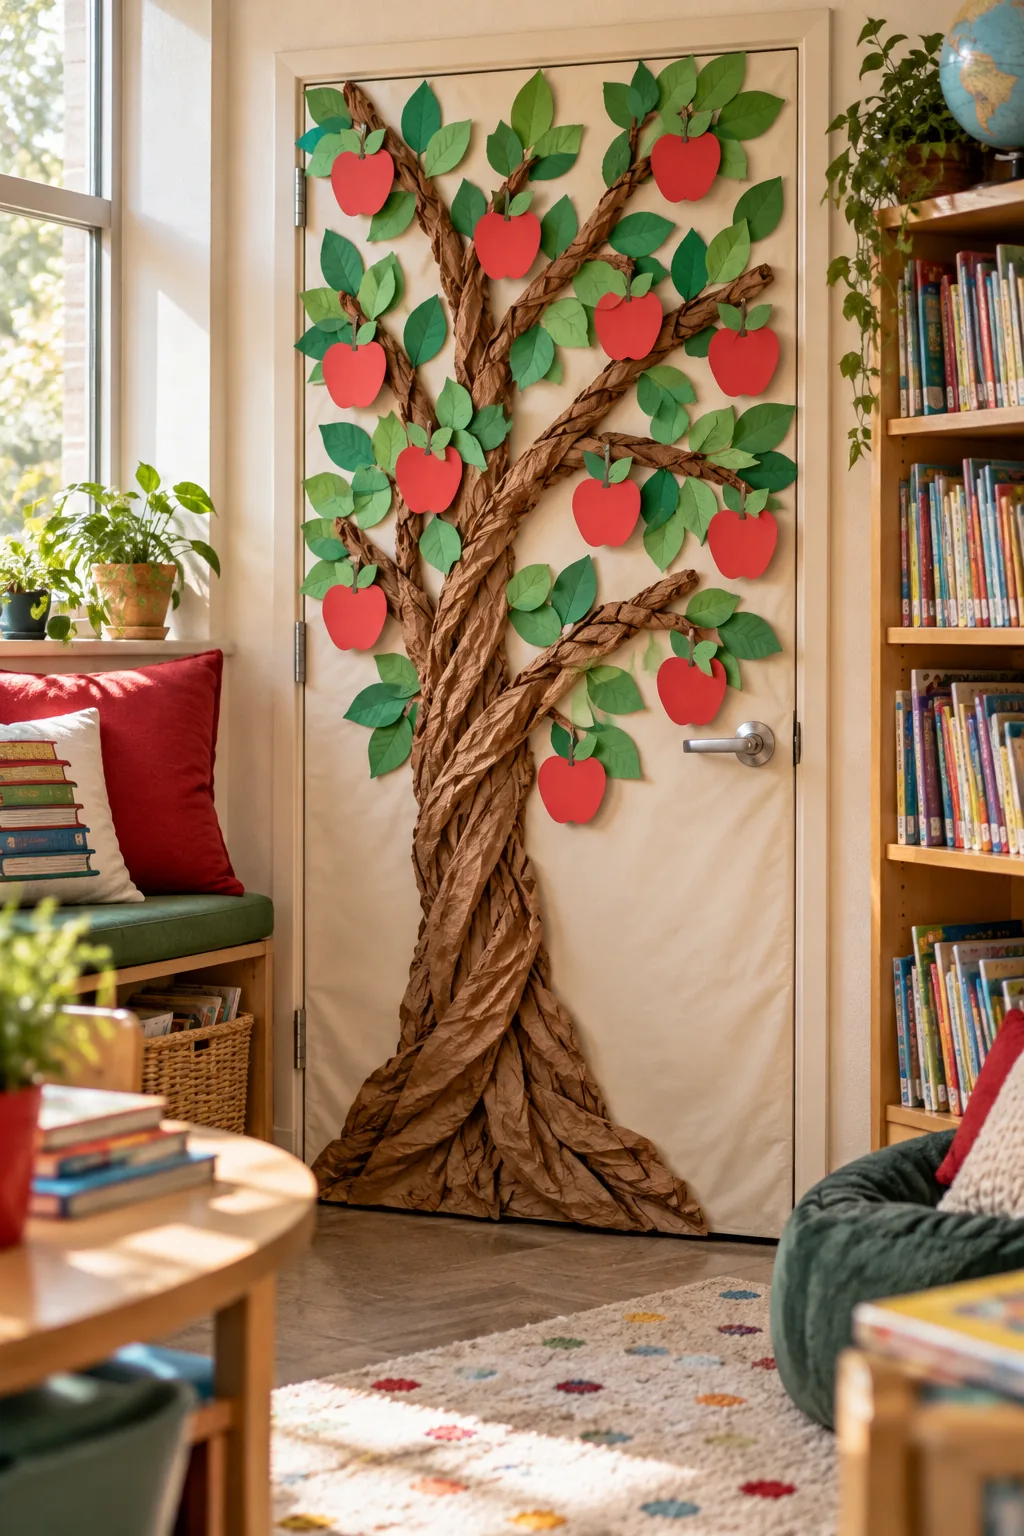
Create realistic bark texture by twisting and crumpling standard brown paper grocery bags. When I built this for my own kids’ playroom, I found that weaving these twisted segments from the bottom corner outward forms a sturdy, highly dimensional trunk.
Crumpling the Paper Bags
Open each grocery bag fully and tear it down one seam to create a large flat rectangle. Vigorously crumple the paper into a tight ball several times to break down the stiff fibers, making it much easier to sculpt into organic branch shapes.
Weaving the Branch Structure
Overlap the ends of your crumpled paper strips by at least four inches to maintain structural integrity throughout the season. Twist these overlapping joints tightly together, forming continuous long branches that reach dynamically across the upper half of the cream background.
Securing the Heavy Trunk
The base of the trunk carries the most physical weight and requires reinforced anchoring at the bottom hinge corner. Apply three separate tape-and-glue anchor points within the lowest six inches of the tree to prevent the entire structure from sagging.
Shaping the Upper Branches
Fan the thinner paper segments outward to mimic the natural spread of a mature oak canopy. Leave plenty of open cream space between these upper limbs so the colorful foliage has room to stand out without looking visually cluttered.
Vibrant Coffee-Filter Leaves
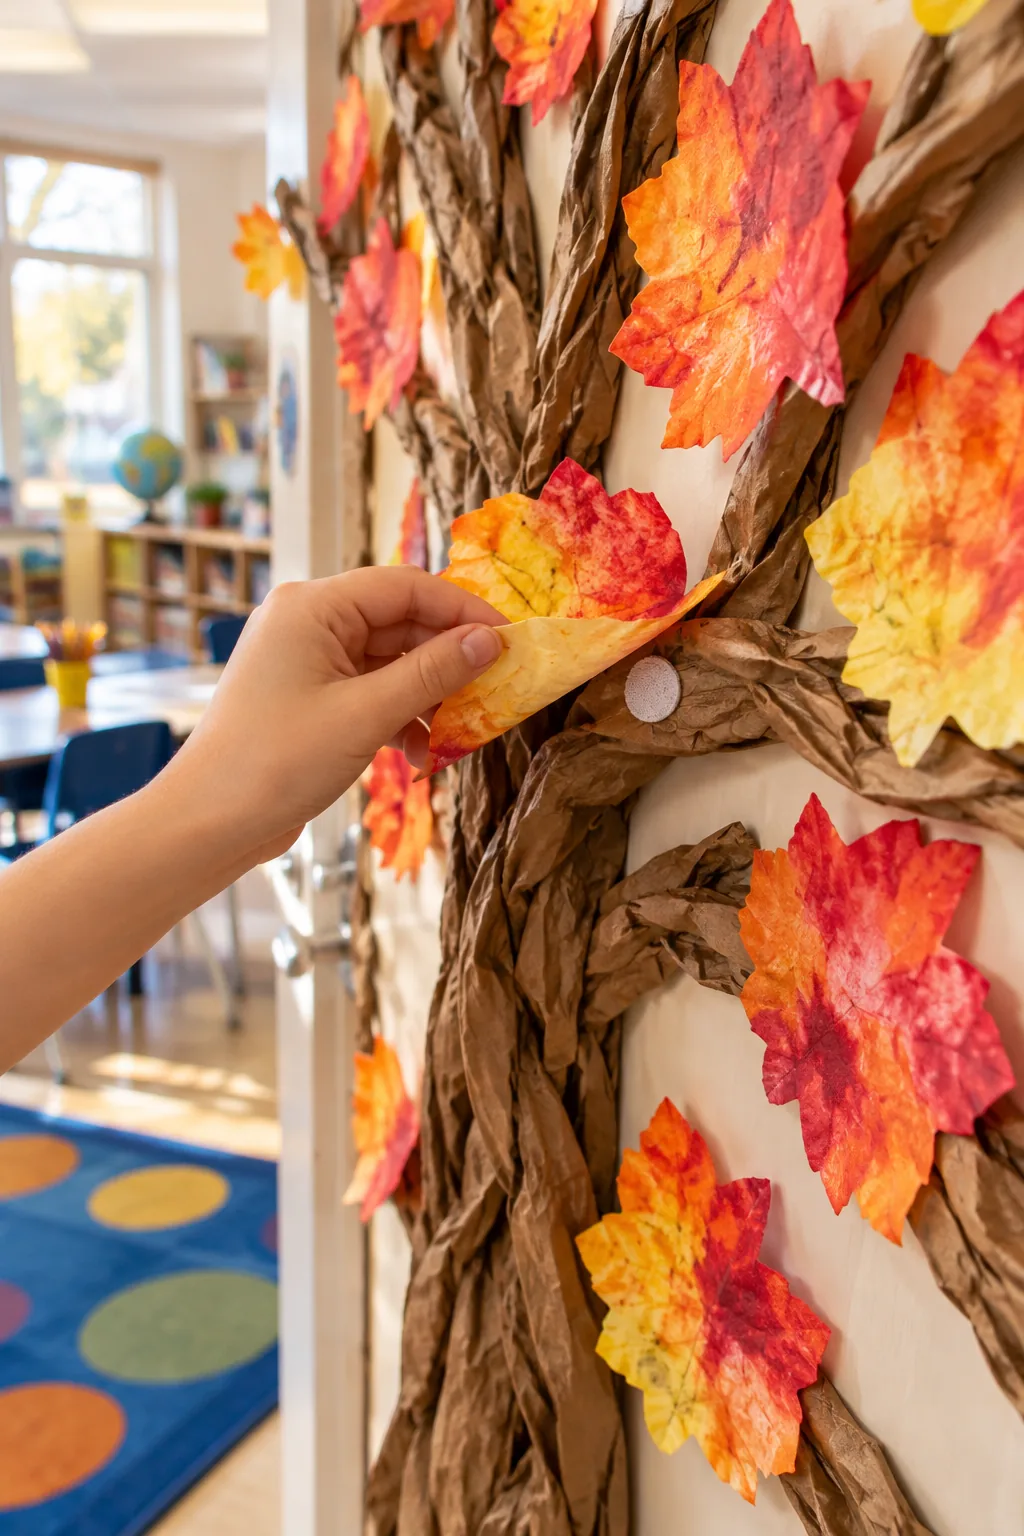
Craft the September canopy by coloring standard white coffee filters with washable markers and lightly misting them with water for a tie-dye effect. Once dry, write each of your 25 students’ names on a leaf in bold black marker.
Blending the Tie-Dye Colors
Encourage vibrant color bleeding by applying thick, concentrated rings of red, orange, and yellow marker ink. Leaving small gaps of white space between the colors allows the water to pull the pigments together into smooth, natural autumn gradients.
The Water Misting Technique
Place the colored filters on a plastic tray and spray them with exactly three pumps of water from a fine-mist bottle. Oversaturating the paper washes the ink away entirely, while a light mist perfectly activates the dye for a glowing result.
Writing the Student Names
Wait a full 24 hours for the damp filters to dry completely before attempting to add typography. Using a thick permanent marker ensures the names remain highly legible from across the hallway, giving every child a visible place on the tree.
Hook-and-Loop Fastener Dots
Attach the foliage to the branches using matching pairs of small white hook-and-loop dots. Place one dot on the paper branch and the corresponding dot on the leaf, allowing the pieces to be removed easily without tearing the brown paper base.
Aligning the Adhesive Pairs
Press the hook and loop sides together before removing the plastic backing from the second adhesive face. Press the leaf directly onto the branch, ensuring the two halves align perfectly for a secure hold that withstands daily hallway breezes.
Swapping to October Pumpkins
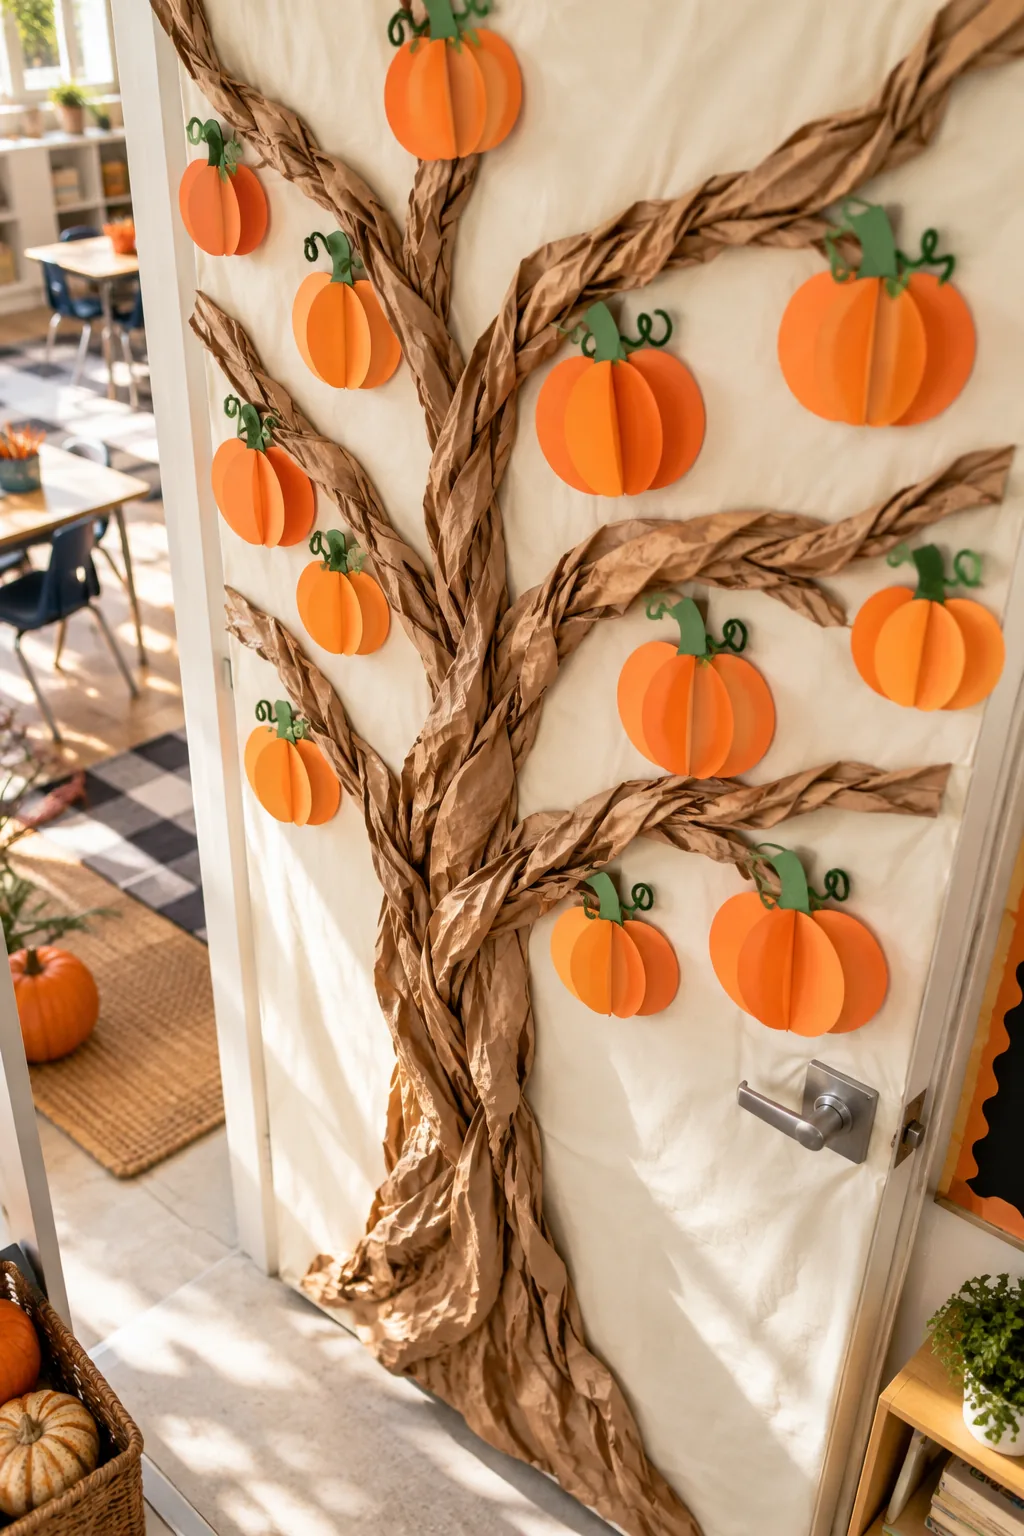
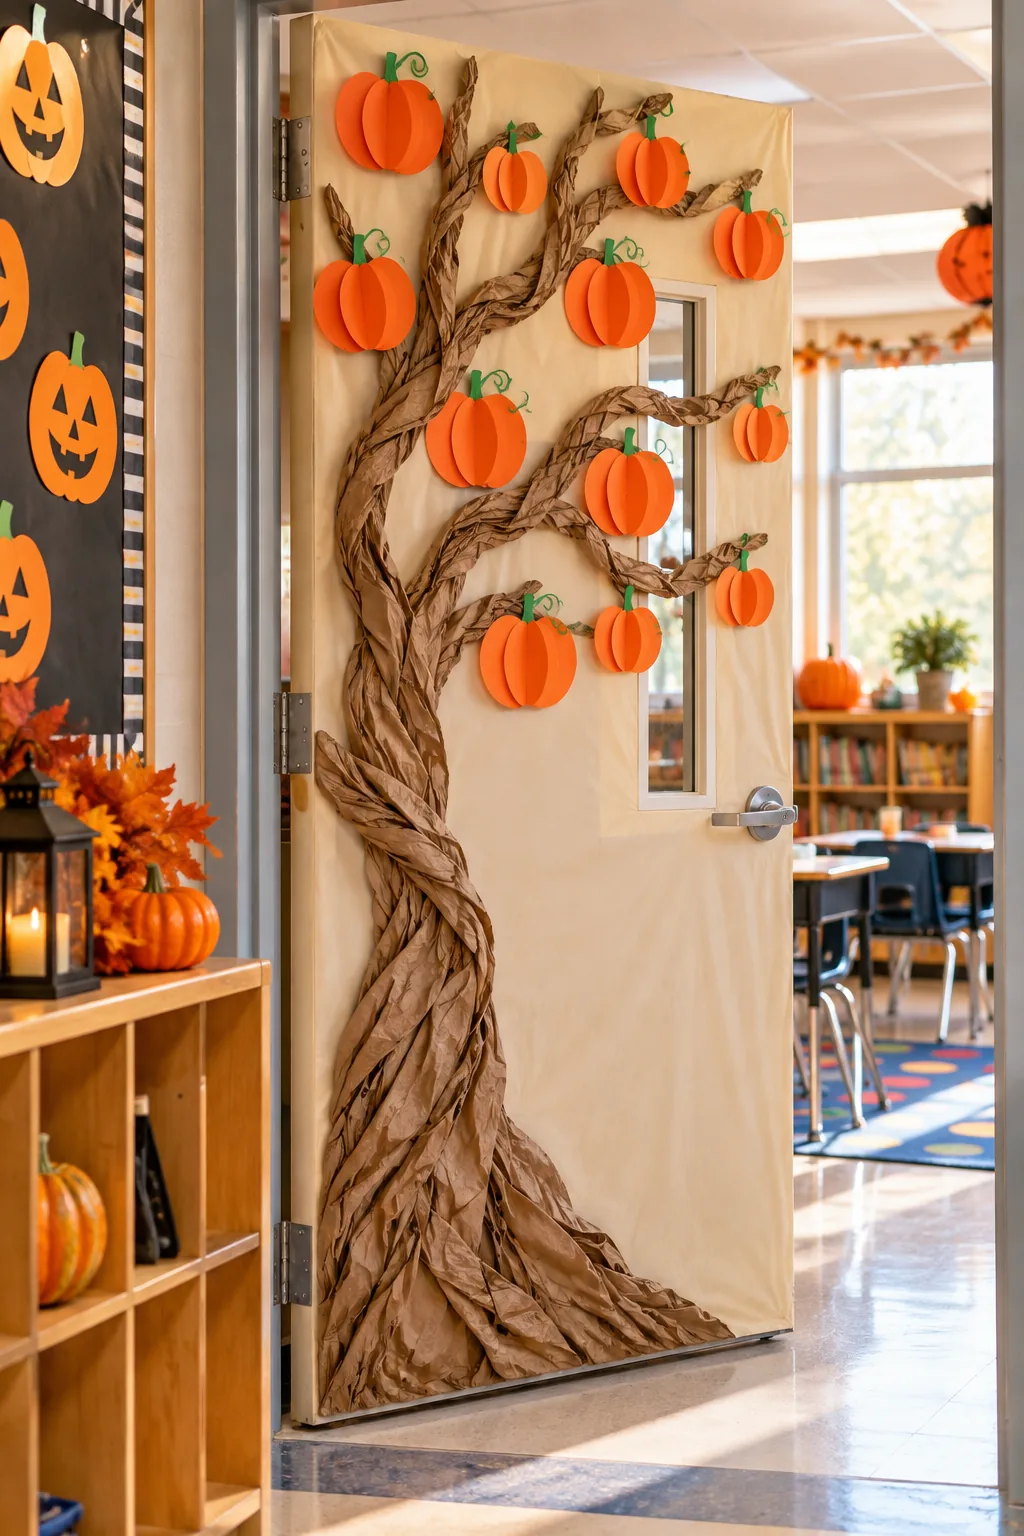
When October arrives, simply peel the coffee-filter leaves off the hook-and-loop dots and replace them with orange paper pumpkins. I used this exact method last year, and utilizing the same attachment points instantly transformed the door for Halloween in under 15 minutes.
Sizing the Pumpkin Cutouts
Cut your orange paper pumpkins to roughly four inches wide so they match the visual scale of the previous foliage. Keeping the seasonal elements uniformly sized ensures the overall composition of the tree remains balanced throughout the three-month progression.
Executing the 15-Minute Swap
Work systematically from the bottom branches to the top to keep the seasonal transition highly efficient. Peeling the old shapes off while immediately pressing the new pumpkins onto the exposed adhesive dots prevents you from losing track of the anchor points.
Storing the September Canopy
Stack the personalized coffee-filter leaves flat inside a large manila envelope once you remove them from the door. Keeping them safe and uncrushed allows you to return them to the students at the end of the year as a colorful keepsake.
Adding November Thankful Notes
For the final transition in November, remove the pumpkins and attach warm-toned cards in their place. My favorite part of this project was having my workshop students write a daily gratitude note on their cards, turning the entrance into a collaborative thankful tree.
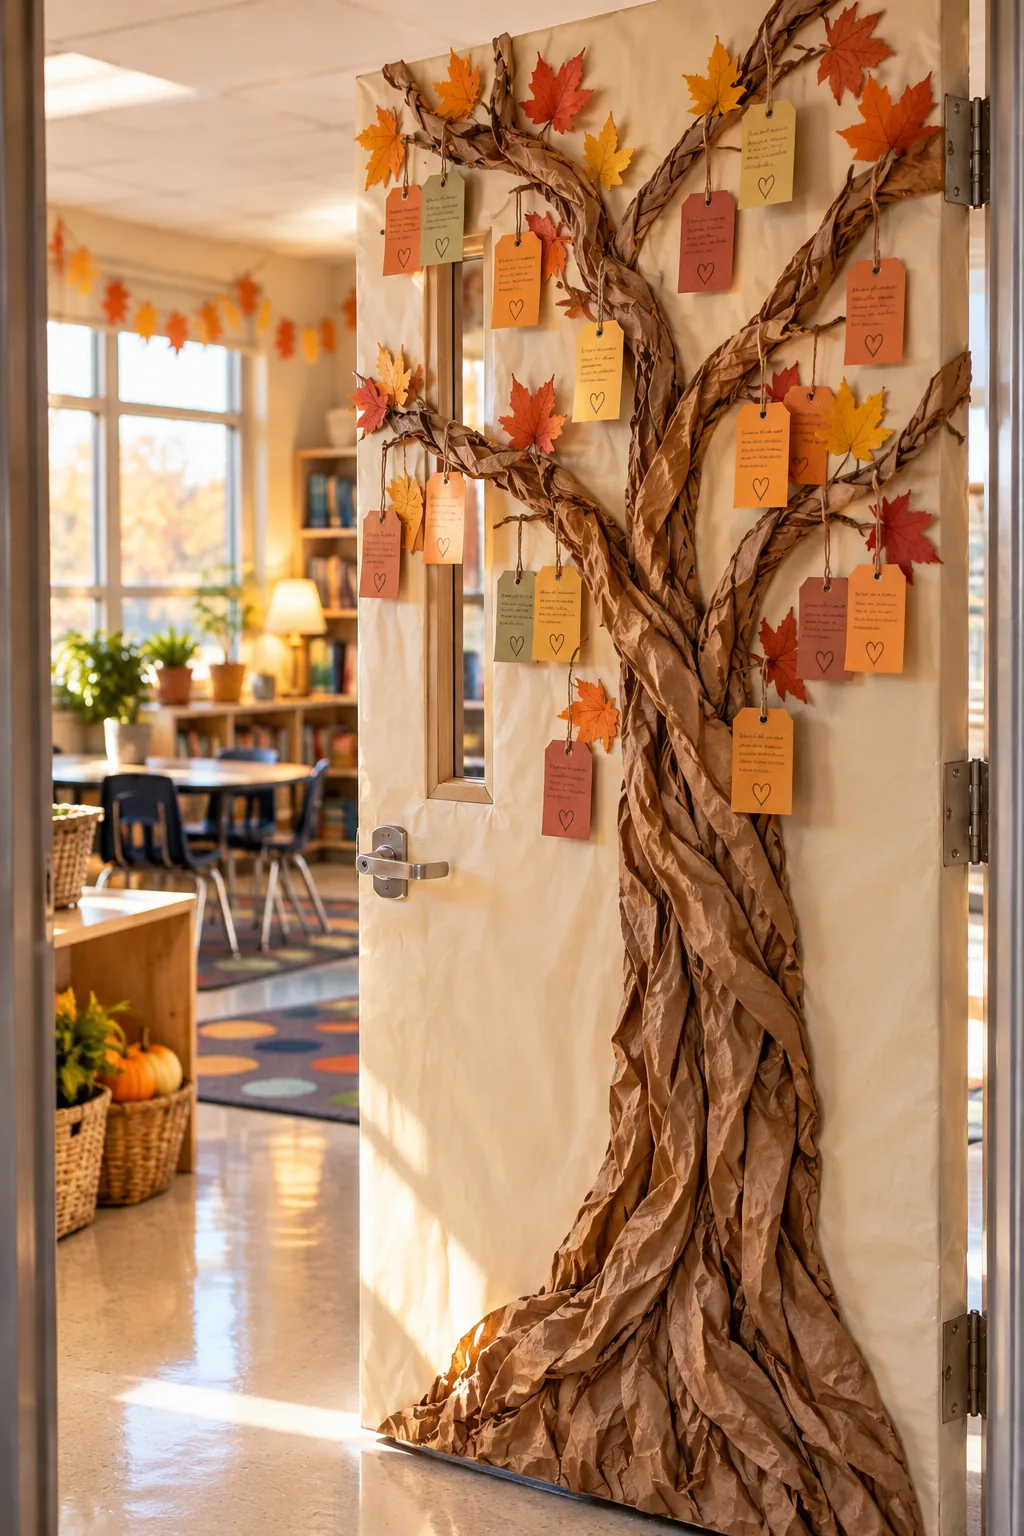
Choosing the Warm-Toned Cards
Select heavy cardstock in muted shades of burgundy, mustard, and rust for the final autumn canopy. The thicker paper provides a sturdy writing surface that won’t curl at the edges when attached to the vertical branches for several weeks.
Managing Daily Note Additions
Keep a basket of permanent markers near the entrance so children can easily add their thoughts during morning arrival. Dedicating just five minutes a day to this activity builds a meaningful classroom routine leading up to the holiday break.
Removing the Tree in December
Taking the installation down requires careful peeling to preserve the door frame’s finish. Gently warm the painter’s tape with a hairdryer on a low setting to soften the adhesive, allowing the entire trunk structure to pull away smoothly without chipping the paint.
Cleaning the Door Frame
Wipe down the edges of the door with a mild soapy solution after removing the plastic background. Eliminating any lingering dust or minor adhesive traces leaves the surface perfectly prepped for your upcoming winter holiday decorations.
Your Printable 3-Month Door Plan
Download the complete two-page guide featuring the exact supply and quantity list needed for a 36-by-80-inch door sized for 25 students. This Three-Month Fall Door Plan includes the full September-October-November swap schedule and tracks the specific prep minutes required for each monthly transition.
Keep your seasonal transitions smooth by reviewing the upcoming month’s requirements a week before you plan to change the canopy.
More Seasonal Classroom Door Ideas
Explore these different themes to adapt the paper-tree method for other seasons and subjects.
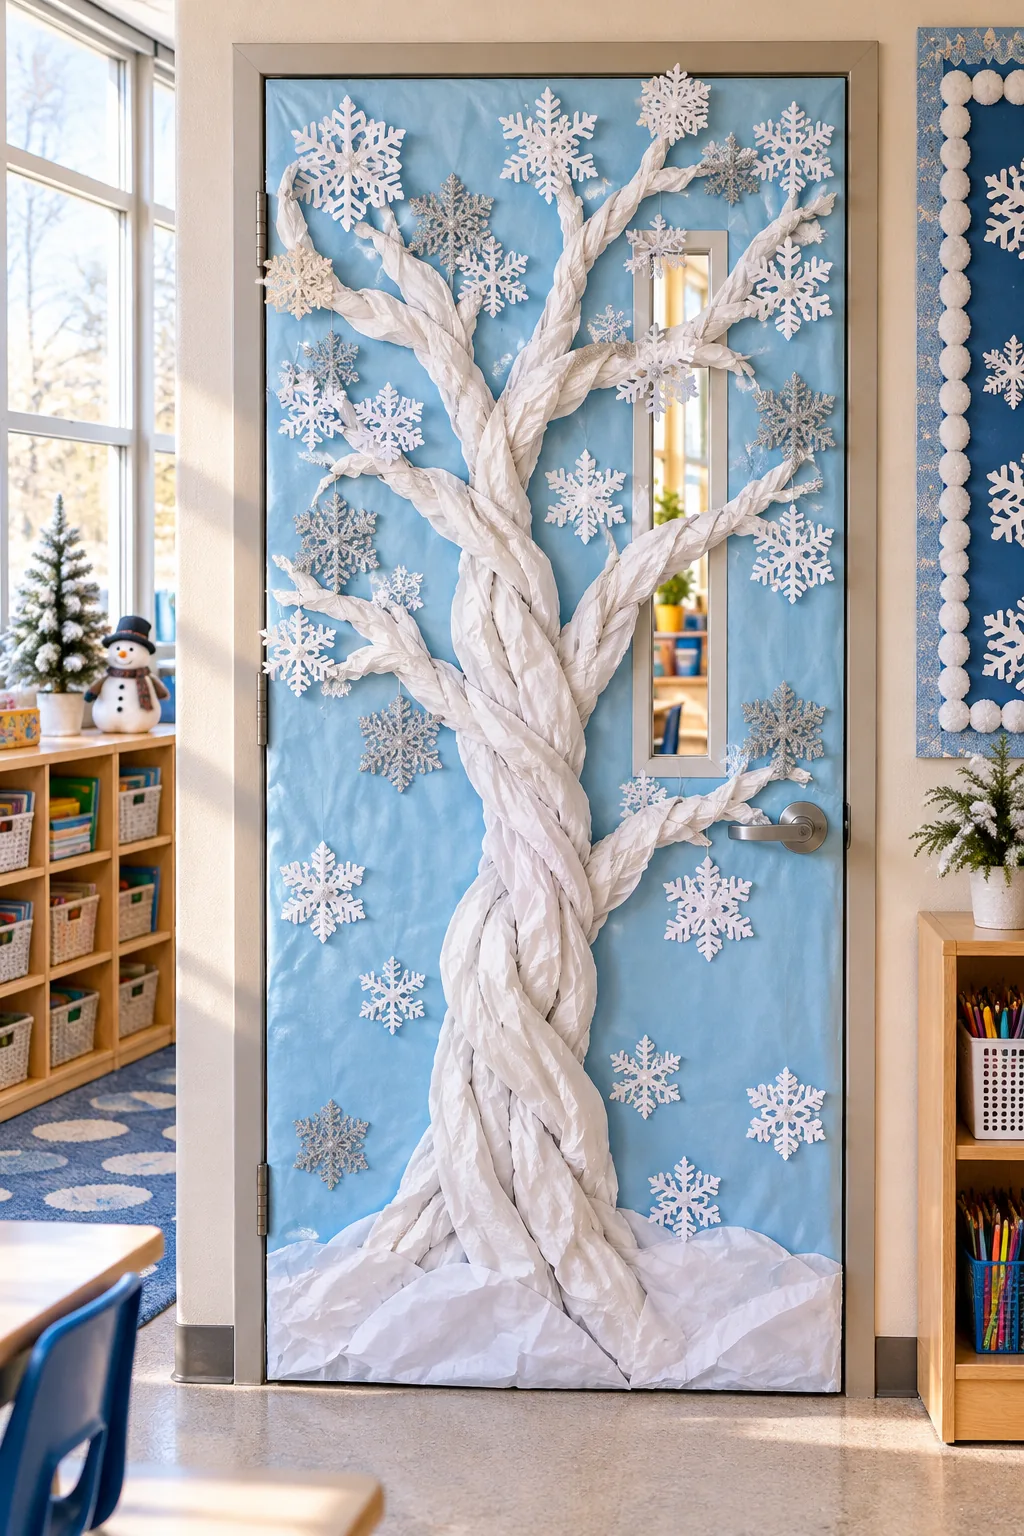
Icy Winter Wonderland Tree: Swap the brown bags for white paper to create a snowy birch tree perfect for January.
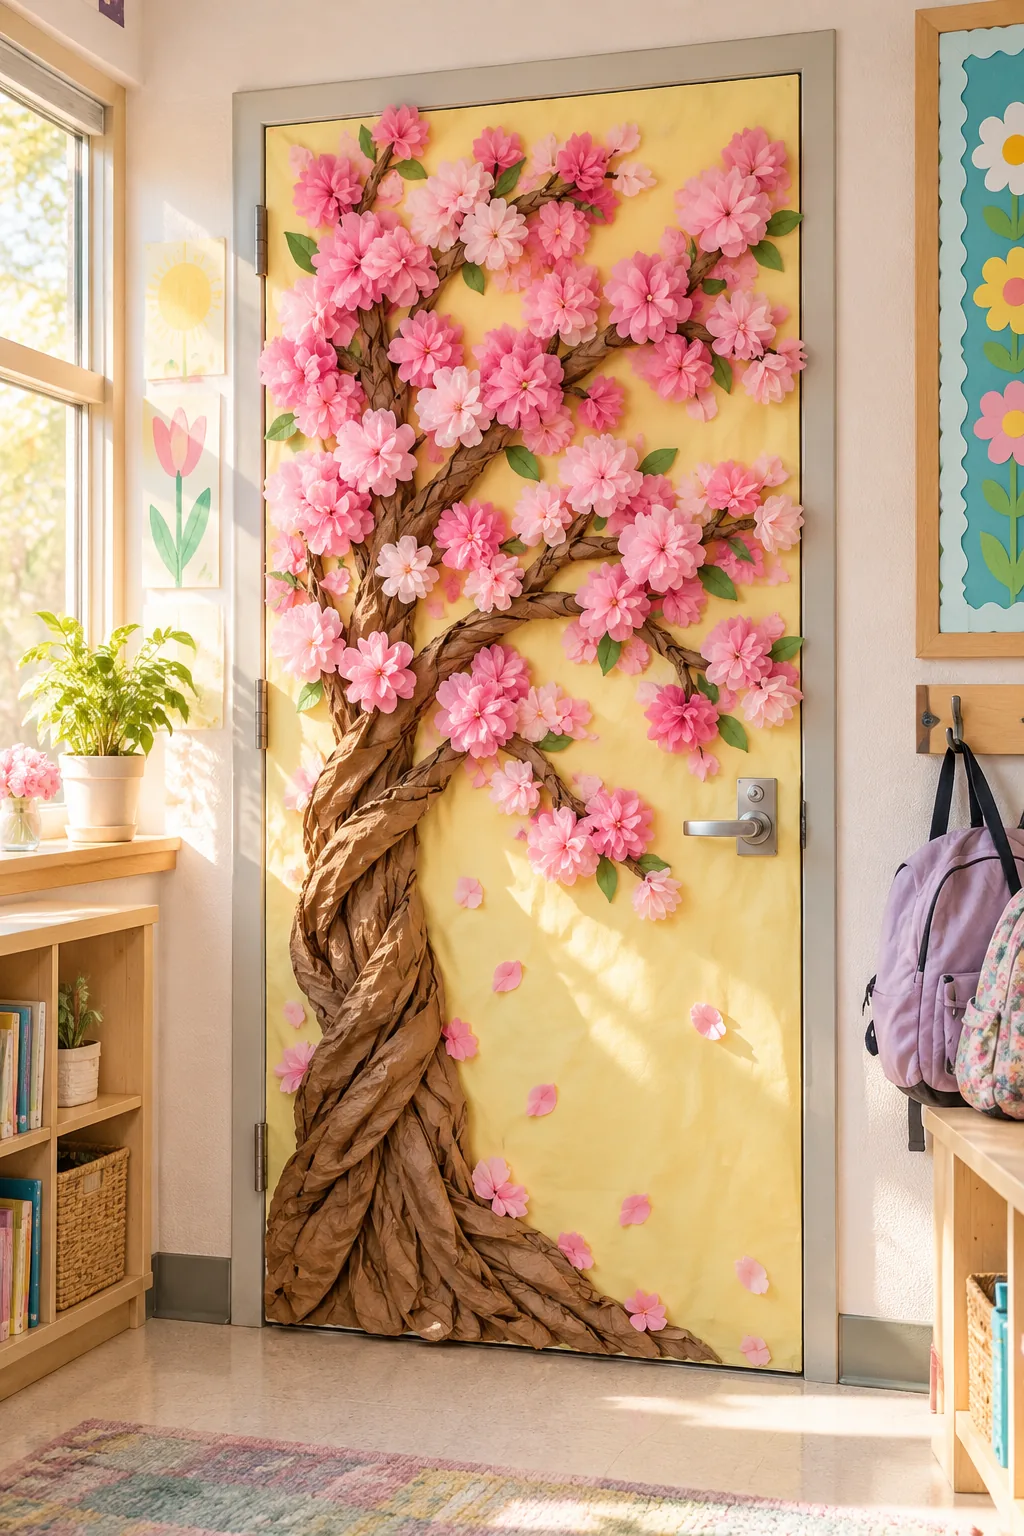
Spring Cherry Blossom Canopy: Scrunch squares of pink tissue paper to instantly turn the bare branches into a blooming spring canopy.
Library Corner Apple Tree: Encourage reading by having students write their favorite book titles on bright red paper apples.
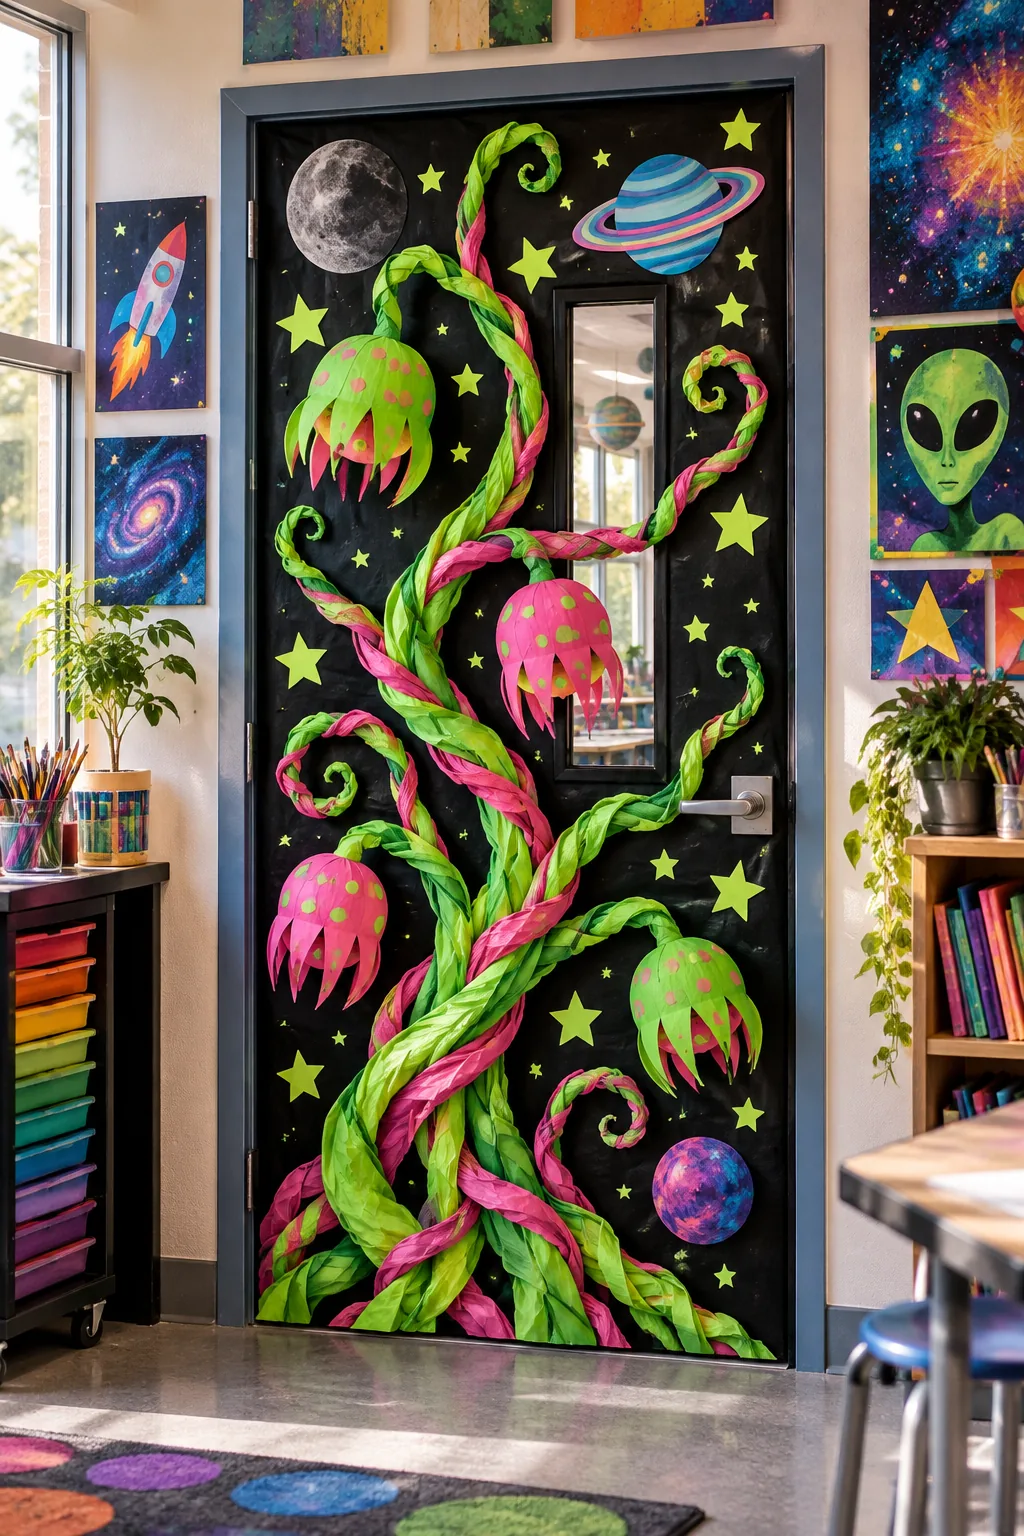
Neon Retro Space Vines: Use a black tablecloth and brightly colored neon paper to twist alien vines for an out-of-this-world art room.