
DIY Graduation Picture Display: Layout Blueprint & Supplies
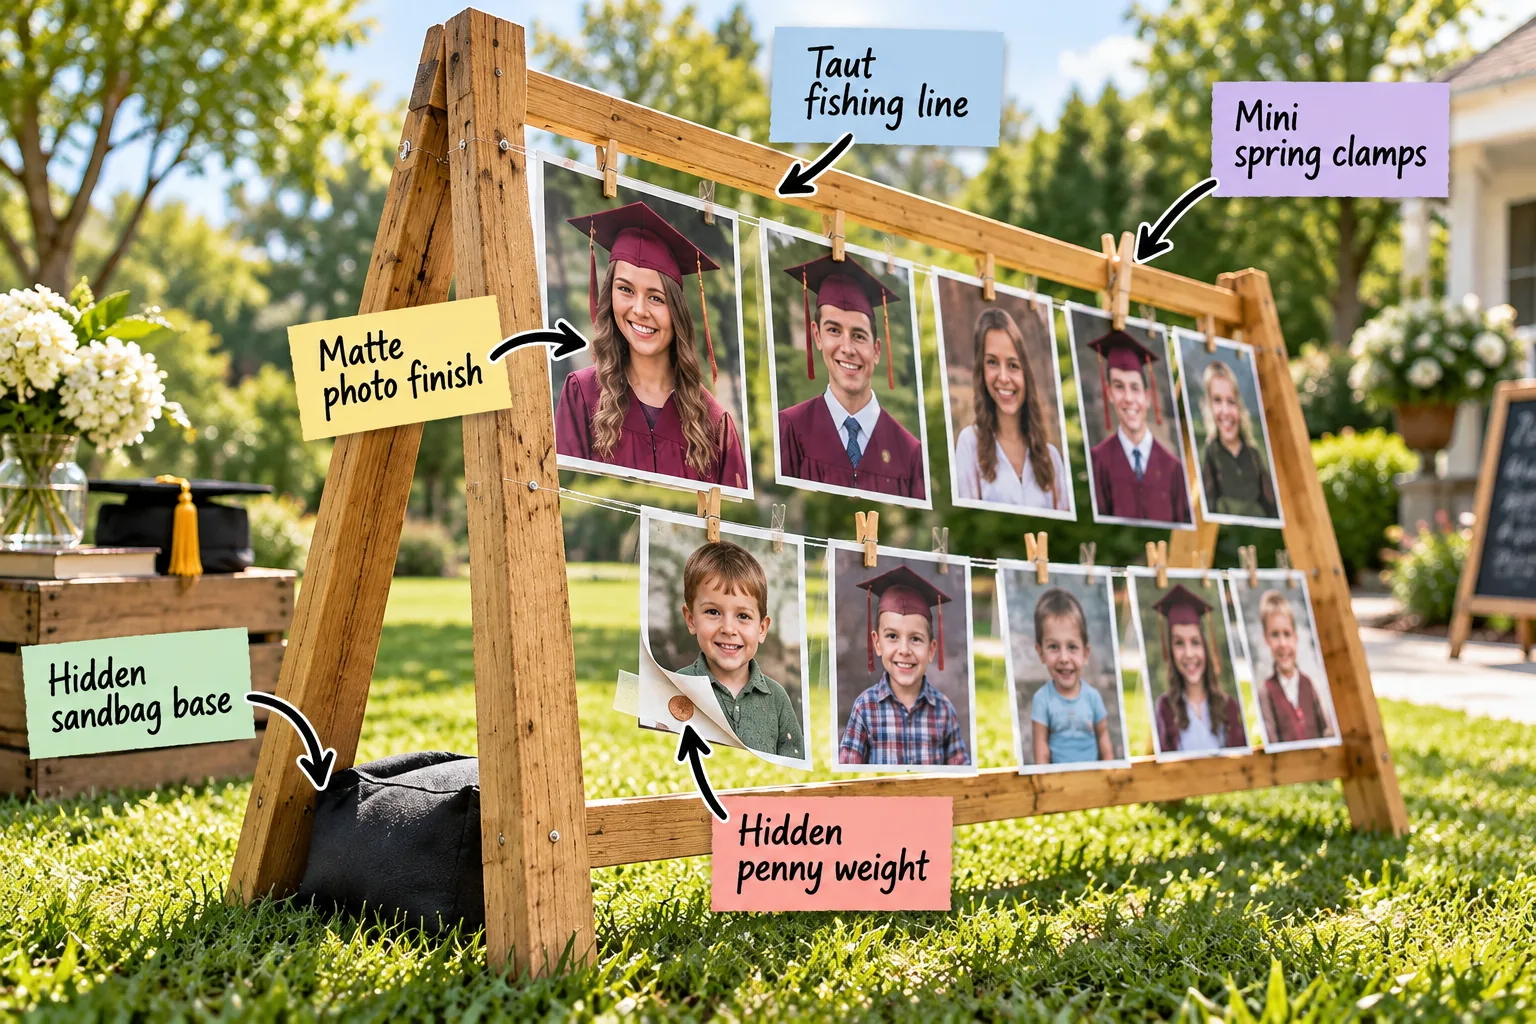
Planning an outdoor grad party means you need to build, string, and wind-proof a freestanding wooden photo timeline that actually stays upright. Grab our complete materials list and exact layout blueprint below to construct a sturdy, glare-free display using simple measurements.
Selecting the Best Wood for the Frame
Before cutting anything, inspect your local hardware store for straight, kiln-dried boards that resist warping in the intense summer heat.
- Select premium pine rather than common framing lumber to avoid heavy knots.
- Sight down the edge of each board to ensure it is perfectly straight.
- Check the moisture content to guarantee the wood holds hinges securely.
Using warped wood makes it impossible to achieve a perfectly flush A-frame joint at the top of the display.
Measuring the A-Frame Angles
To create a stable base, the two front legs and two back legs must meet at a precise angle at the top hinge.
| Leg Position | Length | Cut Angle | Purpose |
|---|---|---|---|
| Front Legs | 48 inches | 15 degrees | Main display support |
| Back Legs | 48 inches | 15 degrees | Rear stability |
| Front Brace | 36 inches | 90 degrees | Line anchor |
| Back Brace | 36 inches | 90 degrees | Sandbag shelf |
Cutting the tops at a 15-degree bevel allows the hinges to sit perfectly flat when the frame is completely open.
Anchoring the Wooden Frame
Stabilize the freestanding A-frame by placing a 15-pound black sandbag directly across the back horizontal leg.
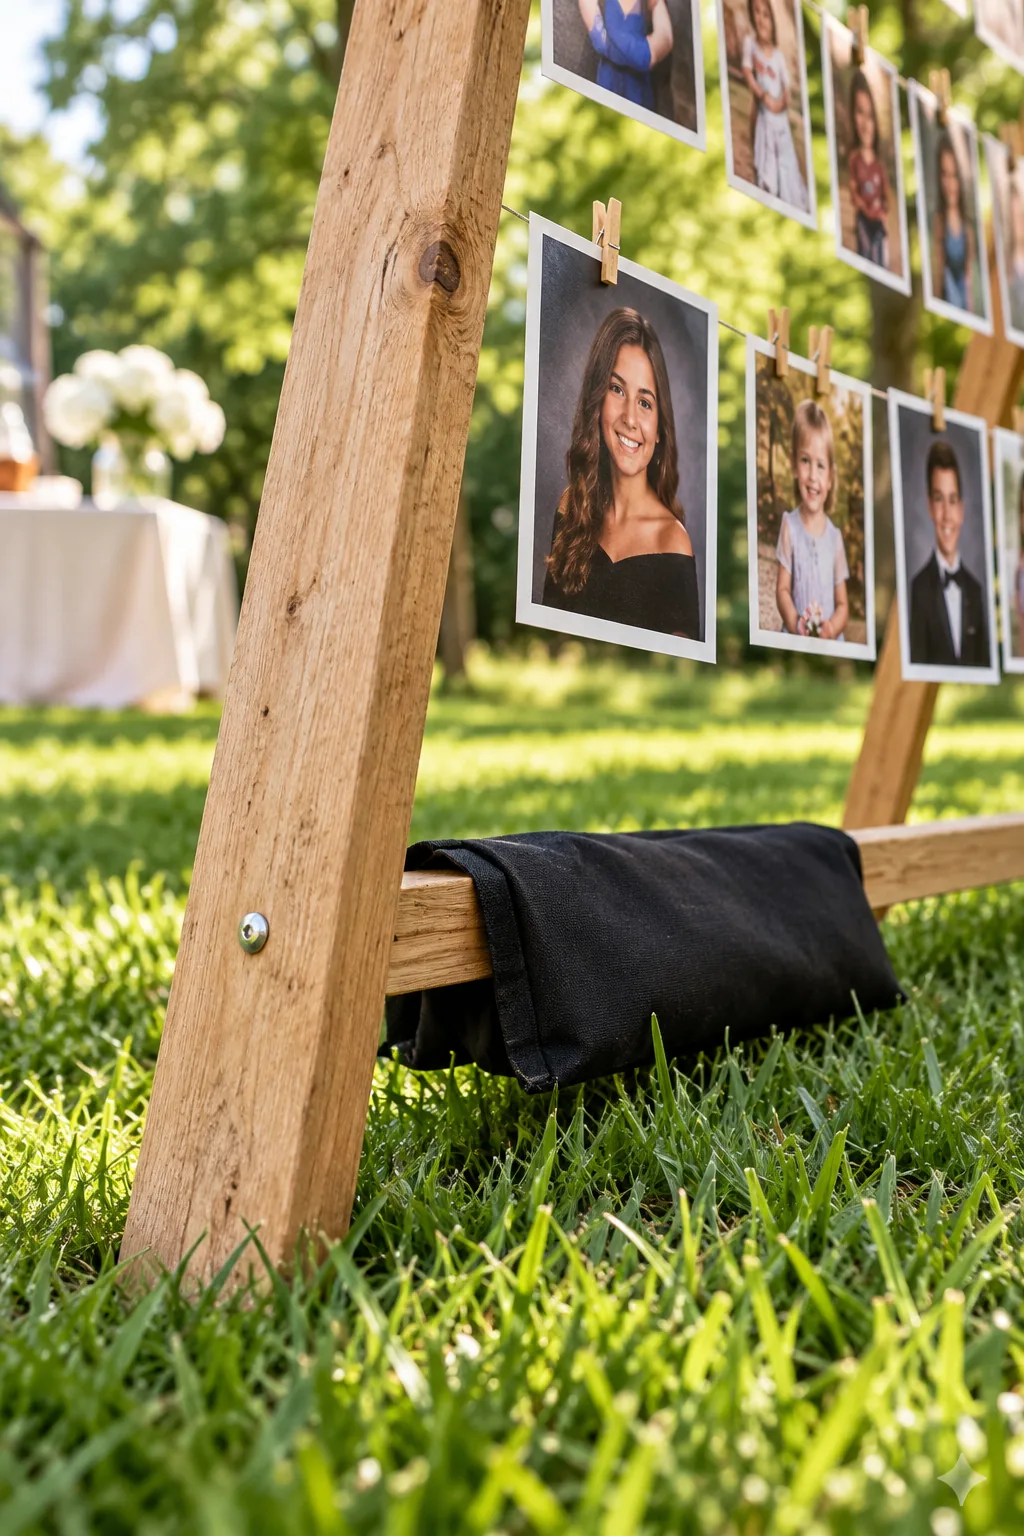
Set the frame hinges to a 30-degree angle to create a low center of gravity. I learned this the hard way at my sister’s Austin graduation when a sudden gust nearly toppled our unsecured display.
Pre-Drilling the Hinge Holes
Pine splits easily, so you must pre-drill pilot holes before driving the heavy-duty hinge screws into the top wooden joints.
- Clamp the front and back legs together tightly at the top.
- Mark the exact screw hole locations with a pencil.
- Drill pilot holes using a bit slightly smaller than the screw threads.
- Drive the screws in slowly to avoid stripping the soft wood.
A split leg compromises the entire structure, rendering the heavy-duty hinges useless against unpredictable outdoor breezes.
Stringing the Support Lines
Run 30-pound test clear monofilament fishing line horizontally across the front of the frame to hold the heavy paper prints.
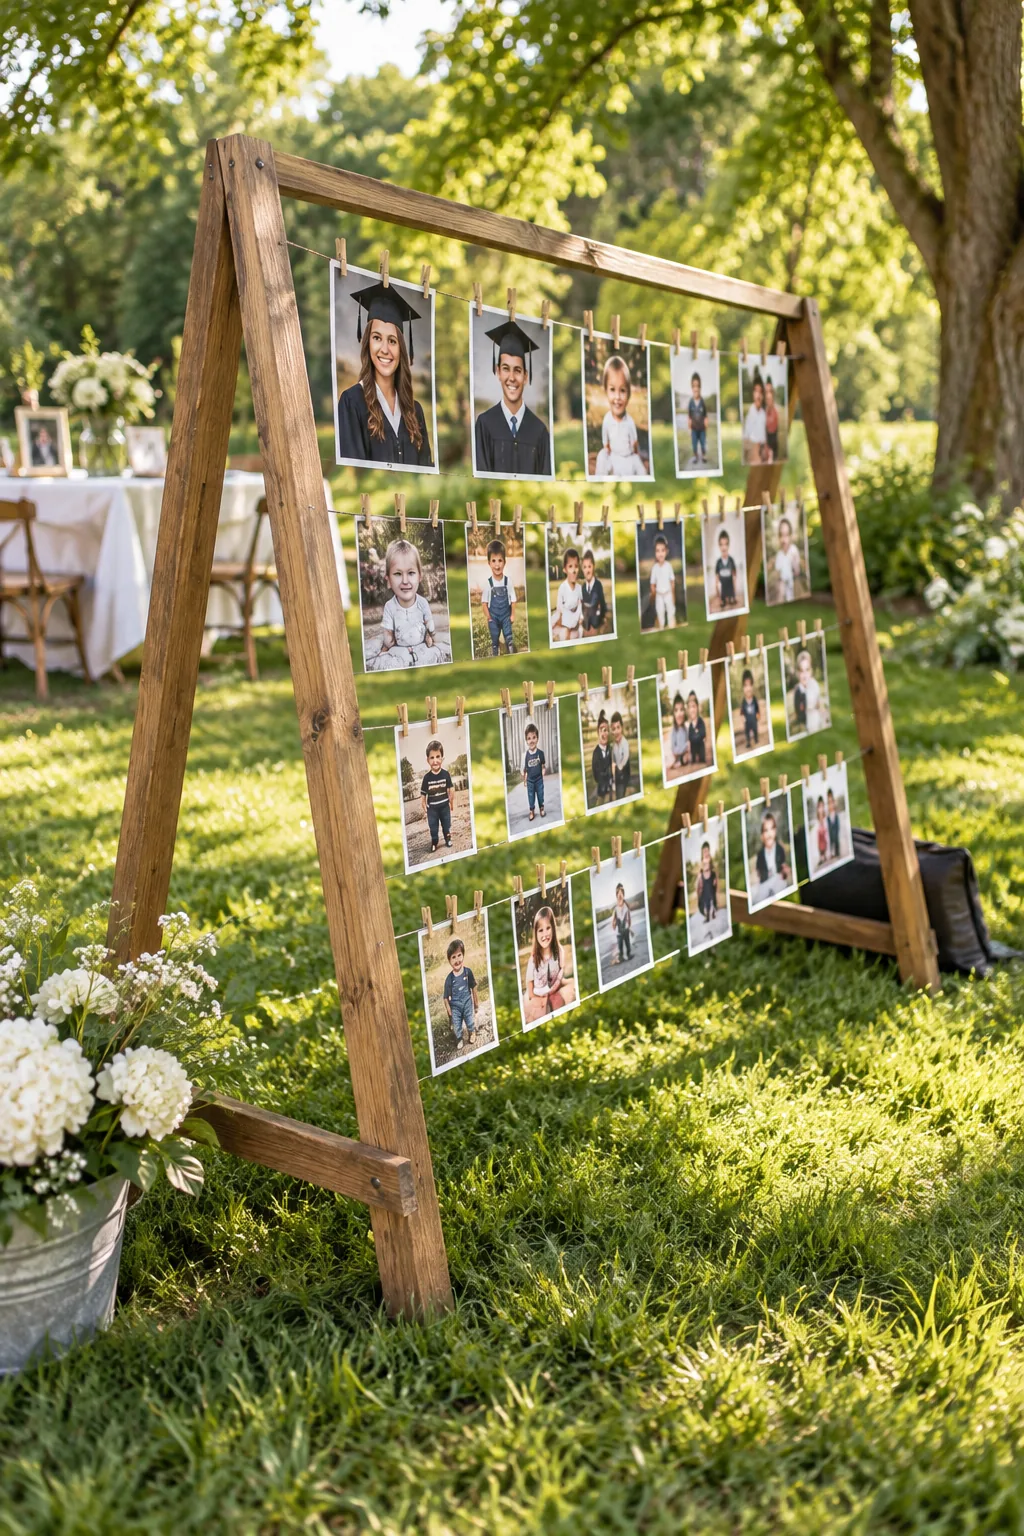
Space the horizontal lines exactly 14 inches apart to give standard 5×7 vertical portraits plenty of breathing room. In my own backyard setups, this exact spacing keeps the photos from overlapping even when the wind picks up.
Tying the Monofilament Knots
Standard square knots will slip out of monofilament line under tension, causing your photos to sag awkwardly in the middle of the frame.
Pulling the line taut ensures the 1-inch mini clamps stay perfectly horizontal across the entire 36-inch span.
The Complete Supply List & Layout Blueprint
Construct the frame using four 48-inch 1×2 pine boards for the legs, and always order your portraits with a matte finish rather than standard glossy paper.
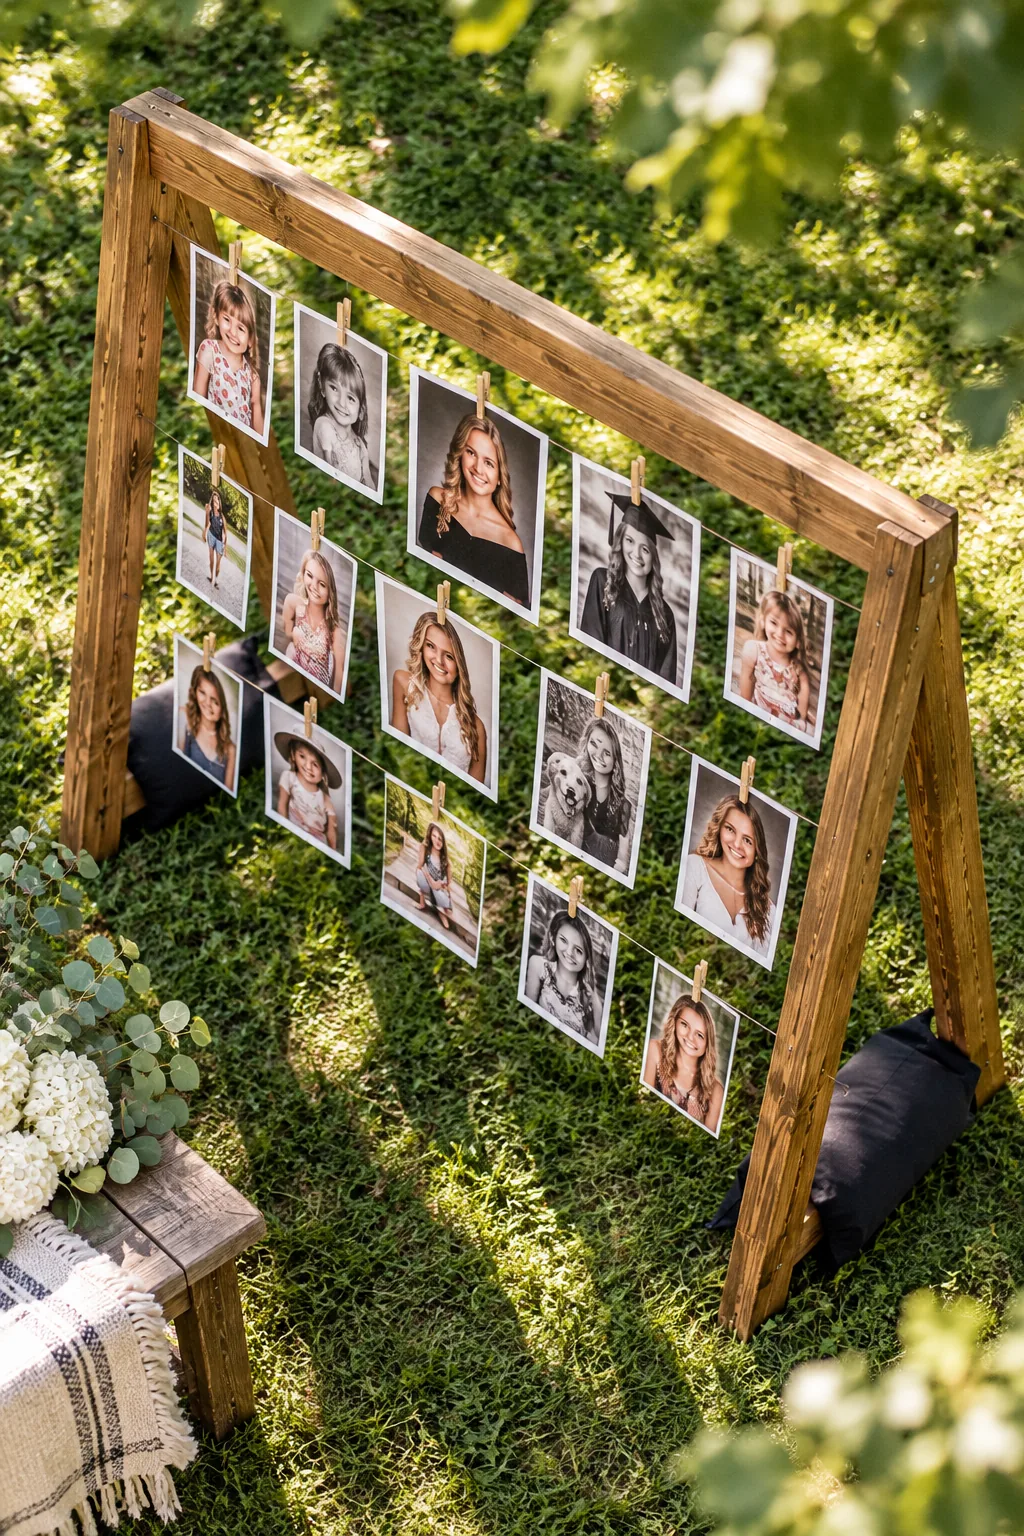
Before cutting your wood, gather these exact components to ensure your display matches the blueprint dimensions and safely holds a 20-picture timeline.
Choosing Glare-Free Prints
Matte surfaces absorb harsh afternoon sunlight, ensuring guests can actually see the photos instead of blinding reflections from the glossy coating.
Preparing the Portraits for Display
Sorting your photos chronologically and keeping them in a rigid folder before heading outside prevents you from fumbling with the delicate prints in the wind.
Clipping the Display Together
Attach the top edge of each photo to the tensioned line using 1-inch mini wooden spring clamps to maintain a clean aesthetic.
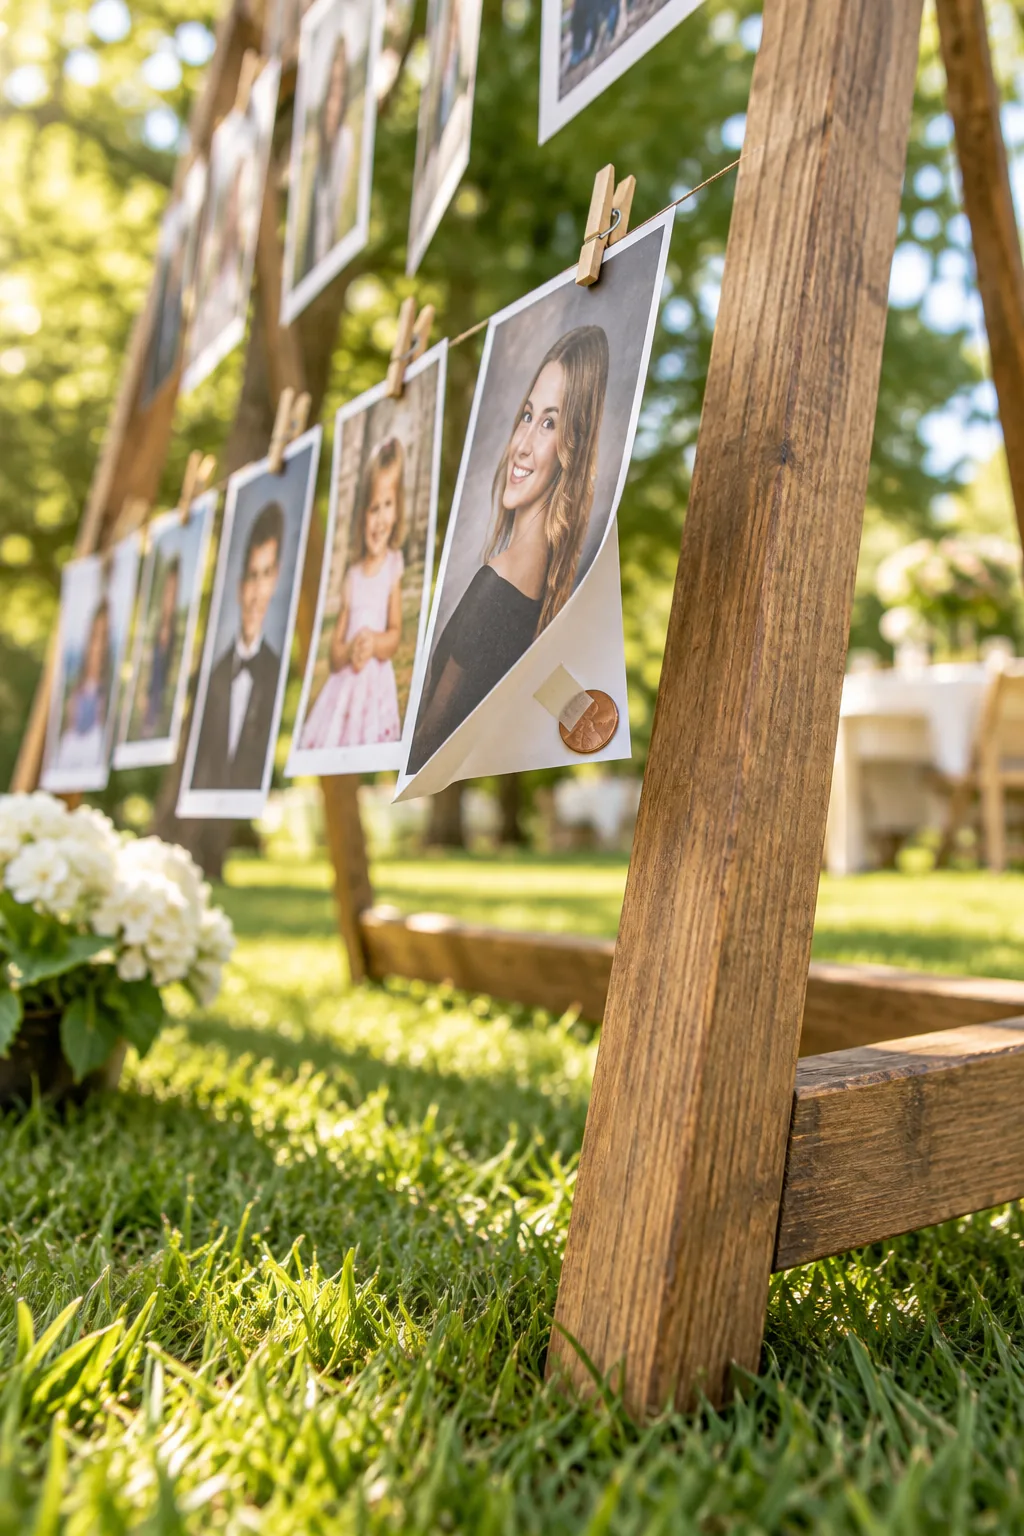
Standard-sized clothespins look disproportionately bulky and will cover important details on smaller portrait prints. I once ruined a beautiful display by using standard laundry pins that overwhelmed the delicate graduation announcements.
Positioning the Display for Optimal Lighting
Place the A-frame so the afternoon sun hits the back of the boards rather than shining directly onto the sensitive photo faces.
More Ways to Style Your Photo Display
Adapt the basic A-frame blueprint to match your specific party theme and venue.
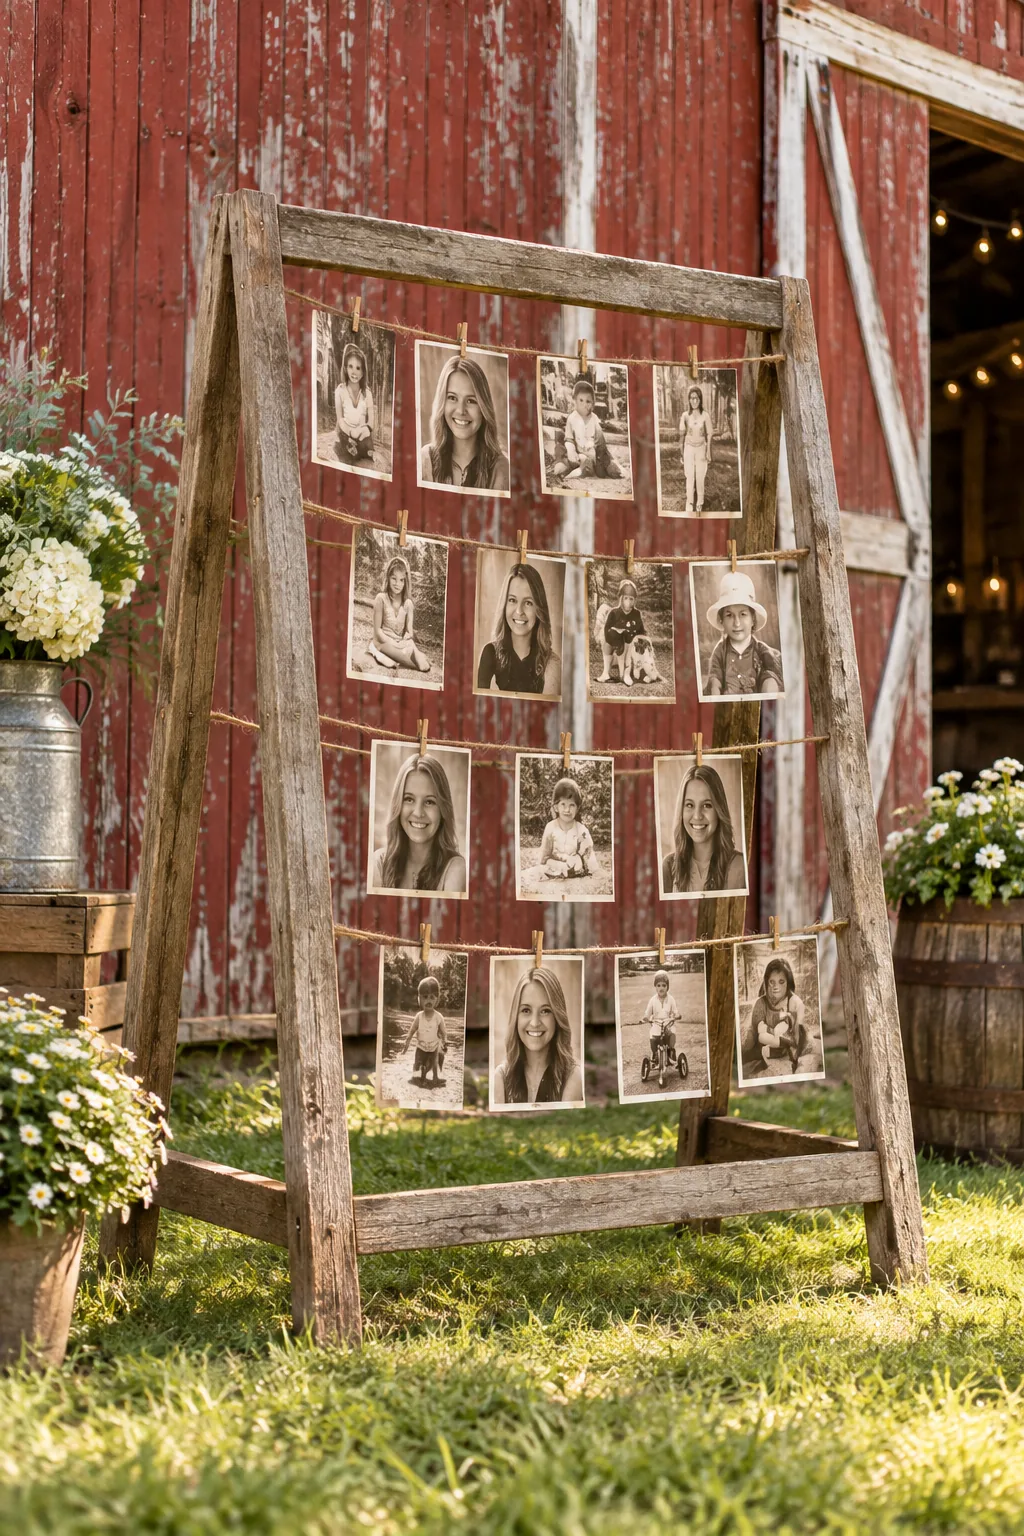
Rustic Barnwood and Twine: Swap the clear line for natural jute twine to complement a country party theme.
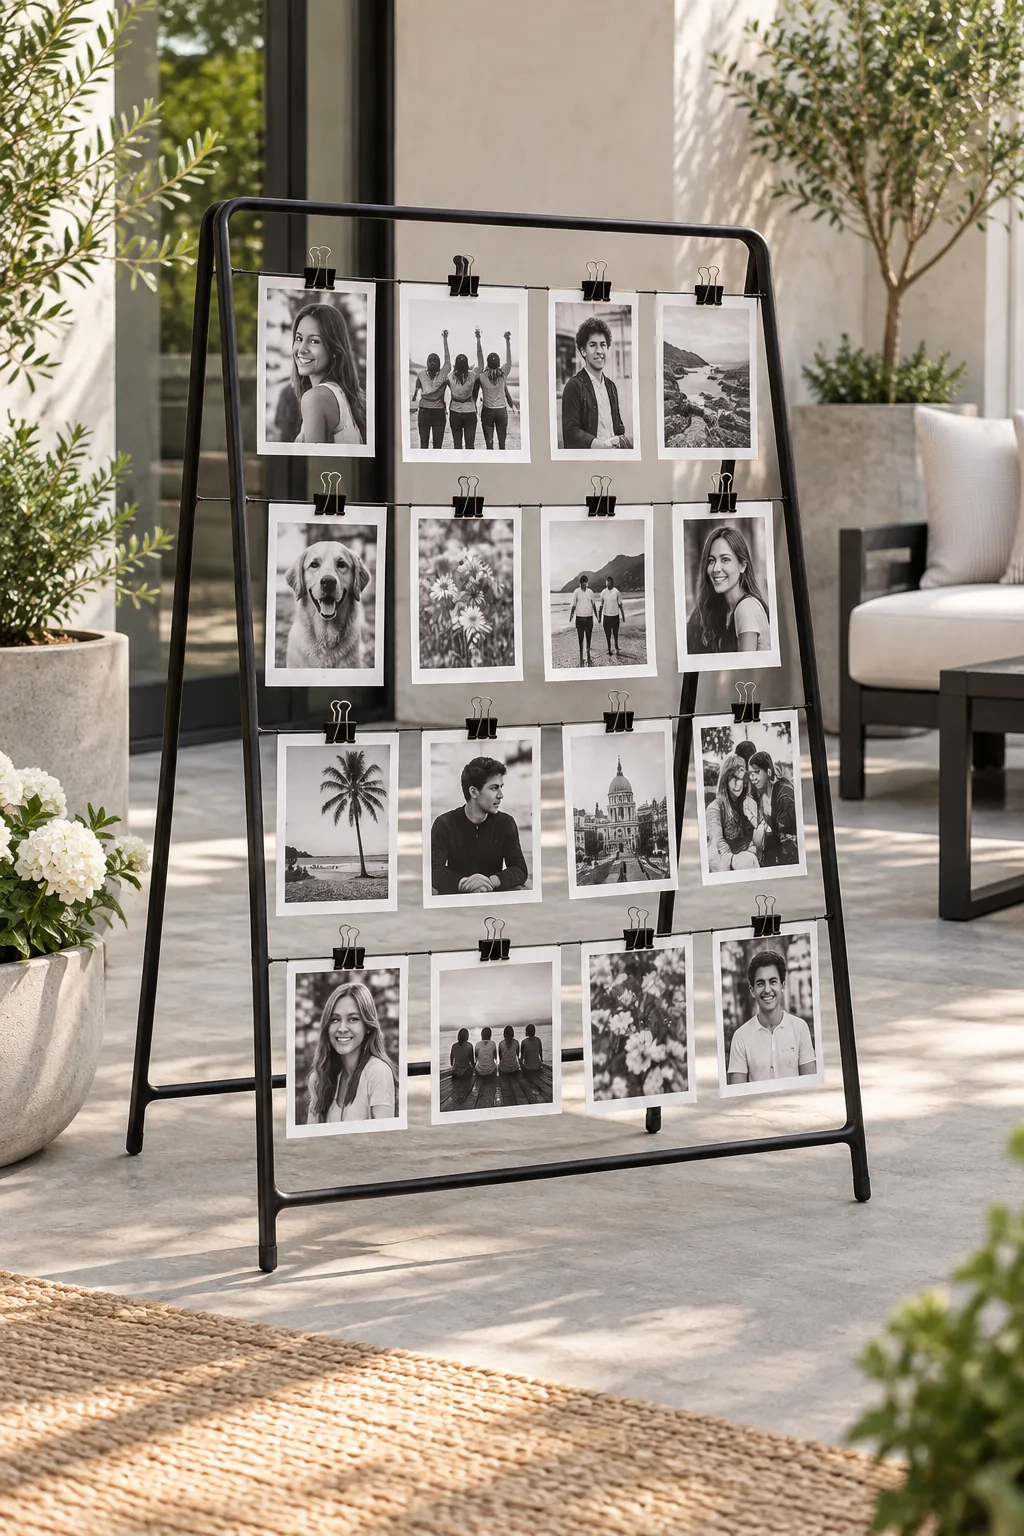
Modern Black Wire Frame: Use black metal framing and binder clips for a sleek, monochromatic modern aesthetic.
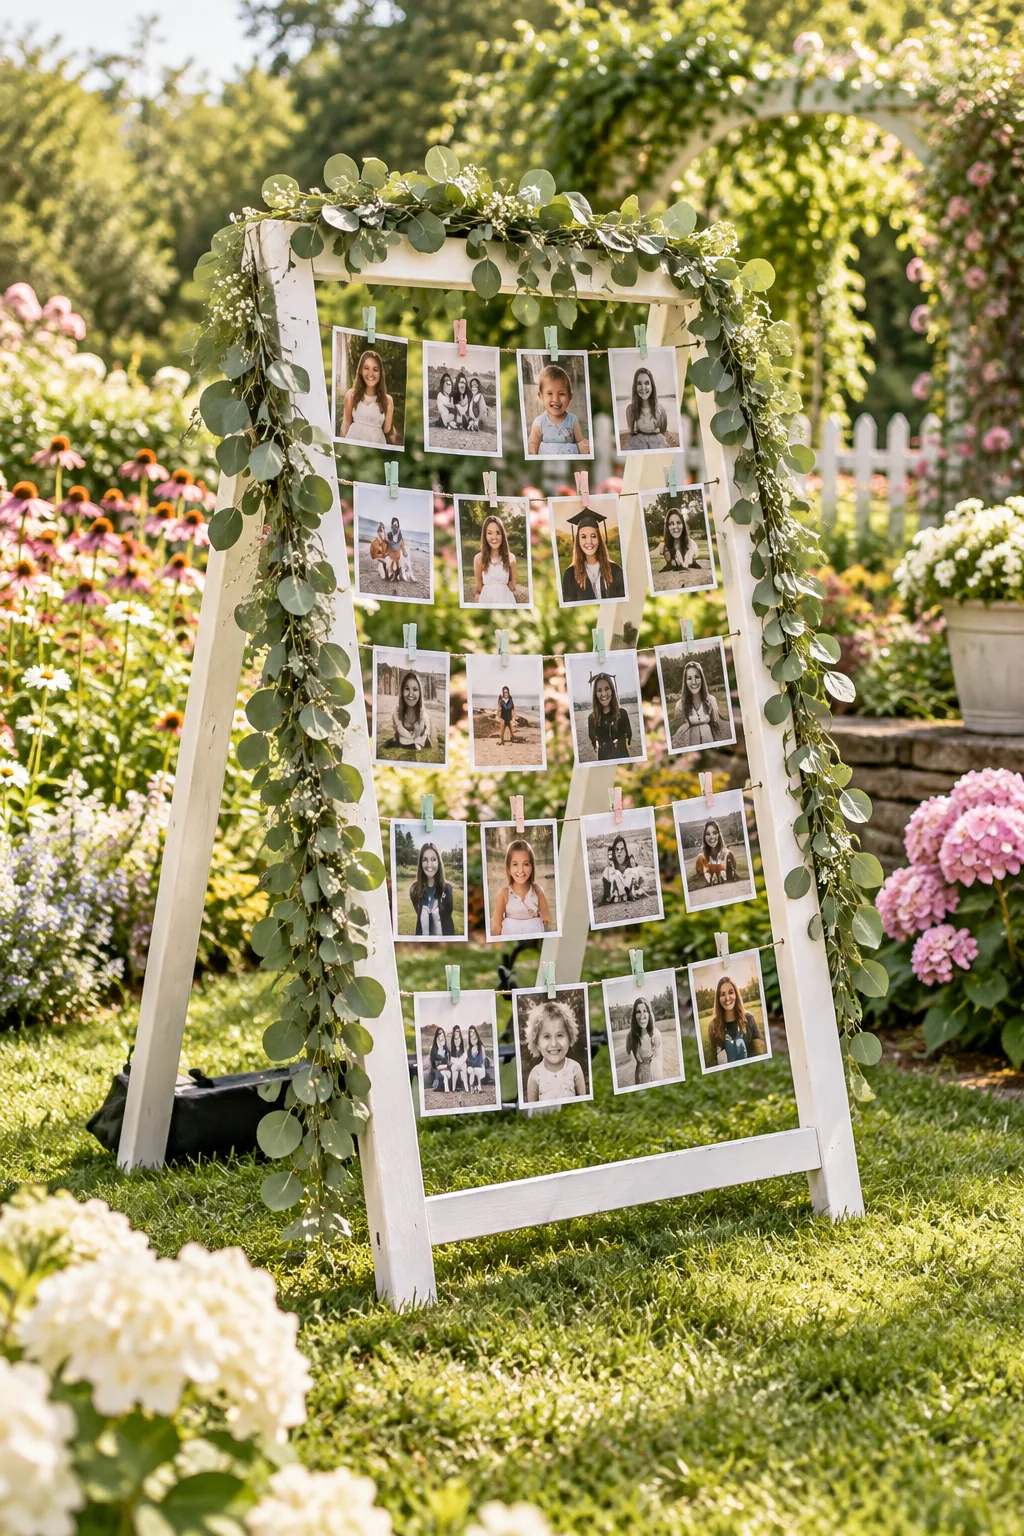
Painted White Garden Trellis: Drape fresh eucalyptus garlands over a white-painted frame to soften the structural edges.
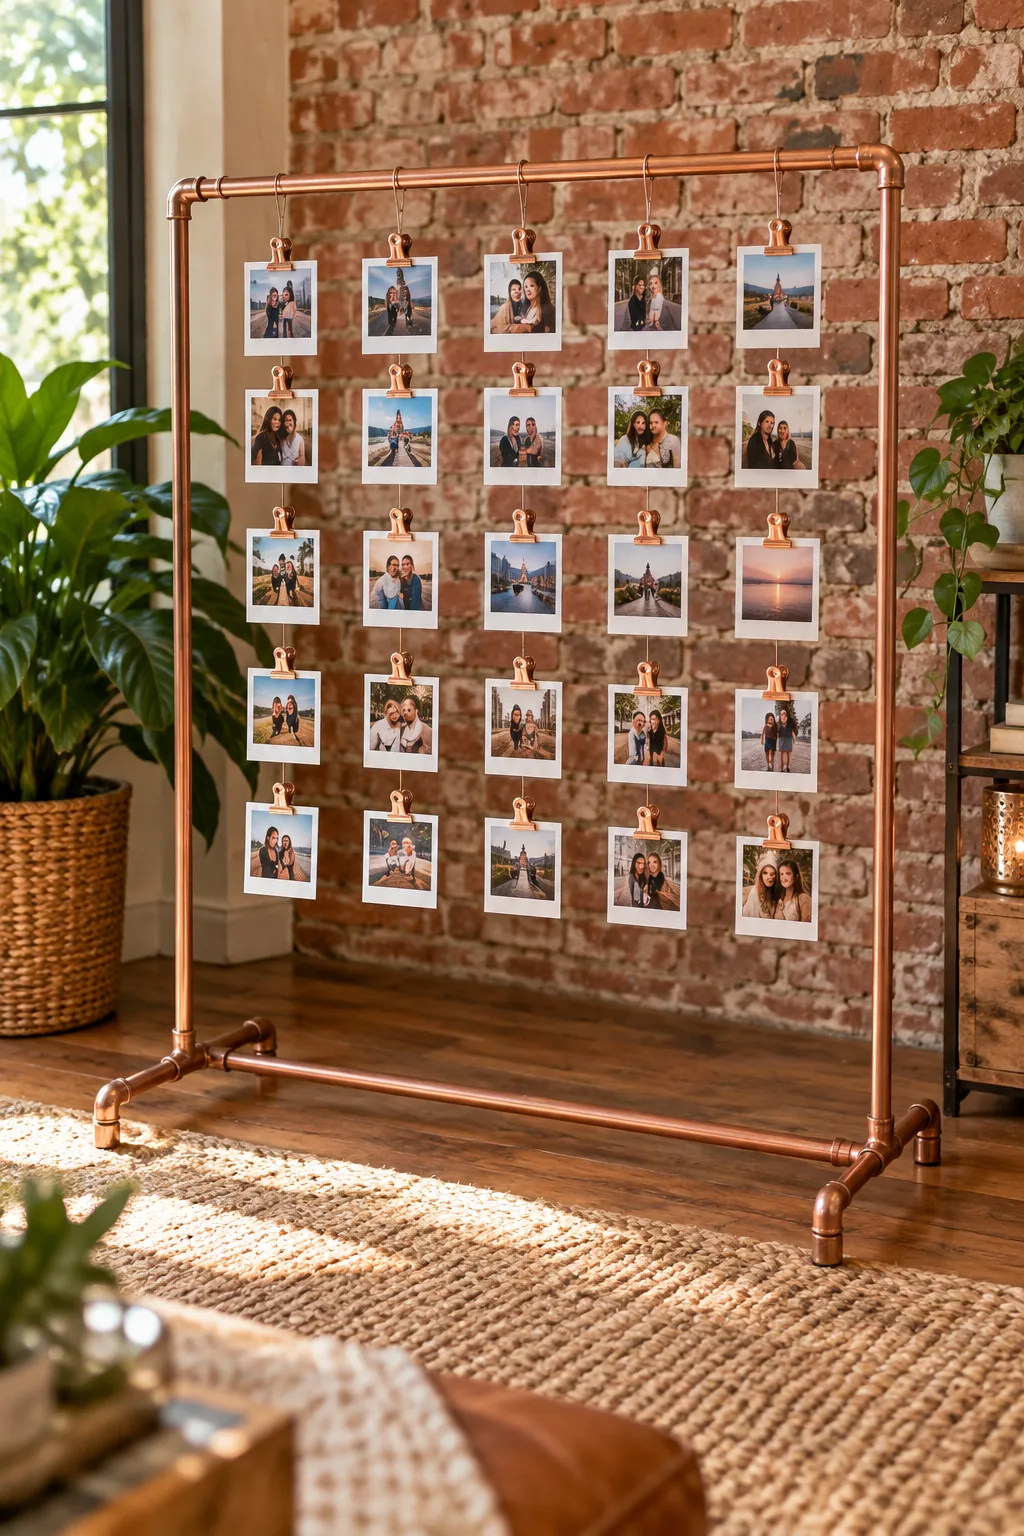
Industrial Copper Pipe Stand: Build the frame from standard plumbing copper pipes for a striking indoor industrial look.
Wind-Proofing the Photos
Tape one standard penny to the back bottom corners of every picture to pull the thick paper taut against the breeze.
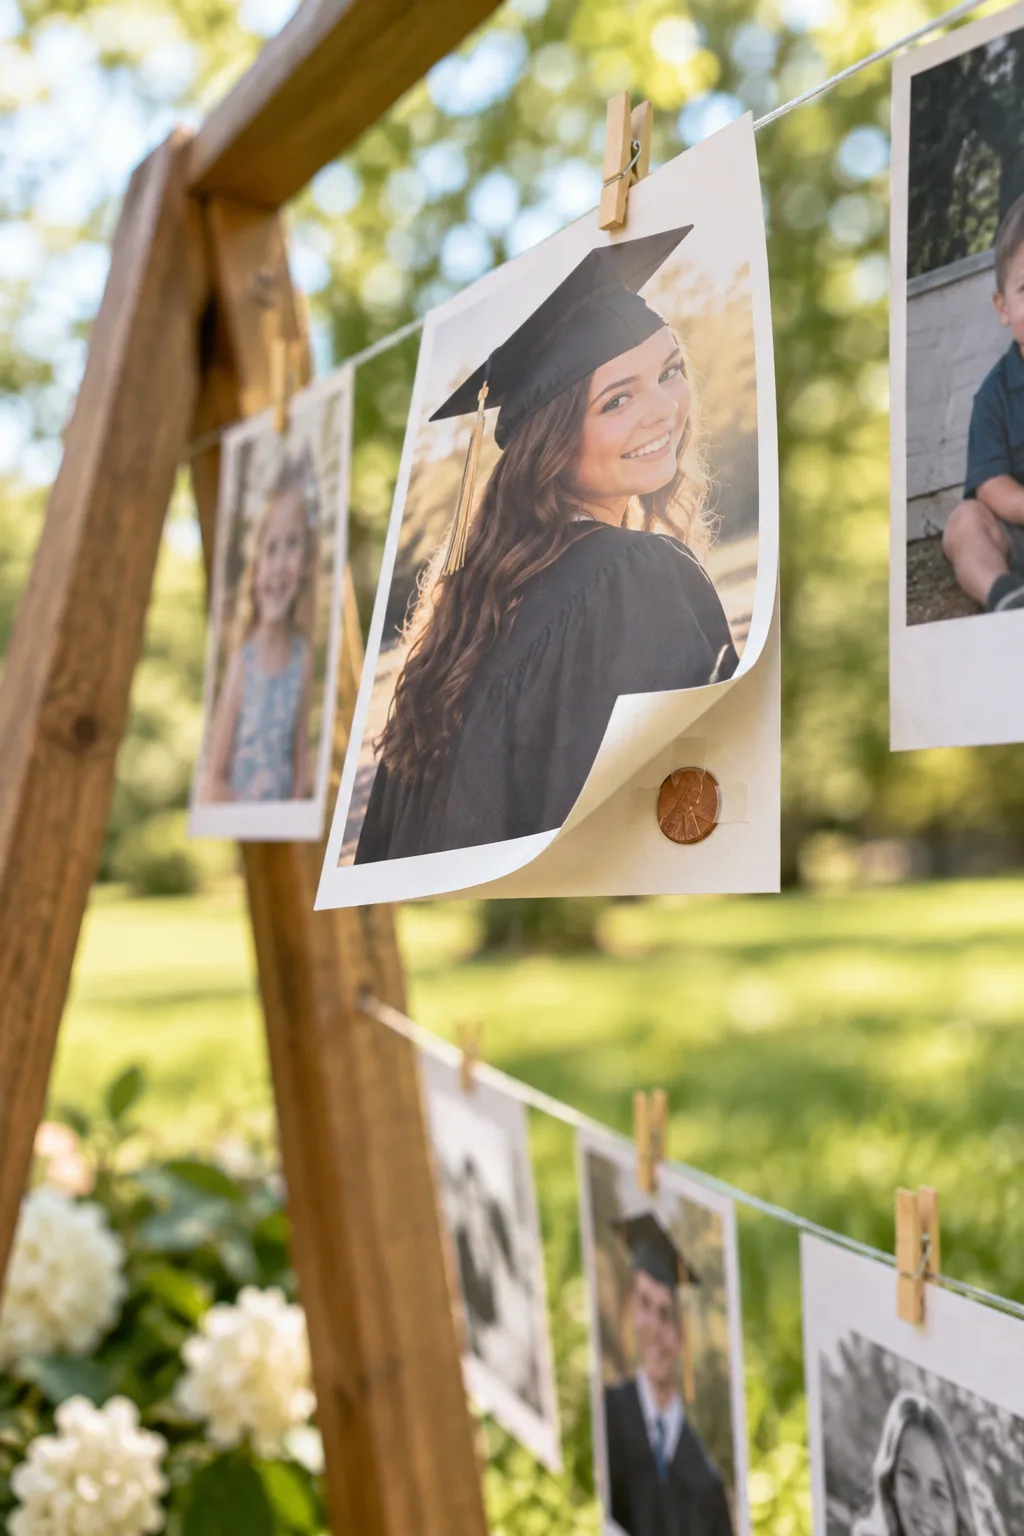
While the pennies add necessary weight, the adhesive you choose determines whether the delicate photos survive the long outdoor party.