Ocean Theme School Door Decoration: The Print-and-Hang Plan
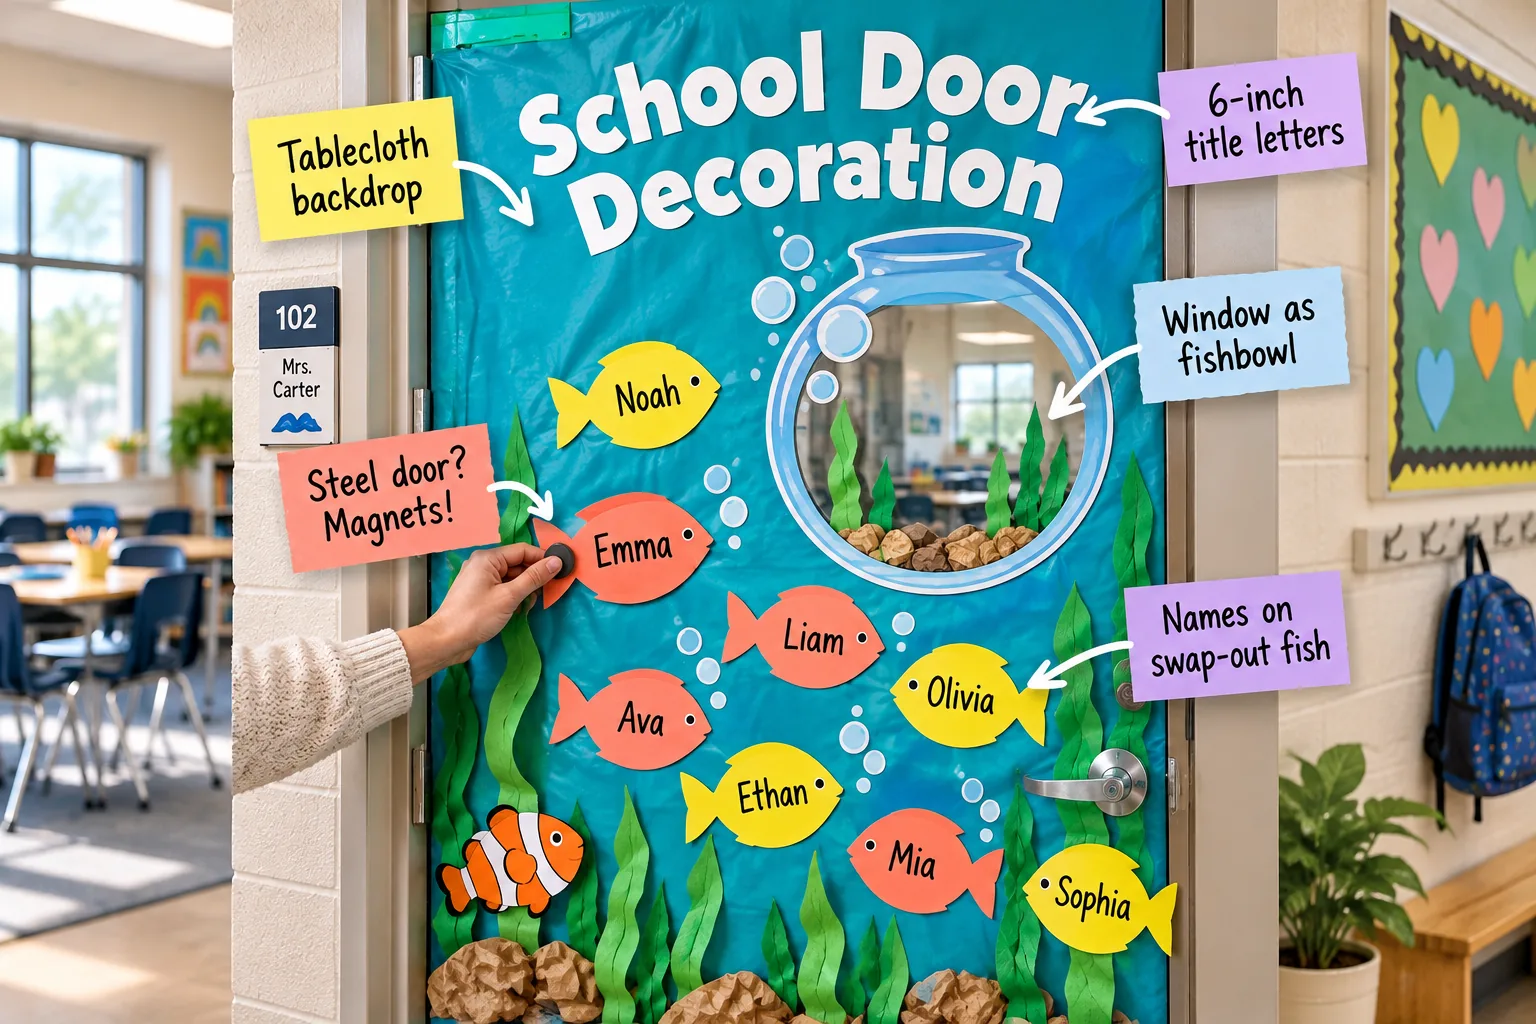
You will be able to print the exact supply list and layer-by-layer assembly order to recreate this ocean-themed classroom door. Grab the printable one-page classroom door build sheet below to make setting up your standard 36×80 inch doorway an absolute breeze.
Wrapping the Door with a Tablecloth Backdrop
A standard 54×108 inch plastic party tablecloth provides the perfect seamless turquoise base to cover a typical commercial school door. You will have plenty of extra material on the sides to fold over the edges for a clean, professional finish.
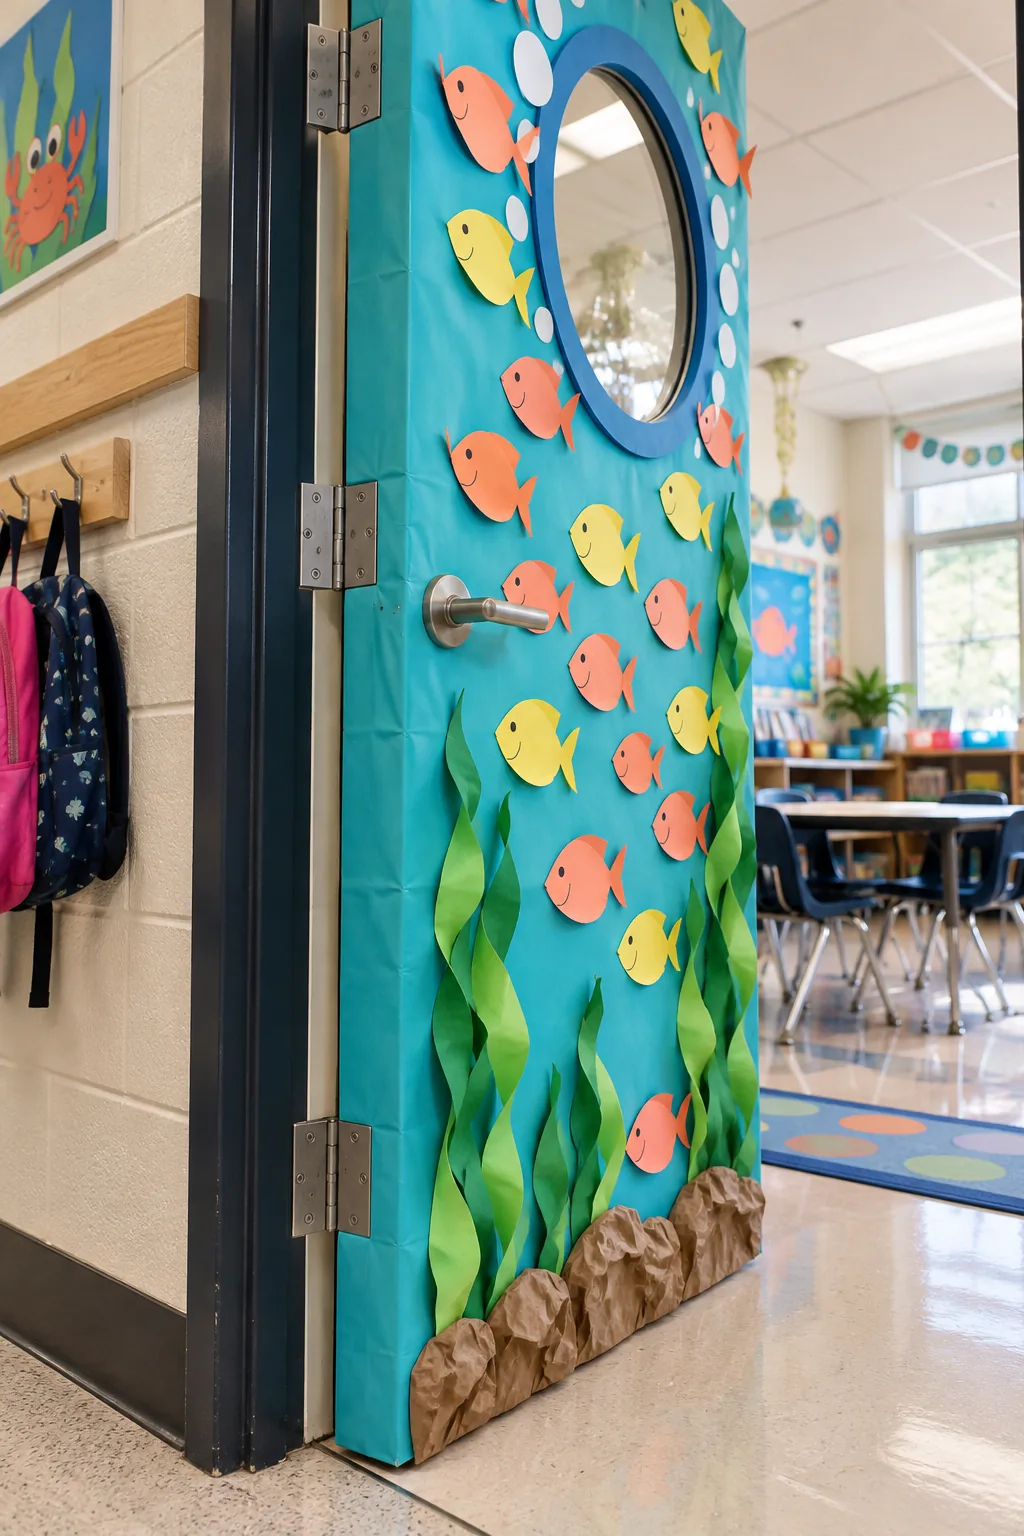
Securing the plastic tightly is the secret to a backdrop that survives the whole semester without sagging.
Folding the Corners Neatly
Treat the top and bottom corners exactly like you are wrapping a birthday present. Creating crisp 45-degree triangle folds at the top hinges prevents the thick plastic from bunching up and binding when the door closes.
Selecting the Right Heavy-Duty Tape
Standard office tape simply will not hold the stretched plastic under daily hallway traffic. You need a strong adhesive that grips the metal firmly but releases cleanly at the end of the school year.
| Tape Type | Adhesion Level | Residue Risk | Best Application |
|---|---|---|---|
| Clear Packing Tape | Very High | Low on metal | Back door edges |
| Blue Painter’s Tape | Low | None | Temporary positioning |
| Masking Tape | Medium | High over time | Avoid on steel |
Using Magnets on a Steel Classroom Door
Since most commercial school doors are made of steel, I highly recommend using 0.5-inch ceramic magnets to mount your paper elements. This completely eliminates sticky tape residue and makes adjusting the layout incredibly simple.
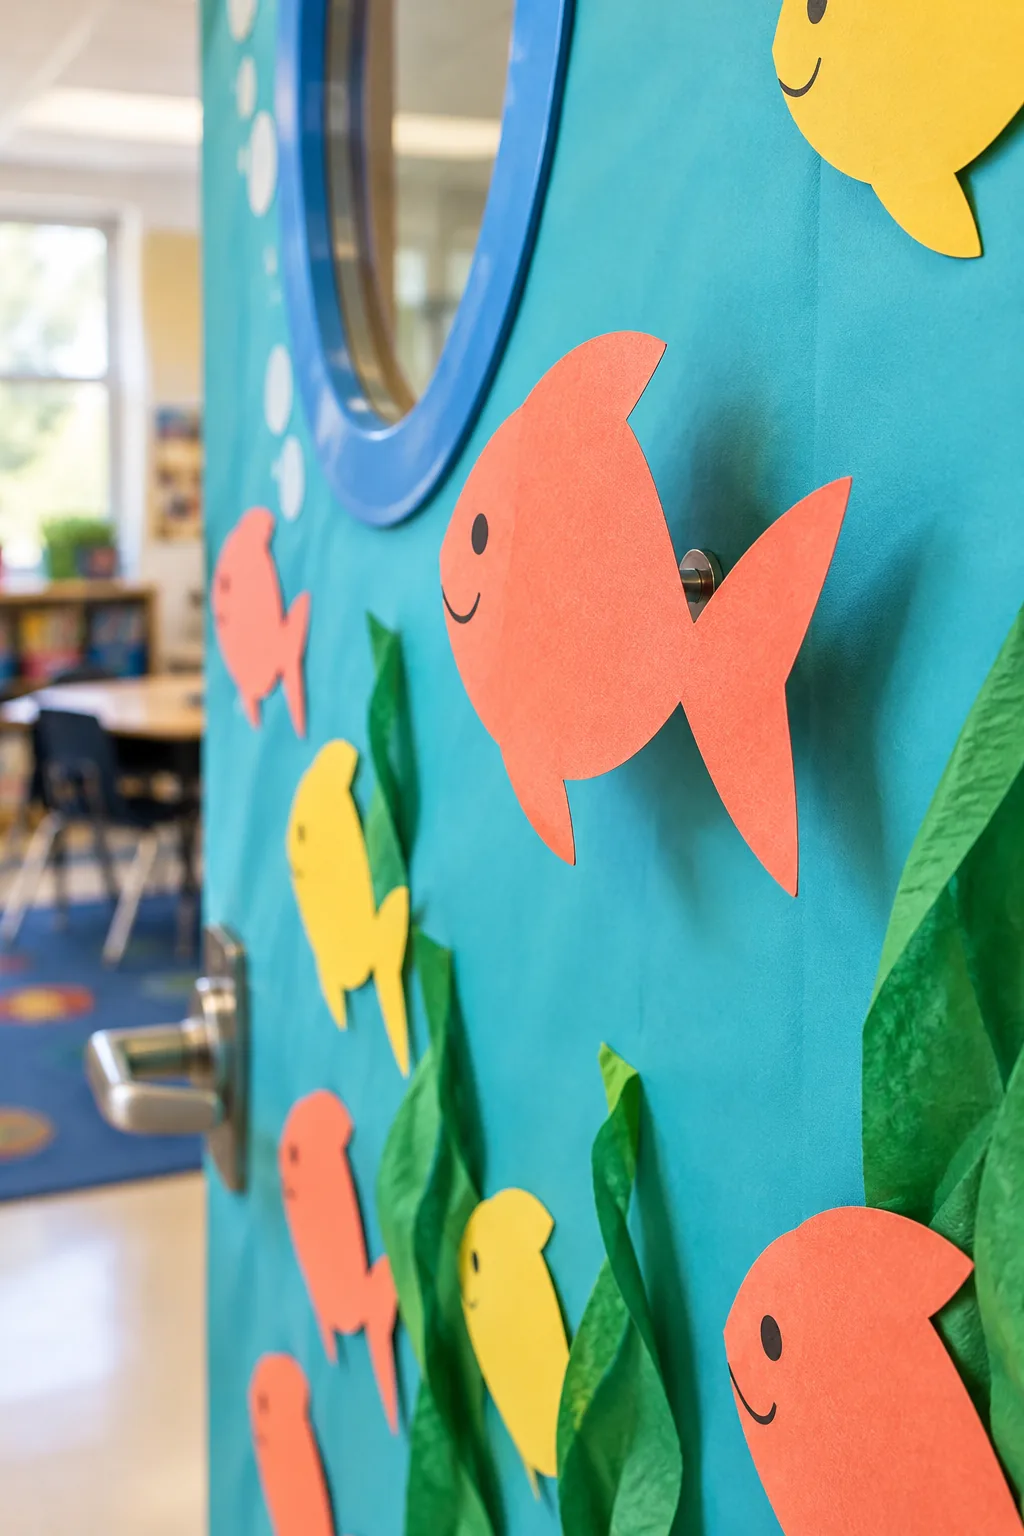
Heavy cardstock can occasionally slip down the smooth plastic surface if your mounting hardware lacks sufficient grip.
Preventing Magnet Slippage
You want your display to stay exactly where you placed it, even when the door slams shut. A few simple adjustments to your magnetic mounting strategy will keep every single piece locked firmly in position.
- Test your magnets through the plastic tablecloth before finalizing your design.
- Use two separate magnets for larger shapes to prevent annoying rotation.
- Avoid flexible magnetic tape, which often lacks the necessary holding strength.
Storing Spare Magnets
Keep a small container of extra ceramic magnets tucked inside your teacher desk drawer for quick repairs. Having spares on hand means you can instantly reattach any paper sea creatures that get bumped into the hallway during passing periods.
Framing the Window as a Fishbowl
Measure your existing safety glass window—which is typically 24 inches tall—and cut a slightly larger light blue paper ring to frame it. This clever technique creates a fun fishbowl illusion while leaving the center glass completely clear.
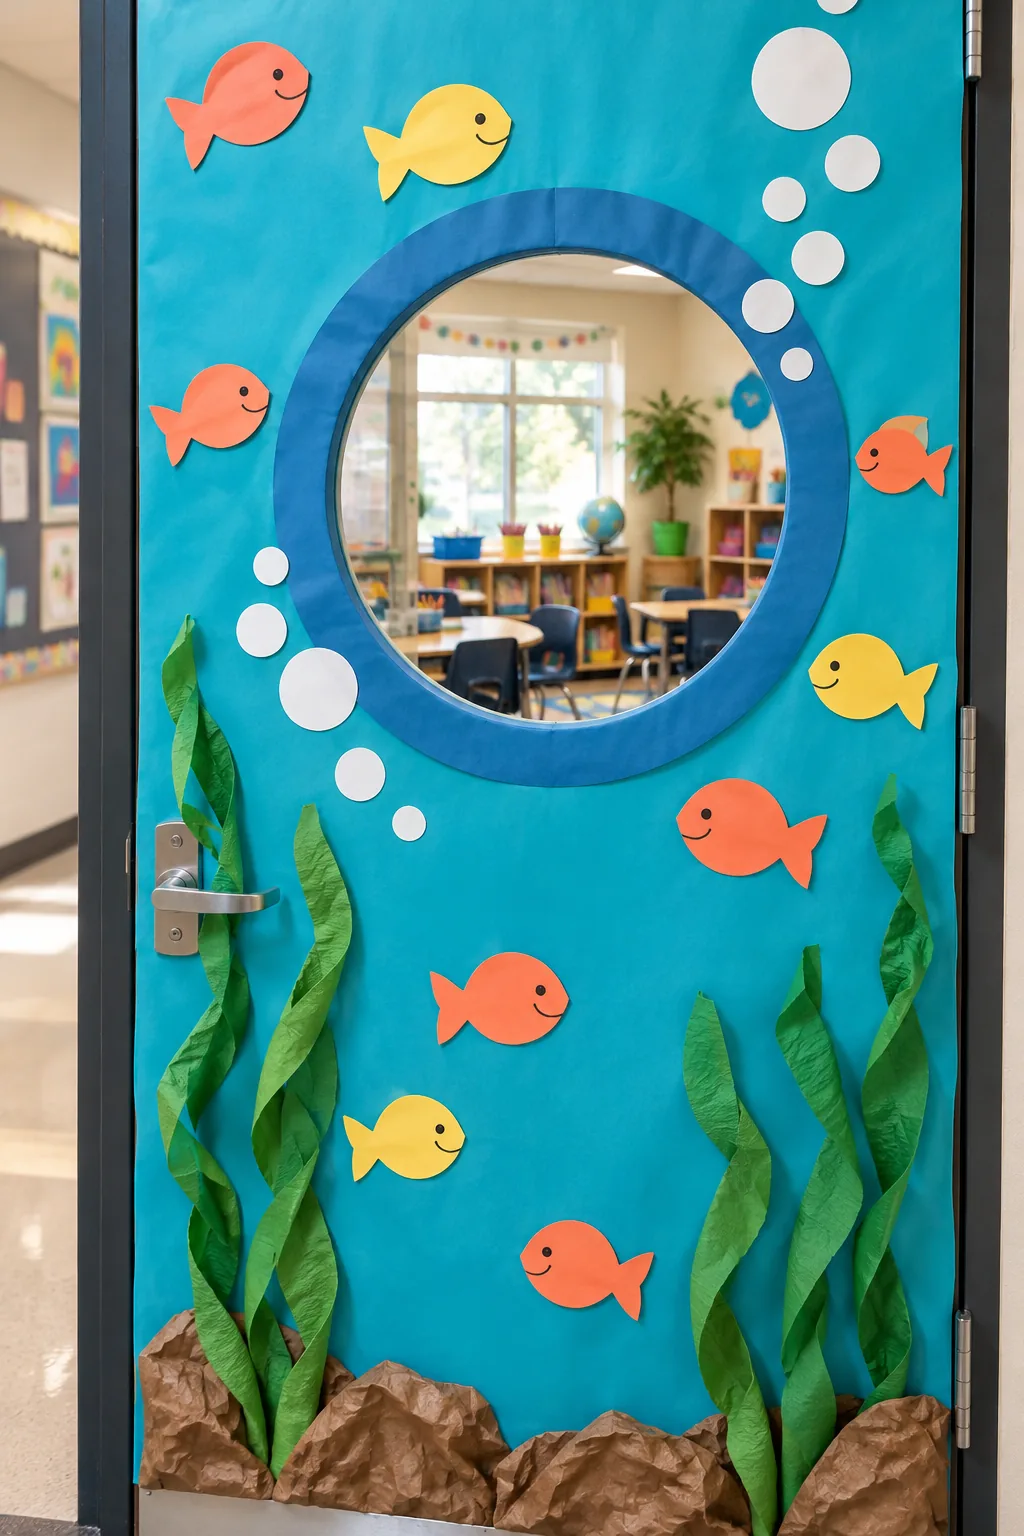
It is tempting to cover the entire window to complete the ocean scene, but safety and school rules require a different approach.
Sizing the Paper Bubbles
Cut alternating 2-inch and 3-inch white paper circles to mimic realistic air bubbles rising from the fishbowl window. Using two distinct sizes creates a much more dynamic, organic flow than using a single uniform hole punch.
Placing the Bubbles for Visual Flow
Arrange your white paper bubbles in a gentle sweeping curve that leads the eye upward toward the main title. Overlapping a few of the smaller circles slightly gives the arrangement a playful, three-dimensional pop.
Arching the 6-Inch Title Letters
Using bold 6-inch title letters ensures your welcoming message remains perfectly readable from all the way down the hallway. Arching the text gently across the top saves valuable horizontal space on a narrow 36-inch wide surface.
A curved baseline also adds a subtle sense of movement that perfectly matches the rolling ocean theme.
Choosing High-Contrast Colors
Crisp white cardstock provides the ultimate visual contrast against the vibrant turquoise plastic background. This stark color difference guarantees your classroom name stands out clearly, even under harsh fluorescent school lighting.
Laminating the Title Letters
Run your cut letters through a thermal laminator before attaching the magnetic backing to protect them from fading and dirty hands. A 3-mil laminating pouch adds just enough rigidity without making the paper too heavy for the magnets to hold.
Twisting Crepe Paper for 3D Seaweed
I love twisting standard 2-inch wide green crepe paper streamers to create instant texture, a trick I actually use for my own kids’ birthday backdrops. Gently rotating the paper as you pull it downward mimics the organic, wavy look of real kelp.
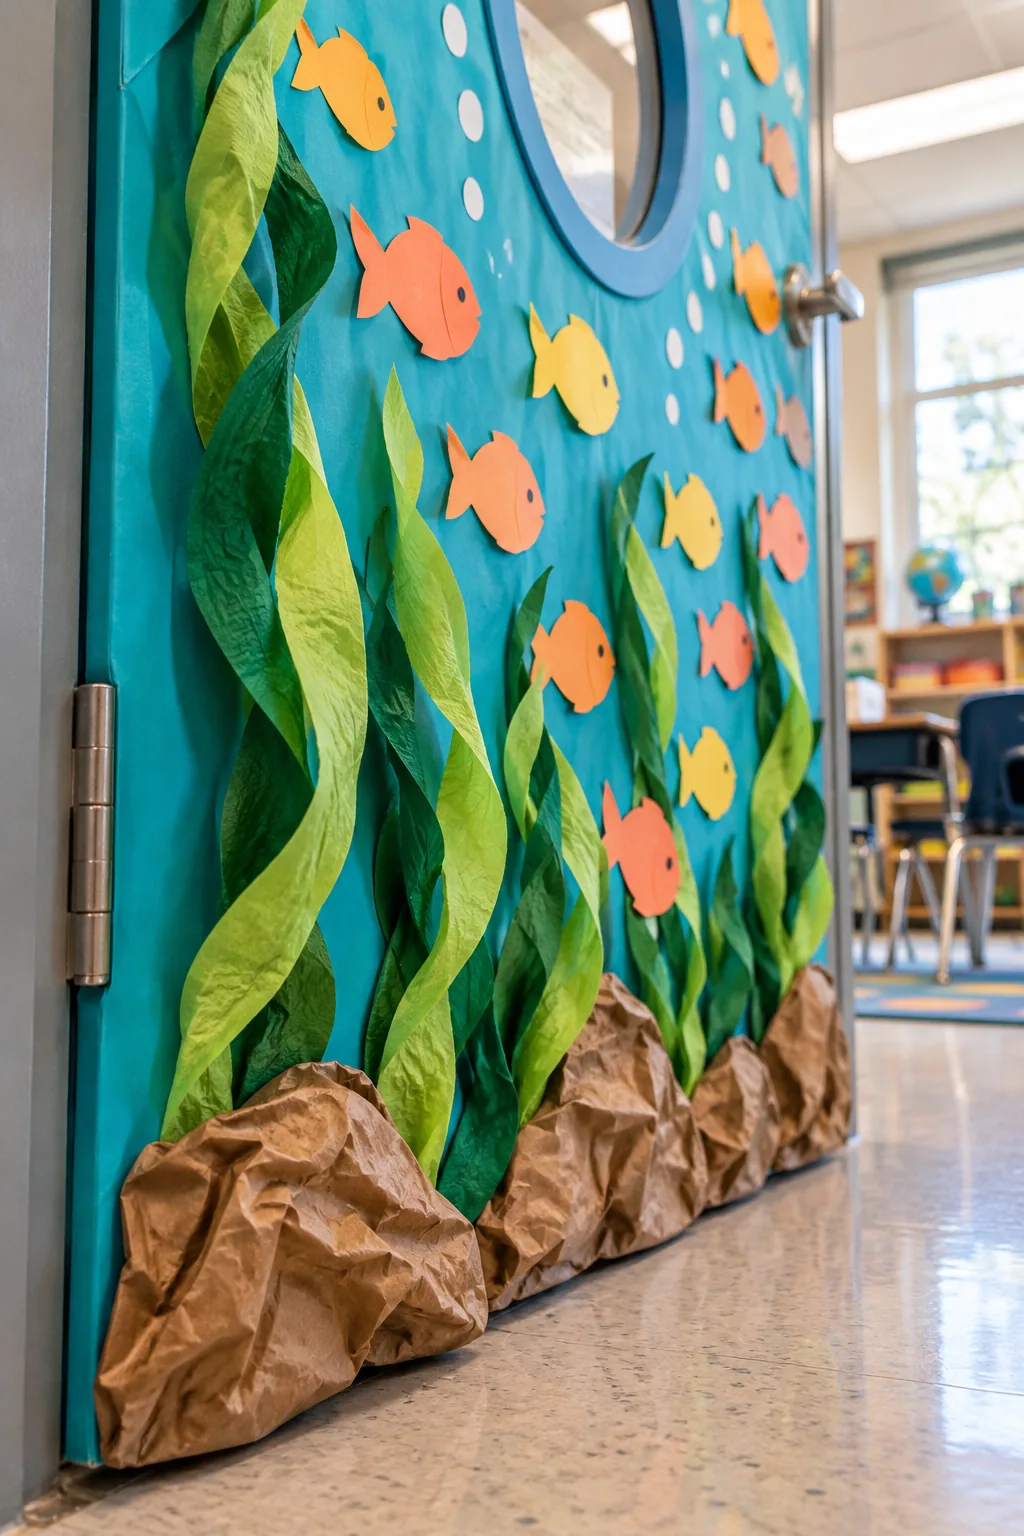
Anchor the twisted strips firmly at the bottom and top edges so they stay completely taut against the door.
Adding Dimension with Multiple Greens
Mix lime green and dark forest green crepe paper to give your underwater forest surprising depth and realistic shadows. Layering the lighter colors in front makes the seaweed patch look thick and lush from every angle.
Positioning the Ocean Floor Base
Crumple a wide strip of heavy brown kraft paper along the very bottom edge to simulate a rocky ocean floor. This textured border perfectly hides the messy taped ends of your twisted crepe paper seaweed.
Customizing Names on Swap-Out Fish
Cutting uniform 4-inch wide fish from heavy cardstock makes it incredibly easy to swap names when new students join, just like I do for my workshop seating charts. A standardized shape means you only need one master template for the whole year.
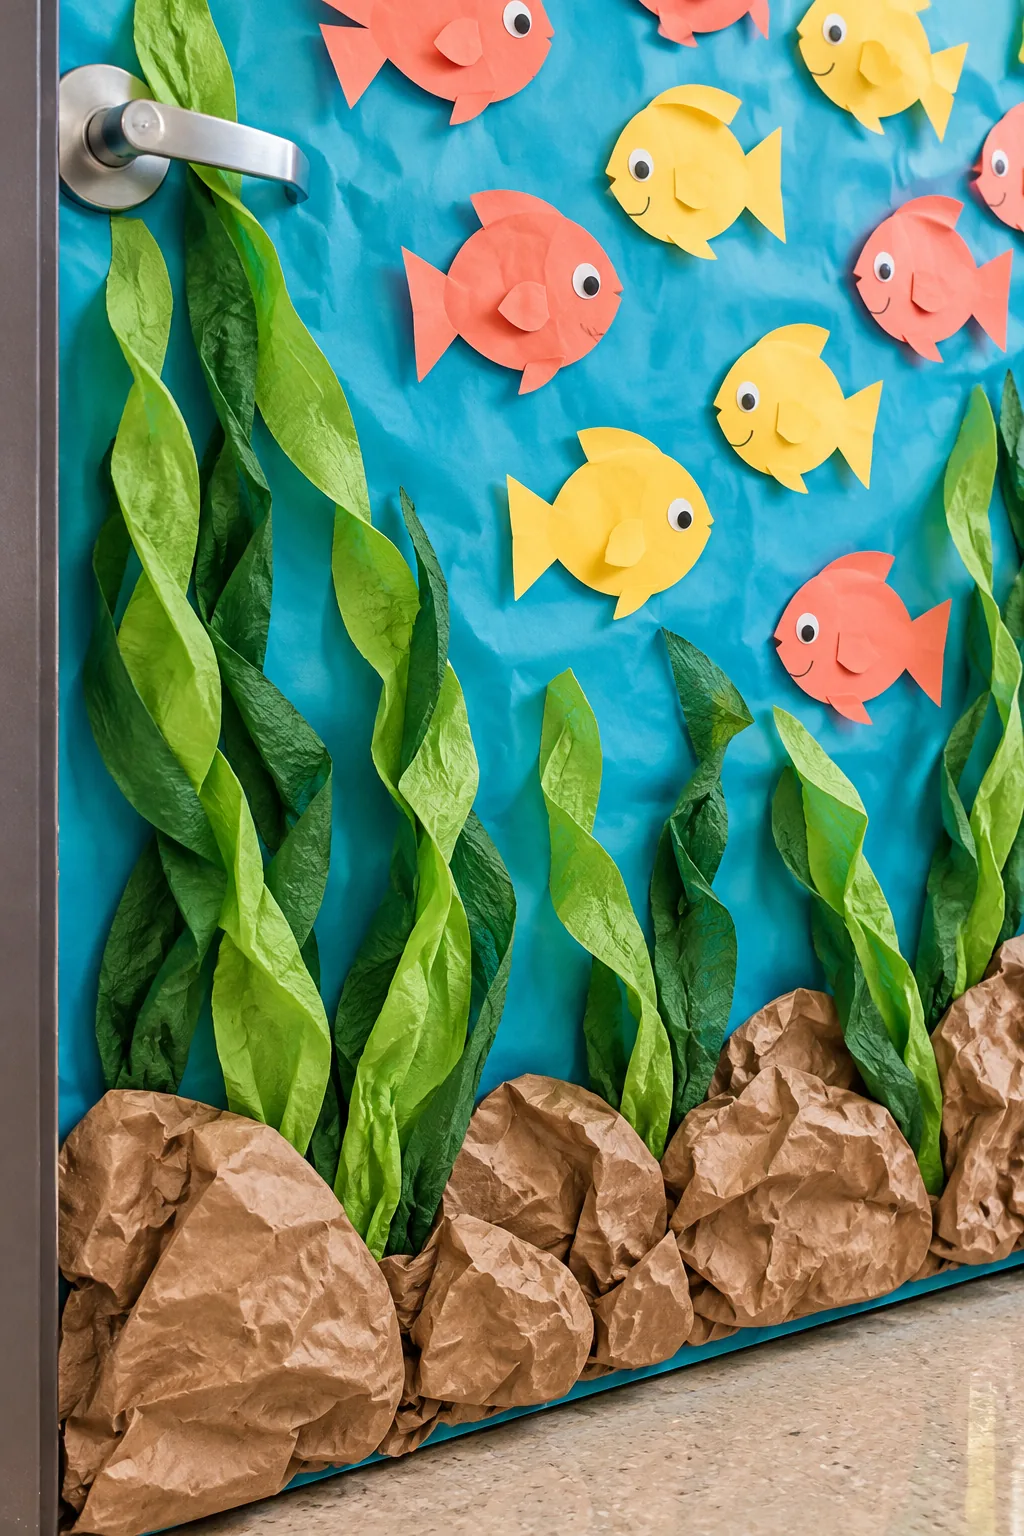
Using warm coral and sunny yellow paper ensures the student names pop beautifully against the cool blue and green background.
Writing Names Clearly
Use a thick black permanent marker to print each student’s first name in clear, bold print. Keeping the typography simple and legible helps younger children quickly identify their own fish on the first day of school.
Spacing the Student Name Fish
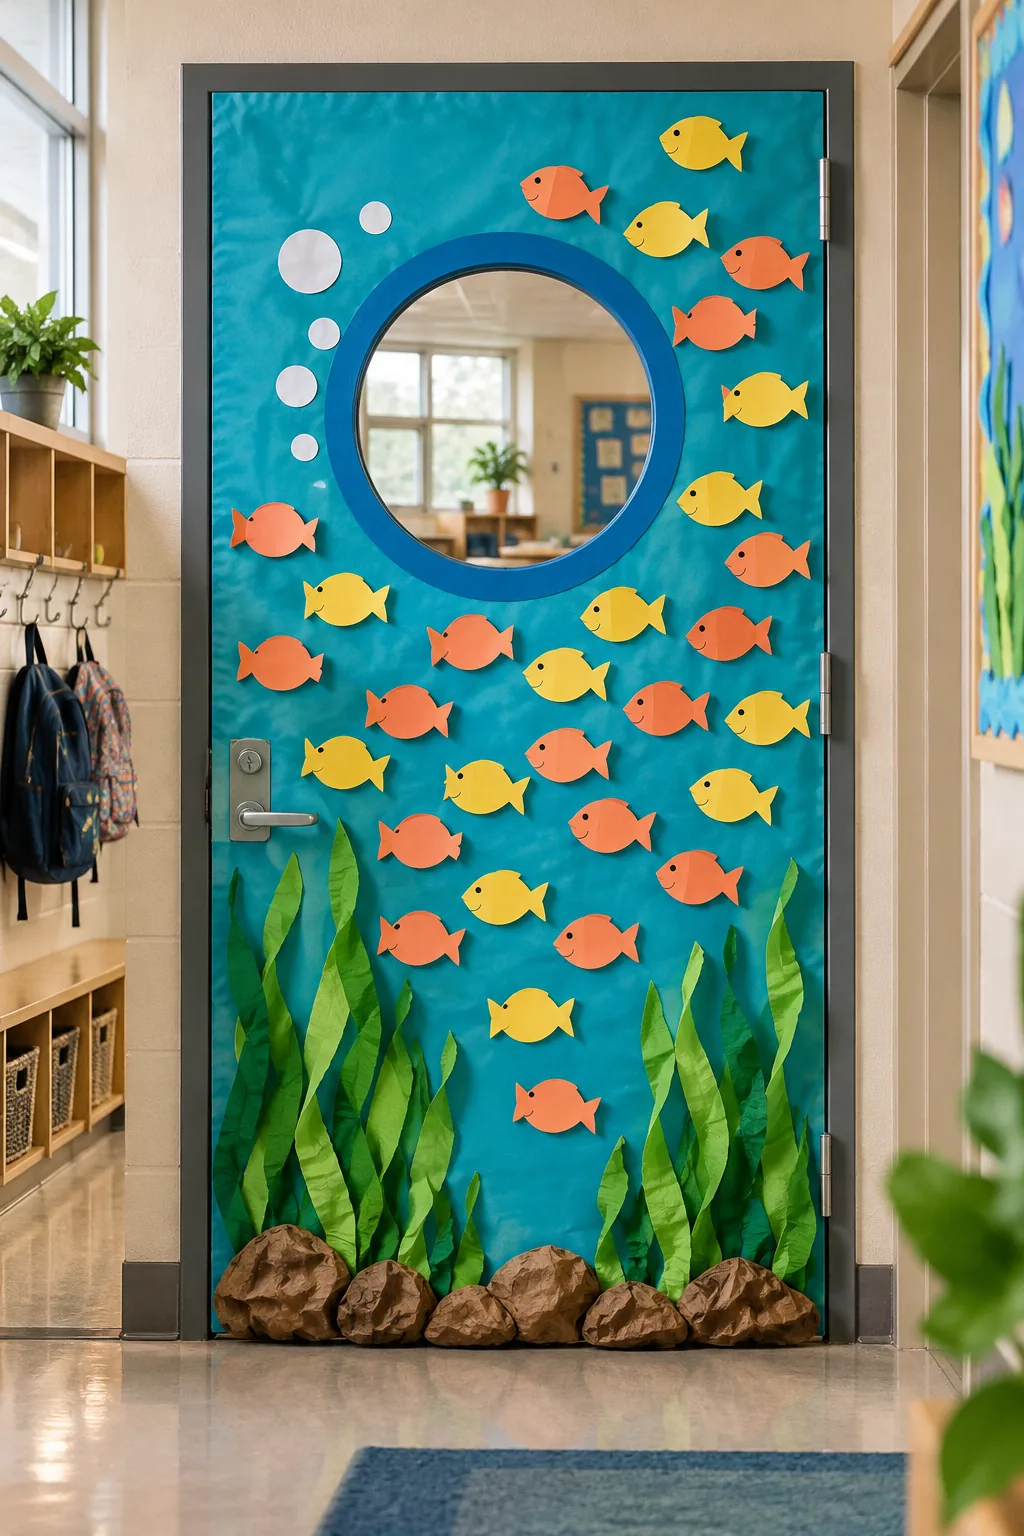
Leave at least 3 inches of breathing room between each customized fish to keep the display from feeling cluttered. Staggering them at slightly different heights creates the illusion of a lively, swimming school.
Trimming Around the Door Hardware
Always cut a clean 4-inch radius around the door handle and lock mechanism so the door operates safely. I once skipped this step on my own craft room door and tore the entire plastic backdrop just by turning the handle too fast!
Testing the Door Clearance
Open and close the door fully several times to ensure the wrapped plastic does not catch on the metal jamb. Trimming away any excess bulk near the hinges prevents the tablecloth from stretching or ripping during daily use.
Maintaining the Display Mid-Semester
Check the tension on your crepe paper seaweed every few weeks, as humidity can cause the thin material to relax and sag. A quick adjustment of the top magnets will instantly pull the twisted strands tight again.
Print the Door Supply List and Hang Order
Grab the printable one-page build sheet below to get the exact supply quantities for a standard door and the complete assembly order. Having everything planned out saves you multiple frustrating trips to the teacher workroom.
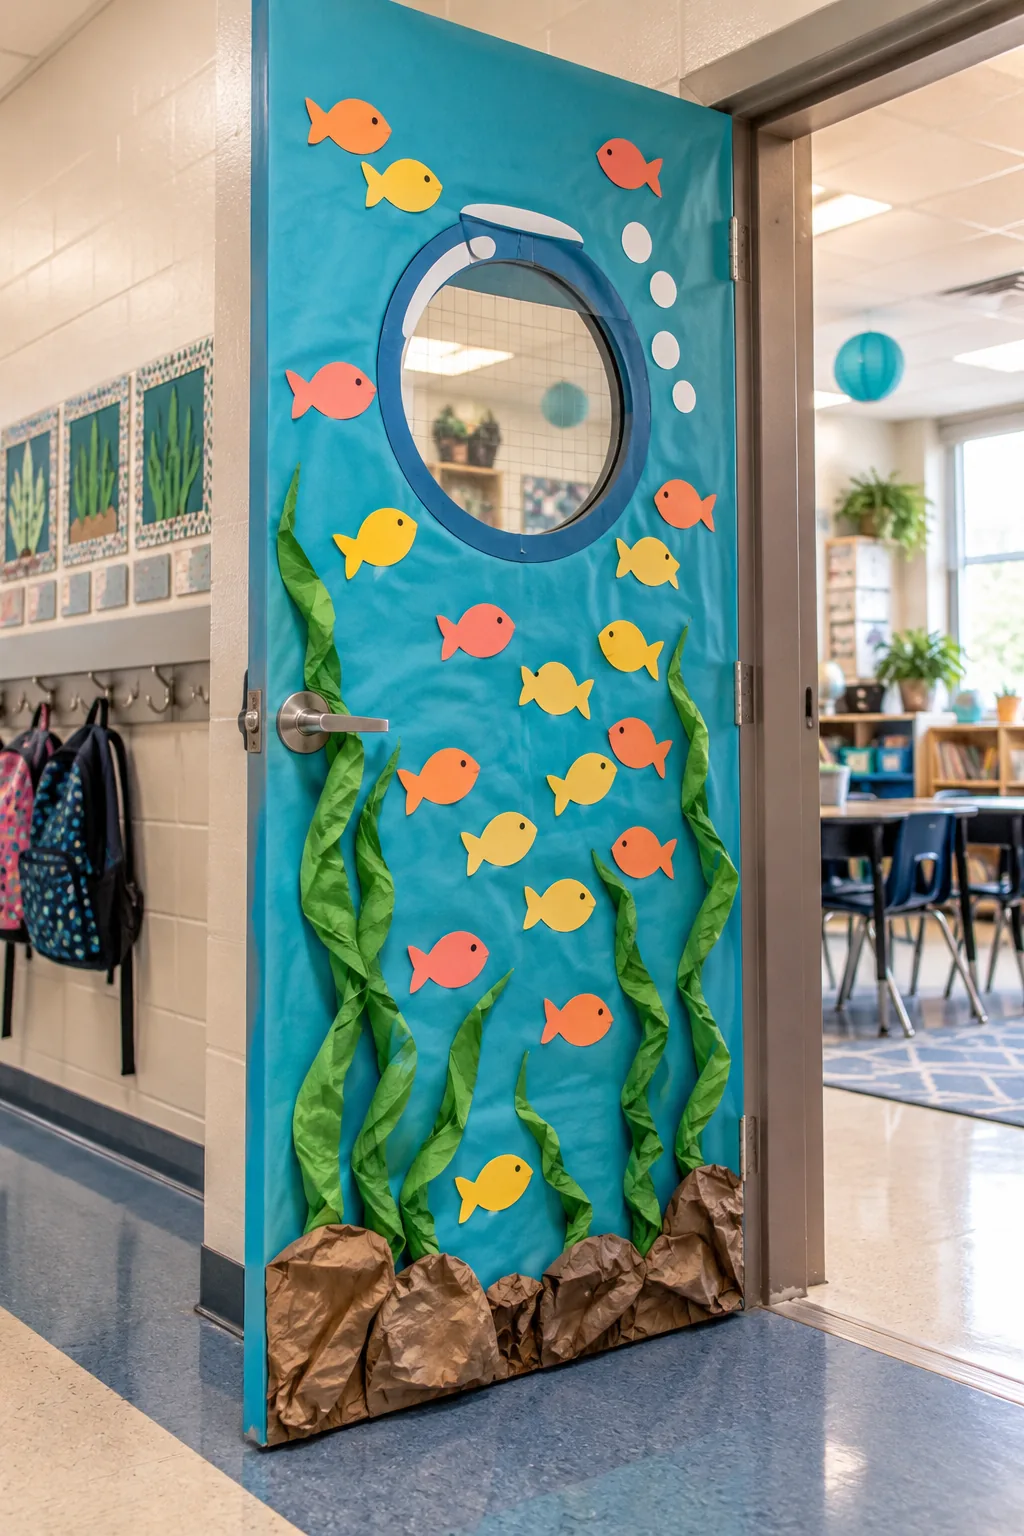
Follow this specific step-by-step sequence to recreate the ocean scene quickly and securely without any frustrating guesswork.
- Wrap the door tightly with the turquoise plastic tablecloth.
- Frame the window glass with the light blue paper ring.
- Arch the white title letters across the top section.
- Anchor the twisted green crepe paper seaweed at the base.
- Place the magnetic student name fish around the scene.
More Classroom Door Themes to Try
If an ocean scene doesn't fit your lesson plan, try one of these distinct styles using the same basic layering technique.
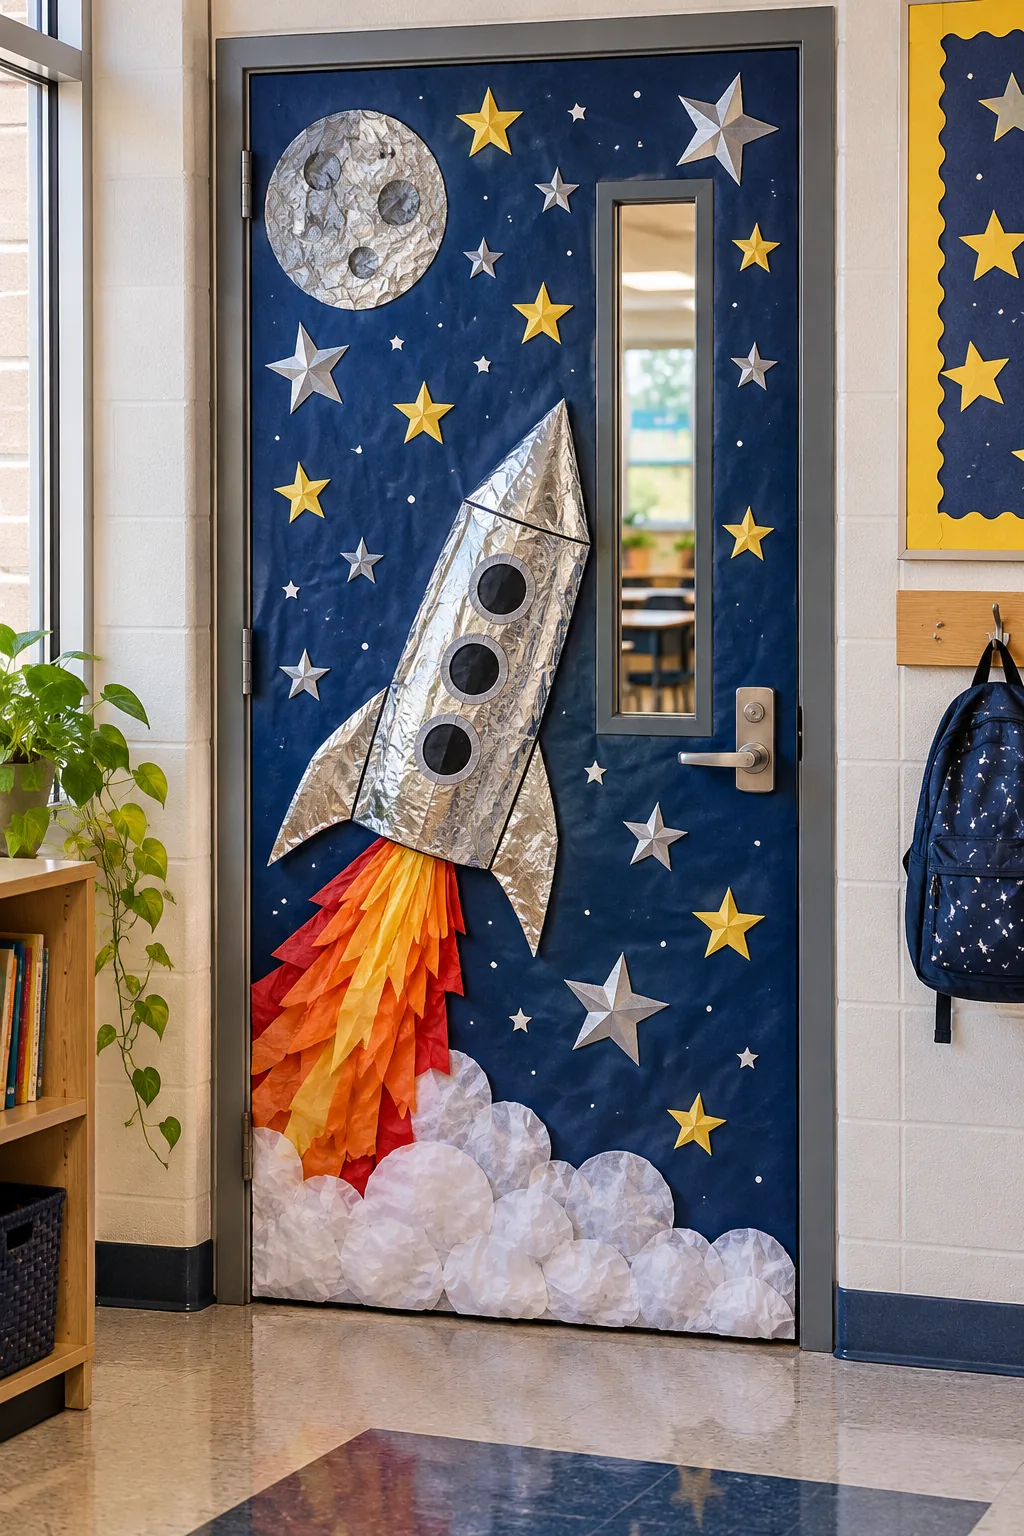
Space Exploration Theme: Swap the ocean for a dark blue backdrop and foil accents to create an astronaut theme perfect for science classrooms.
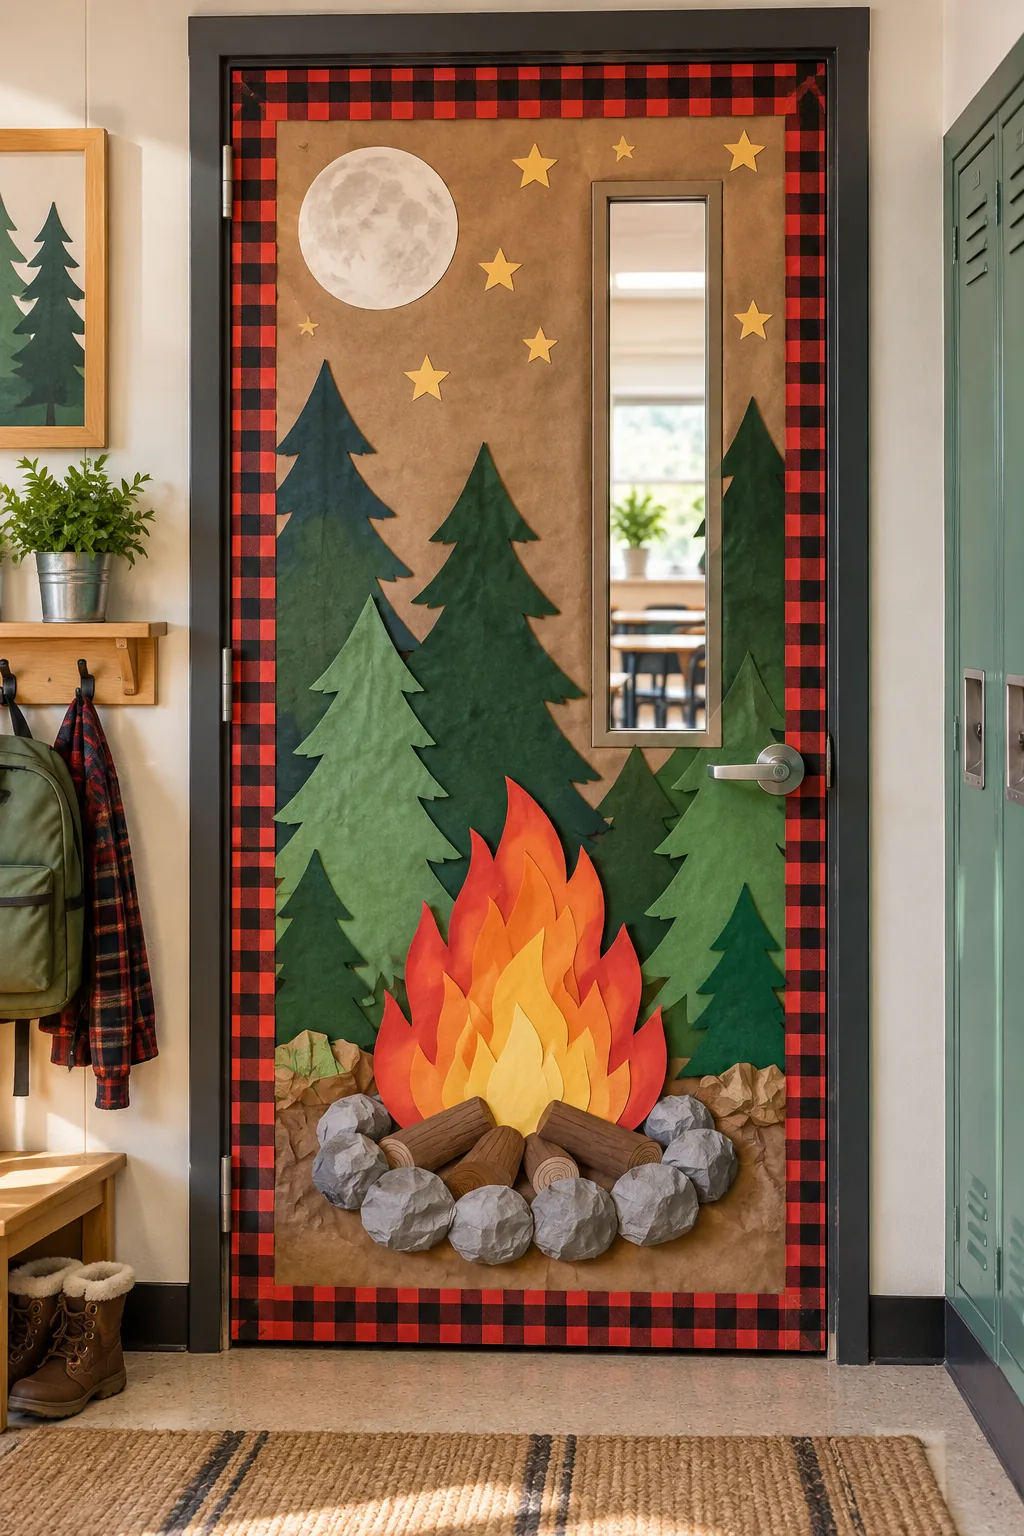
Woodland Camp Kindergarten: Use a rustic plaid border and crumpled tissue paper for a 3D campfire that welcomes students to their woodland adventure.
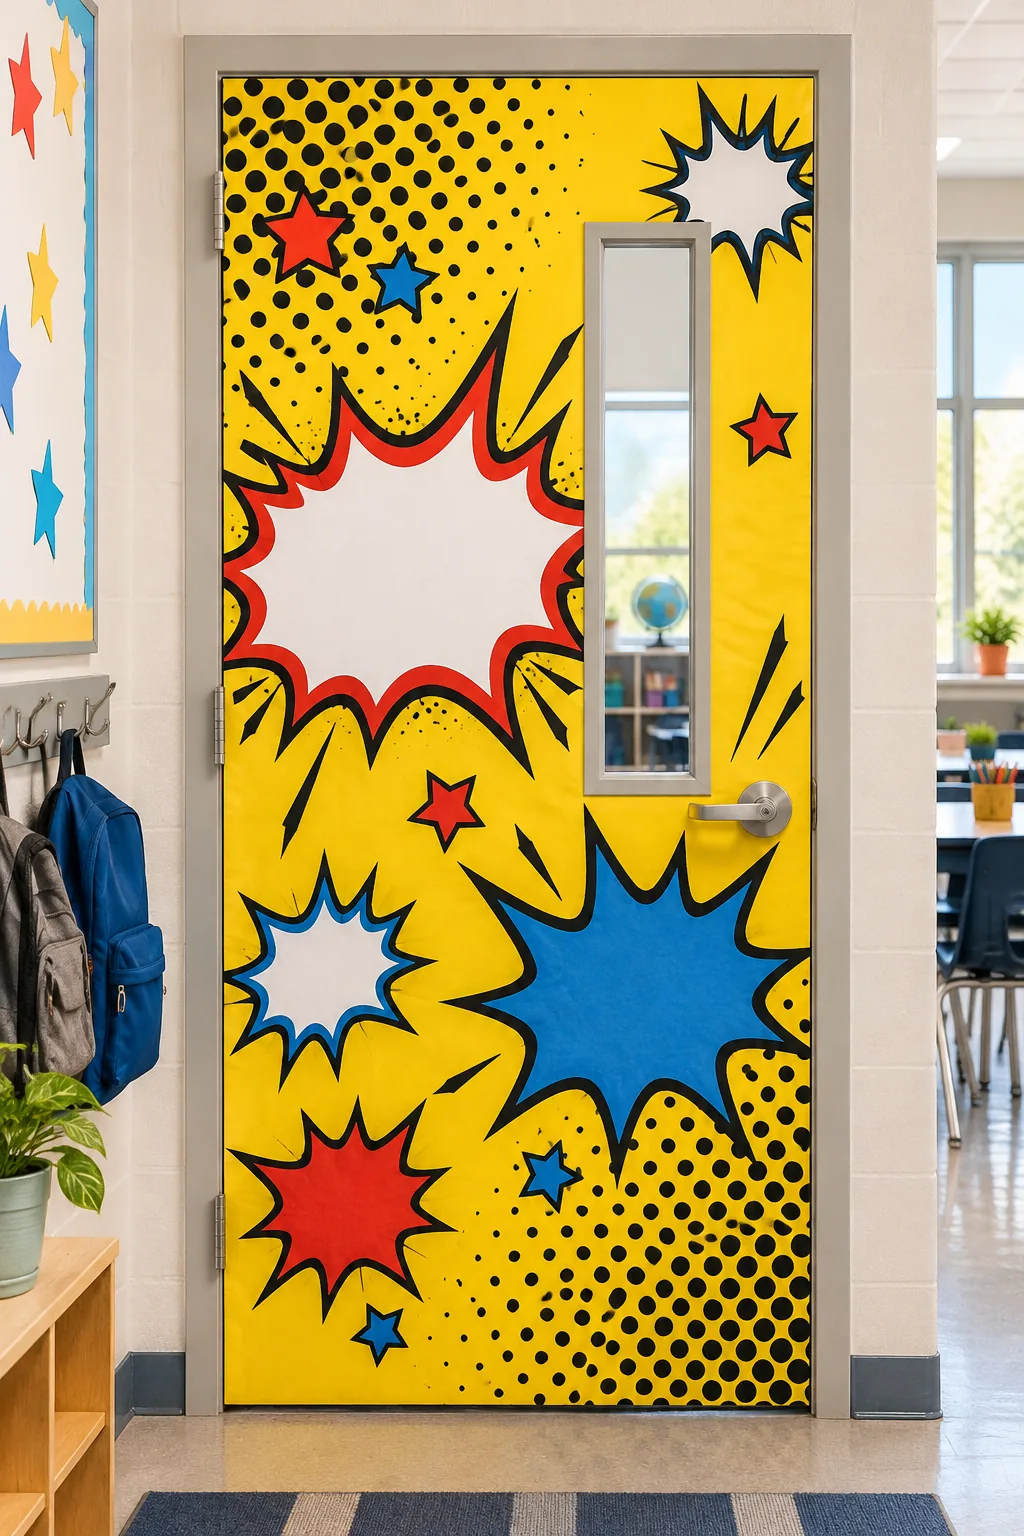
Pop Art Comic Style: Bold primary colors and halftone dot patterns turn a standard entrance into a dynamic comic book page for superhero students.
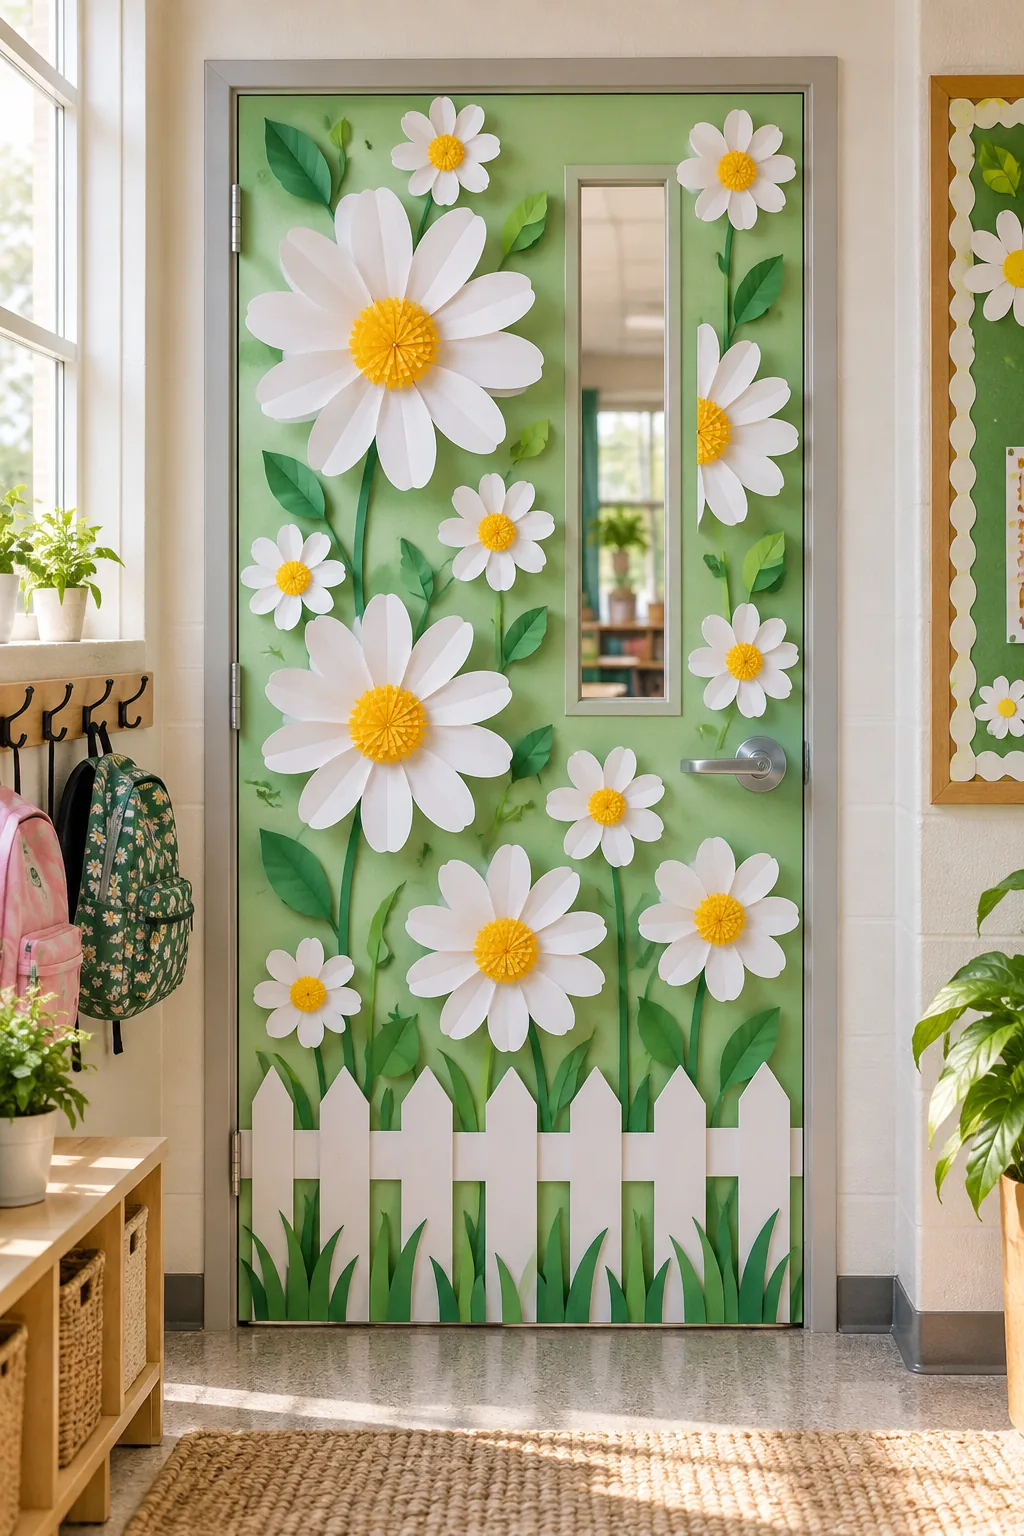
Spring Garden Gate: Anchor the bottom of the door with a white cardstock picket fence and fill the top with oversized pastel paper daisies.
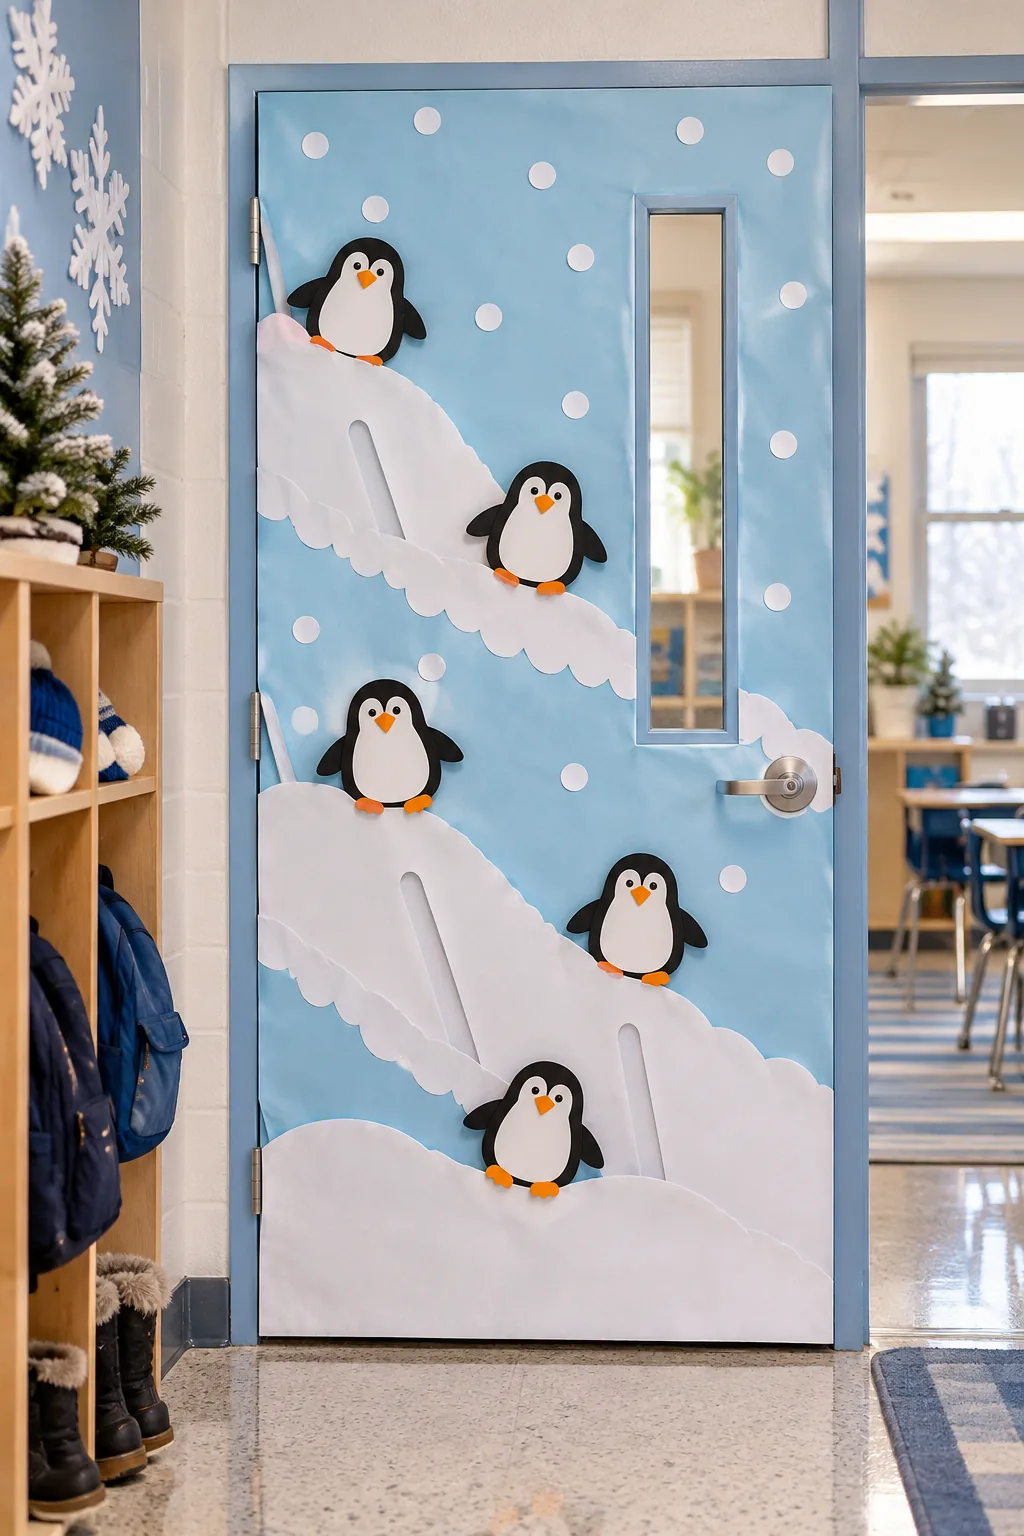
Winter Penguin Slide: Layer scalloped white paper at the base to create snowdrifts, adding a playful colony of sliding penguins for the winter months.