
DIY Grad Party Centerpieces: The 12-Table Supply List
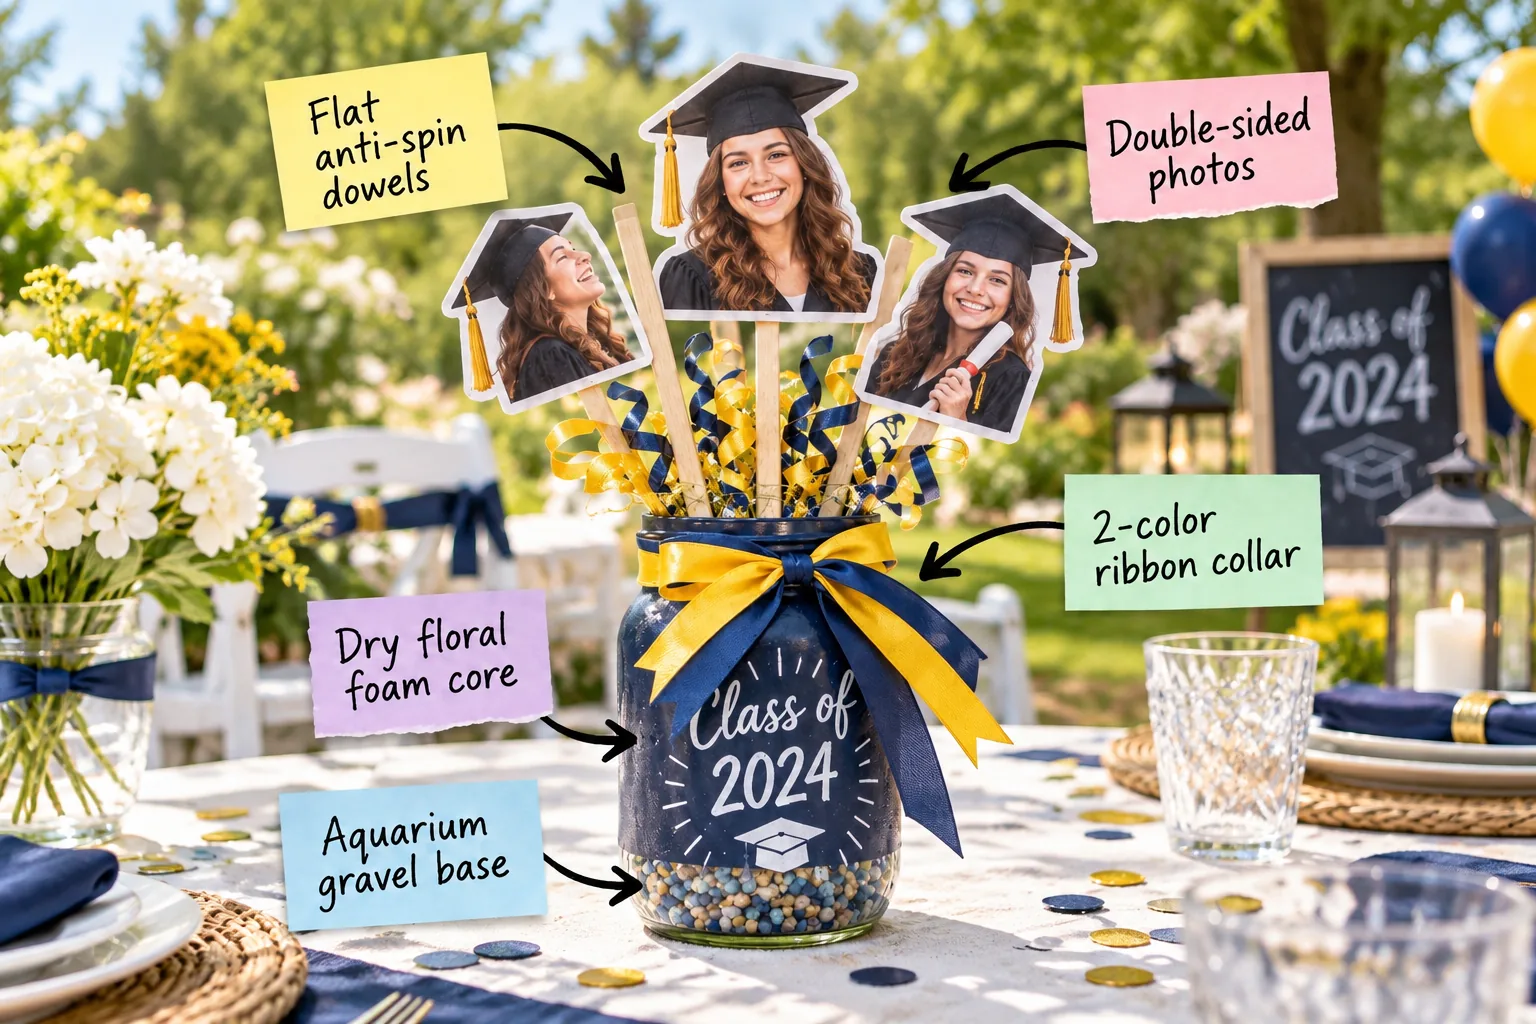
Planning an outdoor graduation party means battling unpredictable summer weather, but you can build beautiful arrangements that stay exactly where you put them. You will be able to buy the exact bulk supplies needed for 12 tables and assemble wind-resistant photo centerpieces that will not blow over.
Selecting the Right Mason Jars
Start your project by sourcing sturdy 32-ounce wide-mouth mason jars, which provide the ideal internal volume for a heavy gravel base. The wider opening makes it significantly easier to insert the rigid foam block without crushing the delicate edges against the glass rim.
Washing and Prepping the Glass
Thoroughly wash every jar with hot soapy water and wipe the exteriors down with rubbing alcohol before applying any color. Removing invisible oil from fingerprints ensures your paint adheres perfectly to the slick glass surface without peeling, flaking, or bubbling later in the season.
Painting the Glass Exterior
Coat the outside of each jar with two layers of matte chalk paint in your graduate’s primary school color. Chalk paint adheres beautifully to bare glass without requiring a toxic primer, creating an opaque finish that completely hides the internal mechanics.
| Jar Size | Paint Required | Drying Time |
|---|---|---|
| 16 oz Pint | 1/2 ounce | 2 hours |
| 32 oz Quart | 1 ounce | 3 hours |
| 64 oz Half Gallon | 2 ounces | 4 hours |
Curing the Chalk Paint
Allow the painted jars to cure undisturbed in a dry, well-ventilated room for at least 24 hours before handling them. Rushing this essential curing process often leads to deep scratches and chips when you start wedging the heavy materials inside the glass container.
Sealing the Painted Finish
Spray a light coat of clear matte acrylic sealer over the fully cured chalk paint to protect the solid color from accidental spills. This invisible barrier makes the jars water-resistant, which is essential if unpredictable rain showers hit your outdoor graduation party setup.
Sourcing the Right Aquarium Gravel
Purchase standard medium-grade aquarium gravel from a local pet store rather than using lightweight decorative craft sand or expensive glass marbles. The jagged edges of the gravel lock together under pressure, creating a dense, immovable foundation that anchors the arrangement perfectly against the wind.
Anchoring with an Aquarium Gravel Base
Start the internal assembly by pouring exactly 1.5 inches of aquarium gravel into the bottom of your painted mason jar.
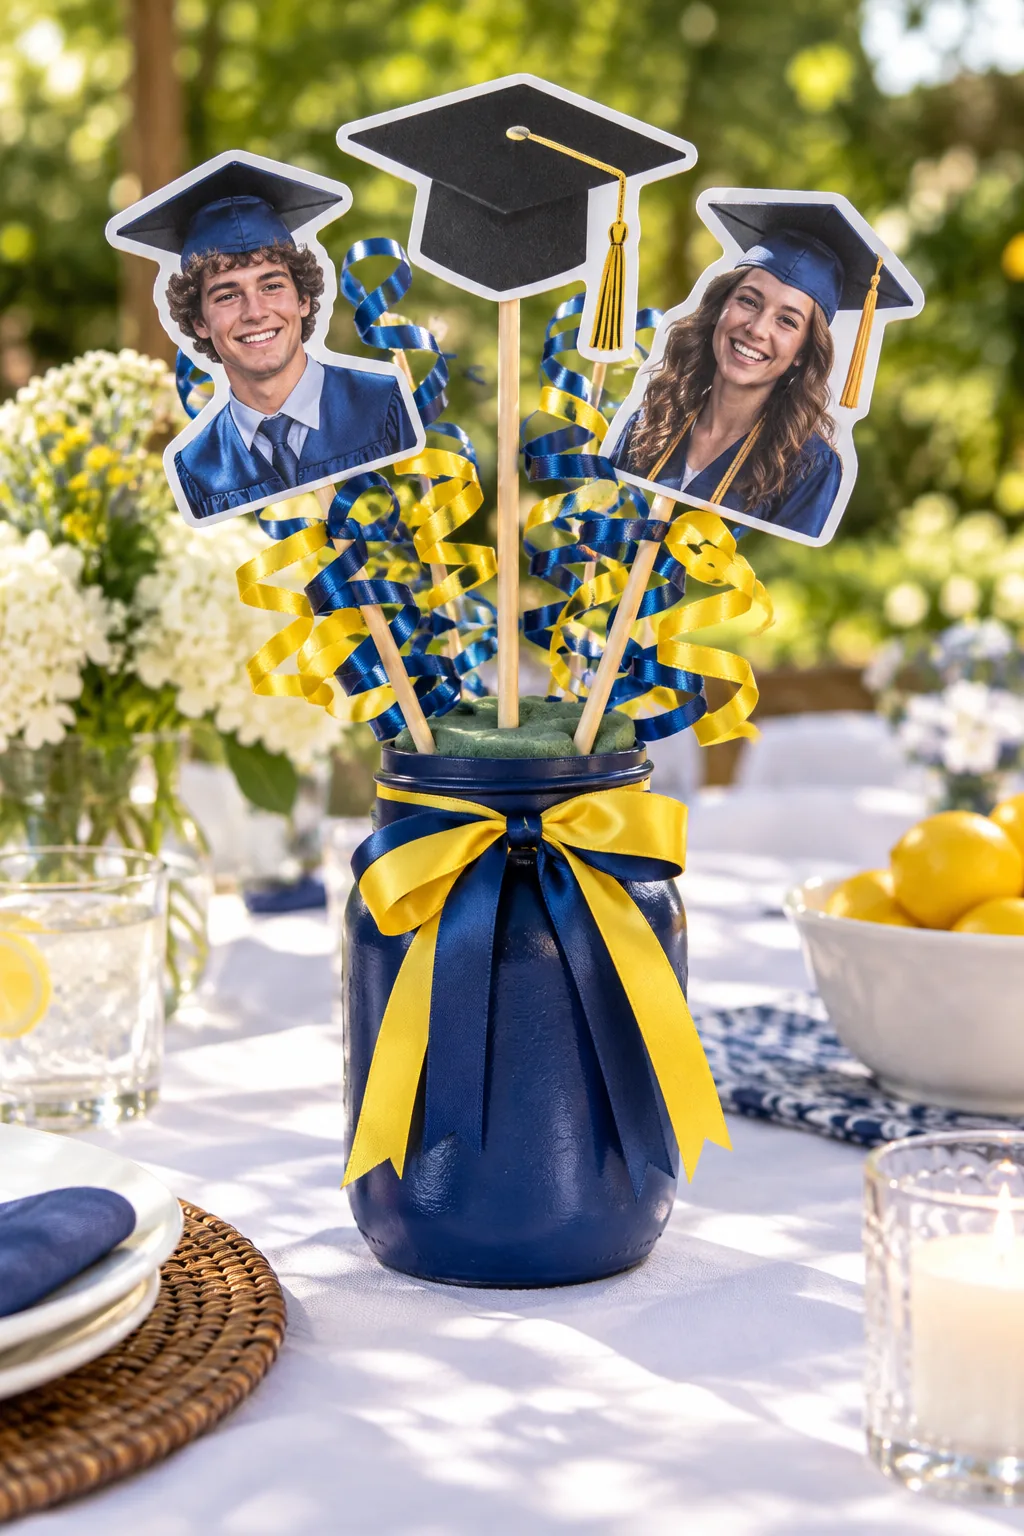
This heavy bottom-weight lowers the center of gravity, preventing the centerpiece from tipping over during sudden outdoor wind gusts.
Testing the Center of Gravity
Before moving to the next step, simulate a strong outdoor breeze to verify your base weight is adequate.
- Place the gravel-filled jar on a sturdy patio table.
- Strike the upper glass rim firmly with your open palm.
- Add another half-inch of gravel if the base lifts.
Securing the Dry Floral Foam Core
Cut a block of dry floral foam to wedge tightly inside the jar, pressing it down firmly against the gravel layer.
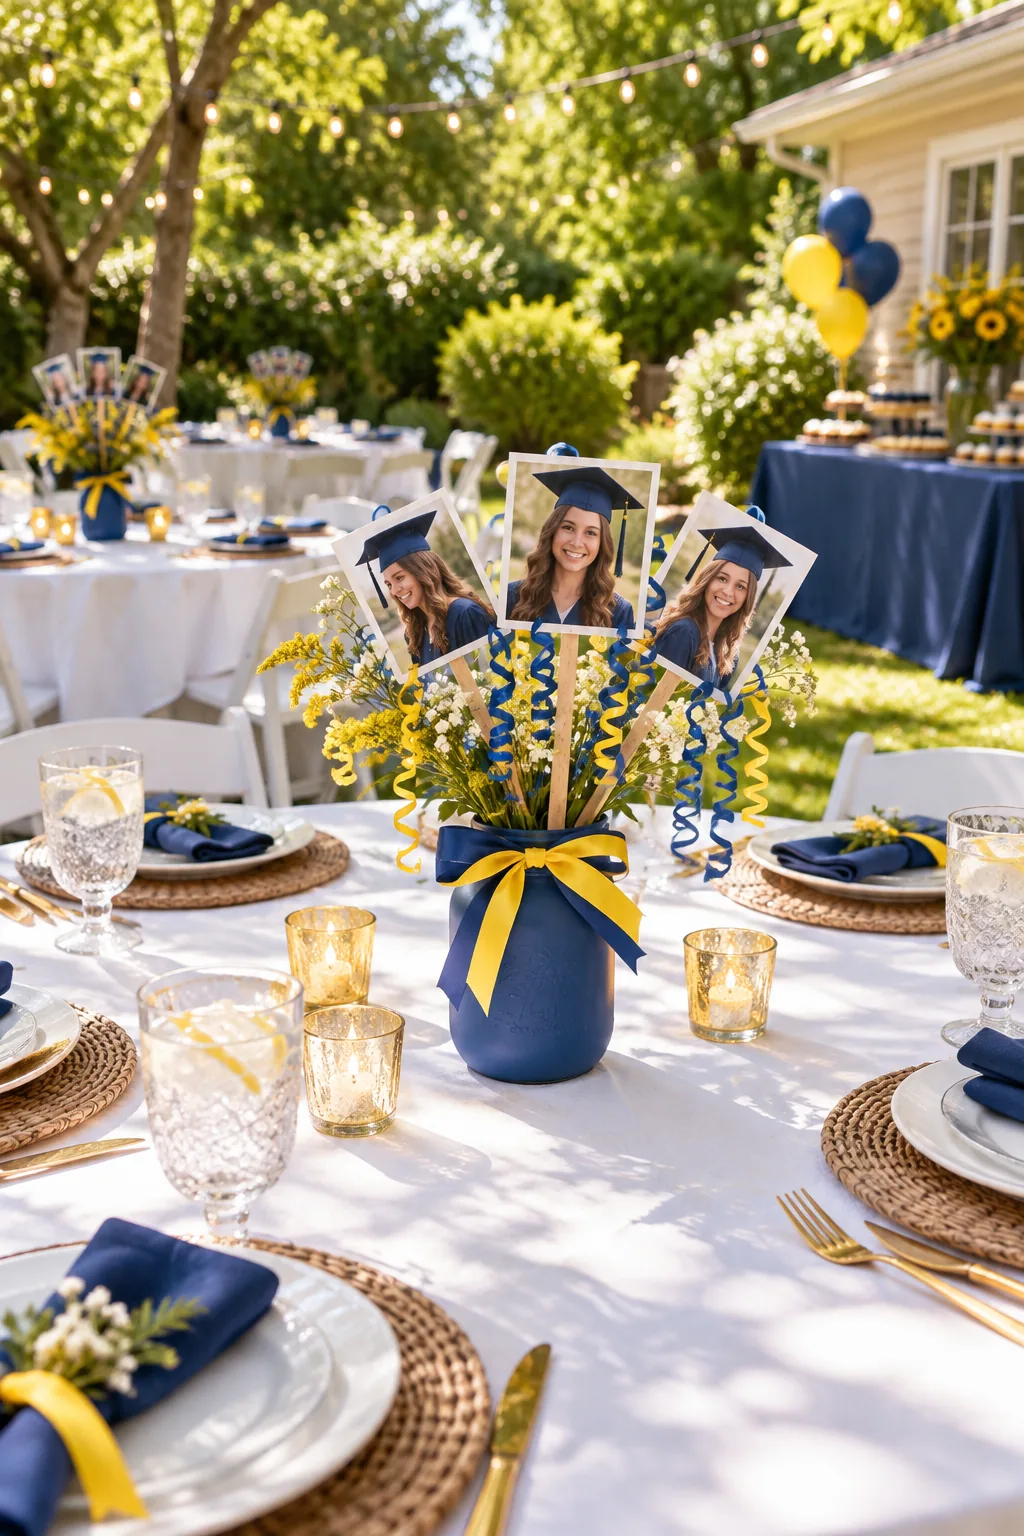
A loose core ruins the arrangement before the party even starts, so watch out for these common structural errors when prepping your jars.
Sizing and Cutting the Foam
Standard dry foam bricks usually measure about 8 by 4 by 3 inches, meaning one brick yields enough core material for two quart jars. Use a long serrated bread knife to slice the blocks cleanly without generating excessive airborne dust in your workspace.
Preventing Foam Dust Contamination
Cut all your floral foam outdoors or over a large plastic drop cloth to prevent the fine green dust from settling into your carpet. Wipe the cut blocks with a slightly damp paper towel before inserting them to keep the painted jar rims clean.
Styling the 2-Color Ribbon Collar
Wrap the jar rim with layered satin ribbons in two contrasting school colors to create a polished visual transition.
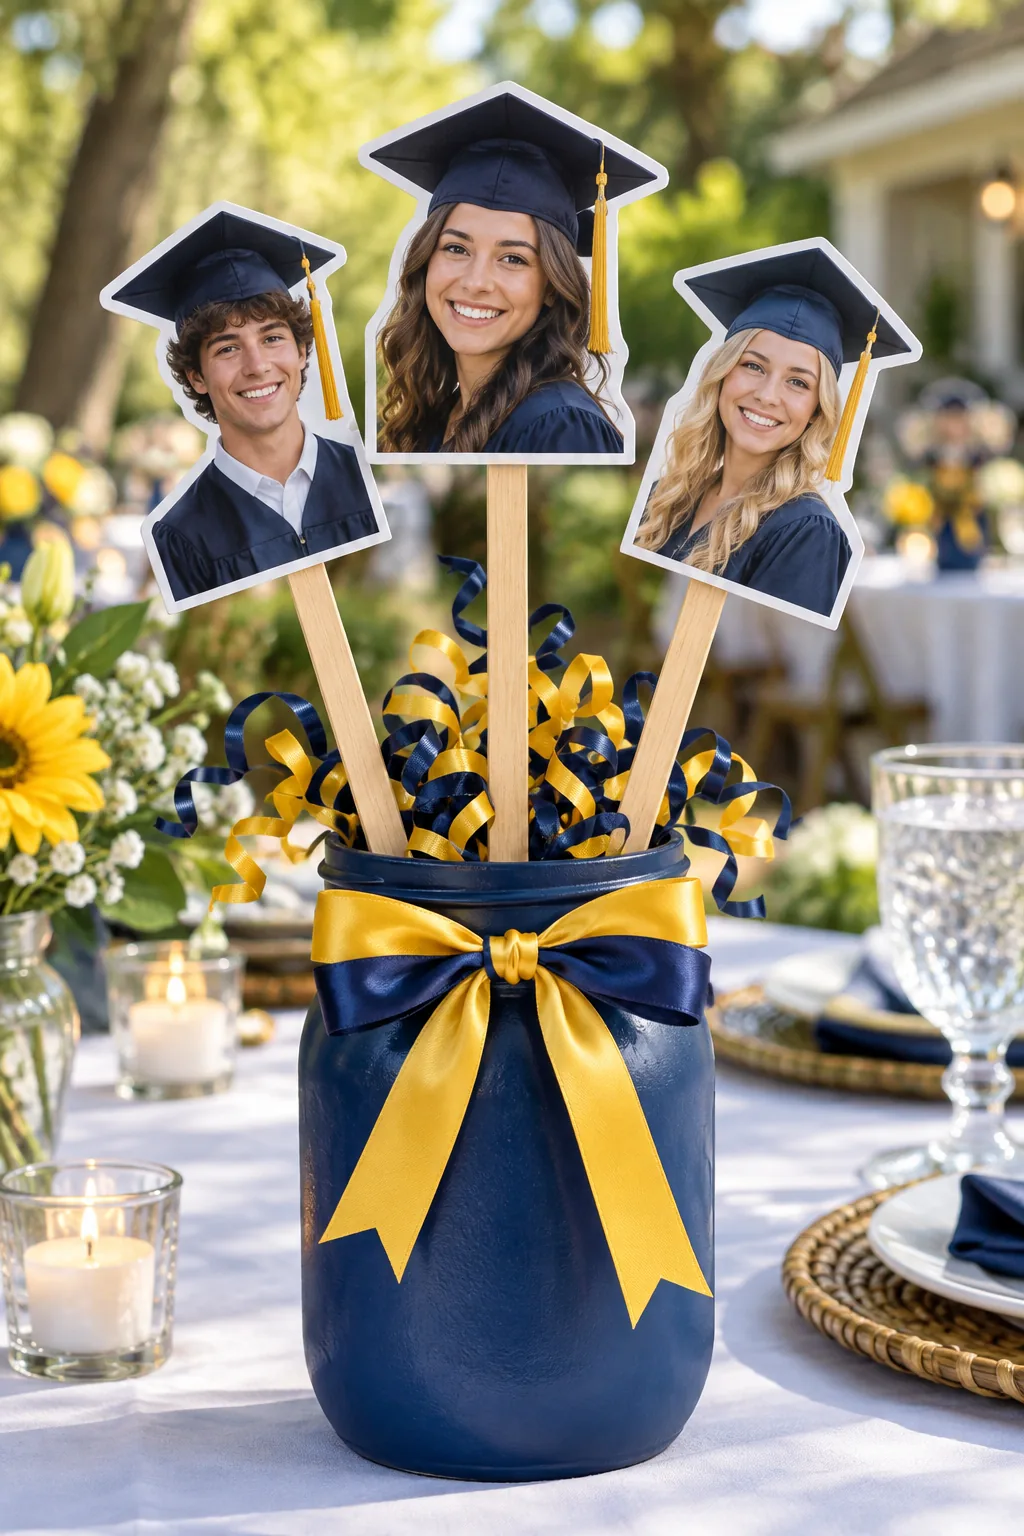
Tie a tight double knot directly against the glass before forming the bow to ensure the collar remains perfectly positioned.
Selecting the Ribbon Widths
For a balanced look on a 32-ounce jar, use a 1.5-inch wide base ribbon topped with a 7/8-inch accent ribbon. The contrasting widths prevent the top layer from completely obscuring the bottom layer when viewed from an angle.
Using Flat Anti-Spin Dowels
Swap standard round skewers for 1/4-inch flat wooden dowels so the wind cannot rotate your photos like a sail.
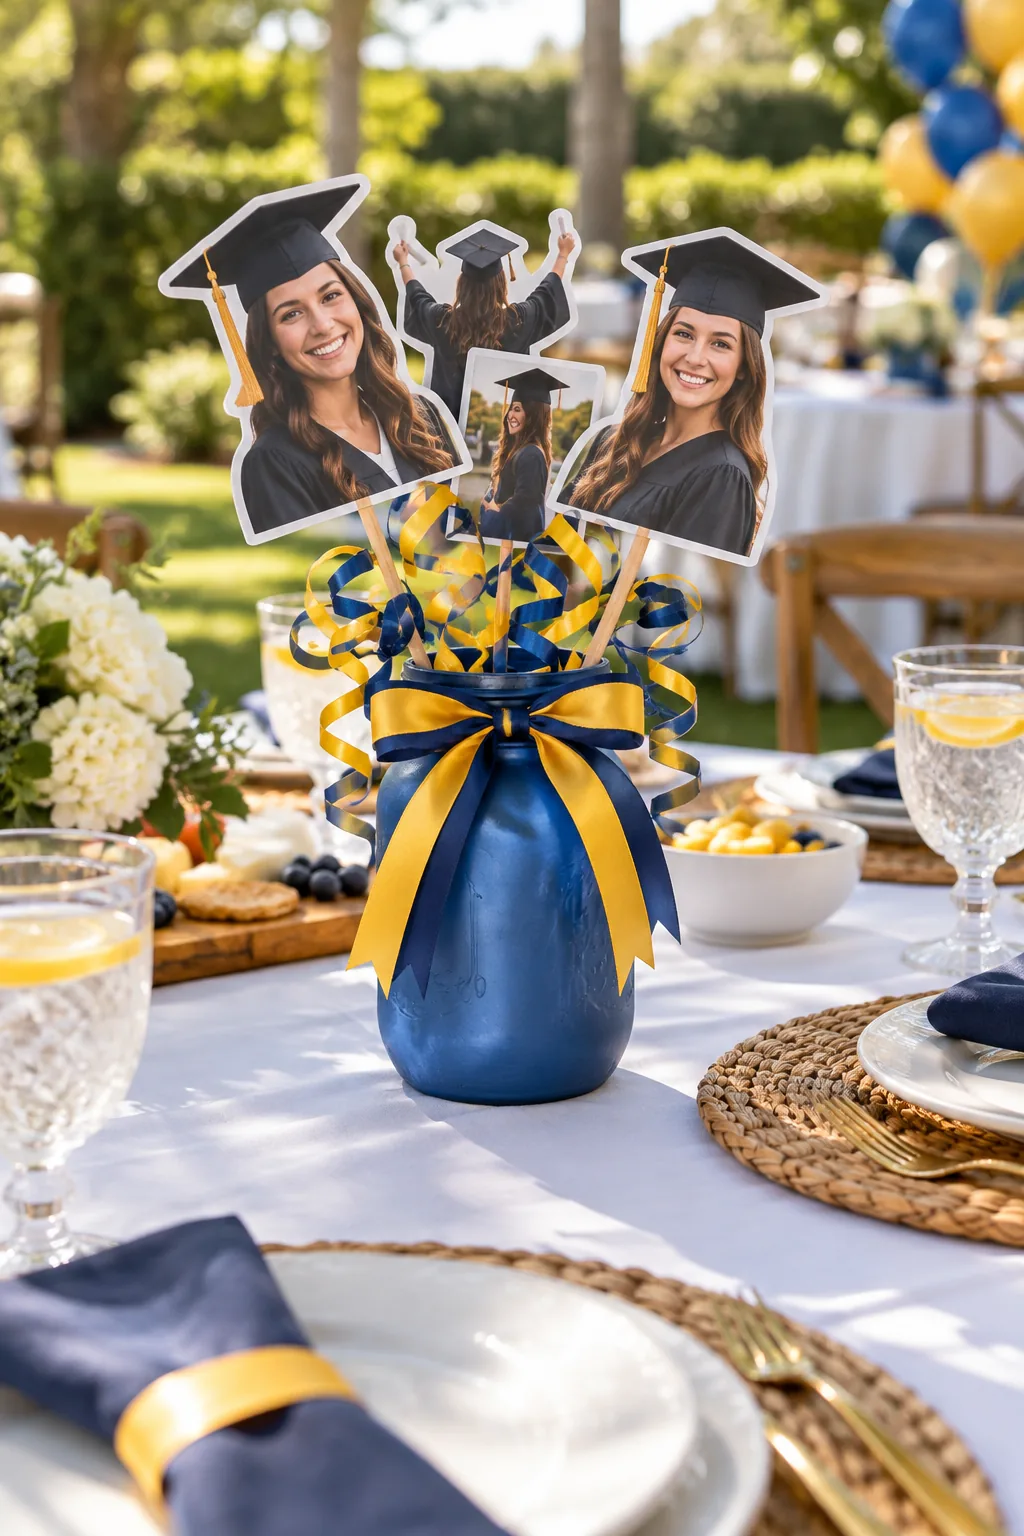
I learned this the hard way at my sister’s graduation when a sudden breeze spun all her portraits backward, leaving guests staring at blank cardboard.
Painting the Wooden Supports
Leave the flat dowels raw for a casual rustic look, or spray paint them matte black to make the supports visually disappear. Painting the wood also seals it against unexpected summer humidity, keeping the sticks perfectly straight throughout the long afternoon celebration.
Trimming Dowels to Staggered Heights
Cut your three dowels to different lengths so the photos cascade visually rather than blocking each other from the front. Make the center dowel exactly 14 inches long, and trim the two flanking dowels down to 11 inches for a balanced, triangular composition.
Prepping the Die-Cut Portraits
Order custom die-cut photos that trace the outline of your graduate’s face and cap, eliminating the bulky rectangular background. This custom shape drastically reduces the overall surface area, making the entire centerpiece significantly more aerodynamic in a stiff afternoon breeze on the lawn.
Creating Double-Sided Photos
Apply heavy-duty double-sided tape to join two identical die-cut graduate photos back-to-back over the top inch of each dowel.
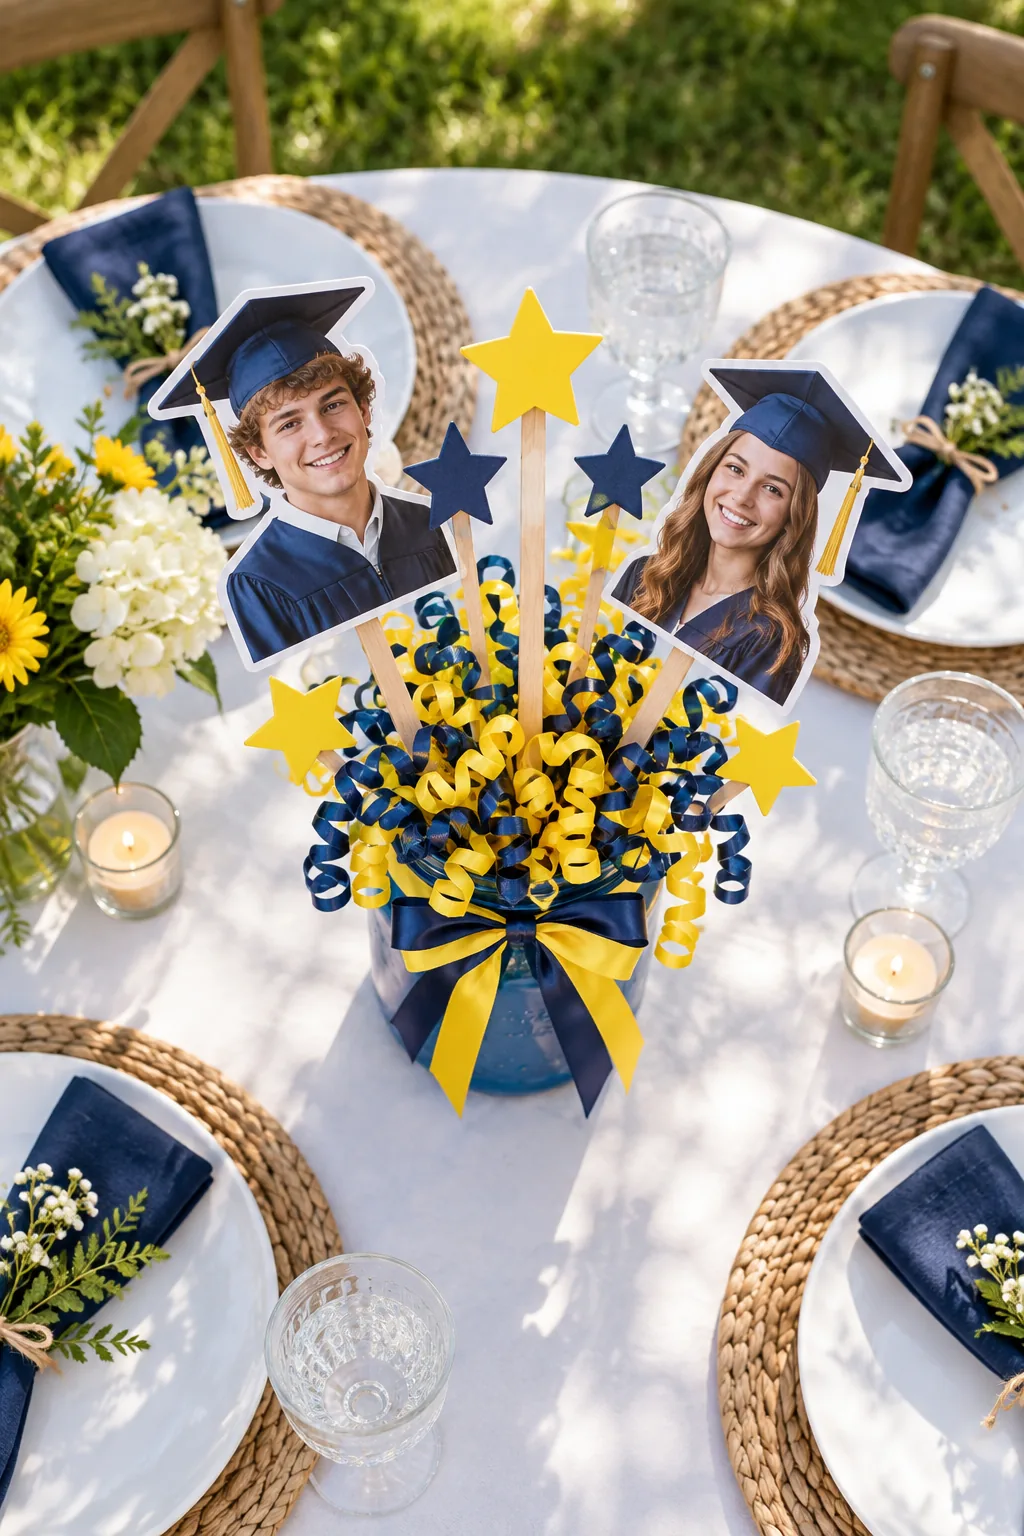
This symmetrical placement ensures that guests seated on opposite sides of the round table both enjoy a perfect view of the guest of honor.
Attaching the Photos Securely
Press the taped photos together firmly for at least ten seconds to activate the strong adhesive bond. Avoid using liquid school glue or hot glue, as moisture warps the photo paper and extreme outdoor heat can cause thick hot glue to melt completely.
Choosing the Right Adhesive Tape
Select an industrial-strength double-sided mounting tape rather than standard scrapbooking squares for the best long-term hold. The thicker foam core of mounting tape fills the tiny gaps against the wooden dowel, ensuring the heavy cardstock photos never slide down the stick during the party.
Choosing the Photo Paper Finish
Always print your die-cut portraits on a matte or luster finish paper rather than high gloss to prevent harsh sun glare. Matte finishes absorb the bright outdoor light, making the graduate’s smiling face clearly visible from across the yard without distracting reflections.
Concealing Mechanics with Curly Ribbon
Hide the exposed floral foam by tucking generous handfuls of curled curling ribbon into the top of the jar.
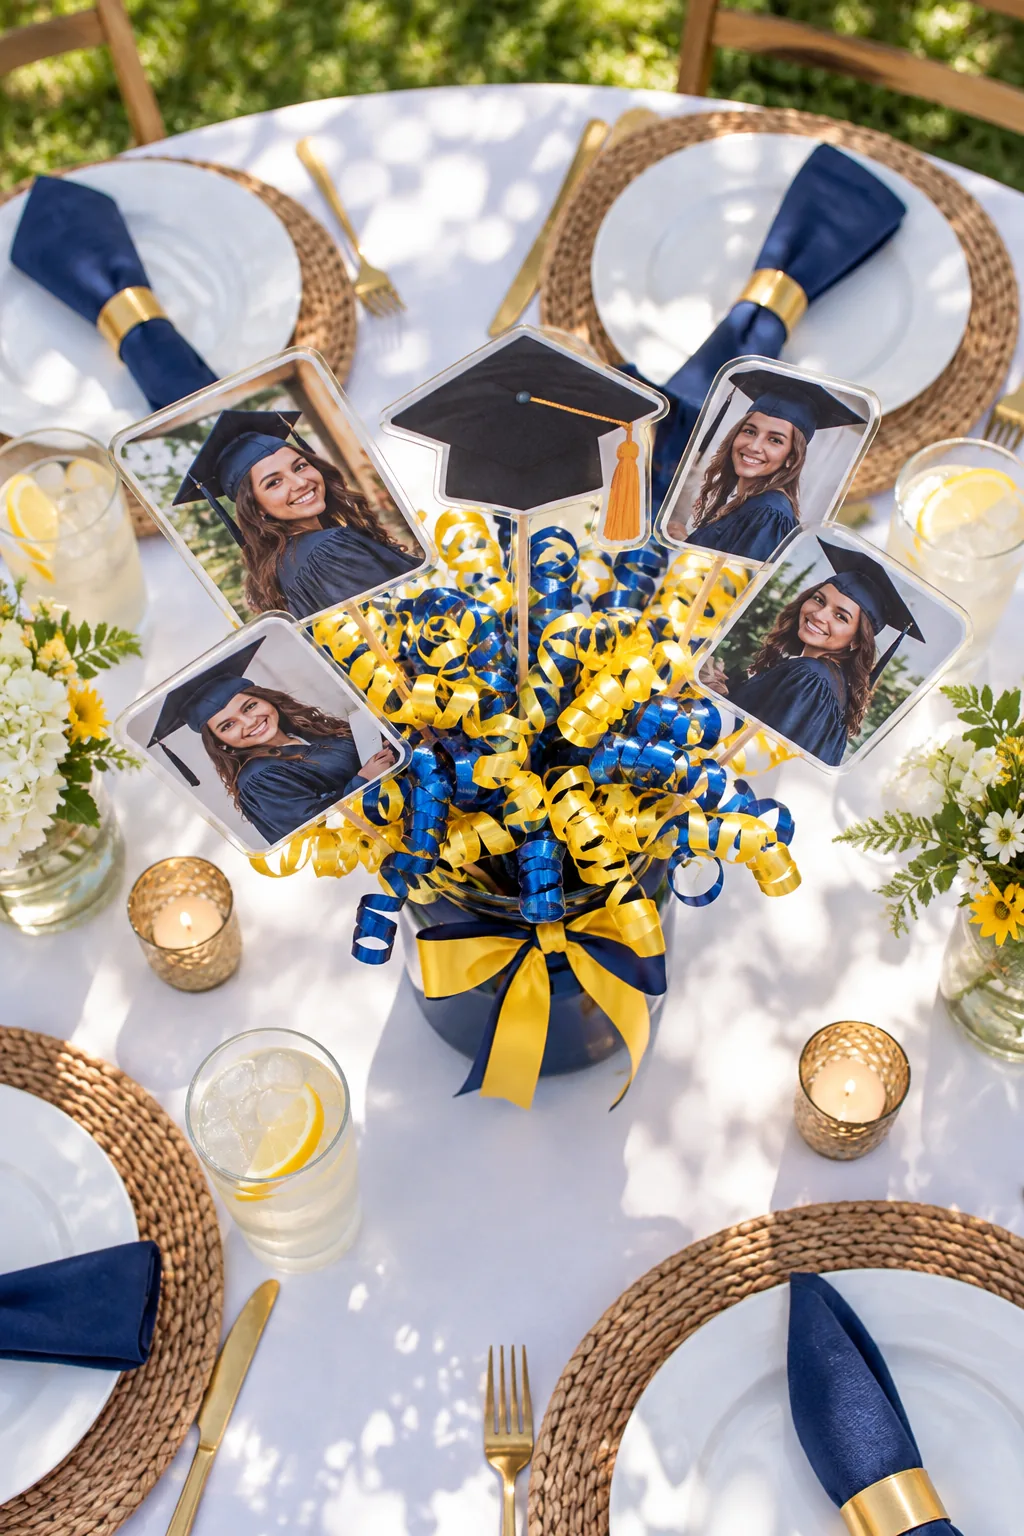
In my Boston apartment, I always pre-curl the ribbons in massive batches while watching TV, which saves hours of hand-cramping work on assembly day.
Curling Technique for Maximum Volume
Pull the ribbon firmly across the sharp edge of your scissors at a sharp angle to create tight, springy coils.
Incorporating Battery-Operated Fairy Lights
For evening celebrations, weave a short strand of micro LED fairy lights through the curly ribbon filler just before guests arrive. Hide the tiny battery pack directly against the floral foam block where the dense ribbon curls will completely obscure it from view.
Spacing on Outdoor Tables
Center one 32-ounce jar per 6-foot round table to leave ample room for dinnerware, glasses, and large serving platters.
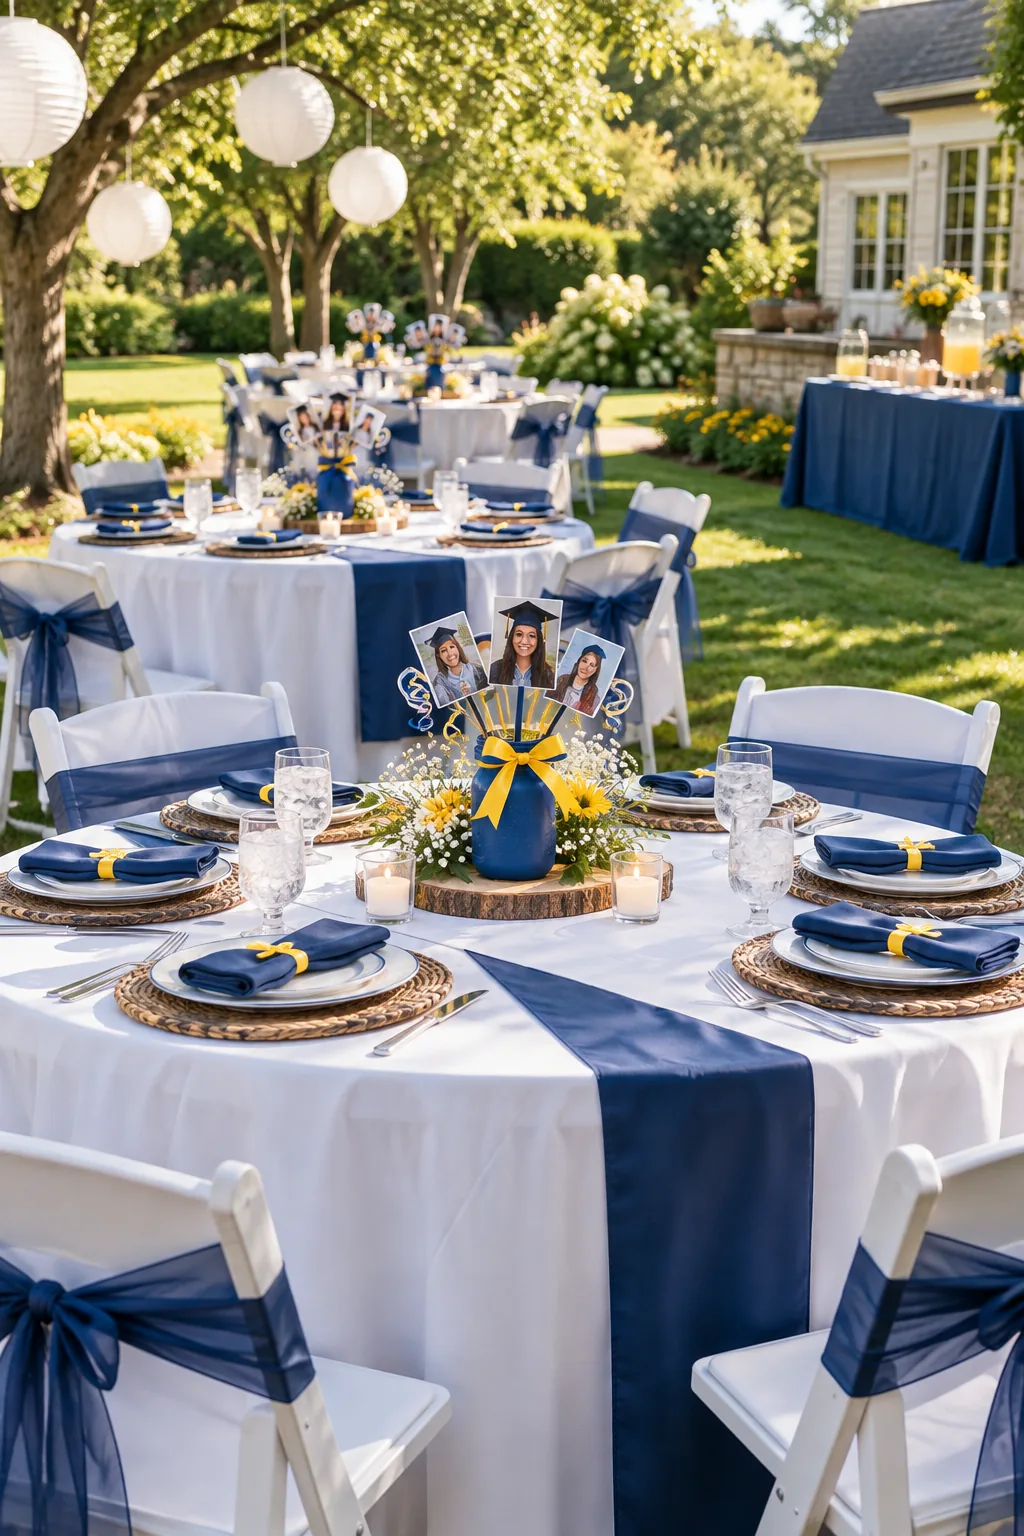
Trim the tallest photo dowel so it sits no higher than 14 inches above the rim, maintaining clear sightlines for easy conversation.
Managing Table Linens and Wind
Secure your table linens with weighted clips before placing the centerpiece down to prevent the fabric from billowing up and knocking the jar over. The heavy gravel base anchors the center, but the edges of the tablecloth still need independent management during windy days.
Storing Centerpieces Before the Party
Keep the fully assembled jars indoors away from direct sunlight until the morning of the graduation party. Prolonged UV exposure can rapidly fade the printed photos and cause the curling ribbon to lose its tight, bouncy structure before your guests even arrive.
Final Assembly and Transport Tips
Pack the finished centerpieces into shallow cardboard liquor boxes for safe transport to the party venue. The internal cardboard dividers prevent the heavy glass jars from smashing into each other while you drive over speed bumps or take sharp corners on the way.
More Centerpiece Styles to Try
Adapt this wind-proof structural method to fit any party theme with these distinct styling variations.
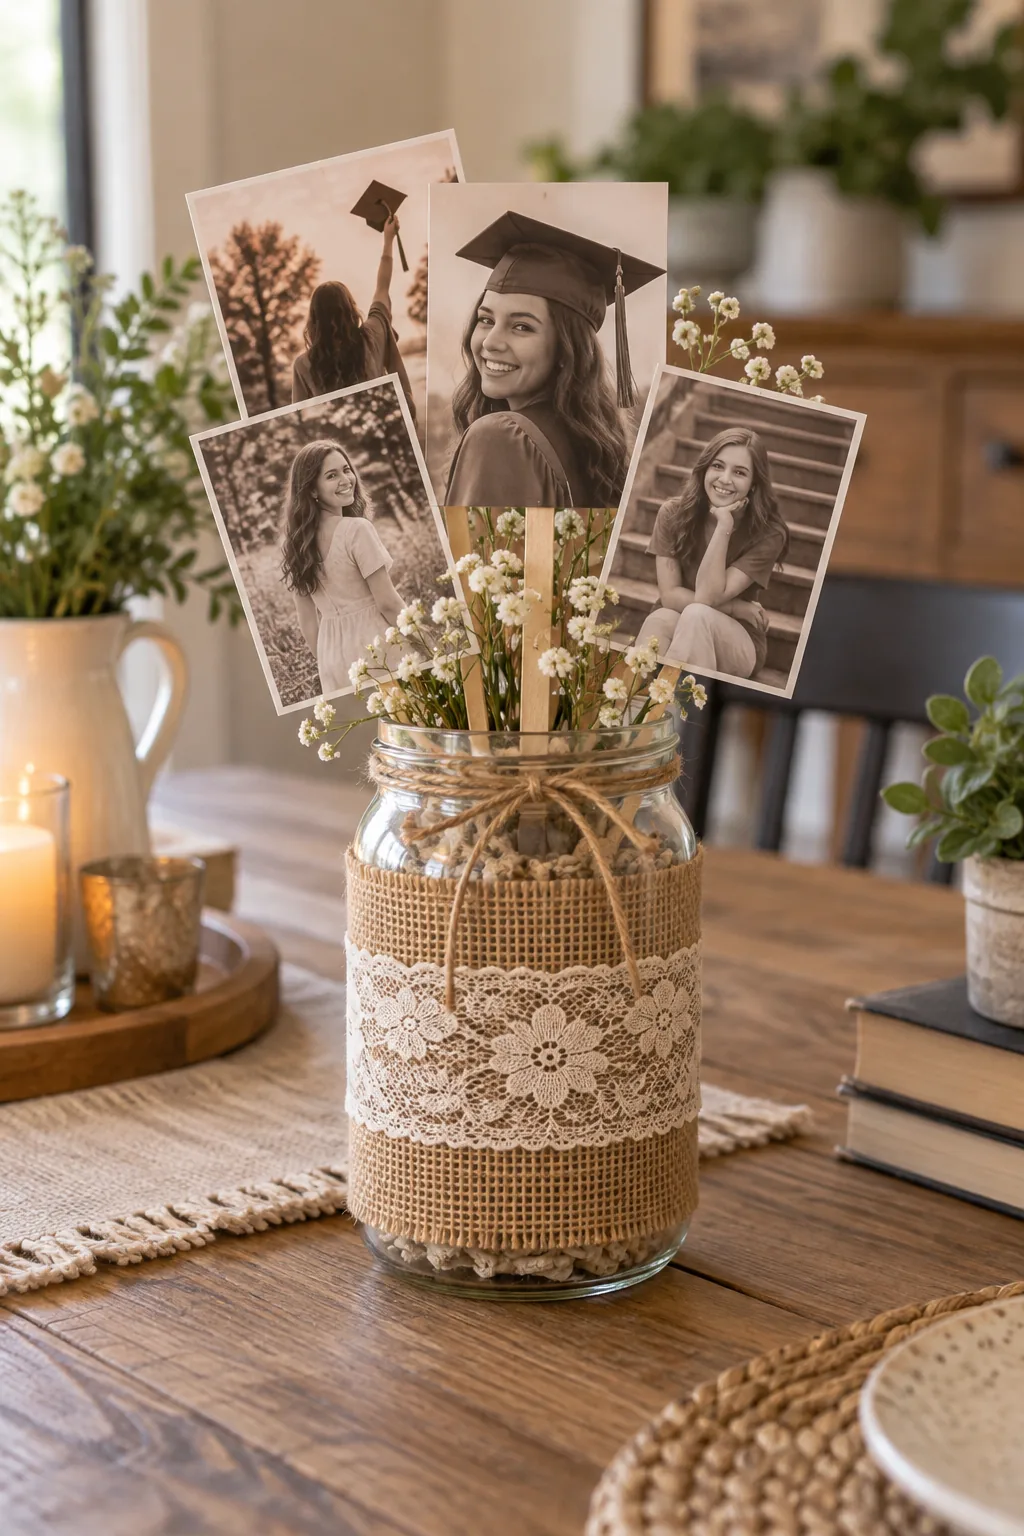
Rustic Burlap and Lace: Wrap clear jars in textured burlap and delicate lace for a relaxed farmhouse aesthetic.
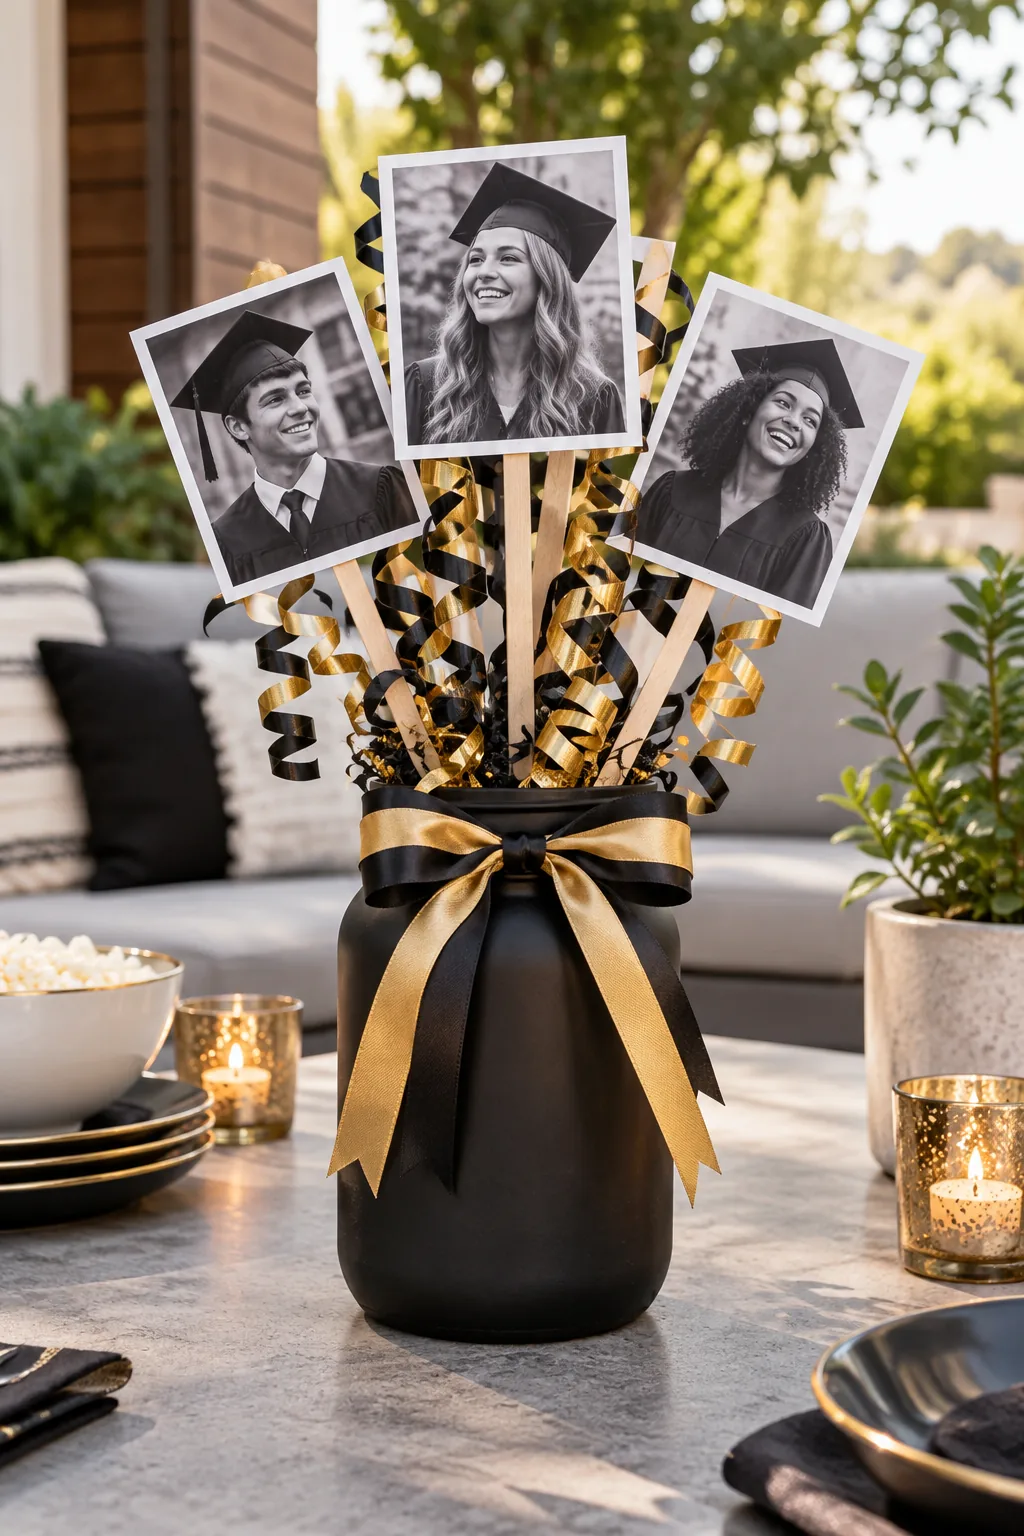
Modern Metallic Gold: Pair a matte black base with metallic gold ribbons for a sharp, contemporary celebration.
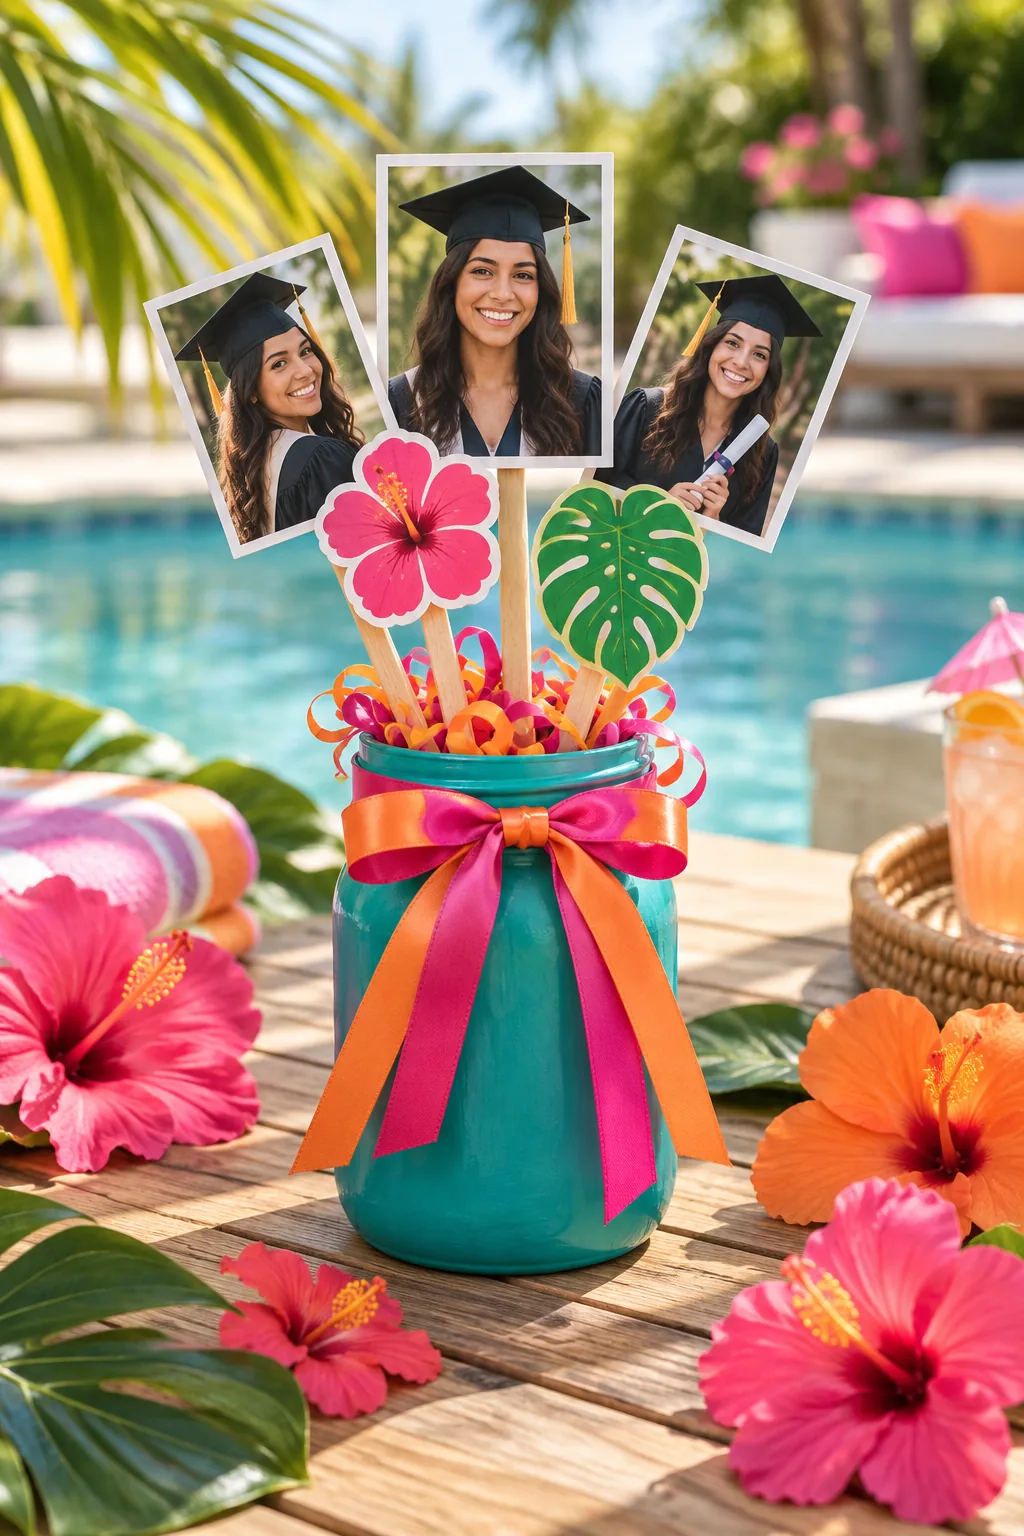
Tropical Poolside Brights: Use vibrant teal jars and neon ribbons to match a bright summer pool party theme.
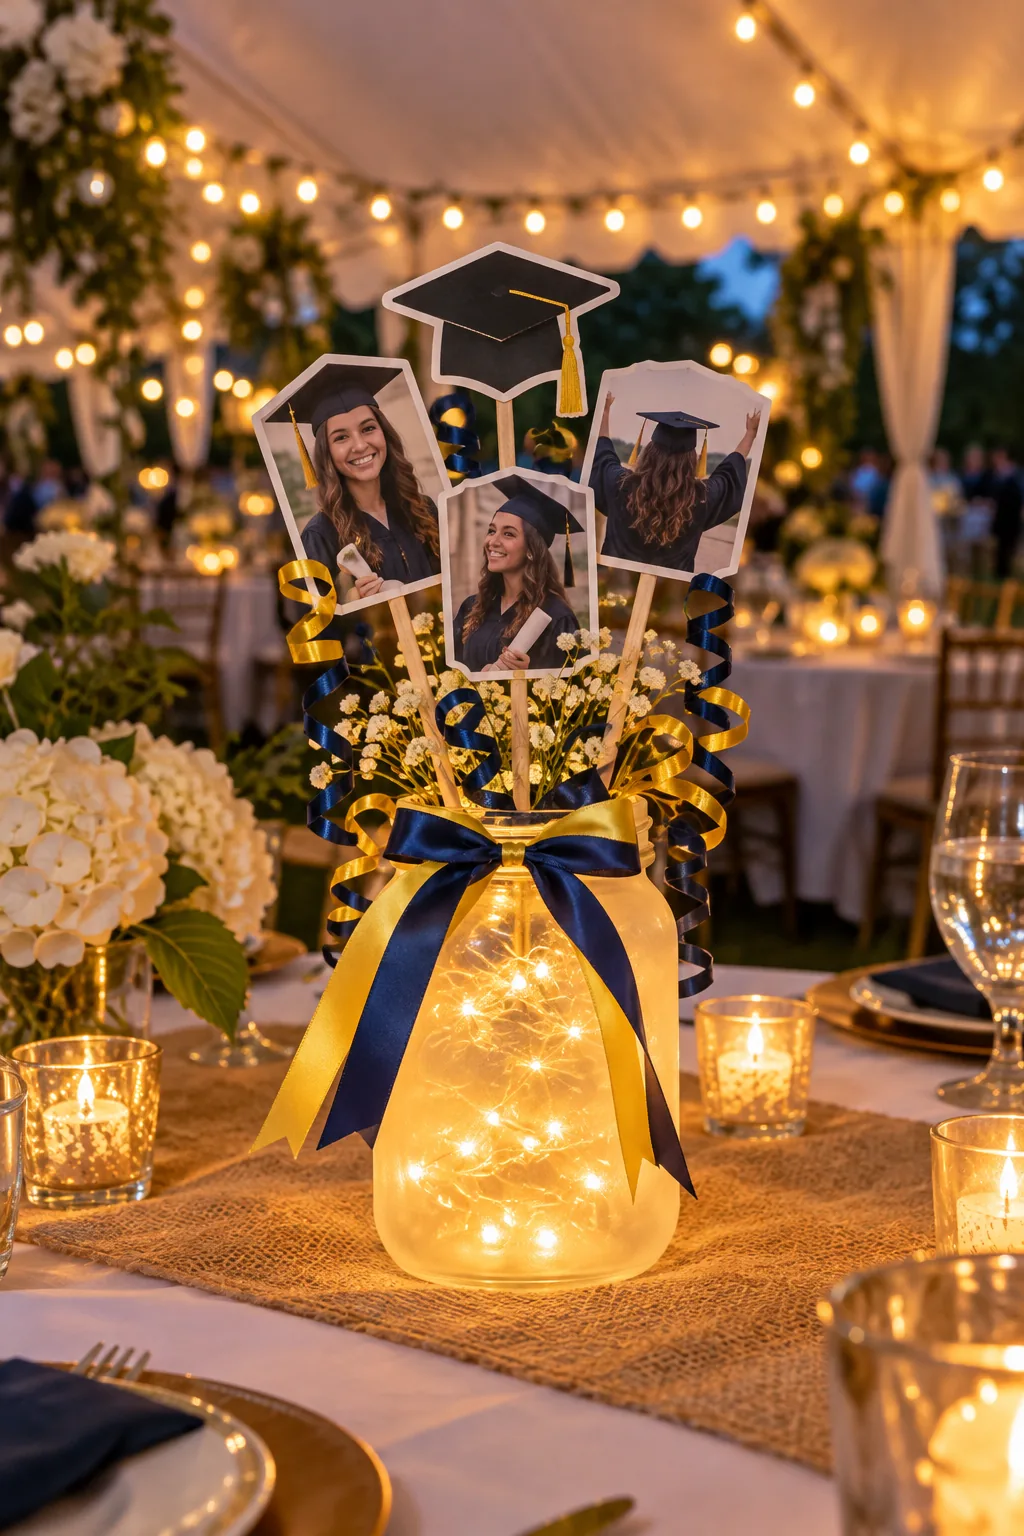
Evening Garden Fairy Lights: Swap the gravel for internal battery-operated fairy lights to illuminate evening garden receptions.
The 12-Table Bulk Supply Calculator
To build 12 identical centerpieces, purchase exactly 12 quart-sized mason jars, 15 pounds of aquarium gravel, and 6 standard dry foam blocks.
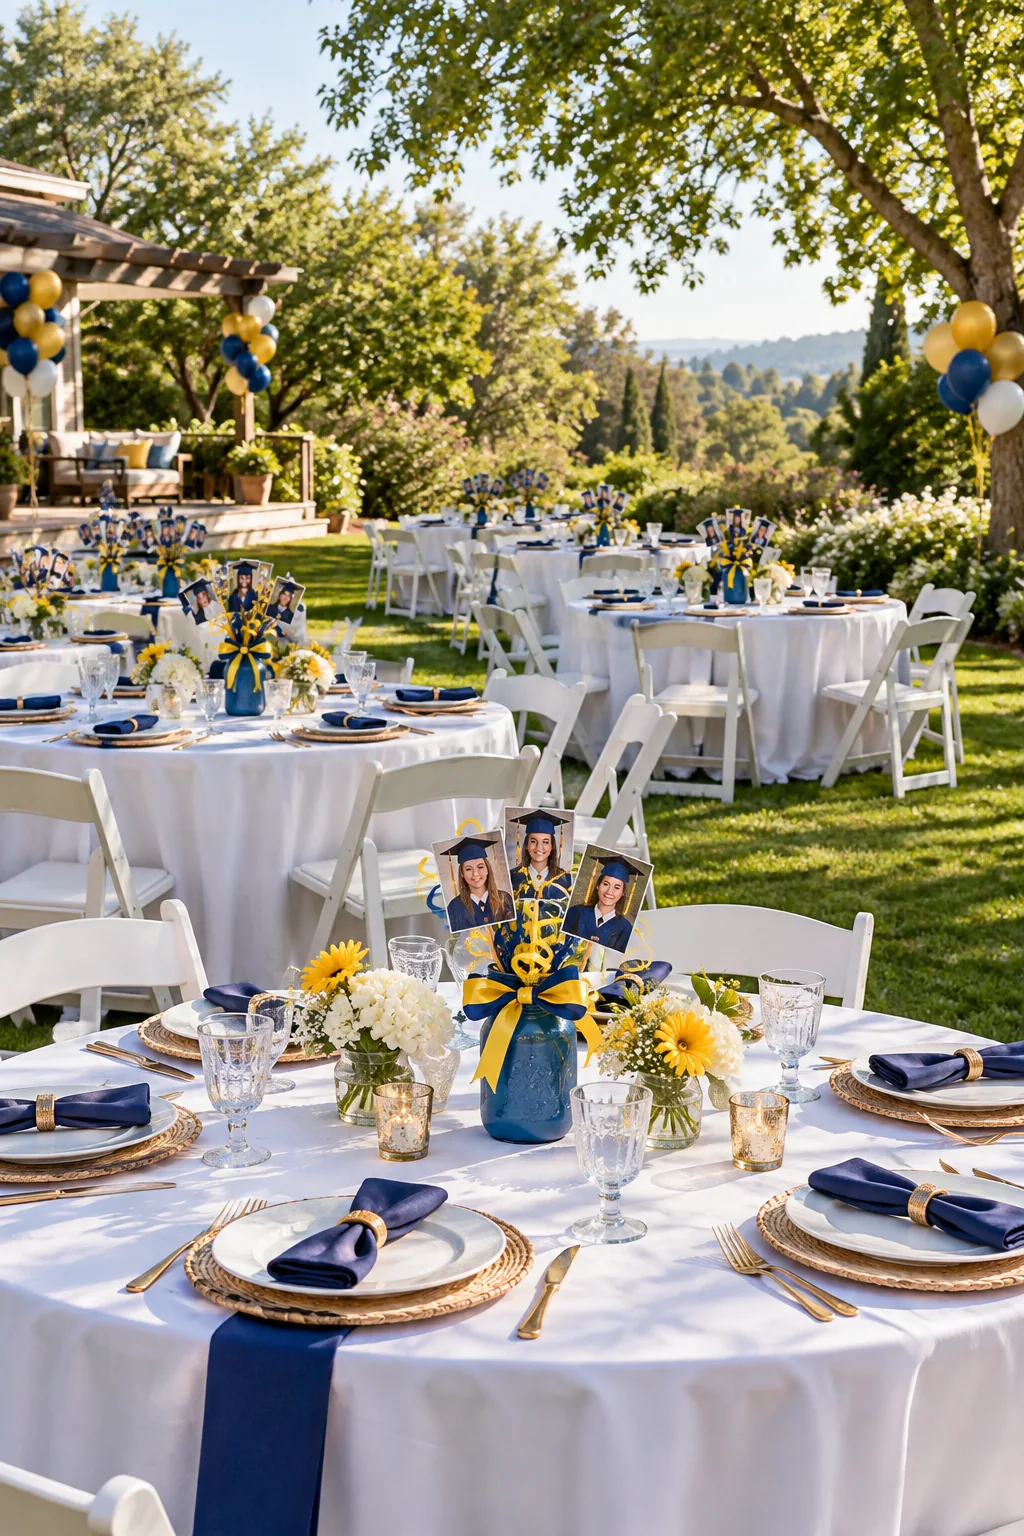
You will also need 36 flat dowels, 72 die-cut photos, and 3 spools of each ribbon color. Use this exact inventory list to check off your bulk materials.
- 12 quart-sized wide-mouth mason jars
- 15 pounds of medium aquarium gravel
- 6 standard blocks of dry floral foam
- 36 flat 1/4-inch wooden dowels
- 72 identical die-cut graduate photos