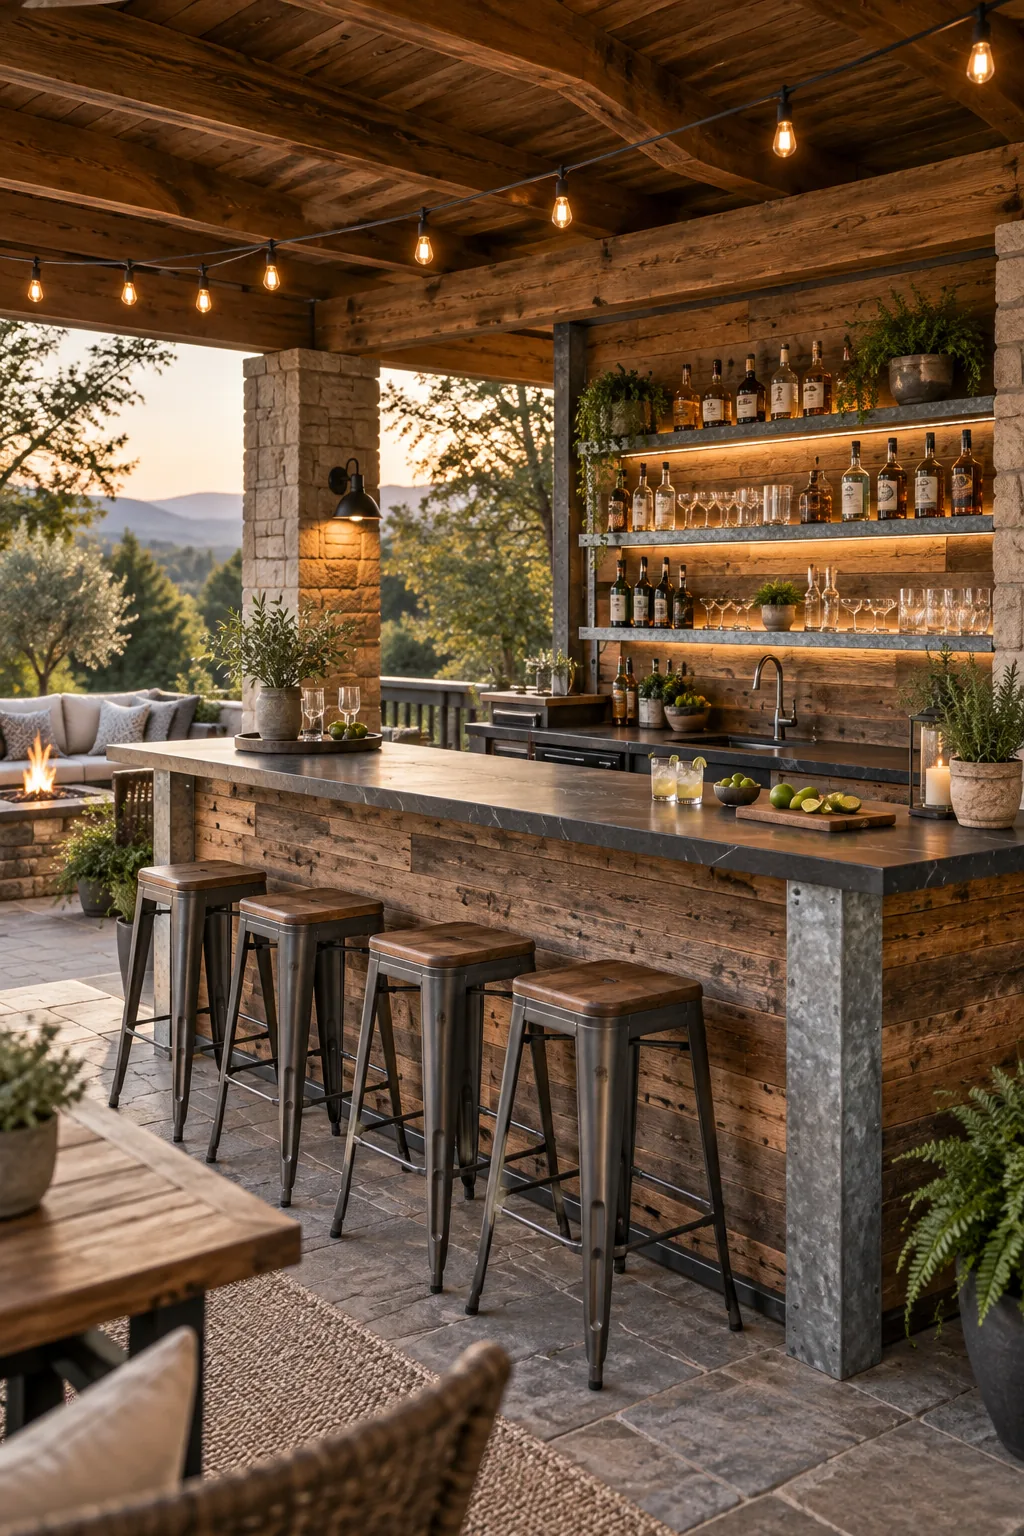
Home Bar Design Layouts: The Ultimate Dimension Cheat Sheet
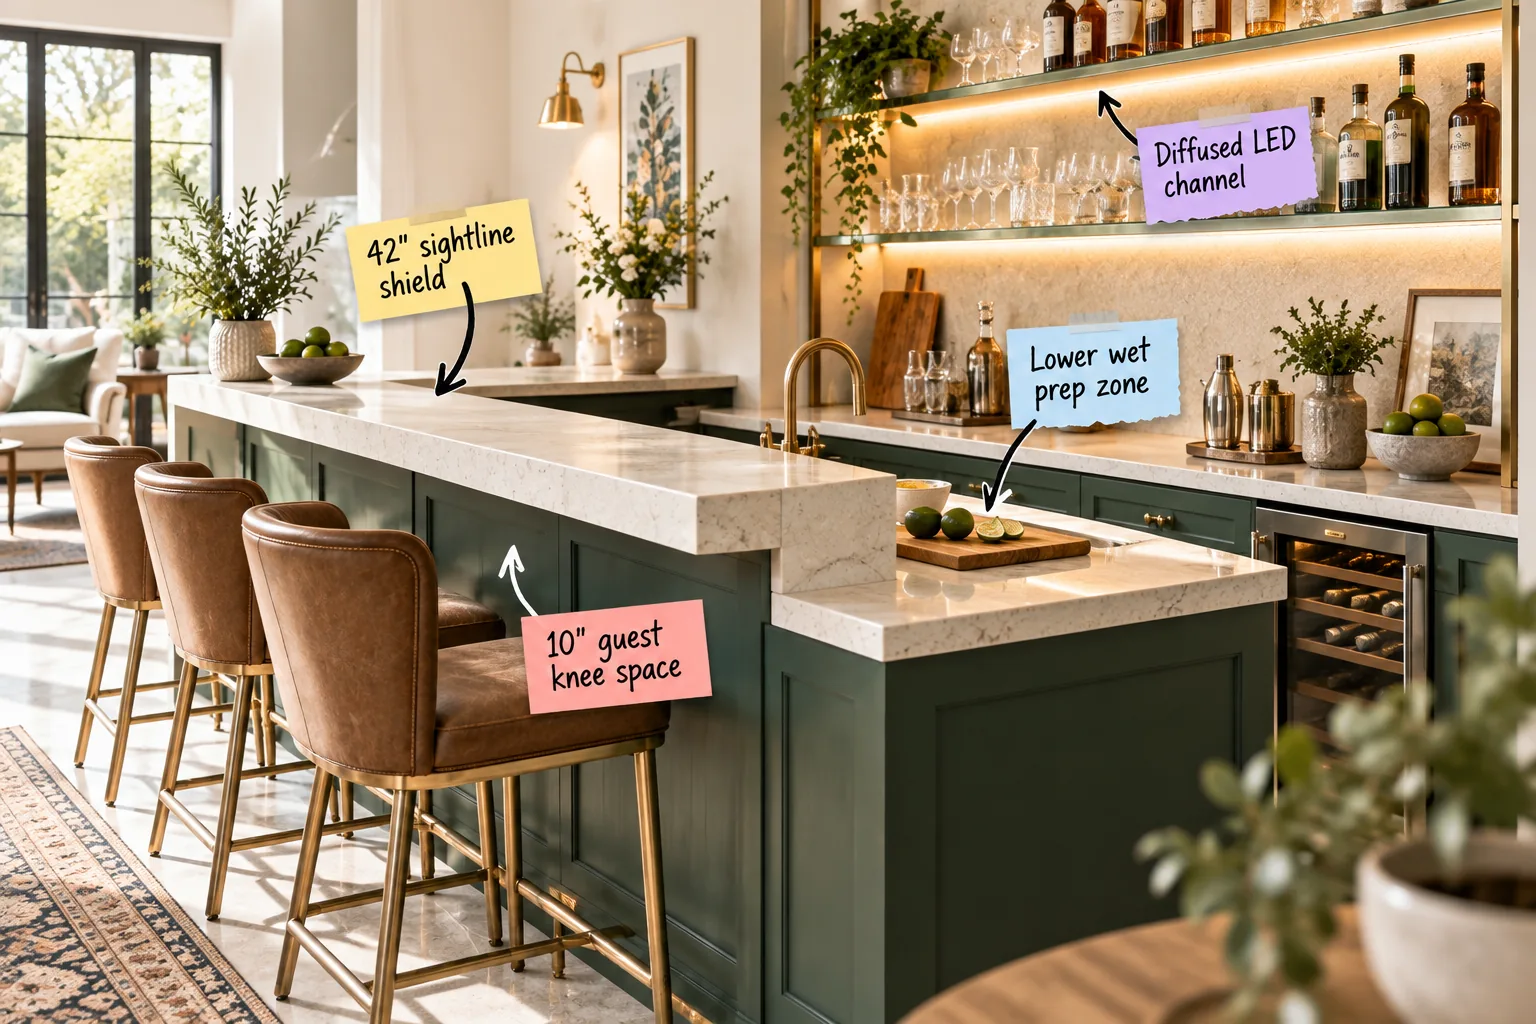
You will be able to map out your exact layout footprint, order the right stool heights, and build seamless prep zones using these standard measurements. Grab our printable dimension cheat sheet below to nail the perfect heights, depths, and clearances for a custom home bar.
The complete bar dimension cheat sheet
Before ordering a single piece of cabinetry, use these baseline numbers to tape out your entire footprint on the floor. Establishing the exact physical boundaries early ensures your new entertaining space harmonizes perfectly with the room’s existing traffic patterns.
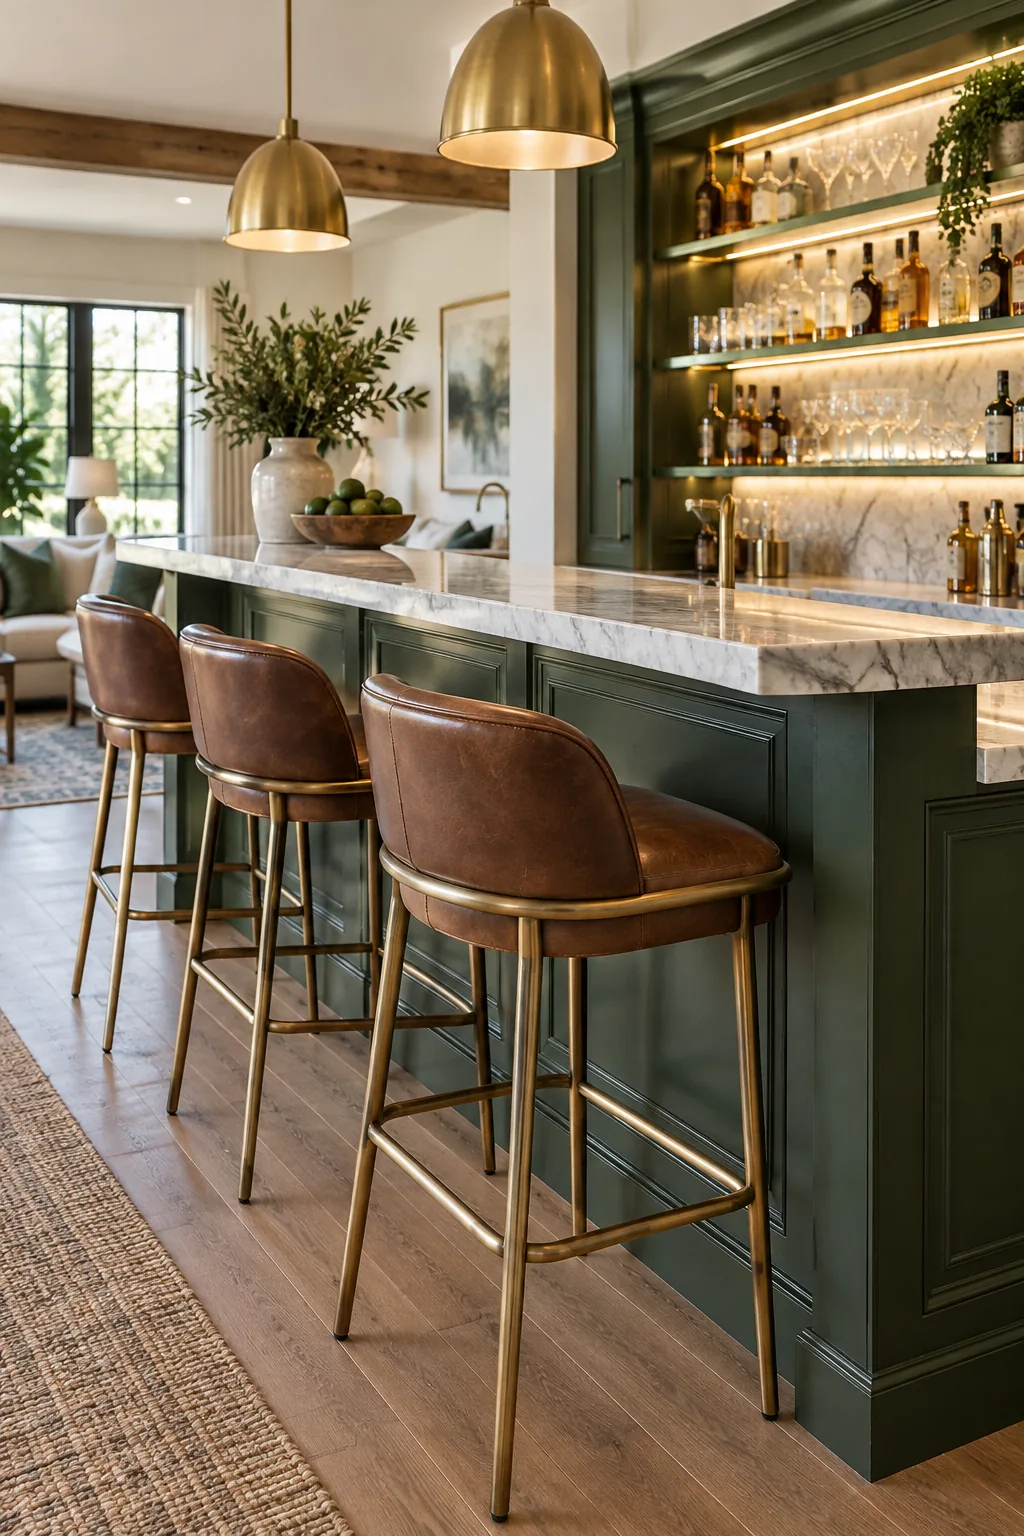
When I built the bar in my own Denver home, mapping the exact 42-inch outer heights and 36-inch prep counters with painter’s tape revealed we needed to shift the whole structure six inches to preserve the room’s energetic flow.
- Outer serving counter: 42 inches high for comfortable standing.
- Inner prep counter: 36 inches high for ergonomic drink mixing.
- Base cabinet depth: 24 inches to enclose standard appliances.
Selecting the right barstool height
Aligning your seating with the counter elevation is critical for ergonomic comfort, as mismatched heights force guests to awkwardly hunch or reach. A well-proportioned seat height naturally encourages better posture and keeps the spatial energy balanced.
| Counter Type | Counter Height | Stool Seat Height |
|---|---|---|
| Standard Table | 30 inches | 18 inches |
| Kitchen Counter | 36 inches | 24 inches |
| Raised Bar | 42 inches | 30 inches |
Sizing the guest knee space
A proper raised counter requires a 10-inch guest knee space overhang to ensure comfortable seating without bumping against the base paneling. This specific clearance allows legs to rest naturally, preventing the physical tension that ruins a relaxed evening.
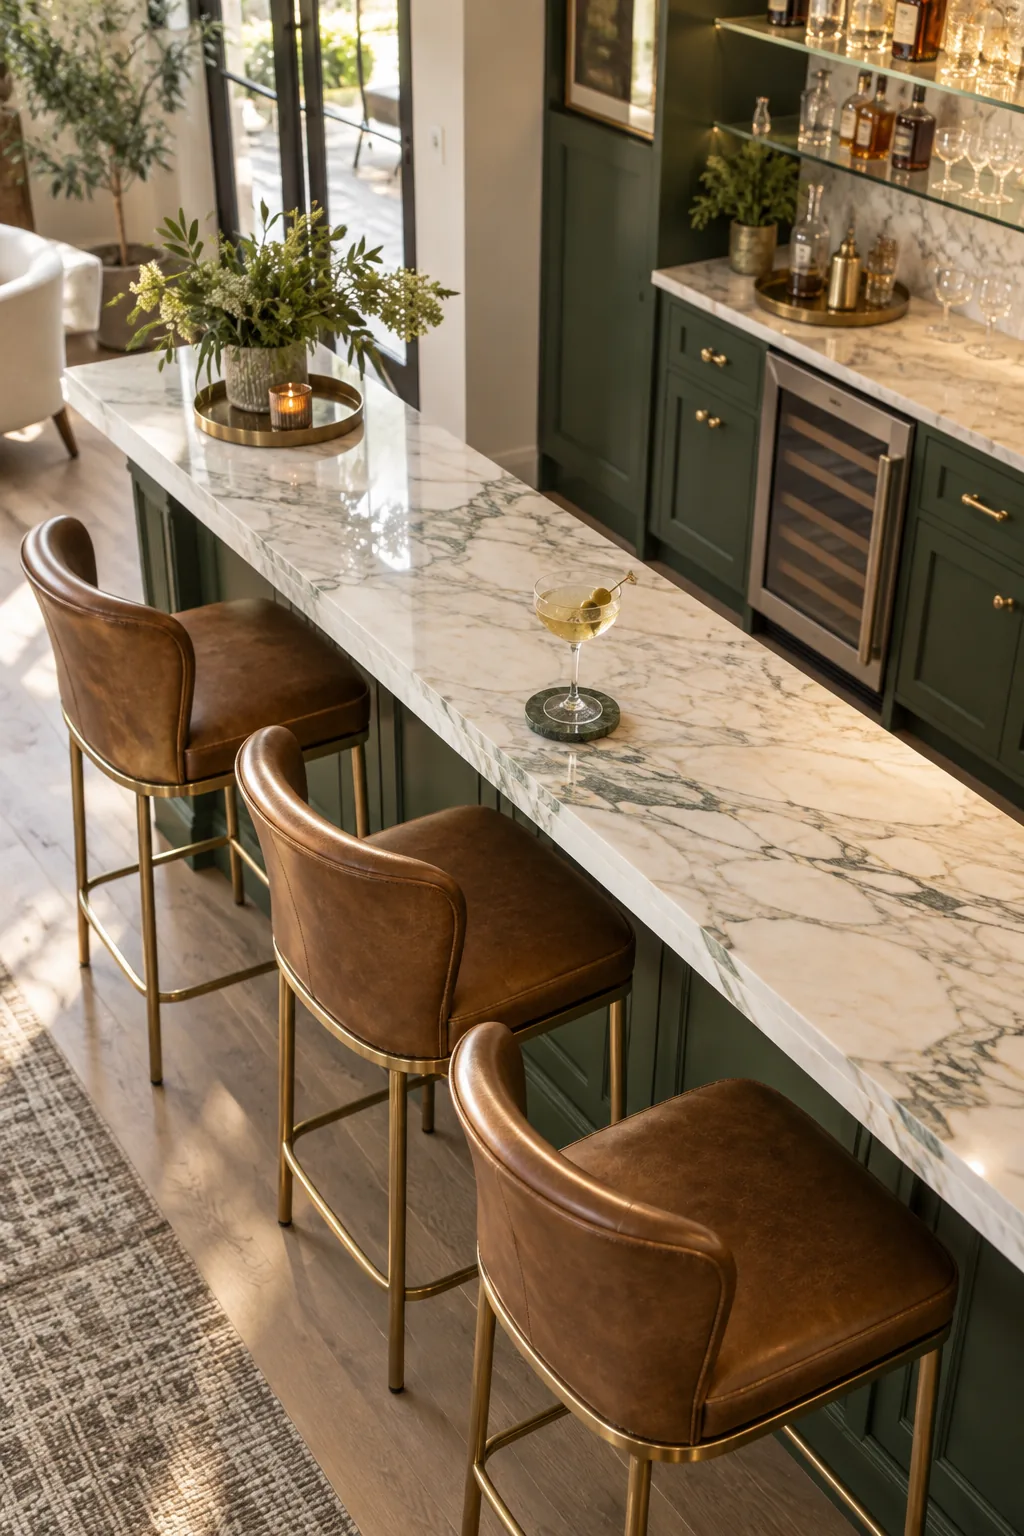
Getting the overhang right is only half the battle; the seating you pair with it can easily disrupt a carefully planned layout if you ignore the physical footprint of the furniture itself.
Detailing the footrest rail position
A well-placed footrest relieves lower back pressure for seated guests, grounding the body and encouraging longer, more relaxed conversations. Installing this simple architectural detail transforms a rigid seating arrangement into a truly welcoming lounge experience.
- Measure exactly seven to nine inches down from the stool seat height.
- Mount the brass or steel rail securely into the structural studs.
- Leave at least six inches of clearance above the floor for easy sweeping.
Building a 42-inch sightline shield
The raised outer counter acts as a 42-inch sightline shield, creating a vital visual barrier that completely hides the messy prep zone from your seated guests. This thoughtful elevation keeps the entertaining atmosphere pristine while you work.
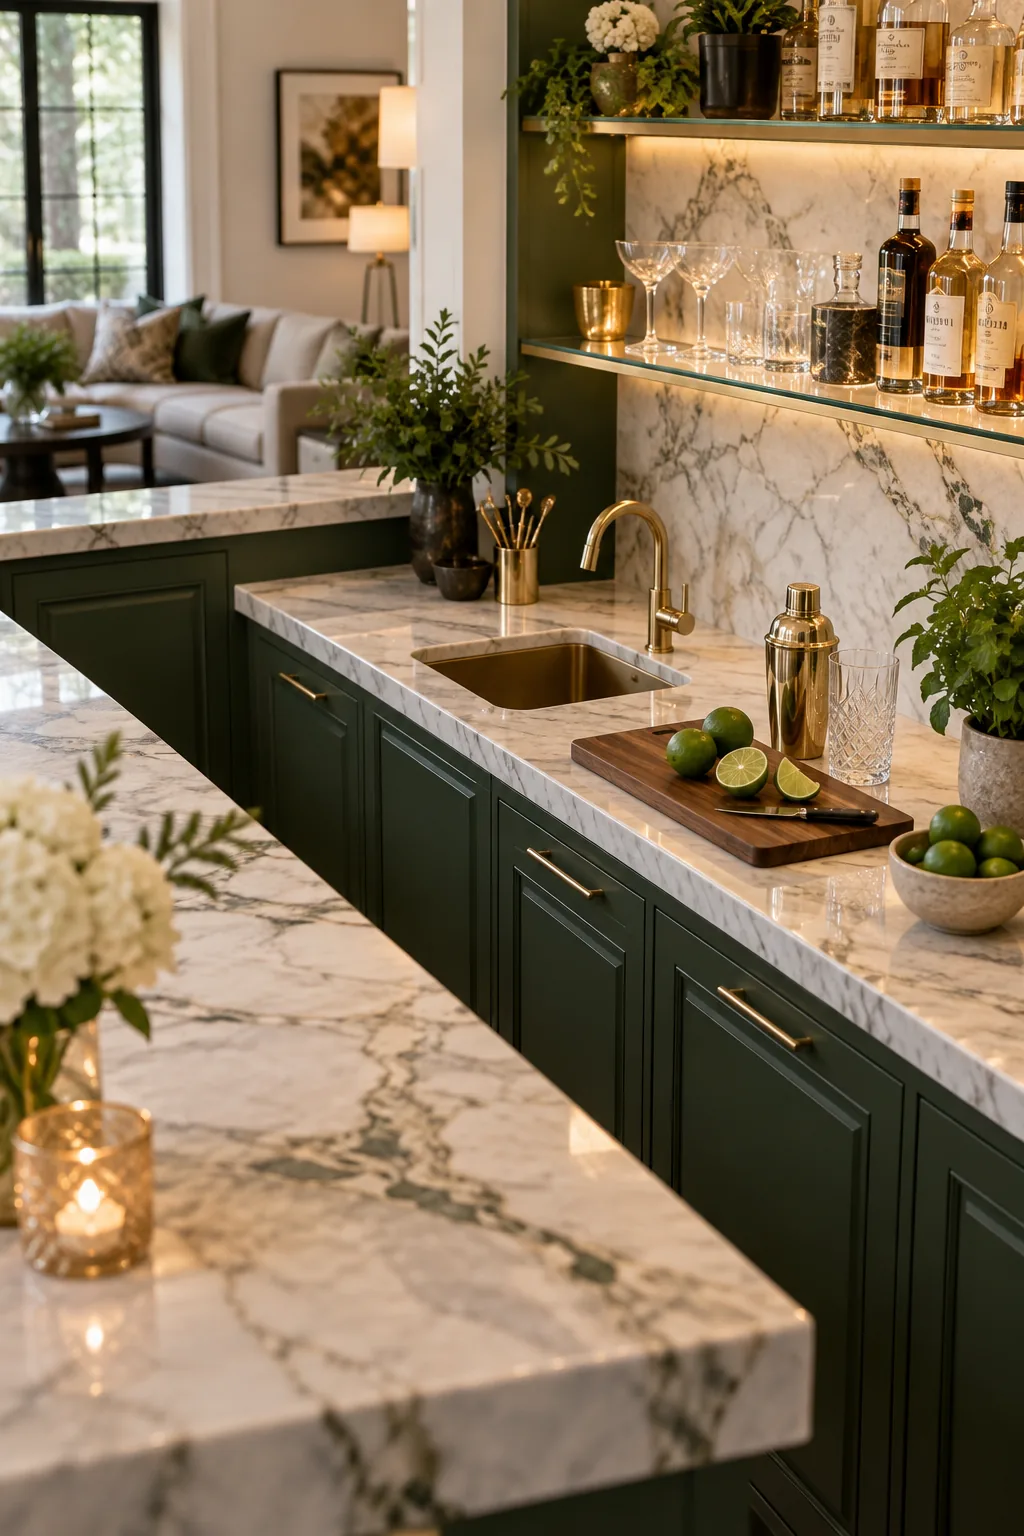
This specific height perfectly balances Western ergonomic standards for standing conversations with Eastern principles of visual calm, ensuring the inevitable clutter of cocktail preparation never disrupts the room’s serene aesthetic.
Choosing the outer counter material
Because the raised ledge handles sliding glasses, heavy cocktail shakers, and highly acidic spilled citrus, select a non-porous, highly durable surface. I prefer using sealed quartzite or a premium engineered stone to prevent permanent etching and maintain a flawless presentation.
Waterproofing the serving spill zone
Applying a continuous bead of clear, mold-resistant silicone exactly where the raised ledge meets the lower prep wall is an absolute necessity. This hidden barrier prevents standing moisture and sticky syrups from seeping down into the structural framing.
Designing the lower wet prep zone
The host operates efficiently at the lower wet prep zone, a 36-inch high dropped inner counter featuring a small sink and dedicated cutting board. This specialized area contains the mess and streamlines the entire mixology process.
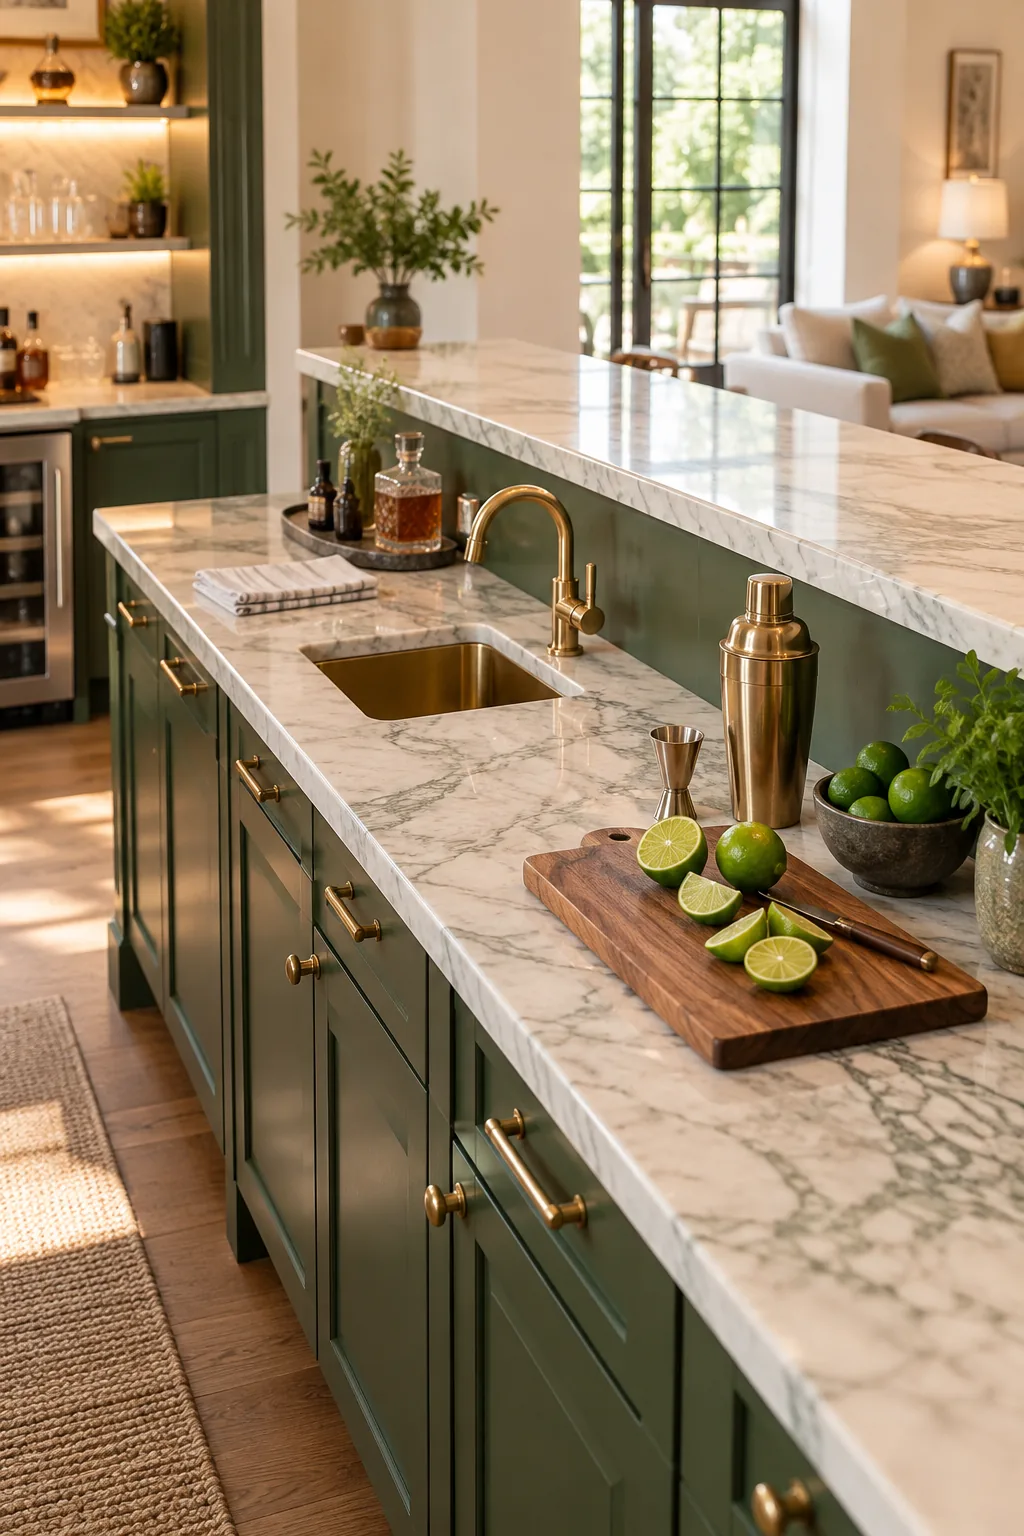
During my own holiday parties, keeping a self-contained wet station completely separate from the main kitchen sink has been the single best layout decision I made, allowing me to serve drinks without abandoning my guests.
Sizing the integrated ice bin
Drop a fully insulated, stainless steel ice chest directly into the inner prep counter to keep fresh cubes within arm’s reach. Ensure the basin measures at least twelve inches wide to comfortably accommodate a standard commercial ice scoop.
Positioning the under-counter fridge
Place your primary glass-front beverage cooler immediately to the right of the prep sink. This specific placement establishes a fluid, highly efficient triangular workflow, allowing the host to seamlessly grab chilled mixers and wash garnishes without taking extra steps.
Planning the host aisle clearance
Maintain a minimum 36-inch aisle clearance between the front bar and back wall cabinets for a single host to pivot comfortably. Adequate breathing room in the workspace prevents the bartender from feeling trapped against the heavy stone counters.
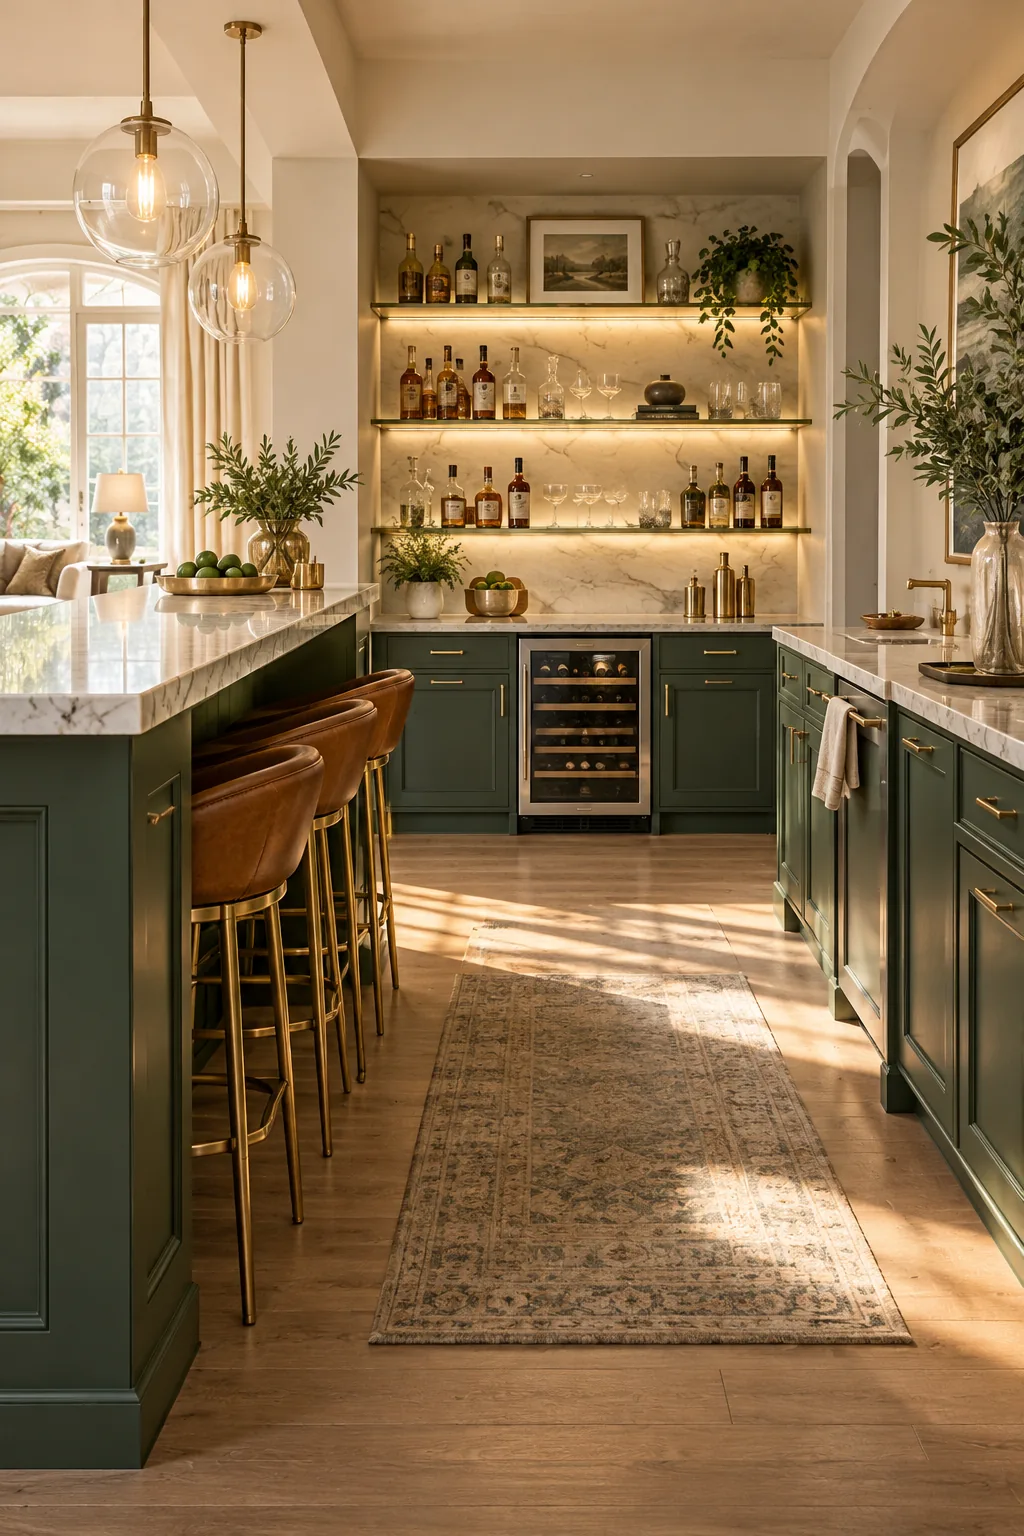
Expanding this floor space ensures the serving rhythm remains smooth and uninterrupted during large holiday gatherings. Generous spacing entirely eliminates the awkward physical collisions that occur when guests inevitably wander behind the counter.
Selecting slip-resistant flooring
Spills, melting ice, and condensation are inevitable in the active host aisle. Always specify a textured matte floor tile or a heavily sealed, wire-brushed hardwood to provide crucial traction underfoot, ensuring you can move swiftly and safely.
Illuminating the host workspace
Install focused, high-CRI recessed task lighting directly over the prep counter to accurately judge cocktail colors and safely handle sharp pairing knives. Proper downward illumination prevents eye strain while keeping the surrounding lounge area appropriately dim.
Optimizing back bar base storage
Standard 24-inch depth base cabinets easily house under-counter beverage fridges, built-in ice makers, and hidden trash pull-outs without protruding into the aisle. Standardizing this depth guarantees a flush, custom-built appearance across the entire back wall.
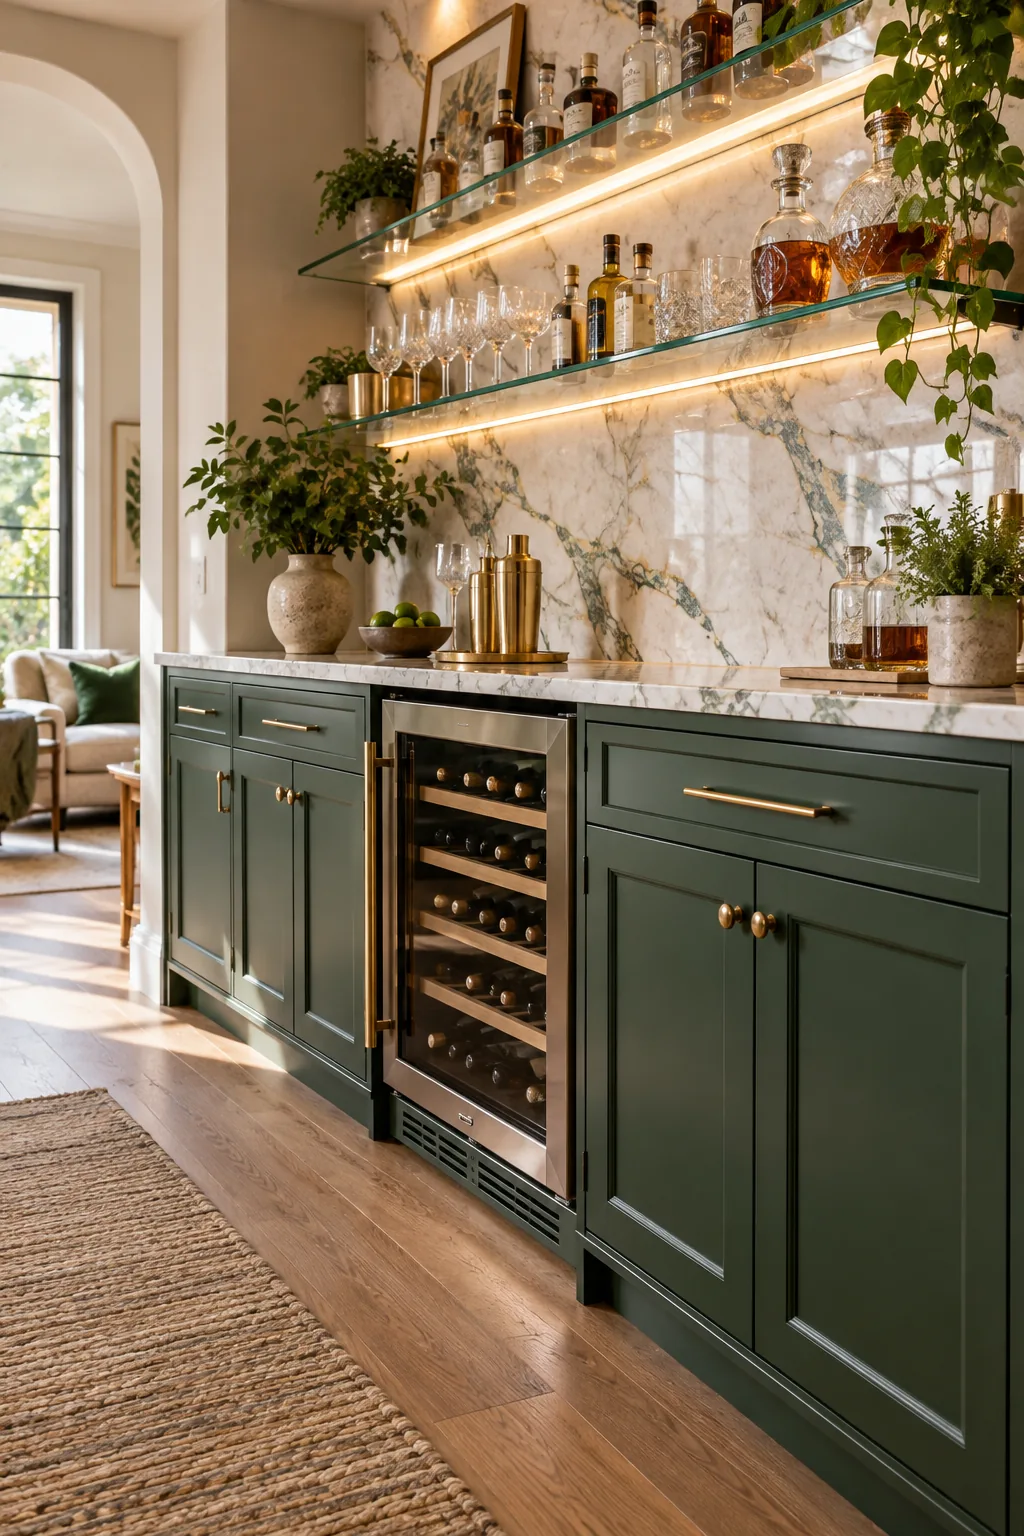
In all my Denver design projects, I specify heavy-duty drawer glides for these lower bases to handle the immense weight of stored liquor. Upgrading the hardware ensures the drawers open effortlessly, even when clients fully load them with heavy crystal decanters.
Hiding the waste and recycling pull-outs
Dedicate a standard eighteen-inch base cabinet strictly for heavy-duty dual waste and recycling bins. Position this pull-out directly adjacent to the prep sink so you can effortlessly sweep away spent lime shells and empty tonic bottles while mixing.
Organizing the mixology tool drawer
Reserve the top drawer nearest the prep sink for your essential mixology tools. Use adjustable bamboo dividers to separate the jiggers, muddlers, and bar spoons, ensuring every implement has a designated home for rapid, blind retrieval.
Installing a mirrored backsplash
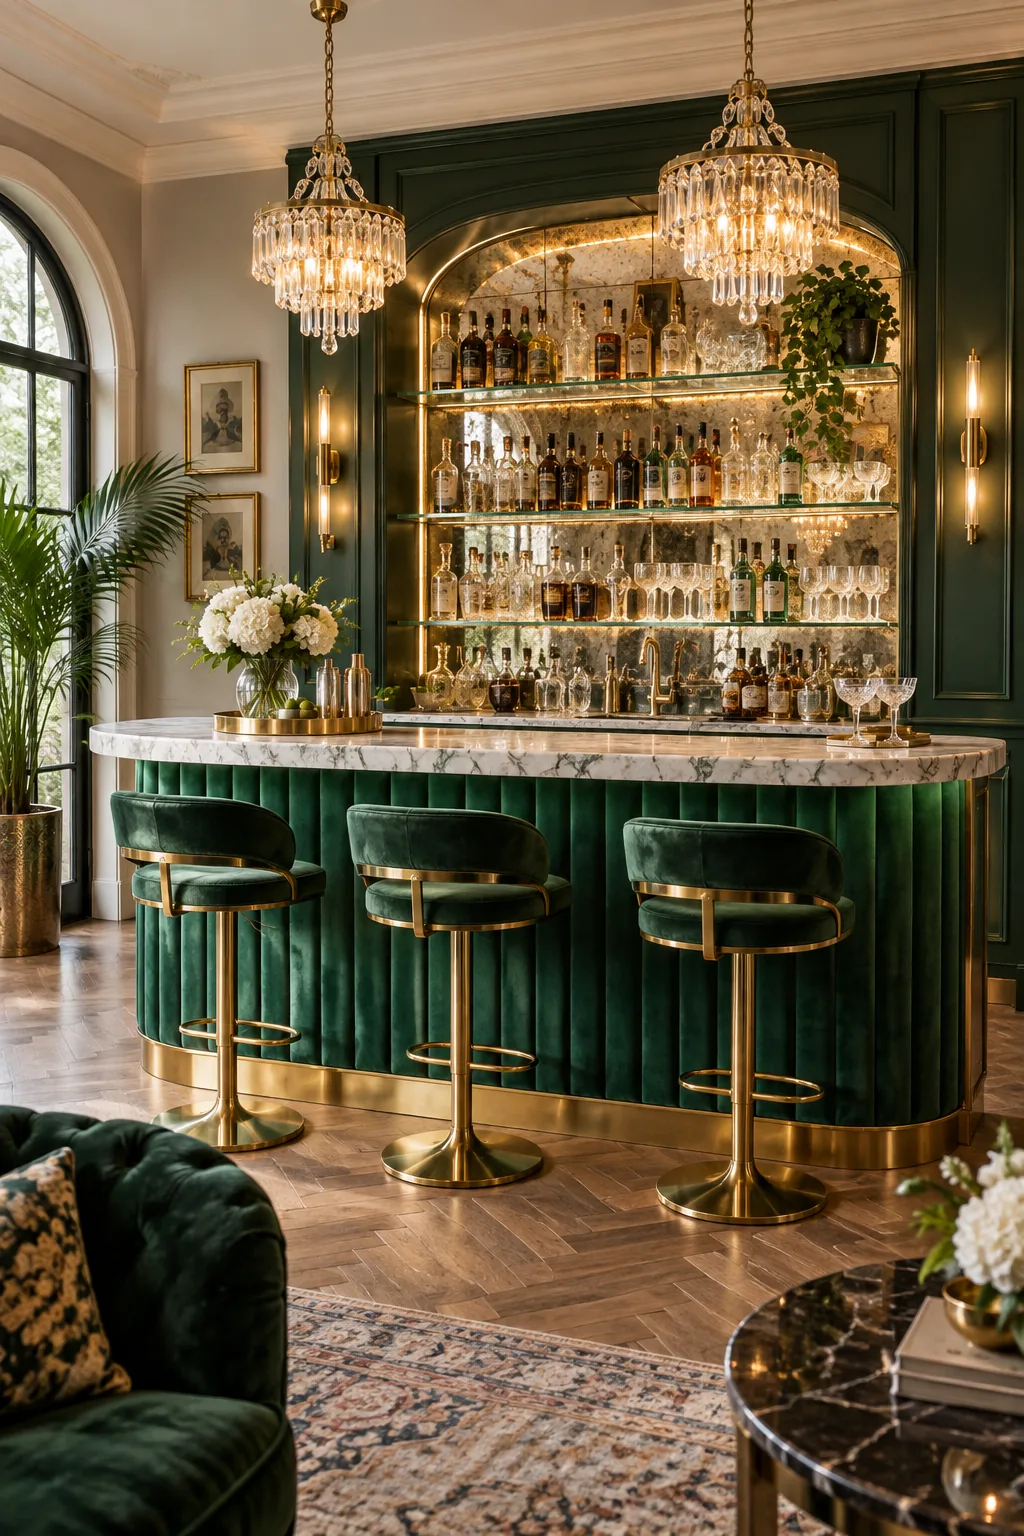
An antiqued mirrored backsplash directly behind the open display shelves instantly elevates the entire installation. The reflective surface bounces ambient room light forward, visually doubling the depth of your glassware collection and creating a brilliant focal point.
Spacing upper display shelves
Mount your floating shelves with 12 to 14 inches of vertical clearance to safely accommodate tall liquor bottles and oversized glassware without crowding. Proper vertical breathing room prevents the display from feeling dense and overwhelming.
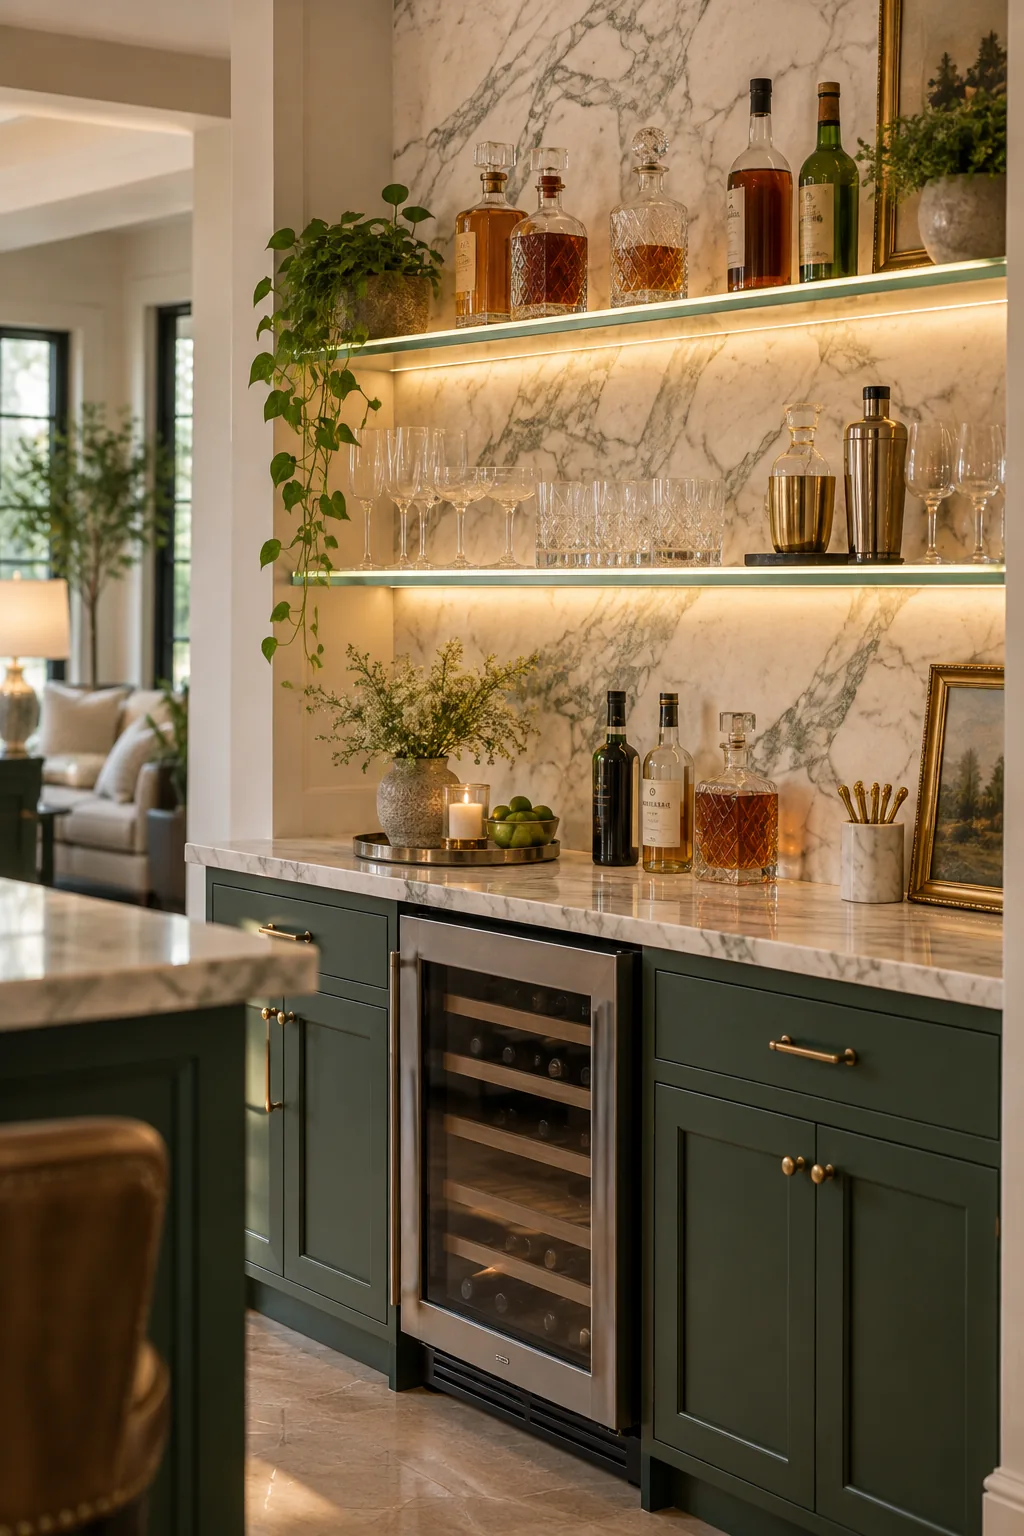
Once the physical spacing is set, how you arrange the bottles determines whether the bar looks like a high-end lounge or a cluttered college dorm.
Securing heavy-duty shelf brackets
Because a fully stocked liquor shelf carries tremendous weight, anchor every floating bracket directly into the wall studs using heavy-duty lag screws. Relying on drywall anchors for a bar display is a guaranteed recipe for a catastrophic collapse.
Arranging everyday glassware
Keep your most frequently used highball and rocks glasses on the lowest display shelf, directly at eye level. This practical arrangement prioritizes accessibility, allowing you to grab the essentials quickly without reaching or using a step stool.
Displaying crystal decanters
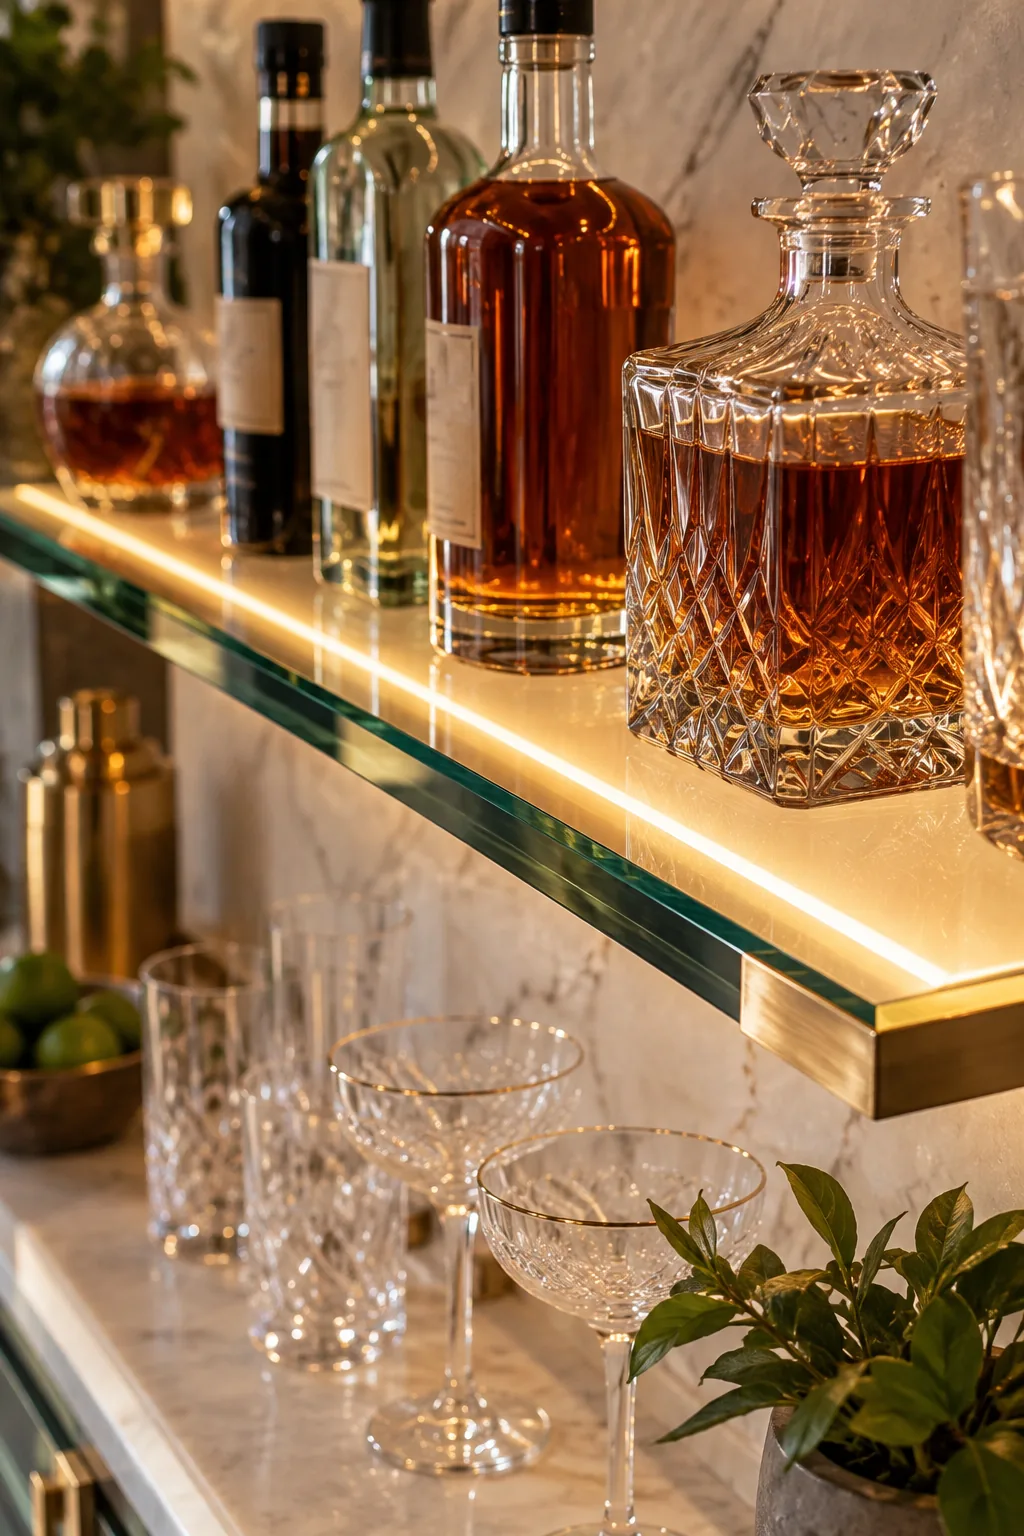
Reserve the highest, most prominent shelf position for your heavy crystal decanters and rare vintage bottles. Elevating these special pieces draws the eye upward, celebrating their craftsmanship while keeping them safely out of the high-traffic splash zone.
Selecting a dimmable power supply
Always connect your display lighting to a dedicated, low-voltage dimming switch rather than a standard on-off toggle. Complete brightness control allows you to instantly transition the room from a bright afternoon prep space to a moody evening lounge.
Routing the hidden power supply
Plan the electrical routing during the framing stage so the low-voltage transformers can be completely concealed inside the lower base cabinets. Hiding the bulky power supplies maintains the clean, floating illusion of the illuminated glass shelves above.
Finalizing the hardware finishes
Unify the entire bar design by matching the cabinet pulls, sink faucet, and footrest rail in a single, living finish like unlacquered brass. This cohesive metallic thread ties the distinct prep, serving, and display zones together beautifully.
Integrating a diffused LED channel
A diffused LED channel hidden behind the front lip of the glass display shelf casts a warm, continuous glow across the bottles. Eliminating harsh, individual light dots creates a sophisticated, even wash of illumination.
Home bar styles to inspire your build
Explore how these standard dimensions adapt to completely different aesthetics and room settings.
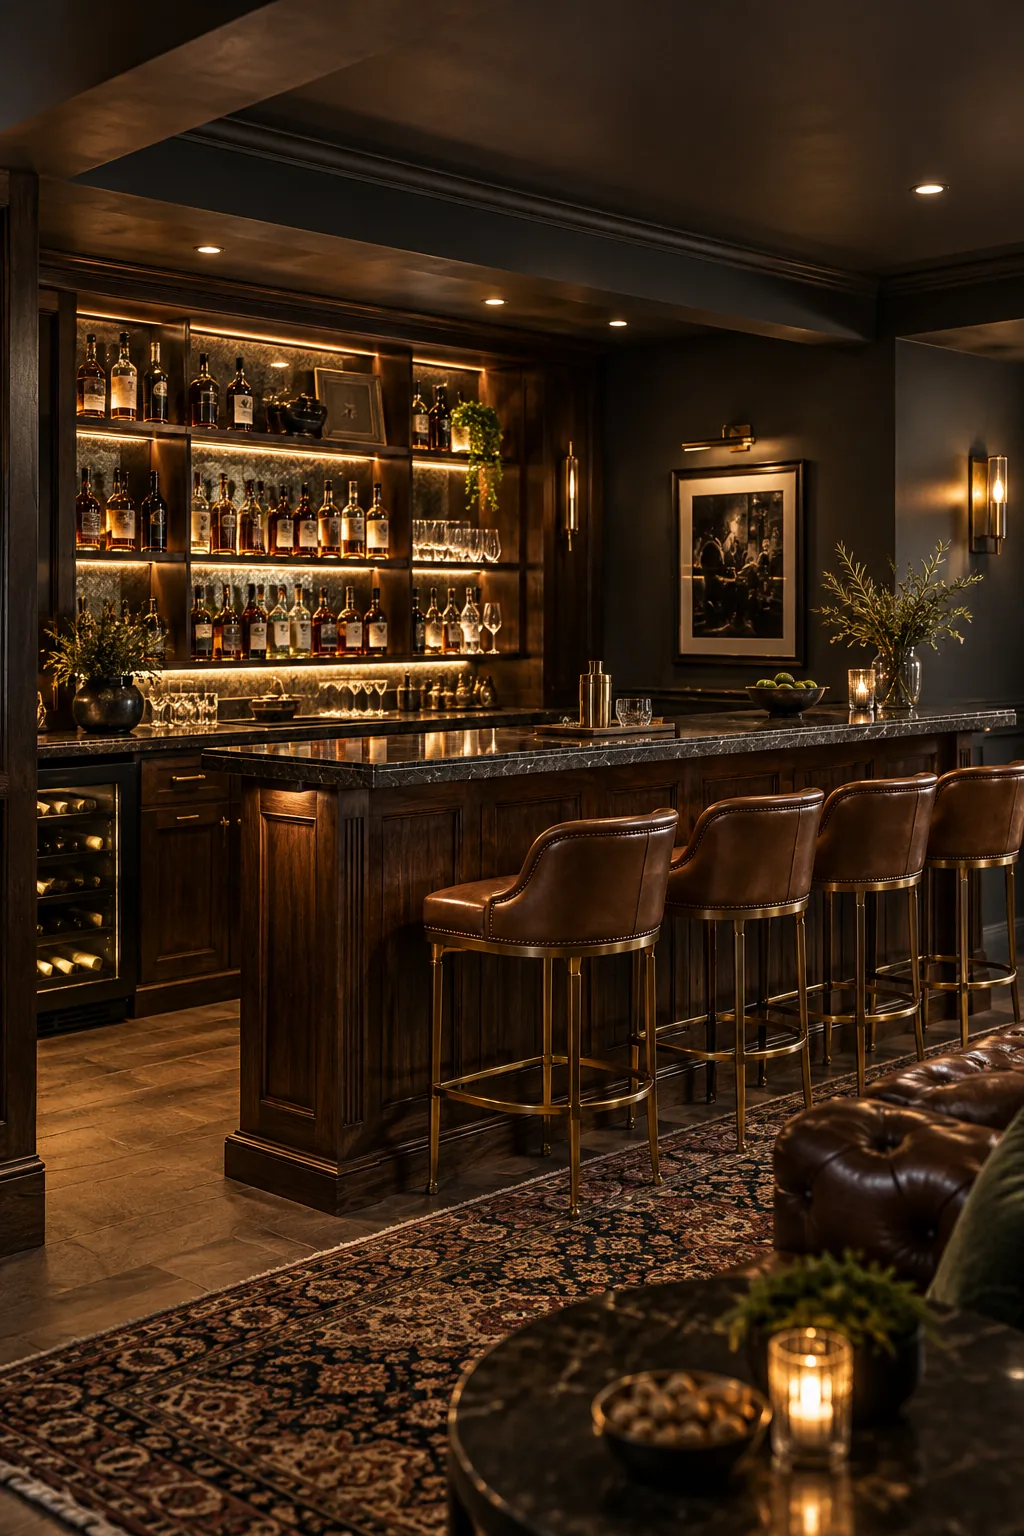
Moody basement speakeasy: Dark walnut finishes and charcoal walls create an intimate, hidden-away vibe perfect for late-night cocktails.
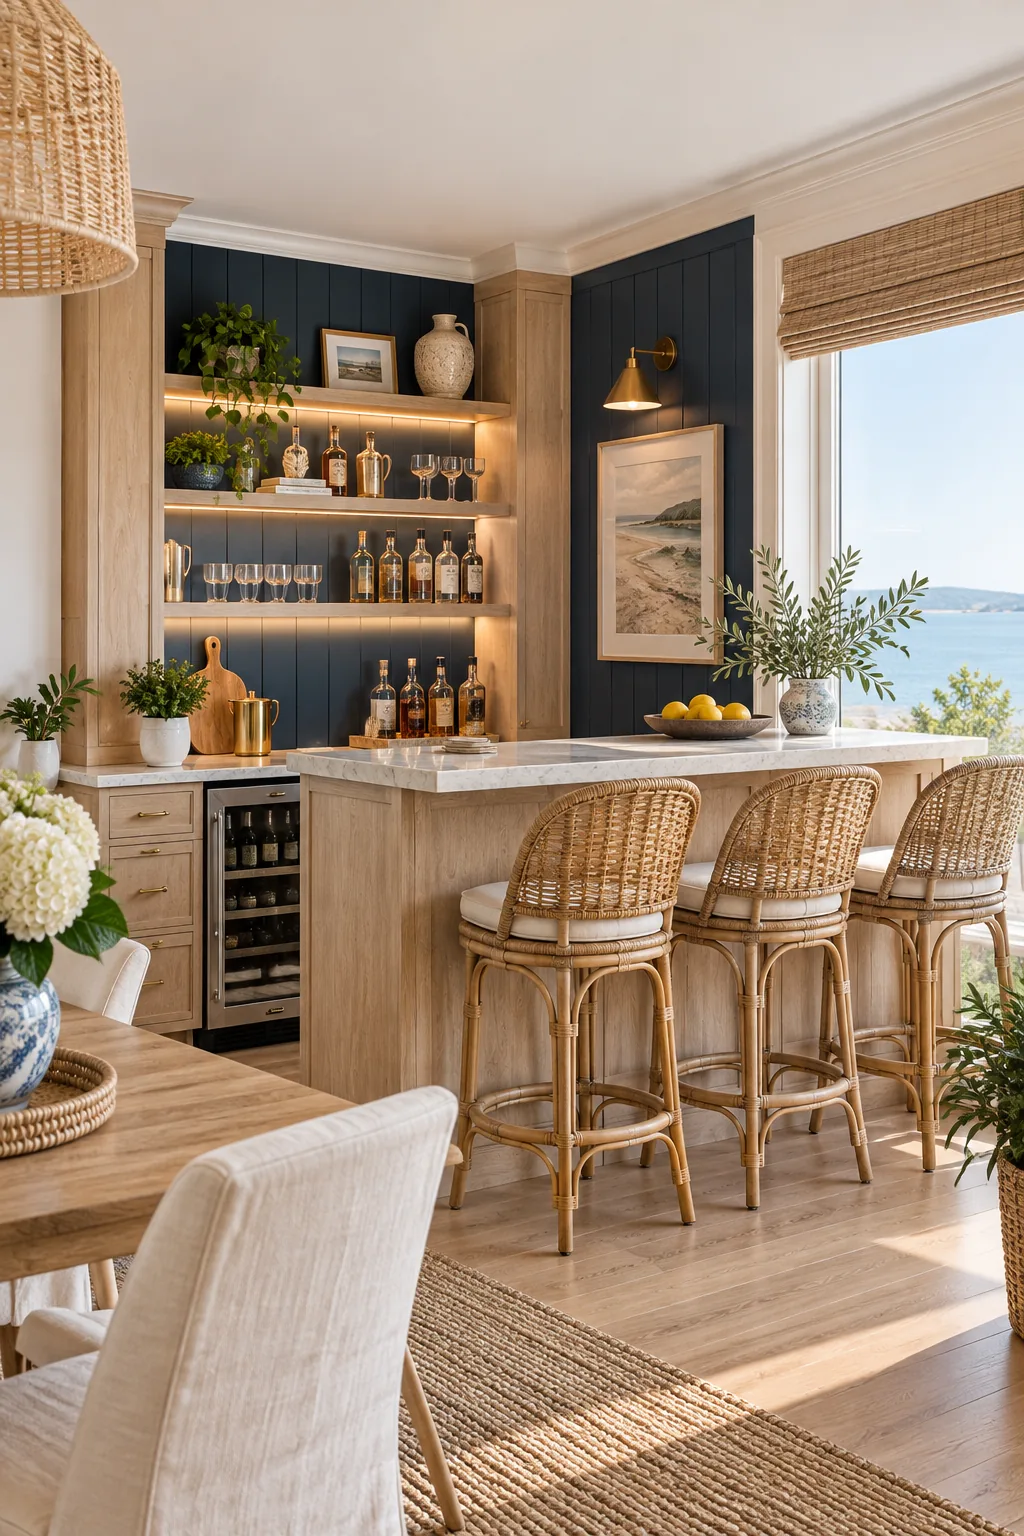
Bright coastal dining corner: White oak cabinetry and rattan seating bring a relaxed, breezy feel to this open-concept serving space.
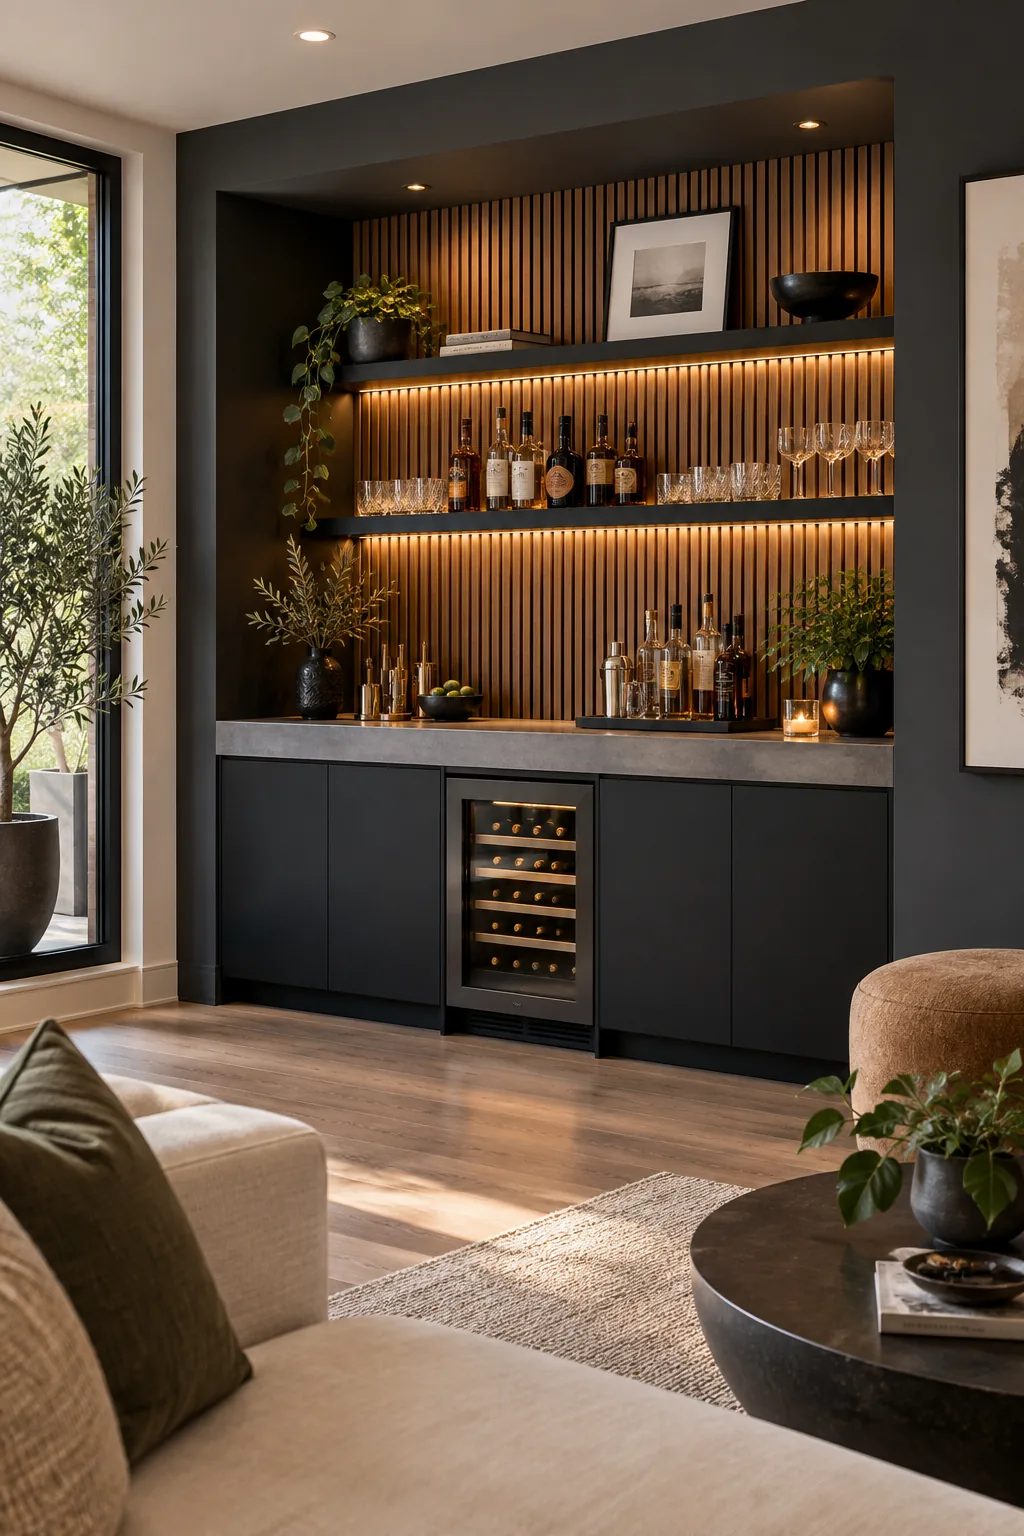
Modern minimalist living room: Matte black surfaces and fluted wood paneling allow this sleek bar to blend seamlessly into a contemporary space.
Glamorous art deco parlor: An antique mirrored backsplash and polished gold hardware add instant luxury and visually double the room's size.
Rustic outdoor covered patio: Durable soapstone counters and reclaimed barn wood ensure this entertaining zone withstands the elements in style.