Office Coffee Bar Setup: Tight Space Zoning Map
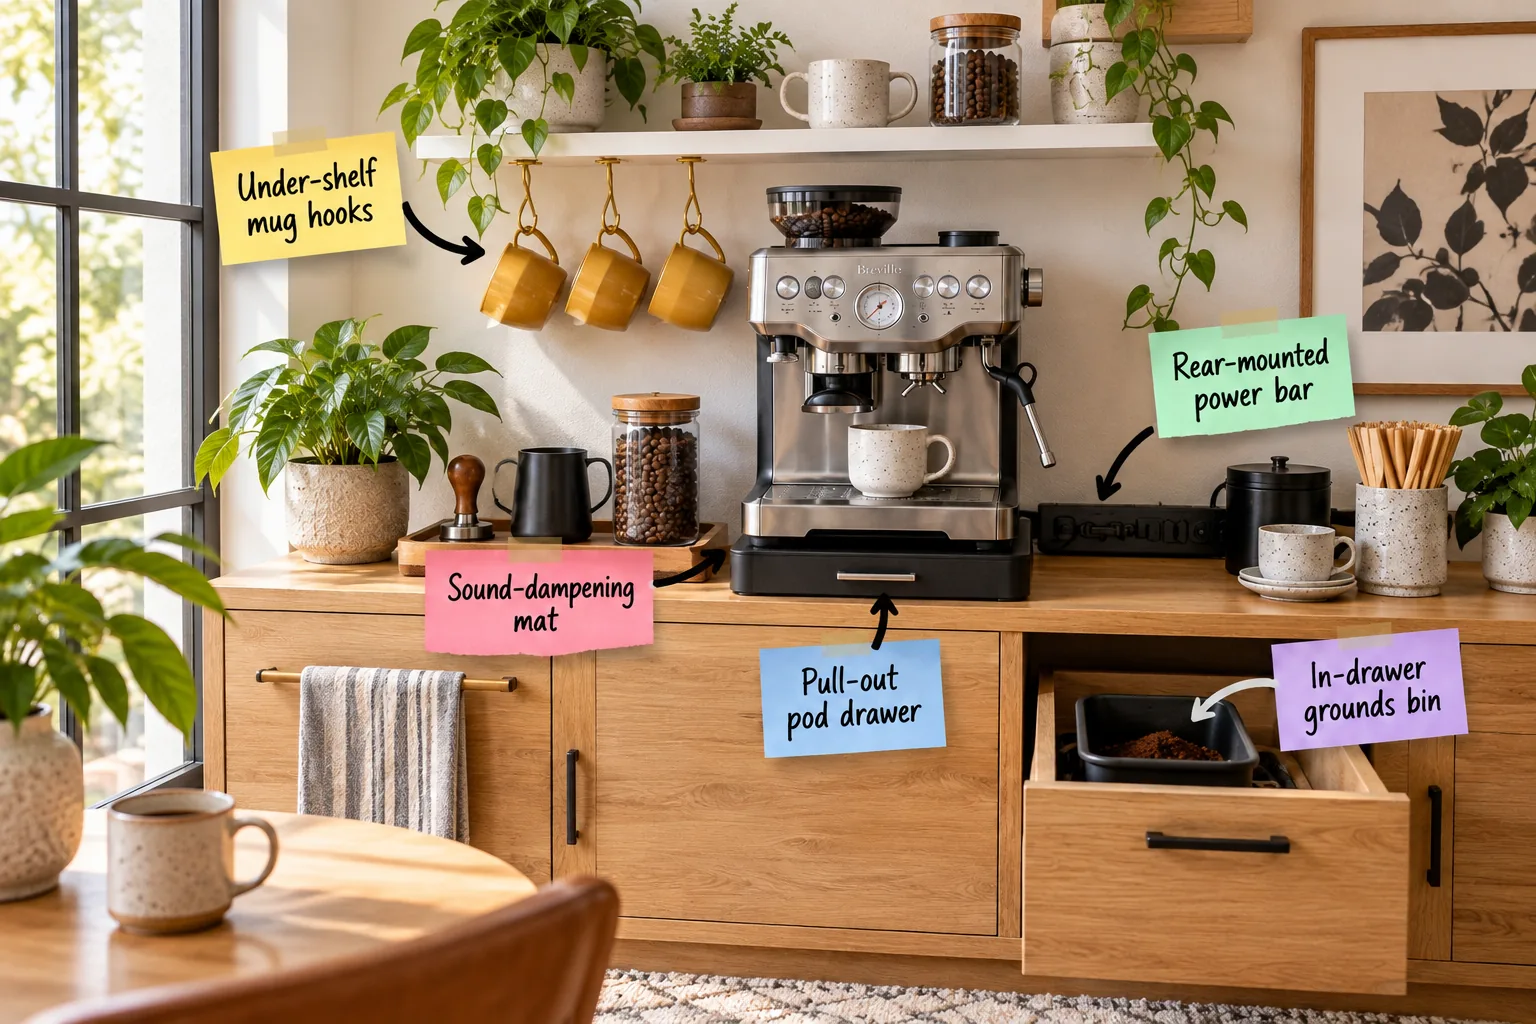
You can turn any narrow office credenza into a fully functional, clutter-free brewing station by downloading our printable coffee bar zoning map. This specific spatial guide helps you arrange your espresso machine, mugs, and concealed waste bins exactly where you need them.
Mapping Your Office Coffee Zones
A balanced coffee bar divides a standard 36-inch minimum surface width into three distinct areas: overhead storage, the active brewing deck, and concealed lower storage. You can download the coffee bar zoning map here to plan your exact credenza dimensions before buying equipment.
Before drilling any holes for your shelving, you need to account for the total height of your brewing equipment and any base drawers. Leaving adequate vertical space ensures you never struggle to refill the machine’s rear water reservoir during a busy workday.
Selecting the Right Credenza Dimensions
Choosing the correct foundational furniture dictates the entire success of your office coffee layout. You need a sturdy wood cabinet that can comfortably support the significant weight of a dual-boiler espresso machine, a heavy burr grinder, and a full water reservoir.
| Equipment Type | Minimum Width | Minimum Depth | Overhead Clearance |
|---|---|---|---|
| Compact Espresso Machine | 12 inches | 14 inches | 16 inches |
| Pod Brewer Base | 14 inches | 16 inches | N/A |
| Heavy Burr Grinder | 6 inches | 8 inches | 18 inches |
| Knock Box Drawer | 8 inches | 10 inches | N/A |
Essential Equipment Clearances
Understanding the physical footprint of your chosen appliances prevents a cramped, unusable coffee station. You must always measure the depth of your credenza against the deepest part of your espresso machine, explicitly including the stiff rear power cord and any protruding steam wands.
- Measure the total depth of the credenza from the wall to the front edge.
- Subtract exactly 2 inches for necessary rear ventilation and power cord routing.
- Confirm your espresso machine’s deepest dimension fits within the remaining usable surface area.
Floating Shelves and Under-Shelf Mug Hooks
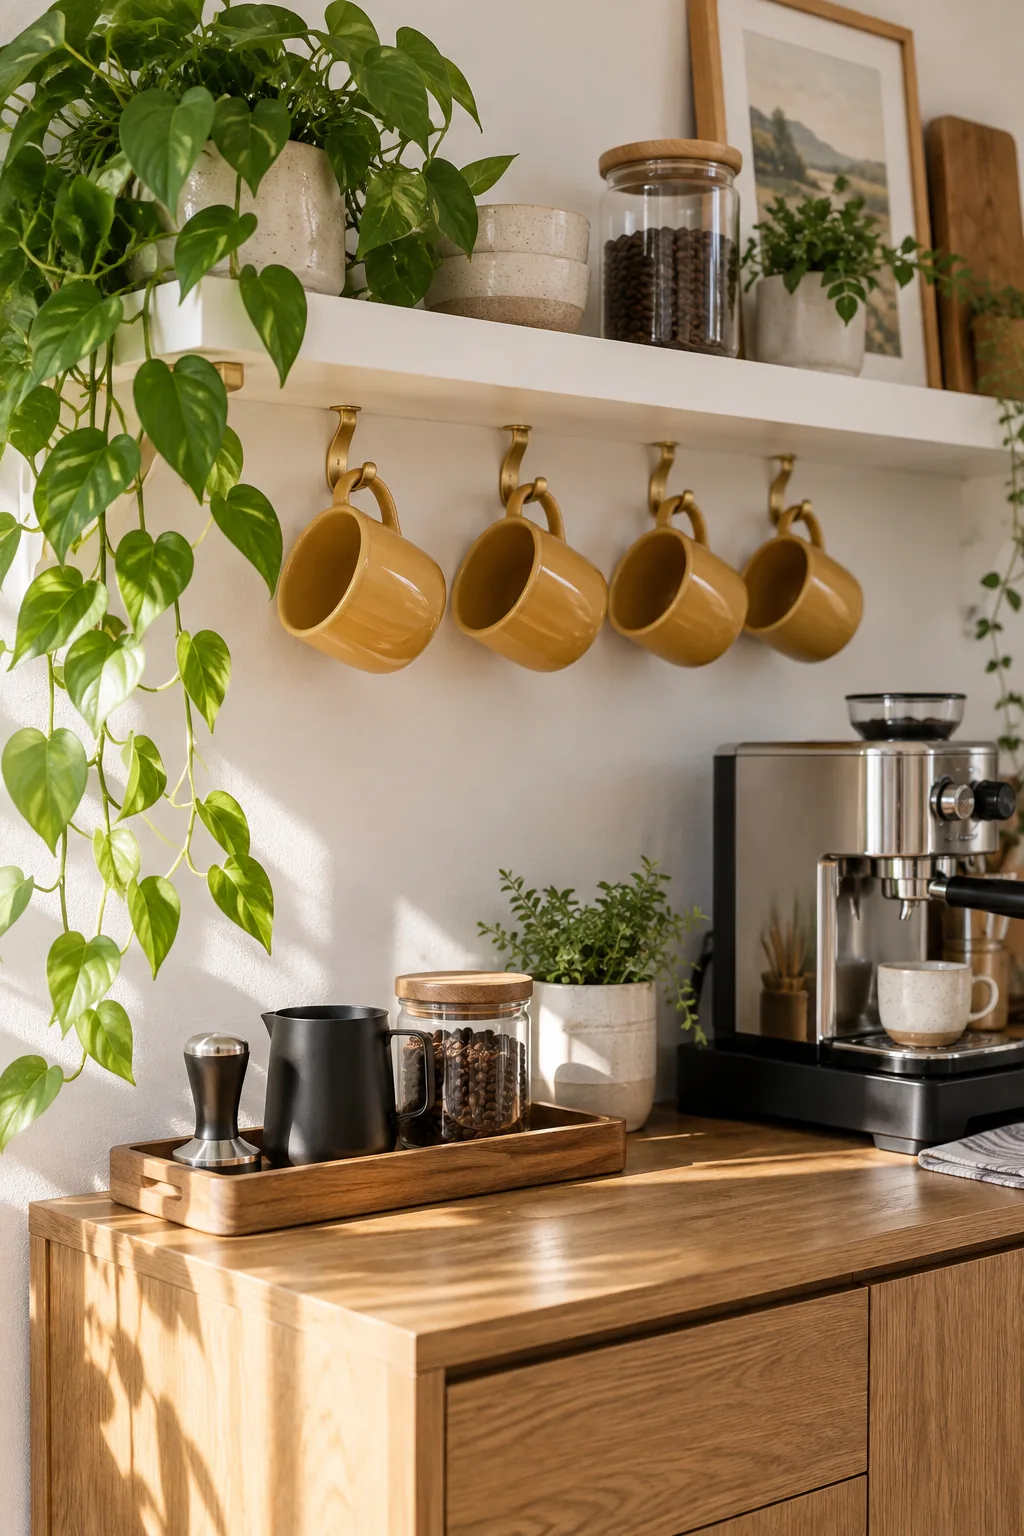
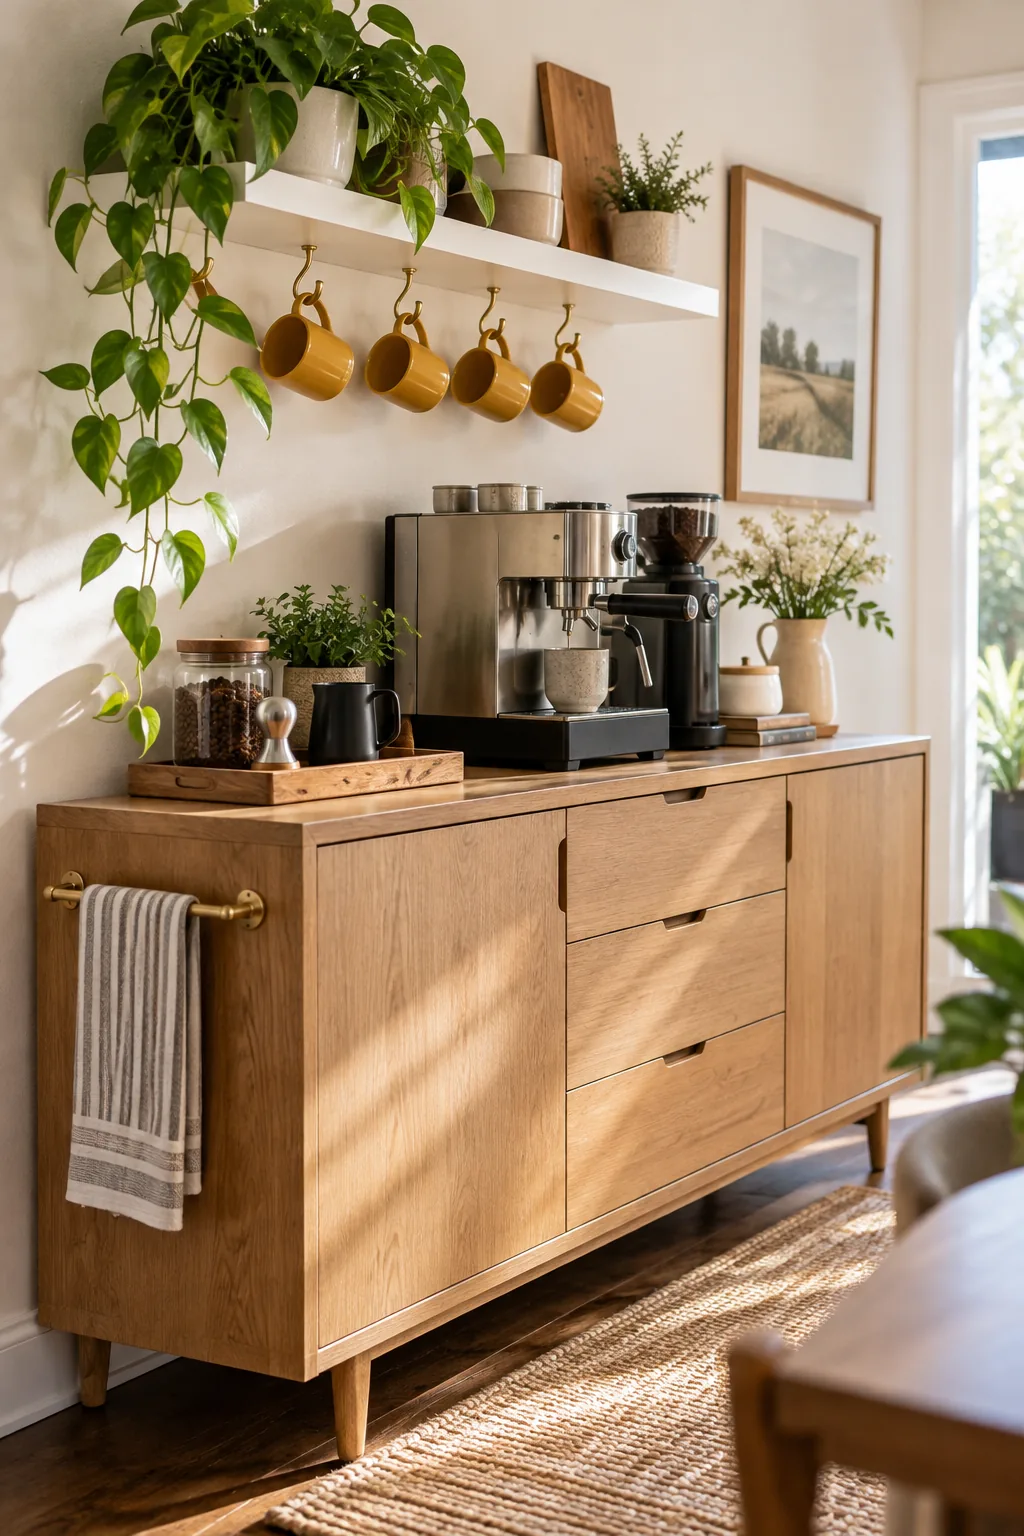
Utilizing vertical space allows you to install floating shelves for fresh beans while keeping the main counter entirely clear. Installing under-shelf mug hooks keeps your daily ceramic cups immediately accessible but completely off the active, crowded brewing deck.
You should space these brass hooks exactly 4 inches apart to prevent wide ceramic handles from clinking together when you reach for a cup. This precise spacing guarantees that even oversized, handmade pottery mugs hang safely without chipping against their neighbors.
Organizing the Bean Storage Layer
The upper floating shelves serve as the perfect functional display zone for your daily coffee beans and specialty loose-leaf teas. Storing your freshly roasted coffee in airtight amber glass canisters protects the delicate beans from degrading rapidly under harsh office fluorescent lighting.
The Dedicated Prep and Tamping Station
Designating a specific prep zone on a small wooden tray naturally contains the inevitable daily spray of loose coffee grounds. During a recent studio remodel, I used a sealed walnut tray for the tamping station, which completely saved the antique credenza underneath from permanent scratching.
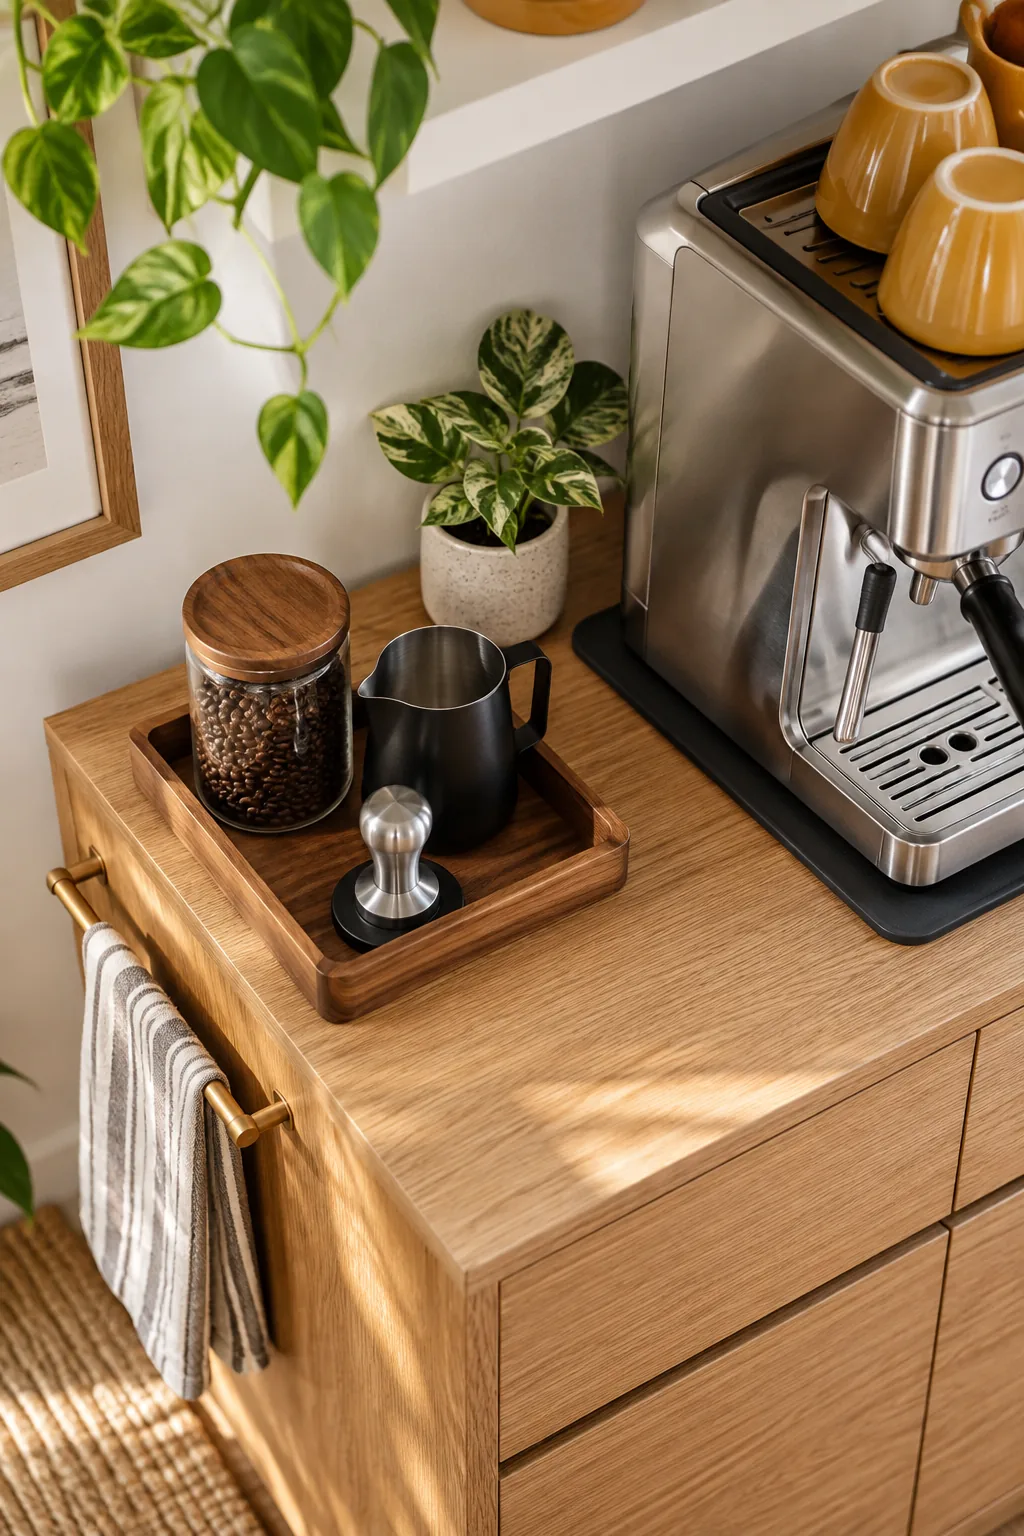
This dedicated footprint securely holds your heavy metal tamper, stainless milk pitcher, and daily bean canisters in one cohesive grouping. Grouping these specific tools makes it incredibly easy to lift the entire tray and quickly wipe down the primary credenza surface underneath.
Establishing a Workflow Triangle
A well-planned coffee station relies on a tight, efficient workflow triangle, much exactly like a functional kitchen layout. You want to position the burr grinder, the tamping tray, and the espresso machine’s group head entirely within a single, comfortable arm’s reach.
- Place the burr grinder on the far left edge to begin the brewing process.
- Center the wooden tamping tray directly in front of your natural standing position.
- Position the espresso machine on the right side for the final extraction phase.
The Sound-Dampening Mat
Placing a dense sound-dampening mat directly beneath the espresso machine prevents the internal vibration pump from echoing through a quiet workspace. I actually use a thick rubber bar mat in my own home office, which completely absorbs the harsh morning hum before my first meeting.
Choosing a 1/4-inch thick commercial-grade mat not only quiets the loud brewing cycle but also safely catches accidental water drips before they can permanently seep into the delicate wood grain.
Protecting the Wood Surface
Oak and walnut credenzas require deliberate, proactive protection against the constant daily threat of pressurized steam, radiant heat, and standing water. Applying a hard wax oil finish to the top surface creates a durable, water-resistant barrier that still beautifully highlights the natural wood texture.
Maintaining Optimal Water Quality
Using highly filtered water is absolutely non-negotiable for producing cafe-quality espresso and actively protecting your expensive machine from internal mineral scale buildup. You must ensure your spatial layout leaves enough overhead clearance to comfortably remove and refill the rear water tank without moving the heavy appliance.
The Pull-Out Pod Drawer Base
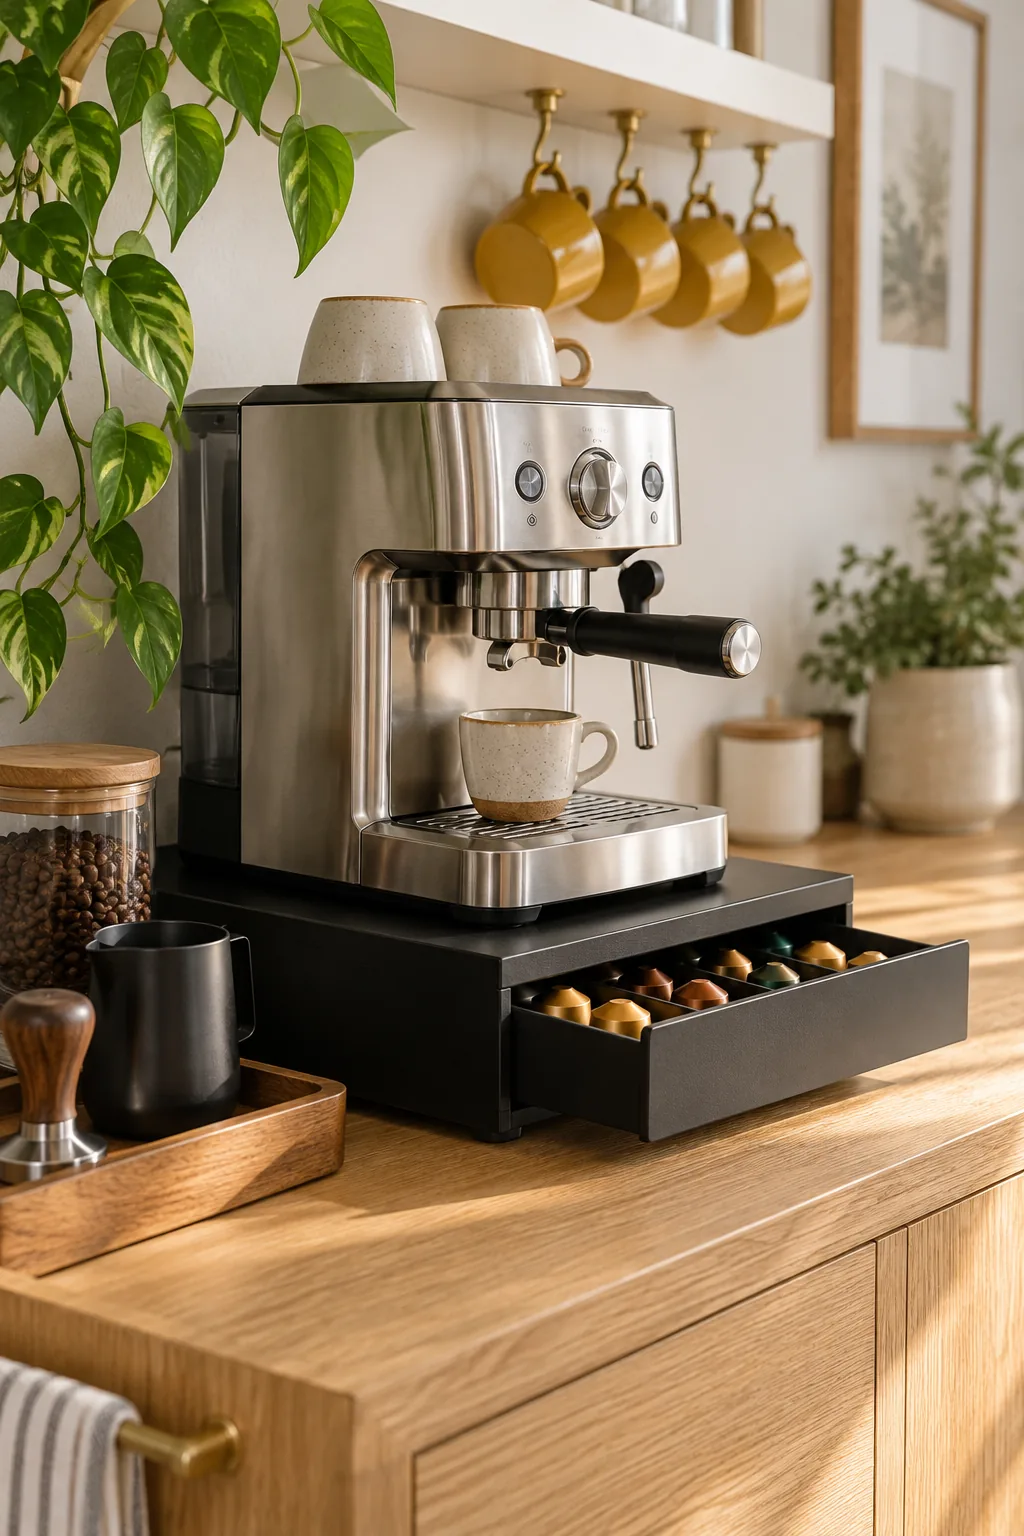
Rest the coffee maker on a slim, integrated drawer base to efficiently maximize the horizontal footprint of your entire setup. This pull-out pod drawer keeps single-use pods, paper filters, and chemical cleaning tablets completely hidden while consuming absolutely zero extra counter space.
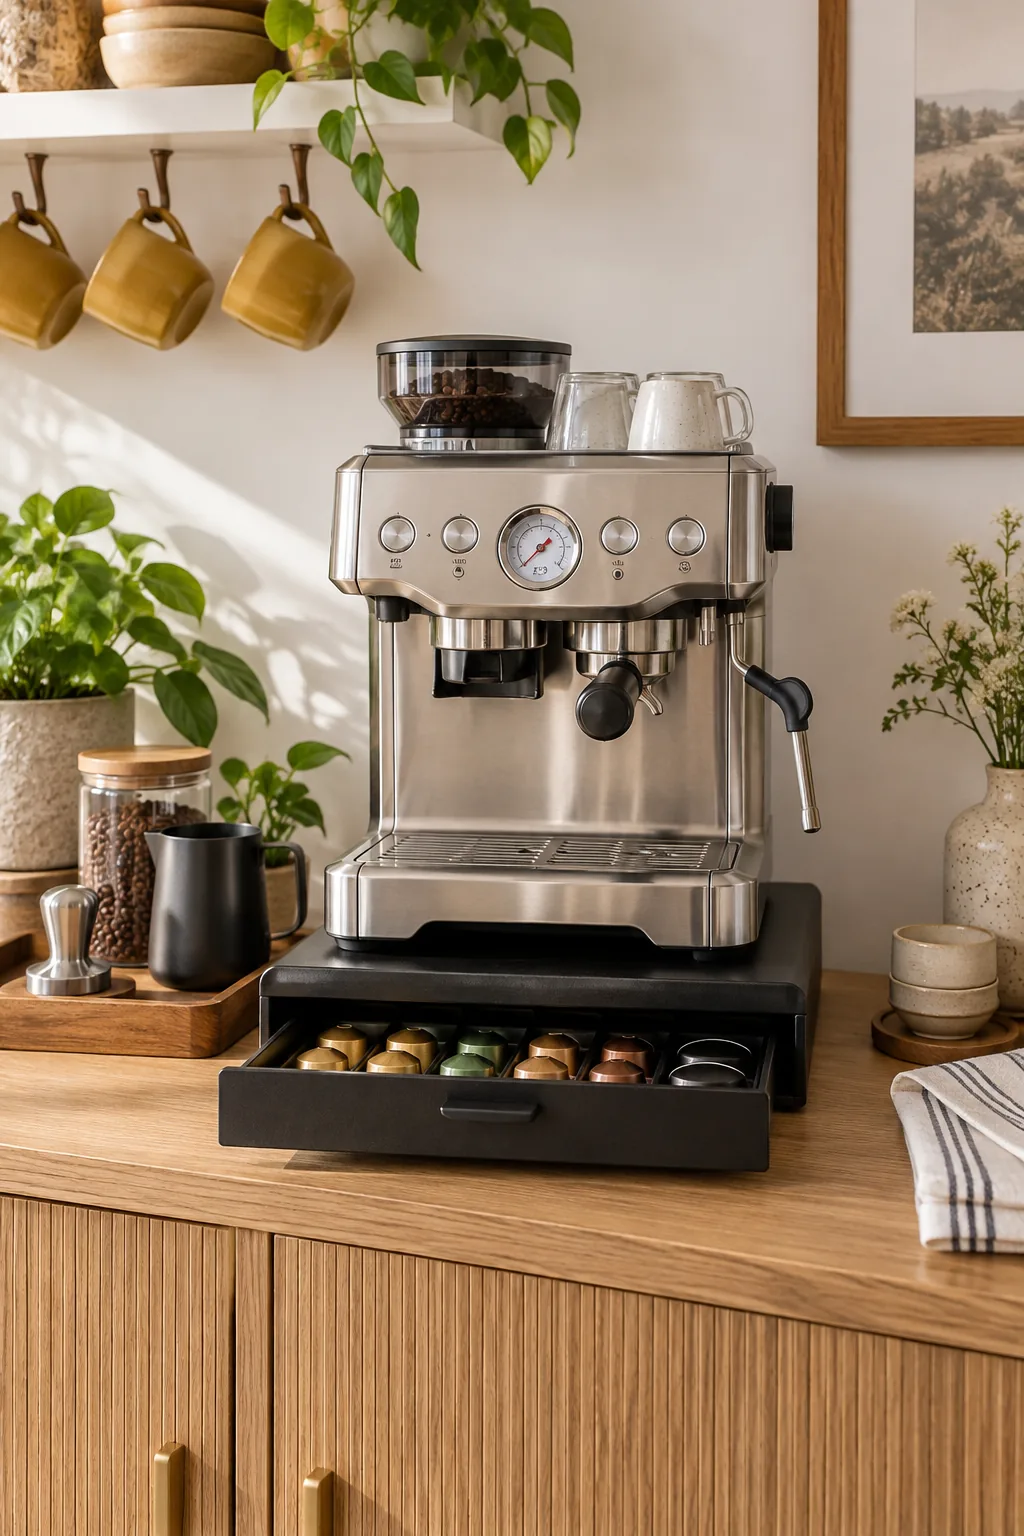
While a machine-base drawer is a brilliant space saver, it is incredibly easy to misjudge the structural dimensions and end up with a highly unstable, dangerous brewing surface.
Managing Appliance Heat Output
Prosumer espresso machines generate significant radiant heat from their top cup-warming trays and rear ventilation exhaust slots. You must maintain a minimum 2-inch gap between the back of the hot machine and the painted wall to prevent long-term heat damage to your office drywall.
Integrating Task Lighting Under Shelves
Proper, focused illumination transforms a dark office corner into an inviting, highly functional barista station during early morning hours. Installing low-profile LED puck lights directly underneath the lowest floating shelf provides essential, shadow-free task lighting for precisely measuring your exact coffee doses.
The Rear-Mounted Power Bar
Thick black appliance cords trailing down an office wall instantly ruin the sleek, integrated aesthetic of your carefully planned coffee station. You can eliminate this visual clutter completely by cleanly attaching a rear-mounted power bar directly to the hidden back edge of the credenza.
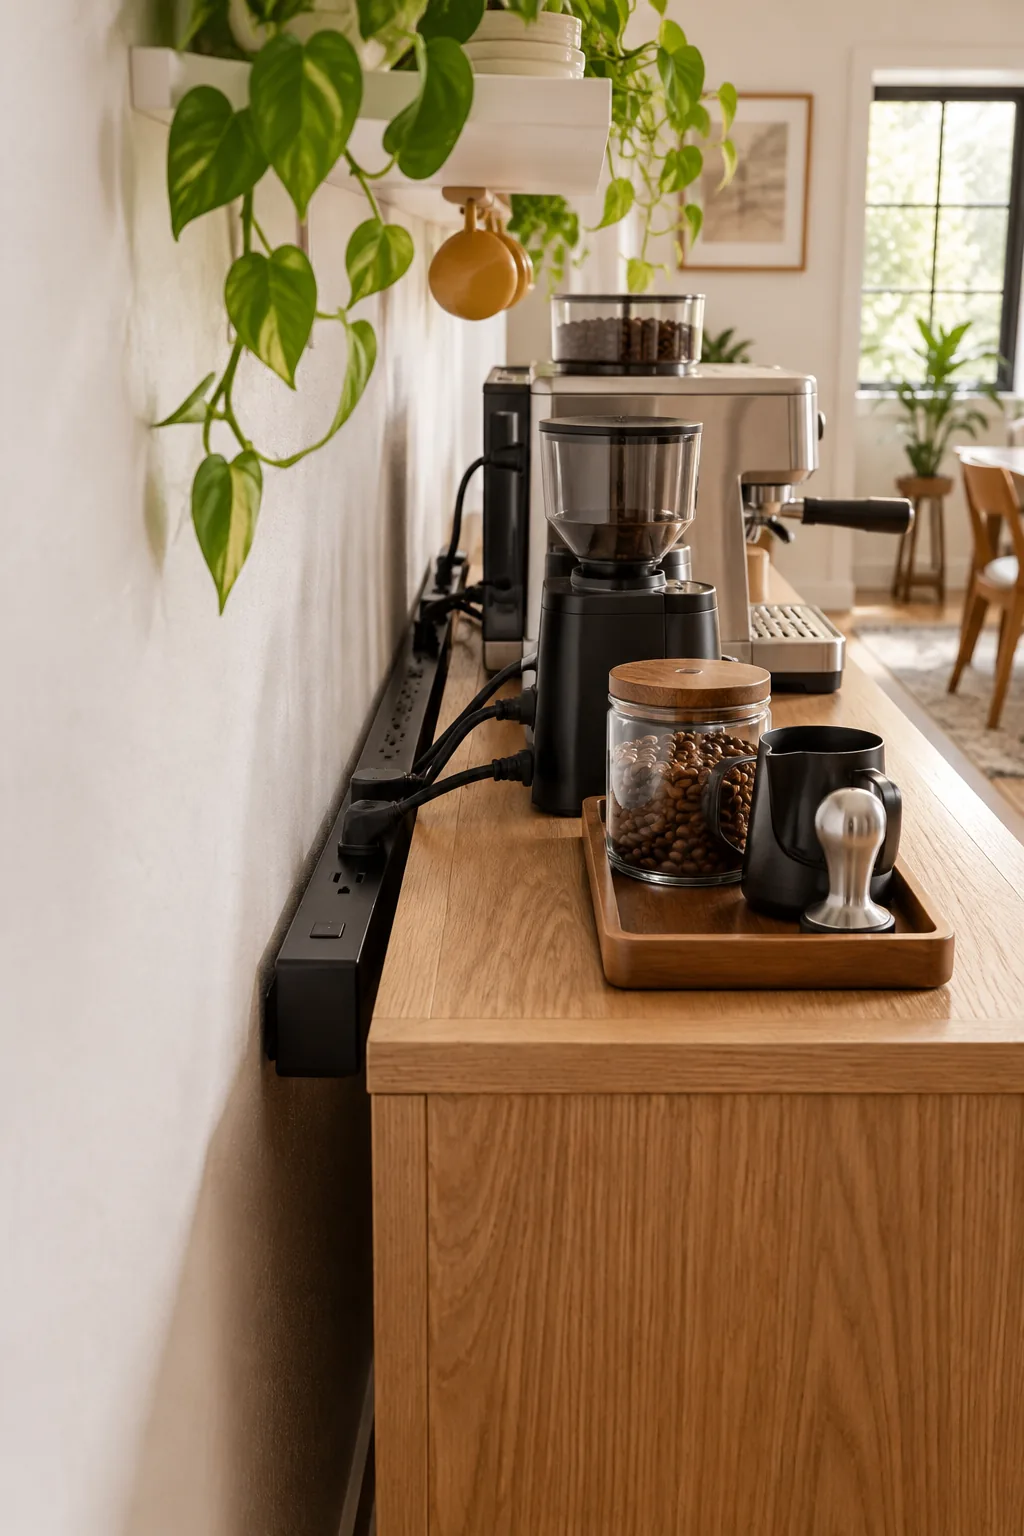
Securing the heavy power strip with heavy-duty double-sided mounting tape safely keeps all the bulky appliance plugs suspended perfectly just below your normal standing sightline.
Managing Cord Slack Securely
Loose power cords drooping behind the credenza can easily become tangled or accidentally snagged by passing office chairs. Wrapping the excess cord length with reusable velcro ties and securing the bundles directly to the cabinet back prevents any dangerous pulling tension on the wall outlets.
The In-Drawer Grounds Bin
Converting the top right drawer into a hidden waste station keeps your beautiful countertop absolutely pristine throughout the busy workday. An in-drawer grounds bin allows you to forcefully discard used espresso pucks completely out of sight. I retrofitted a small drawer in our Denver studio exactly like this, instantly cutting our daily cleanup time in half.
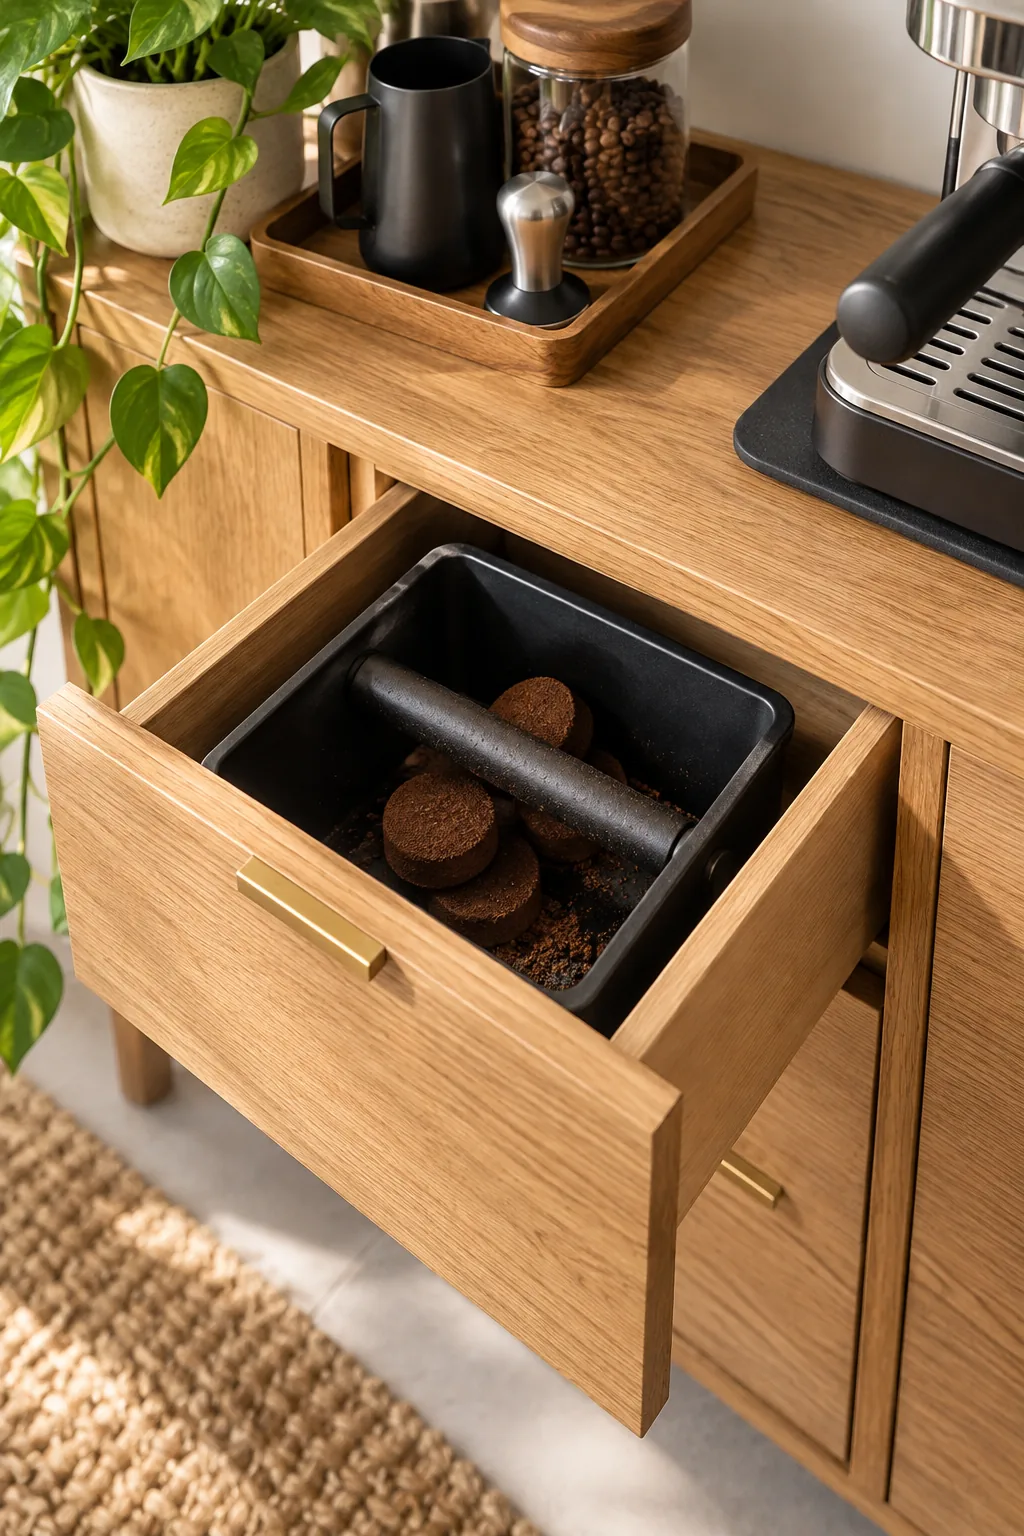
Using a deep, heavy-duty rubber-coated knock box securely mounted inside the drawer completely absorbs the striking impact and significantly minimizes any lingering, stale office odors.
Organizing the Milk Frothing Accessories
Steaming milk requires specific, dedicated tools that easily clutter a tight countertop if left disorganized after the morning rush. Storing your stainless steel frothing pitchers and delicate precision thermometers on a small designated shelf keeps the active brewing deck completely clear for the next person.
Finalizing the Daily Maintenance Routine
A compact, high-traffic office coffee bar requires a strict daily reset protocol to prevent scattered clutter from slowly reclaiming the credenza. Wiping down the steam wand, emptying the hidden grounds bin, and refilling the water reservoir at the end of each shift guarantees a perfect, seamless start the very next morning.
Side-Mounted Towel Bar for Quick Cleanups
Mounting a small brass towel bar directly to the side of the credenza guarantees you always have a clean microfiber cloth within immediate reach. Immediate access to a dedicated towel ensures stray milk splatters are wiped up before they can permanently stain the wood finish.
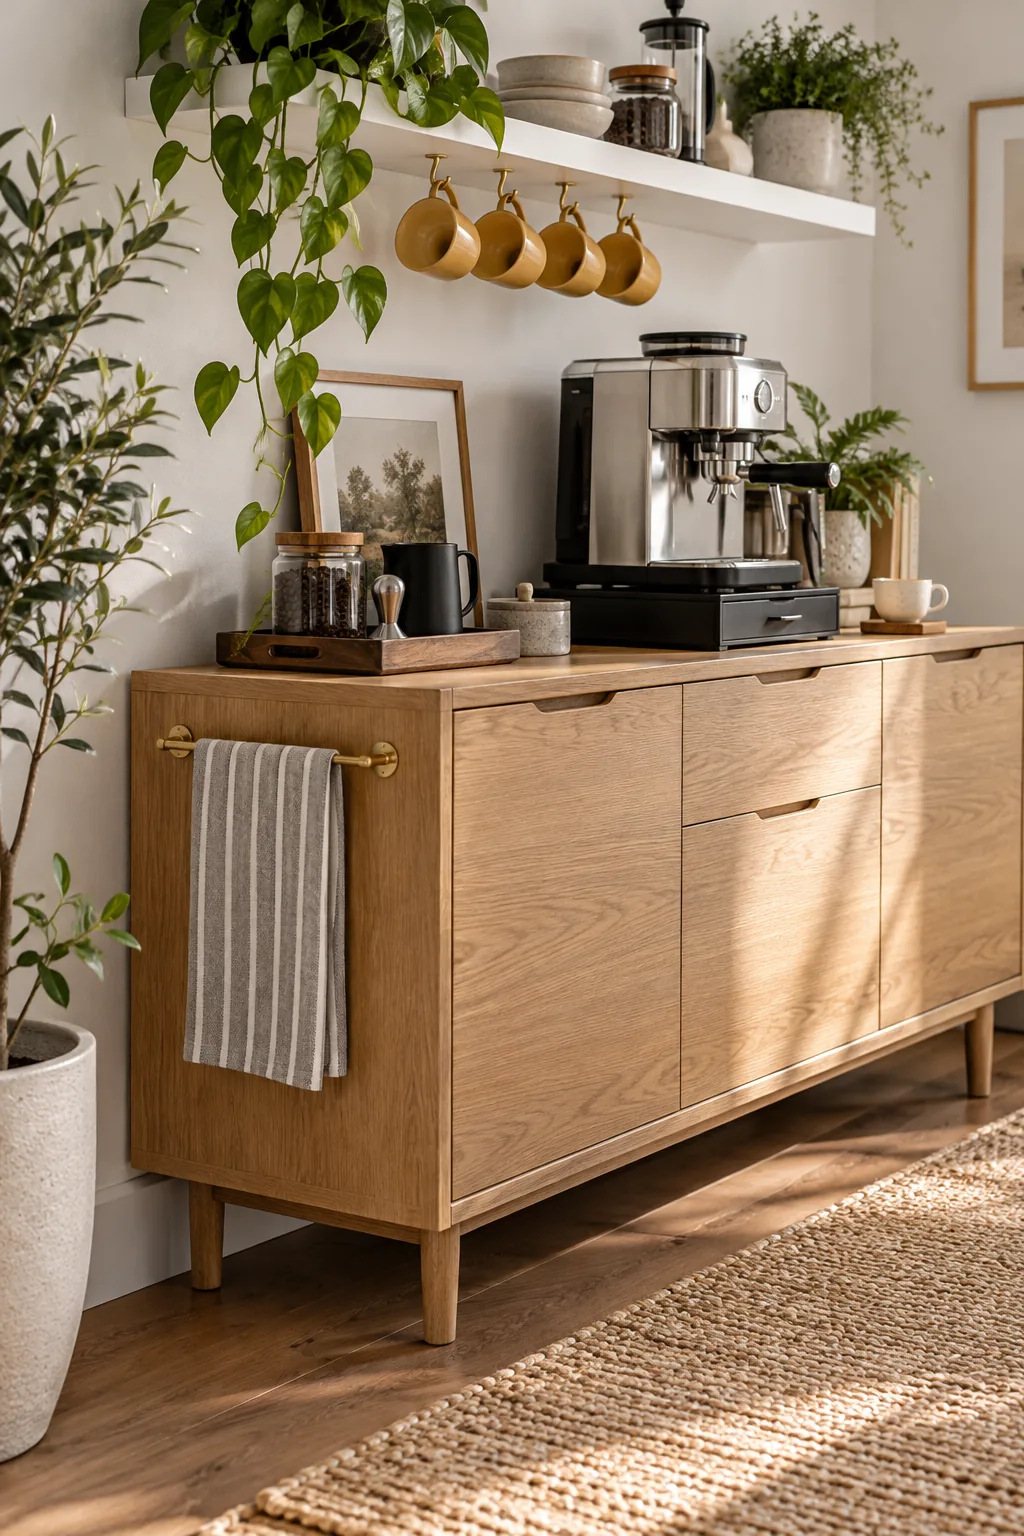
Positioning the brass bar exactly 4 inches below the top edge safely keeps the hanging towel entirely clear of any swinging lower cabinet doors while remaining perfectly accessible.
More Tight-Space Coffee Bar Styles
Find the perfect material palette to match your office aesthetic.
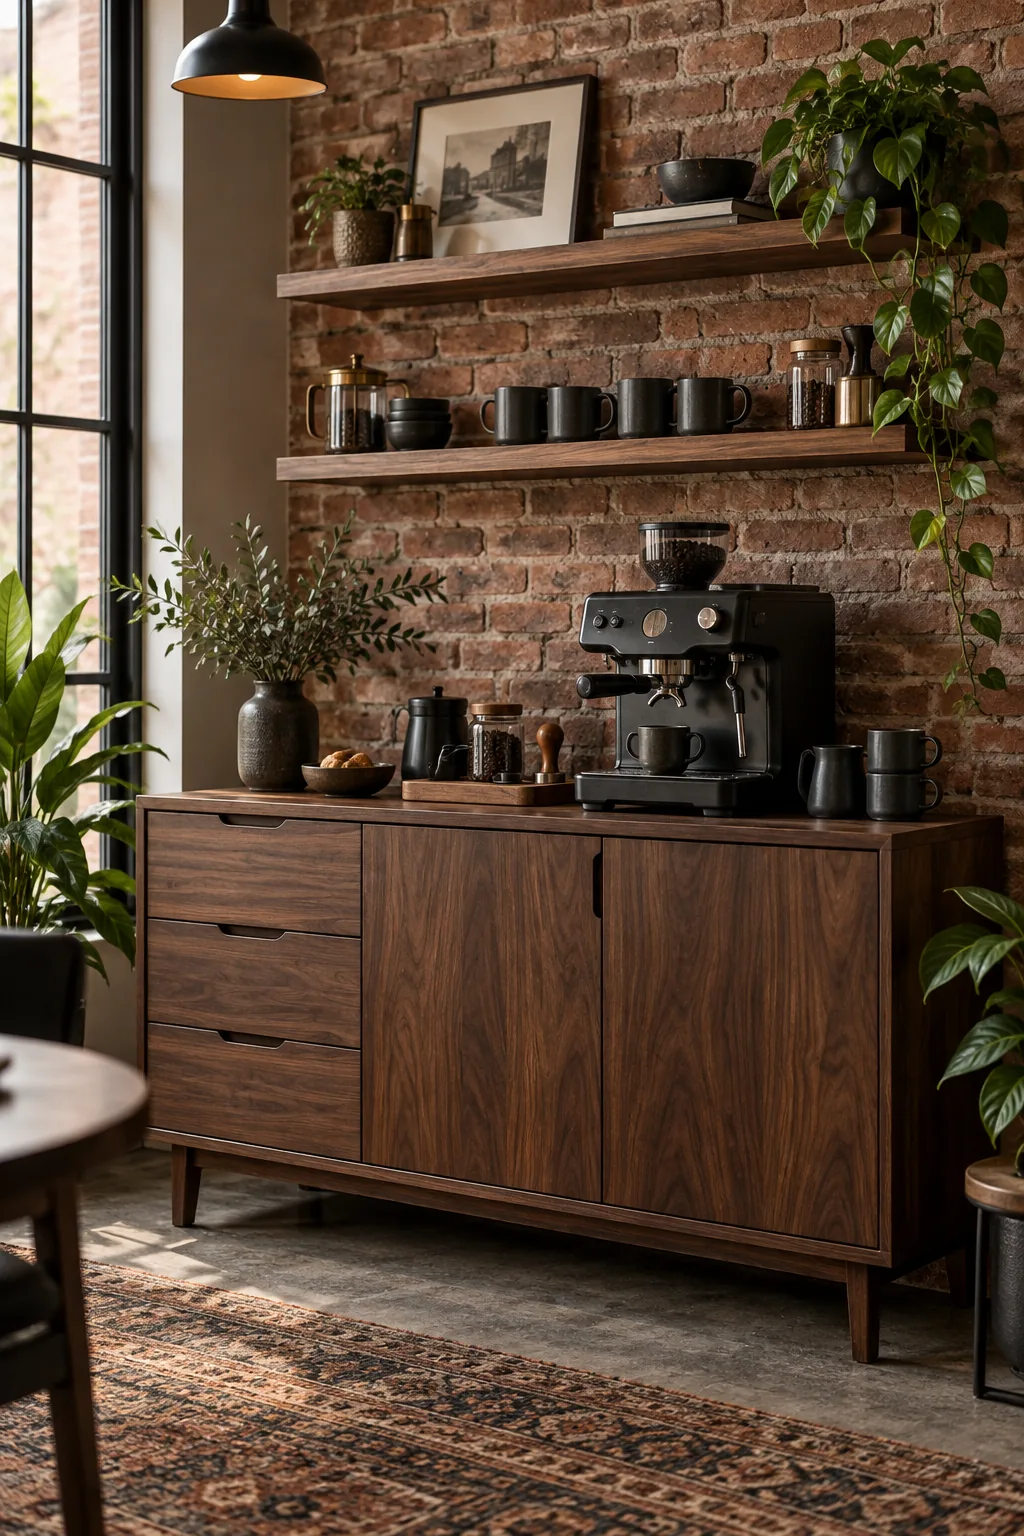
Moody Industrial Brick Coffee Bar: Dark walnut wood and matte black appliances create a striking contrast against an exposed brick wall.
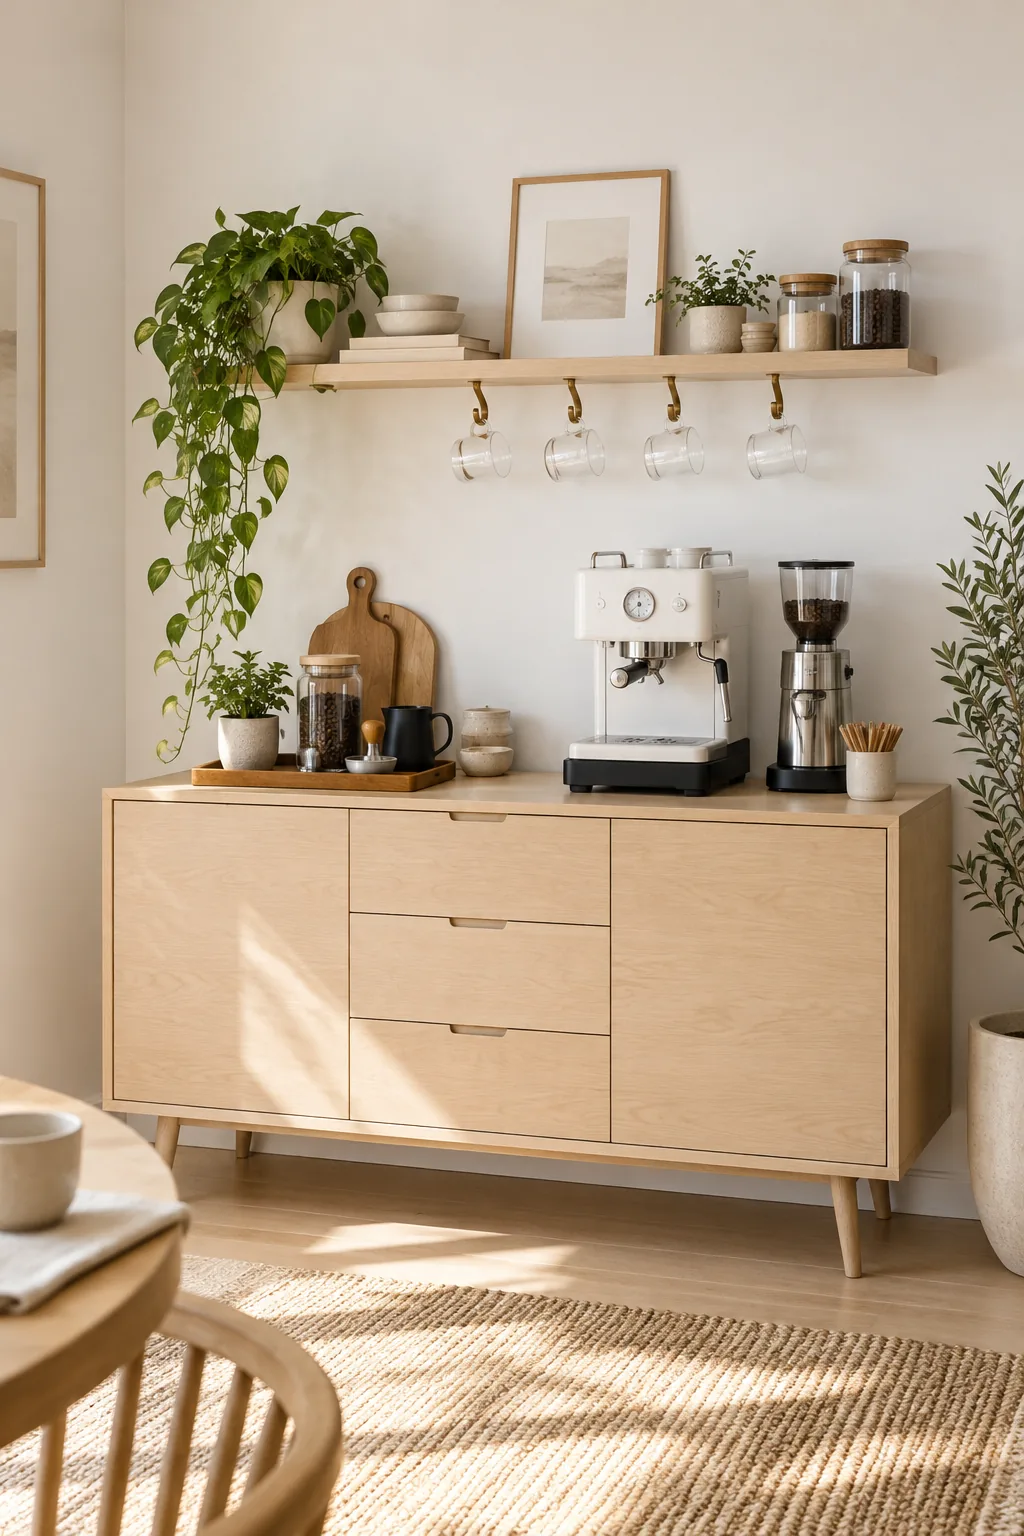
Minimalist Scandi Birch Station: Keep the setup visually light by pairing pale birch wood with a crisp white machine and clear glass mugs.
Warm Bohemian Rattan Setup: Introduce natural texture with woven rattan cabinet doors and earthy terracotta ceramics for a relaxed office vibe.
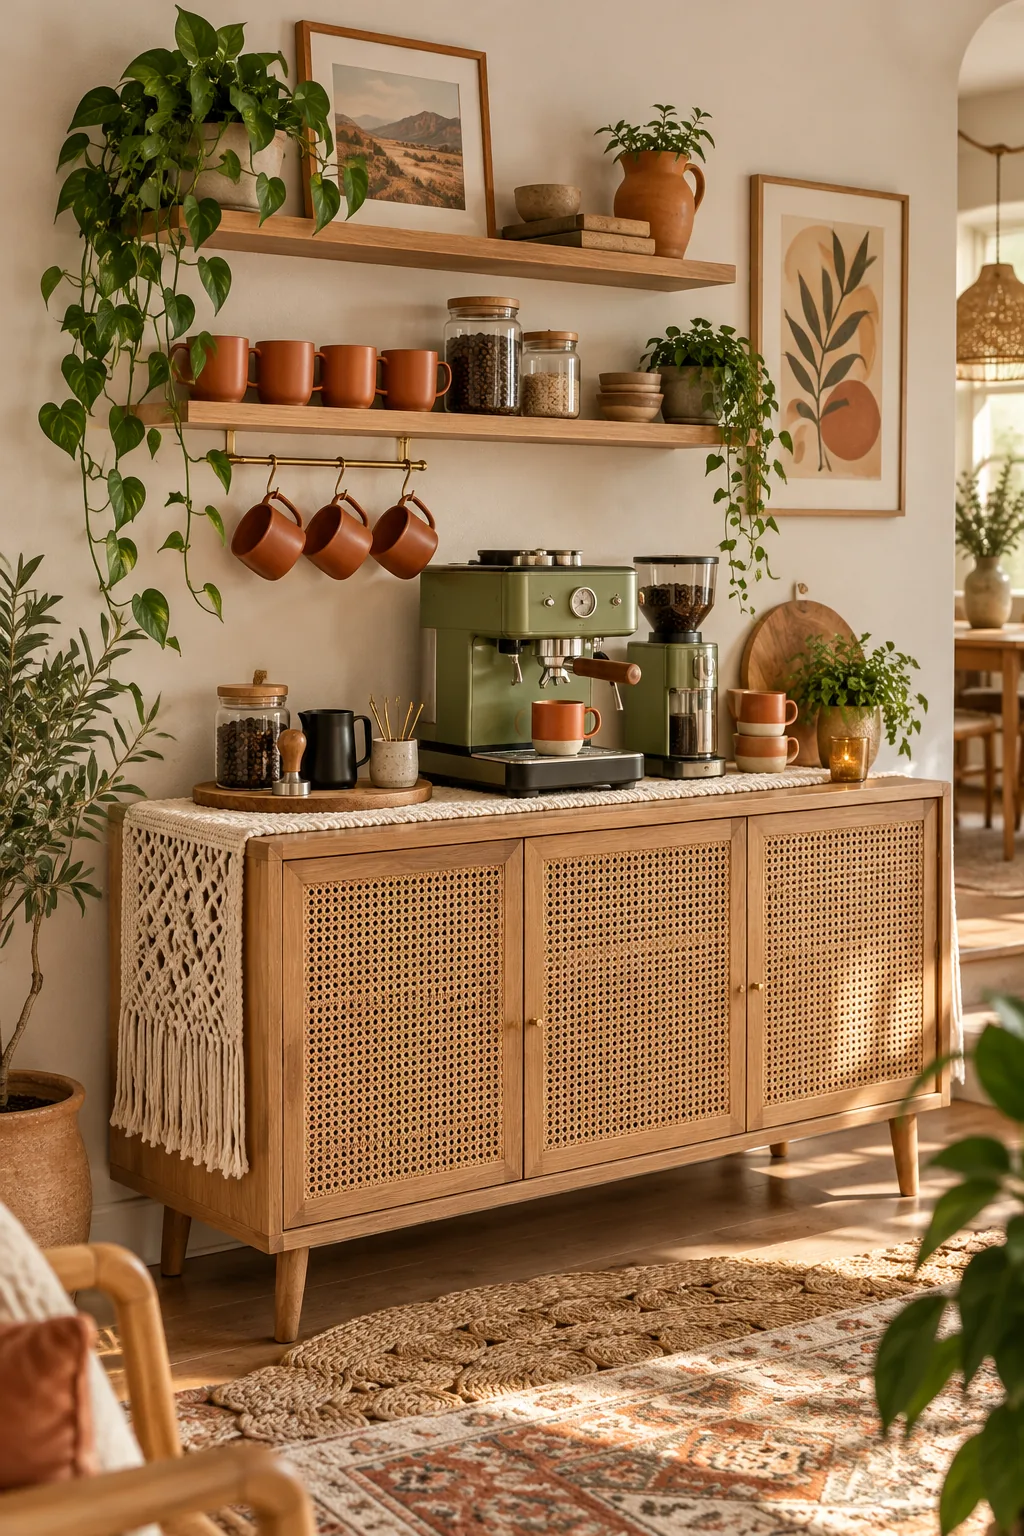
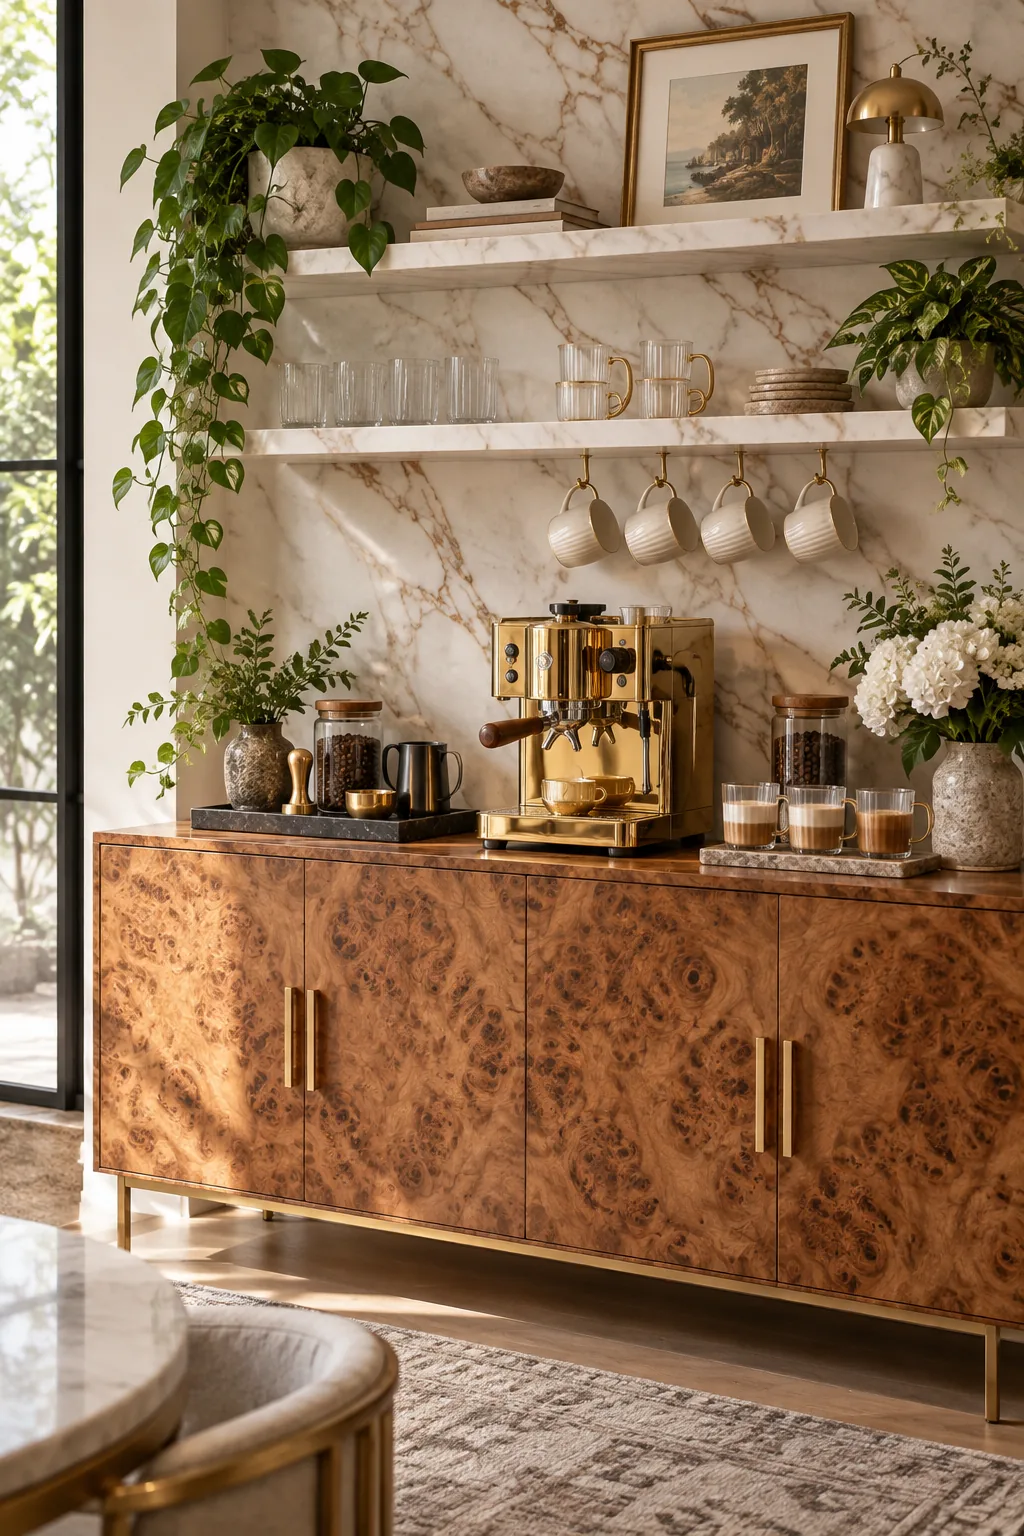
Modern Glam Burl Wood Bar: Elevate the daily brew with rich burl wood grain, a polished gold machine, and a luxurious marble backsplash.