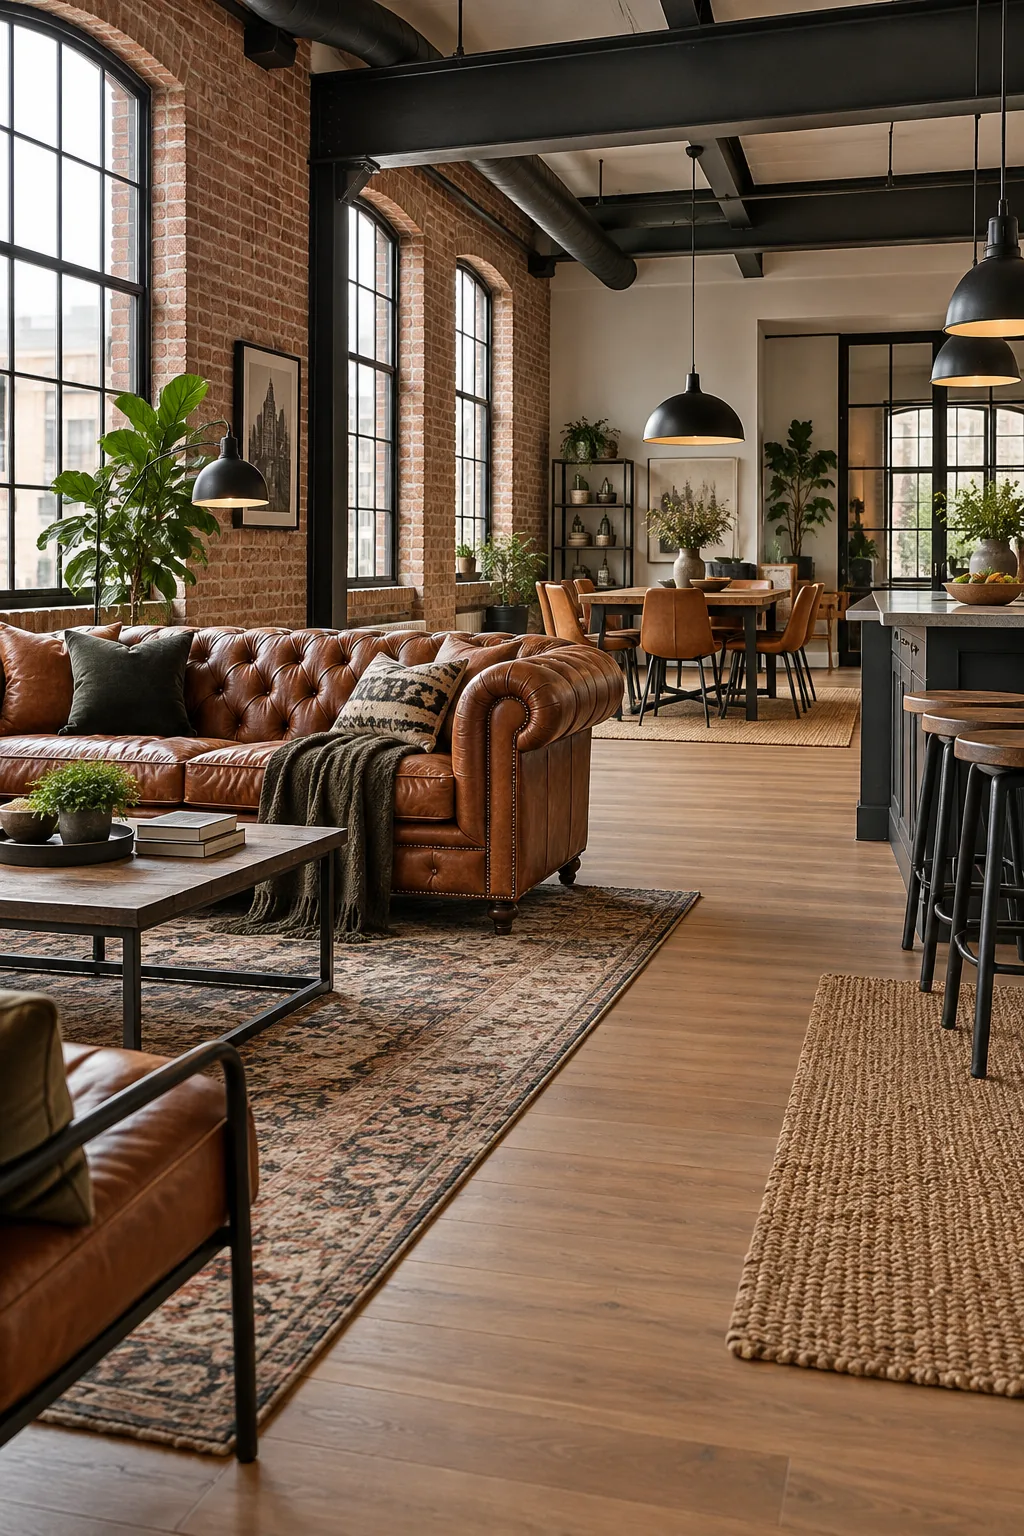
How to Zone an Open Floor Plan (Plus Measurement Sheet)
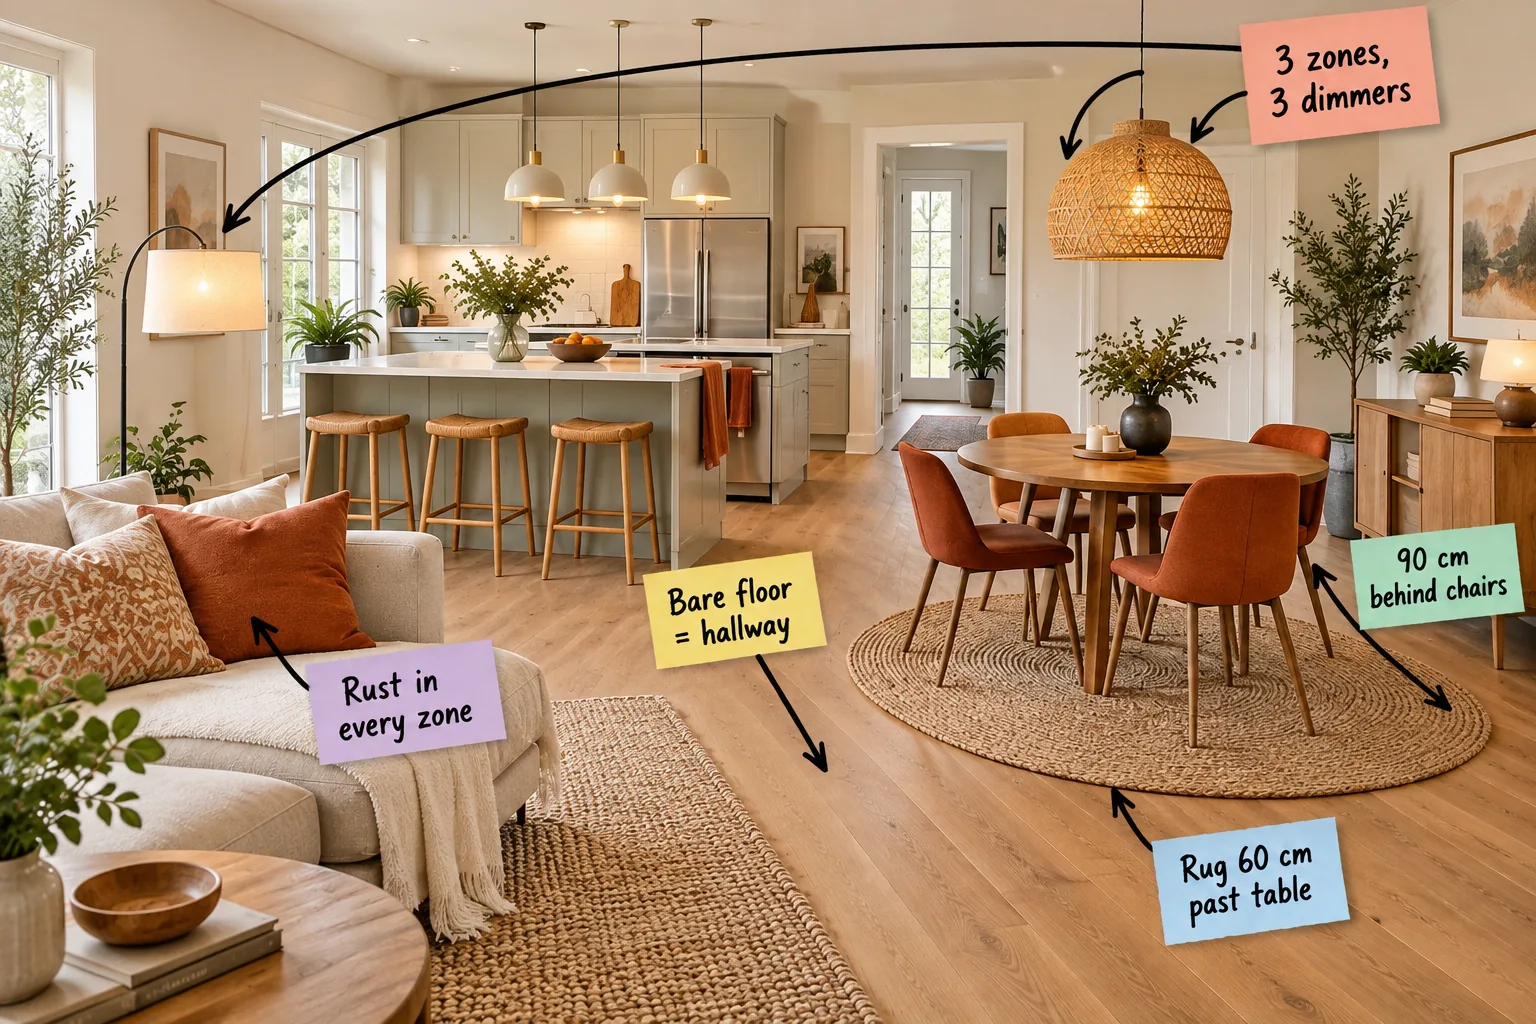
You can arrange your open-concept space into three distinct, highly functional rooms using exact measurements and our printable open-plan zoning measurement sheet. Download the sheet below to get the exact rug gaps, walkway widths, and lighting heights needed for a cohesive layout.
Using Bare Floor as an Invisible Hallway
Leaving a strip of exposed oak floor between the living and dining rugs creates a psychological corridor that naturally guides foot traffic. I always recommend a minimum 80 to 100 cm gap so this negative space feels like a deliberate path rather than an accidental void.
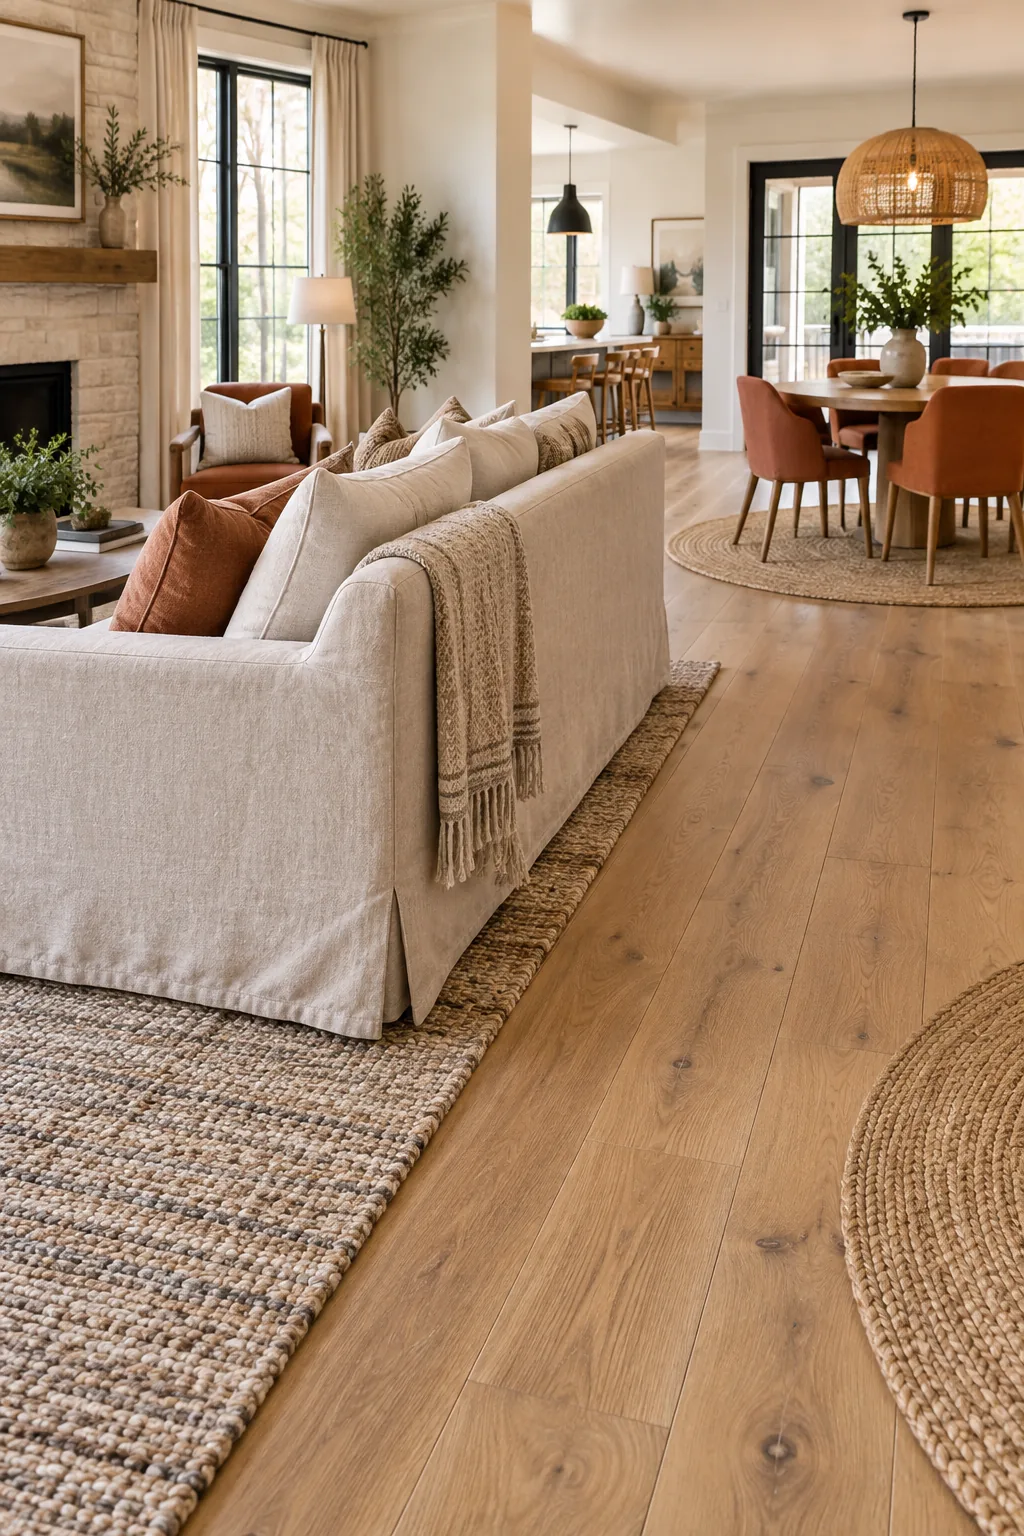
To make this negative space work, you need to treat it with the same respect as a physical corridor.
Aligning the Pathway with Architecture
An invisible hallway feels most natural when it mirrors the structural lines already present in your home. Anchoring this negative space by aligning the bare floor pathway directly with a window mullion ensures the flow makes logical sense.
Anchoring the Living Zone with Furniture
Floating your linen sofa with its back to the dining area physically walls off the living room, building a cozy room within a room. This strategic placement immediately stops the eye and establishes precisely where the relaxation zone begins.
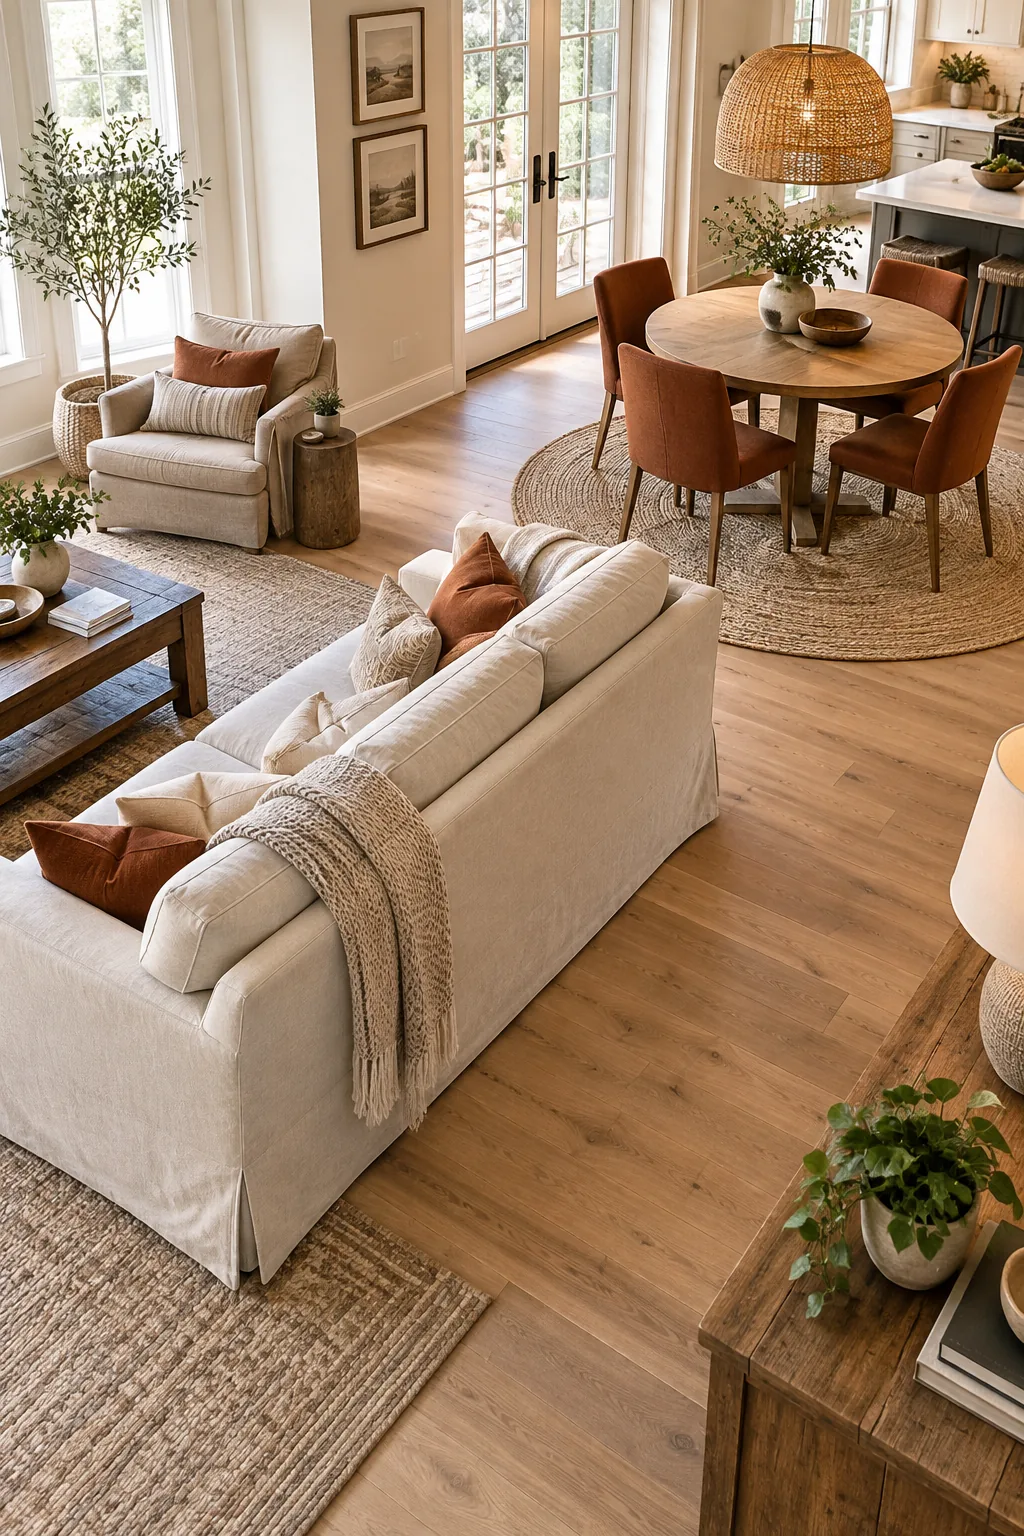
To solidify this boundary, ensure the front legs of all major seating sit firmly on the living area rug.
Selecting a Low-Profile Sofa Back
When floating furniture in an open plan, the height of your seating dictates the sightlines across the entire room. I prefer a sofa back under 85 cm to ensure you can see the kitchen island clearly from a seated position.
Sizing the Dining Rug for Movement
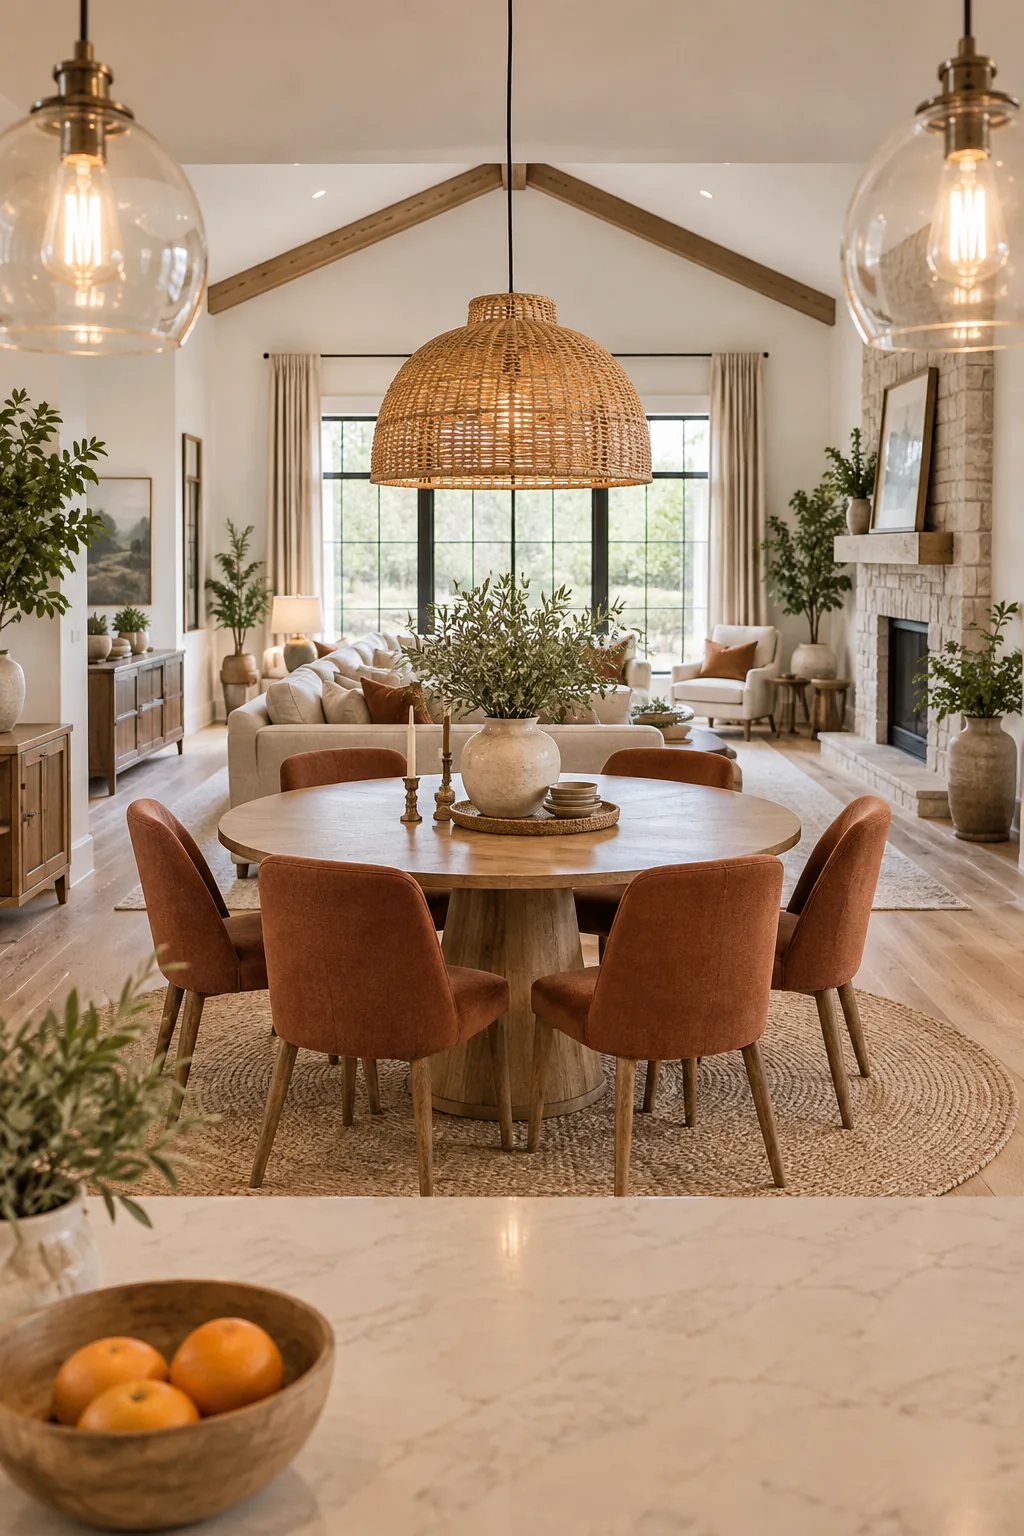
The dining rug must extend exactly 60 cm beyond the table edge on all sides to properly define the dining footprint. This generous extension ensures that pulled-out chairs keep all four legs level on the rug, preventing dangerous tripping hazards.
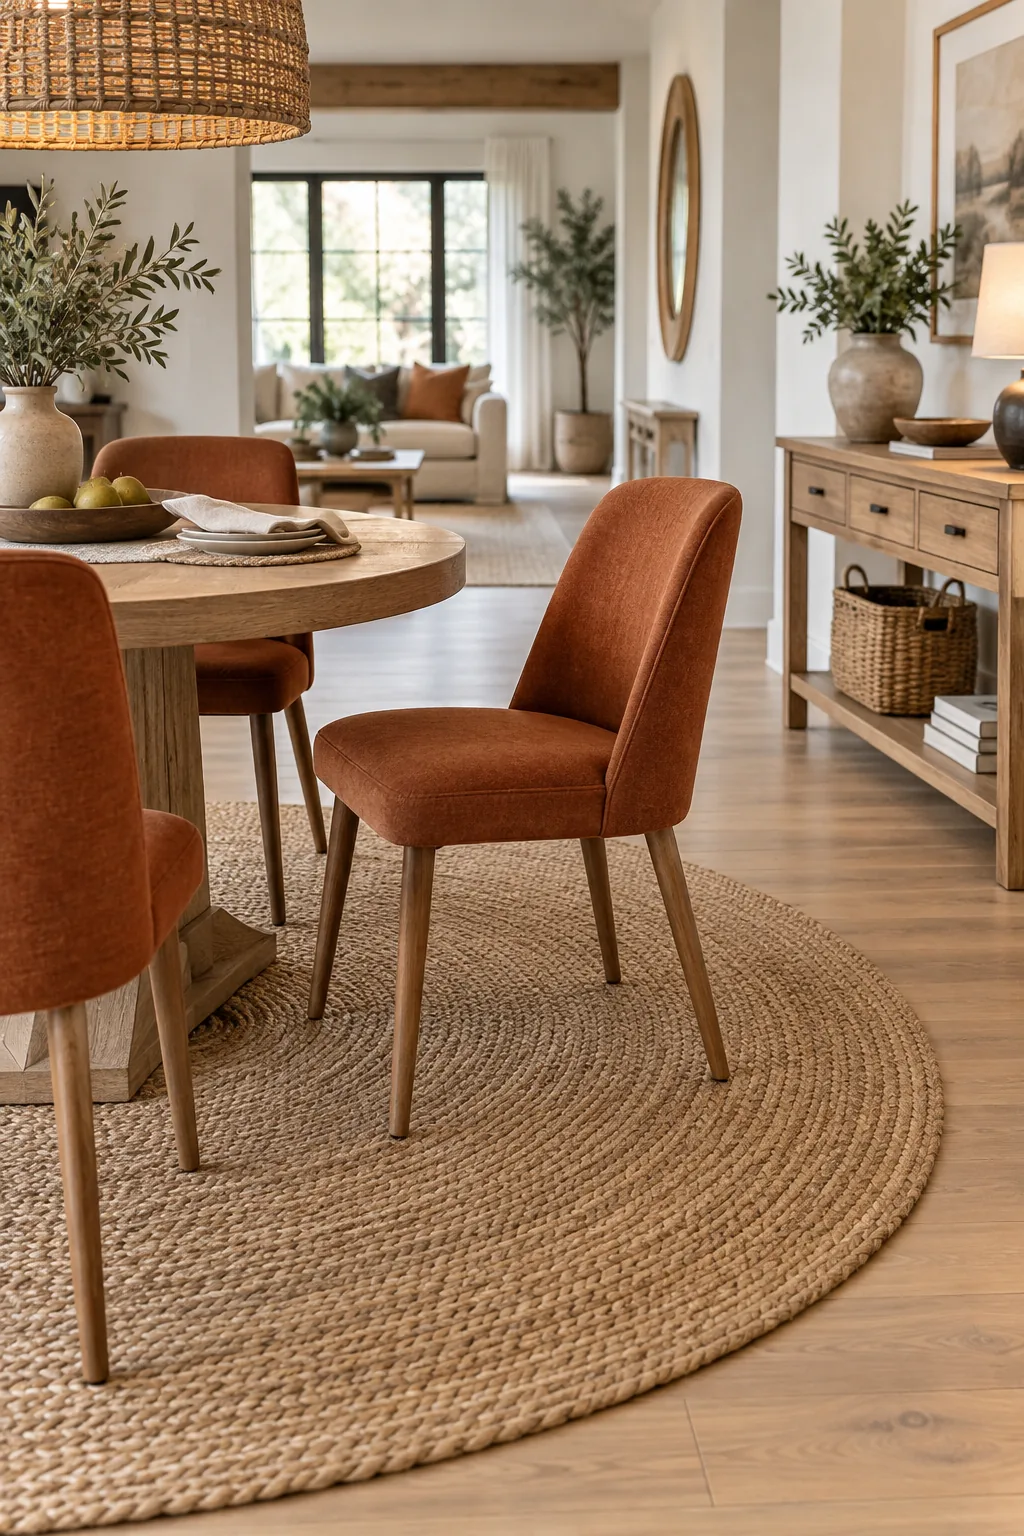
Without this required clearance, the perimeter feels cramped and the visual boundary of the dining zone collapses completely.
Choosing a Flat-Weave Rug Material
A thick pile rug in the dining zone traps chair legs and disrupts the smooth transition between your carefully planned spaces. Using a tight jute or flat-weave rug ensures chairs slide effortlessly while maintaining a distinct textural boundary.
Protecting Walkways Behind Seating
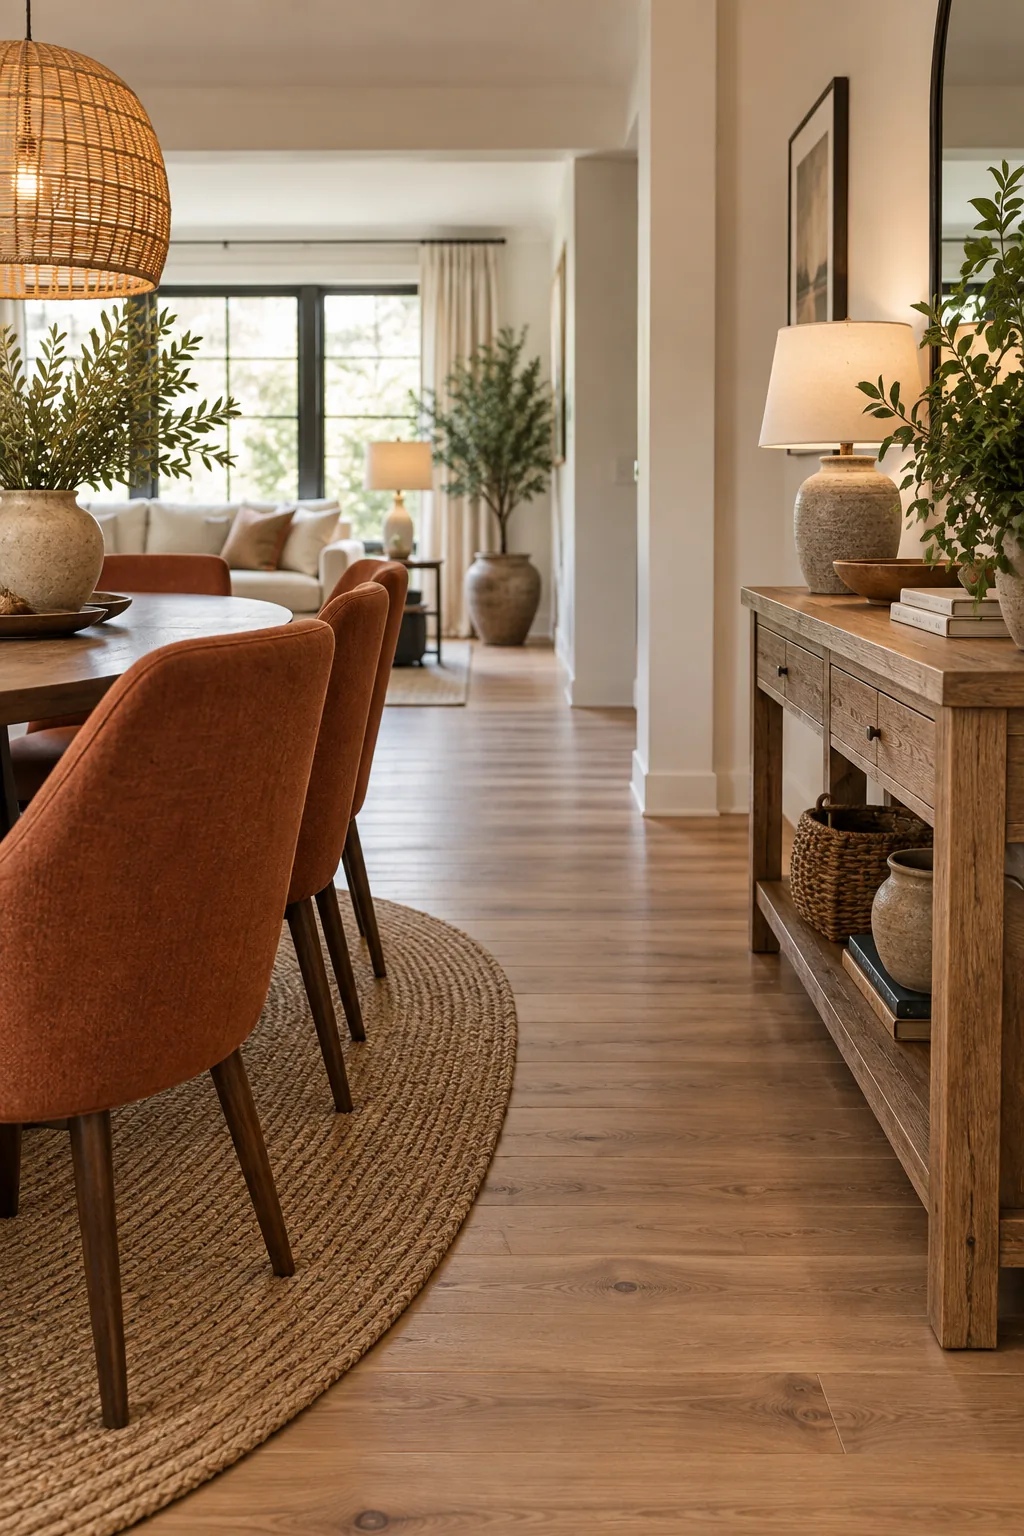
You must maintain a 90 cm walking lane between pulled-out dining chairs and any wall or console. This strict clearance protects the primary traffic flow of the home, guaranteeing comfortable passage even when the dining table is fully occupied.
Getting this clearance wrong is the fastest way to make a large room feel surprisingly cramped.
Sizing the Dining Console
If you place a console table along the dining room wall, its depth directly impacts your walking lane. Choose a narrow 35 cm console so you do not encroach on the essential clearance needed behind those dining chairs.
Defining the Kitchen Boundary
The kitchen island acts as the final hard boundary in your three-room layout, visually separating the prep area from the dining zone. In my own Denver home, keeping the island stools fully tucked under the counter was the easiest way to maintain that crisp dividing line.
- Measure the overhang: Ensure you have at least 30 cm of counter depth to hide the stools completely.
- Align the backs: Choose backless or low-back stools that do not protrude above the island surface.
Managing Island Clutter
Because the kitchen island serves as a visual boundary, keeping its surface clear is vital for the three-room illusion. Designating a hidden drop zone inside a cabinet prevents mail and keys from blurring the crisp lines between prep and dining.
Layering the Three-Zone Lighting Plan
Using three distinct dimmers gives each of the three zones its own specific lighting identity at night. Lowering the dining pendant while keeping the kitchen island bright and the living room soft creates beautifully balanced, distinct evening moods.
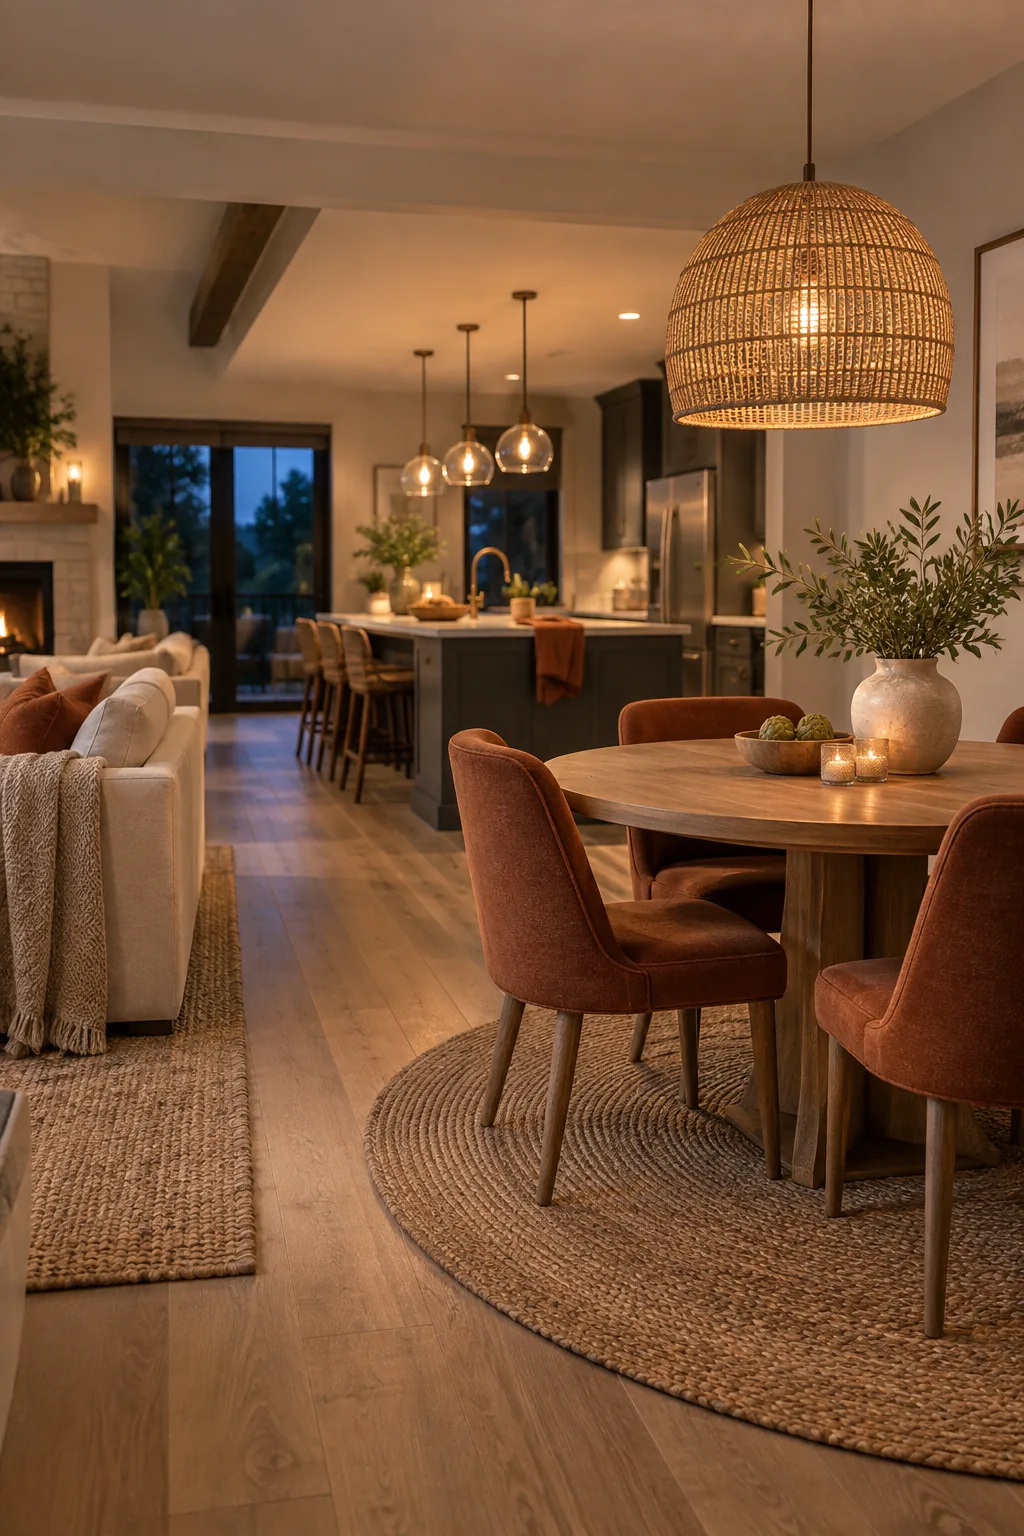
Independent controls allow you to shift the focus of the room instantly, highlighting the dining table for a meal while dimming the prep space.
Setting the Dining Pendant Height
The vertical placement of your dining light is just as important as your floor plan measurements. Hanging the fixture at the correct height ensures it illuminates the table without blocking the critical sightlines to the living area.
| Ceiling Height | Pendant Height (from table) |
|---|---|
| 2.4 meters | 75 cm |
| 2.7 meters | 80 cm |
| 3.0 meters | 85 cm |
Always measure from the top of the dining table to the bottom rim of the pendant shade to verify this exact clearance.
Unifying the Layout with an Accent Color
Repeating a single accent color across all three zones visually ties the separated spaces back together into one cohesive home. In a recent loft project, I placed one rust element—a sofa cushion, a dining chair, and a kitchen tea towel—in each distinct area to bridge the gaps.
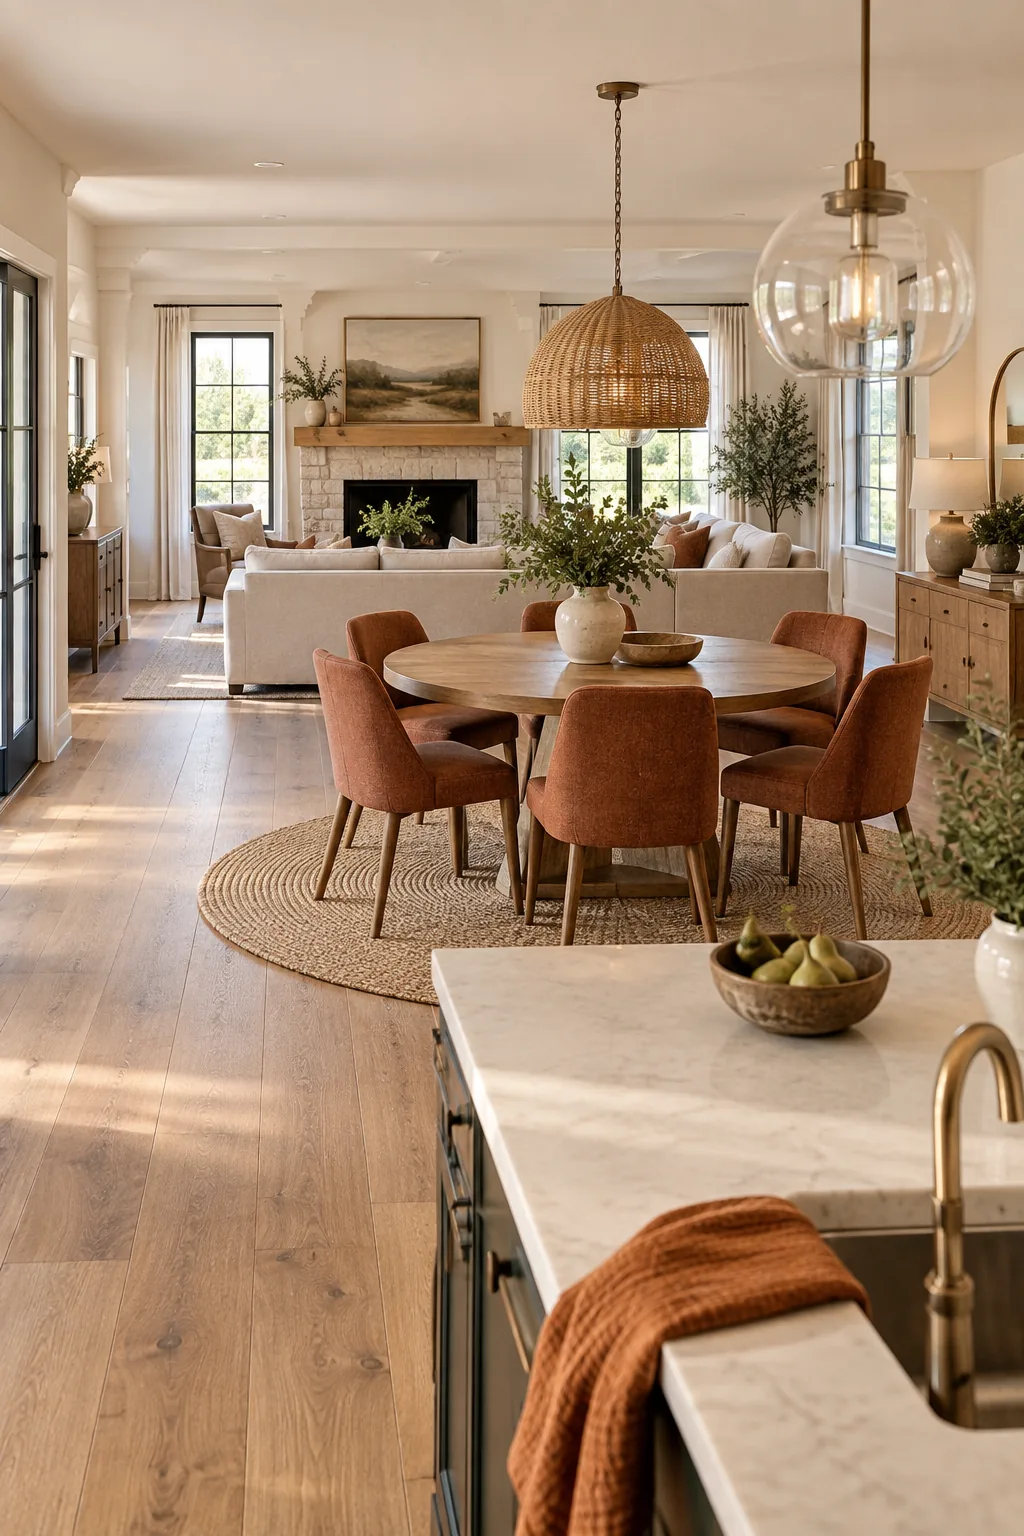
This shared palette prevents the carefully measured areas from feeling disconnected, proving that rust in every zone is a powerful unifying tool.
Balancing Textures Across Zones
While color unifies the layout, varying your textures keeps the open space from feeling visually flat. Pairing the rough jute dining rug with smooth linen sofa upholstery creates a subtle, tactile separation between the relaxing and eating areas.
Finalizing the Furniture Placement
Before unrolling any rugs, use painter’s tape to mark the exact footprint of your three distinct zones on the floor. This allows you to walk the invisible hallway and test all clearances before moving heavy furniture.
Your Open-Plan Zoning Measurement Sheet
Applying these precise dimensions results in a layout that feels both incredibly spacious and intimately connected. Download your printable Open-Plan Zoning Measurement Sheet below to master your rug gaps, walkway widths, and pendant heights.
Print this one-page guide and keep it on your clipboard to ensure every piece of furniture lands exactly where it belongs.
5 Ways to Zone an Open Concept
Explore these distinct styles to find the perfect zoning strategy for your own open-plan space.
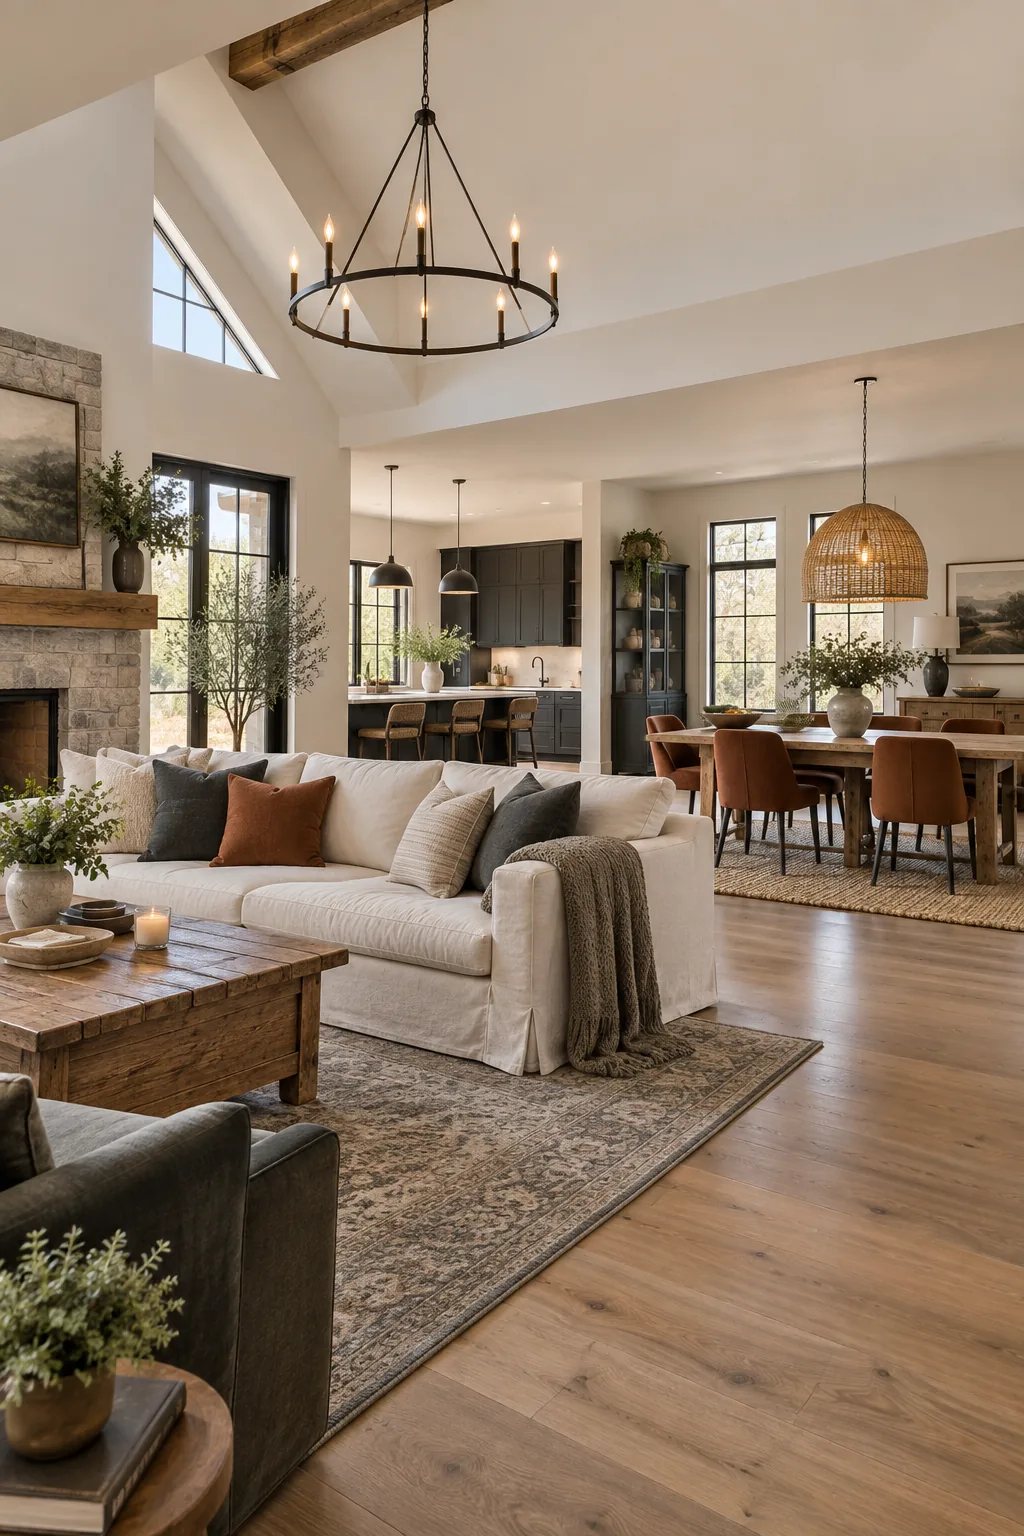
Modern Farmhouse Contrast: Charcoal accents ground the airy vaulted ceilings and cream slipcovers in this farmhouse layout.
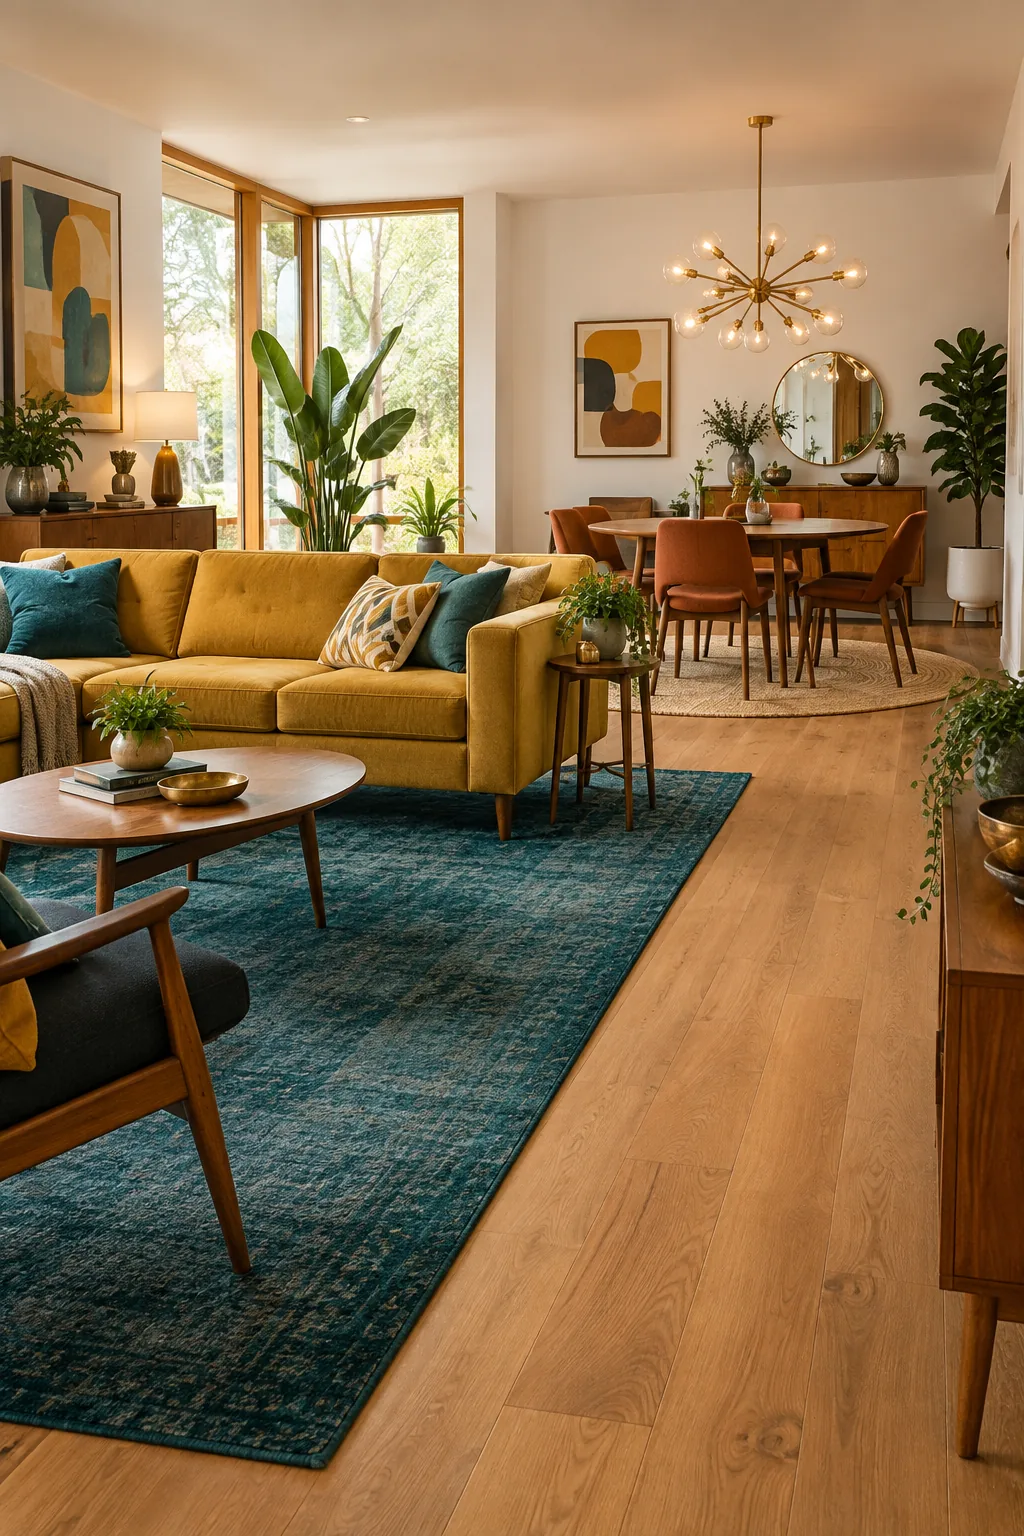
Mid-Century L-Shape: Vibrant teal rugs and mustard accents define the distinct zones in this L-shaped mid-century space.
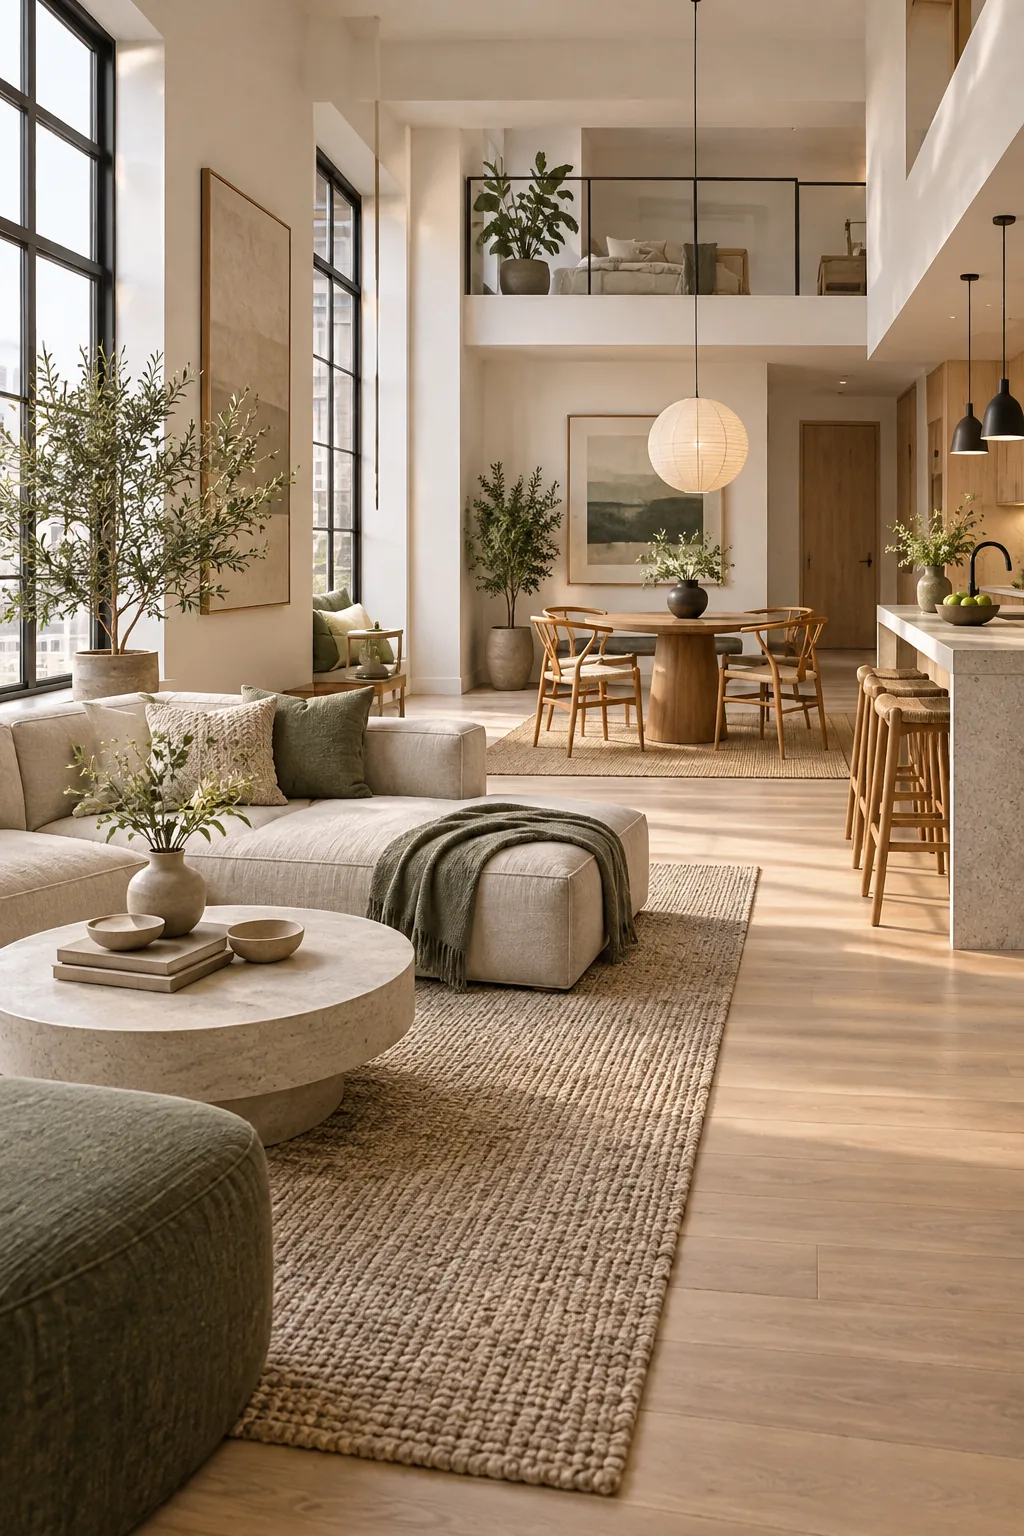
Minimalist Japandi Loft: Low-profile furniture keeps sightlines completely clear in this compact, ash-wood and stone Japandi loft.
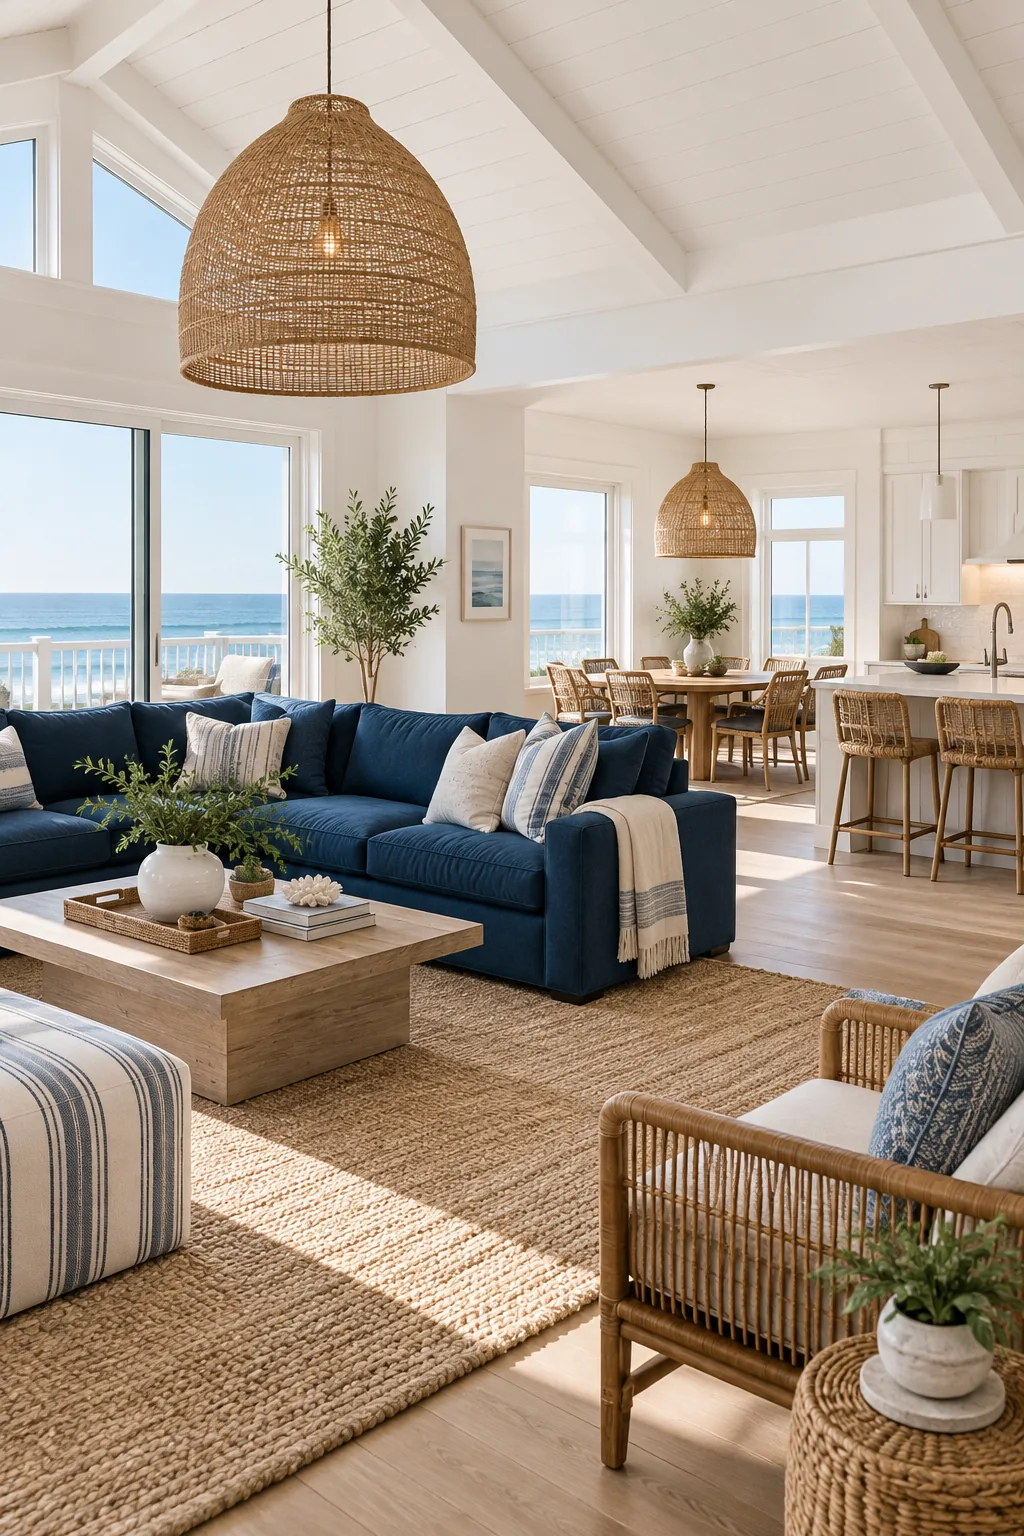
Coastal Transitional Flow: Oversized rattan pendants anchor the dining zone while navy upholstery ties the coastal room together.
Industrial Warehouse Loft: A heavy cognac leather sofa acts as a solid room divider against the exposed brick walls.