
The Outdoor Grill Station Layout Guide (Plus Printable Sheet)
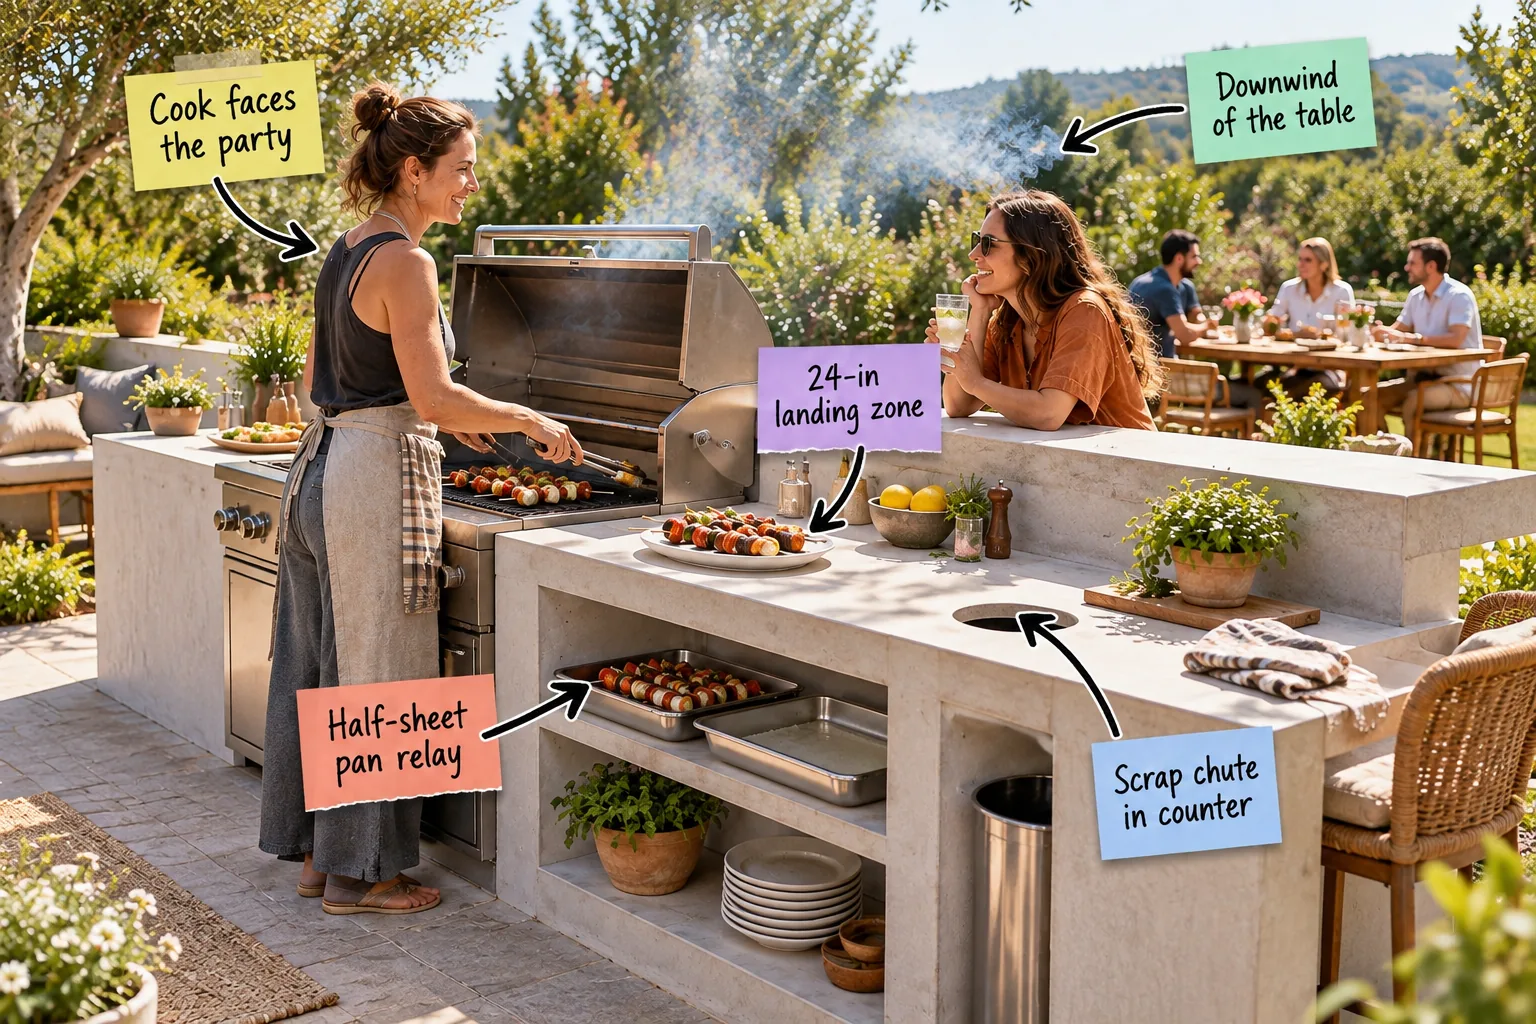
You will be able to map out a custom backyard kitchen with exact ergonomic heights and landing zones using the Grill Station Layout Sheet. I use this printable measurement guide to ensure every outdoor cooking space functions just as beautifully as your indoor kitchen.
Site Placement and Wind Direction
Determine the physical footprint of the station by observing the prevailing summer winds in your yard. In my own Denver backyard, I originally placed my grill under the patio roof, which trapped the smoke until I finally moved it outward.
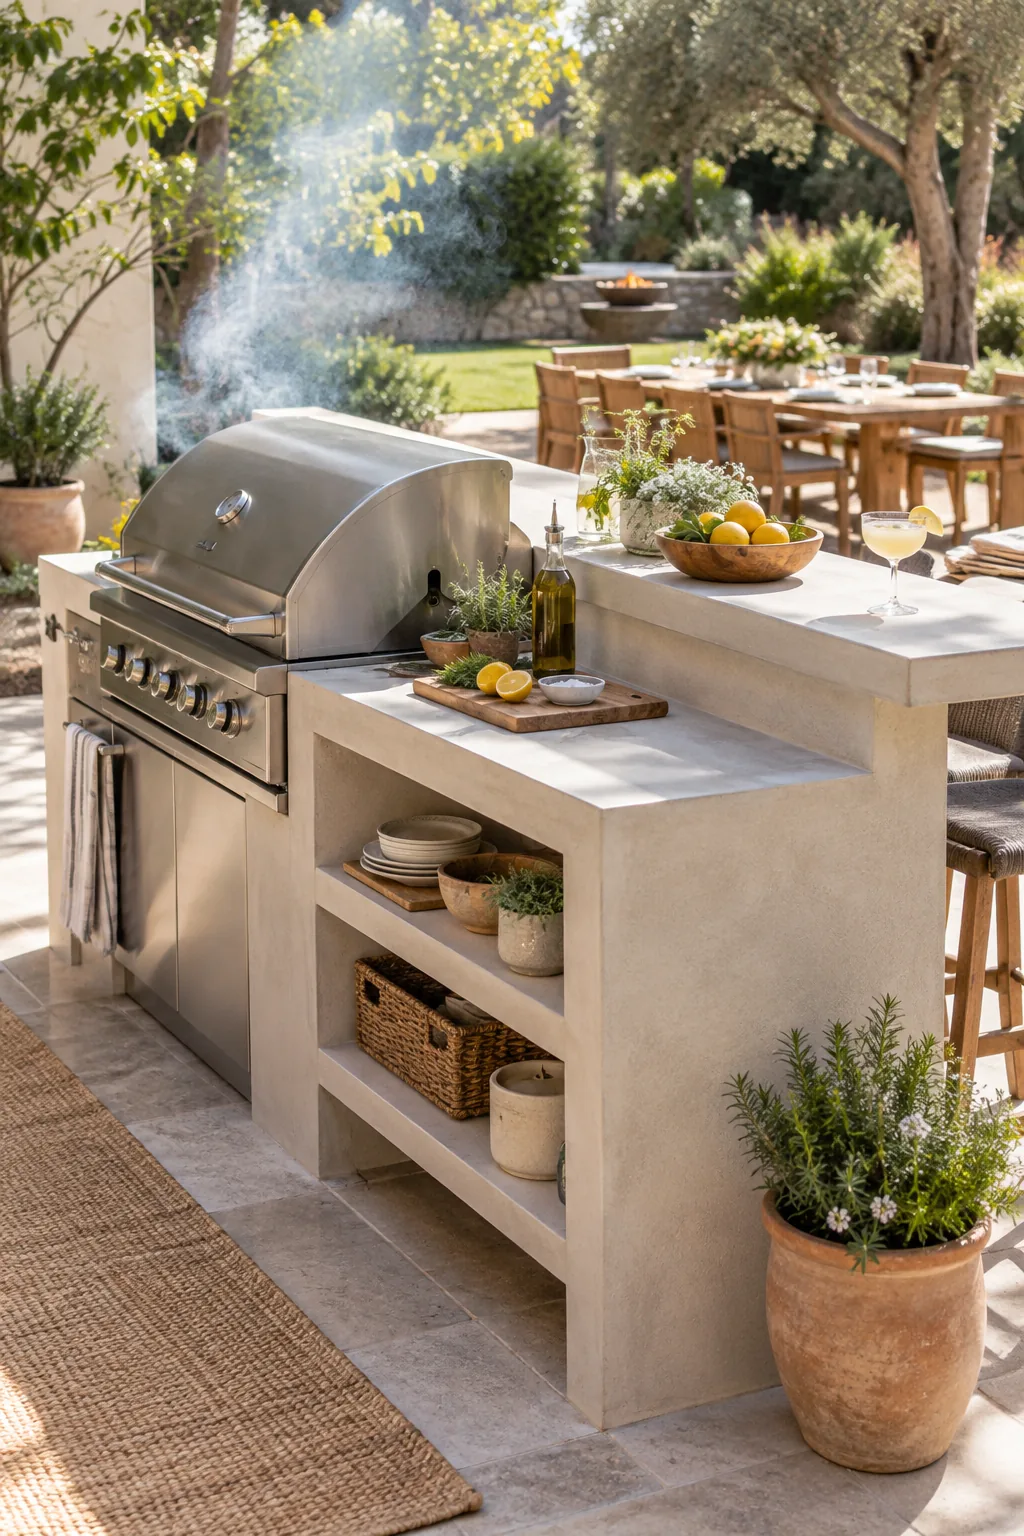
Before pouring a concrete footing or laying pavers, verify your chosen spot against three crucial environmental factors.
Orienting the Cook Toward the Guests
Design the station as an island or peninsula rather than pushing it against a fence so the cook can face the party. I always tell my clients that cooking should be a performance, not a solitary exile in the corner of the yard.
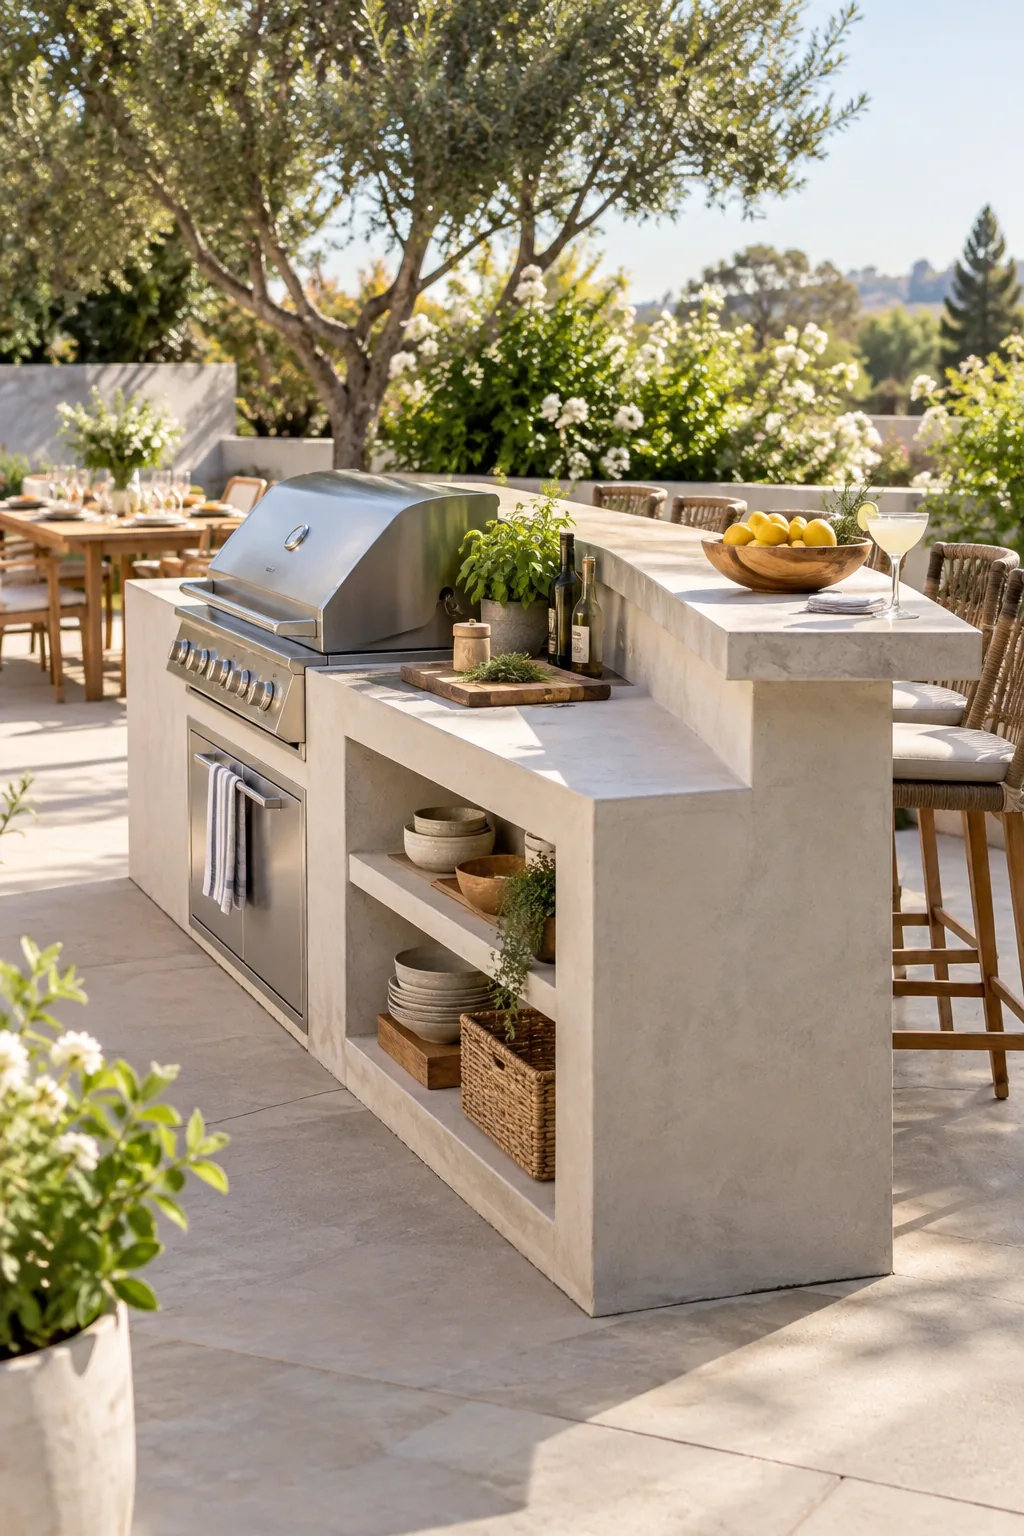
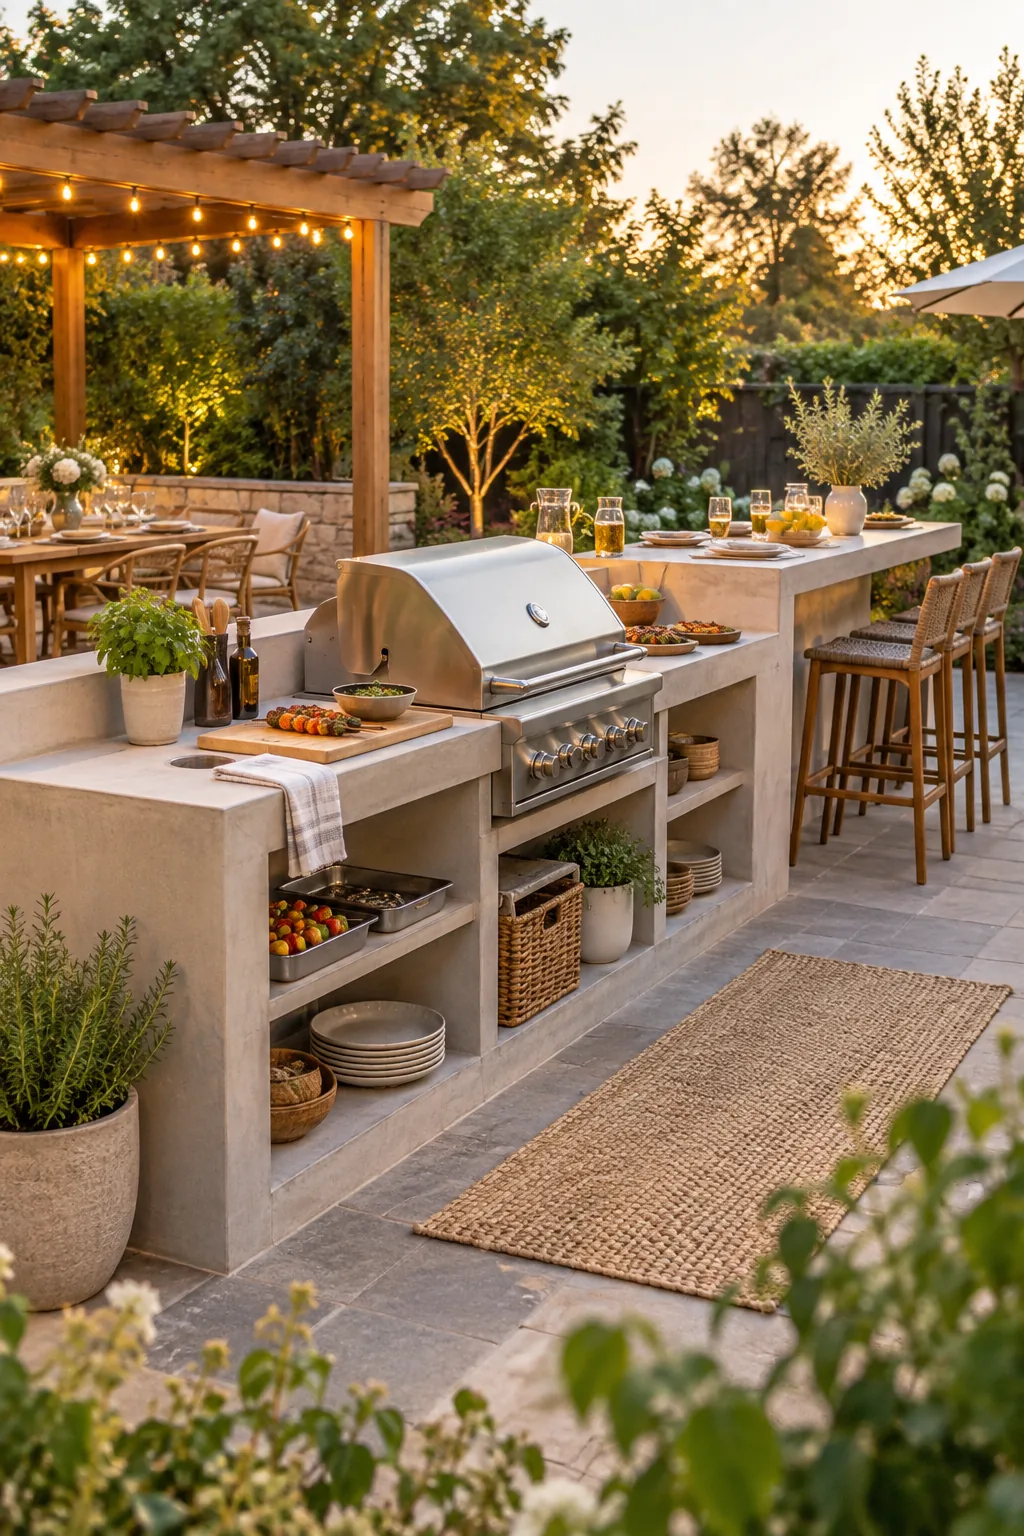
Include a 36-inch-high prep counter on the cook’s side and a 42-inch-high raised bar ledge on the guest side to hide the messy prep surface.
Sizing the Countertop Landing Zones
Leave a minimum 24-inch wide landing zone of bare countertop immediately adjacent to the grill grates. This dedicated space provides a safe, heat-resistant area to rest heavy platters of food right off the fire without shuffling prep bowls.
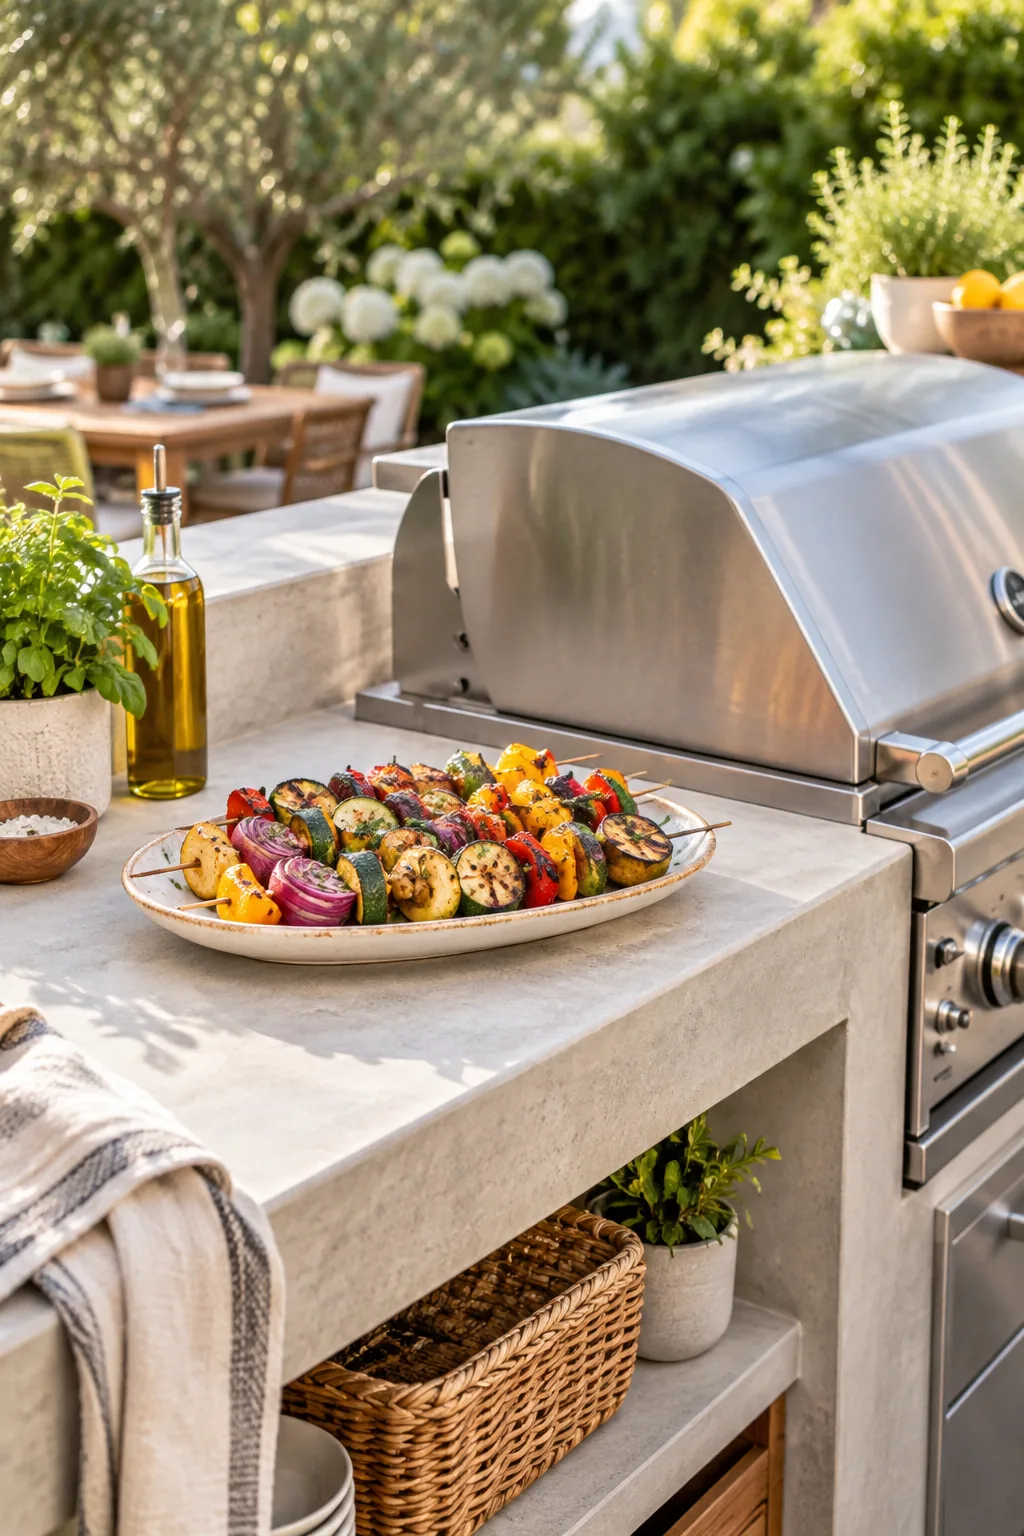
Maintaining this clear buffer zone ensures you always have a secure spot for pulling hot skewers quickly.
Adding a Built-In Scrap Chute
Keep the prep surface clear of vegetable trimmings and packaging by installing a round scrap chute directly into the countertop. Position a hidden, removable trash bin in the cabinet directly beneath the 6-inch to 8-inch cutout for seamless cleanup.
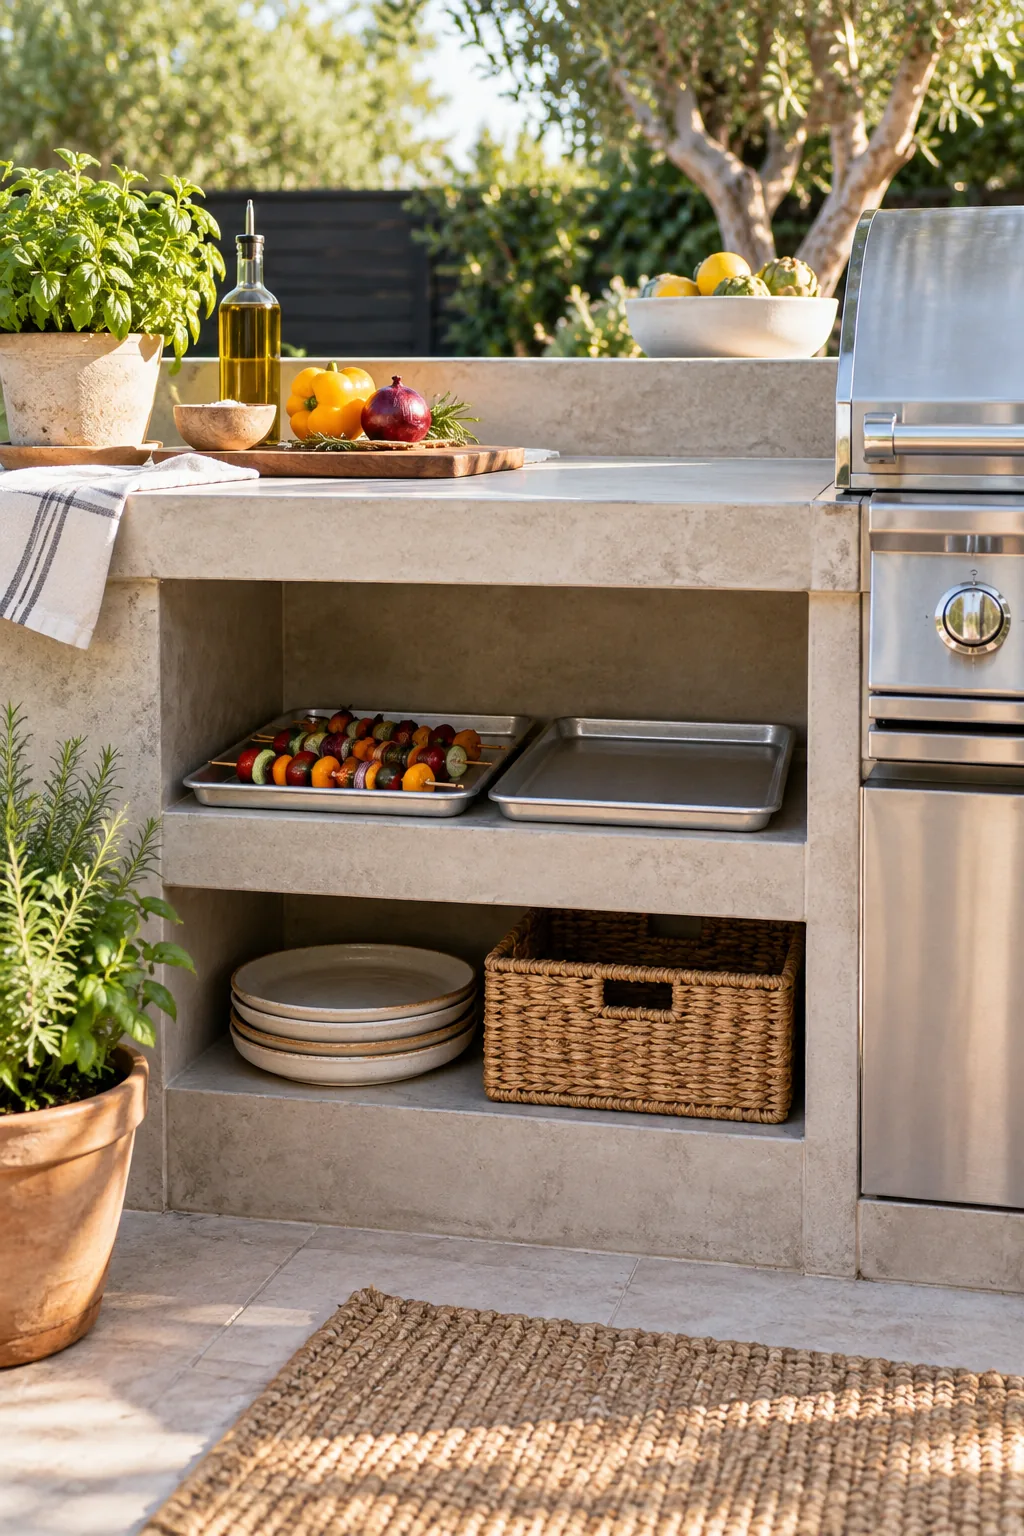
This simple addition keeps your station perfectly balanced and free of visual clutter during meal prep.
Sizing Shelves for a Sheet Pan Relay
Build open shelving beneath the prep counter specifically sized to hold standard 18-by-13-inch half-sheet pans. This allows the cook to run a safe relay system where one pan holds raw meat while a separate clean pan sits ready.
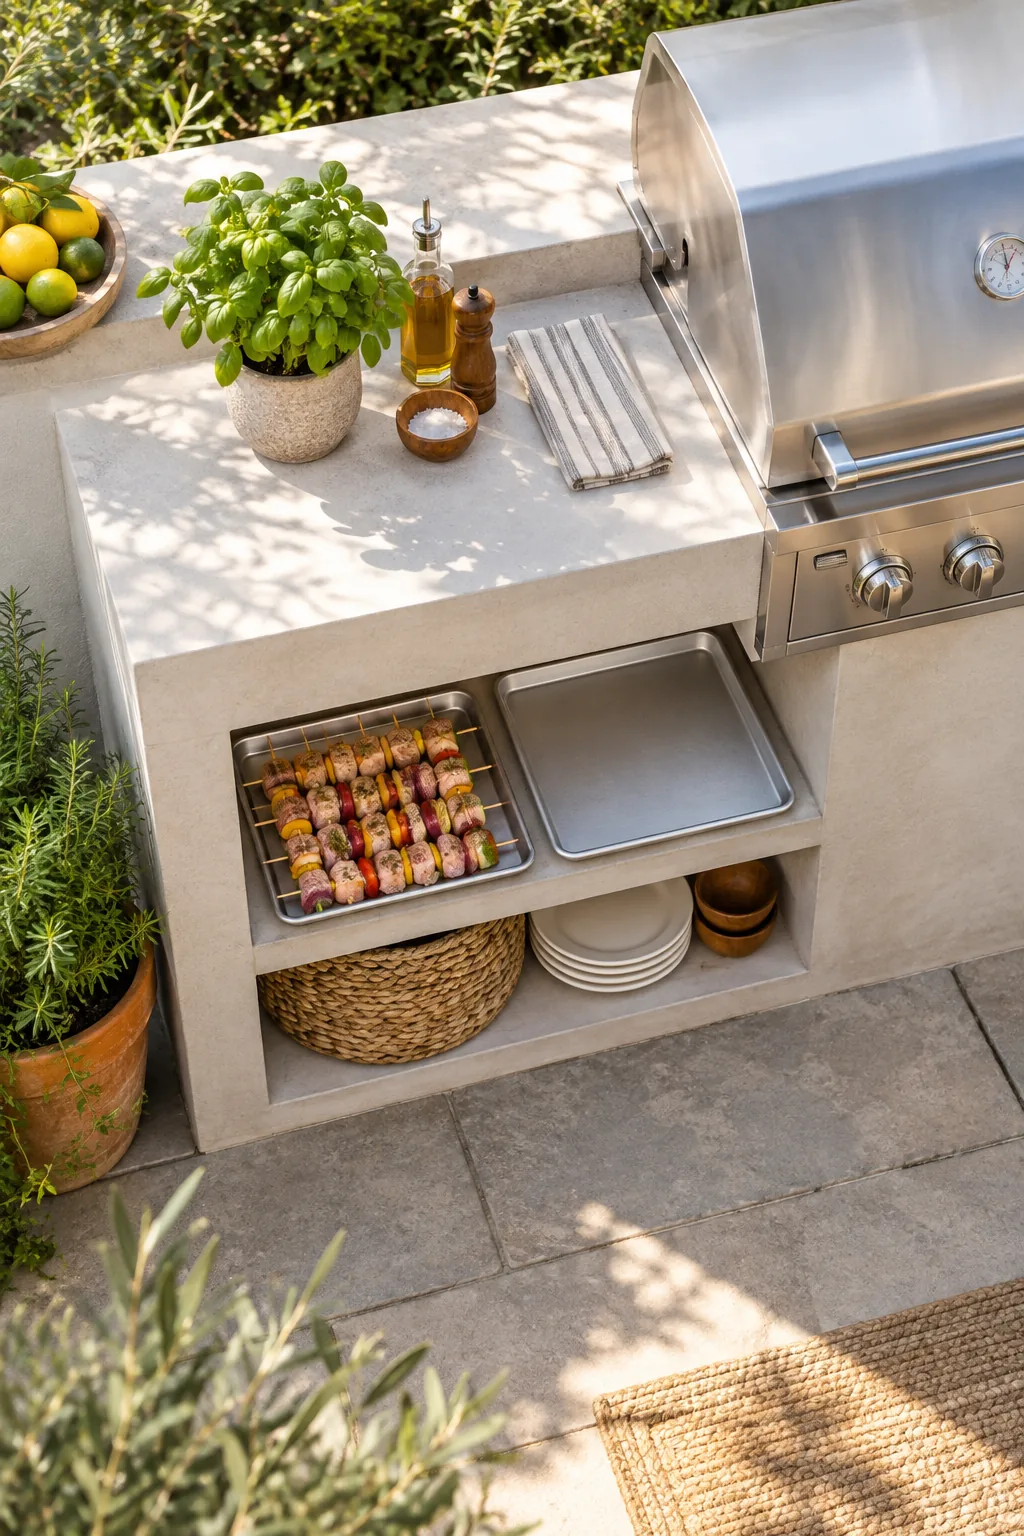
To make the relay system work smoothly during a busy cookout, pay close attention to the vertical spacing of your open shelves.
3 Ways to Style Your Grill Station
Explore how different materials and finishes can completely change the look of this highly functional layout.
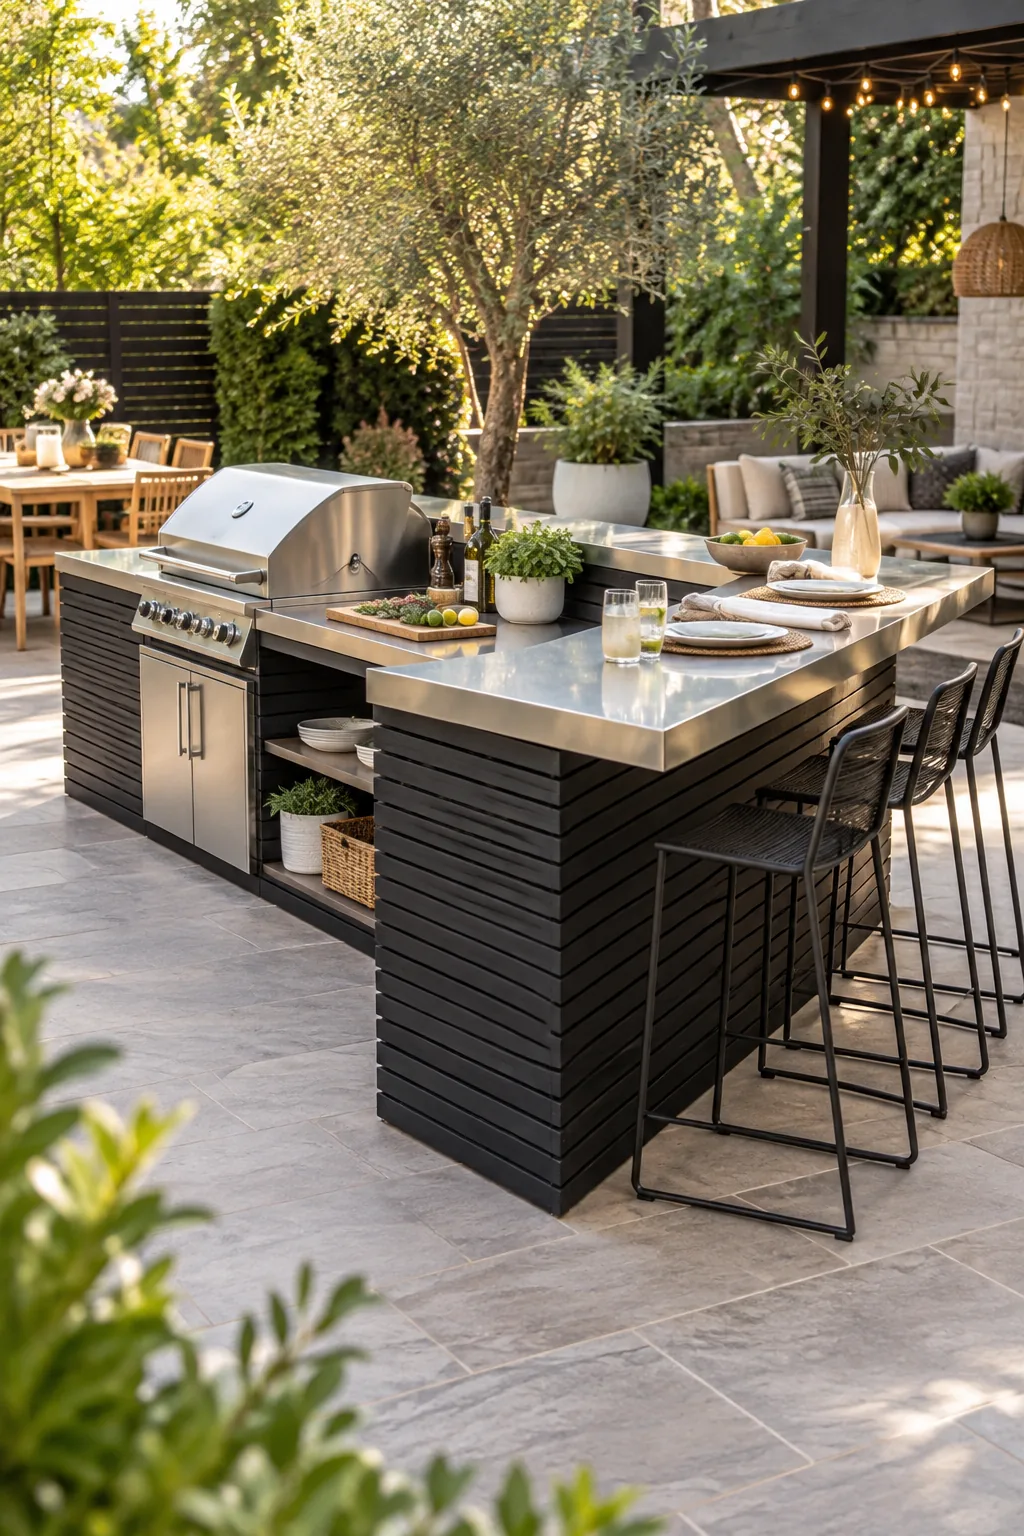
Modern Black and Steel: Sleek black slatted wood paired with stainless steel creates a sharp, contemporary look that is incredibly easy to wipe down after a cookout.
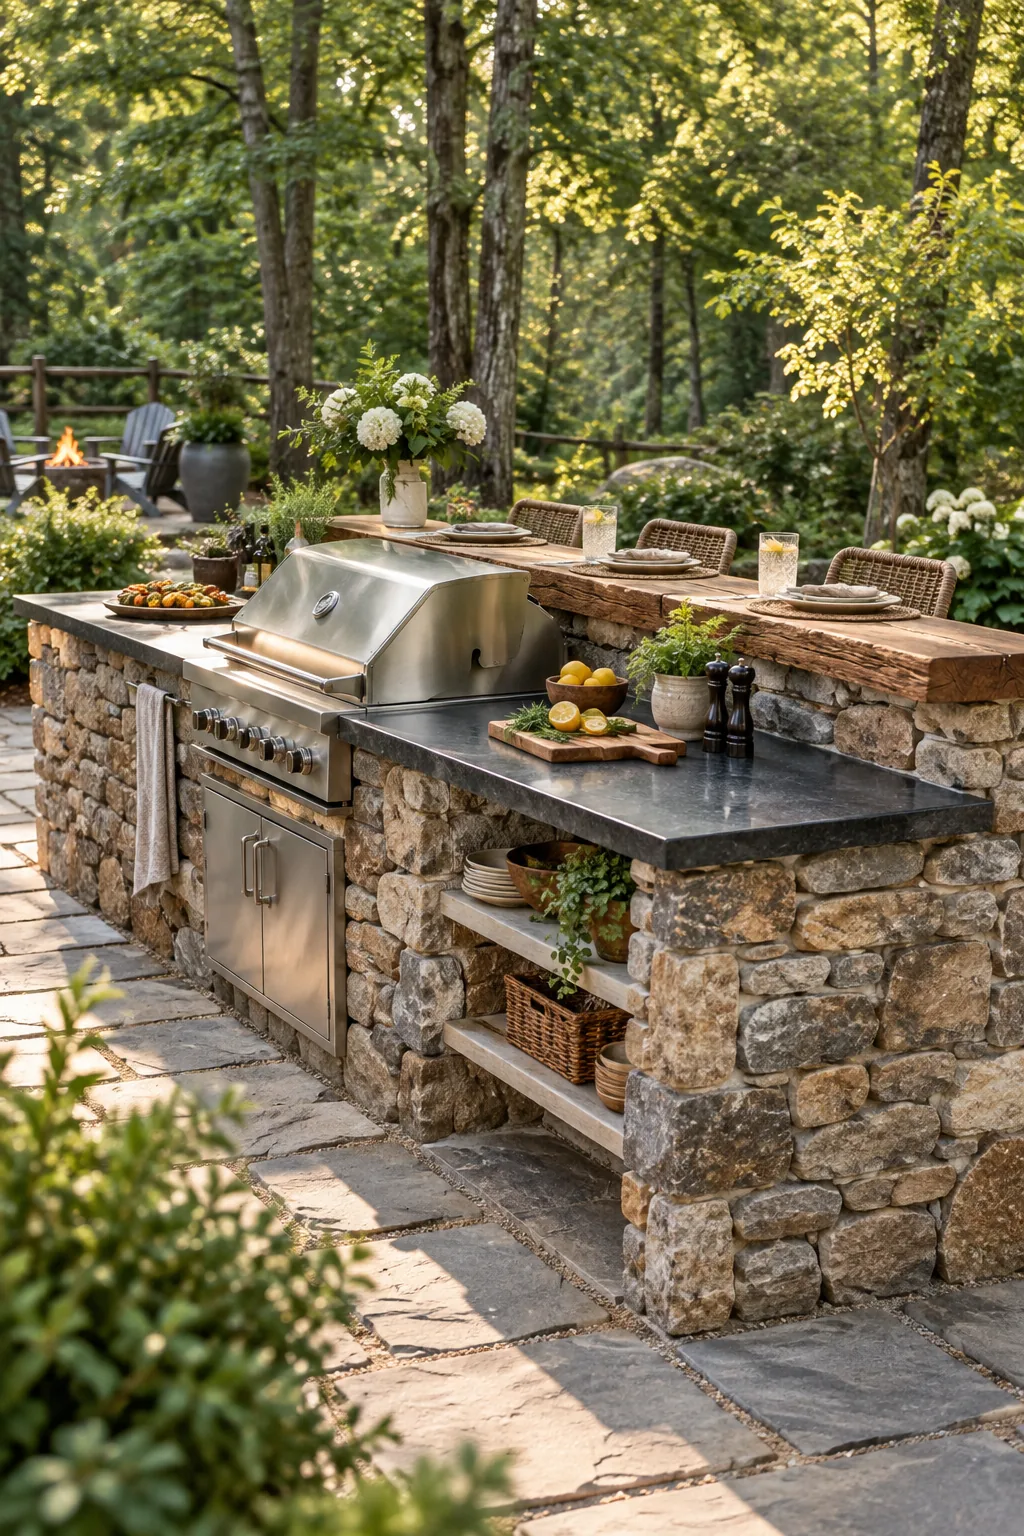
Rustic Stacked Stone: Natural stacked fieldstone and a reclaimed timber ledge anchor the grill station beautifully into a lush, wooded backyard setting.
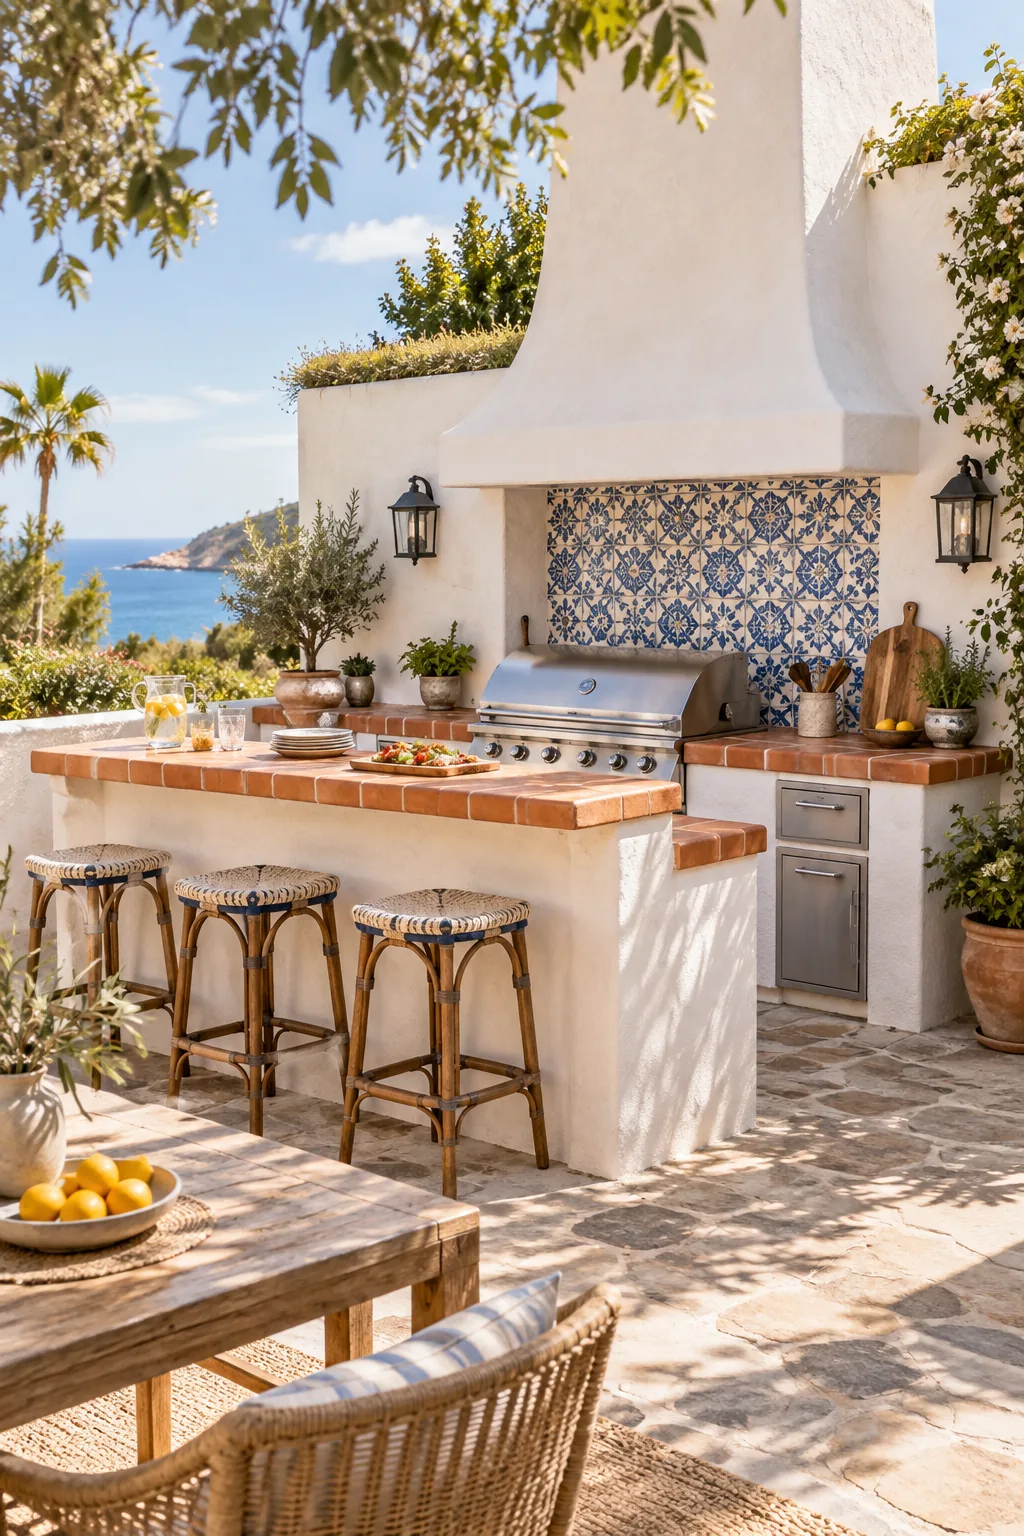
Mediterranean White Stucco: Smooth white stucco reflects the summer sun, while a vibrant blue patterned tile backsplash adds a bold pop of coastal color behind the grill.
The Grill Station Layout Sheet
Use these exact structural measurements to finalize your build and create a perfectly balanced cooking environment. This printable guide ensures your guests have comfortable knee space while you retain full ergonomic control over the cooking zone.
- Counter Heights: Set the prep surface at 36 inches and the raised bar ledge at 42 inches.
- Landing Zones: Measure exactly 24 inches of bare counter on both sides of the grill head.
- Guest Comfort: Plan for a 10-inch ledge overhang to provide adequate knee space for seated friends.
- Prep Features: Cut a 6-inch diameter scrap chute and build shelves 14 inches deep for half-sheet pans.
Review these dimensions against your chosen site to confirm the prevailing wind placement before breaking ground.
With these precise zones established, your outdoor kitchen will flow just as effortlessly as your indoor spaces.