
How to Install a Shiplap Ceiling over Popcorn (with Cut List)
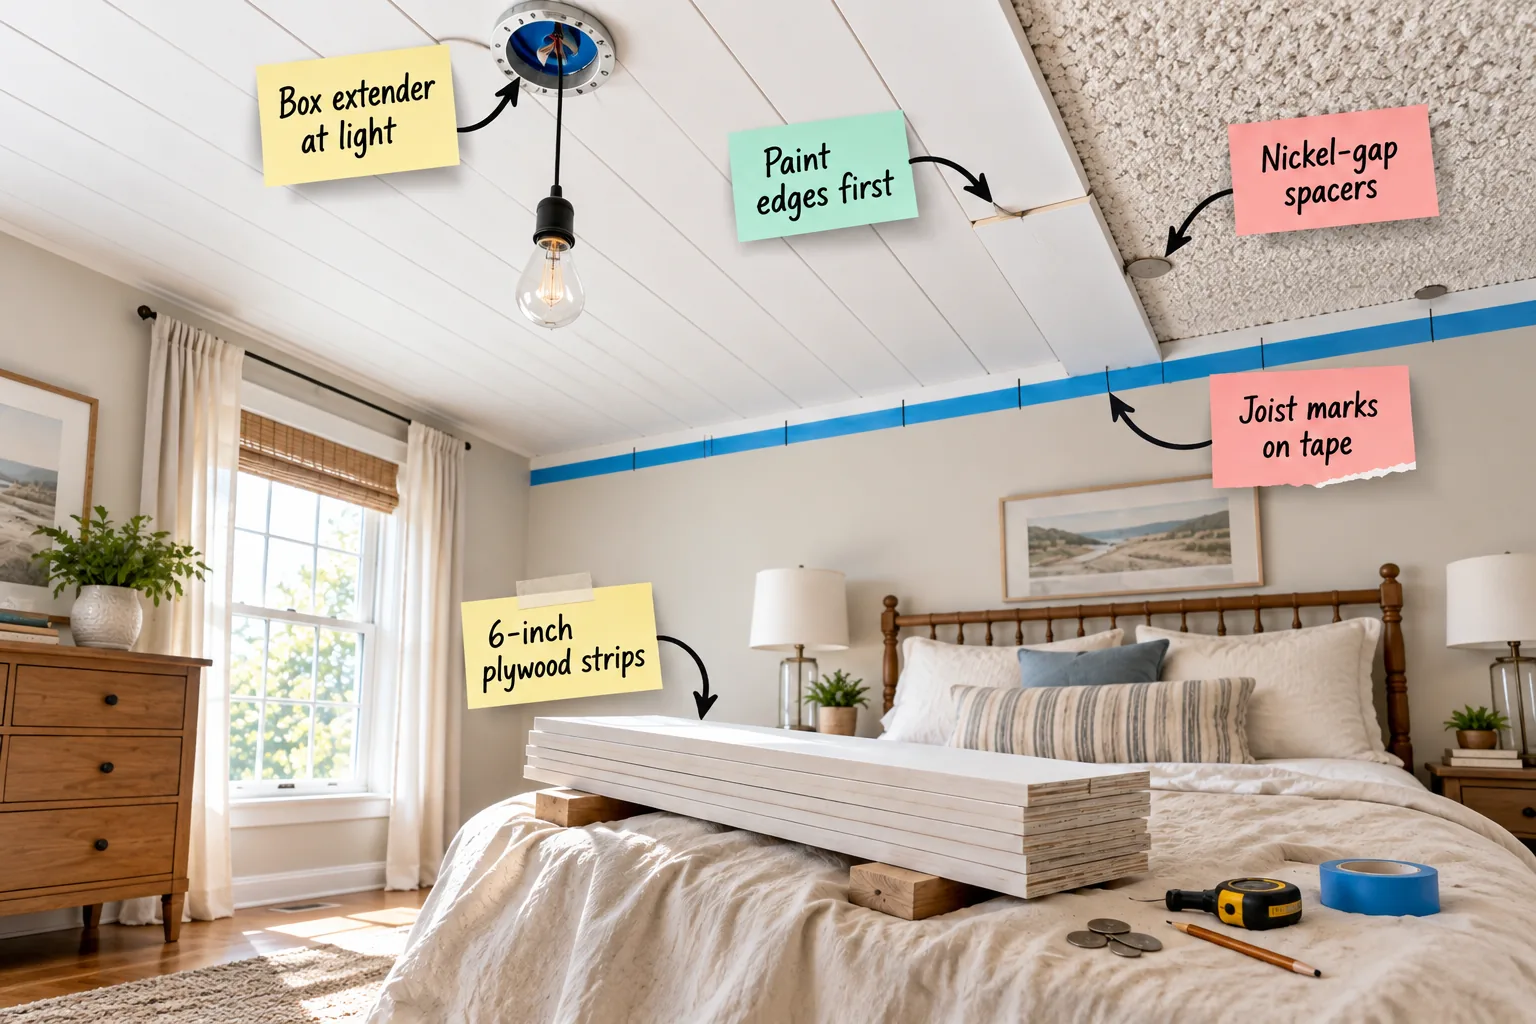
You will be able to safely test your ceiling, prep the plywood strips, and install them securely into the joists using our step-by-step sequence. Grab our printable two-page installation sequence and plywood cut list to confidently transform your textured bedroom ceiling today.
Testing the Popcorn Texture First
Establishing a smooth, safe ceiling foundation completely changes the visual impact of the finished room. Knowing the structure overhead is free of hazardous materials gives you ultimate peace of mind while enjoying your cozy new reading corner.

When I started renovating my 1970s Austin ranch, testing the ceiling was my mandatory first step. Before purchasing any materials, you must verify the exact chemical composition of your existing ceiling texture to ensure your family remains safe.
Understanding Lab Test Results
A certified laboratory will email you a detailed breakdown of any hazardous materials present in your sample within a few business days. If the test comes back positive for asbestos, you must hire a professional abatement team rather than attempting to cover it yourself.
Gathering Your Ceiling Materials
Once you receive a safe, negative test result, you can confidently source your lumber and installation supplies. Purchasing 1/4-inch sanded plywood in full four-by-eight sheets is significantly more cost-effective than buying pre-cut, pre-painted shiplap boards from the local big-box hardware store.
Transporting Full Plywood Sheets
Hauling full sheets of plywood requires a truck or a heavy-duty utility trailer, as they simply will not fit inside a standard family SUV. If you lack the proper vehicle, happily pay the small delivery fee to have the heavy sheets dropped in your driveway.
Ripping 6-Inch Plywood Strips
Maintaining consistent six-inch plank widths creates beautifully balanced proportions that draw the eye entirely across the ceiling. This specific measurement prevents the room from feeling cramped while providing enough surface area to securely anchor into the joists above.

Cut your plywood sheets into uniform 6-inch strips to mimic historic shiplap proportions. I managed to lift and position these lightweight strips entirely by myself without straining my back or constantly needing a second ladder during the installation process!
Renting a Table Saw
Achieving perfectly straight, parallel cuts across an entire eight-foot sheet of plywood requires a high-quality table saw equipped with a sharp finish blade. If you do not own one, renting a commercial saw for the weekend guarantees your strips align perfectly during the ceiling installation.
Sanding the Fresh Cut Edges
Running full sheets through a table saw inevitably leaves tiny, jagged splinters along the freshly cut edges of your strips. Lightly run a 120-grit sanding block down both sides of each board to ensure a smooth, splinter-free finish before you begin the painting process.
Pre-Painting the Board Edges
The striking visual contrast of a clean, dark shadow line is entirely achieved by pre-painting those interior board edges. Fully sealing the wood down on the ground guarantees that no distracting raw timber breaks the crisp, modern pattern.

Paint the long edges of every plywood strip before lifting them up to the ceiling. Once the boards are securely nailed in place, a standard paint roller absolutely cannot reach deep inside the narrow gaps between the planks.
Choosing a Ceiling Paint Finish
Select a high-quality flat or matte interior paint finish to help disguise any slight imperfections in the plywood surface. A glossy finish reflects light aggressively, which highlights every single wood grain variation and brad nail indentation across your entire newly installed ceiling.
Marking Ceiling Joists on Tape
Run a continuous strip of blue painter’s tape along the top edge of the walls and mark the exact location of every ceiling joist. Because the wide plywood strips will entirely hide the original drywall screws, these bright wall marks guide your installation.
Finding the Hidden Joists
Use a reliable magnetic stud finder to locate the metal drywall screws buried beneath the popcorn texture, which indicate exactly where the wooden joists run. Mark these critical structural points on your blue tape so you know precisely where to shoot your 2-inch brad nails.
Mapping the Room Layout
Measure the total width of your ceiling and divide it by six inches to determine exactly how many full boards will fit. Planning your layout carefully ensures you do not end up with an awkward, one-inch sliver of wood at the final wall.
Staggering the Plywood Seams
When installing strips longer than eight feet, you must stagger the butt joints randomly across the ceiling just like a traditional hardwood floor. Aligning all your seams in one straight line draws the eye upward and ruins the authentic, historic appearance of the shiplap treatment.
Spacing Boards with Nickels
As you approach the edges of the room, you will finally cover the blue painter’s tape that guided your installation. The resulting seamless perimeter creates a perfectly clean transition between your new custom ceiling and the painted drywall.

Wedge standard nickels between the boards during installation to create a consistent 1/16-inch gap across the entire room. This precise spacing allows the plywood to expand with seasonal humidity changes while creating the signature dark shadow line.
Nailing the Strips Securely
Drive two brad nails through the plywood strip and directly into every marked ceiling joist along the entire run. Angling your pneumatic nail gun slightly creates a stronger mechanical hold that prevents the thin boards from sagging or drooping down over time.
Skipping Construction Adhesive
Never apply liquid construction adhesive to the back of your plywood strips when installing them over a textured ceiling. The heavy glue will only bond to the loose popcorn kernels, which can easily tear away from the underlying drywall and cause the boards to fall.
Handling Ceiling Vents and Obstacles
When you encounter an HVAC register, carefully measure and cut a precise opening in the plywood strip using a handheld jigsaw. You must ensure the metal vent cover still has enough solid wood material to screw into once the board is permanently installed.
Adjusting the Ceiling Light Fixture
Looking up at the finished surface around the electrical box reveals perfectly parallel, uniform expansion gaps between every single board. These crisp lines are only possible because the temporary coin spacers held the wood firmly in place during nailing.
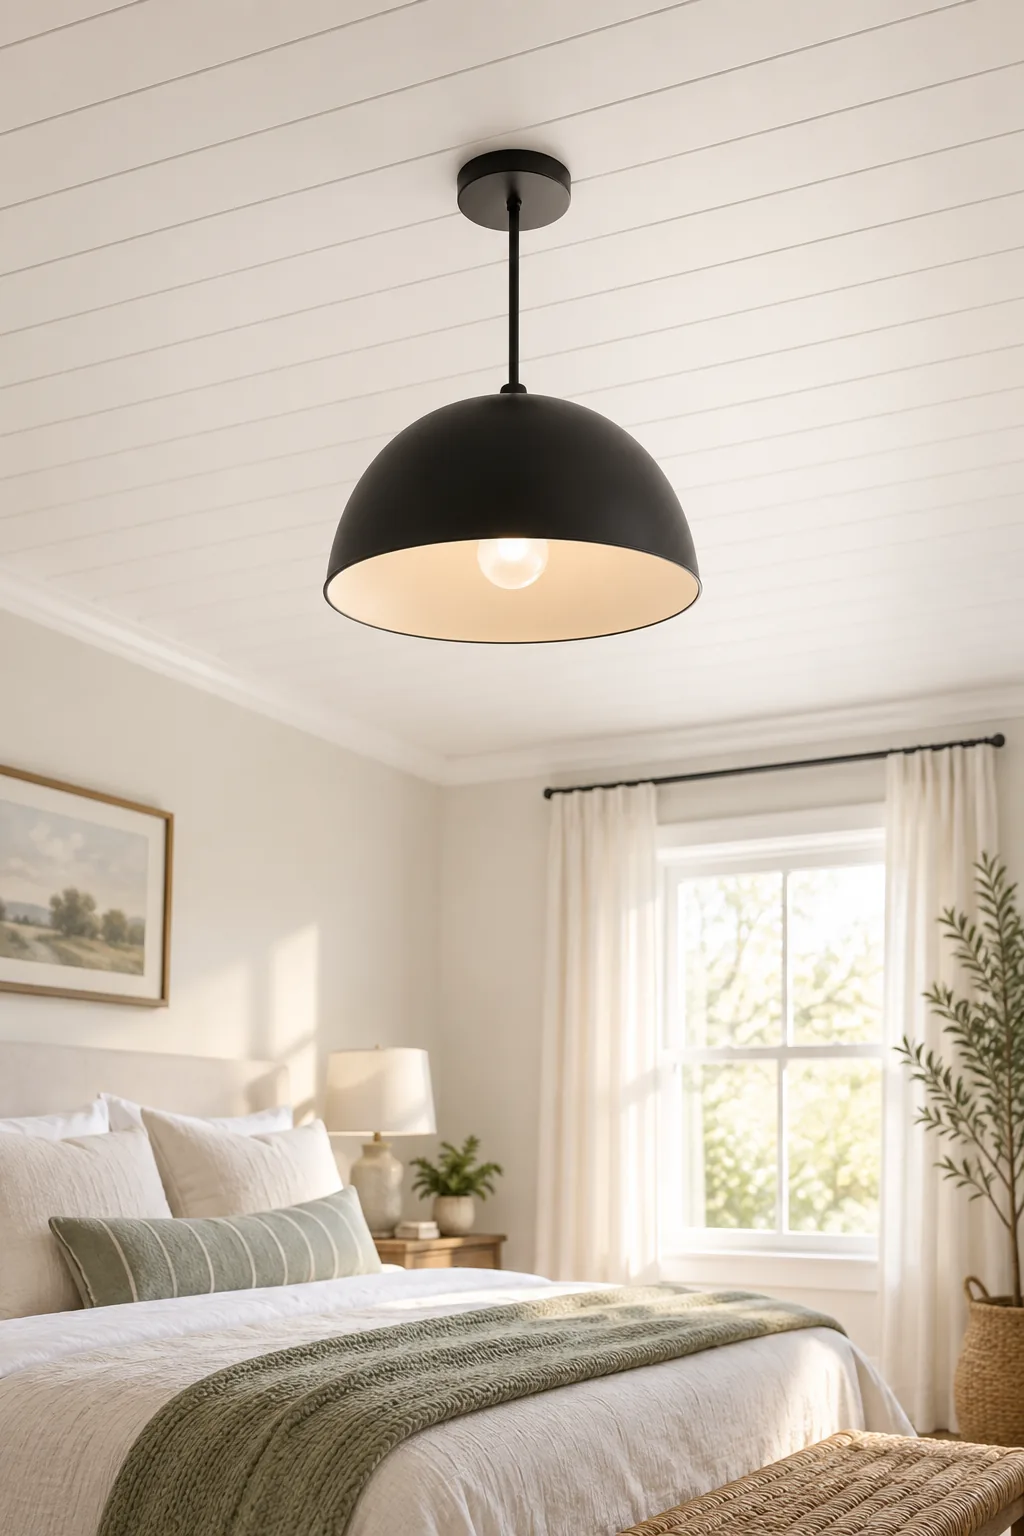
Adding a layer of plywood sinks the existing electrical box deeper into the ceiling cavity. Install a plastic electrical box extender ring to bring the housing flush with the new wood surface, keeping the wiring strictly up to code.
Updating the Light Pendant
With the electrical box safely extended and secured, you can finally mount a fresh, modern pendant light against your new ceiling. A matte black or brushed brass fixture creates a stunning visual contrast against the crisp, bright white painted shiplap boards.
Finishing the Room Perimeter
Once the perimeter is complete, you can admire how flush and secure the new pendant light sits against the wood. The box extender ensures the fixture mounts tightly without wobbling or leaving an unsafe gap near the wiring.
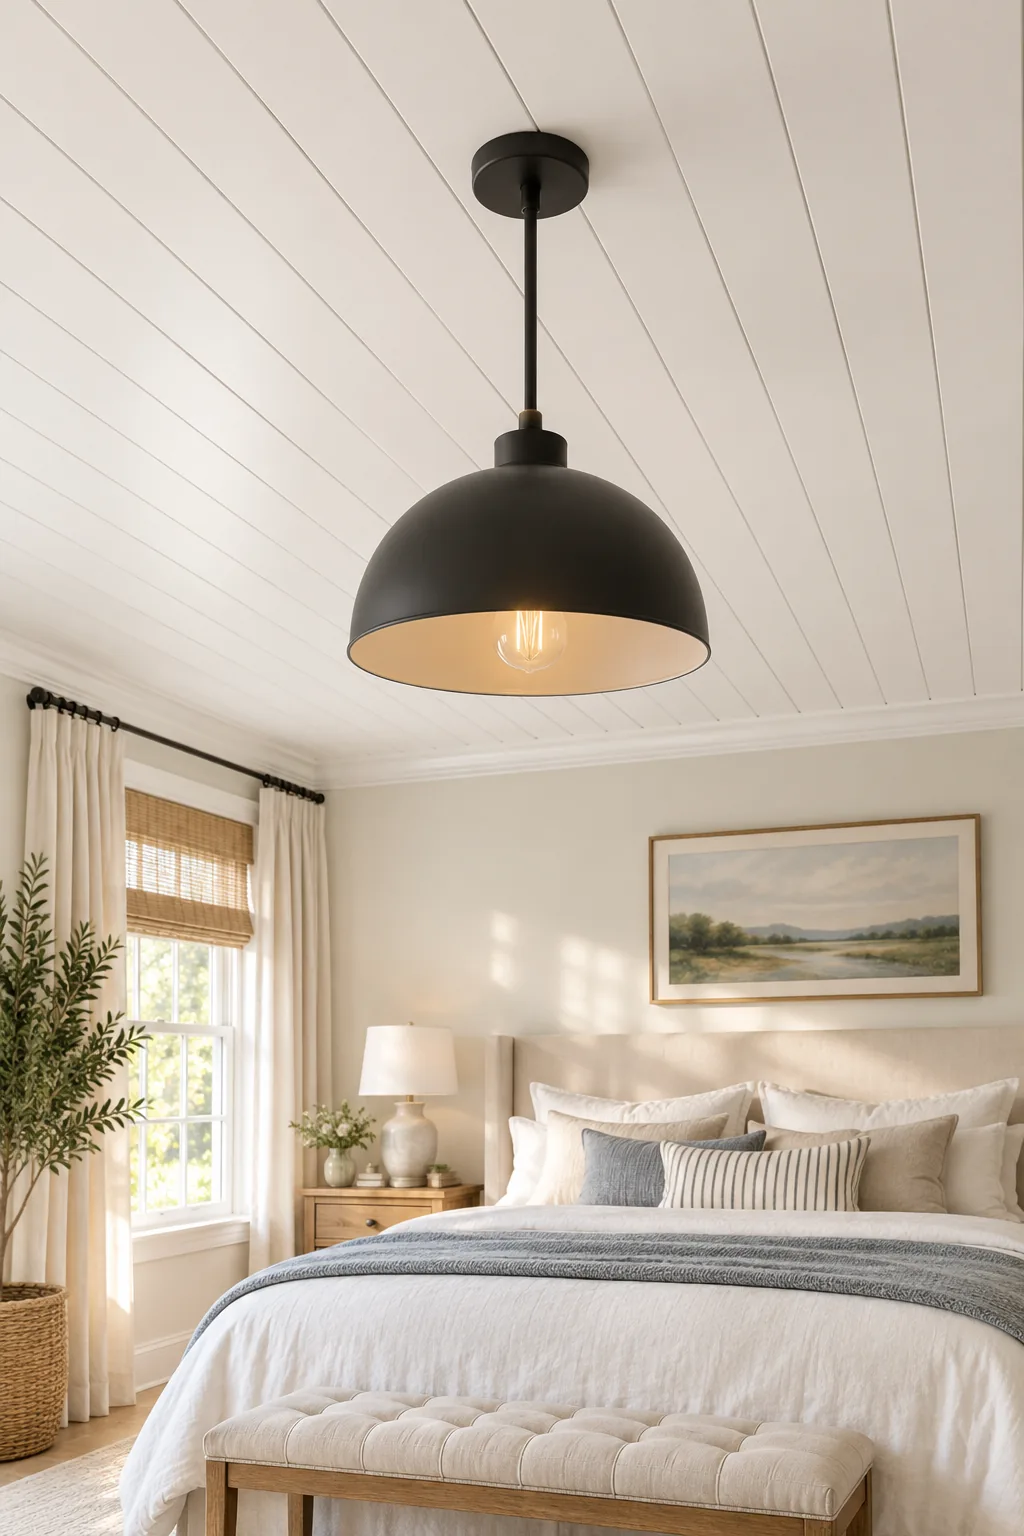
Leave a 1/4-inch expansion gap around the perimeter where the ceiling meets the walls to prevent buckling during humid summer months. Cover this rough gap with a simple cove molding or flat trim piece for a polished transition.
Caulking and Filling Nail Holes
Run a thin, consistent bead of paintable acrylic caulk along the edges where your new trim meets the painted walls. Fill every visible brad nail indentation with a lightweight spackle, sanding it perfectly flush and smooth once it dries completely.
Applying the Final Paint Coat
Roll one final coat of flat ceiling paint over the installed boards to seamlessly blend the spackled nail holes with the pre-painted edges. Work in small, manageable sections, always rolling in the exact same direction as the wood grain for a flawless, professional finish.
4 Ways to Style a Shiplap Ceiling
See how this classic ceiling treatment adapts to completely different bedroom aesthetics.
Airy Coastal Cottage: Pair a crisp white ceiling with pale blue walls and woven textures for a relaxed, beach-inspired retreat.

High-Contrast Modern Farmhouse: Ground a bright white room by installing a matte black ceiling fan directly onto the new shiplap.

Rich Moody Monochrome: Paint the shiplap and walls in the same dark, enveloping color to create a dramatic, cozy atmosphere.

Warm Scandinavian Minimalist: Skip the paint and seal raw pine strips with a clear coat for a warm, organic ceiling feature.

The Over-Popcorn Install Sequence
Stepping back to view the complete, transformed bedroom proves that covering a dated popcorn texture is worth every bit of effort. The bright, modern space is finally ready to be decorated and enjoyed for years to come.

Finishing this ceiling transformed my primary bedroom, and having a solid plan made the process smooth. Print the step-by-step sequence and use this chart to determine exactly how many plywood sheets you need for standard bedroom dimensions.
| Room Dimensions | 6-Inch Plywood Strips | Total 4×8 Sheets |
|---|---|---|
| 10 x 10 feet | 40 strips | 4 sheets |
| 12 x 12 feet | 58 strips | 6 sheets |
| 14 x 16 feet | 90 strips | 9 sheets |