
17+ Brilliant Mailbox Post Ideas for Your Home
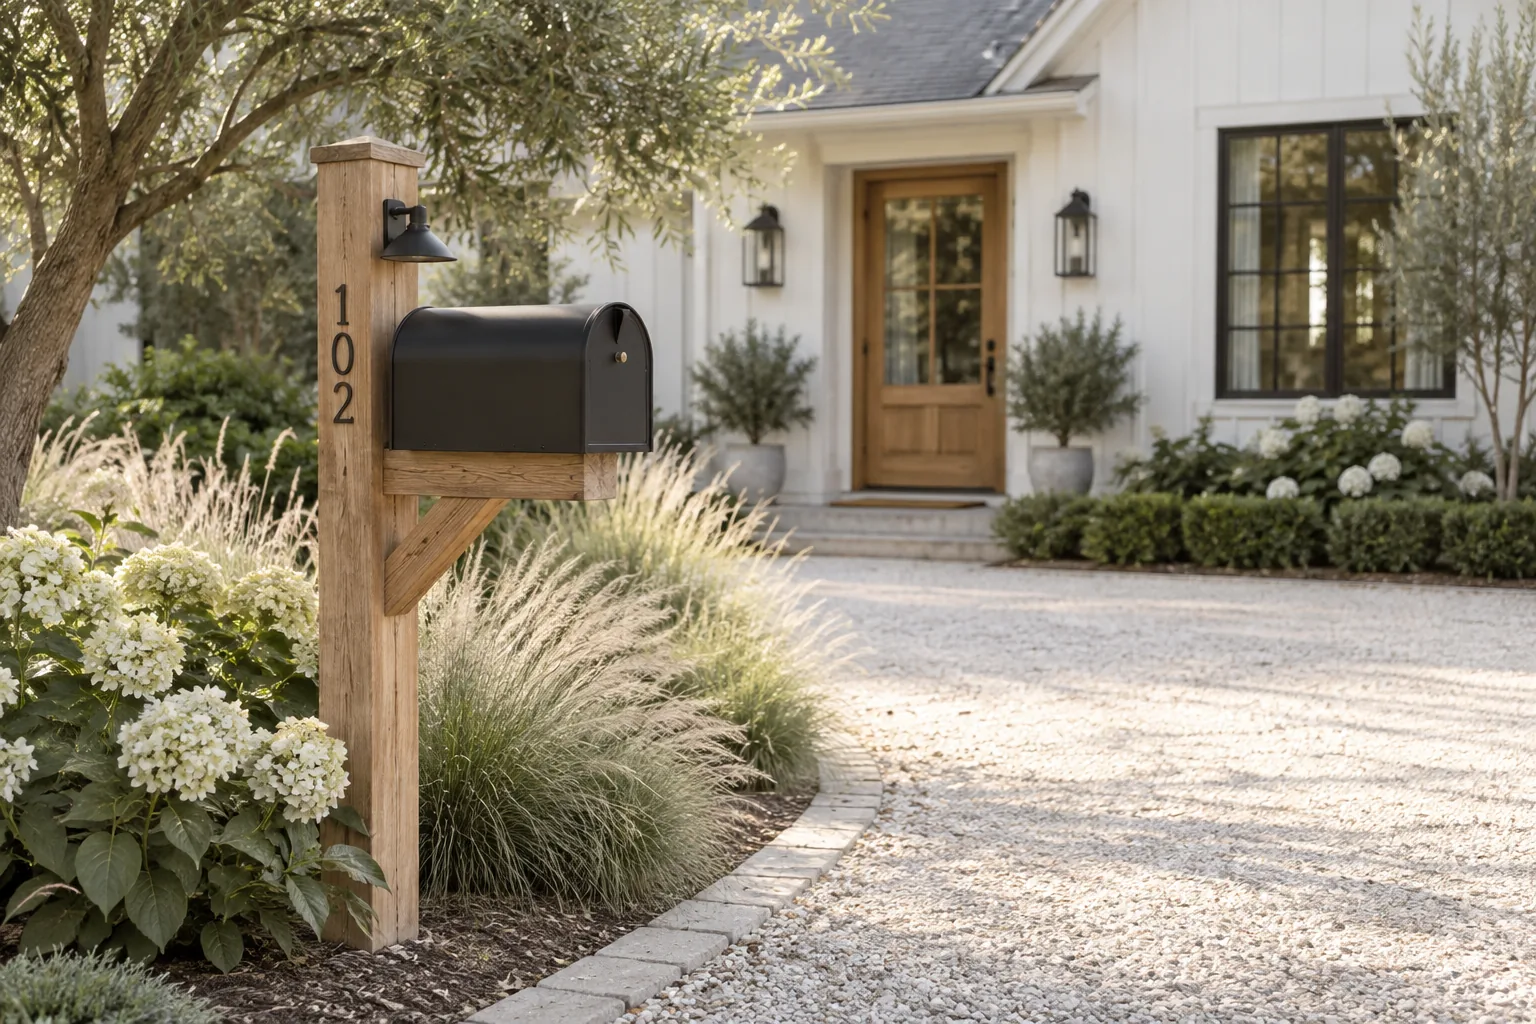
Your mailbox is the very first thing people see when they pull up to your house, so it deserves more than a rotting piece of pine. I have gathered my favorite ways to build and style a mailbox post that actually adds to your home's curb appeal.
1. Planter Box Base
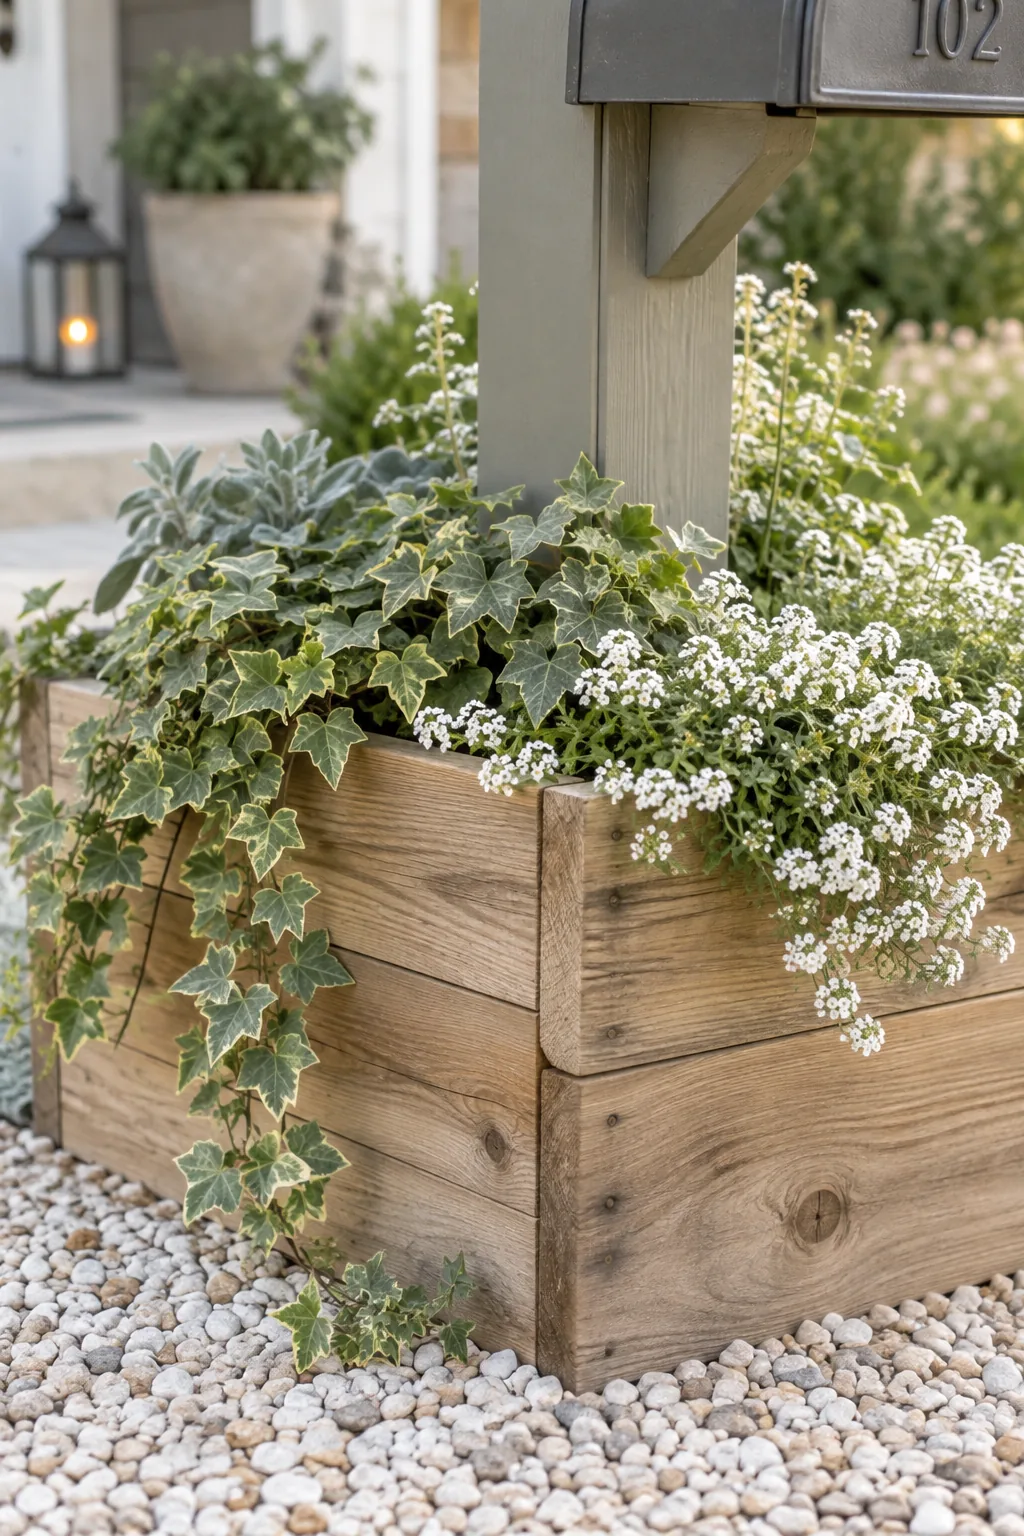
Build a sturdy cedar planter box around the base of your post to anchor it visually. You can fill it with trailing vines or bright annuals that swap out with the seasons. Just make sure to drill drainage holes in the bottom so your wood does not rot. It gives you a mini garden right at the street.
2. Thick Timber Column
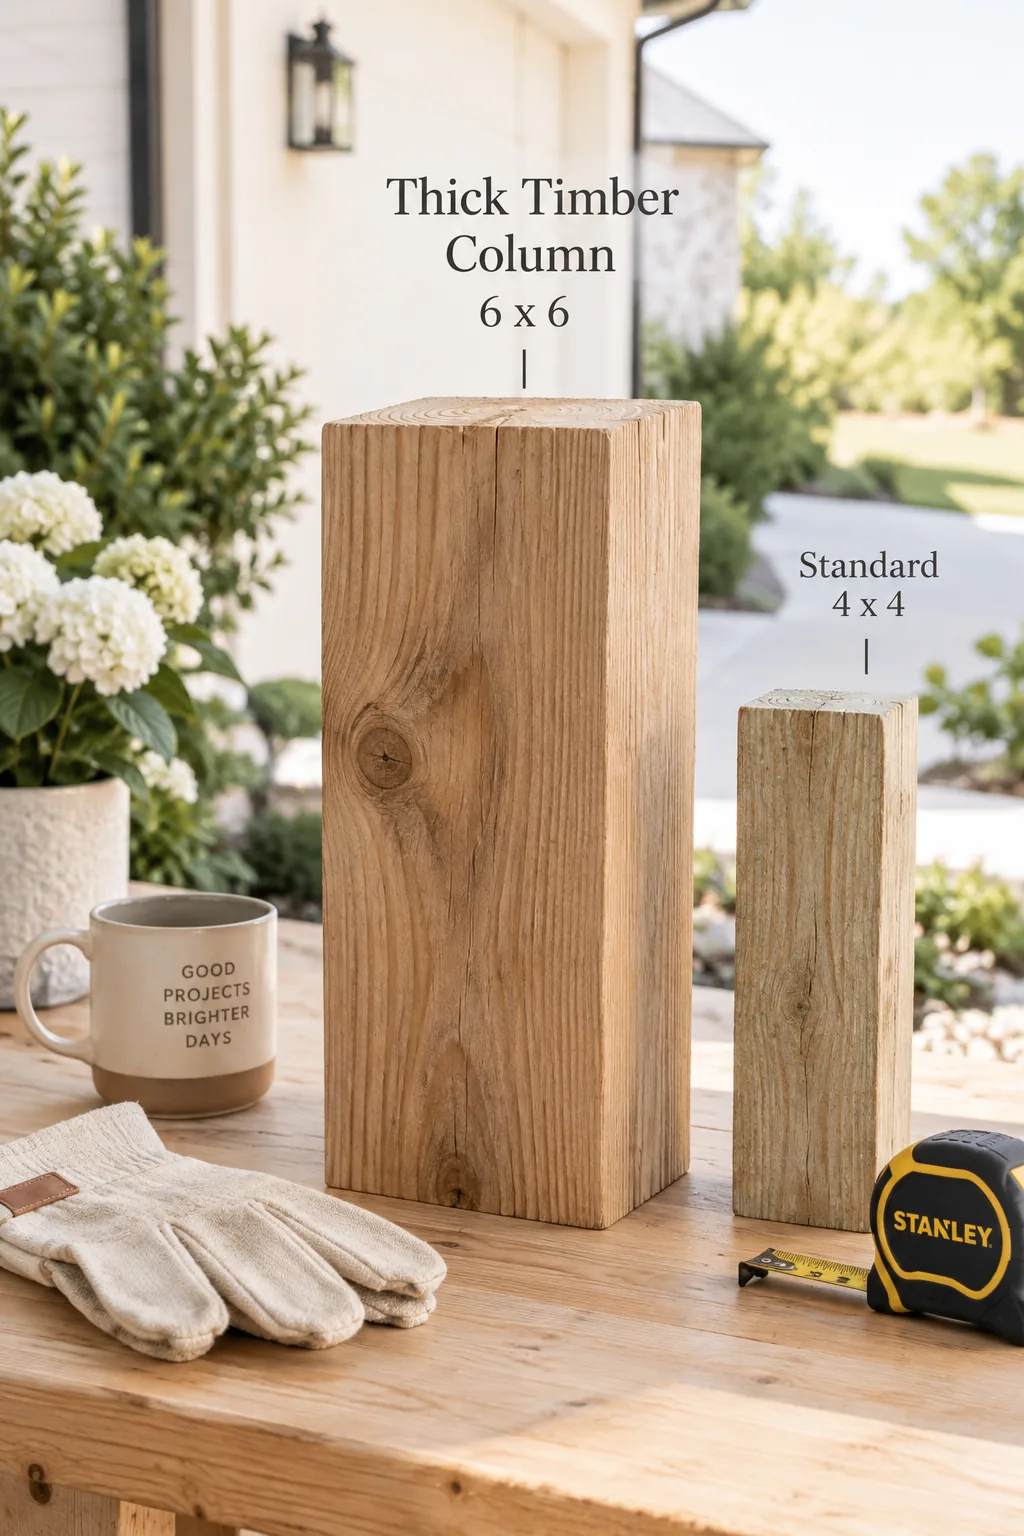
A massive 6×6 wooden post creates an instantly high-end, custom look.
Most builder-grade mailboxes use flimsy 4x4s that warp over time. Upgrading to a thicker timber makes the whole setup look incredibly solid and architectural. You just need to sink it a bit deeper in the concrete to support the extra weight.
3. Climbing Clematis Trellis
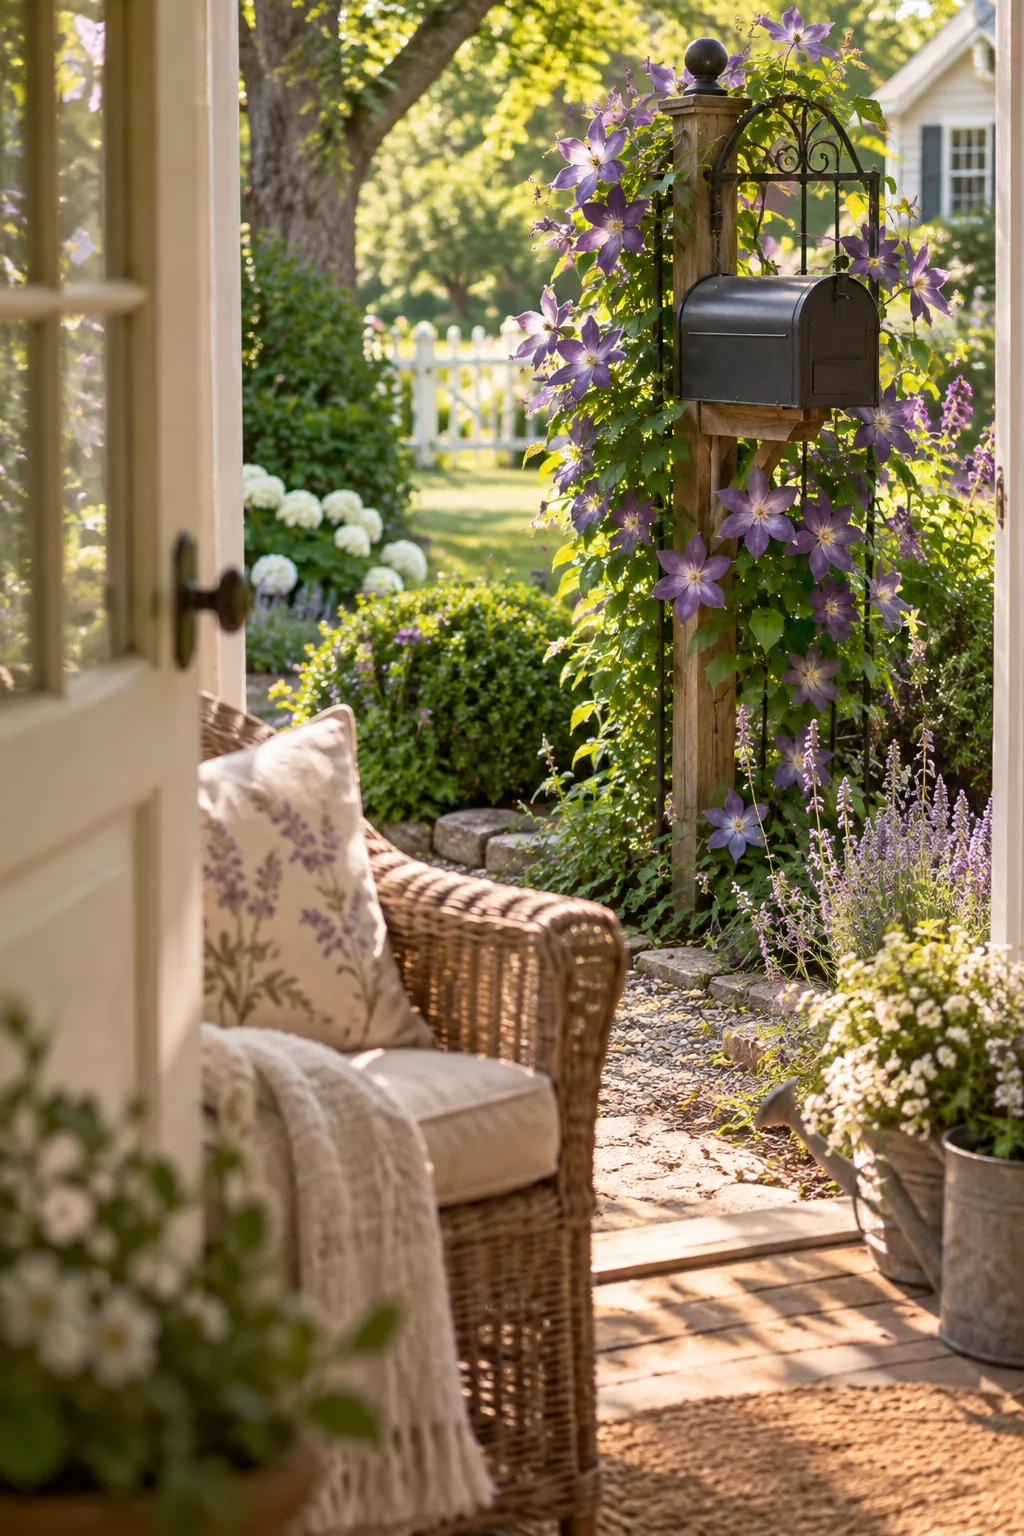
Mailbox posts get baked in full sun all day long.
You can use this to your advantage by attaching a simple wire trellis to the back of the post. Plant a hardy climbing vine like clematis at the base, and it will wrap the wood in green leaves and purple flowers by mid-summer. It softens the hard edges beautifully.
4. Stone Pillar Wrap
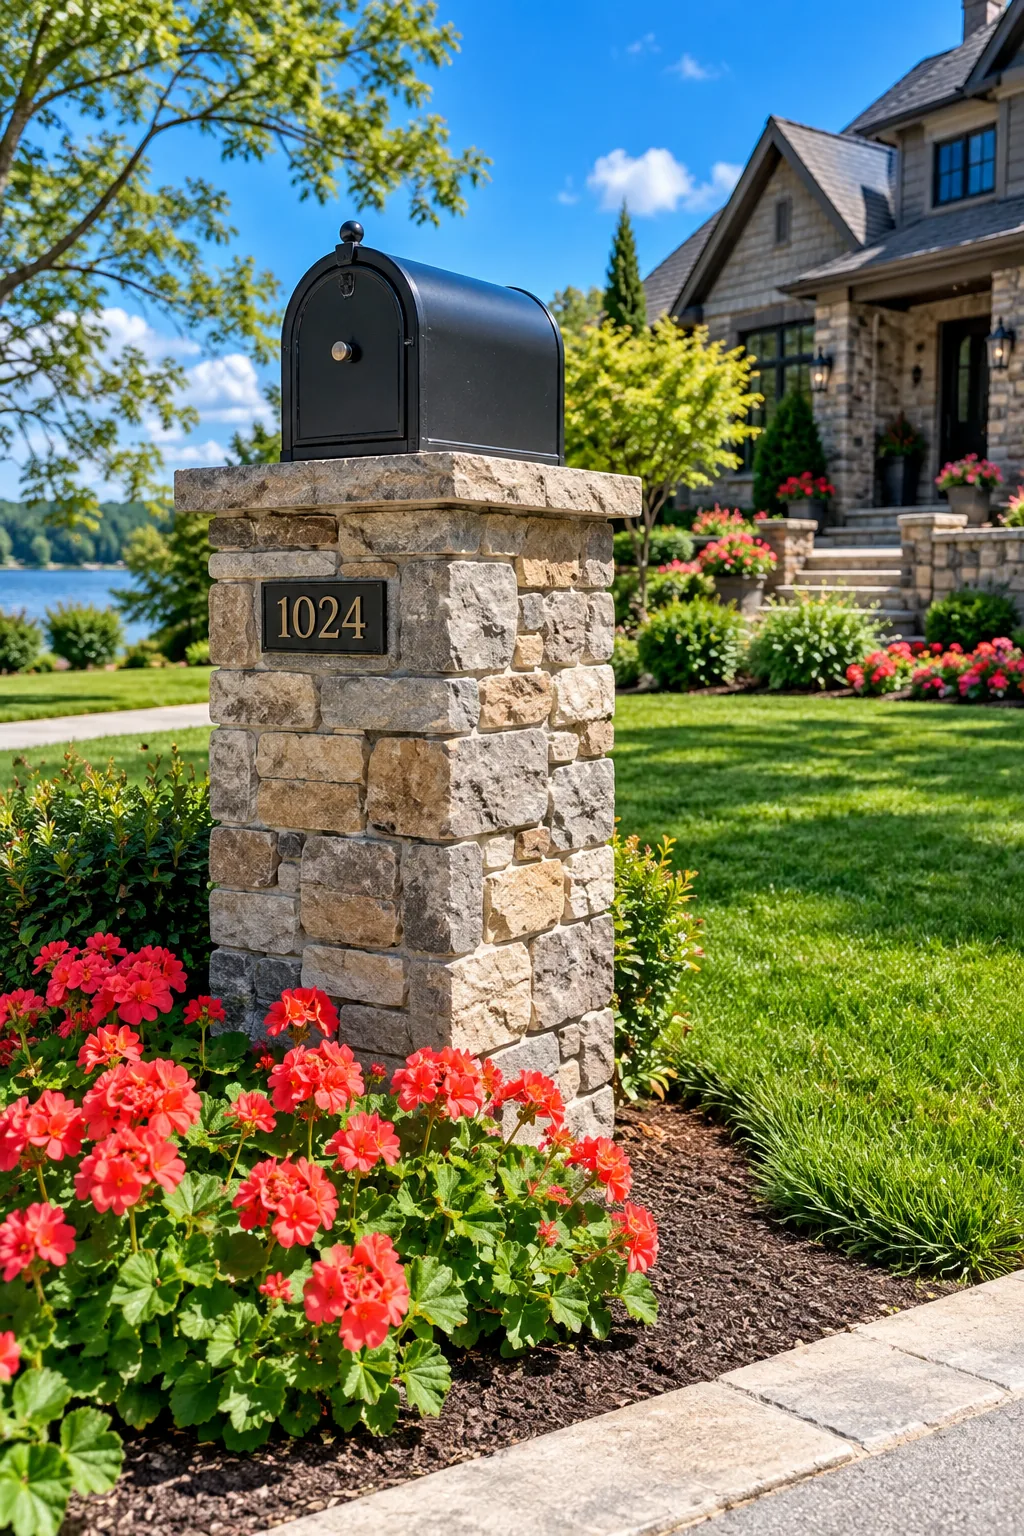
Use faux stone veneer panels to wrap a standard wooden post for a masonry look without the mason price tag. These panels lock together like puzzle pieces and screw directly into the wood. You can cap the top with a flat piece of flagstone to finish the column. It totally transforms a basic metal mailbox into a grand entrance feature. Just be sure to use exterior-grade construction adhesive along with your screws for a tight hold.
5. Two-Tone Paint Job
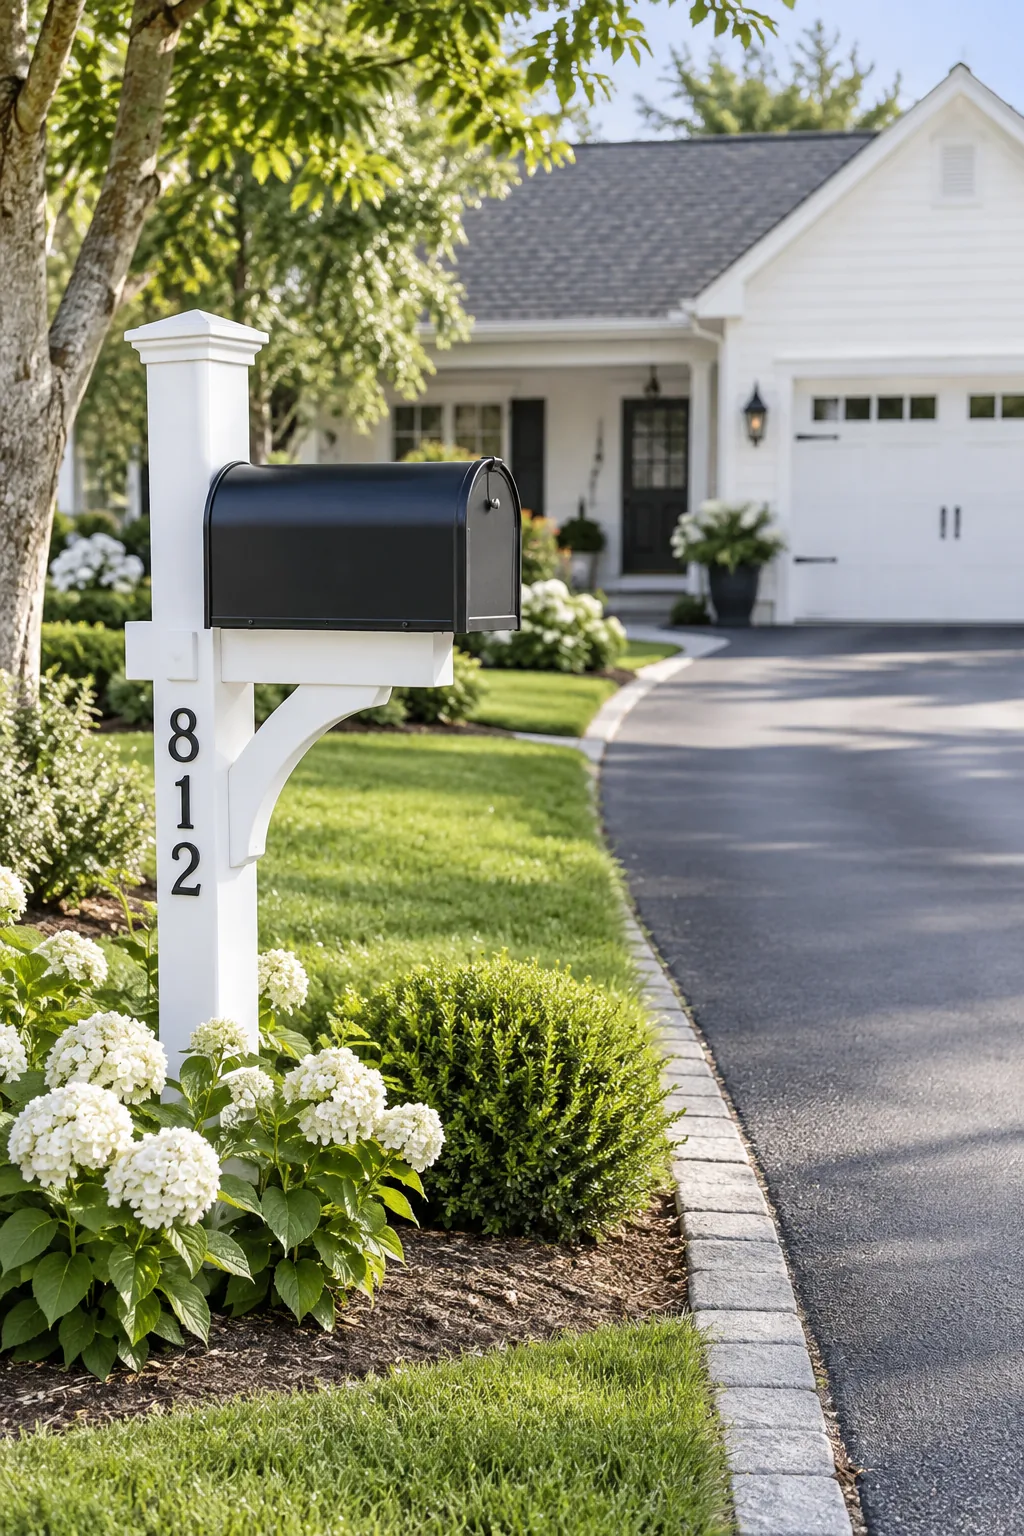
A gallon of exterior paint costs less than forty bucks and completely changes your curb appeal. Painting the mailbox post crisp white while keeping the actual box matte black is a classic combination. It pops perfectly against green lawns and asphalt driveways.
Use a semi-gloss finish so you can easily wipe off dirt and bird droppings.
6. Modern Slatted Wood
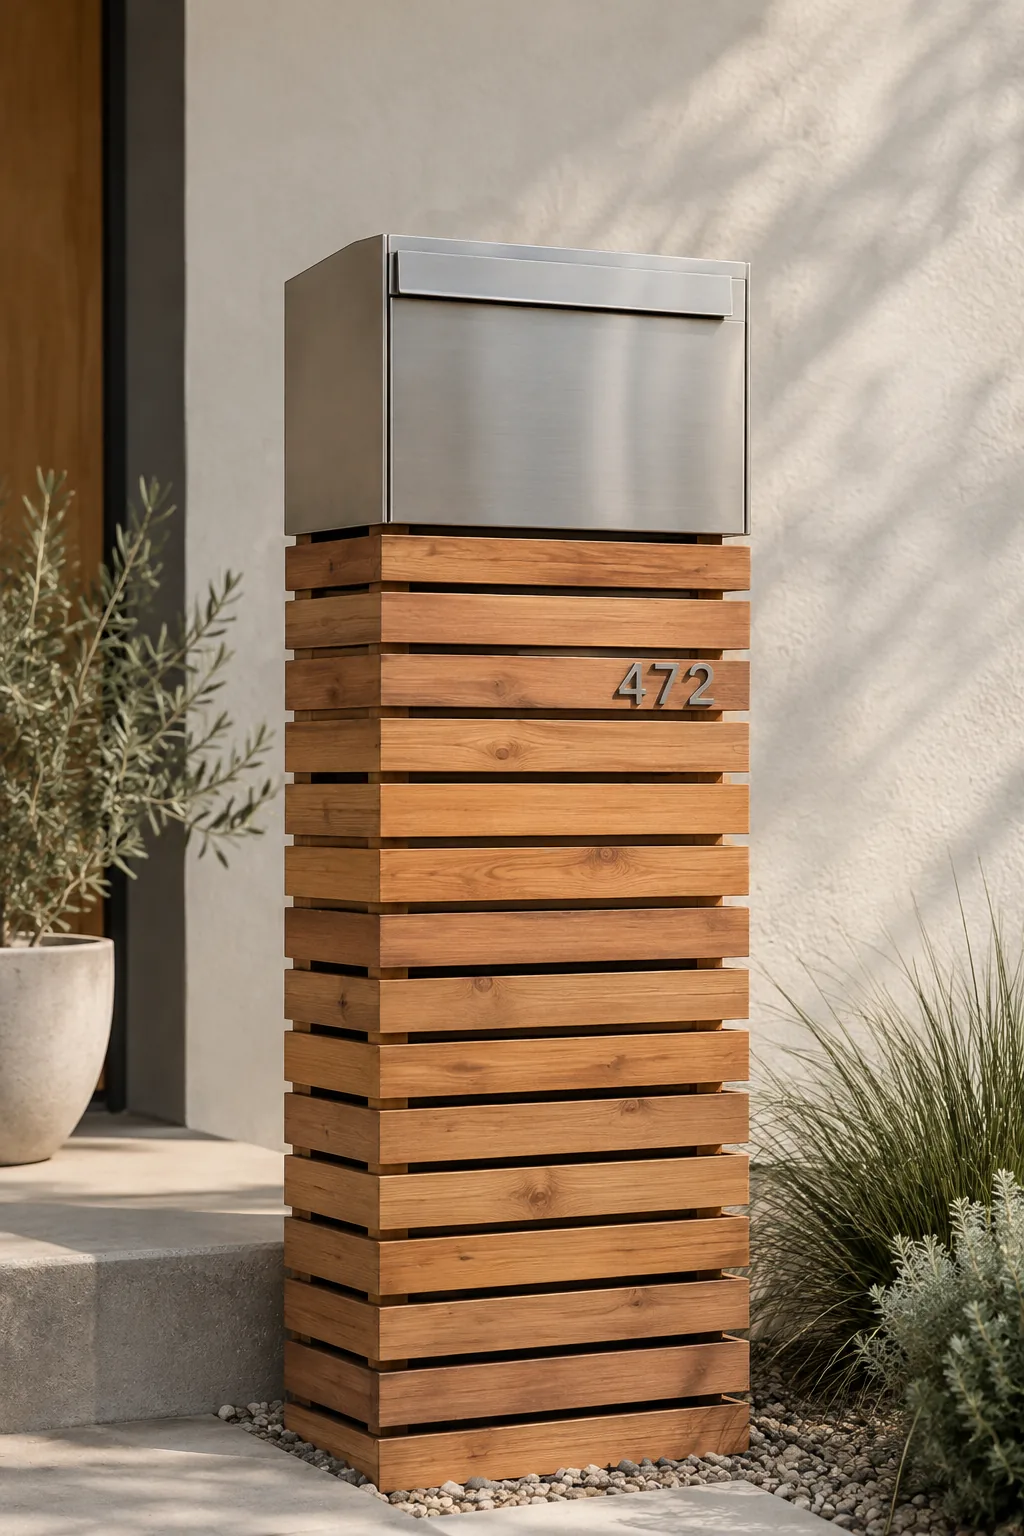
Horizontal cedar slats bring a sleek, mid-century modern vibe to the end of your driveway. You start with a basic structural post, then wrap it in horizontal 1×2 boards spaced a half-inch apart. The shadow lines give the structure incredible texture and depth. I love leaving the wood natural and just sealing it with a clear UV protectant to let the grain show. It pairs perfectly with those clean-lined, stainless steel mailboxes.
7. Built-In Solar Light
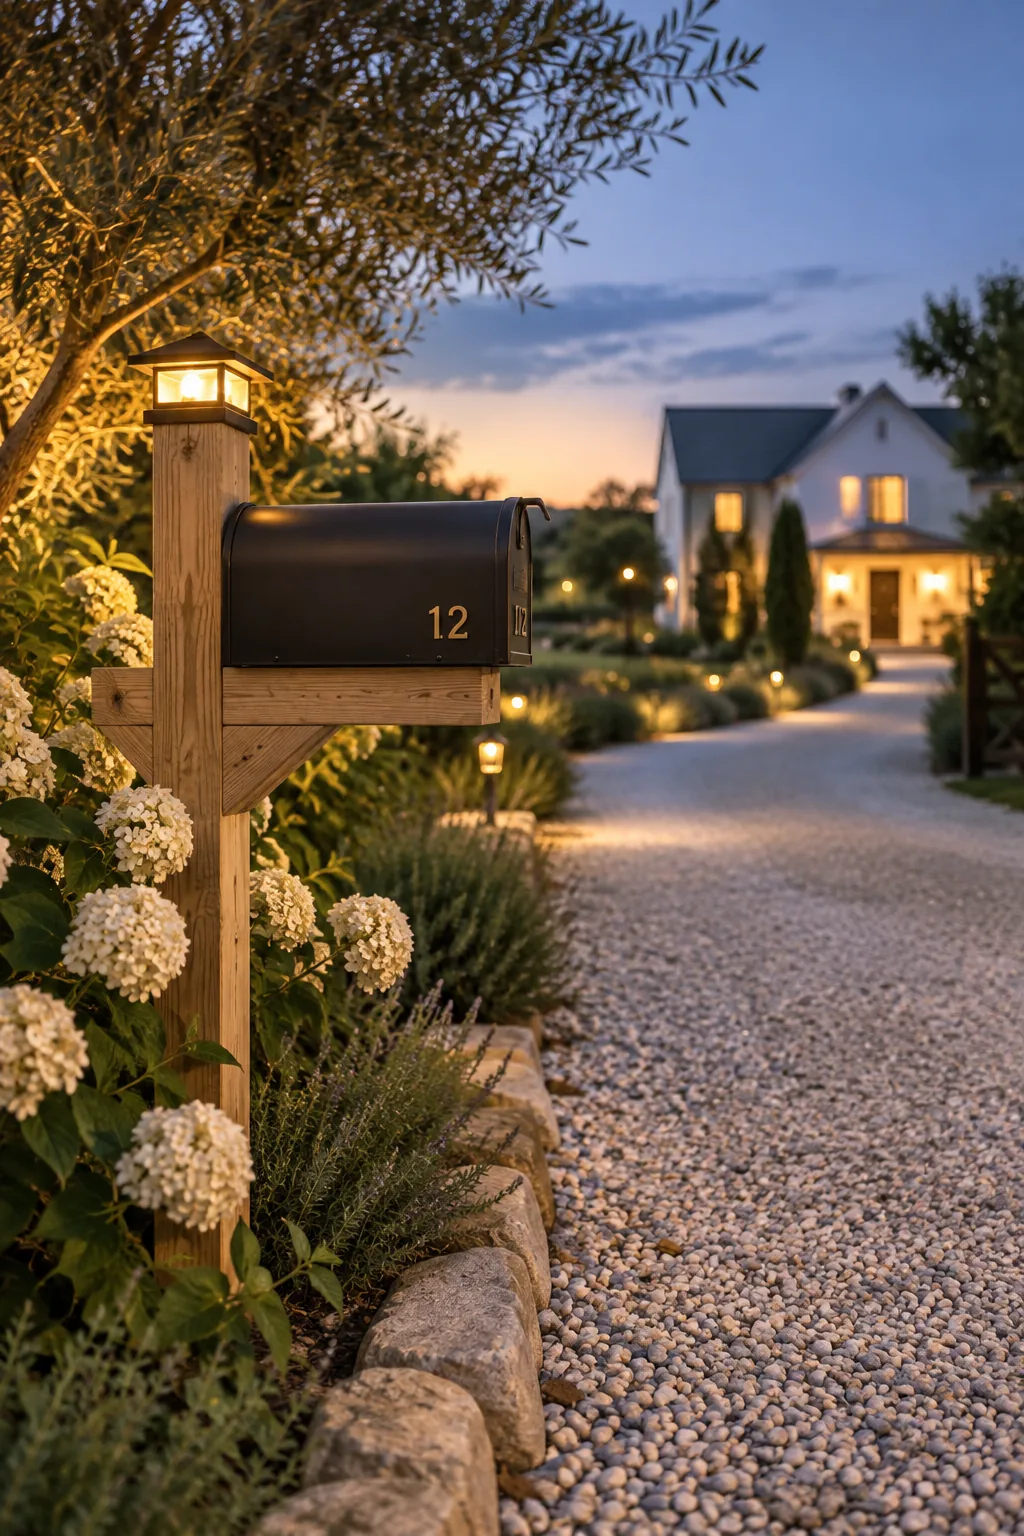
Winter days mean the sun sets before most of us even get home from work.
Adding a solar post cap light to the top of your mailbox post solves the dark driveway problem instantly. They slide right over a standard 4×4 post and need zero wiring.
It acts like a welcoming beacon when you turn onto your street at night.
8. Hanging Flower Basket
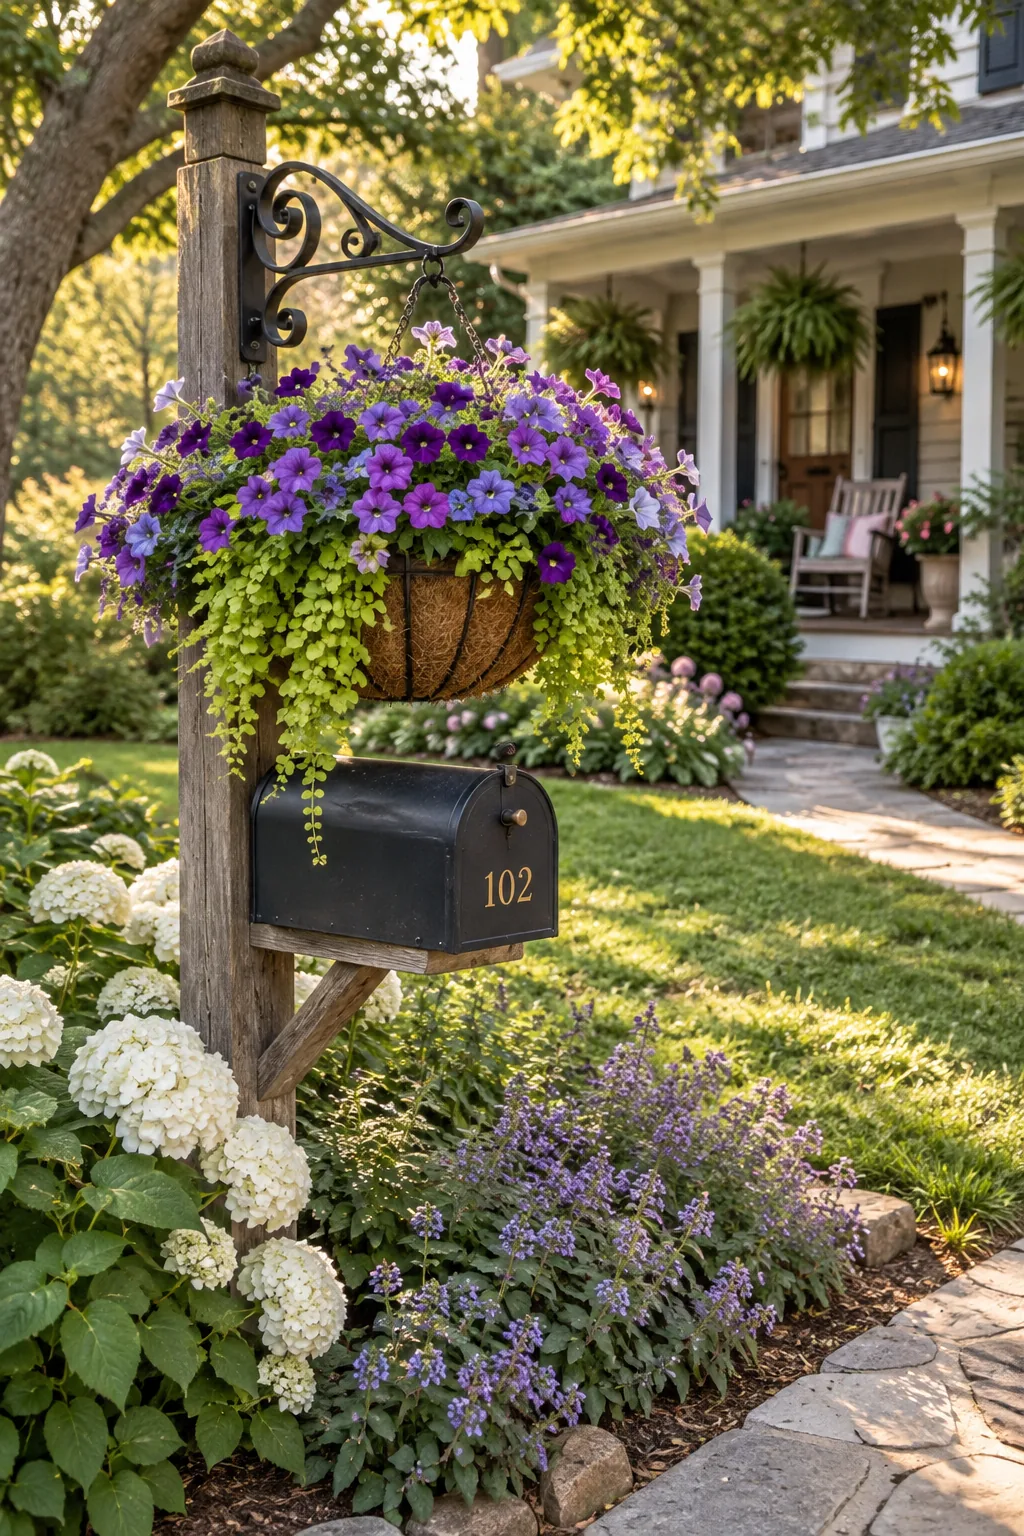
I always struggle with keeping my porch plants alive, but my mailbox flowers thrive.
Install a heavy-duty wrought iron bracket on the side of your post, opposite the flag. Hang a large coconut coir basket filled with petunias or creeping jenny.
The basket gets rained on naturally, so it is incredibly low maintenance.
9. Address Number Planter
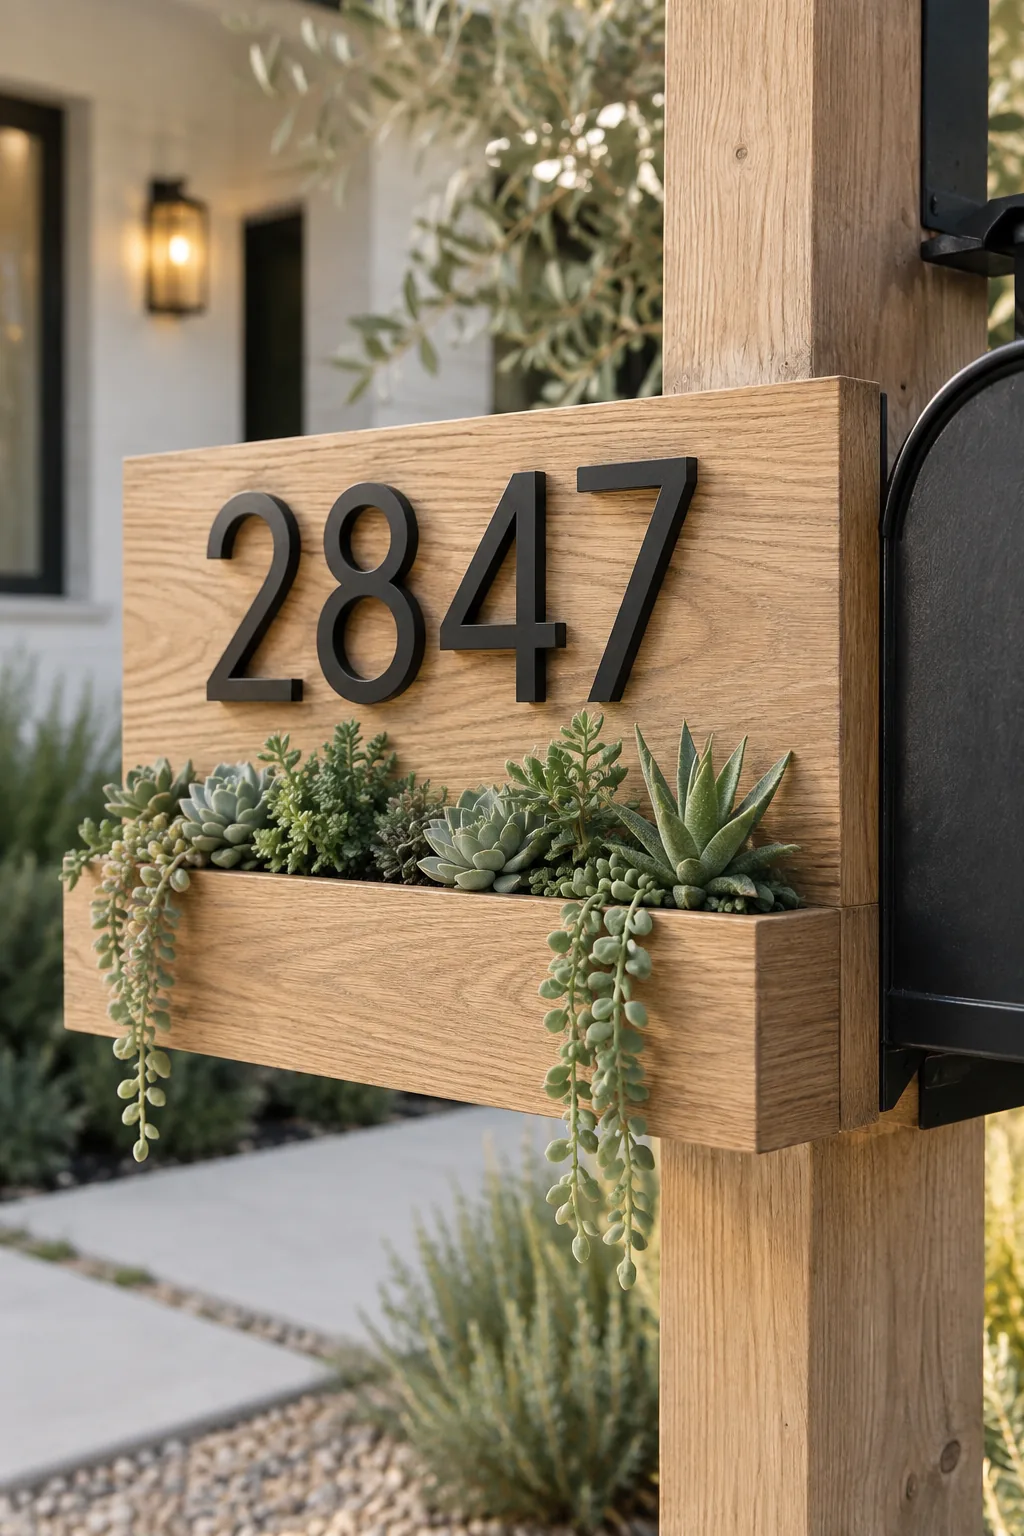
Delivery drivers always struggle to read tiny numbers on the side of a metal box.
Build a wide wooden address plaque that attaches directly to the post, featuring a built-in succulent box at the bottom. Mount oversized metal numbers above the plants for massive contrast.
- 5-inch floating metal numbers
- Shallow root succulents
- Exterior wood glue
10. Copper Pipe Accent
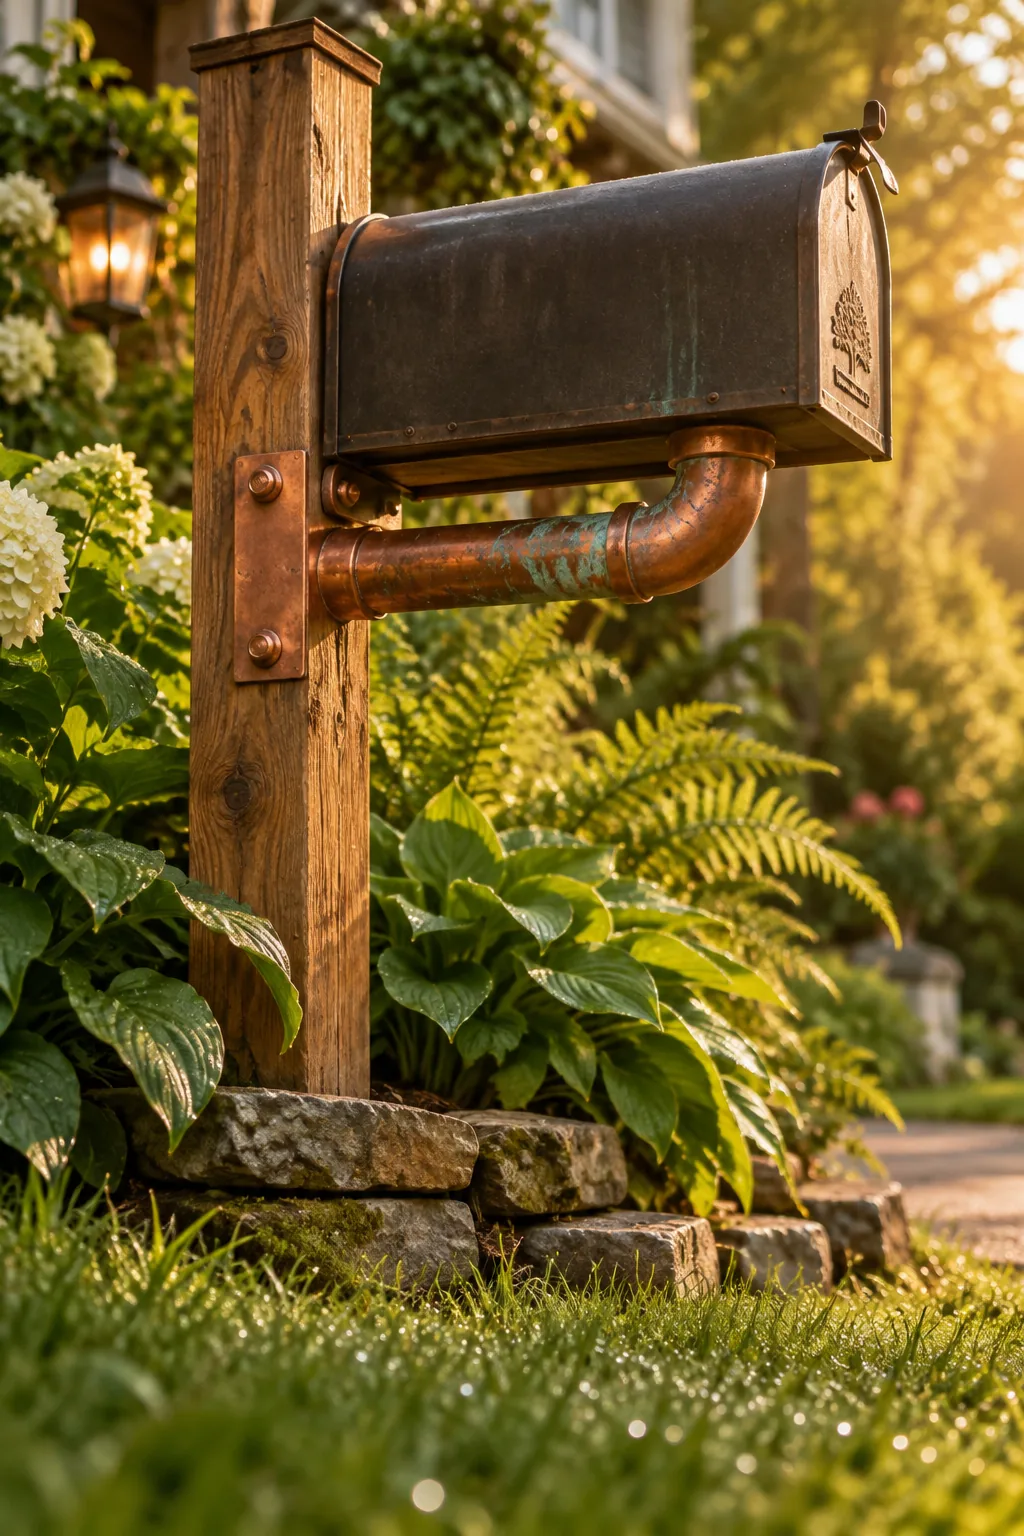
Standard copper plumbing pipe costs about three dollars a foot at the hardware store. You can use thick copper pipes as the actual support arm for your mailbox, bolting it into a wooden main post. The metal will slowly oxidize over time, turning a gorgeous green patina that looks amazing next to outdoor foliage.
You can speed up the aging process with a simple mixture of salt and vinegar.
11. Repurposed Vintage Beam
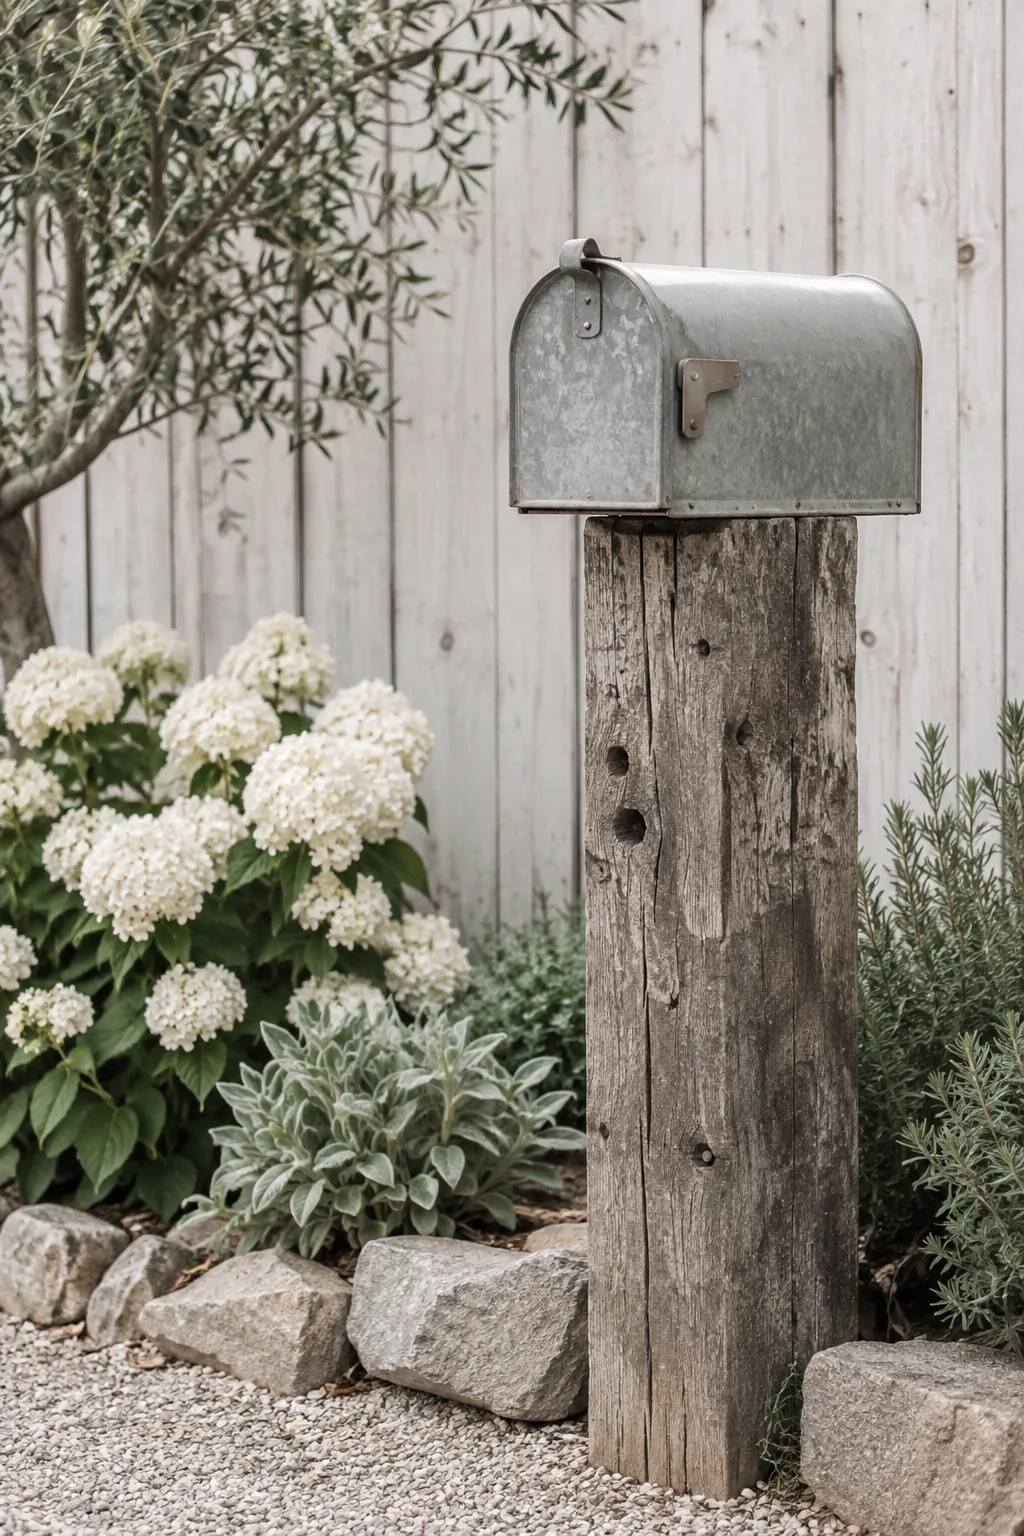
I found an old barn beam at a salvage yard last year and knew it belonged in the front yard. Sinking a reclaimed wood beam into the ground makes an incredibly charming, rustic mailbox post. You do not even need to paint it, just let the rough-hewn texture and old nail holes tell a story. Pair it with a simple galvanized box so the wood remains the star of the show.
12. Granite Cobblestone Base
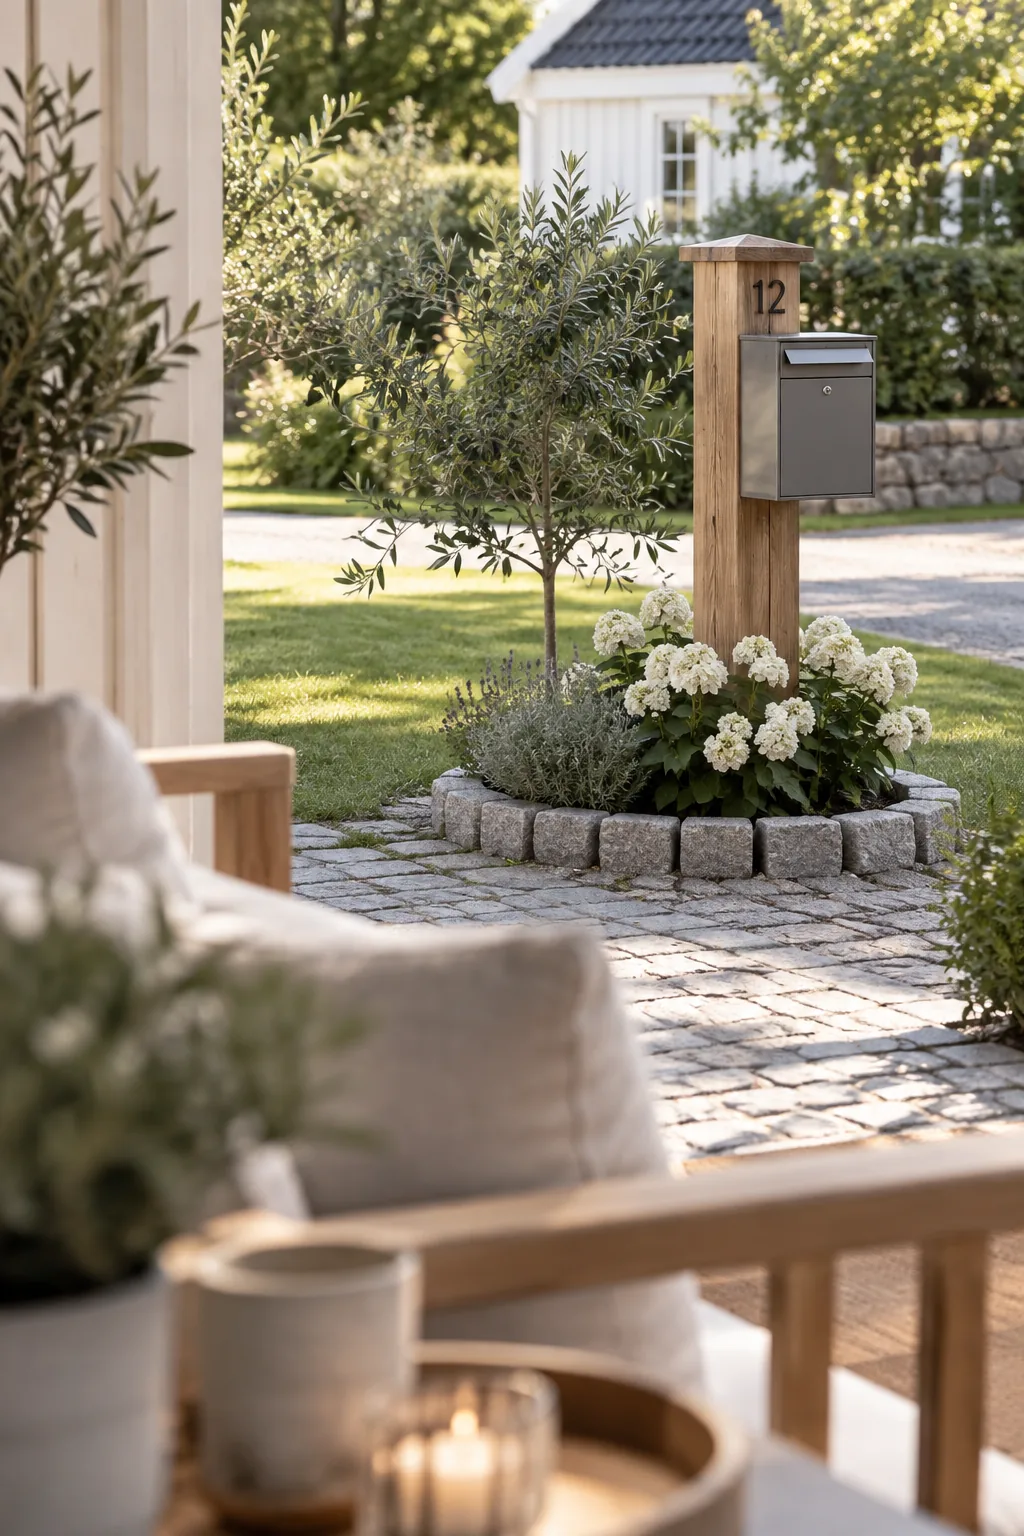
String trimmers absolutely destroy the bottom of wooden posts over time.
Create a protective border by digging a shallow trench around the post and laying down granite cobblestones. Fill the gaps with polymeric sand to lock them tightly in place and stop weeds from coming through.
This hardscape barrier keeps your string trimmer far away from the wood.
- Granite edging stones
- Polymeric jointing sand
- Tamper tool
13. Stained Bracket Supports
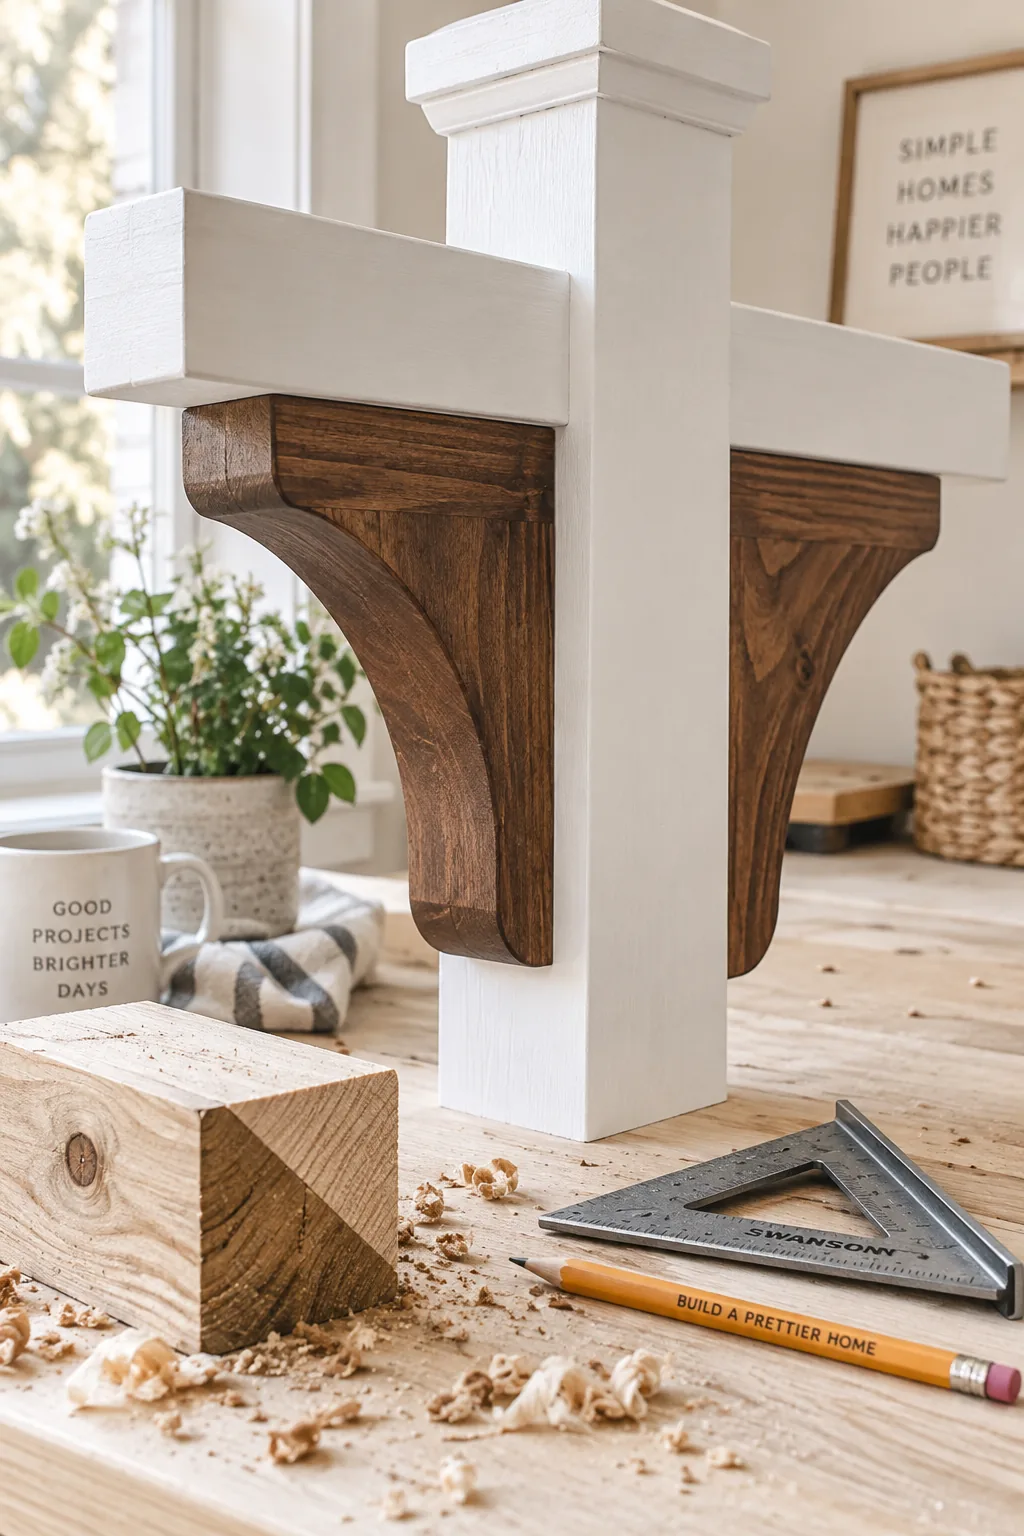
Install chunky wooden corbels under the cross-arm of your mailbox post for instant architectural detail. You can cut these yourself from scrap 4x4s with a miter saw, creating a simple 45-degree angle brace. Stain them a rich walnut color to contrast with a white painted post.
Pre-drill your screw holes so the thick wood does not split when you attach them.
14. Milk Can Base
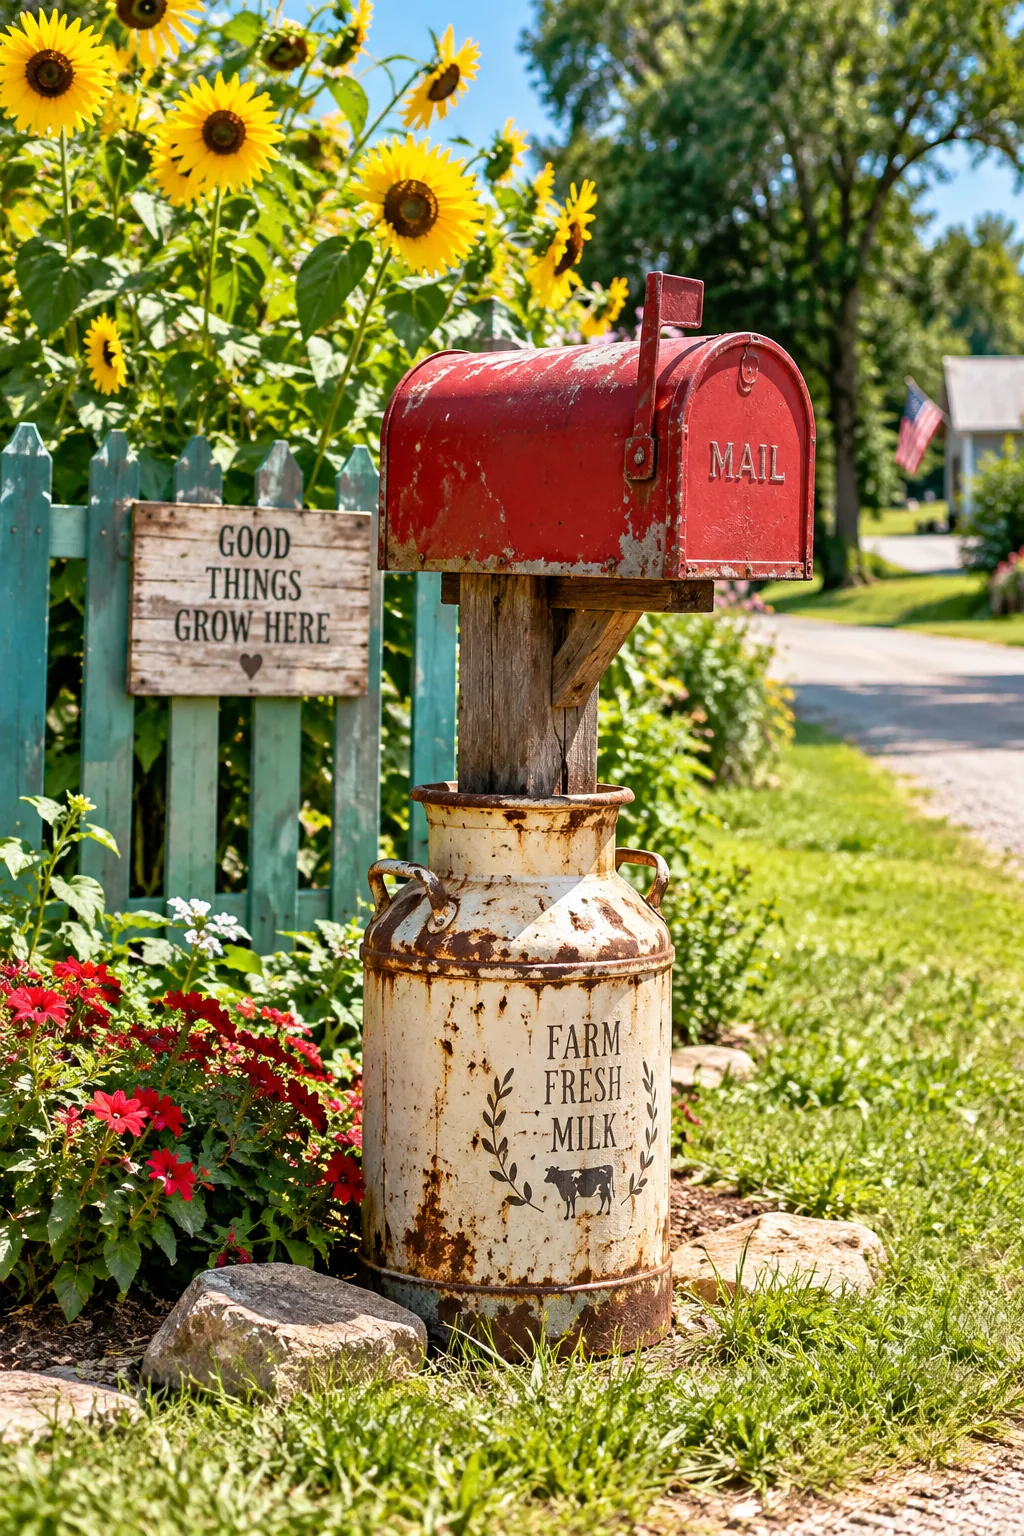
My grandmother had an antique milk can on her porch, and I love bringing that farmhouse feel out to the street. You can set a standard wooden post right inside a vintage metal milk can and fill the empty space with quick-setting concrete. It creates a rock-solid, heavy base that looks incredibly charming. Drill a few holes near the bottom of the can first so rainwater can drain out.
- Vintage milk can
- Quick-setting concrete mix
- Metal drill bits
15. Living Roof Mailbox
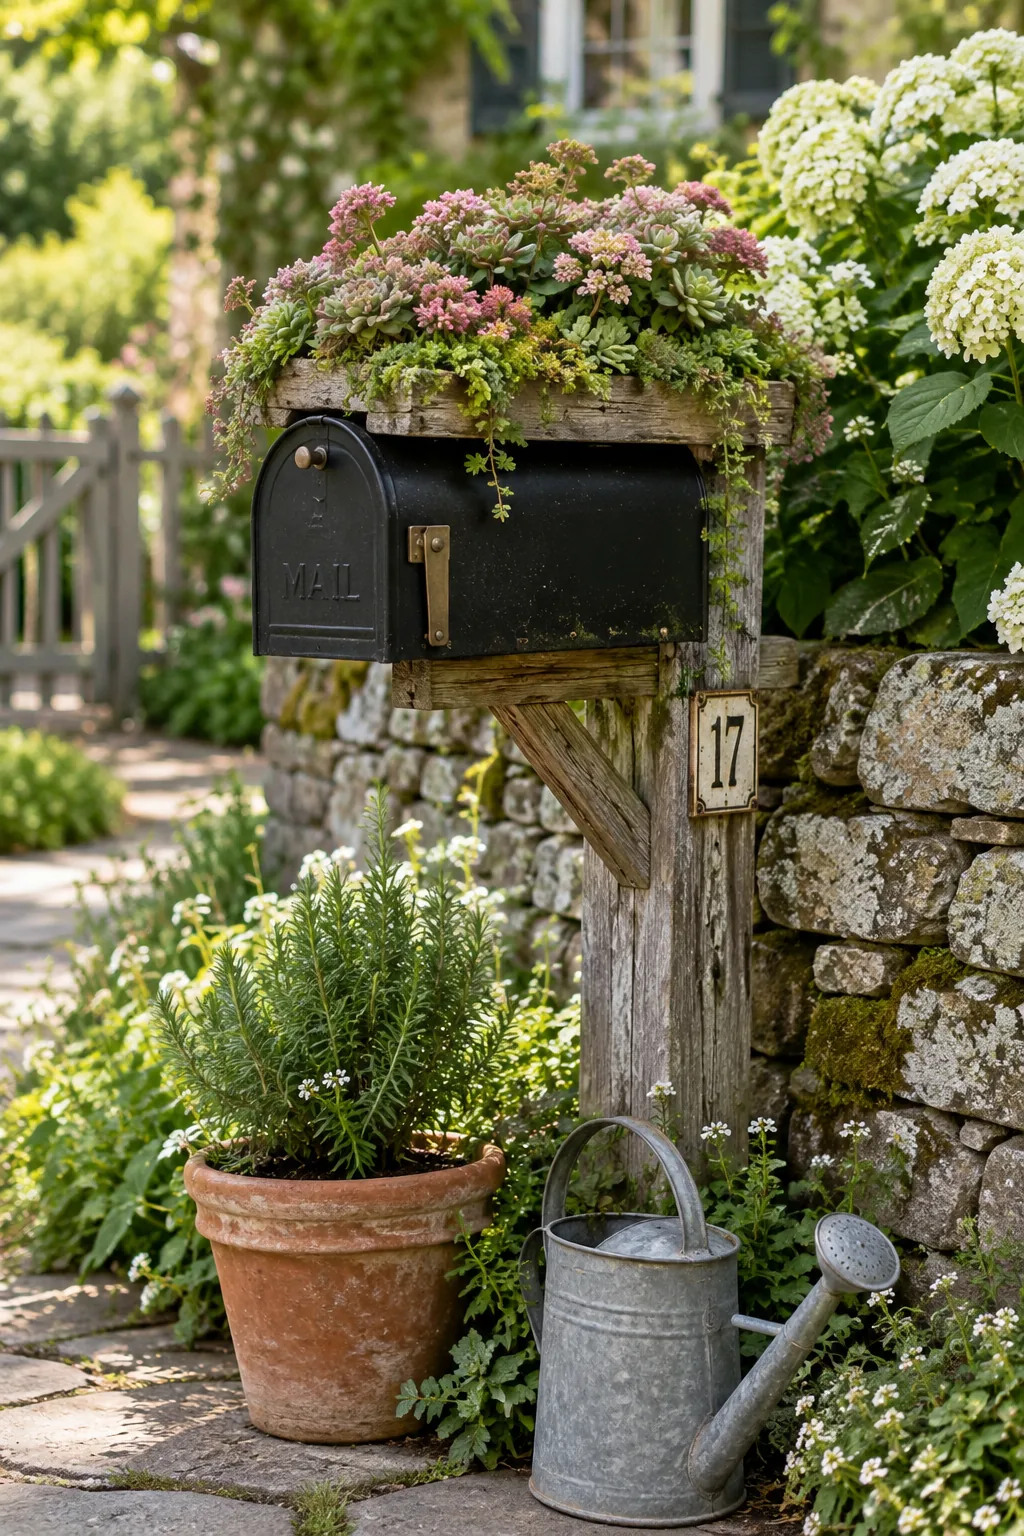
A tiny garden resting right on top of your mailbox gives off major cottagecore vibes.
Build a shallow wooden tray that fits securely over the top of the metal box. Line it with landscaping fabric and fill it with shallow-root sedums that can handle drought conditions.
The living roof absorbs rainwater and looks adorable from the street.
16. Painted Post Pattern
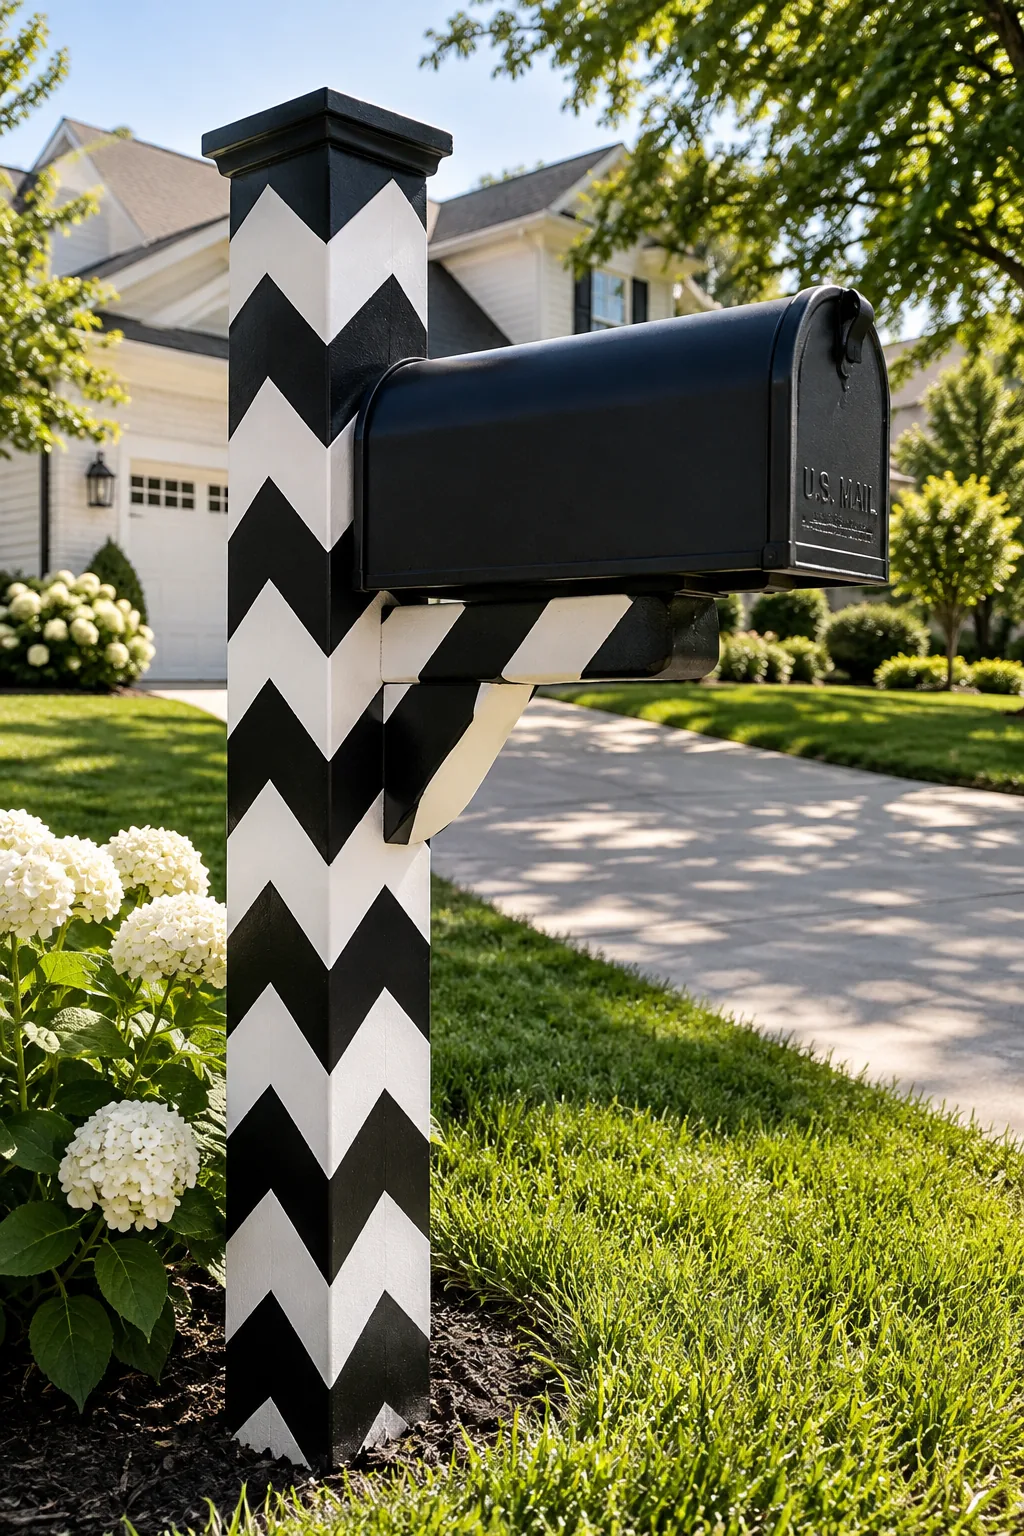
I got totally bored of looking at my plain white post last spring. Grab some painter's tape and create a bold geometric pattern right on the wood. Painting bold black and white stripes or a simple chevron design takes about an hour but makes your driveway impossible to miss. It is a fun, temporary update that you can always paint over when you want a change.
17. Classic Brick Column
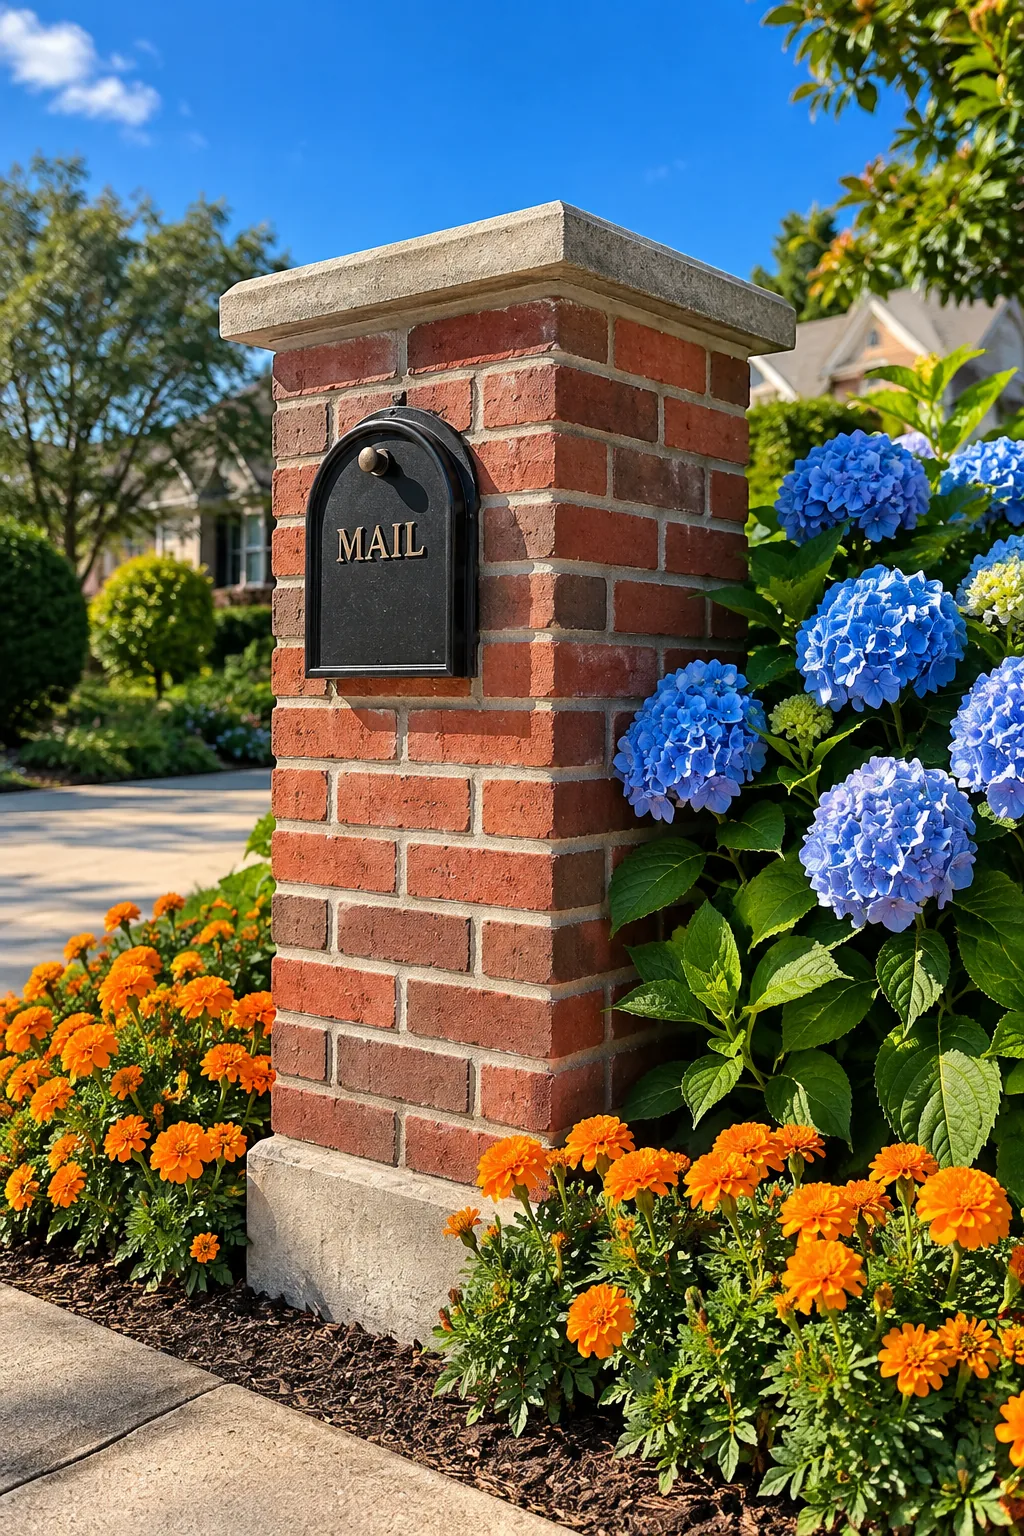
Build a traditional brick mailbox column if you want something that will literally last a lifetime. You need to pour a proper concrete footer first so the heavy structure does not lean or sink into the mud. Match the bricks to your home's exterior for a cohesive, custom-built appearance. Leave a hollow center so you can easily run wires if you ever want to add a light fixture later.
18. Double Box Setup
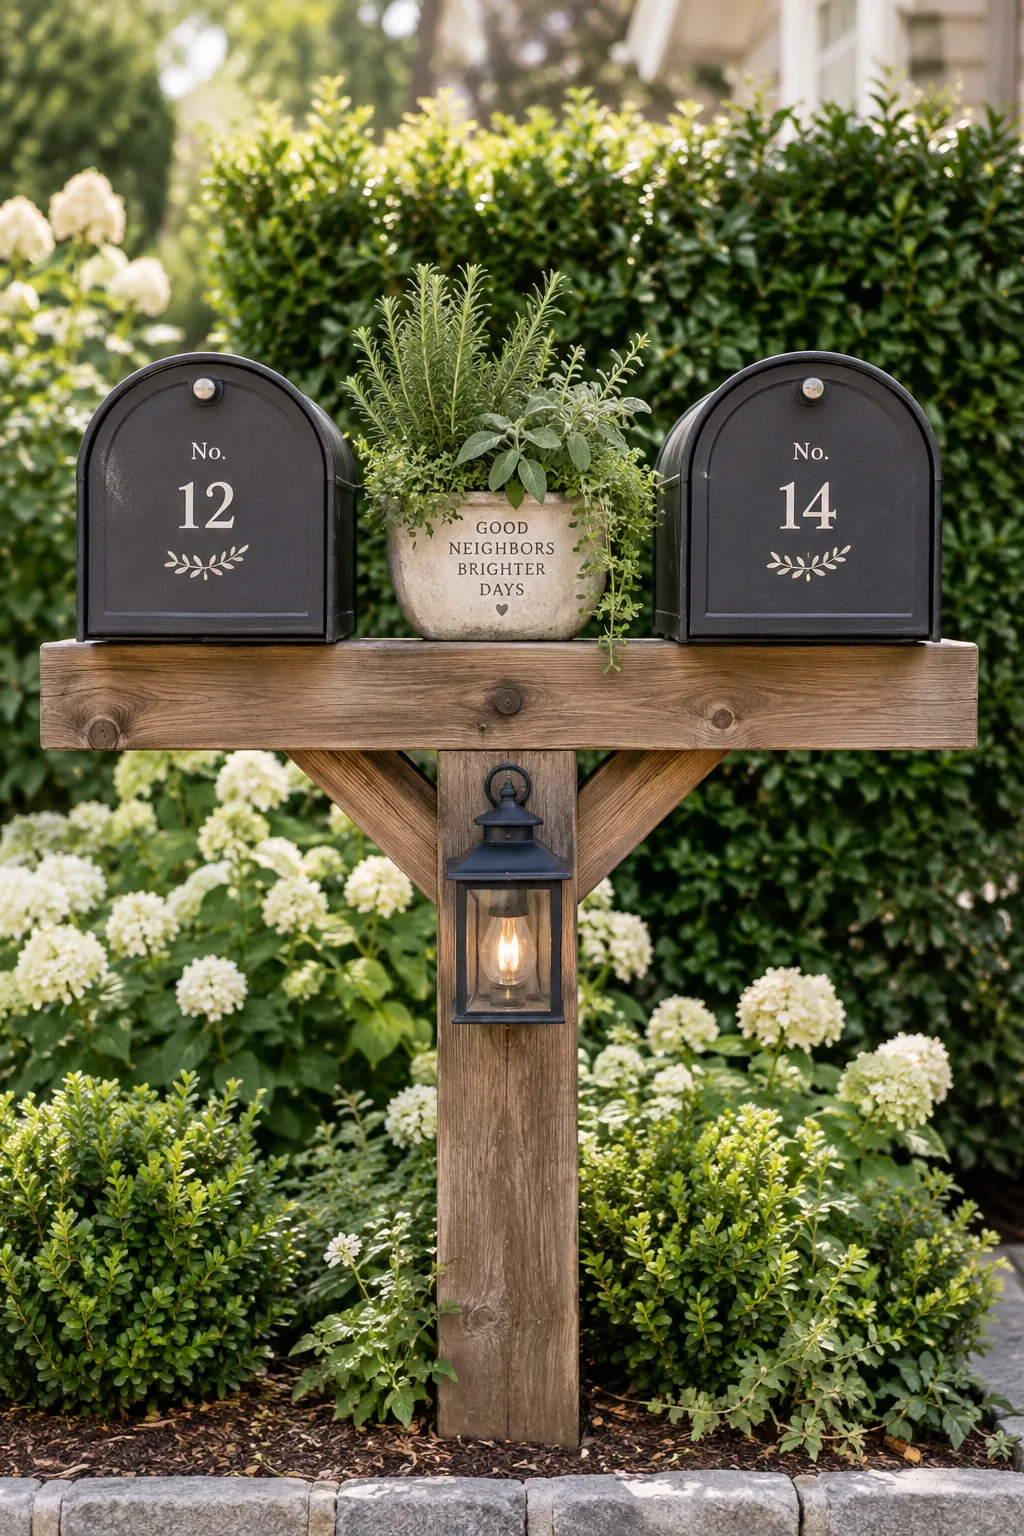
Team up with your next-door neighbor to build a shared mailbox post right on the property line. A wide horizontal crossbeam easily supports two boxes side-by-side, which cuts your material costs in half. You can center a beautiful planter or a large set of address numbers right between the two boxes.
Make sure to check your local postal regulations for the exact height and spacing requirements.