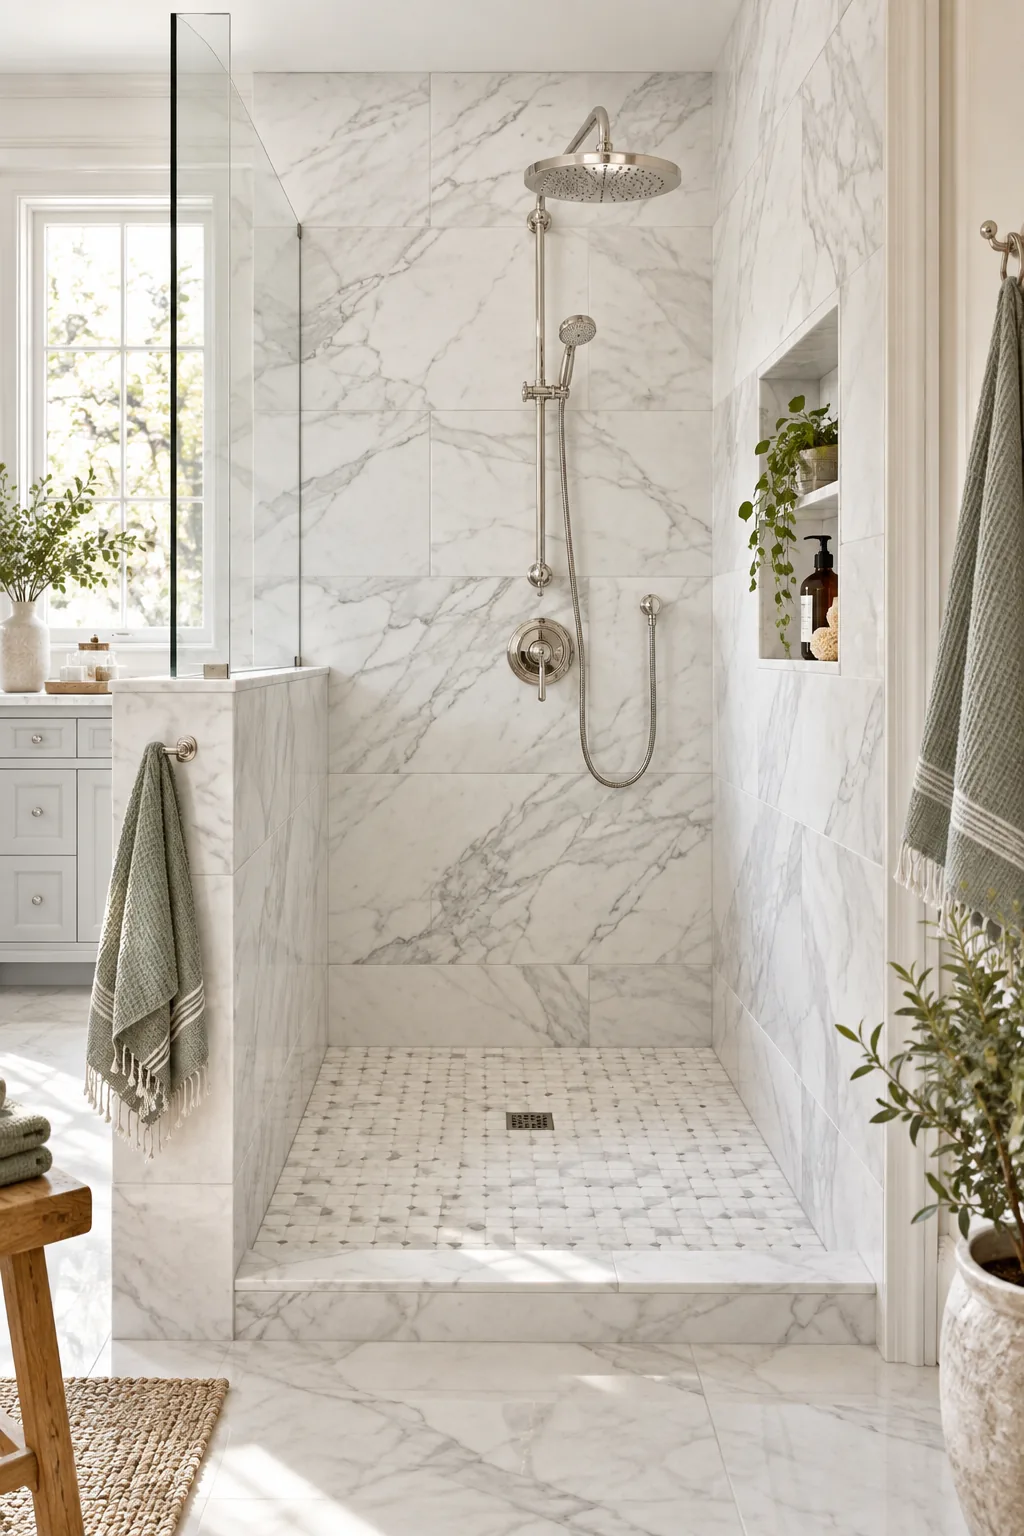
Shower Remodel Without Moving Pipes: Layout Planner
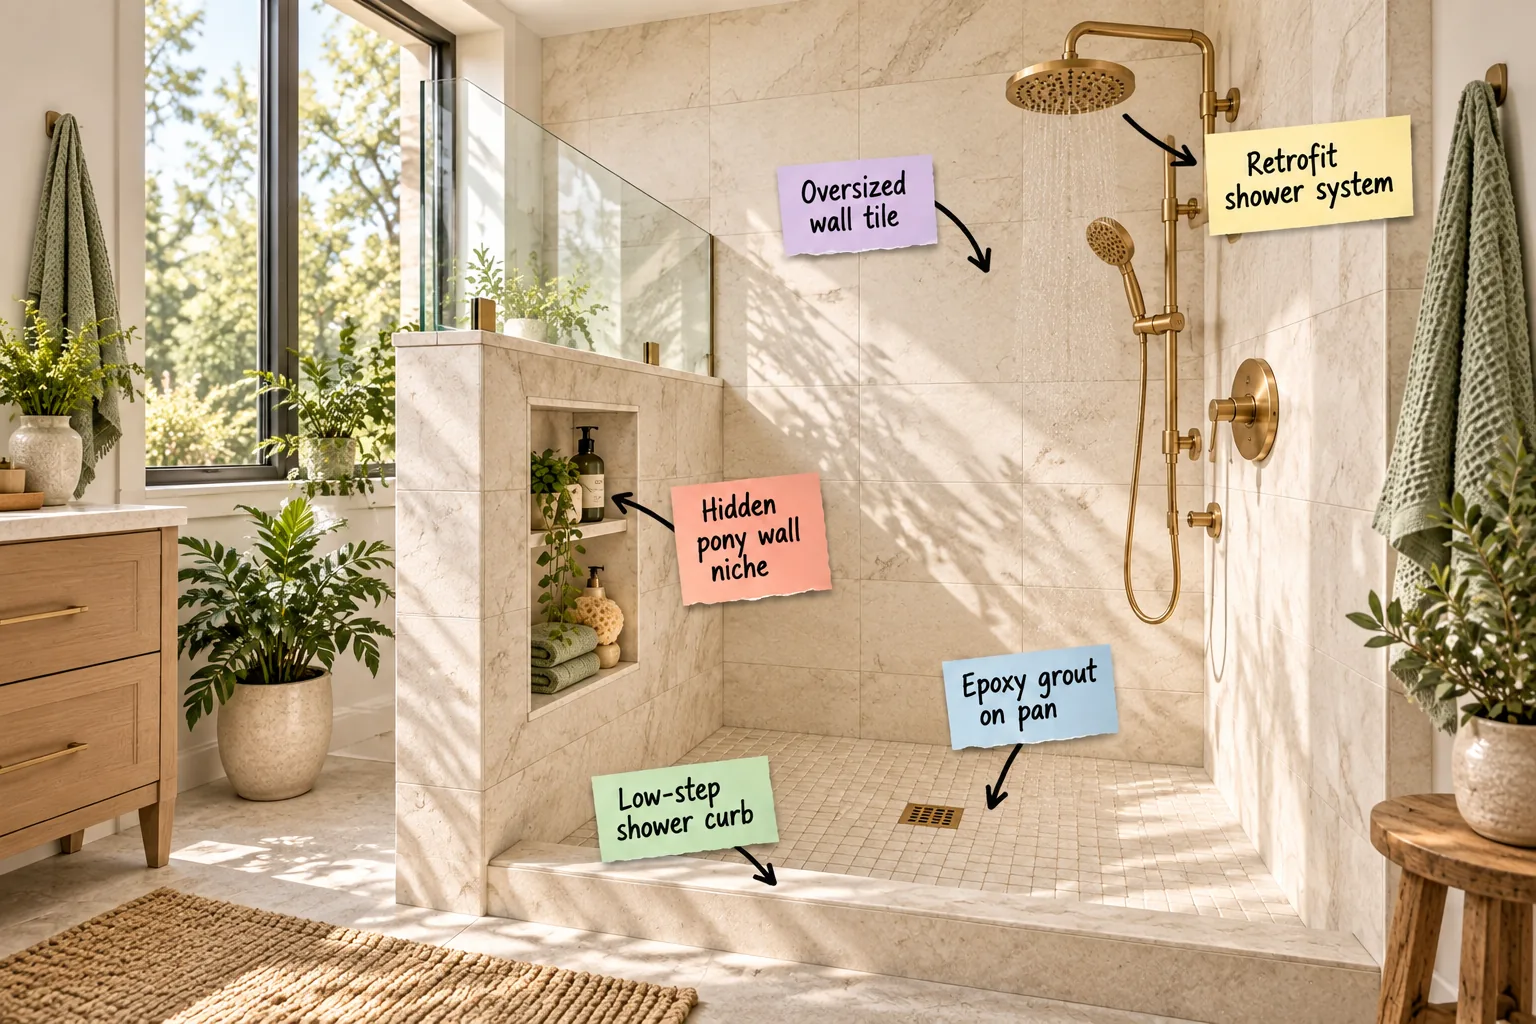
You will be able to map out a high-end shower remodel using your existing plumbing locations and our downloadable material planner. Upgrading your daily routine requires strategic spatial planning, not necessarily tearing out every pipe behind the drywall.
Designing a Low-Step Shower Curb
In my own Denver home, dropping the shower entry to a low-profile threshold completely opened up the visual space. Plan for a curb height of 2 to 3 inches above the bathroom floor to safely retain water while maintaining a minimal look.
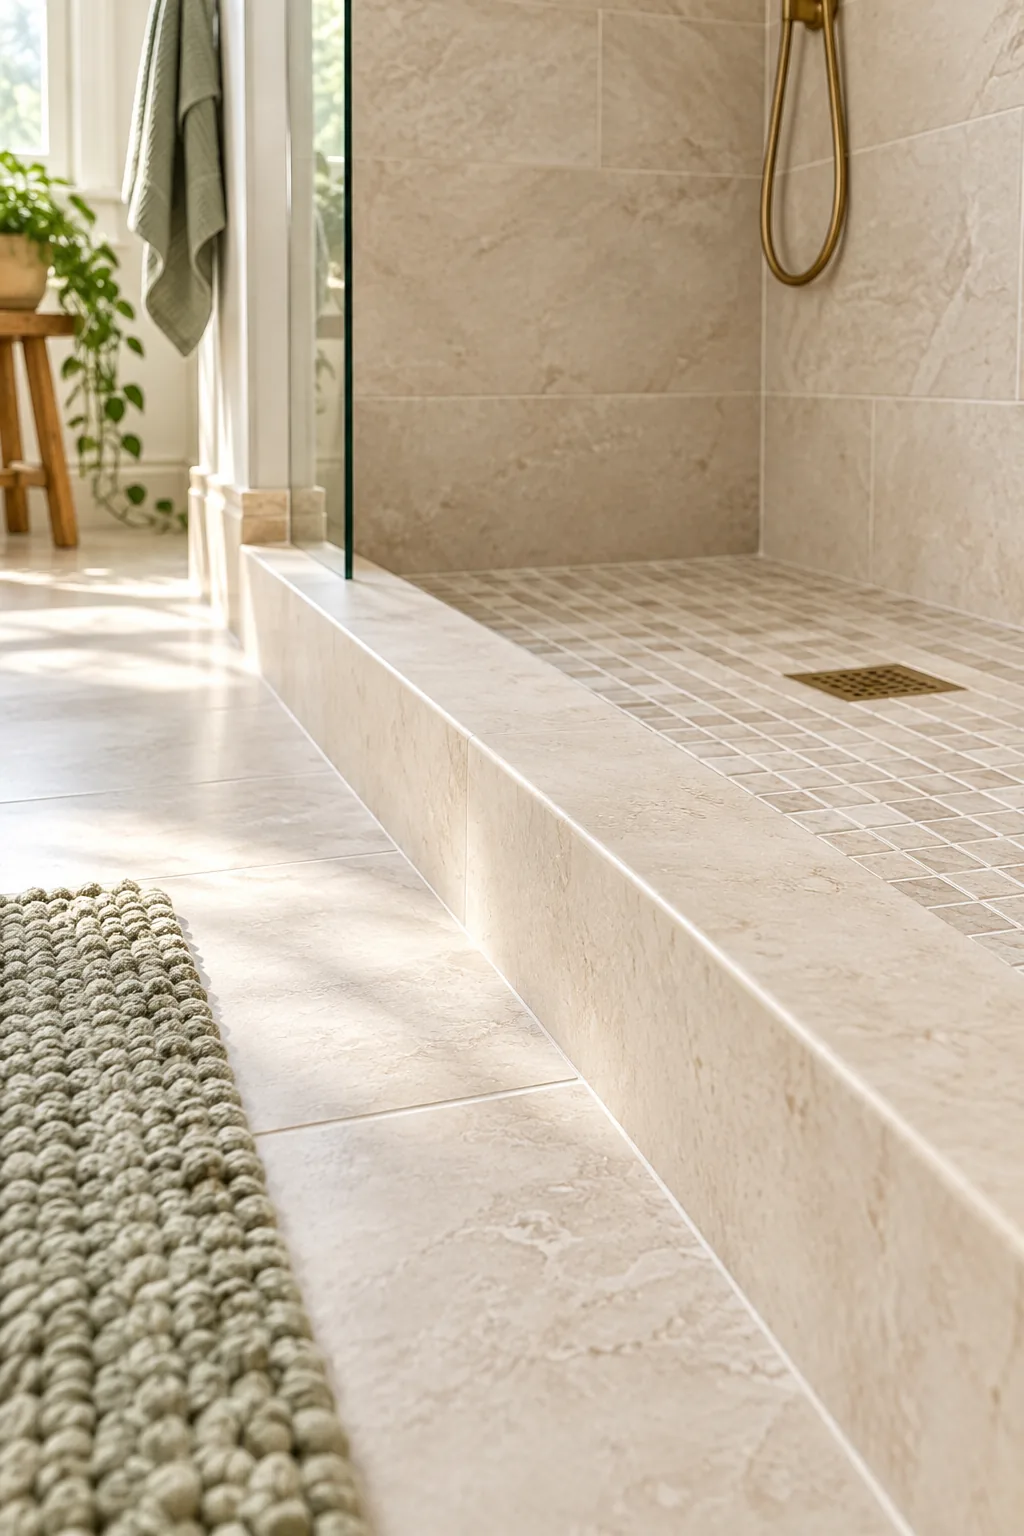
A sleek curb still requires precise construction to prevent water damage outside the shower. The structure should be 4 to 5 inches wide to properly support the weight of a heavy custom glass enclosure.
Getting this foundational boundary right sets the stage for the rest of your material choices. A watertight, perfectly pitched curb guarantees your beautiful new finishes will last through years of daily use.
Protecting the Pan with Epoxy Grout
Shower floors require durable materials that can withstand constant moisture and daily wear. Using epoxy grout on the pan prevents the discoloration and water penetration common with traditional cement mixtures in high-traffic wet zones.
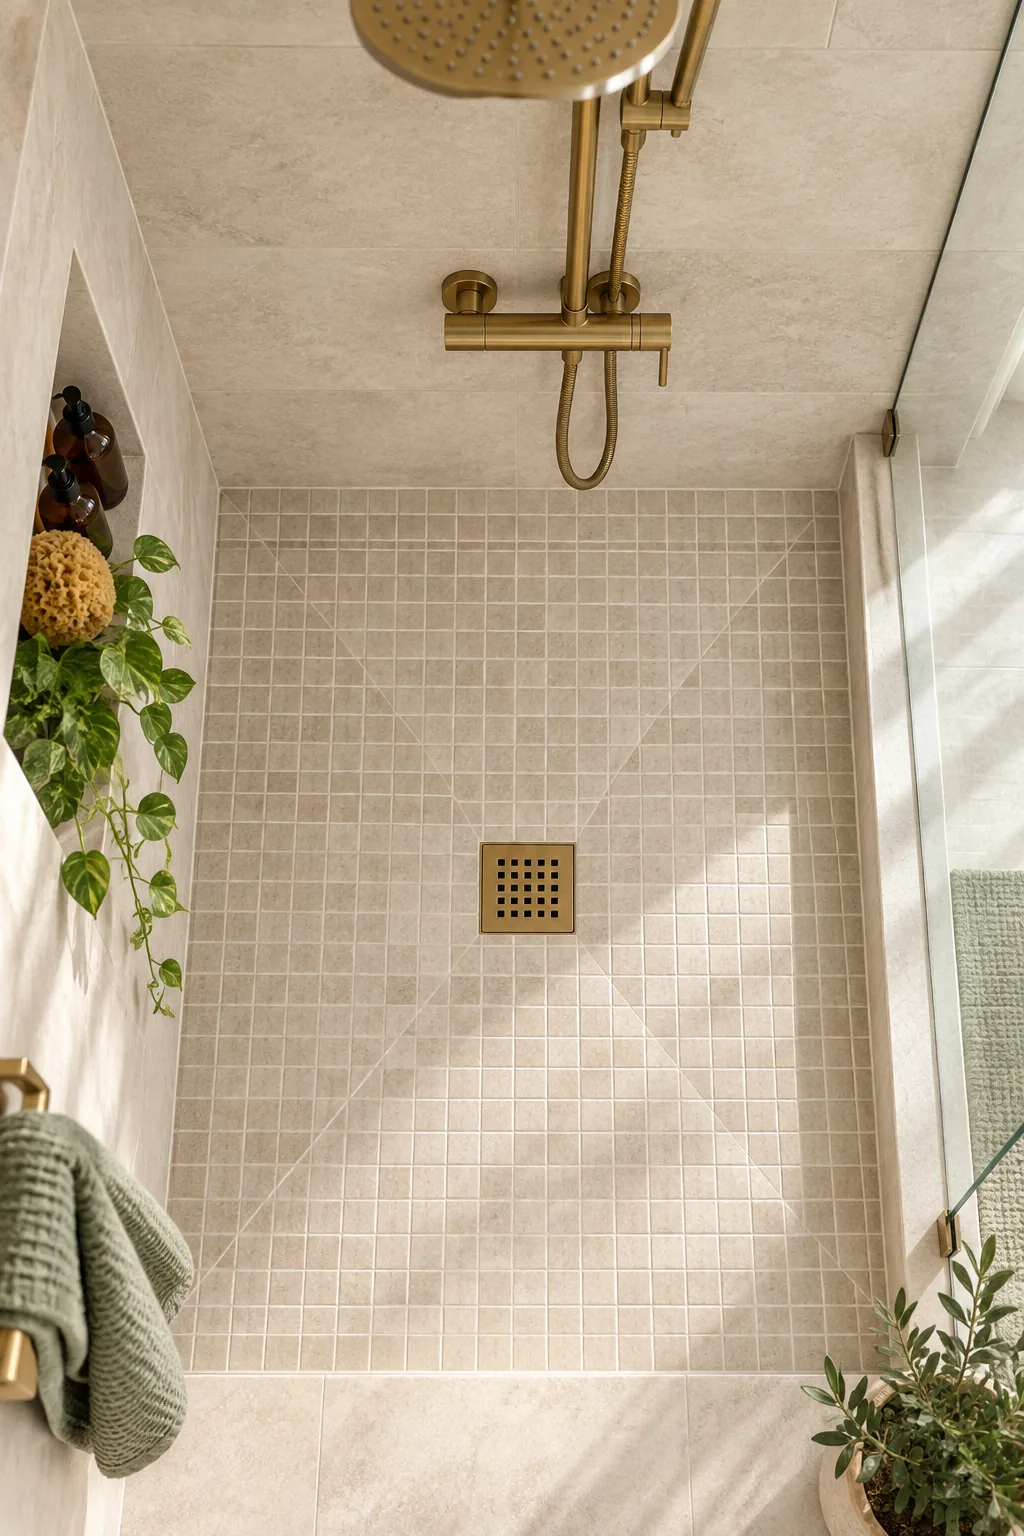
Standard 2×2 inch mosaic tiles are ideal here, as they easily accommodate the necessary slope to the drain. Choosing the right grout formula depends heavily on your specific tile material and location.
| Grout Type | Best Application | Maintenance Need | Water Resistance |
|---|---|---|---|
| Standard Cement | Dry wall zones | Frequent sealing | Low |
| Modified Cement | Occasional moisture | Annual sealing | Moderate |
| Pre-mixed Urethane | Large format walls | No sealing | High |
| Two-part Epoxy | Sloped shower pans | Never needs sealing | Maximum |
Epoxy is notoriously sticky and cures rapidly, making it harder to install than cement options. However, its unmatched durability on a sloped pan makes the extra labor completely worthwhile for a maintenance-free floor.
The Hidden Pony Wall Niche
Tucking a recessed shelf into the inside of a half wall keeps everyday shampoo bottles completely hidden. I always use this trick in my client projects to maintain a clean, uncluttered sightline when you enter the bathroom.
Position the bottom of this hidden shelf about 36 inches above the shower floor. This specific height allows you to comfortably reach your daily products without bending down or stretching.
Sizing the Pony Wall and Glass Partition
A well-proportioned half wall anchors the shower while hiding that standard wall cavity storage from the main room. Build the pony wall to a standard height of 36 to 42 inches to balance privacy and natural light.
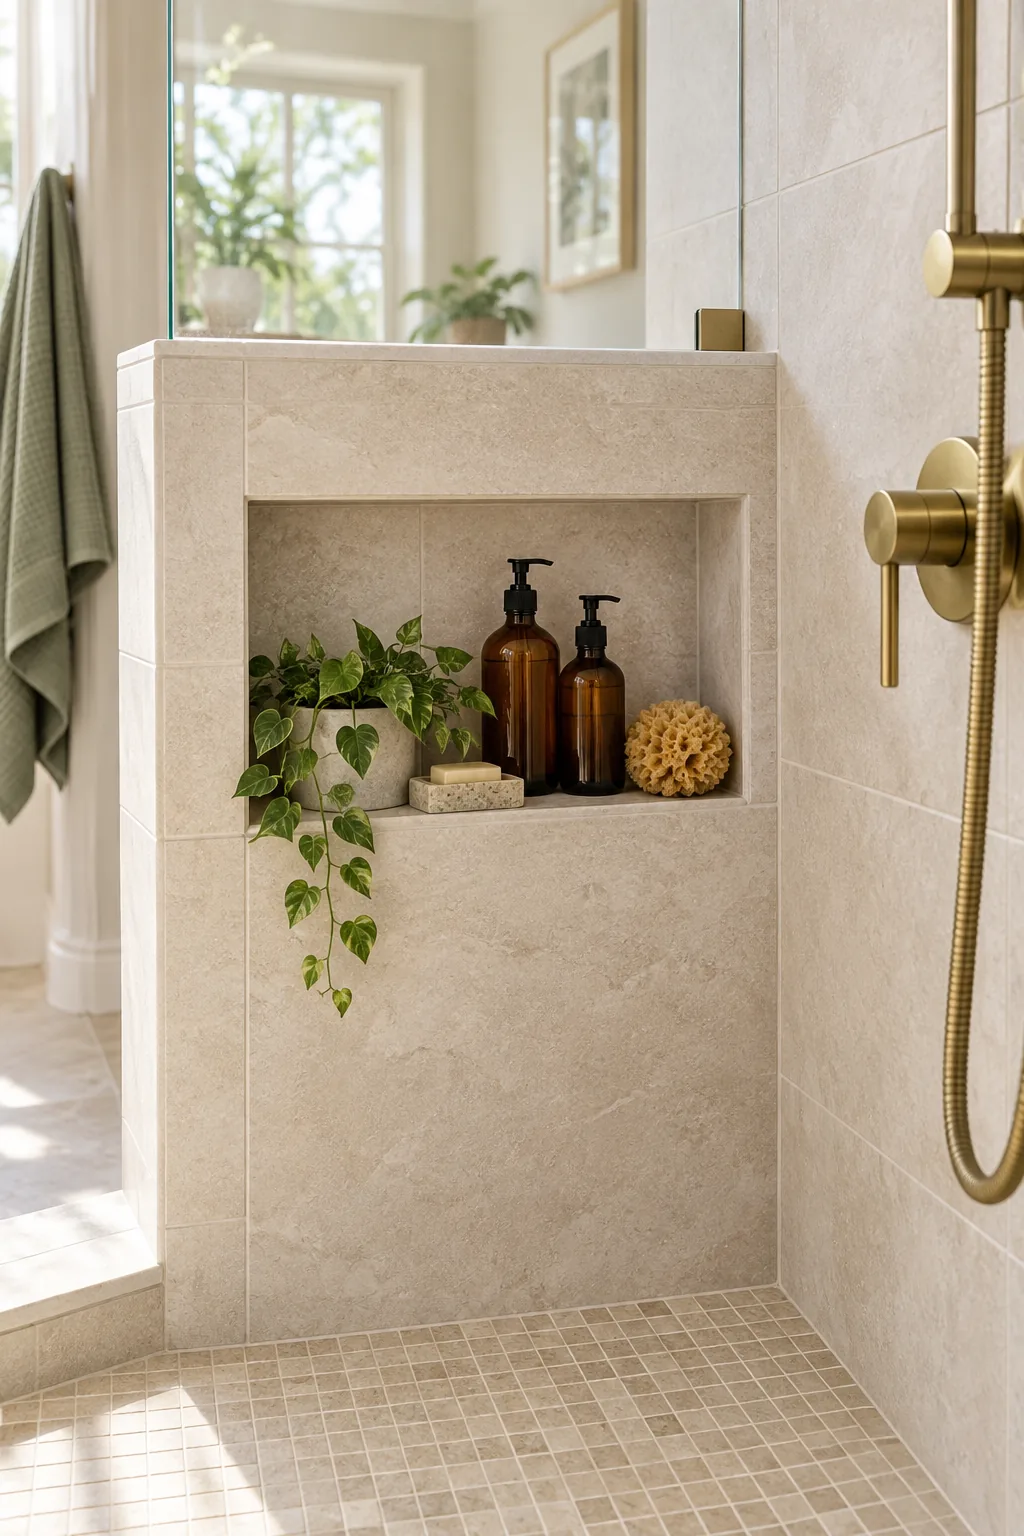
Topping this wall with a custom glass panel contains water splashes without making the shower feel dark. Follow a specific sequence to ensure the heavy partition remains structurally sound over time.
- Secure the framing: Anchor the pony wall studs directly into the floor joists to prevent any lateral wobbling when the glass is touched.
- Install the blocking: Add horizontal wood blocking between the studs specifically where the metal glass channel will be mounted.
- Waterproof the sill: Wrap the top of the half wall with the same continuous membrane used on your shower pan before tiling.
- Mount the glass: Fasten the U-channel through the finished tile directly into the structural blocking for a rigid, safe installation.
Leaving a gap of at least 12 inches between the glass and the ceiling allows steam to escape properly. This vital spacing prevents condensation from trapping excess moisture inside the enclosure.
Oversized Wall Tile for Seamless Looks
Covering the main shower walls in oversized wall tile minimizes grout lines and creates a highly luxurious, expansive atmosphere. Sizes like 12×24 or 24×24 inches visually stretch a standard bathroom footprint.
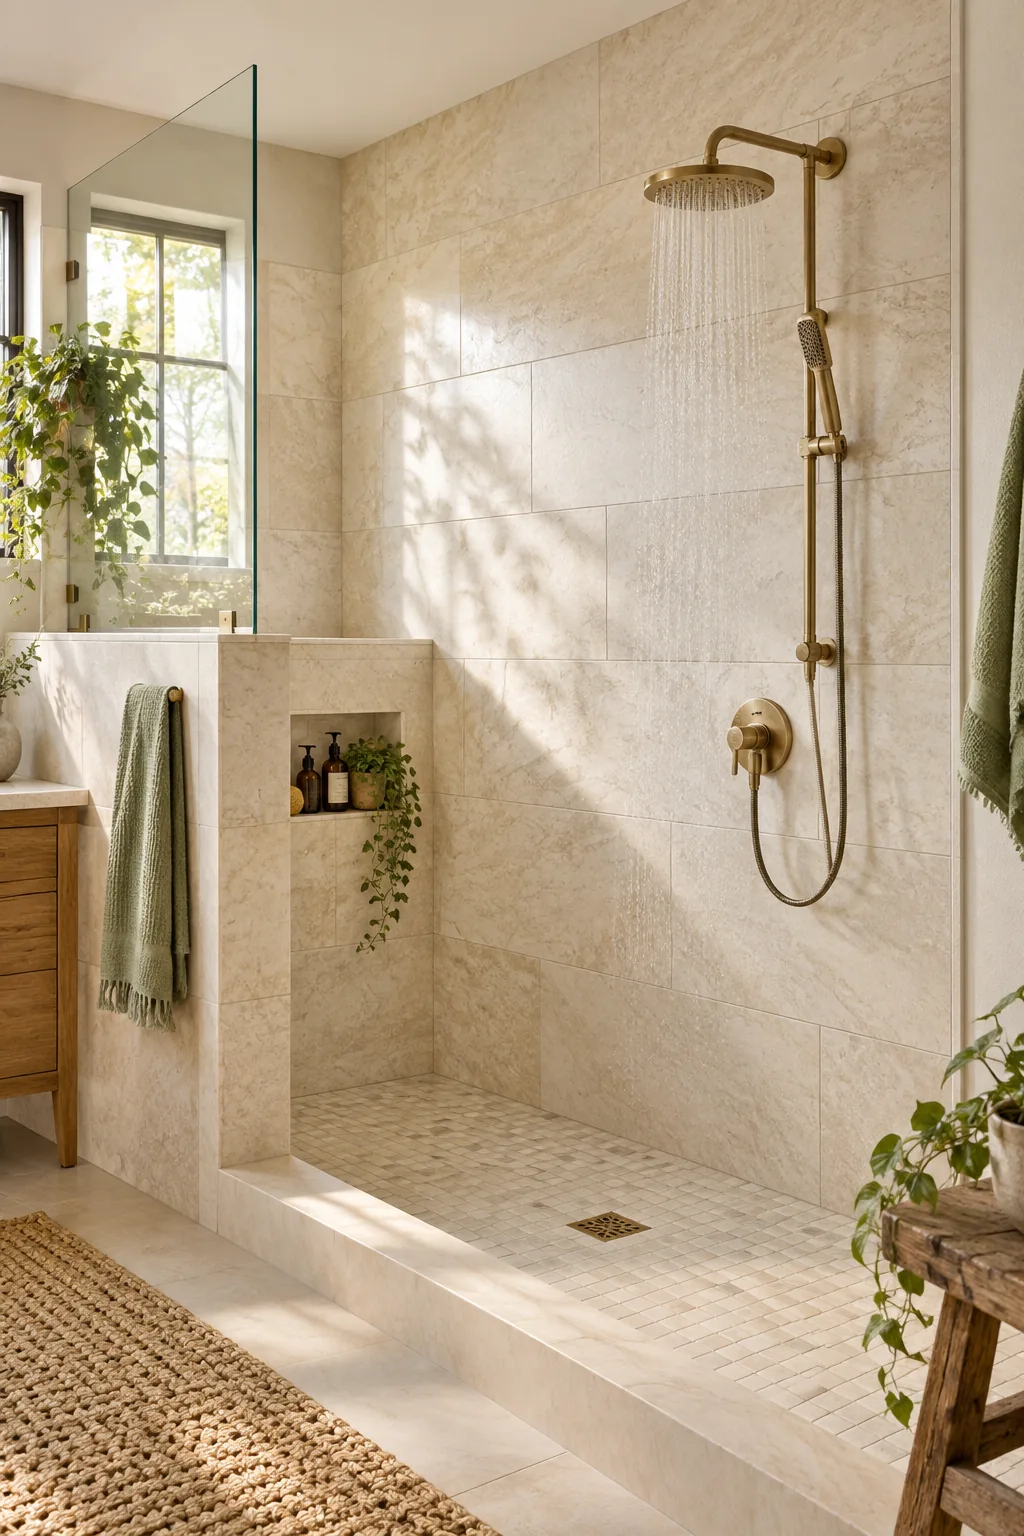
Running these large tiles horizontally can make a narrow shower enclosure feel significantly wider. The right layout pattern dramatically alters your perception of the space without changing the physical dimensions.
Always specify a medium-bed mortar when installing large-format stones to prevent the heavy pieces from sagging. This thicker adhesive ensures a perfectly flat wall surface with no uneven tile edges.
The Retrofit Shower System
A retrofit shower column is the ultimate secret to upgrading your fixtures without tearing open finished drywall. When I renovated my guest bath, this brilliant system saved us thousands in plumbing relocation costs.
- Rainfall showerhead: Delivers a luxurious, overhead soaking experience using the existing water pressure from your main wall.
- Adjustable hand shower: Slides along the mounted bar for targeted rinsing and makes cleaning the tile incredibly easy.
- Integrated diverter: Switches the water flow smoothly between the overhead rain can and the handheld wand with a simple turn.
- Surface-mounted rail: Anchors directly to the tile surface, concealing the internal water channel that feeds the upper head.
Before ordering your retrofit column, measure the distance from your existing shower arm pipe to the ceiling. You need at least 18 inches of clearance for the elevated rainfall head to sit comfortably.
Valve Placement Without Moving Pipes
Keeping the existing mixing valve in its original location dictates your fixture options but protects your budget. The retrofit shower system connects directly to your existing showerhead pipe while utilizing your current internal valve.
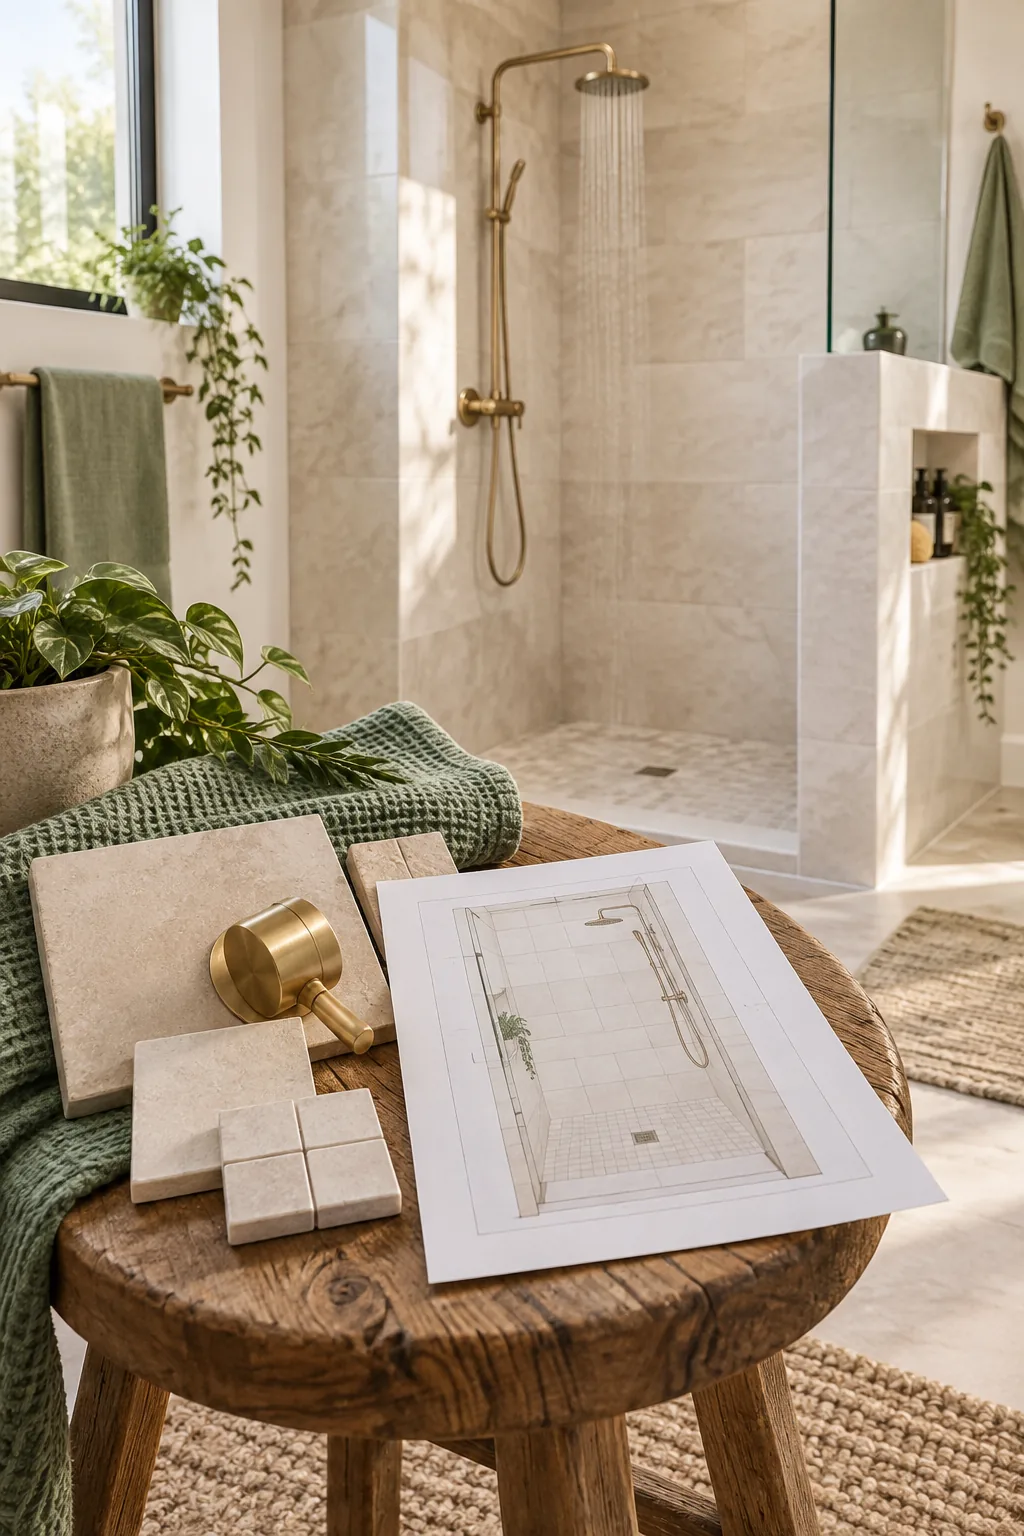
When selecting new trim to match your retrofit column, you must buy a kit compatible with your existing internal valve brand. Changing that hidden brass valve usually requires cutting into the tile or accessing it from a closet behind the shower.
Your Shower Layout and Material Planner
Ready to map out your own bathroom upgrade? I always print my grids to sketch the floor plan before ordering a single material, and our downloadable planner helps you do exactly that.
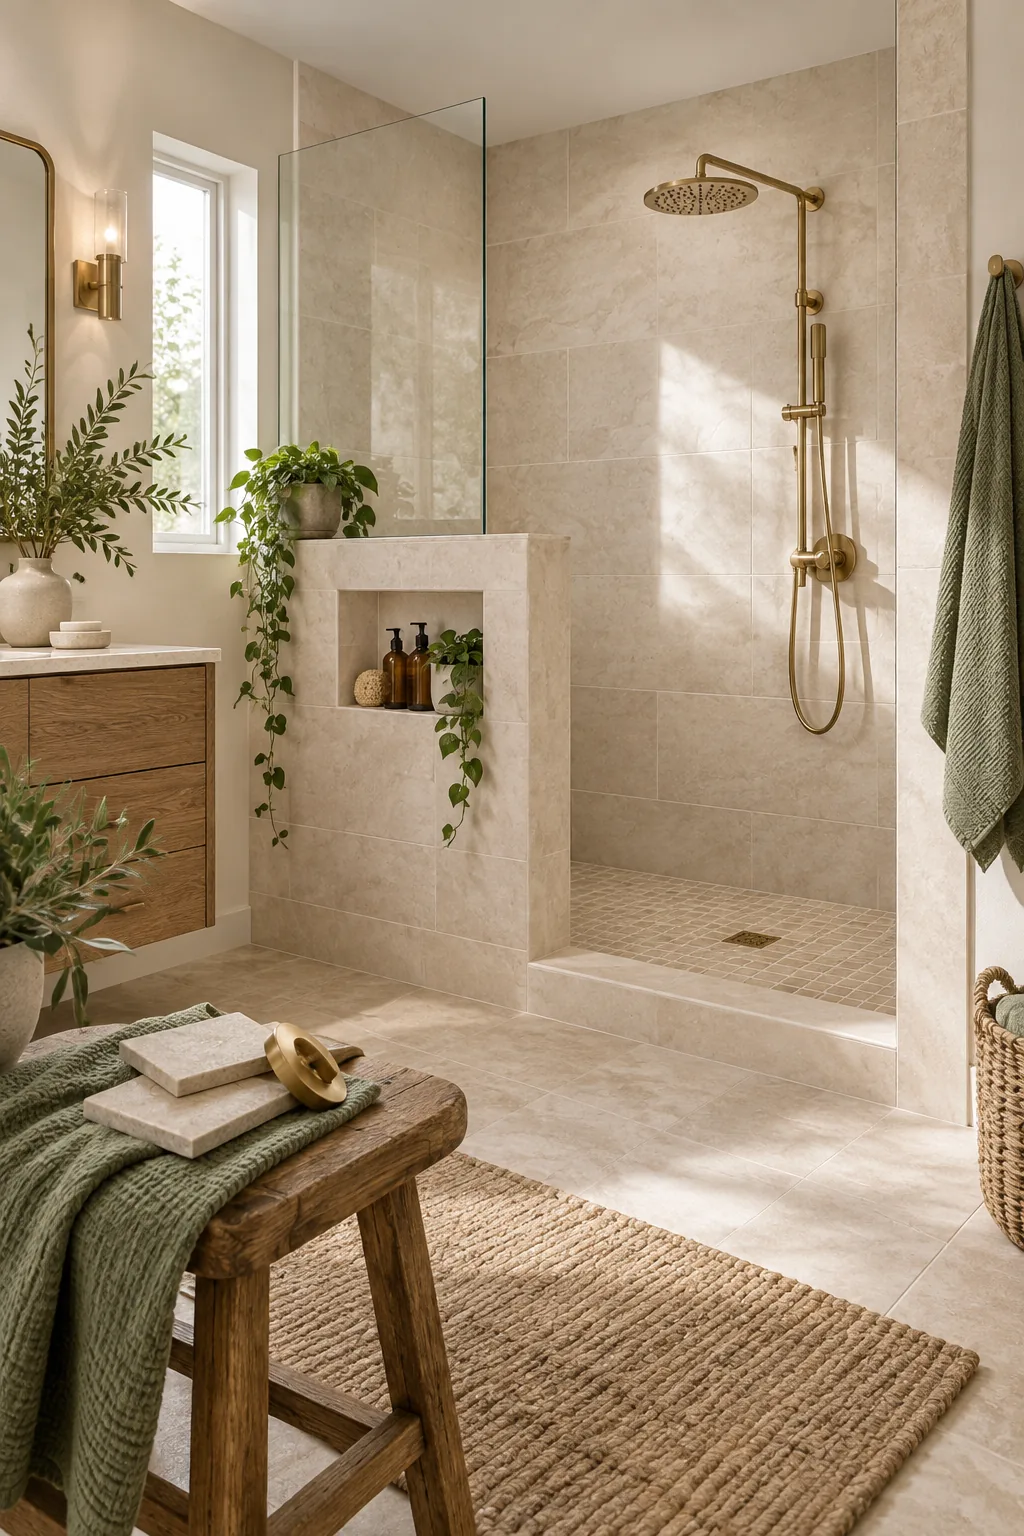
Use this shower layout and material planner to calculate exact tile quantities, plot your pony wall dimensions, and verify fixture clearances based on your existing plumbing. Start mapping your high-end remodel today.
Three Ways to Style Your Shower Remodel
Explore how different tile choices and fixture finishes can completely change the mood of the same smart layout.
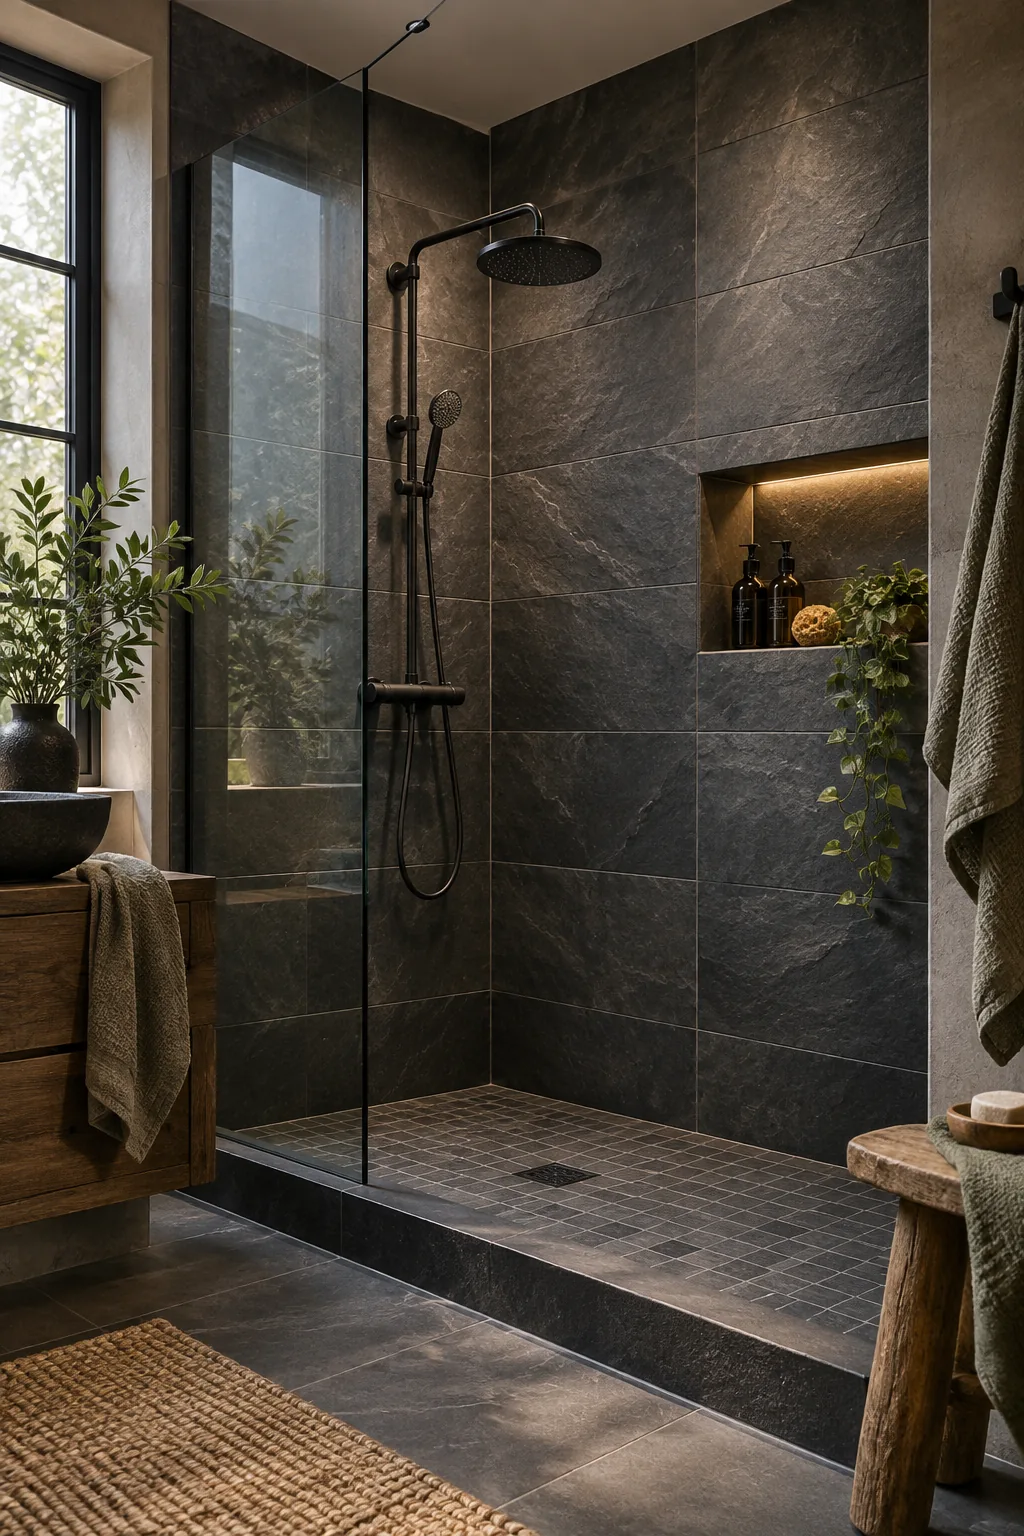
Moody Slate: Charcoal tiles and matte black fixtures create a dramatic, modern atmosphere that feels incredibly sophisticated.
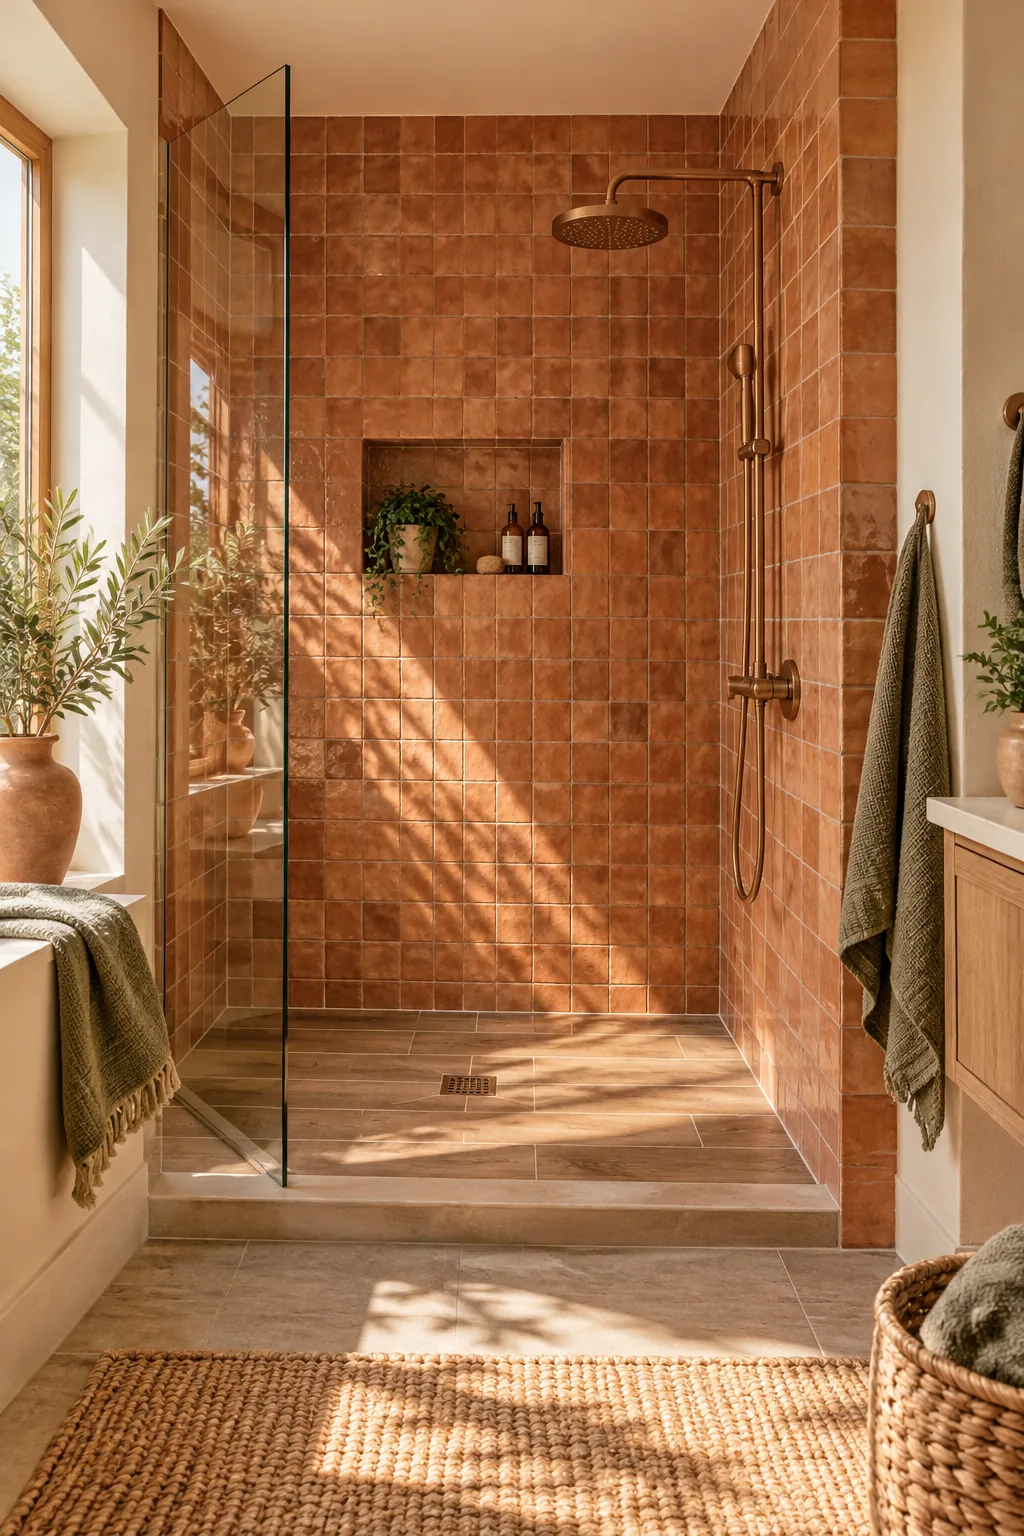
Warm Terracotta: Textured zellige tiles and brushed copper hardware bring an earthy, artisanal warmth to the standard layout.
Crisp Marble: Classic marble veining paired with polished nickel delivers a timeless, hotel-inspired luxury that never dates.