
How to Layer Garden Beds: Layout Template & Spacing Guide
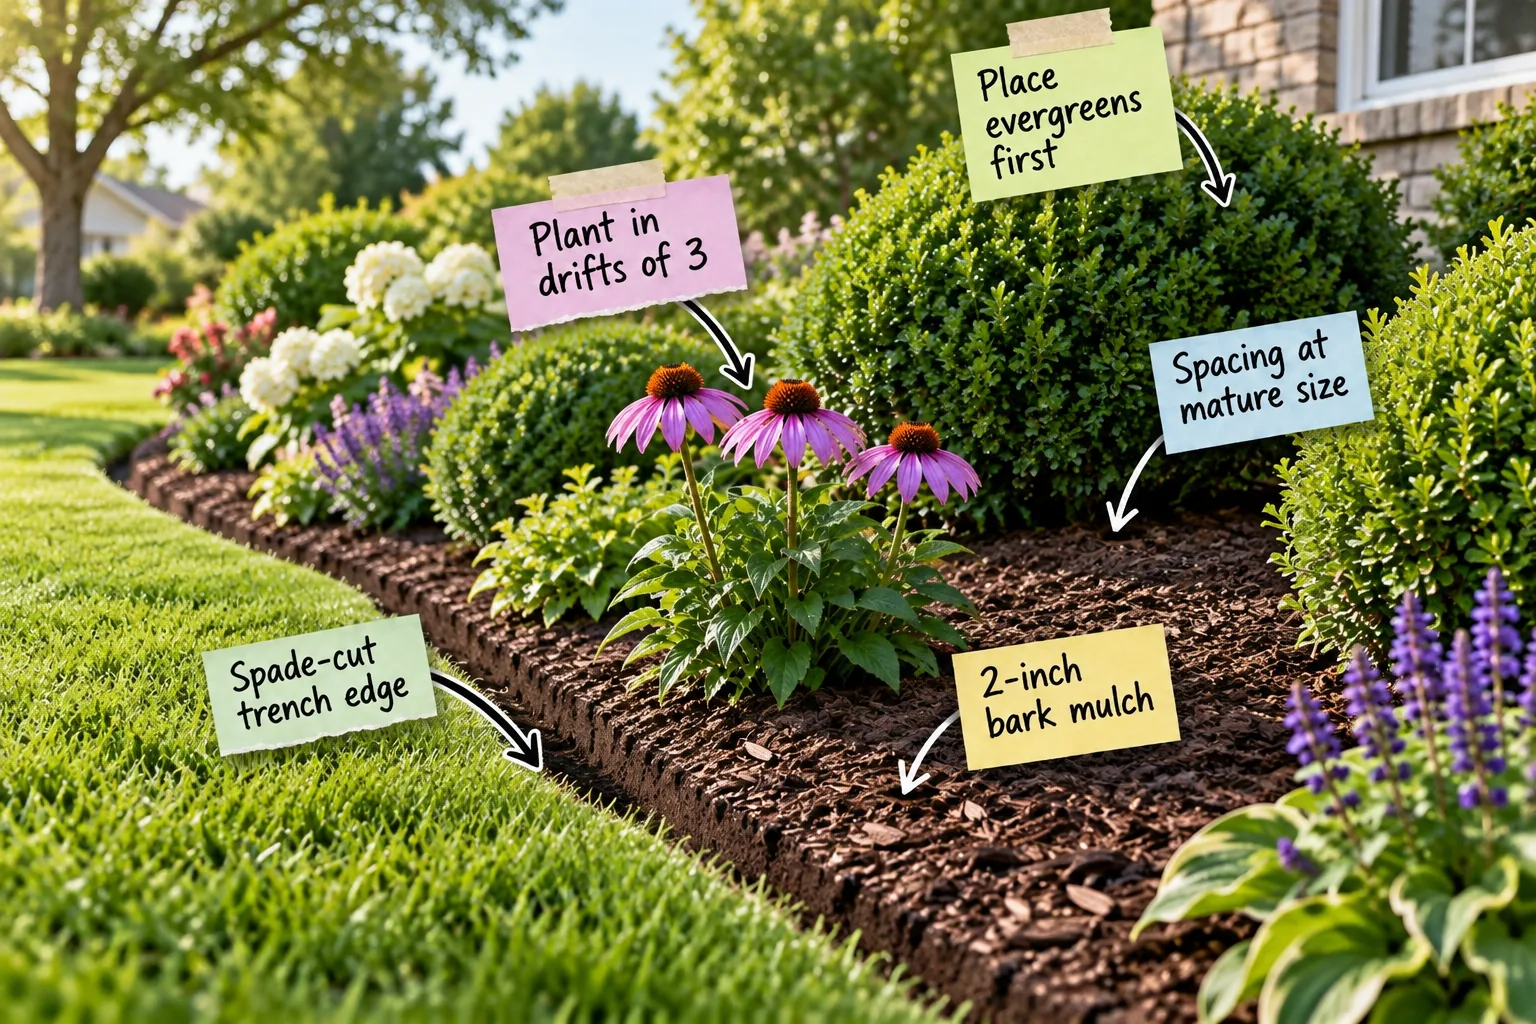
You can finally map out, edge, and plant a perfectly scaled garden bed using our printable bed layout template and spacing cheat sheet. I designed this complete system so you can easily recreate the exact layering techniques professionals use for a flawless landscape right at home.
Carving a Crisp Trench Edge
To create a seamless, professional transition, you must dig a concrete 3 to 4-inch deep V-shaped trench using a heavy sharp half-moon edger. This severs existing grass roots completely and forms a physical moat that stops aggressive lawn runners from crossing over into your fresh mulch.
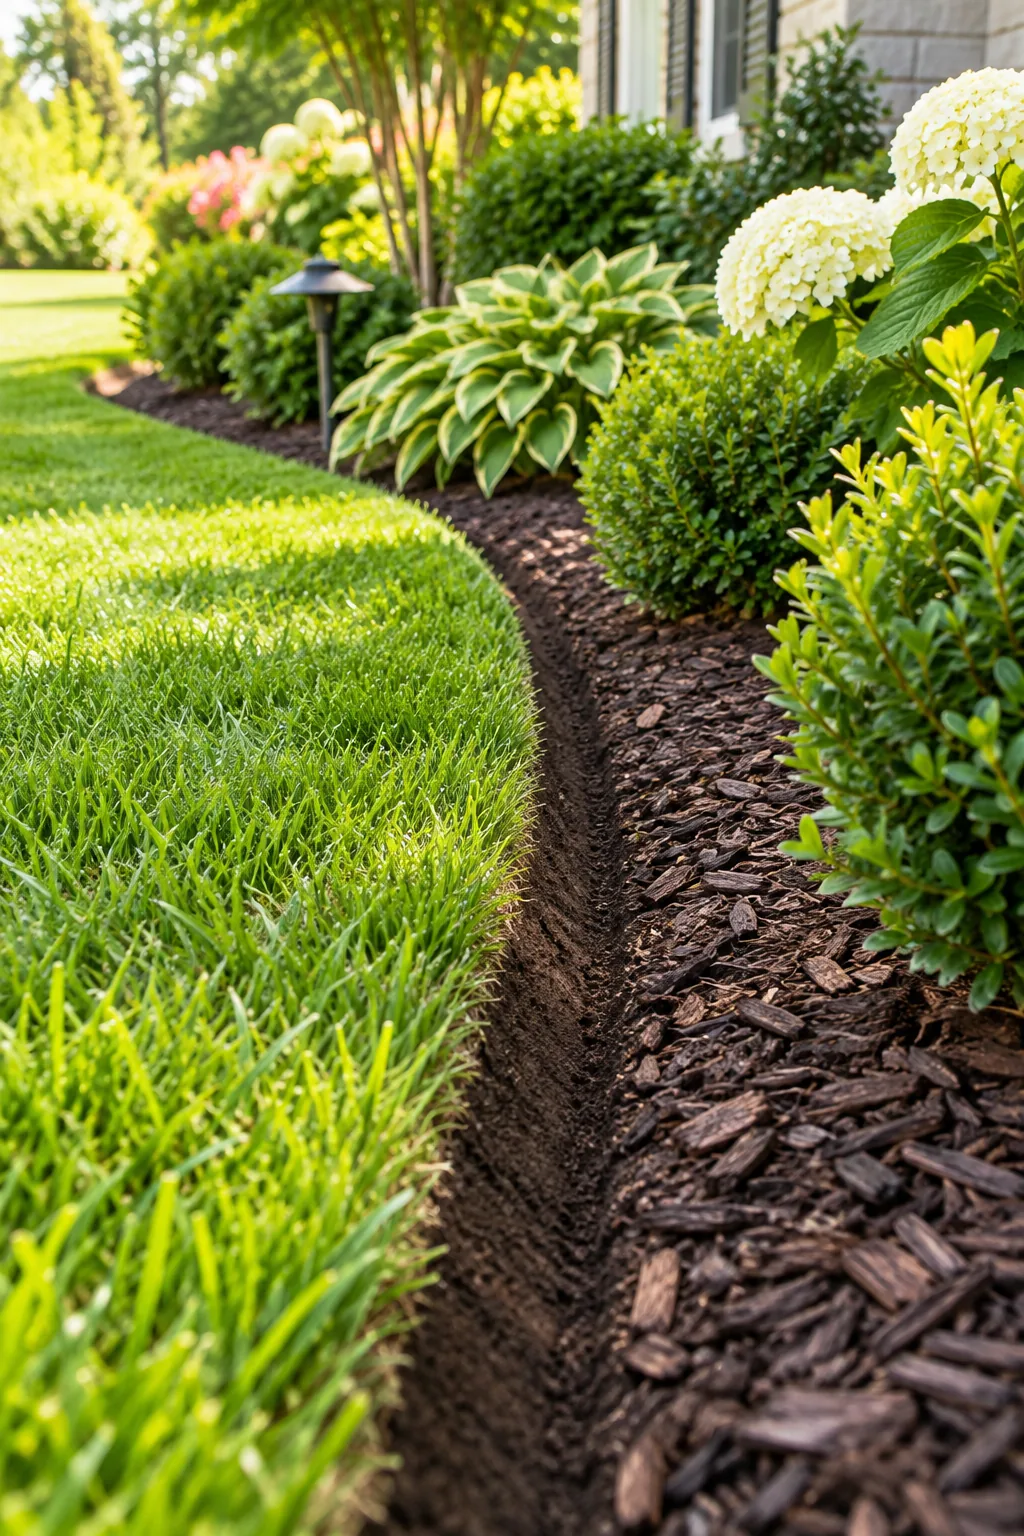
While it might be tempting to install physical barriers, artificial borders often cause more long-term problems than they solve. When I first moved to Austin, I tried plastic edging in our heavy clay, but it heaved completely out of the ground after just one winter.
Evaluating the Soil Foundation
Before you purchase a single shrub, you must heavily amend your native dirt to guarantee proper drainage and nutrient retention. Incorporating rich organic compost directly into the bottom of your new bed prevents heavy spring rains from drowning the delicate root systems of your expensive plants.
- Spread a thick three-inch layer of aged mushroom compost over the entire planting zone before you begin digging any individual holes.
- Till the organic matter down to a depth of eight inches so the transitional soil layer encourages deep, robust root expansion.
- Test the drainage by filling a pilot hole with water; if it takes longer than an hour to drain, mix in expanded shale.
Once your soil is perfectly balanced and draining smoothly, you are ready to start placing the heaviest structural elements of your new landscape design.
Anchoring with Evergreen Shrubs
You must always place evergreens first at the back of your garden bed to establish permanent year-round visual weight. These structured shrubs act as the foundational backbone of your landscape design, anchoring the space long before any seasonal flowers are introduced.
- Position your largest evergreen specimens at the deepest curve of the bed to create a solid, anchoring focal point for the eye.
- Space out secondary structured shrubs along the back line to form a cohesive green wall against your wooden fence or brick foundation.
- Step back and evaluate the winter interest of these evergreens, ensuring the garden bed will not look completely barren in late January.
- Commit to their placement and dig the main structural holes before you even think about laying out the smaller blooming perennials.
With your heavy structural pieces locked into their permanent positions, you can begin calculating the precise geometry required for the rest of your blooming plants.
Planning for Mature Plant Size
When mapping your layout, you must rigorously calculate spacing at mature size by checking every plant tag for its maximum grown width. Use that exact measurement to space the center of each root ball apart, leaving an intentional visible mulch gap.
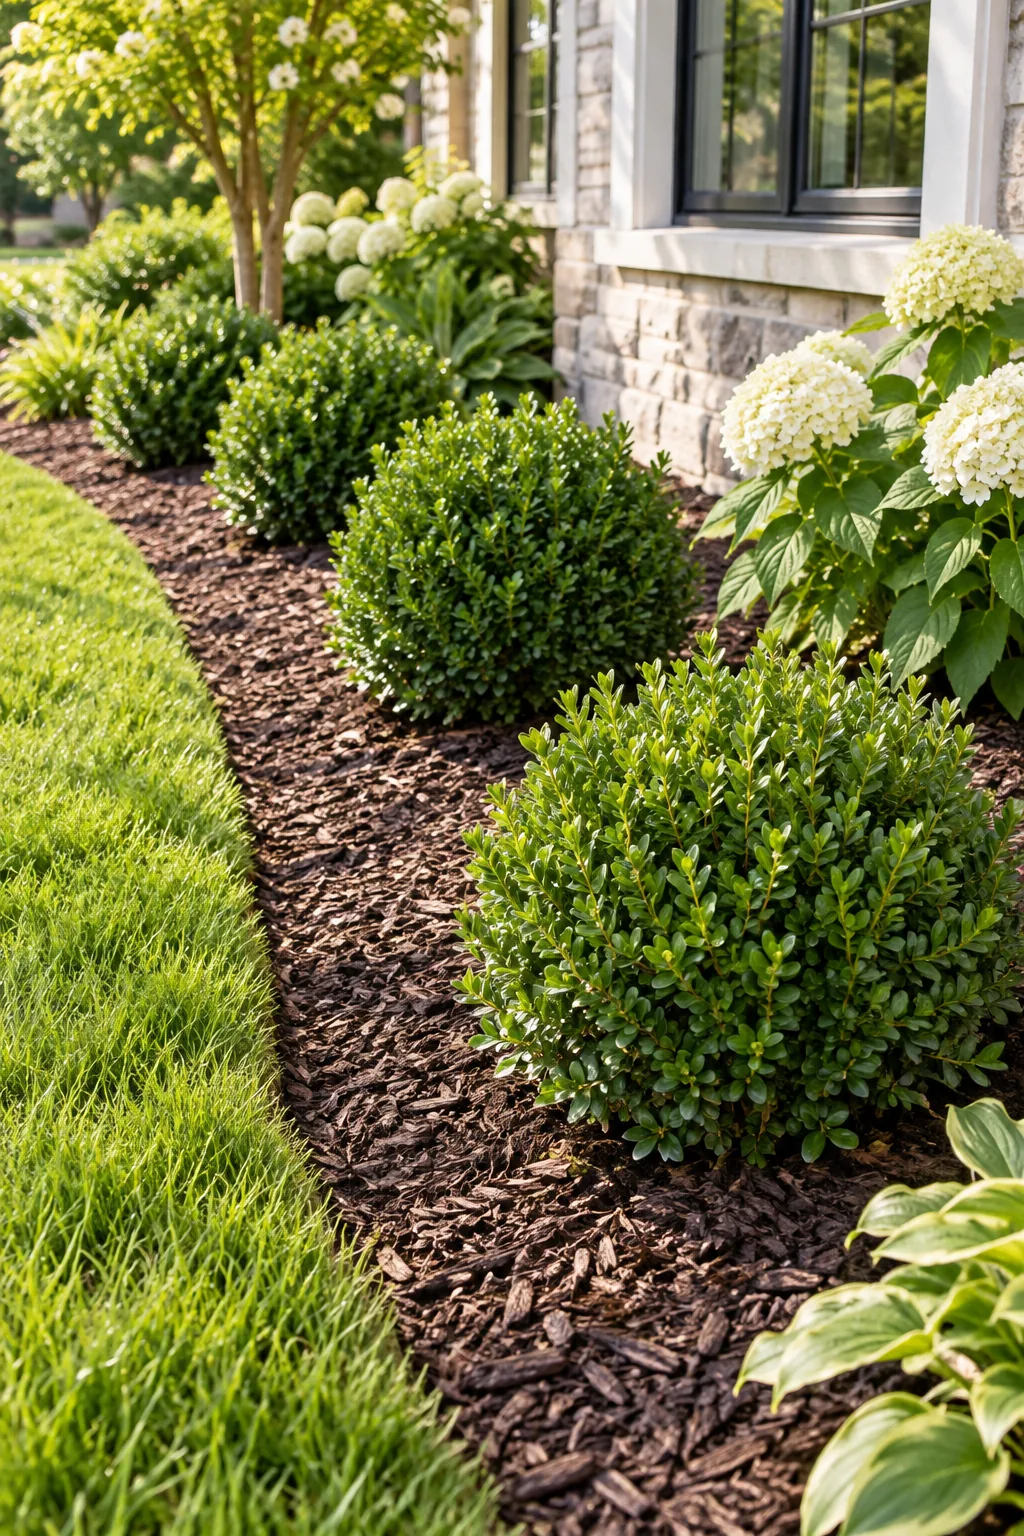
I used to jam young shrubs together so the bed looked instantly full, but within two years, my front foundation planting became an overgrown, tangled mess. If you measure correctly from the start, their outer branches will touch perfectly when fully grown.
| Plant Category | Measurement Point | Typical Spacing | Growth Timeline |
|---|---|---|---|
| Structured Evergreens | Center of root ball | 36 to 48 inches | 3 to 5 years |
| Large Perennials | Crown center | 24 to 36 inches | 2 to 3 years |
| Groundcovers | Edge of nursery pot | 12 to 18 inches | 1 to 2 years |
| Border Annuals | Base of main stem | 8 to 12 inches | Single season |
| Accent Grasses | Center of root ball | 30 to 40 inches | 2 to 4 years |
| Dwarf Shrubs | Center of root ball | 24 to 30 inches | 3 to 4 years |
Grouping Perennials in Drifts
To avoid a chaotic, polka-dot landscape, you should always plant in drifts of 3 or 5 identical blooming perennials. Grouping plants in odd-numbered clusters creates striking, natural-looking color blocks that draw the eye smoothly across the entire garden bed.
- Arrange your perennial trios in a staggered triangle formation rather than a straight line to mimic how seeds naturally scatter and grow.
- Keep the distance between plants within a single drift slightly tighter than the distance between two completely different plant varieties.
- Repeat the same specific drift of three purple coneflowers further down the bed to establish a cohesive, rhythmic color pattern.
After your vibrant perennial clusters are properly mapped out and planted, the next crucial step is curating the visual impact of your chosen blooms.
Selecting the Right Perennial Colors
Limiting your blooming palette to just three complementary colors prevents the finished landscape from feeling visually overwhelming. Choosing a dominant shade like deep purple, supported by soft white and bright yellow accents, guarantees a sophisticated, professionally designed aesthetic throughout the entire summer.
Adding Organic Nutrients
Wait at least six full months before applying any synthetic granular fertilizers to your newly installed garden bed. Pushing rapid top growth with heavy nitrogen too early forces the plant to abandon its root development, leaving it extremely vulnerable to summer drought conditions.
Layering the Bark Mulch
Finish the exposed soil by applying exactly a 2-inch bark mulch layer to aggressively retain essential ground moisture. You must meticulously pull this dark organic material back 1 to 2 inches from the base of all stems to prevent devastating crown rot.
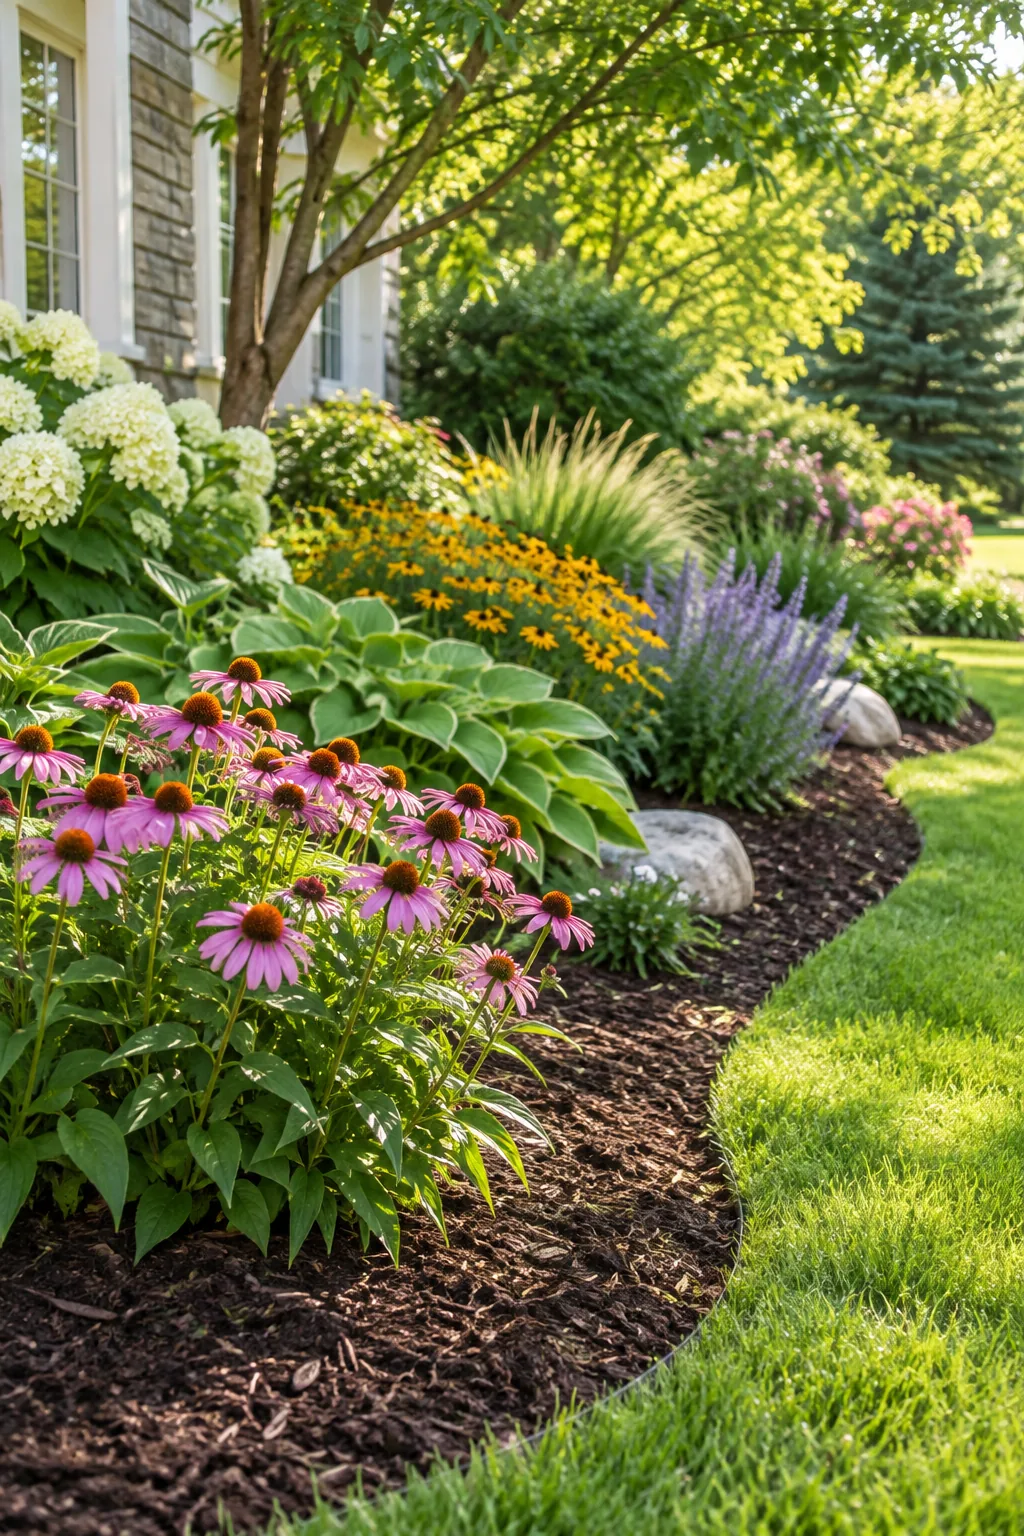
I once lost three beautiful hydrangeas because I piled mulch high against their trunks like a volcano, which completely suffocated the bark. Keeping that small breathing ring around the stems ensures the wood stays dry while the roots remain perfectly insulated.
Preventing Weed Breakthrough
A disciplined routine of providing 1 inch of water weekly establishes the deep root systems necessary to push rapid, dense canopy growth. As these plants quickly reach their mature sizes, their overlapping foliage acts as a living mulch that blocks sunlight.
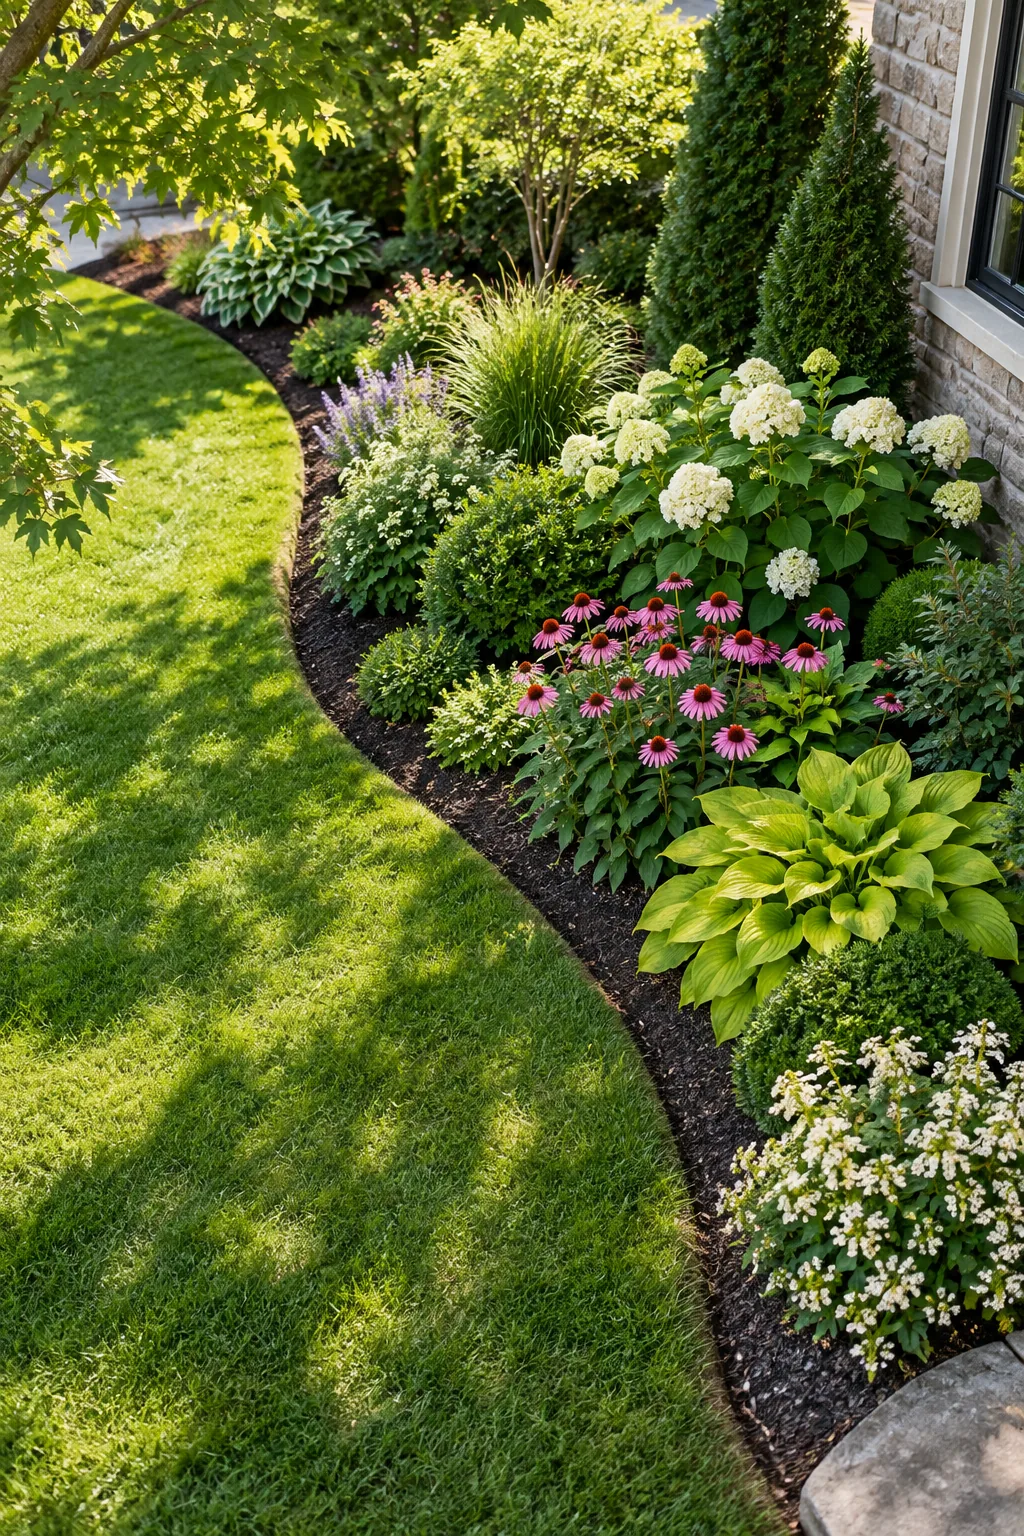
This tight mature plant spacing works in perfect tandem with your mulch layer to naturally shade out germinating weed seeds. When the leaves finally touch, the ground beneath becomes far too dark for invasive grass runners to successfully take hold.
Establishing the Root Systems
To ensure your evergreens and perennials survive their brutal first summer, apply your irrigation deeply right at the base of each plant. This targeted soaking encourages delicate feeder roots to dive downward into cooler soil rather than lingering near the hot surface.
Pruning for Future Growth
While your new plants are establishing their root systems, resist the urge to heavily prune the top foliage during the first growing season. Leaving the canopy fully intact allows the shrub to photosynthesize at maximum capacity, generating the critical energy needed to survive winter.
Monitoring First-Year Moisture
You should physically check the soil moisture at a 4-inch depth before turning on the sprinklers to avoid accidentally drowning newly planted root balls. Taper off your supplemental watering frequency as autumn approaches to help the shrubs harden off before the first freeze.
More Garden Bed Styles to Try
Once you understand the spacing rules, you can adapt the layers to fit any landscape style.
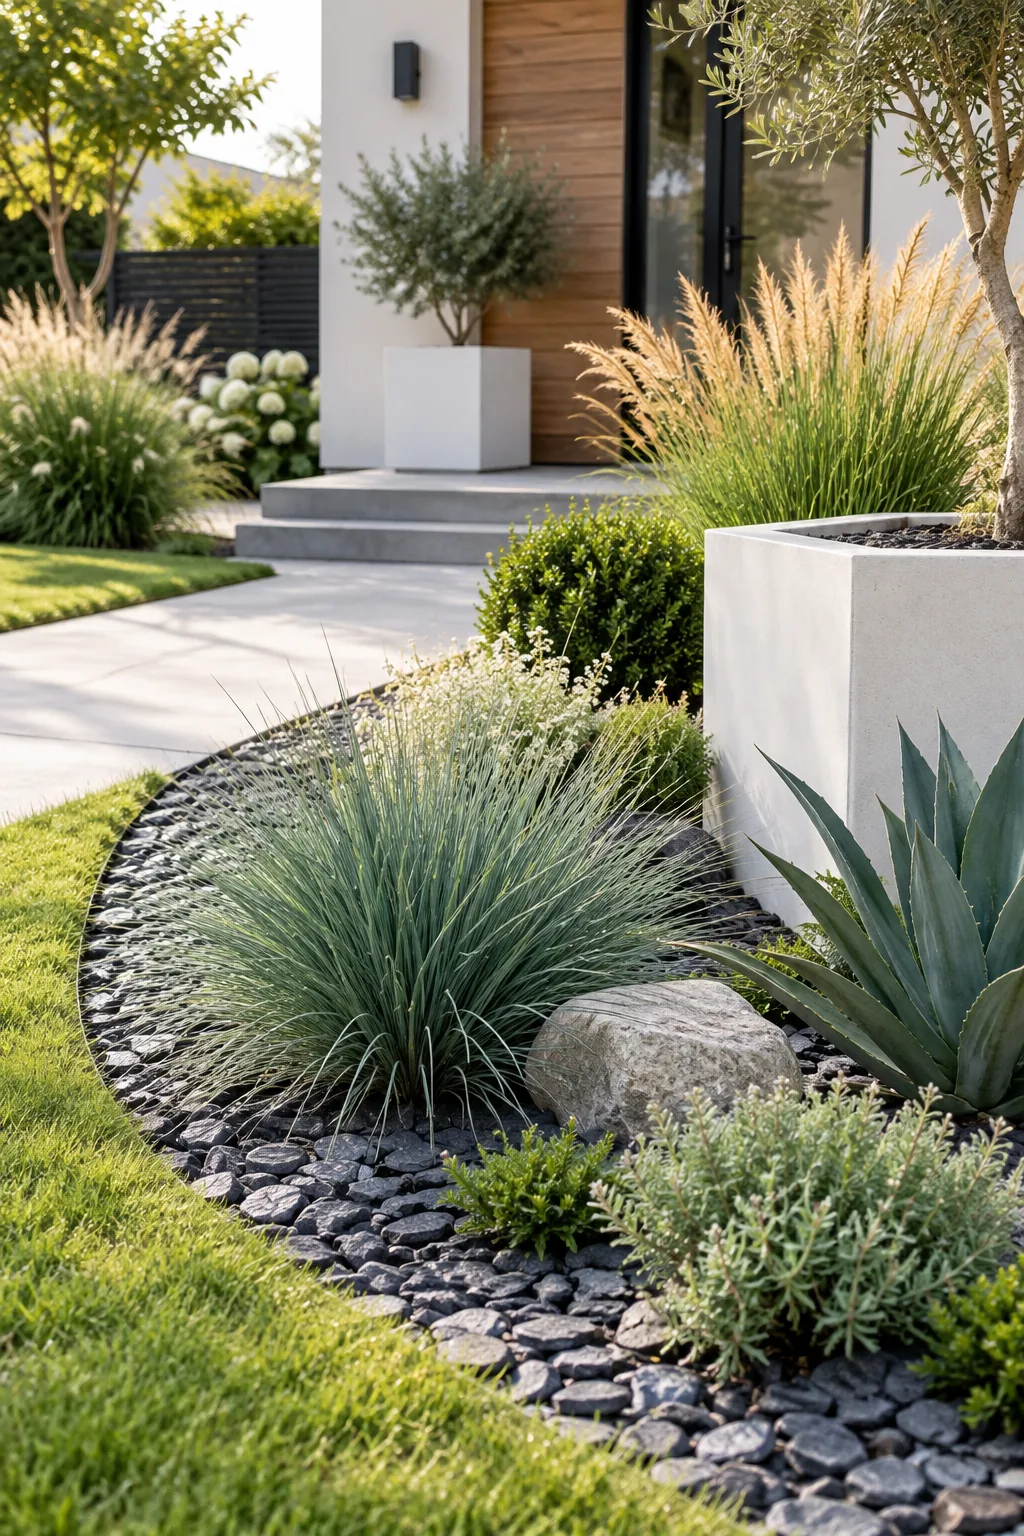
Modern Minimalist Slate Bed: Swap traditional bark for slate chips to give architectural grasses a sleek, contemporary backdrop.
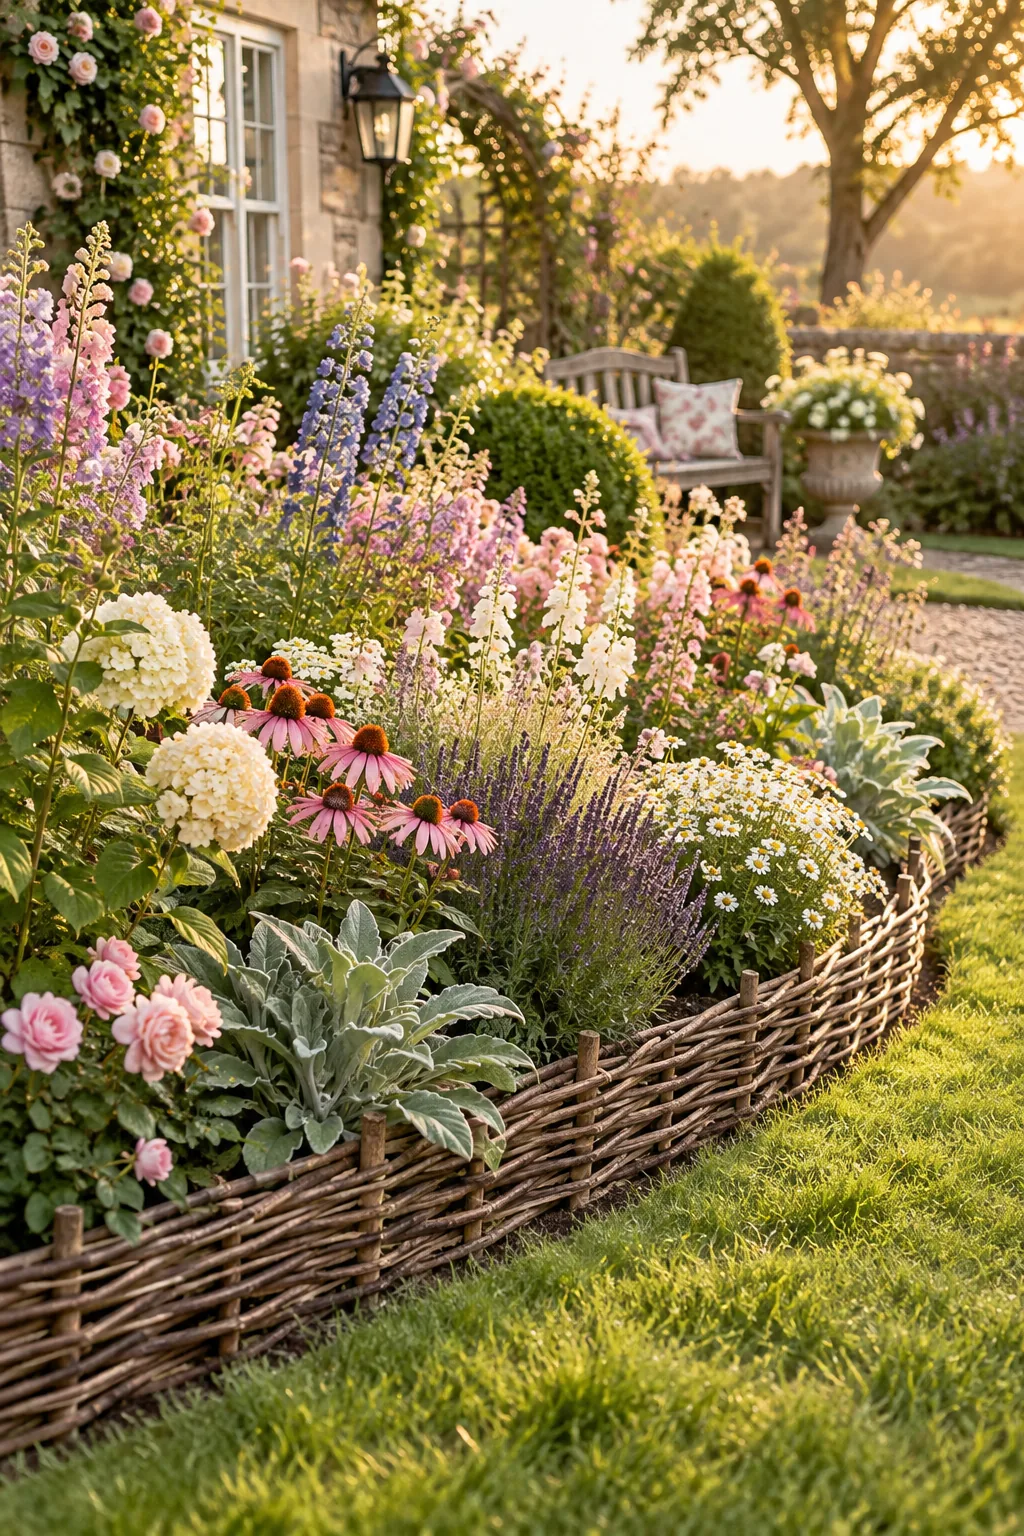
Romantic Cottage Garden Style: Pack your drifts tightly with mixed pastel perennials and finish with a woven wattle edge for rustic charm.
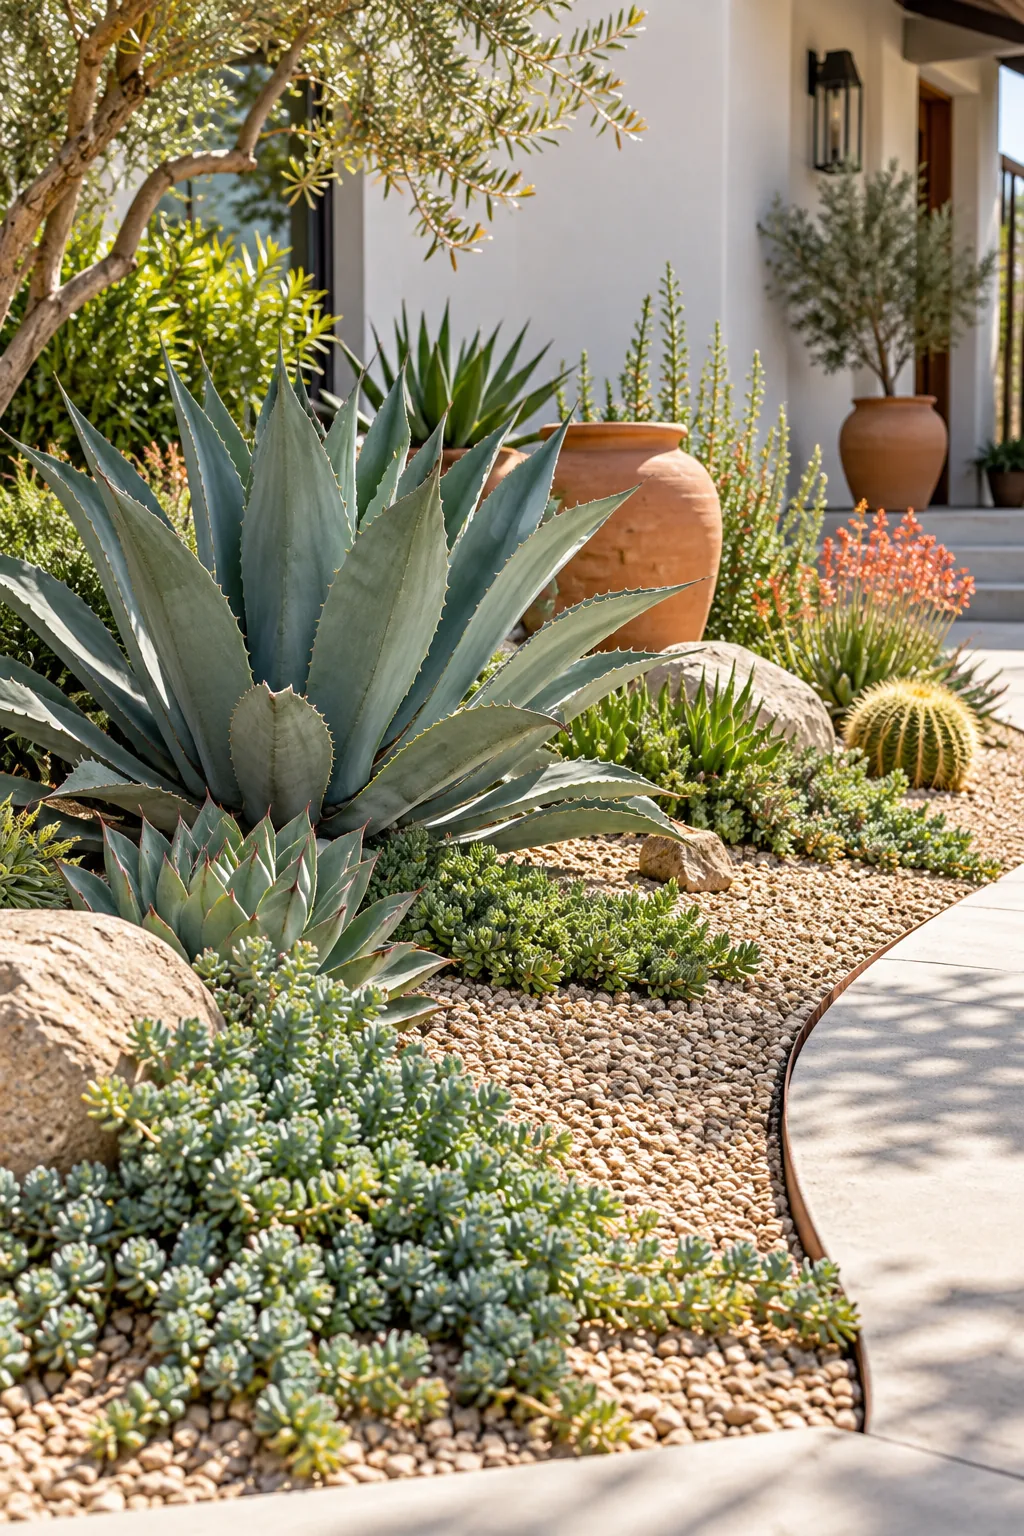
Drought-Tolerant Gravel Xeriscape: Use pea gravel instead of bark mulch to keep rot-prone succulent crowns dry while retaining deep soil moisture.
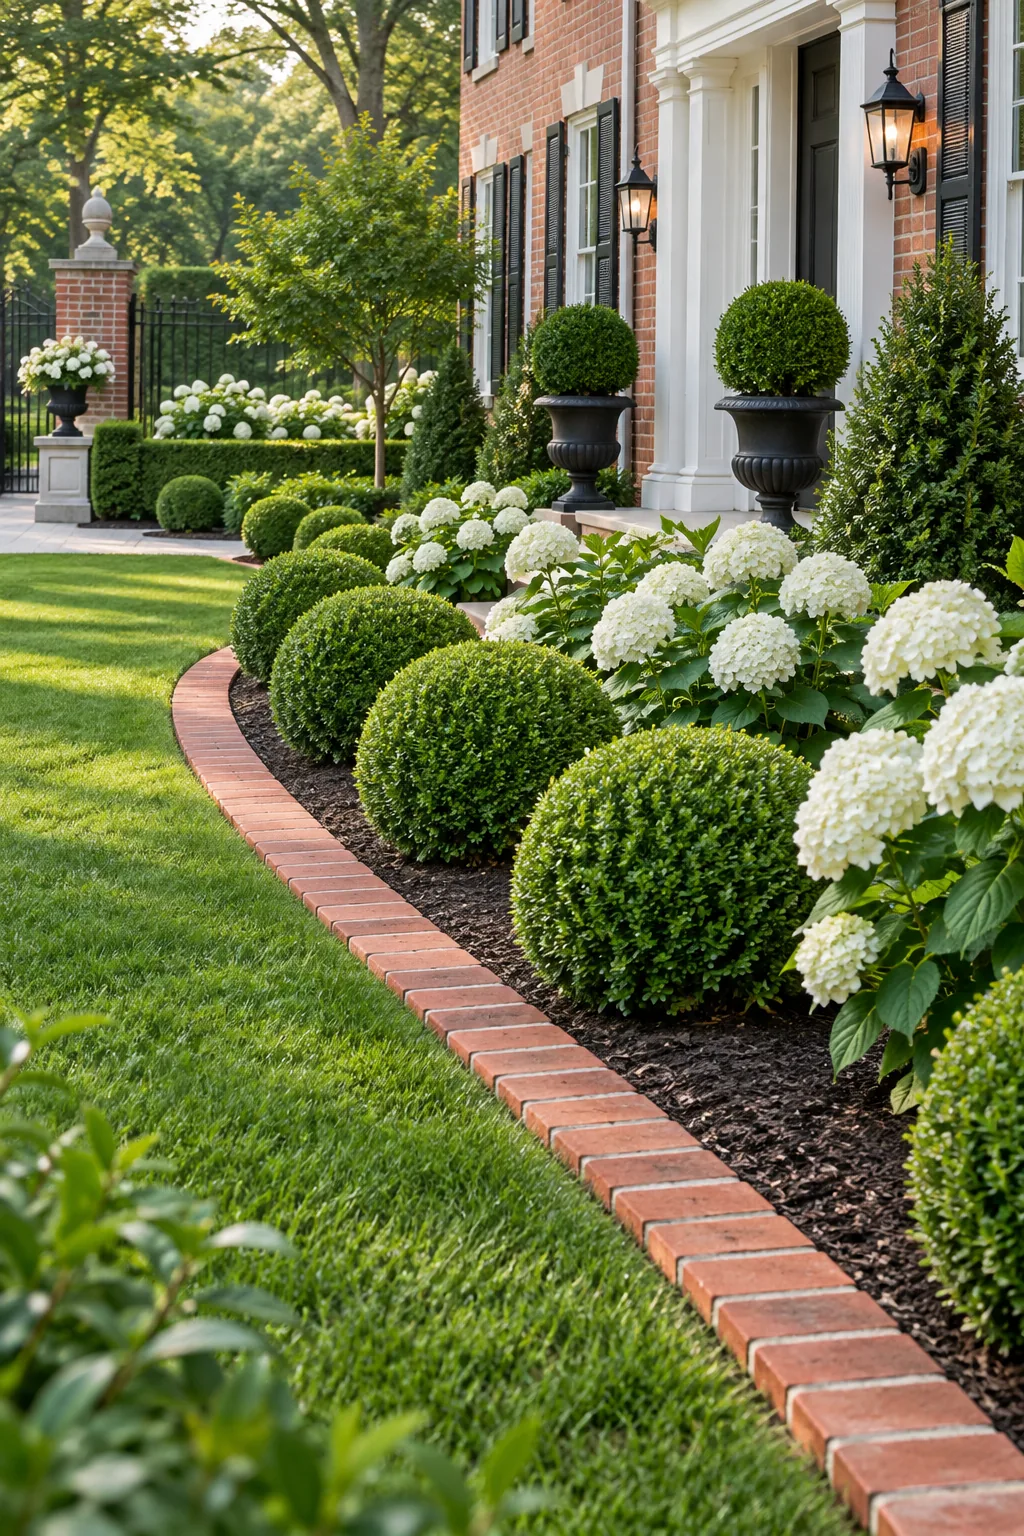
Classic Formal Estate Border: Anchor the layout with strict symmetry and use a sunken brick border for a timeless, structured finish.
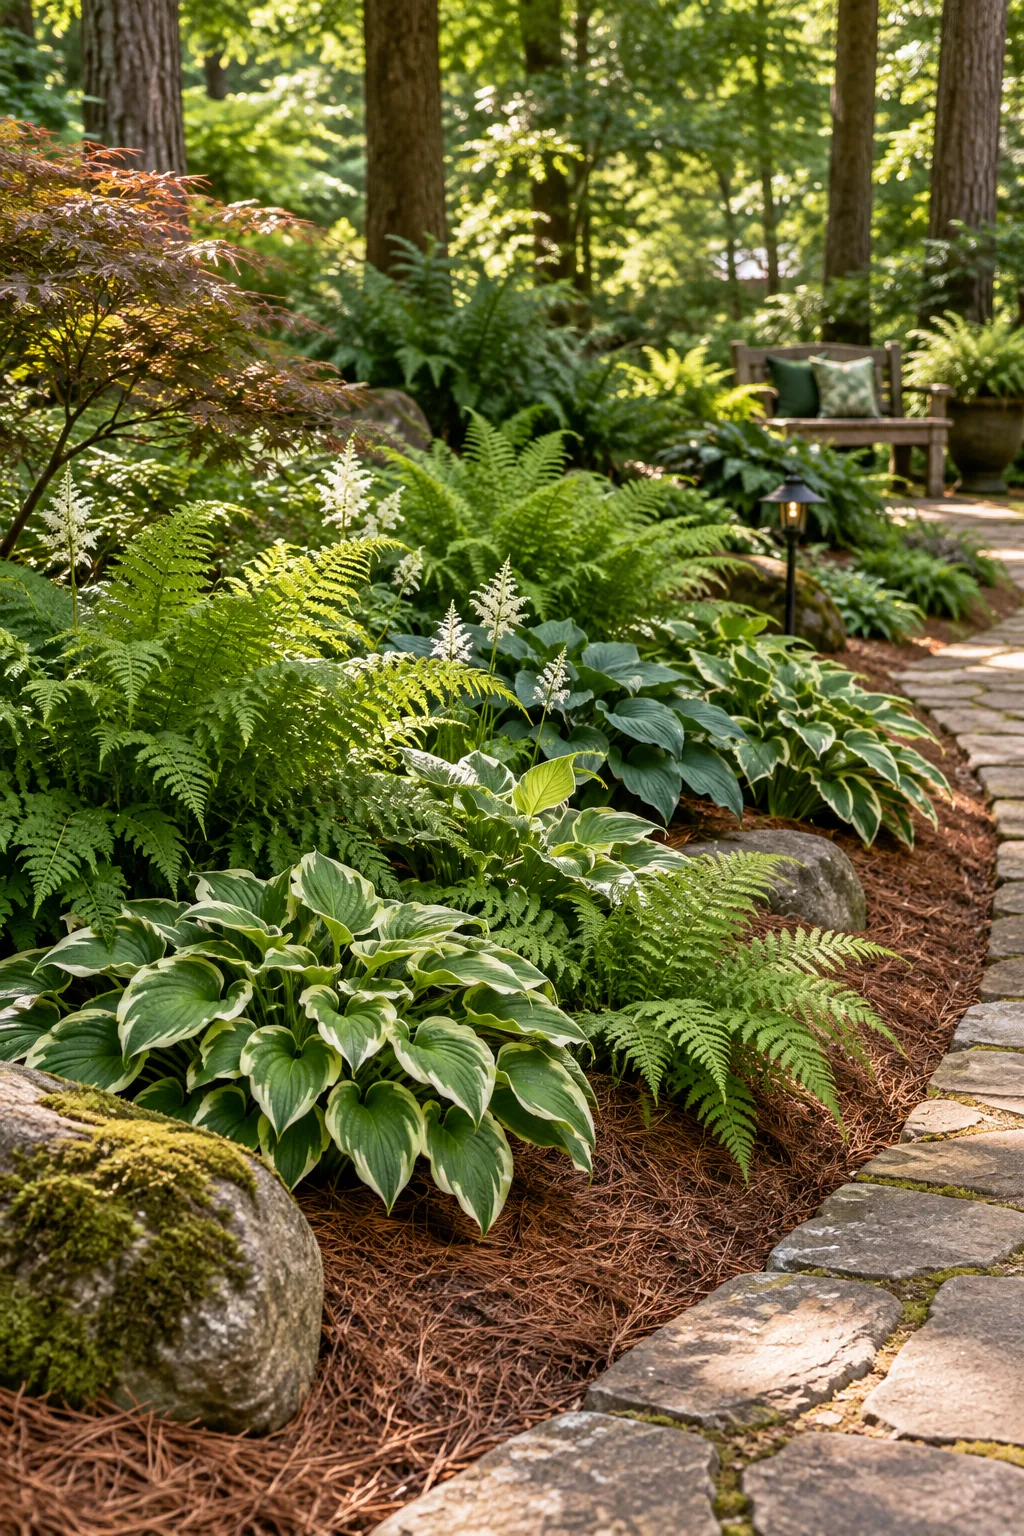
Lush Woodland Shade Garden: Lean into dappled light by layering broad hosta leaves against delicate ferns over a natural pine needle mulch.
Downloading Your Spacing Cheat Sheet
You can easily map out your evergreens, perennial drifts, and exact mature-size measurements using our printable bed layout template. Sketching your geometry on this provided grid ensures you buy the correct quantities and scale everything flawlessly on paper first.
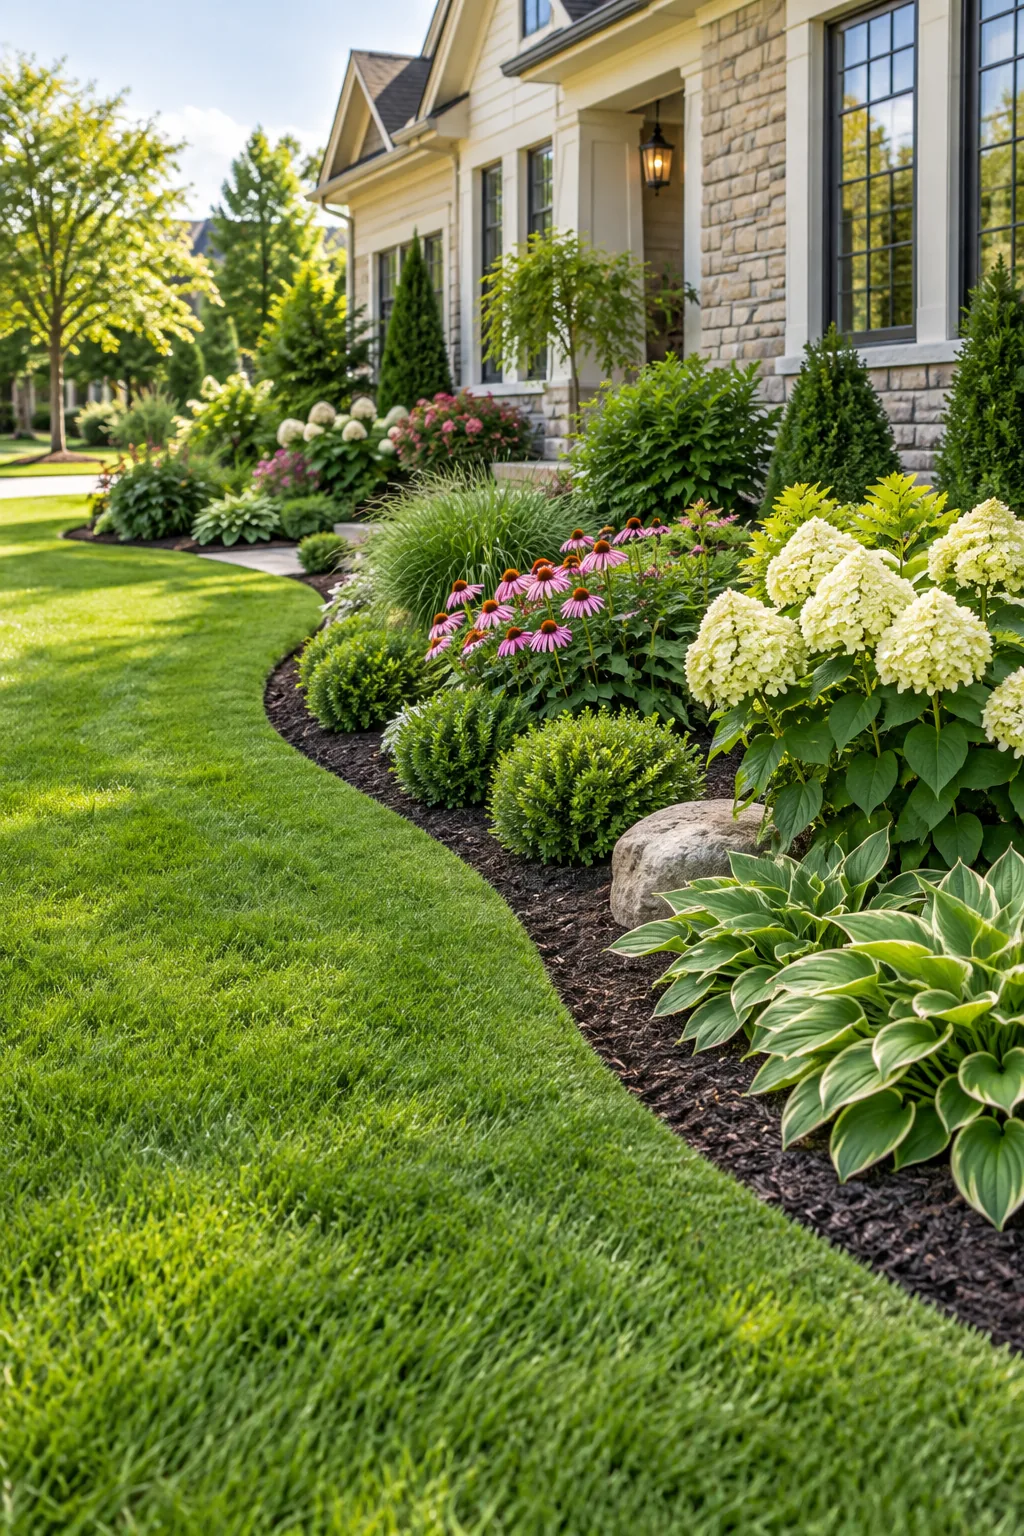
Grab the complete spacing cheat sheet right now to take the guesswork out of your next landscaping project. Having these concrete measurements in hand guarantees you will construct a perfectly layered, professional-quality garden bed from the trench edge to the final mulch.