
Custom Door Trim Secrets: The Pro Measurement Cheat Sheet
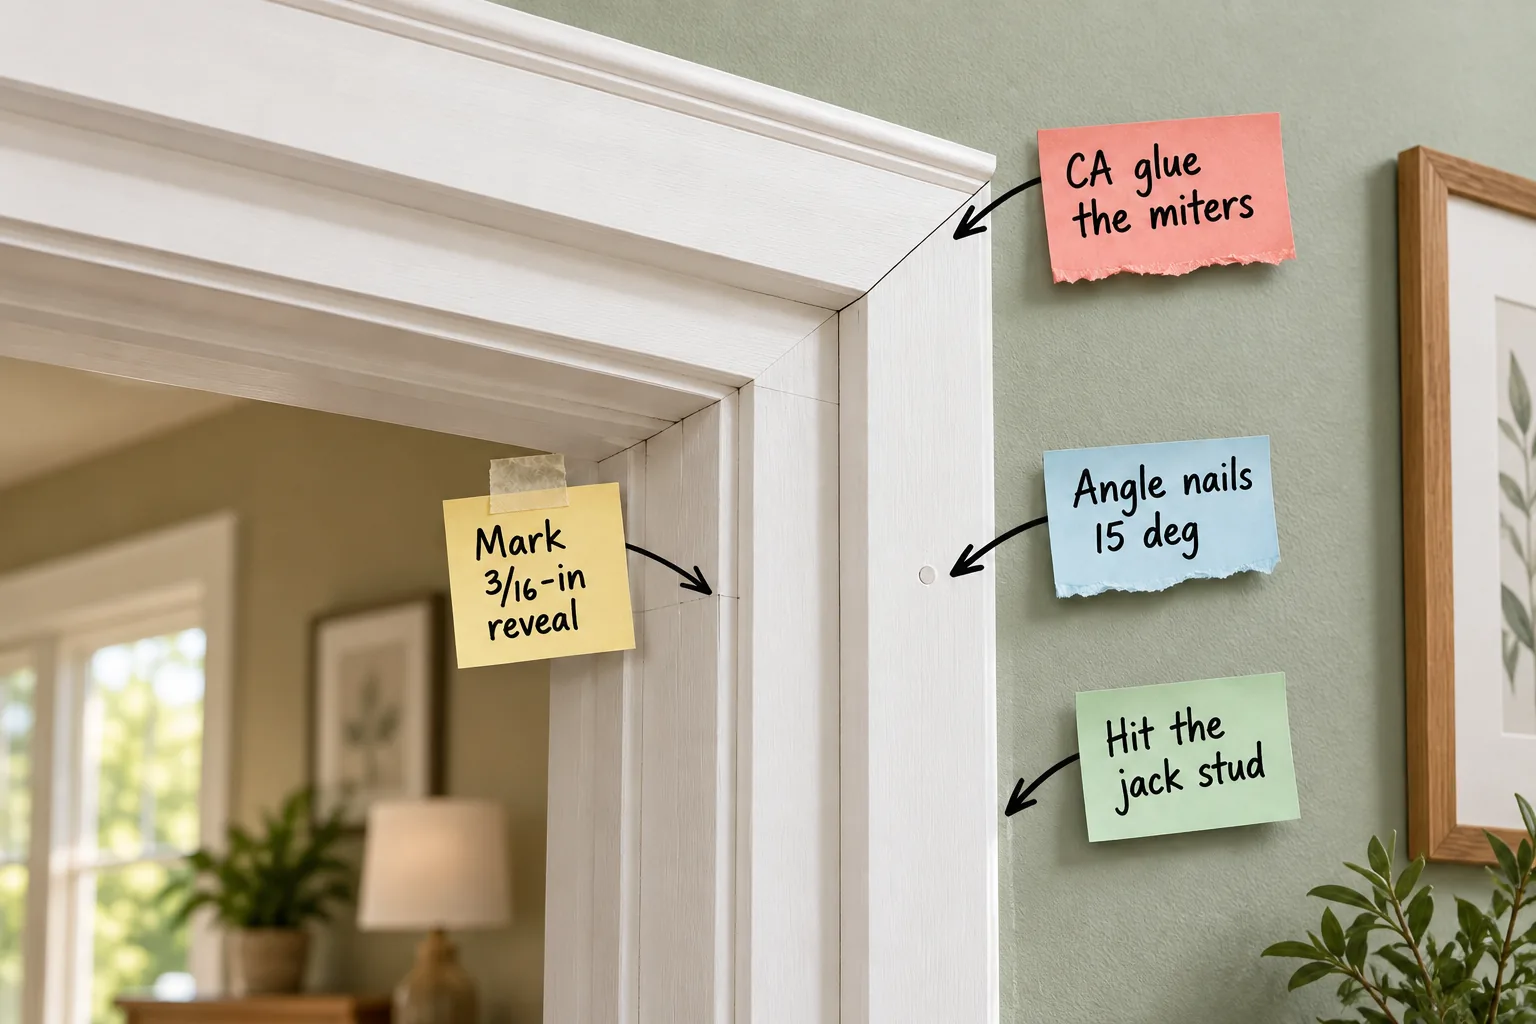
You will be able to measure, cut, and install craftsman-style door casing with perfectly tight joints using this complete Pro Trim Measurement Cheat Sheet. Master flawless door casing with the exact spacing, angles, and anchoring rules the professionals use to transform a basic doorway.
The Pro Trim Measurement Cheat Sheet
Getting the proportions right is the hardest part of upgrading builder-basic doorways, which I learned the hard way after cutting my first hallway frame entirely too short. This cheat sheet standardizes your cuts for a classic craftsman profile before you even power up the saw.
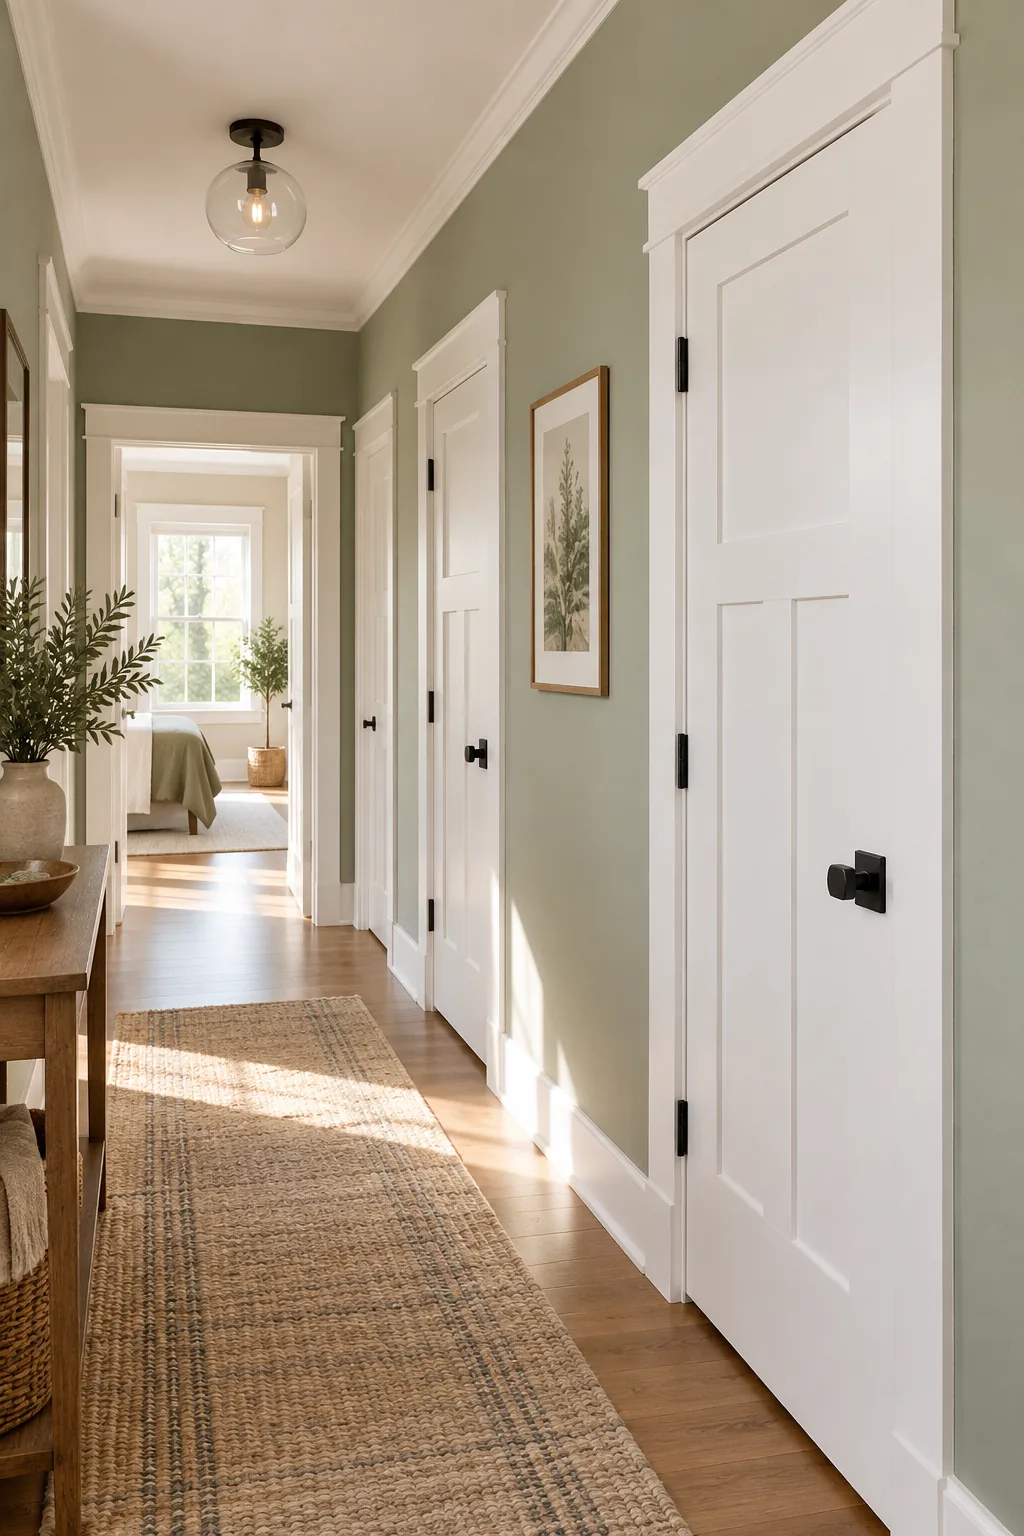
You will need a 3/16-inch jamb reveal, 1×4 side casings, a 1×6 header, and a 1-inch overhang for the header block. For fastening, always use 1-inch 18-gauge brads for the inner jamb edge and 2-inch brads for the drywall perimeter.
Sourcing the Best Trim Boards
Selecting the right lumber prevents warping and guarantees a smooth final finish, so always inspect boards down their narrow edge before purchasing. Pre-primed pine offers the absolute best balance of structural stability and affordability for painted interior trim projects.
| Trim Part | Board Size | Ideal Material | Fastener Length |
|---|---|---|---|
| Side Casing | 1×4 | Primed Pine | 2-inch |
| Header Board | 1×6 | Primed Pine | 2-inch |
| Header Cap | 1×2 | Clear Pine | 1.5-inch |
| Jamb Edge | N/A | N/A | 1-inch |
Transport your boards flat in your vehicle and let them acclimate inside your house for at least forty-eight hours before making any cuts. This crucial waiting period prevents the wood from shrinking drastically after it is permanently attached to your bedroom walls.
Setting the Perfect 3/16-Inch Reveal
Marking the inner door jamb to create an essential step-back margin is the defining step of professional trim carpentry. Using a combination square set to exactly 3/16 of an inch ensures the door hinges have proper clearance to operate without binding.
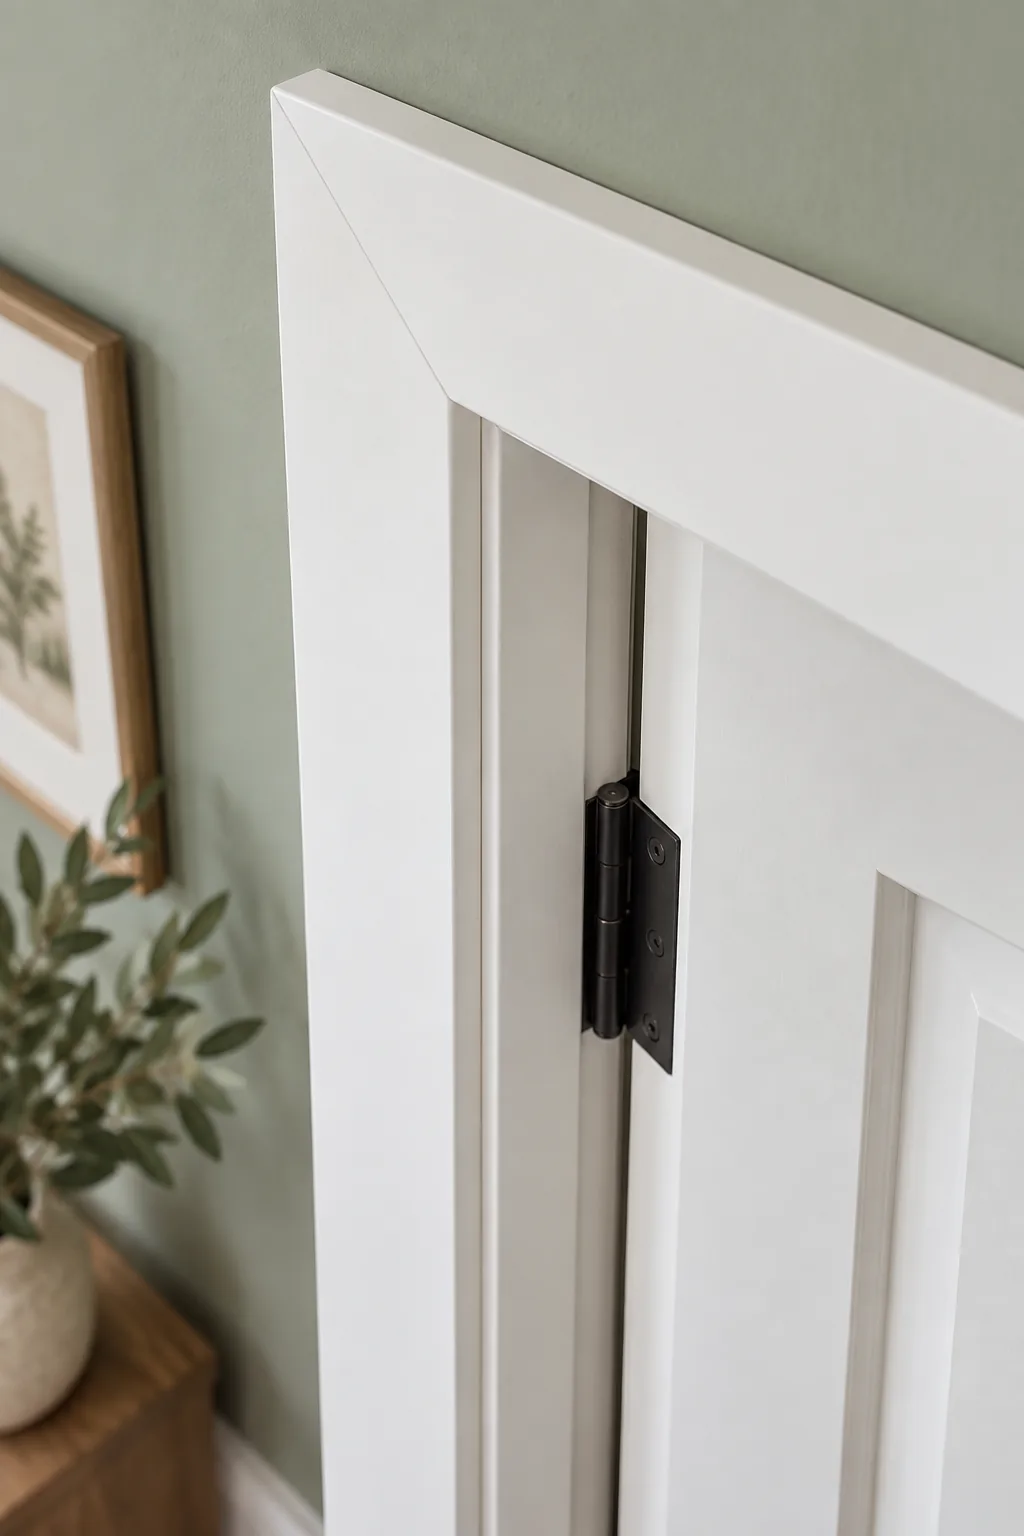
Before marking the entire perimeter of the jamb, gather the essential layout tools required for consistent spacing so you never have to guess or eyeball the measurements.
Why the Shadow Line Matters
Creating that tiny step-back margin does more than just clear the hinges; it forms a crisp, professional shadow line that beautifully hides minor framing dips. If the jamb and casing were perfectly flush, even a millimeter of shifting would look like a glaring mistake.
- Measure the top corner first to establish your starting reference point.
- Mark the side jambs every twelve inches to keep the reveal perfectly consistent.
- Connect the marks lightly with your pencil to form a continuous visual guide.
Following this precise marking sequence guarantees your side casings will stand perfectly parallel to the door itself, regardless of how plumb the rough framing underneath might actually be.
Measuring Your Vertical Cuts
Once your reveal lines are drawn securely on the wood, carefully measure from the finished floor straight up to the intersection of your top and side pencil marks. Always measure both the left and right sides independently, because floors are rarely perfectly level in any home.
Locking Miters with CA Glue
Assembling top corners before nailing them to the wall prevents the joint from opening during seasonal humidity changes. I used to rely entirely on nails until a humid Austin summer popped every single corner joint in my living room wide open!
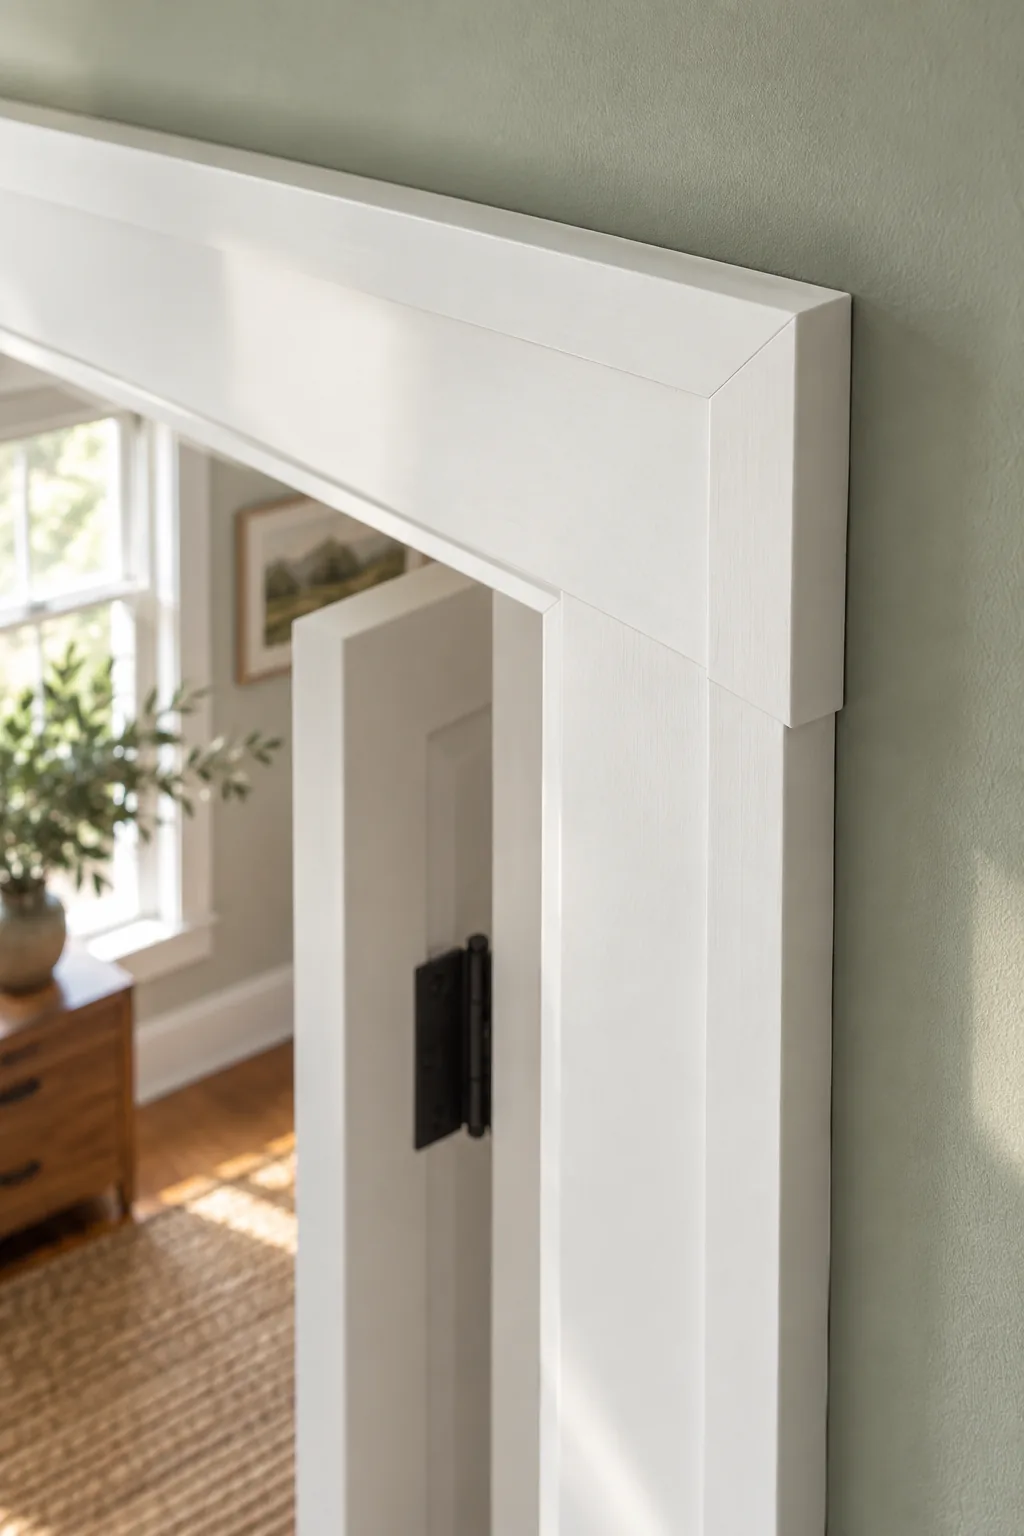
For the strongest possible bond, the specialized adhesive requires a specific application and assembly method to prevent irreversible misalignment before the glue fully sets.
Activating the Adhesive Instantly
Applying cyanoacrylate (CA) glue to one mitered edge and a chemical aerosol activator to the other creates an instant, unbreakable bond. The exact moment the two treated surfaces touch, the liquid adhesive crystallizes rapidly and locks the delicate wood fibers together permanently.
Angling Brad Nails at 15 Degrees
Driving 18-gauge brad nails at a 15-degree angle rather than straight in creates a mechanical lock inside the wood. I started doing this in my own workshop, and it completely stopped the casing from pulling away from the drywall over time.
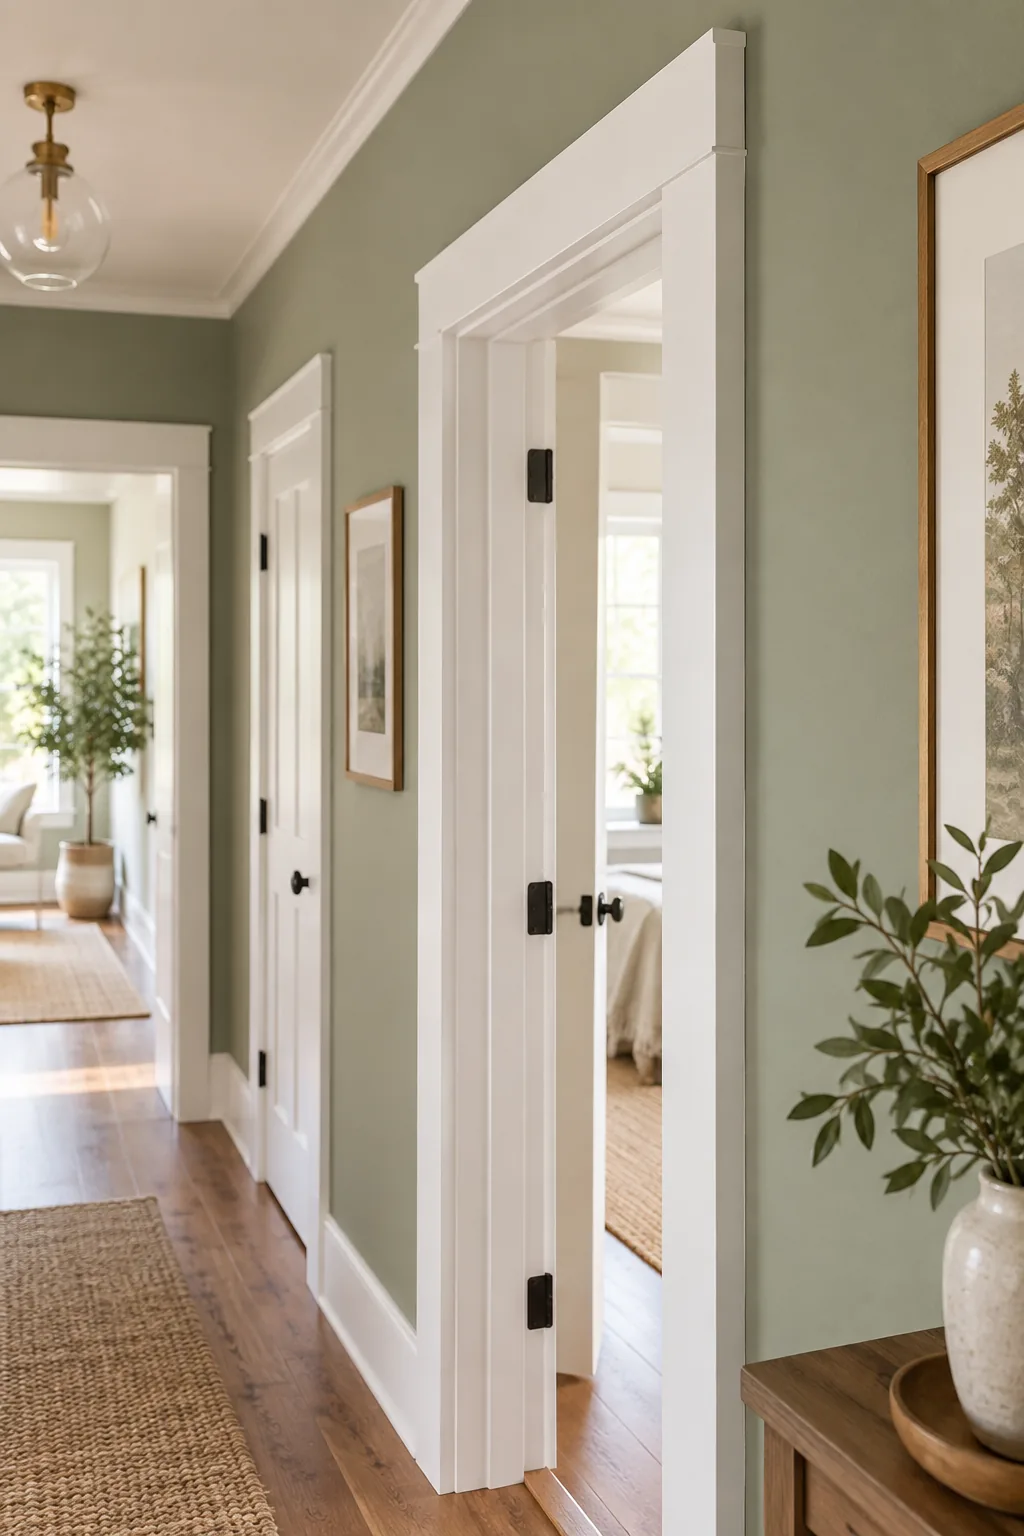
Alternating the exact angle of each subsequent nail creates a hidden dovetail effect that grips the underlying door jamb far better than straight fasteners ever could.
Calibrating Your Nail Gun Depth
Before firing into your beautifully finished trim, test your pneumatic nail gun pressure on a piece of scrap wood to ensure the brads sink just below the surface. If the air pressure is set too high, the nail will blow straight through the soft pine.
Anchoring into the Jack Stud
Securing the heavy outer edge of the trim requires longer fasteners that can fully penetrate the drywall and anchor deep into the solid wood framing. Nails driven through the thickest part of the casing must successfully hit the jack stud beneath.
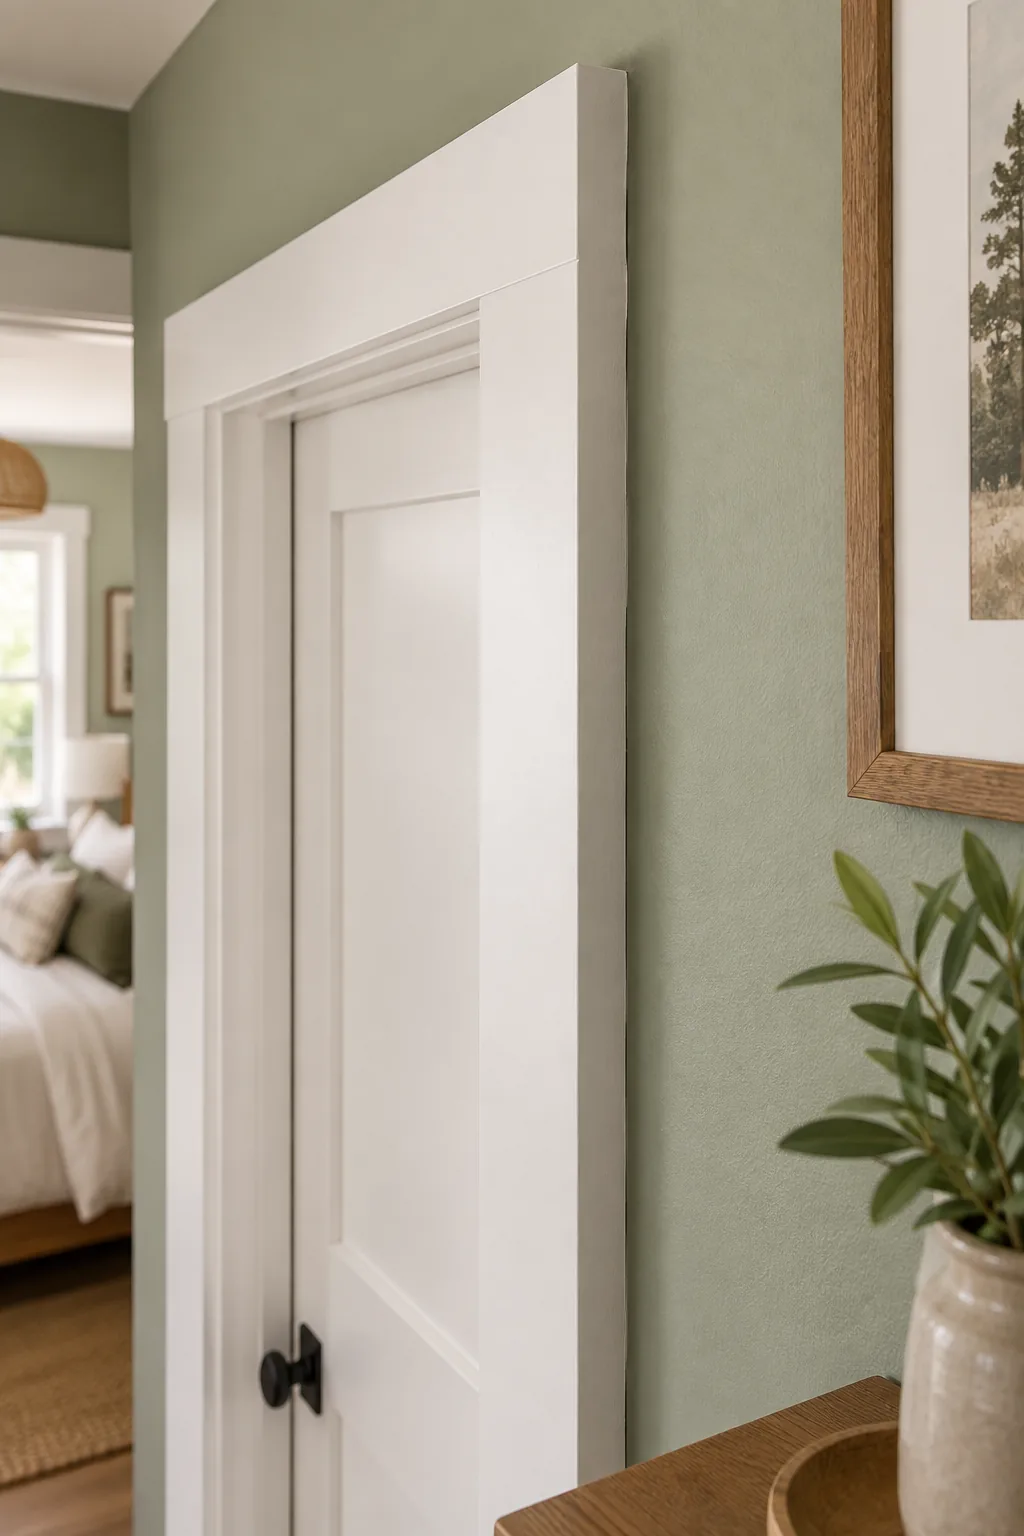
Using 2-inch brad nails for this outer perimeter ensures maximum structural stability, preventing the heavy trim from flexing or vibrating whenever the solid-core door is slammed shut.
Locating the Hidden Framing
Finding the solid wood behind half an inch of drywall is absolutely crucial for a secure and long-lasting installation. The structural jack stud always runs vertically directly alongside the door frame, providing a reliable, continuous anchoring surface for your heavy two-inch outer fasteners.
Concealing Fasteners Flawlessly
To make those tiny brad nail holes disappear entirely, overfill them slightly with a non-shrinking wood filler so the putty mounds just above the flat surface. Press the filler firmly into the hole with your fingertip to eliminate any trapped air pockets.
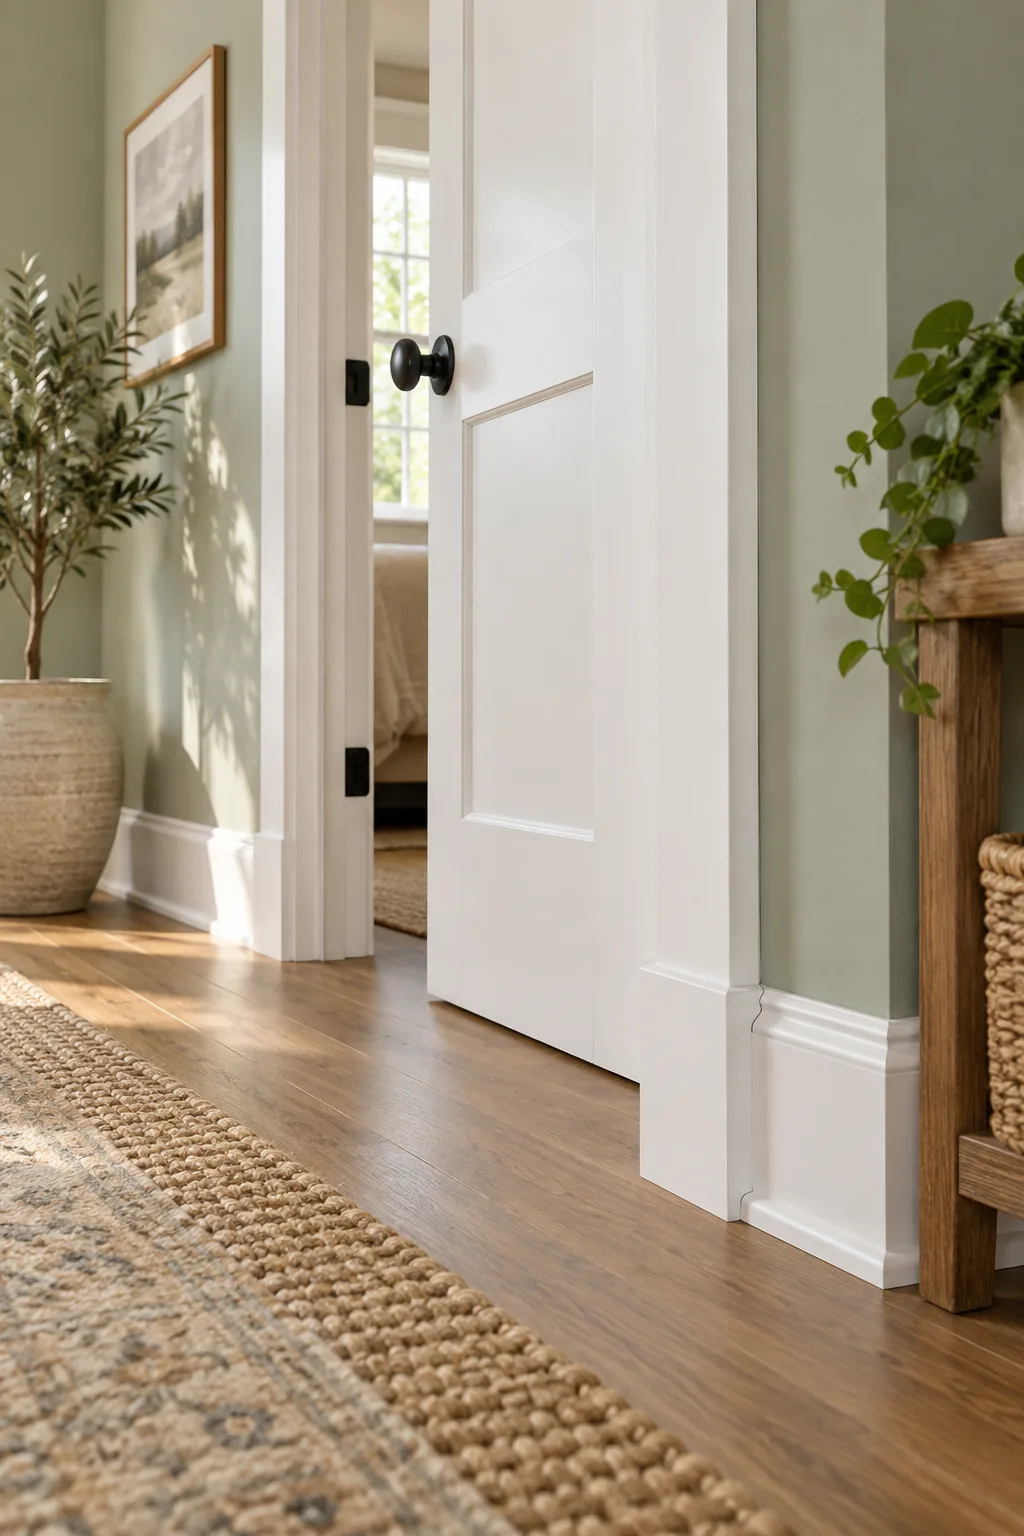
Sanding the filled spots completely flush with 220-grit paper ensures the flat craftsman profile remains perfectly smooth and seamless under a high-gloss enamel finish.
Prepping for a Smooth Finish
Taking the extra time to thoroughly vacuum the sanded trim and wipe it down with a slightly damp microfiber cloth removes all residual dust from the open pores. Skipping this vital step will leave gritty textures trapped permanently beneath your final coats of expensive paint.
Custom Door Trim Inspiration
Explore how different paint palettes and wood finishes can transform the same classic craftsman trim profile.
Classic White and Sage: The traditional bright white finish highlights the sharp, architectural lines of the casing against calming green tones.
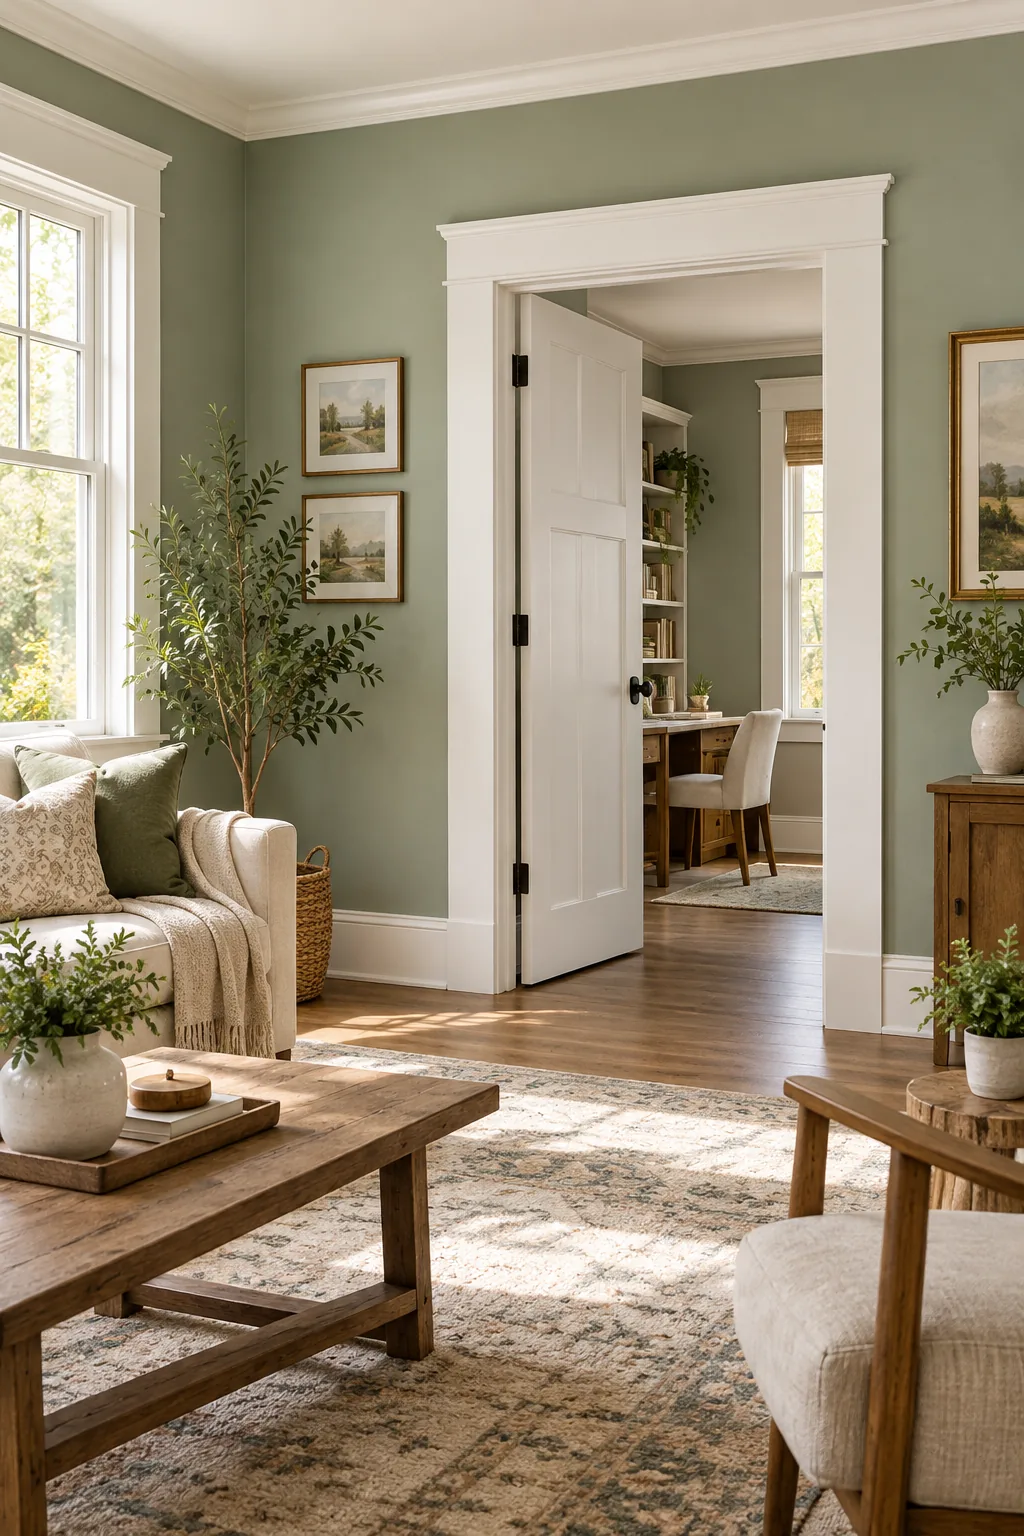
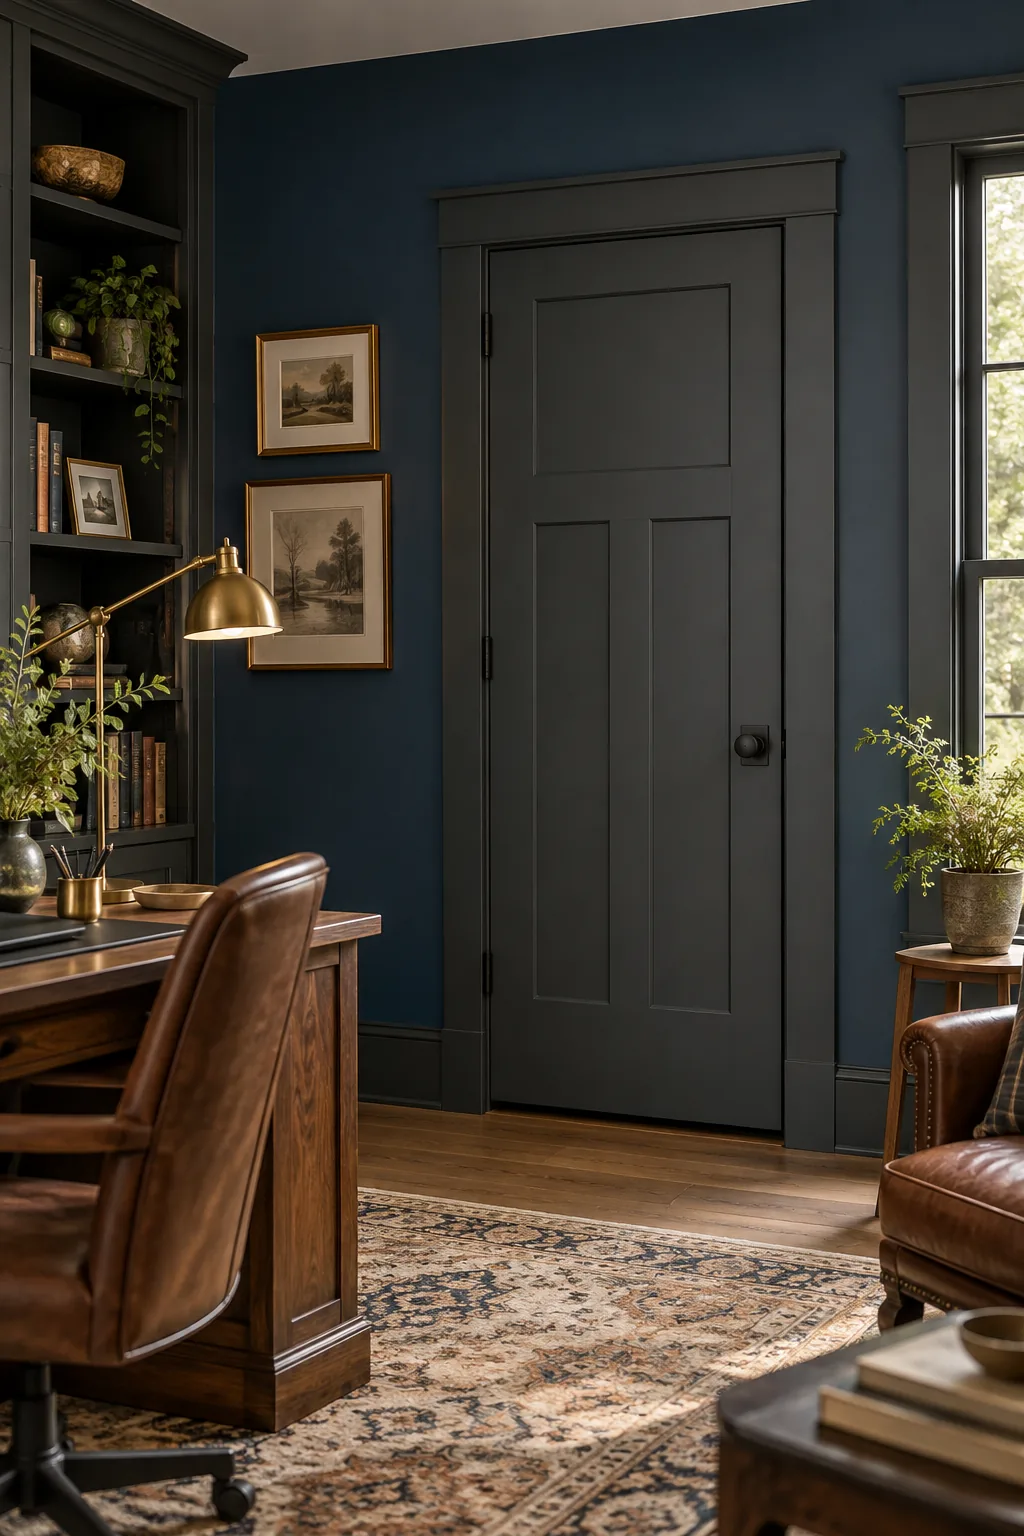
Moody Charcoal and Navy: Painting the trim in a dark charcoal adds a layer of sophisticated depth to a moody, saturated room.
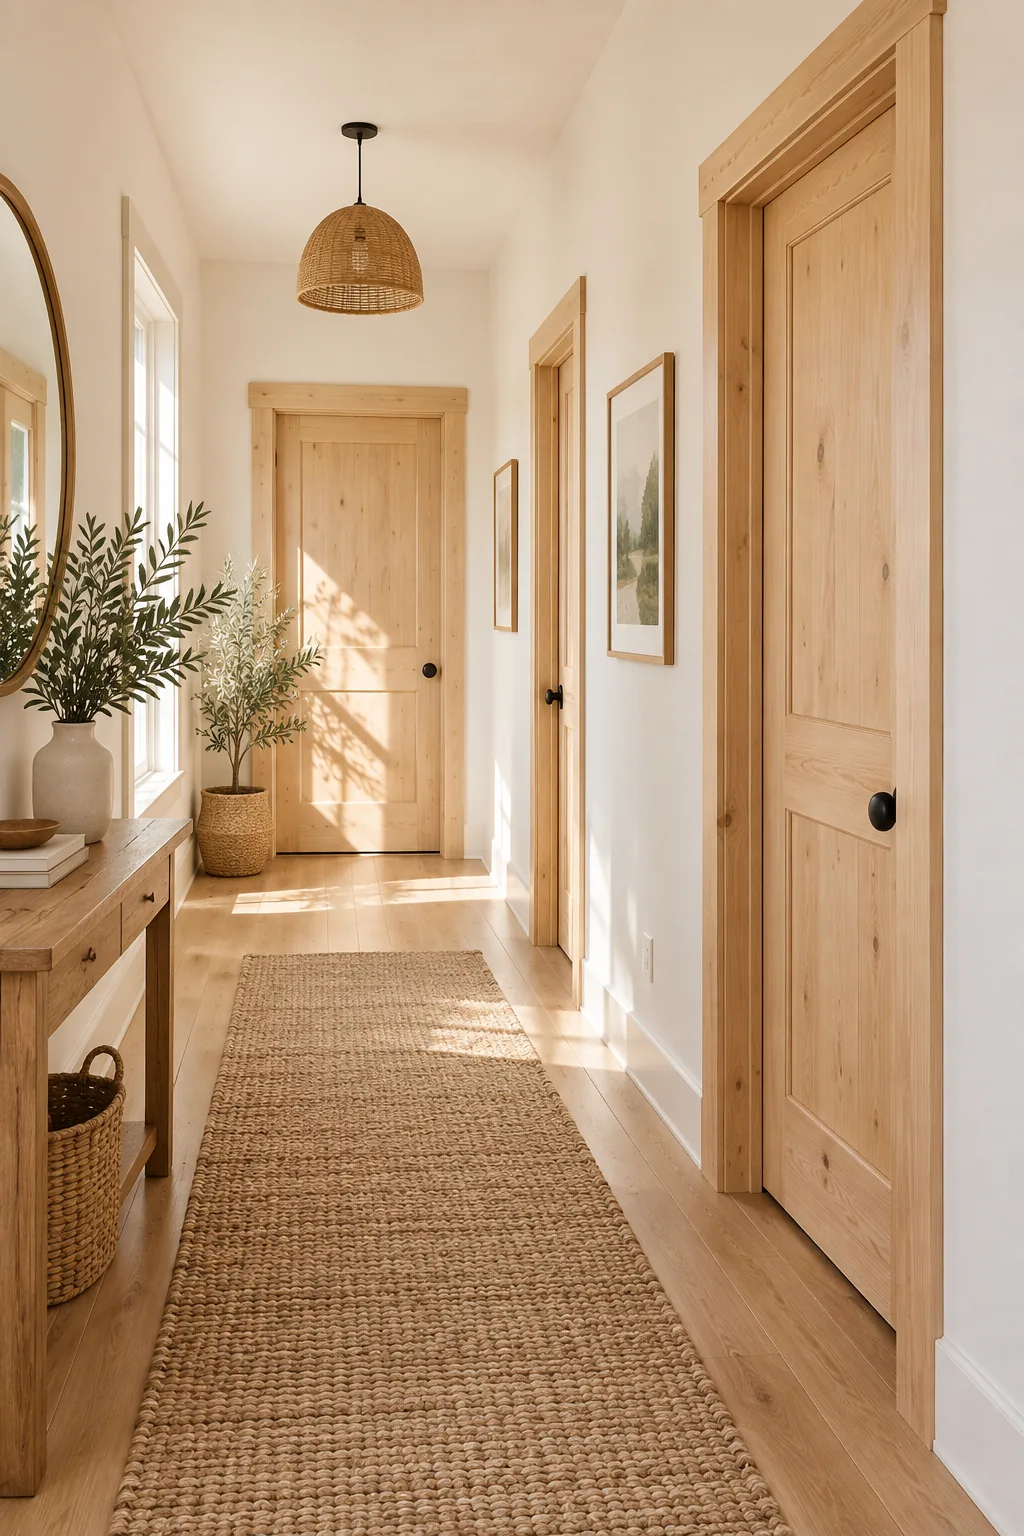
Natural Pine and Warm White: Leaving the natural wood grain exposed brings organic warmth and texture to an otherwise minimalist space.
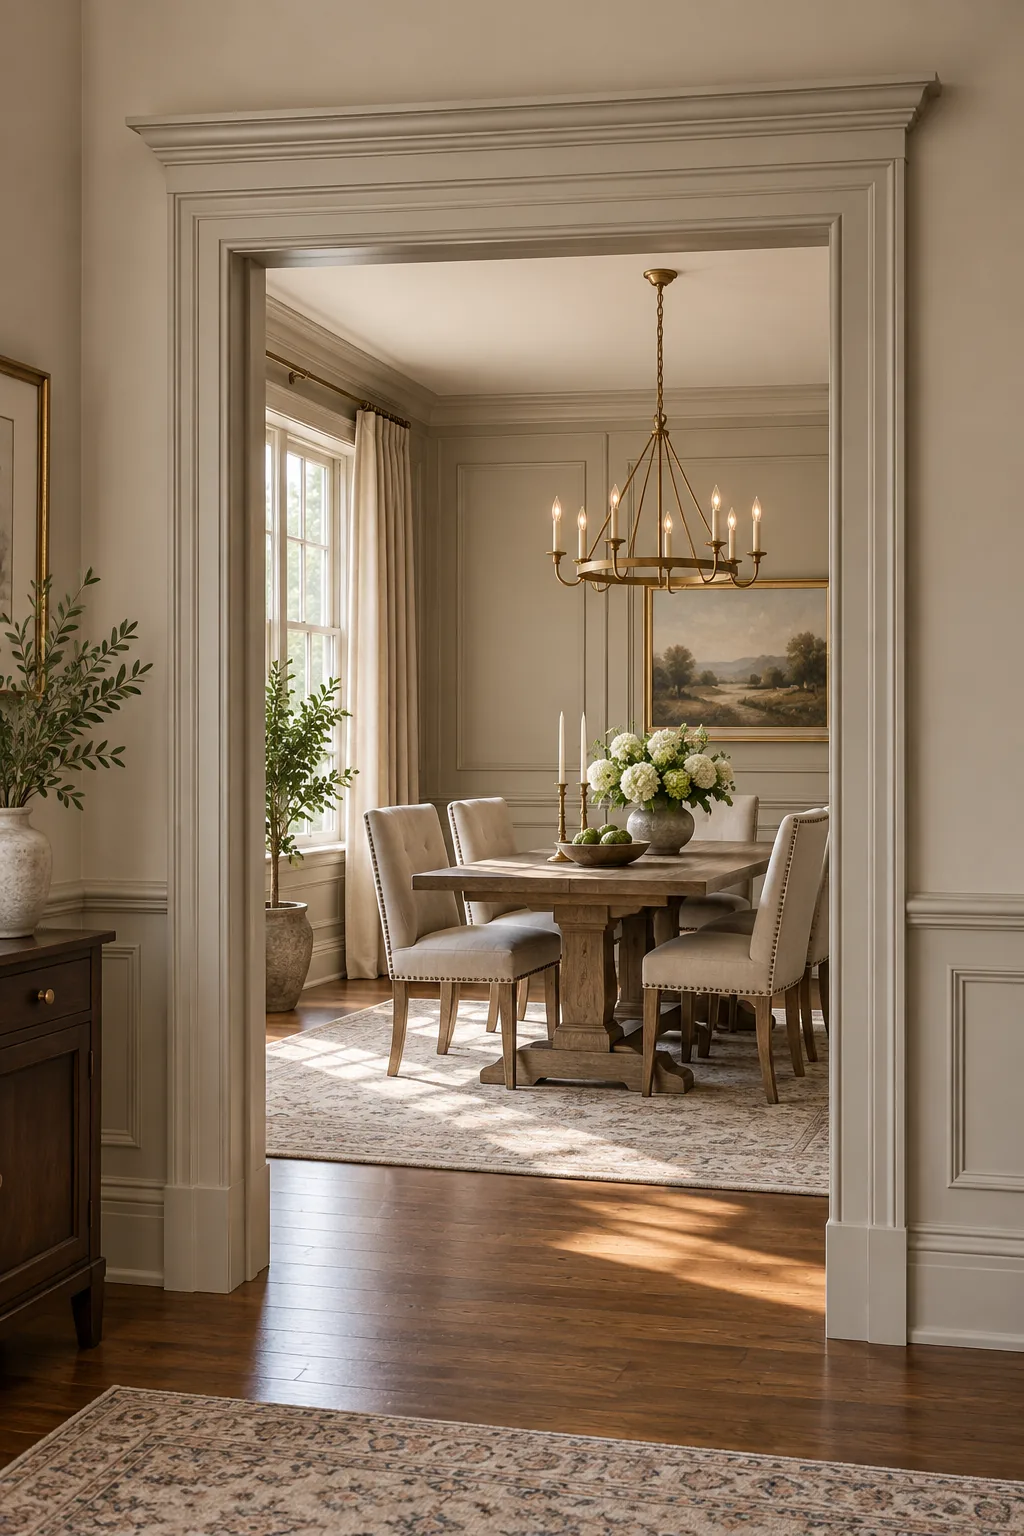
Traditional Greige Elegance: Color-drenching the room by matching the trim to the wall color creates a seamless, highly elegant dining space.
Bold Black and Blush: High-gloss black casing frames the doorway like a piece of art, grounding the soft pastel pink walls perfectly.

Finishing with Paint and Caulk
Running a thin, consistent bead of paintable acrylic latex caulk along the outer edge bridges the inevitable gap between the rigid wood and the wavy drywall. Smooth the caulk immediately with a damp finger to create a flawless, invisible transition.
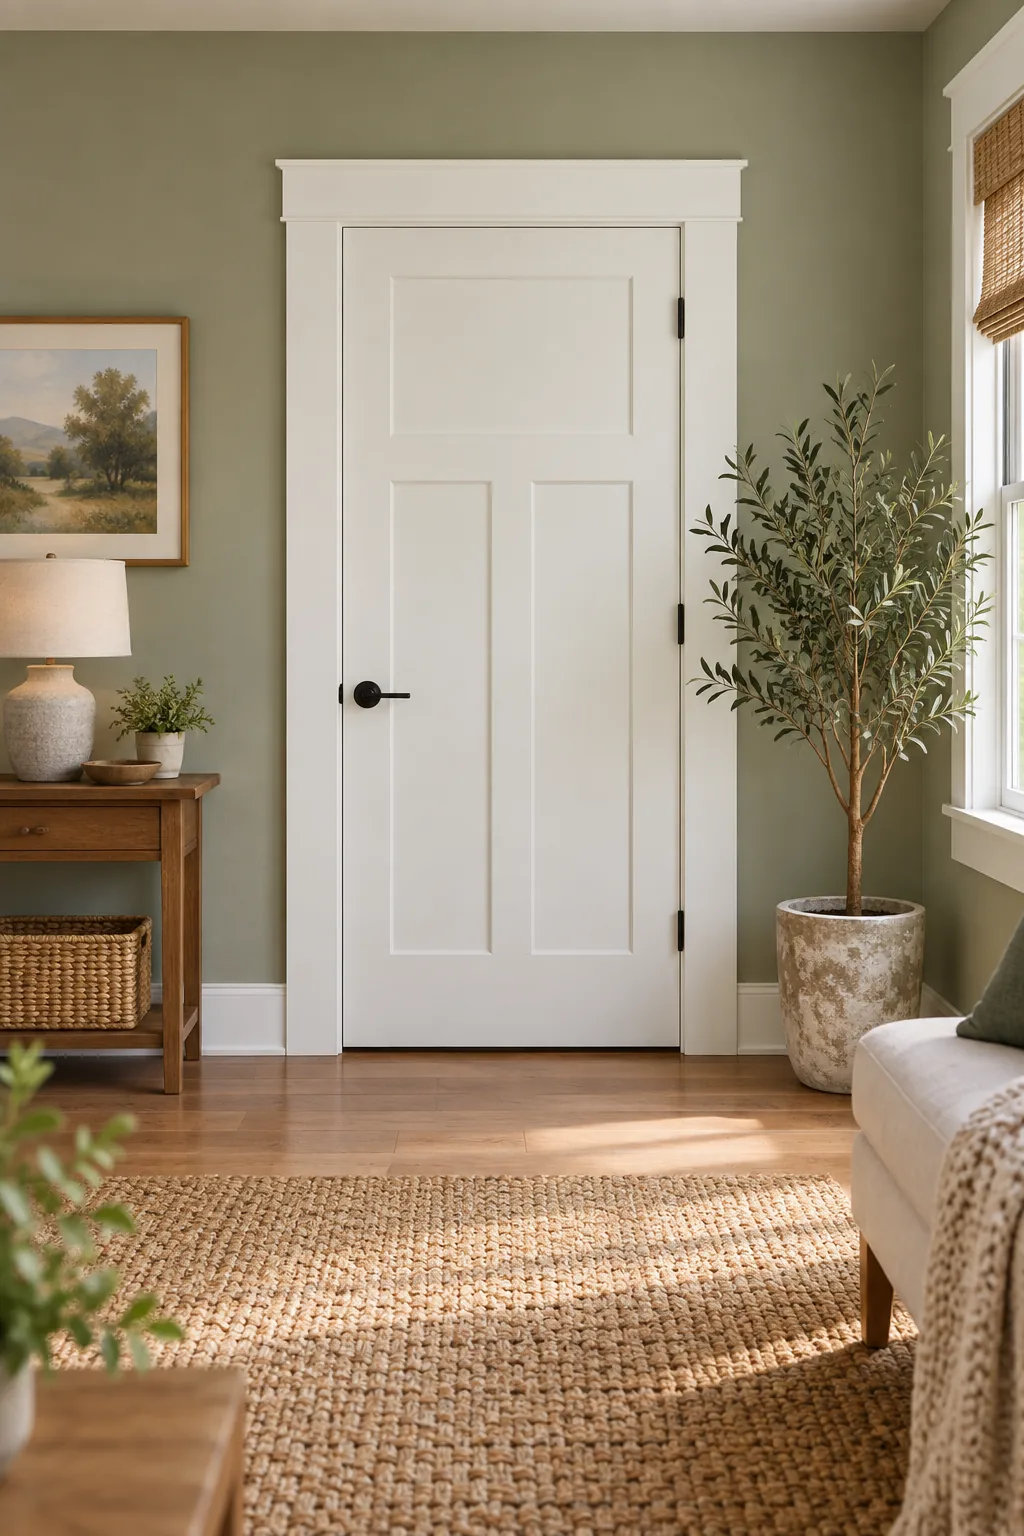
This seamless integration allows your crisp white trim paint to pop cleanly against colored walls, elevating the entire room with a truly professional, custom finish.