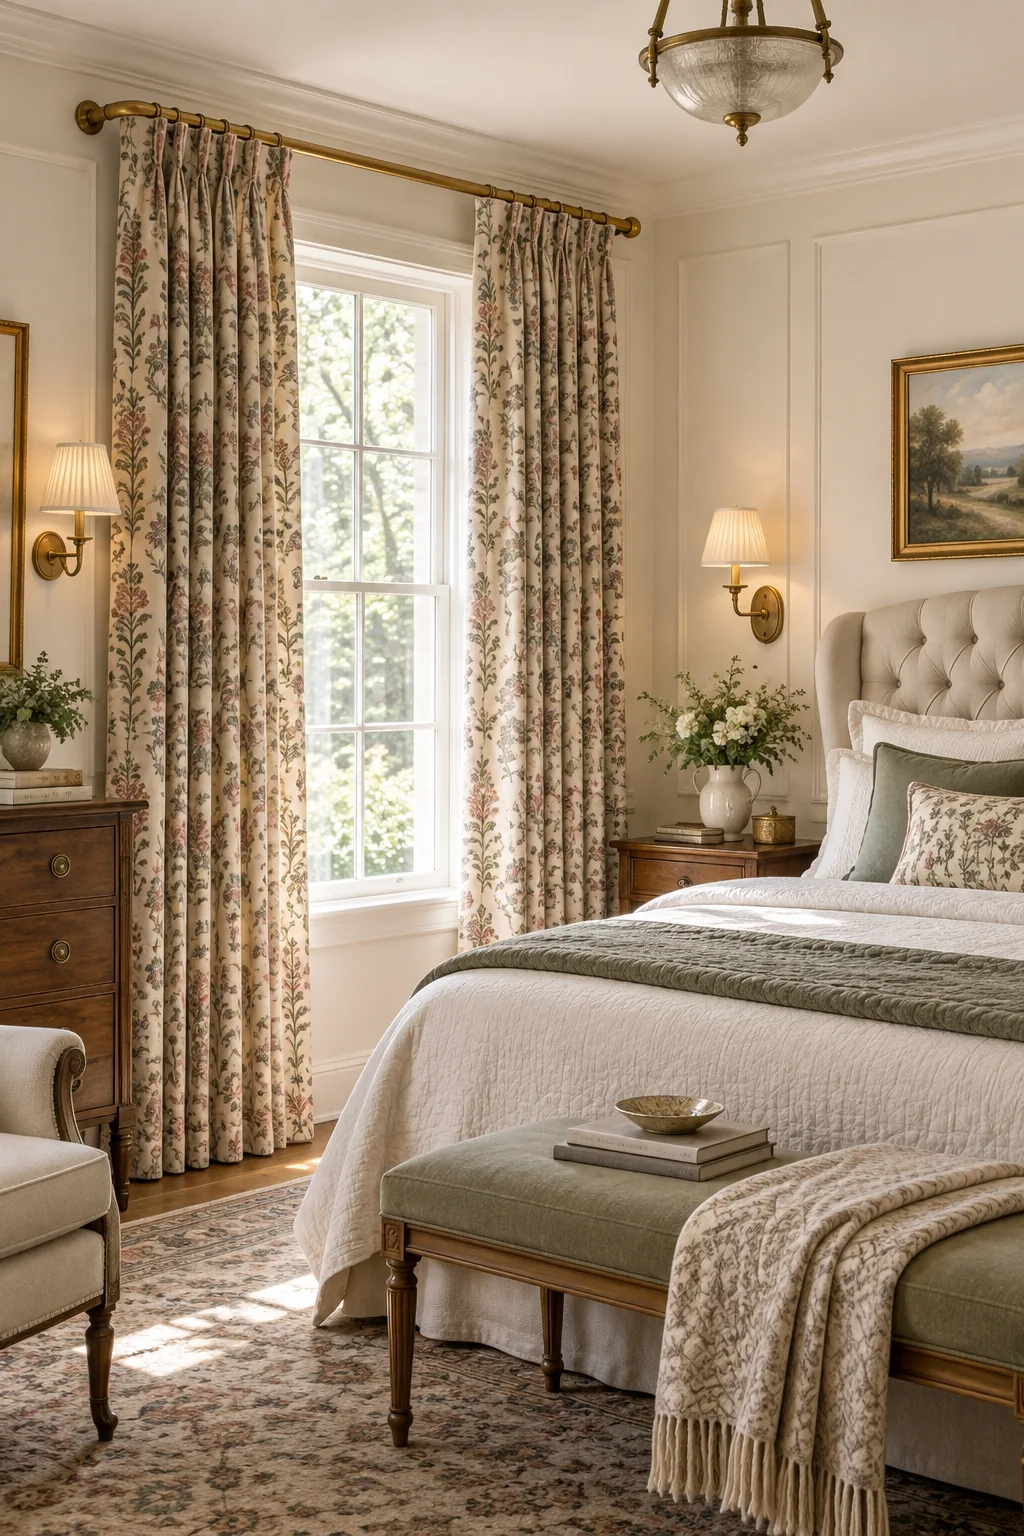
Bedroom Window Tricks: The Hotel Sleep Setup & Cheat Sheet
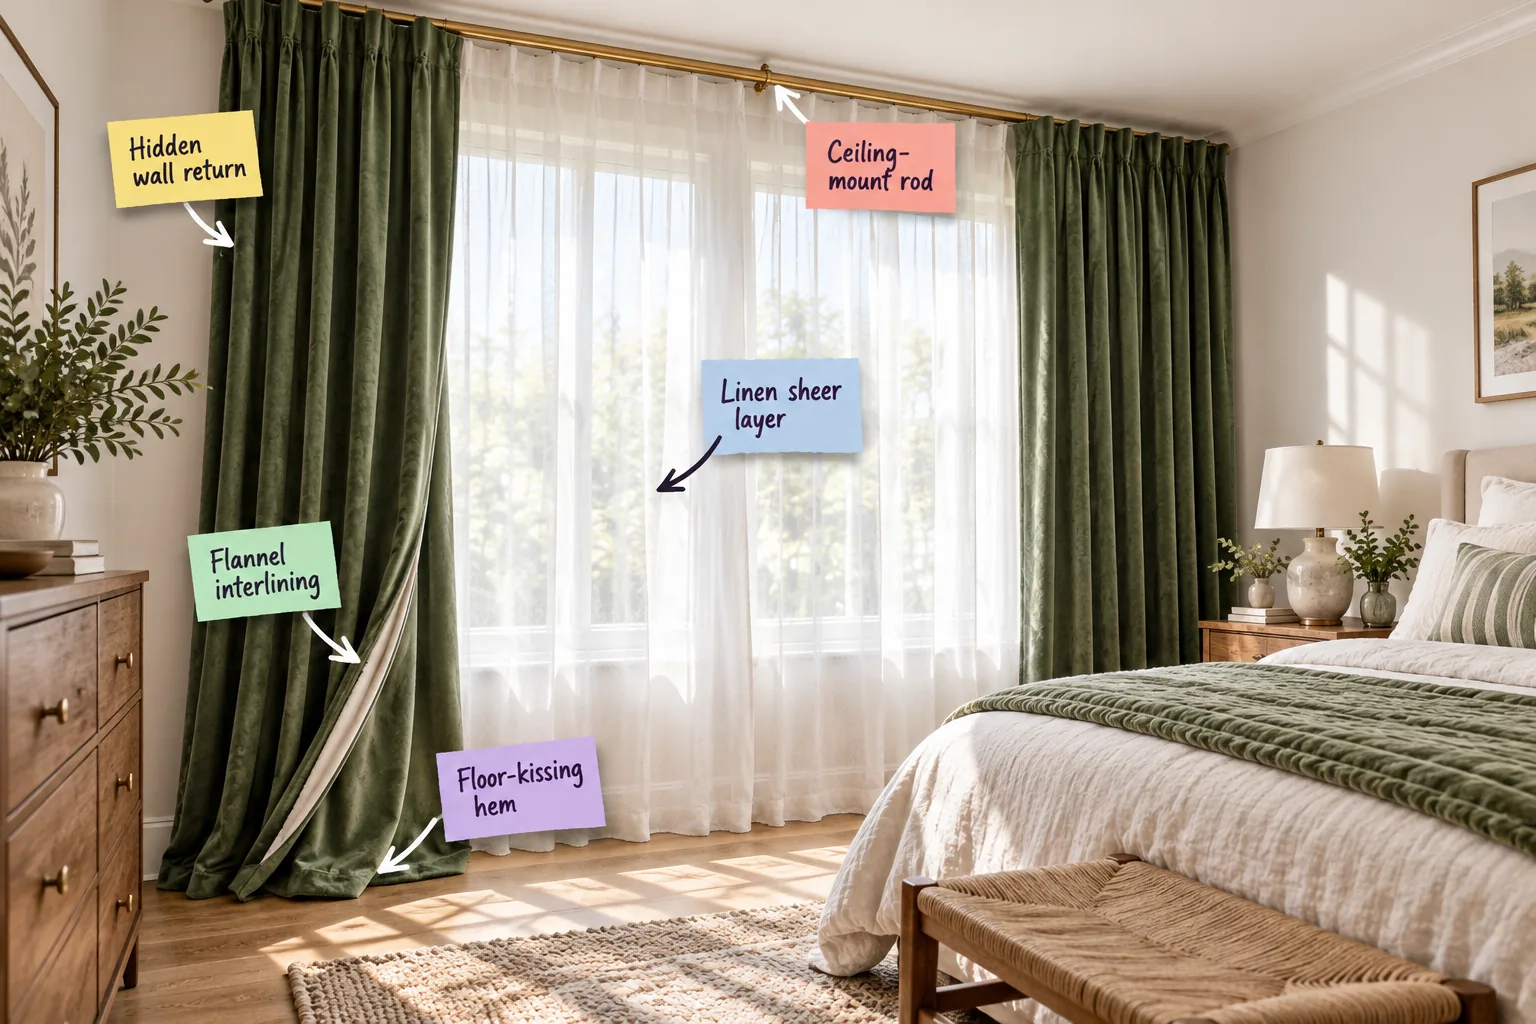
Transform your bedroom into a true sanctuary by downloading our printable rod placement and layering cheat sheet to get the exact measurements for a hotel sleep setup. You will be able to measure, mount, and layer your window treatments for maximum height and complete darkness.
The two-layer hotel strategy
Luxury hotels rely on a dual-track or double-rod system to give you total control over light, temperature, and privacy throughout the day, creating a highly adaptable environment. This dual approach ensures your room responds perfectly to both bright mornings and quiet evenings.

Pairing a translucent inner layer with a heavy, opaque outer layer balances daytime brightness with complete nighttime darkness, setting the foundation for your installation. This two-layer strategy dictates exactly how we measure, select, and mount the heavy structural hardware.
Hardware weight and support limits
Before installing a double-rod system, you must evaluate your wall structure because heavy velvet and thick interlining exert constant downward force. A standard drywall installation will quickly fail under the sheer weight of these multi-layered hotel window treatments.
| Material | Rod Diameter | Bracket Spacing | Max Weight |
|---|---|---|---|
| Hollow Aluminum | 1 inch | Every 36 inches | 15 lbs |
| Solid Steel | 1.5 inches | Every 48 inches | 45 lbs |
| Brass Tubing | 1.5 inches | Every 42 inches | 35 lbs |
| Custom Iron | 2 inches | Every 60 inches | 60 lbs |
Matching your rod diameter to the appropriate bracket spacing ensures the metal will never bow in the center when the heavy curtains are drawn closed. Always secure the center support bracket directly into a structural wall stud to prevent sagging.
Elevating the ceiling-mount rod
Installing the brackets exactly 1 to 2 inches below the ceiling line or crown molding instantly draws the eye upward to expand the room. This strategic placement makes standard bedroom ceilings appear significantly taller and feeling much more architecturally grand.
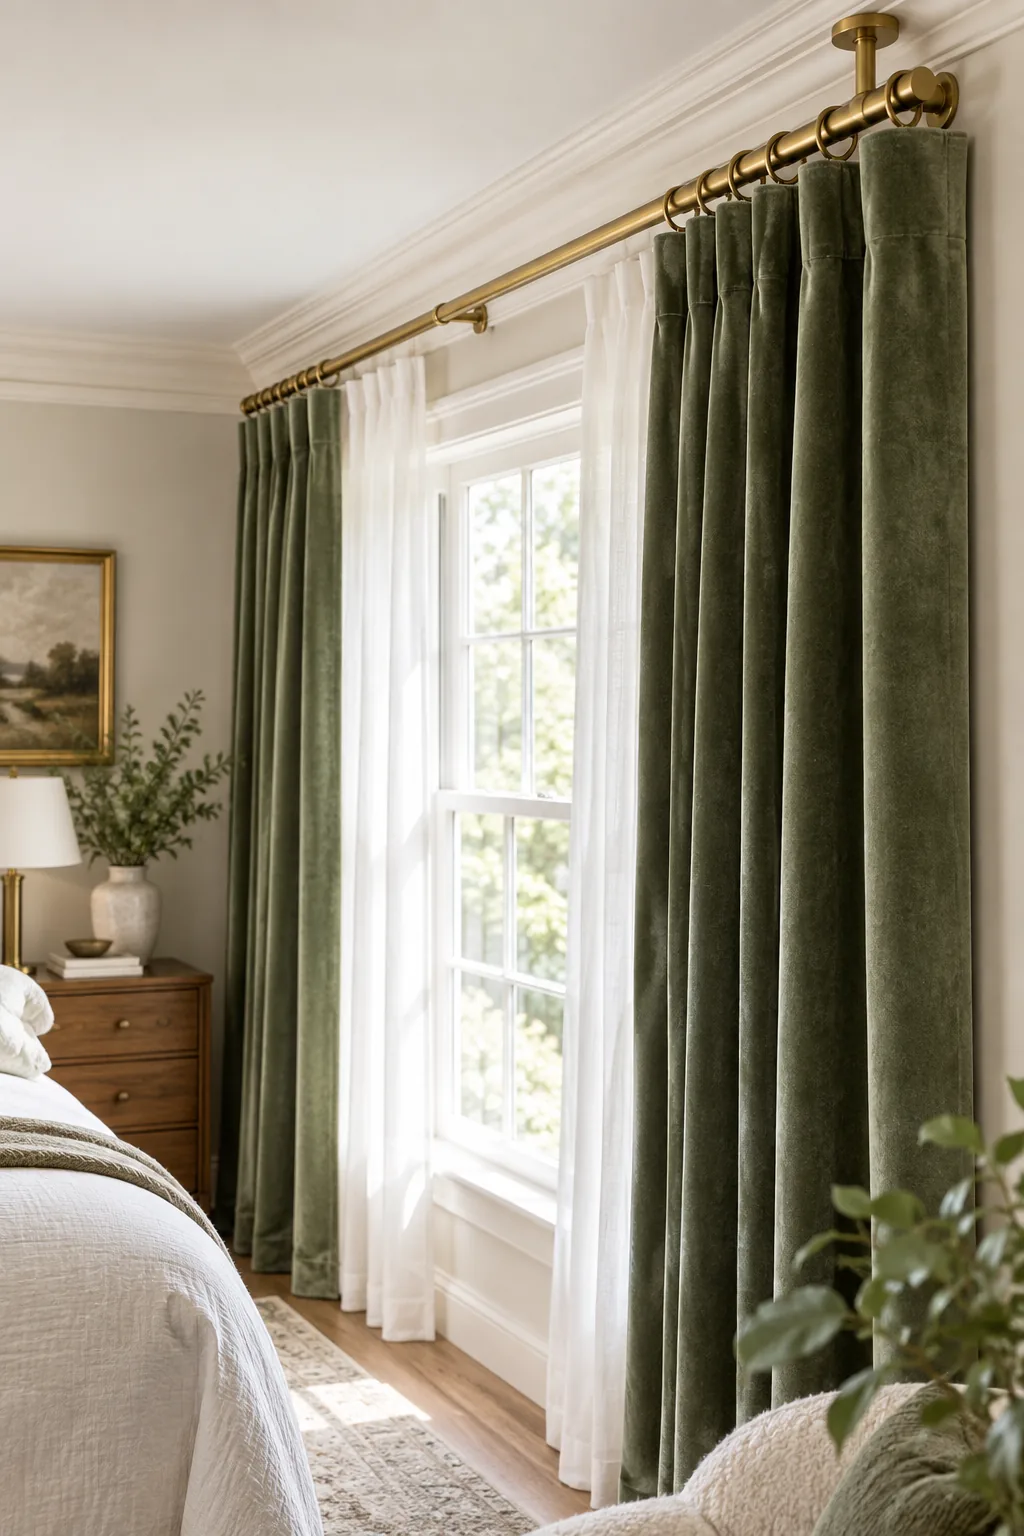
Because ceiling-mounted setups carry the full weight of heavy fabrics across a wider span, standard plastic anchors will eventually pull loose under the tension. Upgrading your hardware is the only way to protect your walls from costly drywall damage over time.
Calculating the perfect rod width
A successful blackout installation requires extending the rod far enough past the window frame to allow the heavy fabric panels to clear the glass entirely. This generous extension maximizes natural light during the day while preventing light bleed at night.
- Measure the outside width of your window casing from edge to edge.
- Add 20 to 24 inches to accommodate the stacking width of thick velvet panels.
- Divide the total by two to find the exact center mounting point for your support bracket.
Providing ample stacking space on either side ensures your beautiful natural light is never compromised when the curtains are fully open. This extra width is non-negotiable for achieving that opulent, wall-to-wall luxury aesthetic in a modern bedroom.
Your rod placement cheat sheet
Download our printable rod placement and layering cheat sheet to get the exact measurements for extending your rod 10 to 12 inches beyond the frame. This guide provides the precise mathematical formulas needed to replicate a flawless luxury installation at home.
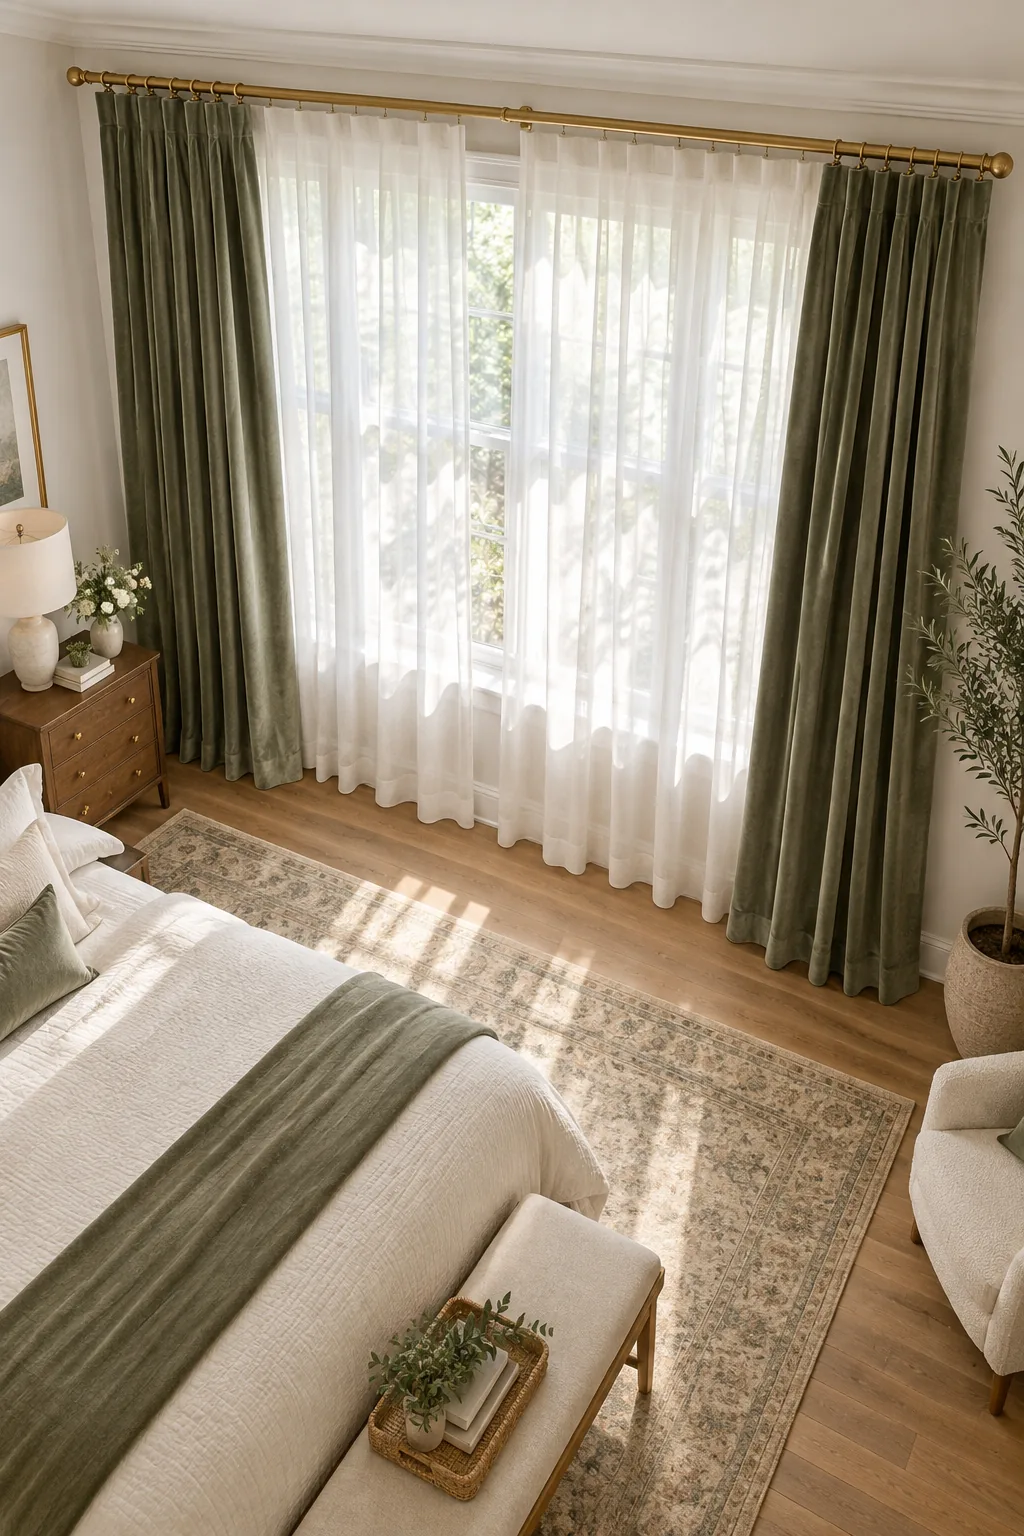
Before you drill a single hole or order custom lengths, run through these quick verification steps to ensure your measurements are completely foolproof. A few minutes of careful checking will prevent expensive ordering mistakes and crooked hardware installations.
Diffusing light with the sheer layer
I always use 100 percent linen sheer layers in my Denver projects because they beautifully filter harsh afternoon sunlight while maintaining daytime privacy. The natural weave creates a soft, organic texture that synthetic fabrics simply cannot replicate in a bedroom.
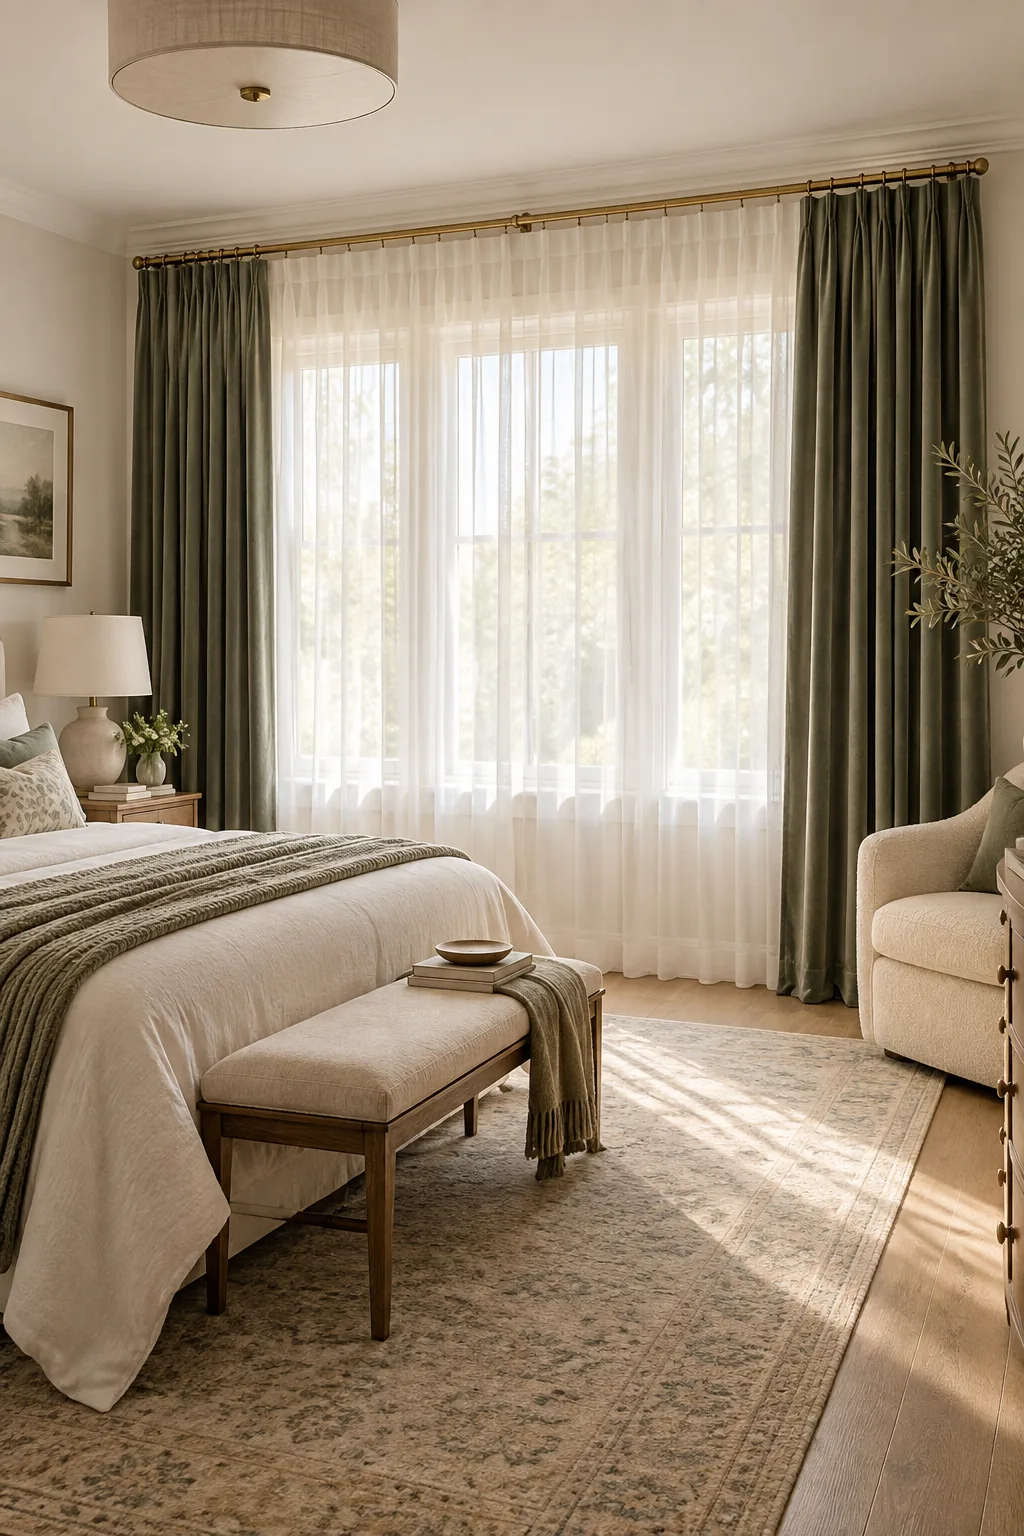
Choosing high-quality natural fibers ensures the fabric drapes elegantly while allowing essential natural airflow through the open window during warmer months. This breathability prevents excess heat from becoming trapped between the hot glass and the rest of your sleeping space.
Determining fabric fullness ratios
Achieving that rich, custom look requires ordering panels with a two-and-a-half to three times fullness ratio compared to your total rod width. Skimping on fabric width results in flat, lifeless curtains that look cheap and taut when pulled closed across the glass.
Building weight with flannel interlining
Adding a thick flannel interlining between the velvet face and blackout backing completely transformed the acoustics in my own street-facing bedroom. This dense middle layer absorbs disruptive outside noise, creating a truly silent environment that promotes deep, uninterrupted sleep.
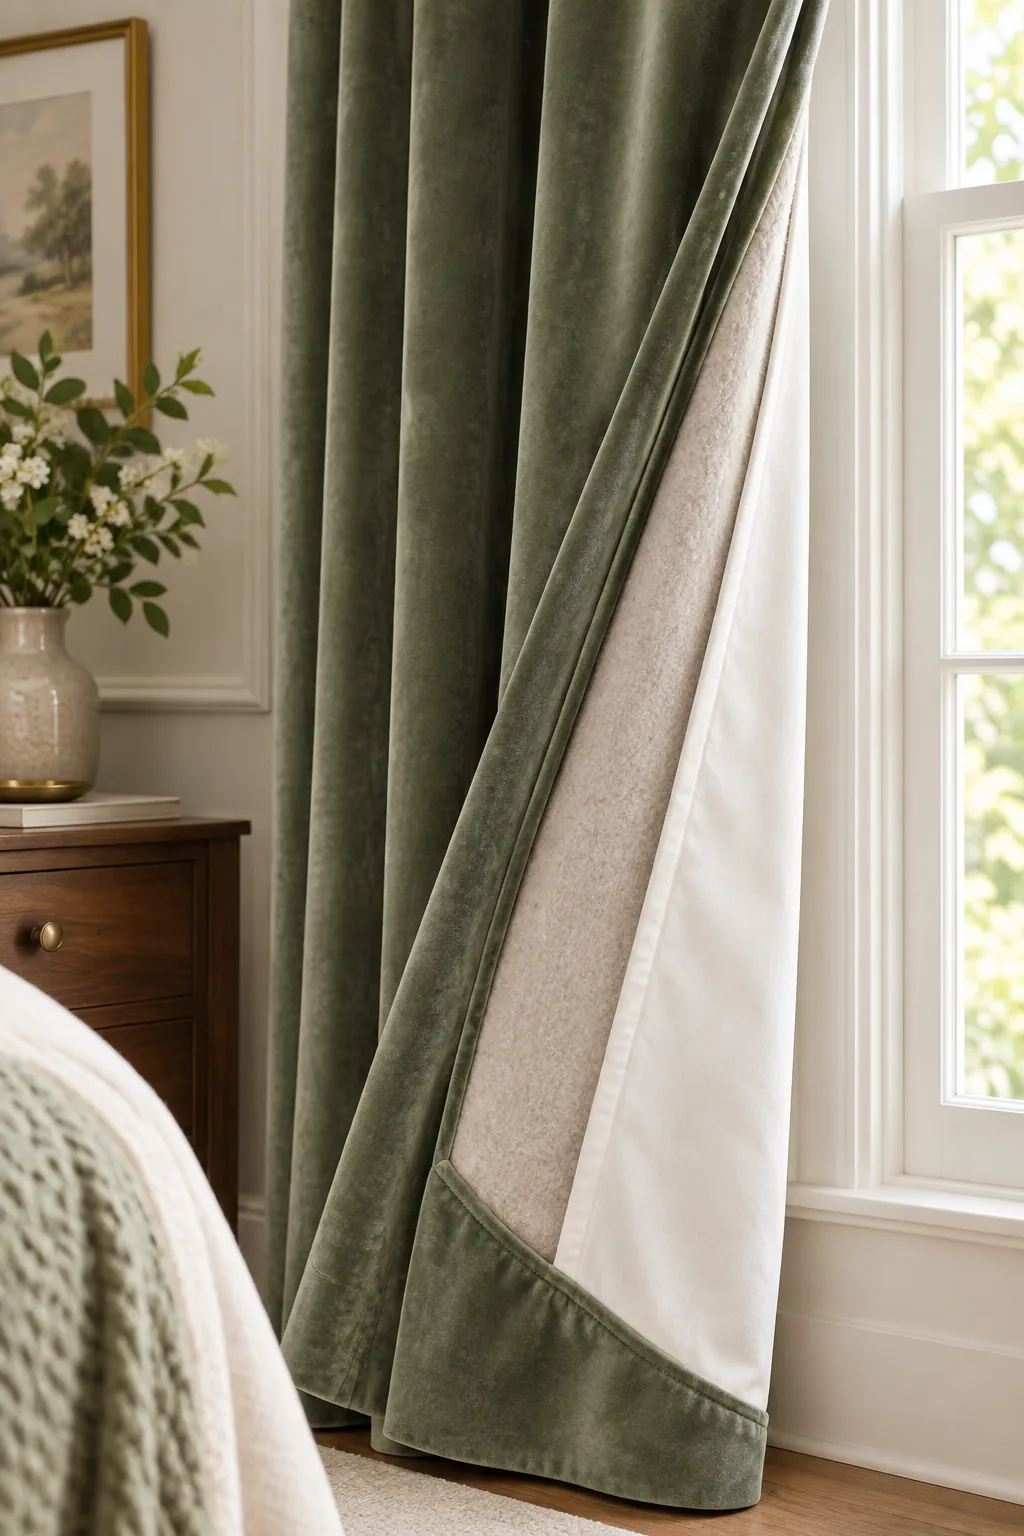
This hidden construction layer gives the curtain luxurious, rounded volume while providing crucial thermal insulation against cold, drafty window glass. The added weight ensures the panels hang straight and true, resisting the urge to flare outward at the bottom edge.
Selecting the right blackout backing
The final layer facing the street should be a high-quality, three-pass blackout lining that completely blocks harmful UV rays and bright streetlights. This specialized coated fabric protects your expensive velvet from sun rot while guaranteeing the room remains pitch black.
Securing the hidden wall return
Wrapping the outermost edge of the curtain tight against the wall using a curved French return rod creates a hidden wall return. This clever technique eliminates the frustrating sliver of edge light that typically escapes from standard straight mounting brackets.
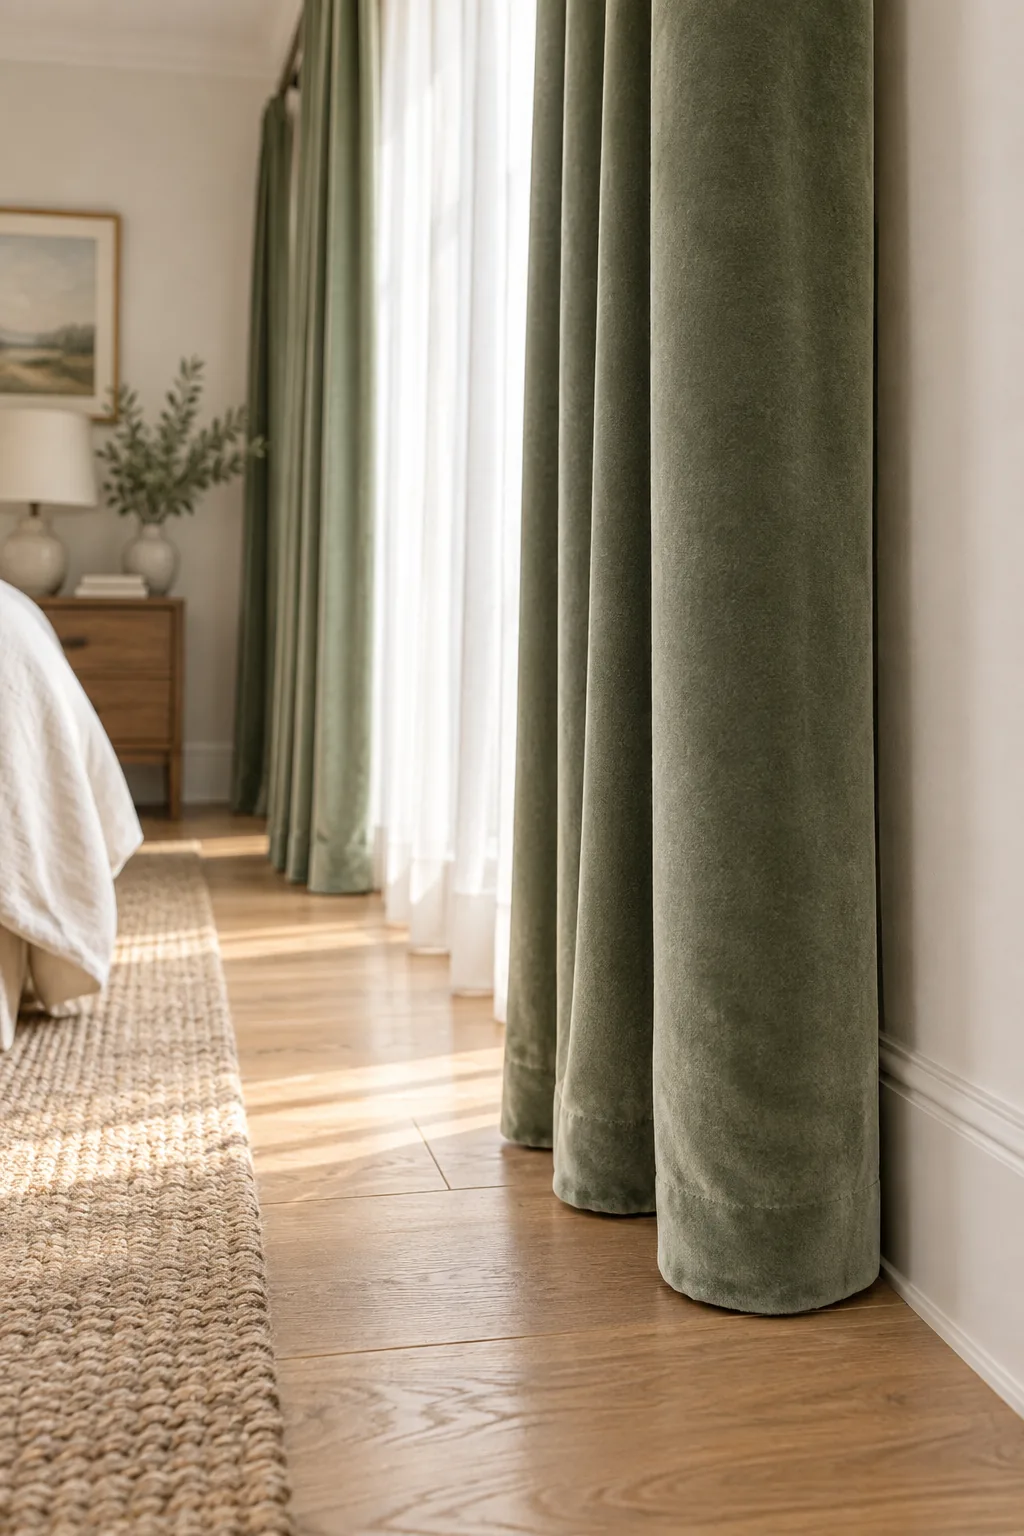
Even the thickest blackout fabric will fail to keep a bedroom dark if the installation ignores the structural side gaps. Addressing these vulnerable edges is the single most important step in achieving a true hotel-quality sleep setup in your home.
Measuring the floor-kissing hem
Deduct exactly 1/2 inch from your total ceiling-to-floor measurement so the heavy velvet barely grazes the floor in a perfect floor-kissing hem. This precise calculation creates a tailored, custom appearance that elongates the entire wall and elevates the room.
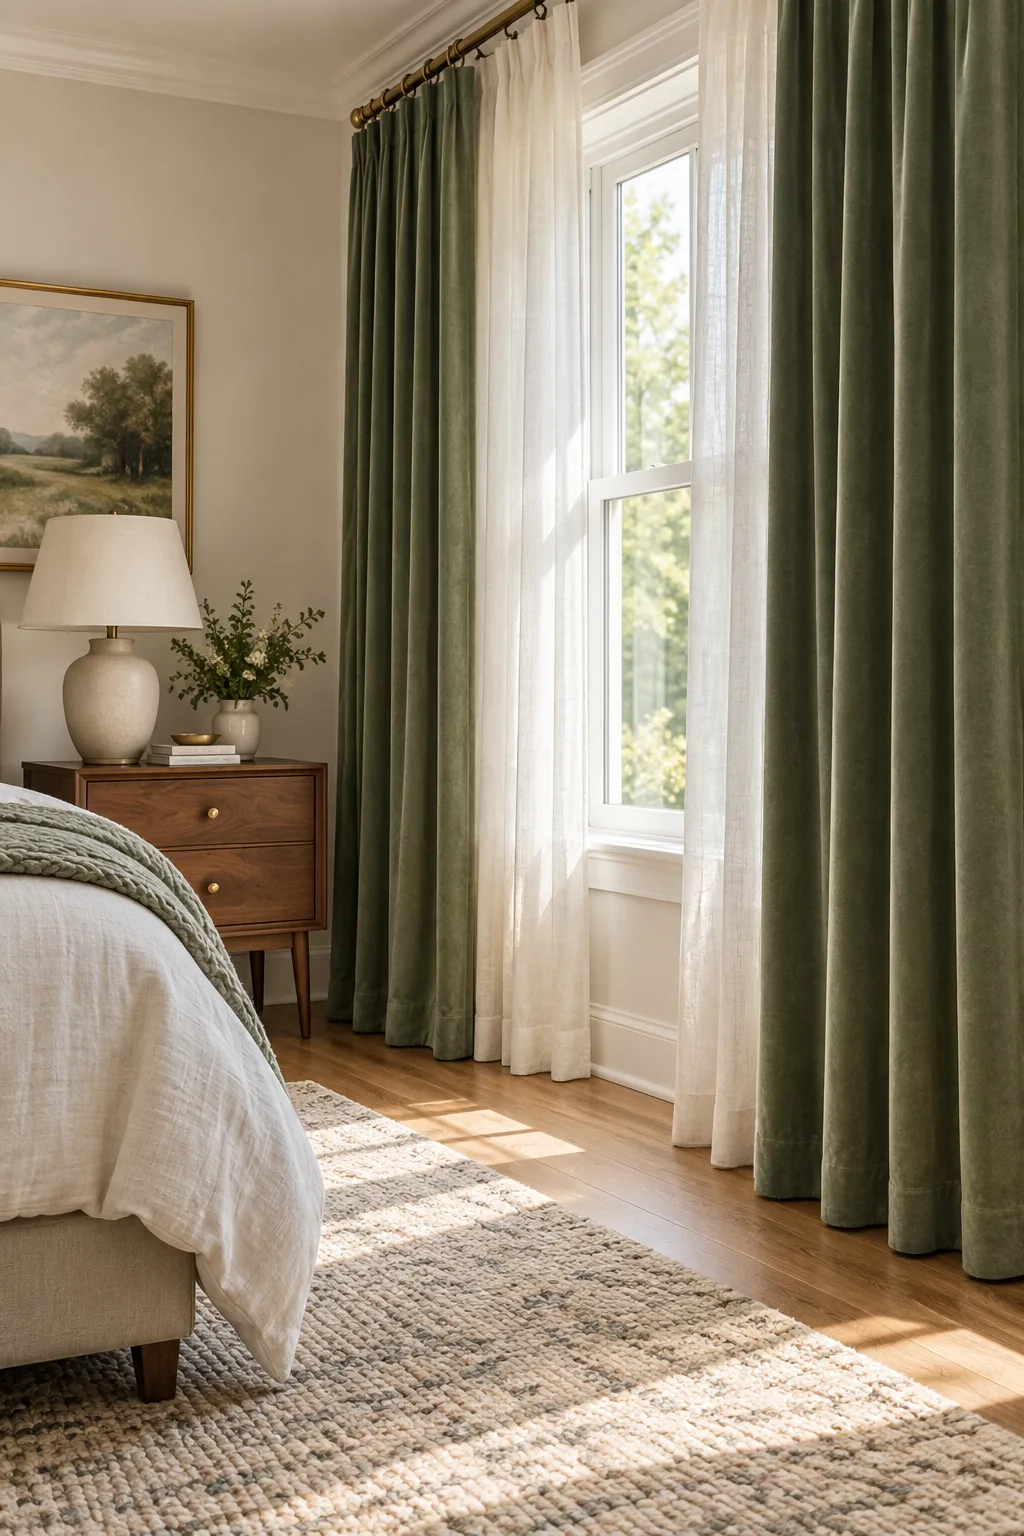
This slight clearance prevents dust accumulation and keeps the heavy fabric from dragging or bunching when you open the panels every morning. A clean hemline ensures the curtains glide smoothly along the track without catching on rugs or uneven floorboards.
Managing floor irregularities
Because historic homes and settling foundations rarely offer perfectly level floors, you should always measure the drop in at least three distinct places. If you discover a slope, split the difference in your hem calculation to create an optical illusion of a perfectly straight floorline.
Layering over existing blinds
If your bedroom already features architectural wooden blinds or cellular shades, you can still install this two-layer hotel system directly over them. Mounting the double-rod hardware high and wide completely conceals the existing treatments when the velvet panels are drawn closed.
Choosing the ideal pleat style
Selecting a structured pinch pleat or classic French pleat dictates how the fabric will fold and stack when pushed back against the wall. These tailored headings require specialized drapery hooks but deliver a much more sophisticated finish than casual grommets or basic rod pockets.
Selecting heavy-duty curtain rings
Supporting thick velvet requires heavy-duty metal curtain rings equipped with reinforced eyelets that will not bend under extreme daily tension. Spacing these rings exactly four inches apart guarantees the fabric will never droop between the attachment points across the rod.
Proper steaming techniques
Before you attempt to train the fabric, you must release every wrinkle using a high-powered garment steamer applied directly to the velvet. Working slowly from top to bottom relaxes the stiff fibers, making them pliable enough to accept their new, permanent structural folds.
Training the velvet folds
To achieve that structured hotel look, I thoroughly steam the heavy velvet and loosely tie the pleats together with wide ribbon for 48 hours. This crucial finishing step forces the stiff fabric fibers to memorize their new folded positions permanently.
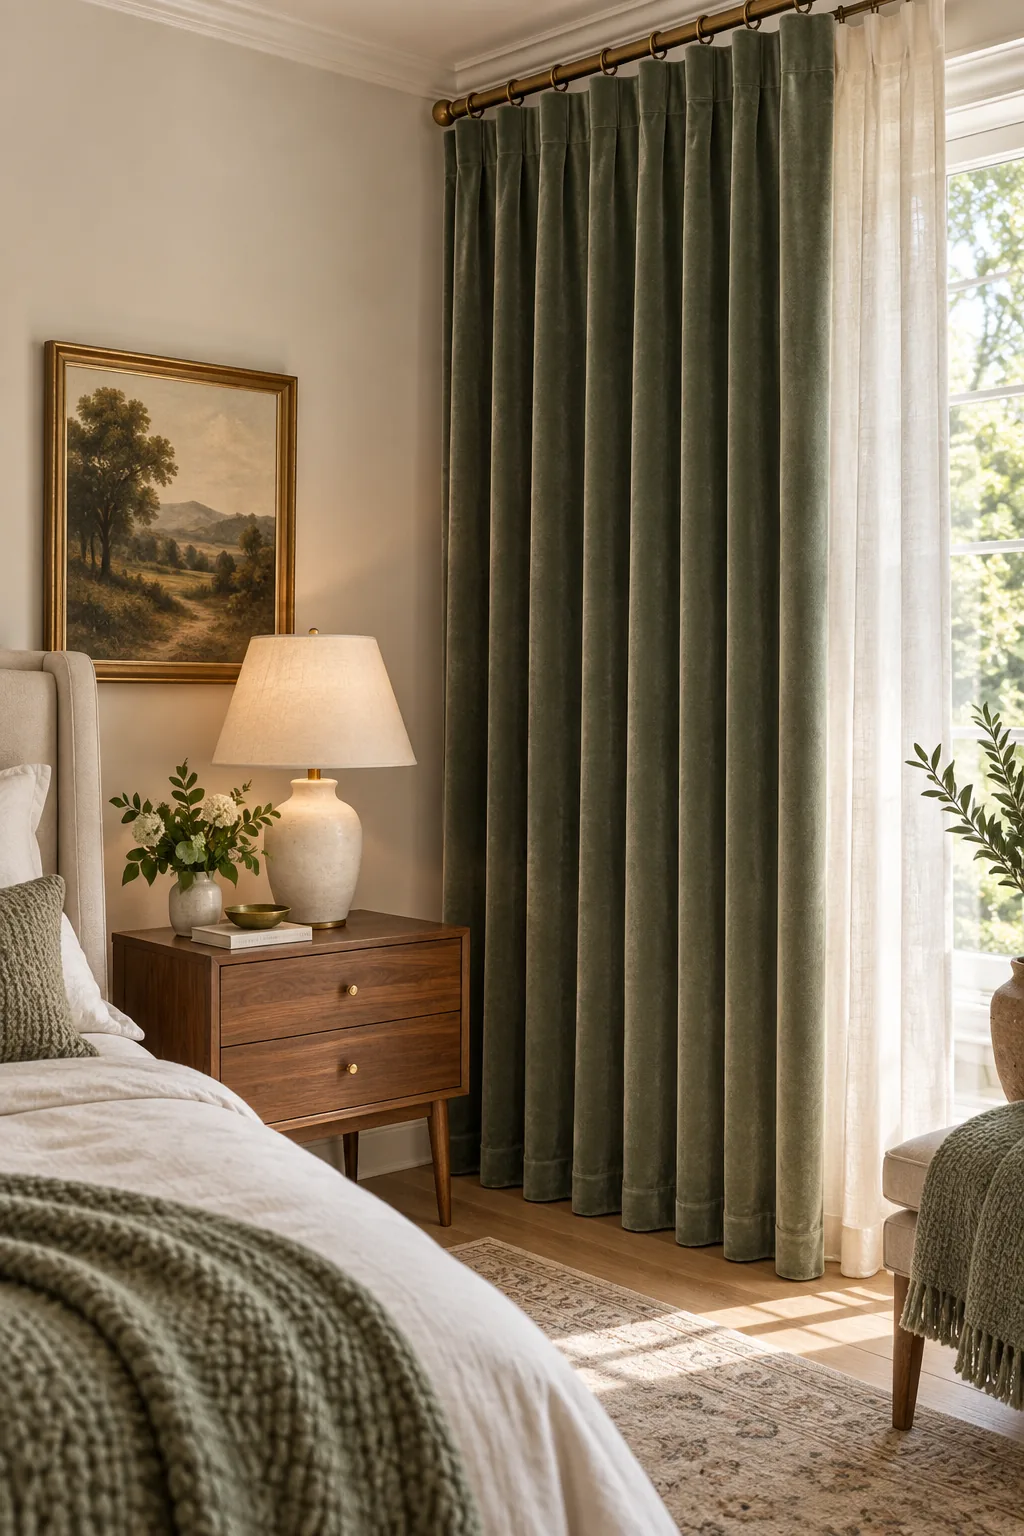
Setting the fabric memory this way creates permanent, uniform cylindrical folds that will stack cleanly every single time you open them. This initial effort guarantees your window treatments maintain their sharp, professional appearance for years to come without constant readjustment.
More blackout bedroom looks
Adapt the double-layer hotel strategy to fit your personal bedroom style.
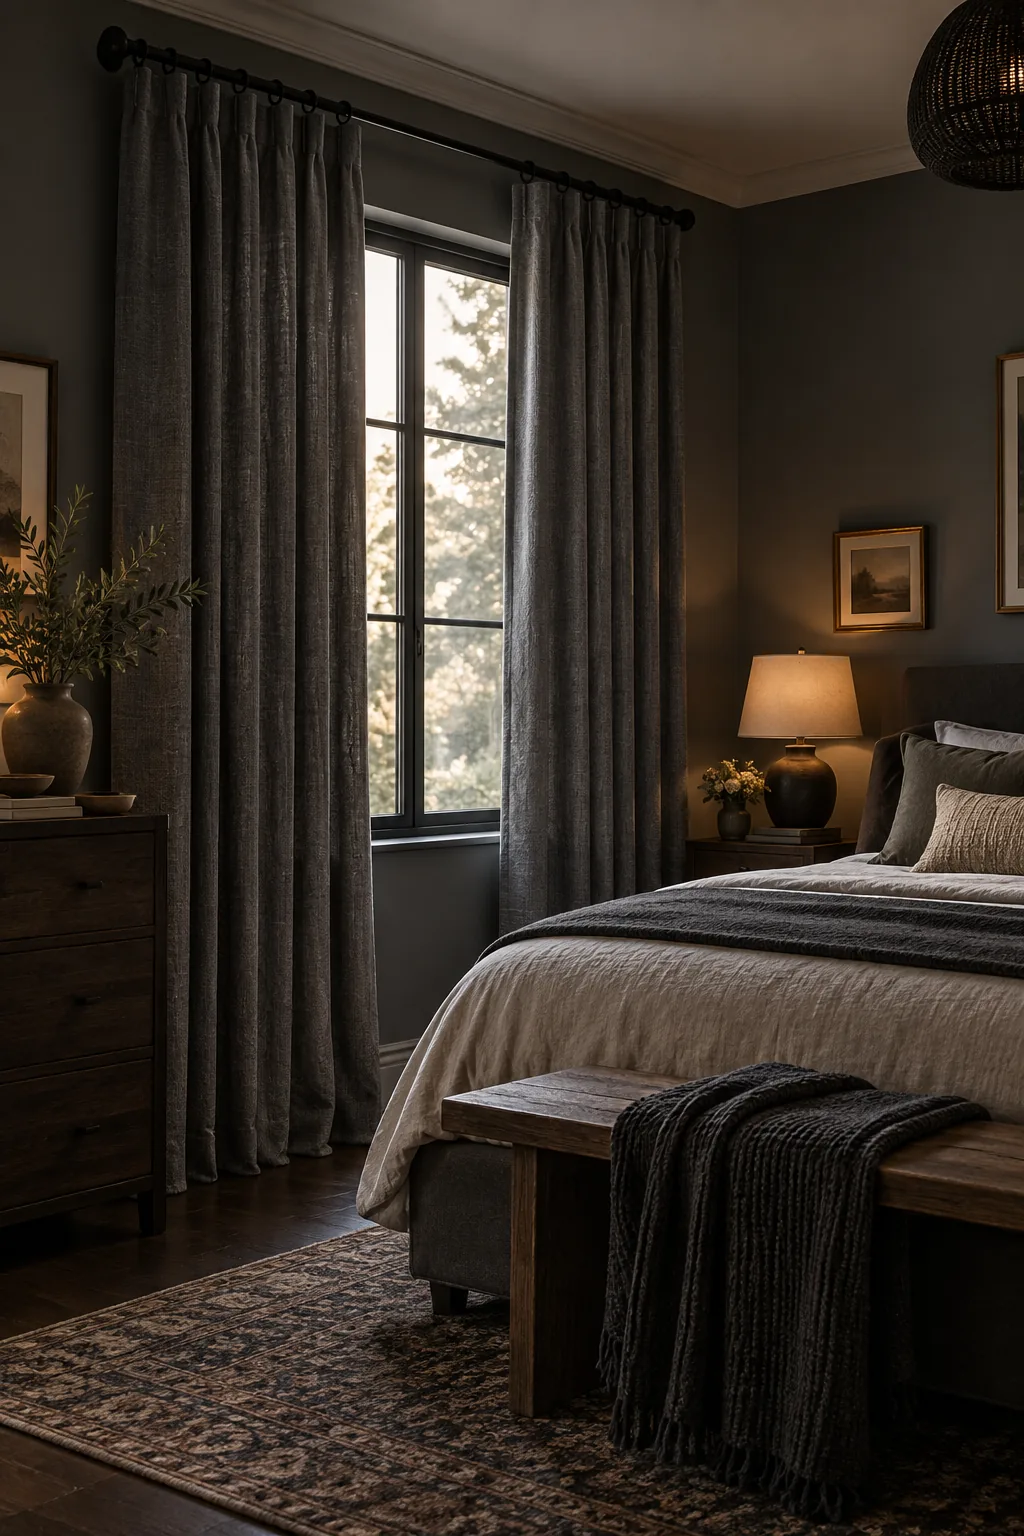
Moody charcoal and slate: Dark slate linen panels on matte black iron hardware create a seamless, enveloping atmosphere in a moody charcoal bedroom.
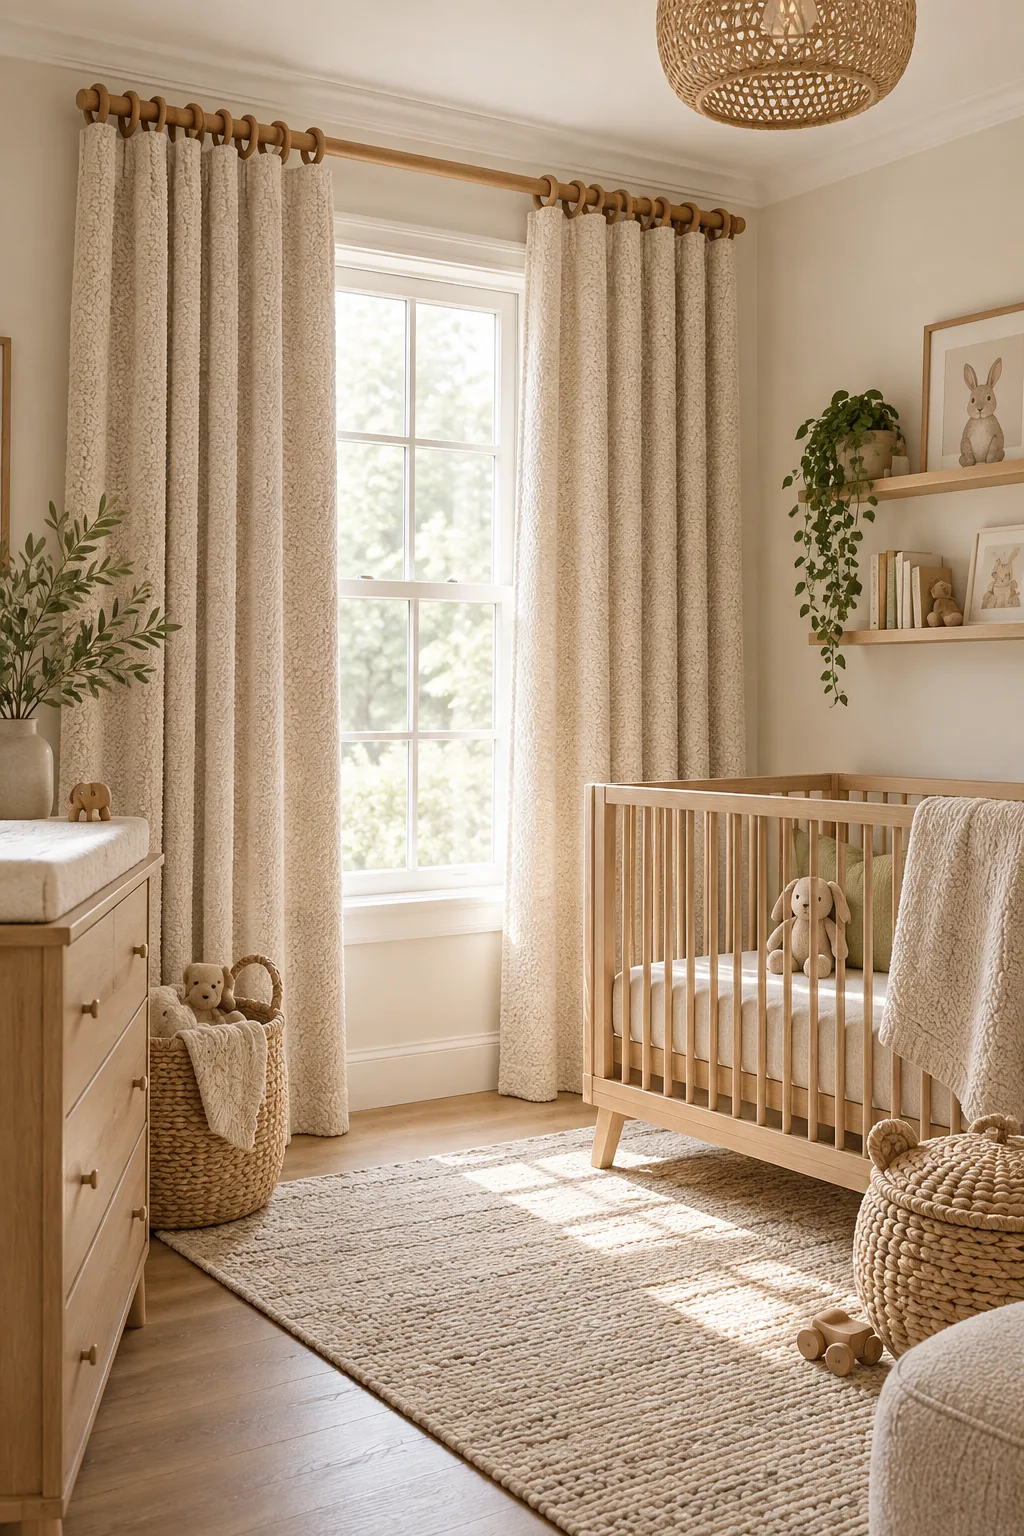
Warm minimalist oatmeal bouclé: Oatmeal bouclé fabric paired with thick wooden rings adds rich, comforting texture to a bright and minimalist nursery space.
Traditional floral block-print: Patterned block-print cotton panels on brass French return rods bring classic charm and tailored structure to a traditional guest suite.