
Rustic Back Porch on a Weekend Budget: Sourcing Checklist
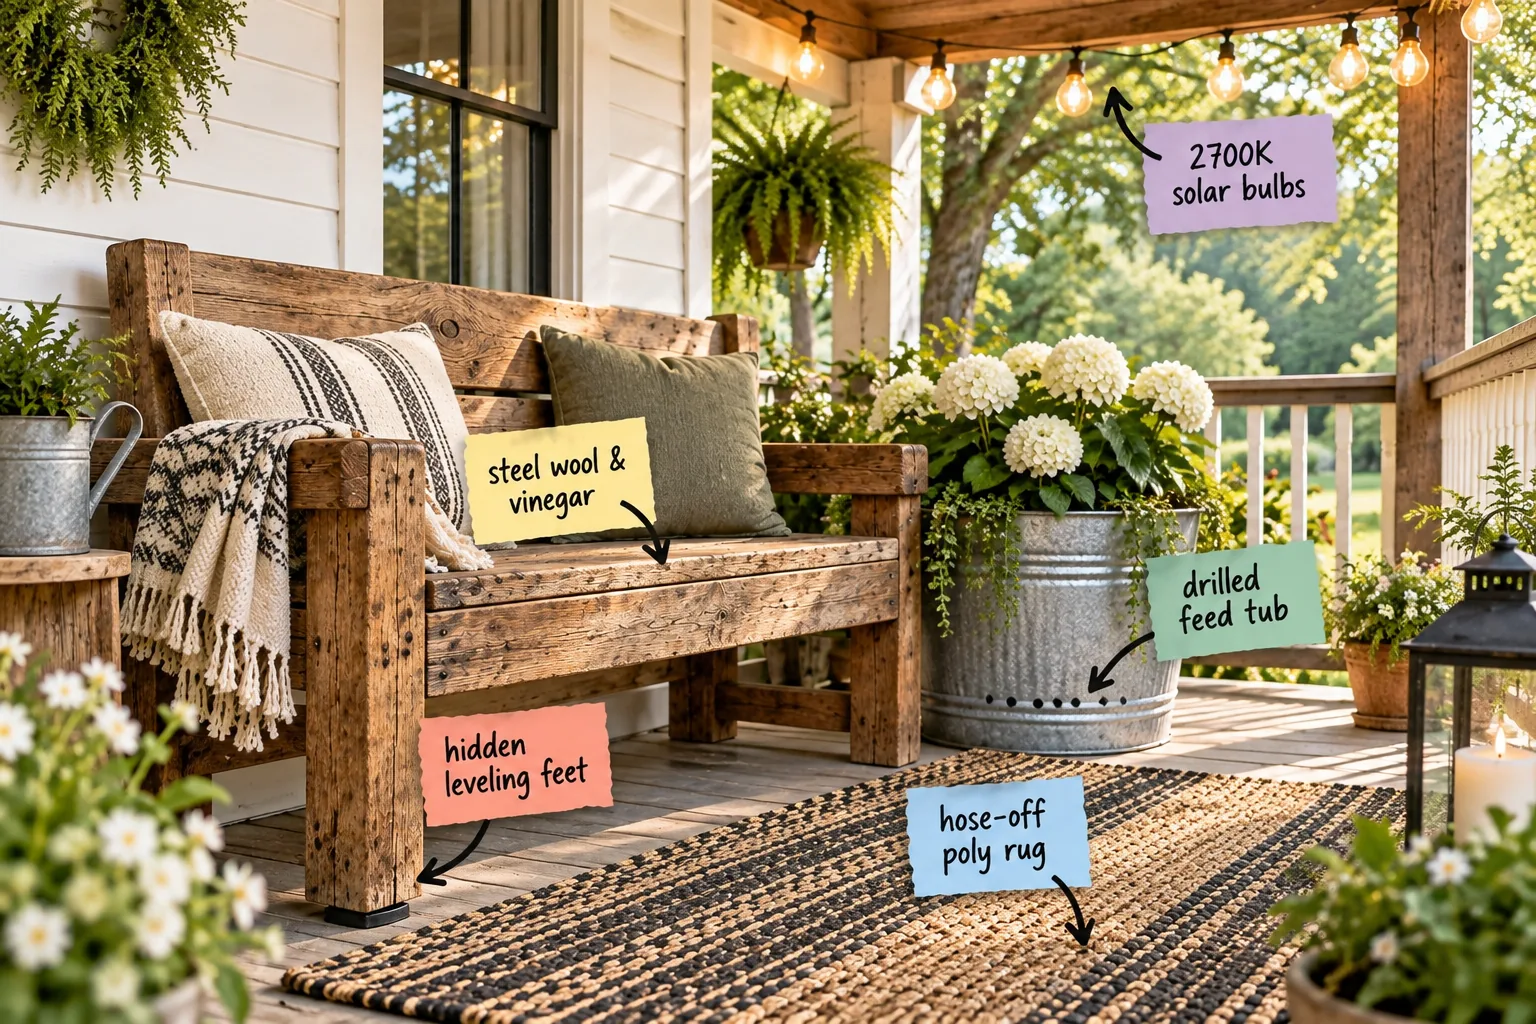
You can absolutely transform your outdoor space this weekend, and I’ve put together a printable budget sourcing and project checklist to help you build this exact cozy retreat. Grab the list below so you can source your lighting, planters, and DIY wood finishes without second-guessing your cart.
Grounding the Space with a Poly Rug
Anchor your new seating area with a foundation that can actually handle the elements without molding. My own Austin patio used to ruin standard woven rugs in a single rainy season until I finally switched to completely weather-resistant synthetics.
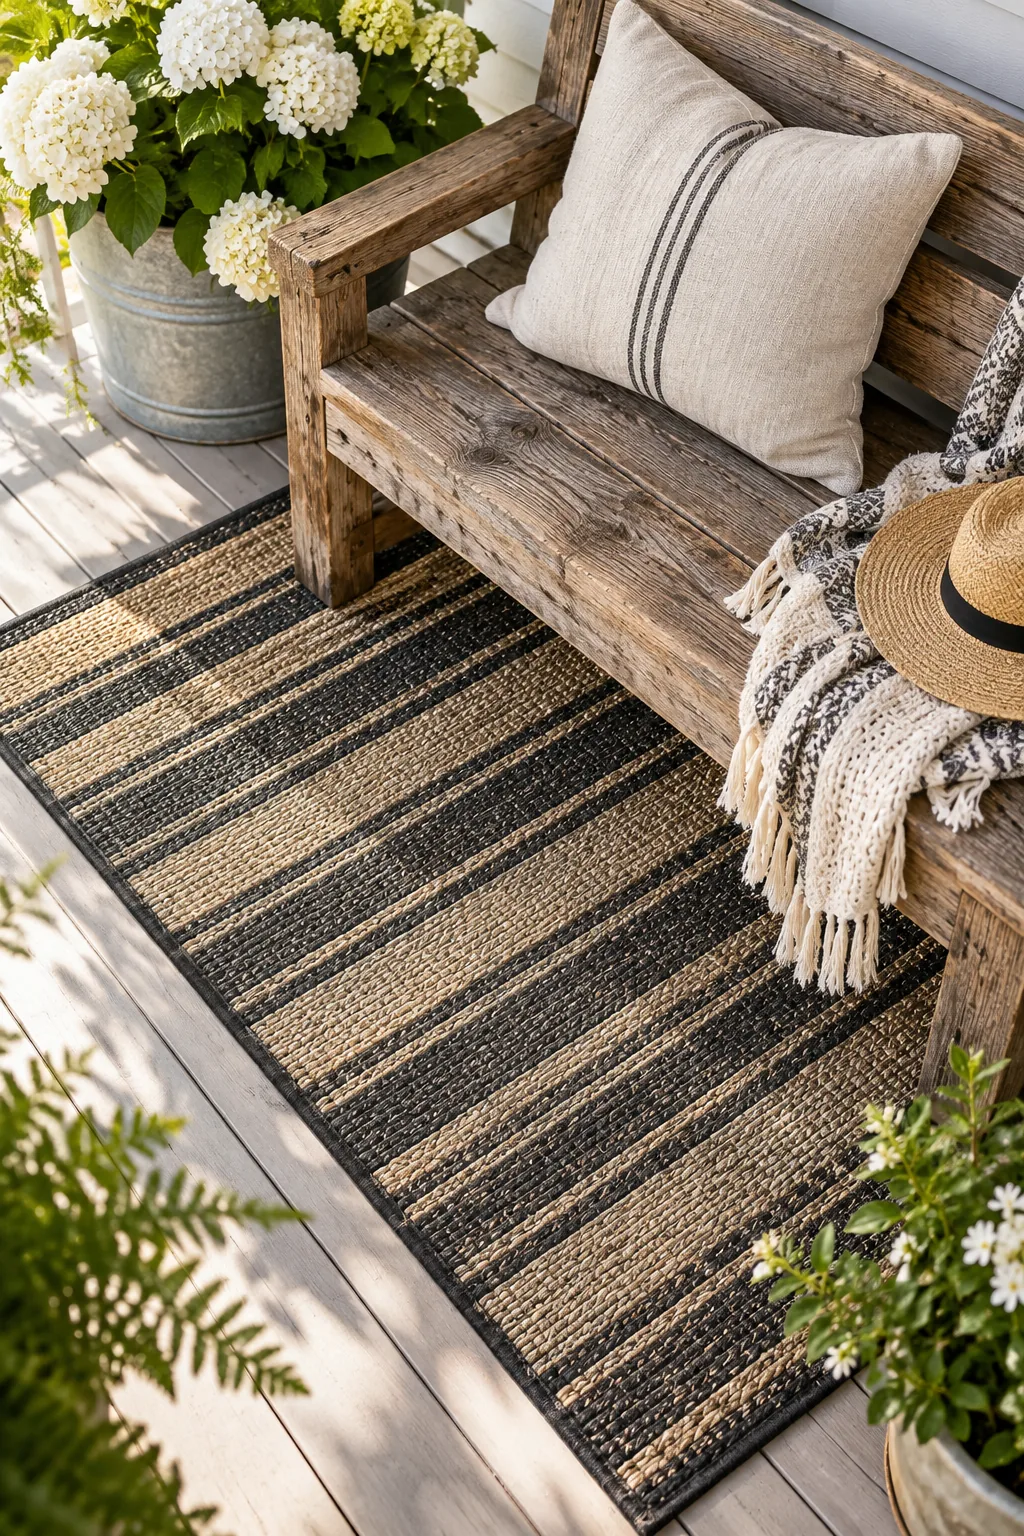
A standard 5×8 foot hose-off poly rug provides the perfect coverage for a chunky wooden bench. This durable polypropylene layer protects your deck boards from heavy furniture scratches and can be sprayed clean with a garden hose in seconds.
Measuring Your Seating Footprint
Before buying any lumber or textiles, you need to verify your available deck space to ensure comfortable walkways. Leaving at least 36 inches of clearance around the front of the rug prevents the seating area from feeling cramped.
| Rug Size | Bench Length | Ideal Porch Depth | Clearance Zone |
|---|---|---|---|
| 4×6 feet | 48 inches | 8 feet | 36 inches |
| 5×8 feet | 60 inches | 10 feet | 42 inches |
| 6×9 feet | 72 inches | 12 feet | 48 inches |
| 8×10 feet | 84 inches | 14 feet | 60 inches |
Using a simple sizing matrix takes the guesswork out of your hardware store run. Always tape out the dimensions directly on your deck boards using painter’s tape to visualize the final footprint before committing to a specific bench length.
Choosing the Right Bench Lumber
Building a custom bench requires thick, structural wood that won’t warp under direct sunlight or heavy rain. Standard 4×4 untreated pine posts offer an incredibly chunky, rustic aesthetic while keeping your material costs drastically lower than premium cedar.
Assembling the Chunky Frame
Connecting heavy timbers requires serious hardware that won’t pull apart when visitors sit down. Drive 6-inch exterior lag screws through the joints, using a wood-boring bit to pre-drill the holes and prevent the thick pine from splitting.
Stabilizing with Hidden Leveling Feet
Outdoor porches are typically built with a standard slope of 1/4 inch per foot for water drainage. When I first built my deck furniture, I couldn’t figure out why everything wobbled so badly every time someone sat down.
The permanent fix is installing heavy-duty hidden leveling feet with a 3/8-inch thread. Drill these directly into the bottom of your bench legs to ensure a perfectly flat seat regardless of your deck’s built-in pitch.
Sanding for a Smooth Finish
Rough pine posts come directly from the lumberyard covered in splinters and harsh mill marks. Run an orbital sander with 80-grit sandpaper over all the edges to soften the corners and prepare the grain to absorb your weathering treatment.
Aging Wood with Steel Wool and Vinegar
You don’t have to pay a premium for reclaimed lumber to get that gorgeous weathered look. We can create an instant aged patina on fresh wood using a simple, budget-friendly chemical reaction that penetrates deep into the grain.
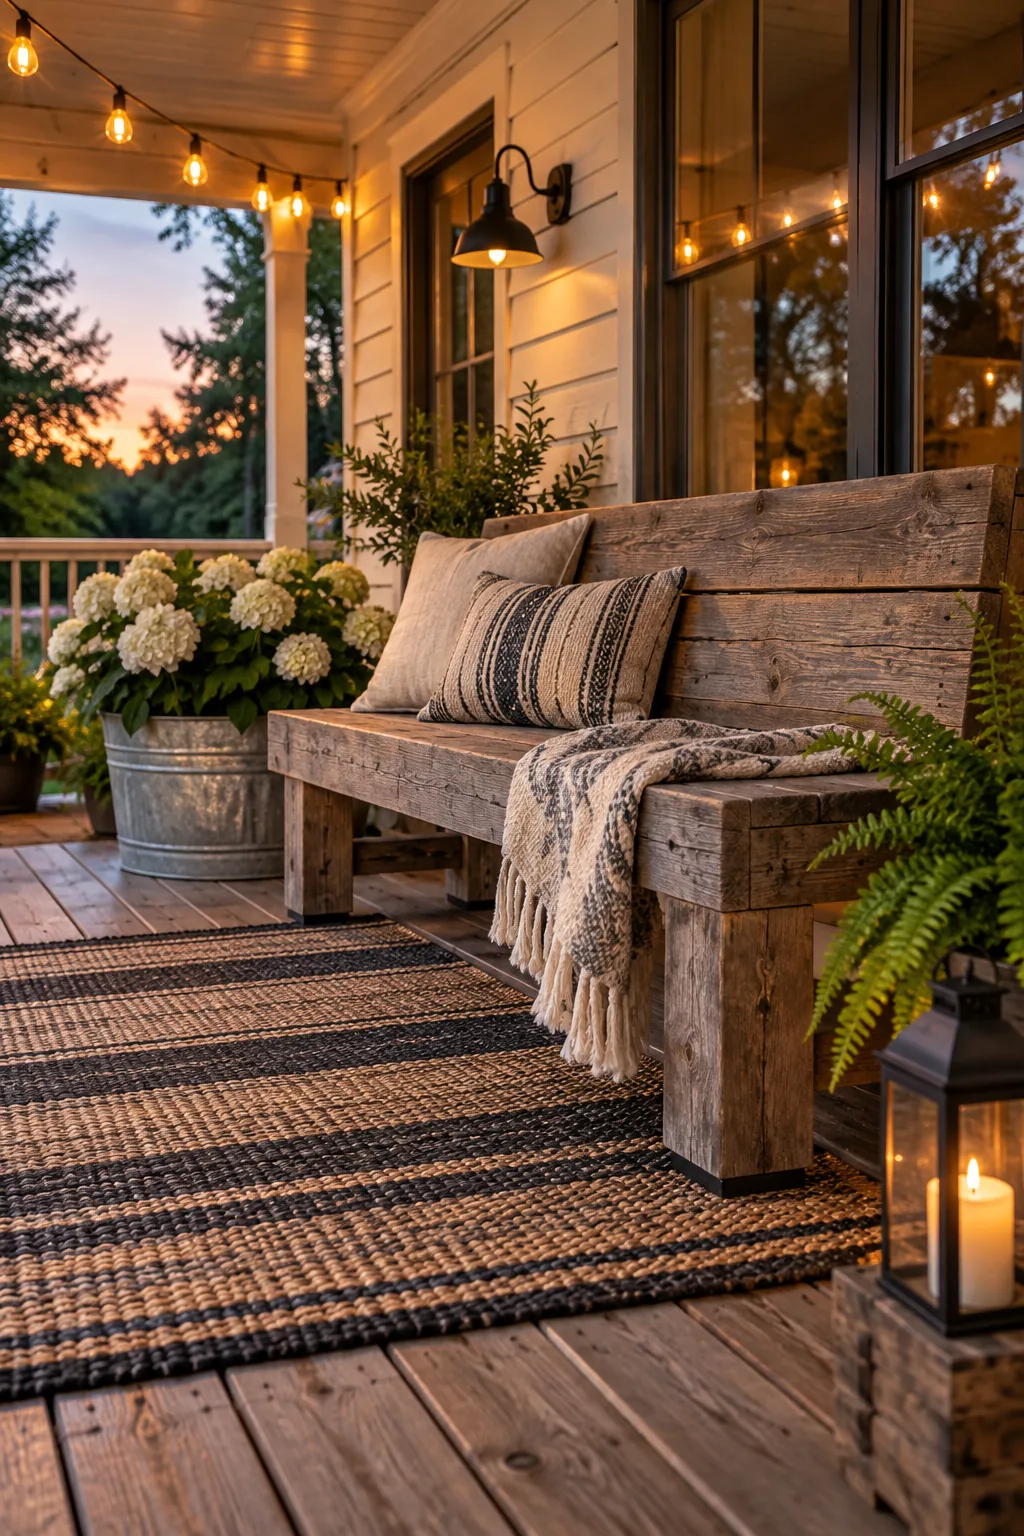
Once steeped, brush the steel wool & vinegar liquid directly onto your bare wooden bench. The iron acetate reacts with the wood’s natural tannins to turn it a beautiful, rich gray that looks decades old in minutes.
Applying the Weathered Solution
Mixing the oxidizing solution correctly ensures an even, authentic color across all your bench pieces. The reaction relies on specific ratios and enough steeping time to fully dissolve the metal fibers into the acidic liquid.
- Tear exactly one pad of #0000 steel wool into small, loose pieces.
- Drop the metal pieces into a glass jar and pour in one quart of white vinegar.
- Leave the mixture uncovered in a ventilated space for 24 to 48 hours.
- Strain the liquid through a coffee filter to remove any leftover metal shards.
Always test the strained solution on a scrap piece of your specific lumber first. If the resulting gray color looks too dark, simply dilute the mixture with a cup of plain water until you reach your desired shade.
Sealing the Weathered Wood
An oxidized finish will eventually wash away or turn black if left completely exposed to seasonal storms. Brush on two coats of an exterior matte polyurethane to lock in the gray color while completely blocking out destructive moisture.
Repurposing a Drilled Feed Tub
Adding greenery softens the hard angles of the porch, and a galvanized metal planter brings in authentic farmhouse texture. You can easily convert a standard 15-gallon agricultural feed tub into a massive statement pot for a fraction of retail prices.
- Flip the metal tub upside down on a stable, flat workbench.
- Use a metal-rated drill bit to create five 1/2-inch drainage holes across the bottom.
- File down any sharp metal burrs around the freshly drilled edges to prevent cuts.
- Wipe away the metal shavings with a damp, heavy-duty shop rag.
A properly drilled feed tub guarantees excess water escapes, preventing root rot during heavy rainstorms. Fill the bottom two inches with drainage gravel before packing it with high-quality potting soil and your favorite hardy outdoor plants.
Selecting High-Impact Plants
Filling a large container requires a strategic mix of height, volume, and trailing vines to look professionally styled. Choose drought-tolerant varieties that thrive in containers and won’t require daily watering during the peak heat of summer.
Always position your heaviest planters in their final corner before filling them with wet soil. Once a 15-gallon tub is fully planted and watered, it becomes incredibly difficult to drag across your freshly laid poly rug.
Hanging the String Light Guide Wire
Draping lights straight from the box usually leads to sagging lines that whip around dangerously in high winds. Installing a 1/16-inch steel guide wire first provides a rigid, permanent backbone that keeps your bulbs perfectly straight and secure.
Setting the Mood with 2700K Solar Bulbs
String lights overhead immediately draw the eye up and make your new porch totally usable after dark. I used to run ugly orange extension cords everywhere until I finally realized how reliable modern solar technology has actually become.
Choose heavy-duty string lights featuring 2700K solar bulbs to achieve that warm, inviting amber glow. This specific color temperature mimics traditional incandescent lighting without the massive expense of hardwiring new electrical fixtures to your home’s exterior.
Spacing the Overhead Bulbs
Clustering your lighting too tightly creates harsh bright spots that ruin the relaxing evening ambiance. Space your parallel wire runs exactly 24 inches apart to ensure a soft, even canopy of light that gently illuminates the entire seating area.
More Rustic Porch Styling Ideas
Explore different ways to adapt these budget-friendly outdoor upgrades to your personal aesthetic.
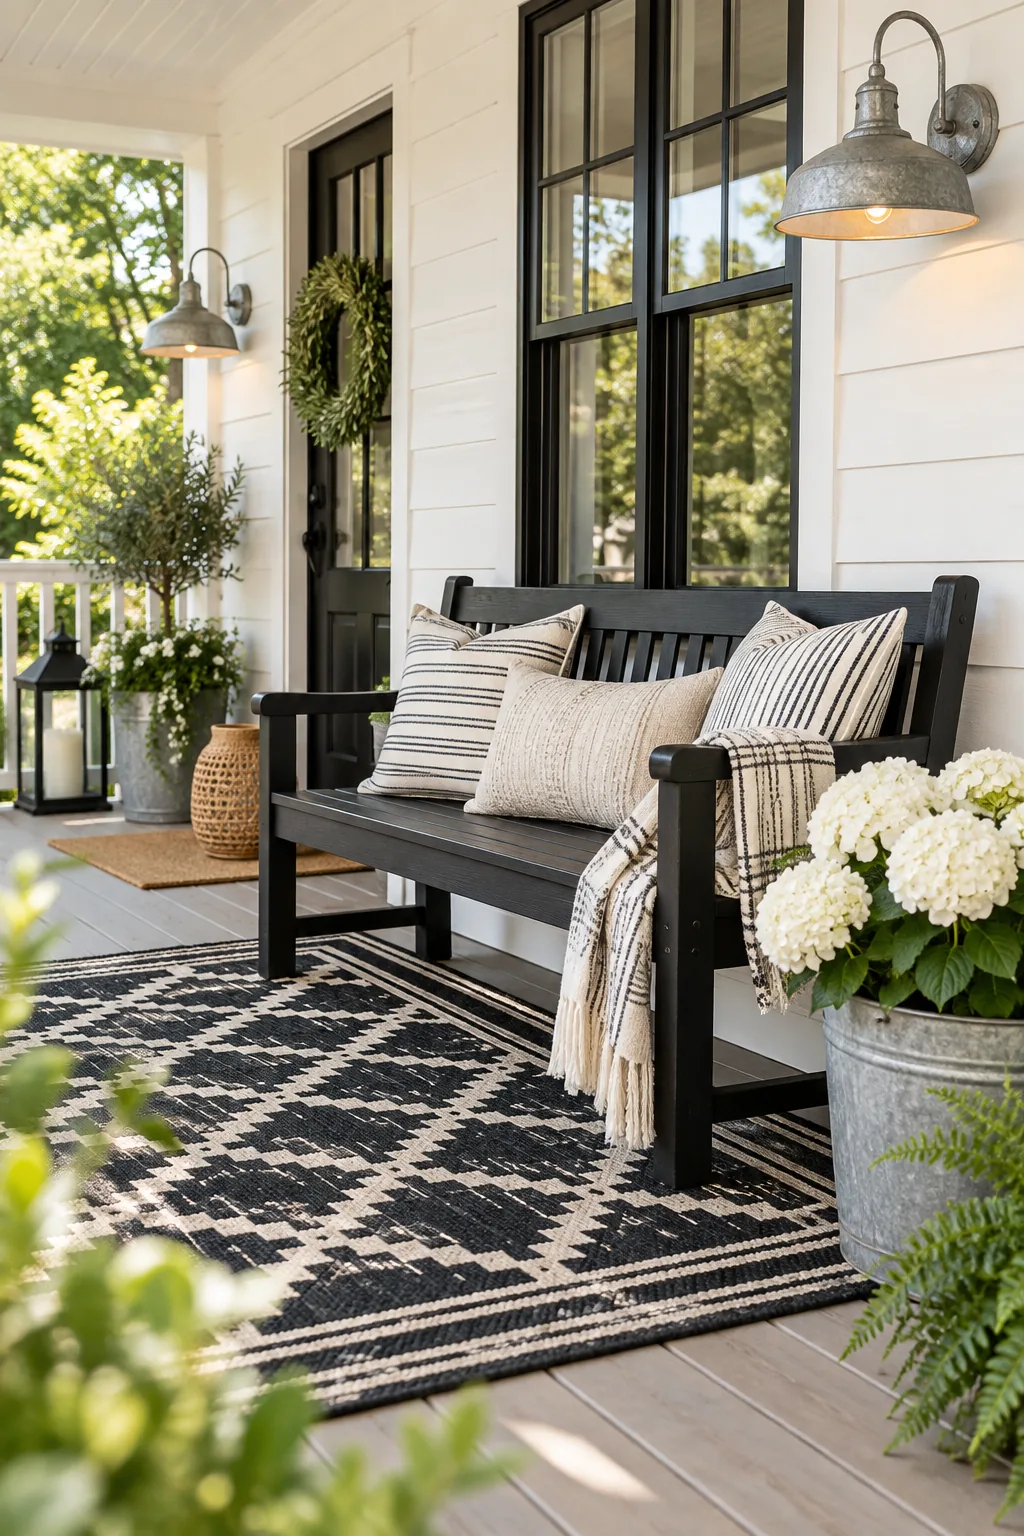
Modern Farmhouse Porch: High-contrast black and white elements give traditional rustic textures a crisp, modern update.
Woodland Cabin Retreat: Raw cedar logs and classic buffalo plaid textiles create an authentic, forest-inspired getaway.
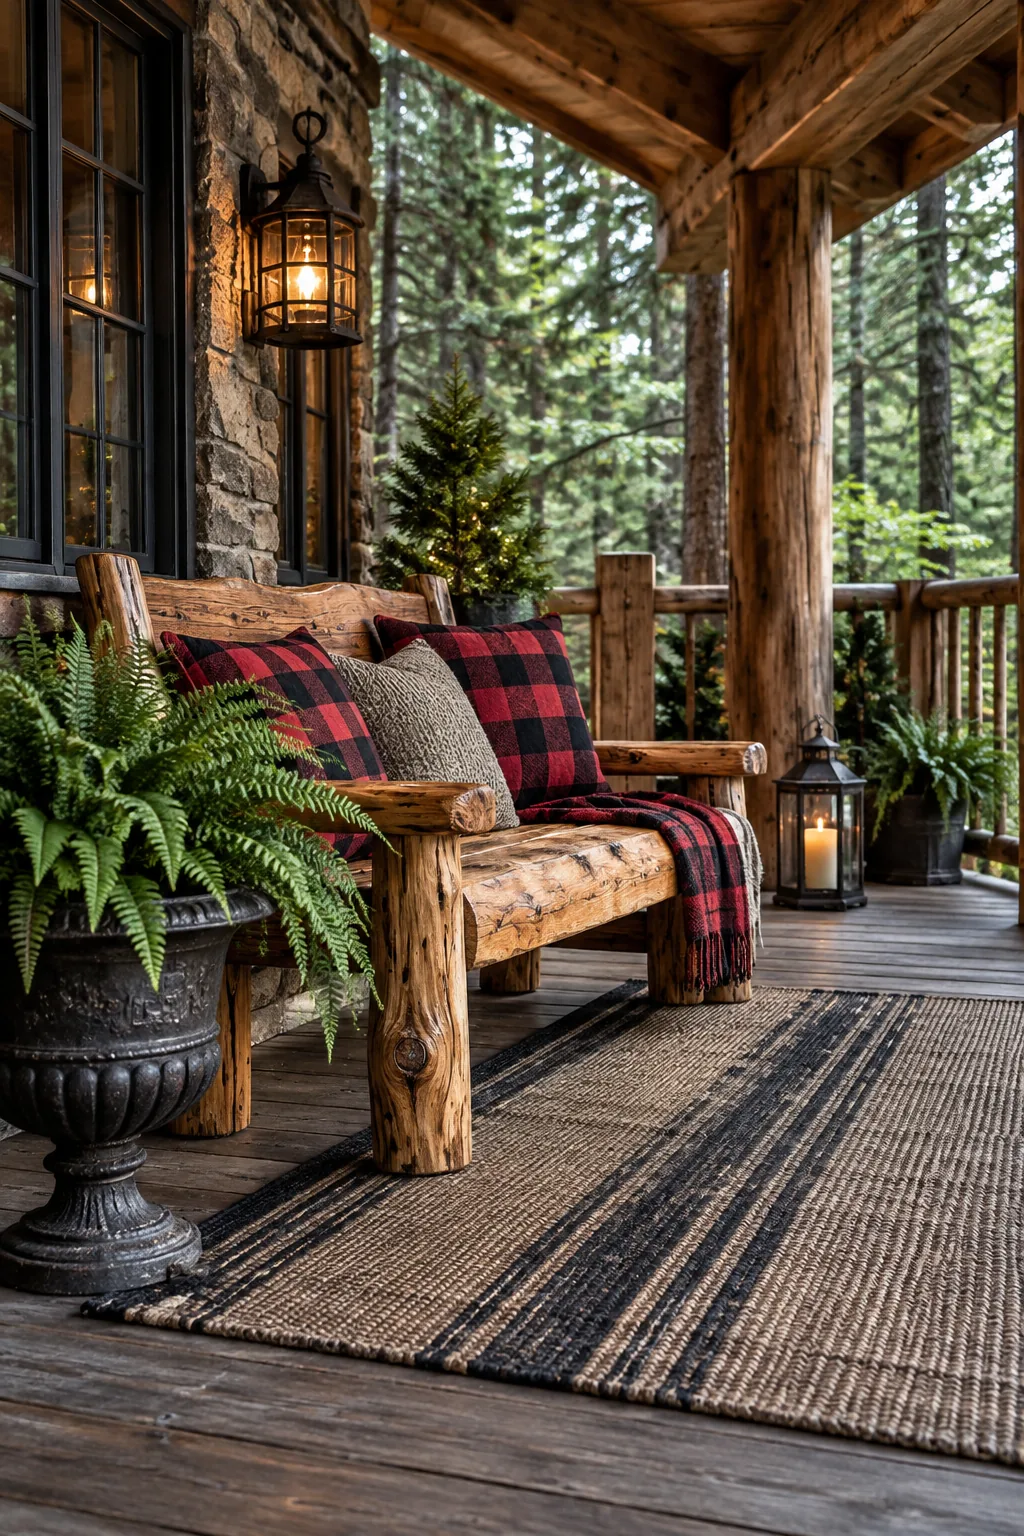
Coastal Rustic Deck: Sun-bleached driftwood tones and nautical rope details bring a relaxed, beachside feel to the rustic aesthetic.
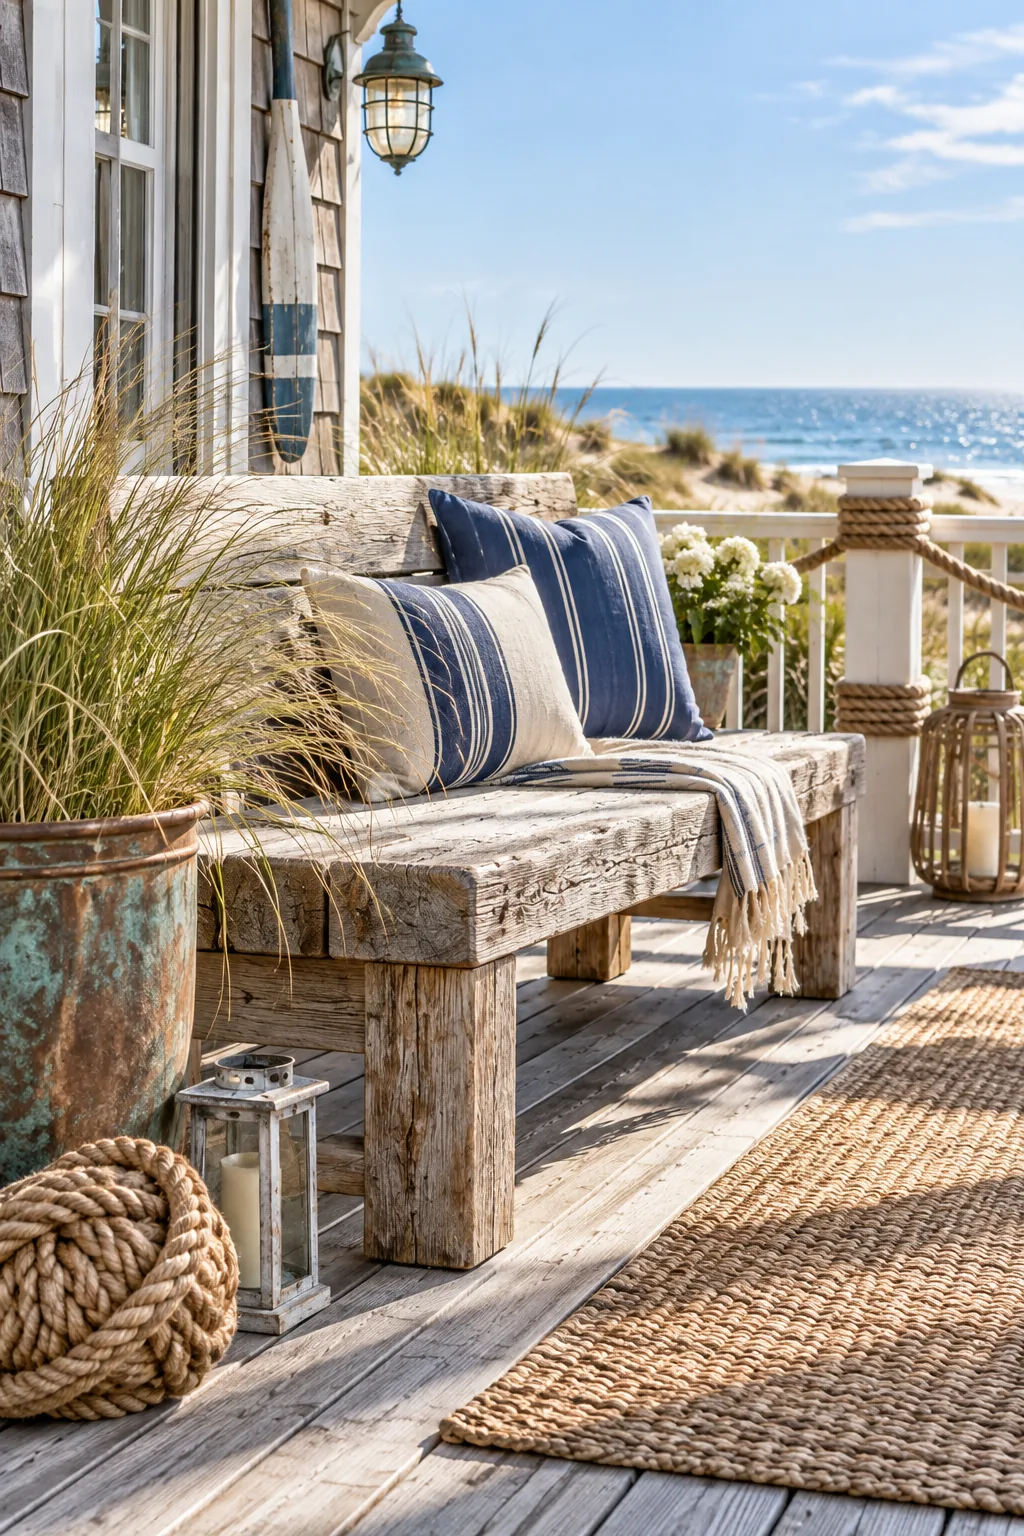
Desert Bohemian Patio: Warm terracotta tones and rusted steel planters infuse the rustic framework with a relaxed bohemian vibe.

Your Rustic Porch Budget and Sourcing Checklist
Pulling this entire look together requires tracking multiple hardware store runs, lumber dimensions, and decor purchases. Having a solid plan keeps your weekend project completely stress-free, highly organized, and strictly under your initial budget.
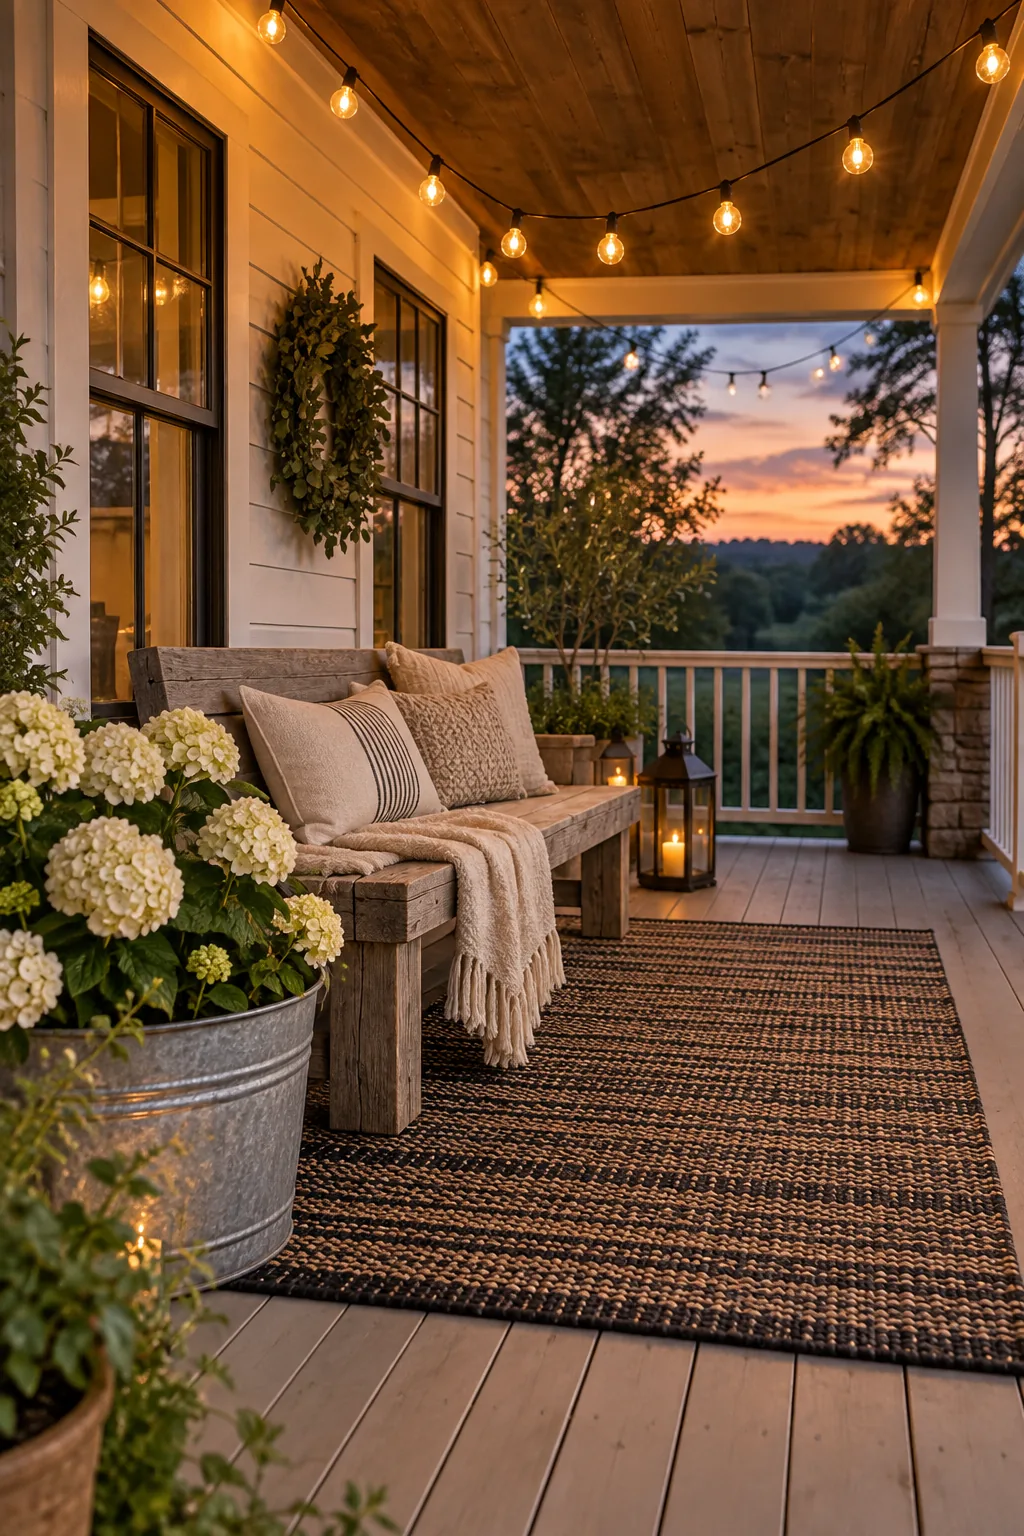
Use our printable budget sourcing and project checklist to organize your shopping trip and compare material costs. It covers every single measurement, hardware spec, and tool requirement so you have all the necessary supplies before Saturday morning begins.