
Wooden Stool DIY Makeover with a Two-Tone Milk Paint Finish
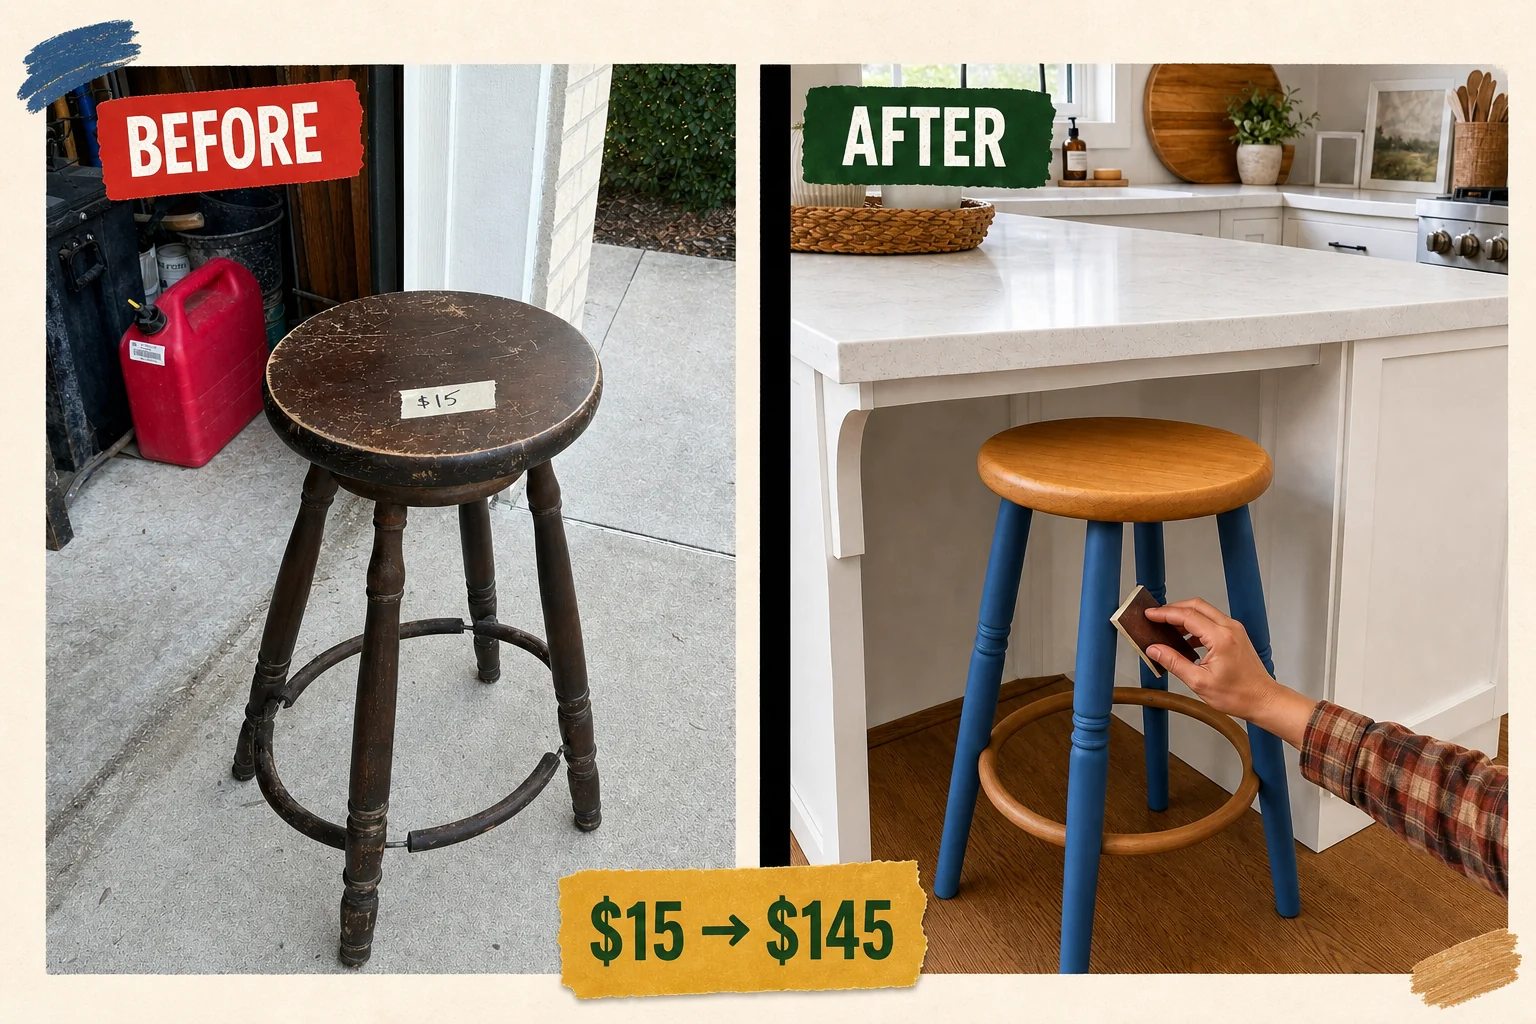
Found discarded on a local neighborhood app, this dark, wobbly counter stool needed a fresh start. This two-tone modern farmhouse update uses a bonding agent and milk paint to create a crisp contrast between a raw oiled seat and a matte blue base.
Assessing the Stool’s Condition
Spotted on a local listing pickup, this sturdy but neglected counter stool was waiting on a suburban concrete driveway just outside an open garage. A kitchen remodel left the 24-inch high piece looking too dark and dated. The classic silhouette featured a round flat seat over four splayed, turned legs connected by a circular foot ring assembled with steel screws.
- The loose foot ring caused a severe wobble with visible joint gaps, making the solid wood stool structurally unsafe for seating.
- The 13-inch circular seat featured flaking and heavily scratched dark brown varnish that looked neglected and would prevent new paint adhesion.
Project Costs and Valuation
Solid maple construction and a highly durable, trend-forward milk paint finish elevate this piece from a discarded basic to a boutique-quality kitchen accent. The rich matte federal blue legs contrasting with the natural maple seat create a striking visual hook.
| Item | Cost |
|---|---|
| Purchase Price | $15 |
| Wood Glue | $6 |
| 120-Grit Sanding Discs | $8 |
| Powdered Milk Paint | $18 |
| Milk Paint Bonding Agent | $12 |
| Hemp Oil Finish | $15 |
| Total Investment | $74 |
| Estimated Resale Value | $145 |
| Value Gain | $71 |
The estimated resale value reflects this boutique transformation rather than a completed sale, taking it from a wobbly brown relic to a vibrant staple. This strong return on investment highlights the value of repairing mortise and tenon joints instead of discarding structurally sound furniture.
Materials checklist
Step 1: Assess Stool Condition
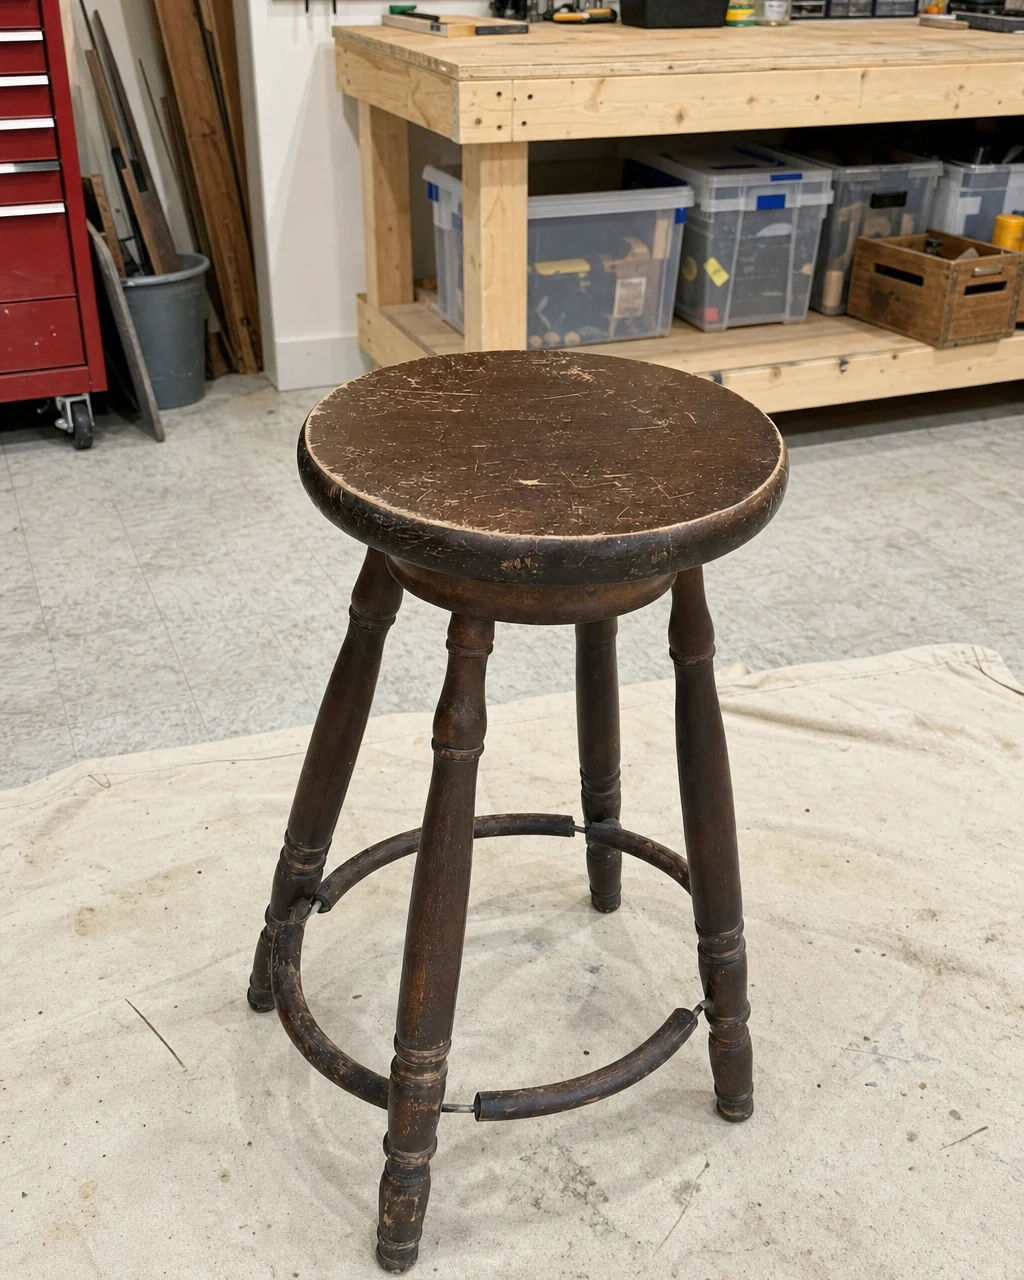
Bring the stool into the workshop and place it on a completely flat surface to accurately gauge the wobble. Inspect the overall frame stability, identifying the exact locations of the loose mortise and tenon joints on the circular foot ring. Evaluate the depth of the scratches on the seat, wiping the surface with a lint-free cloth to expose hidden damage across the solid maple.
Step 2: Glue Loose Joints
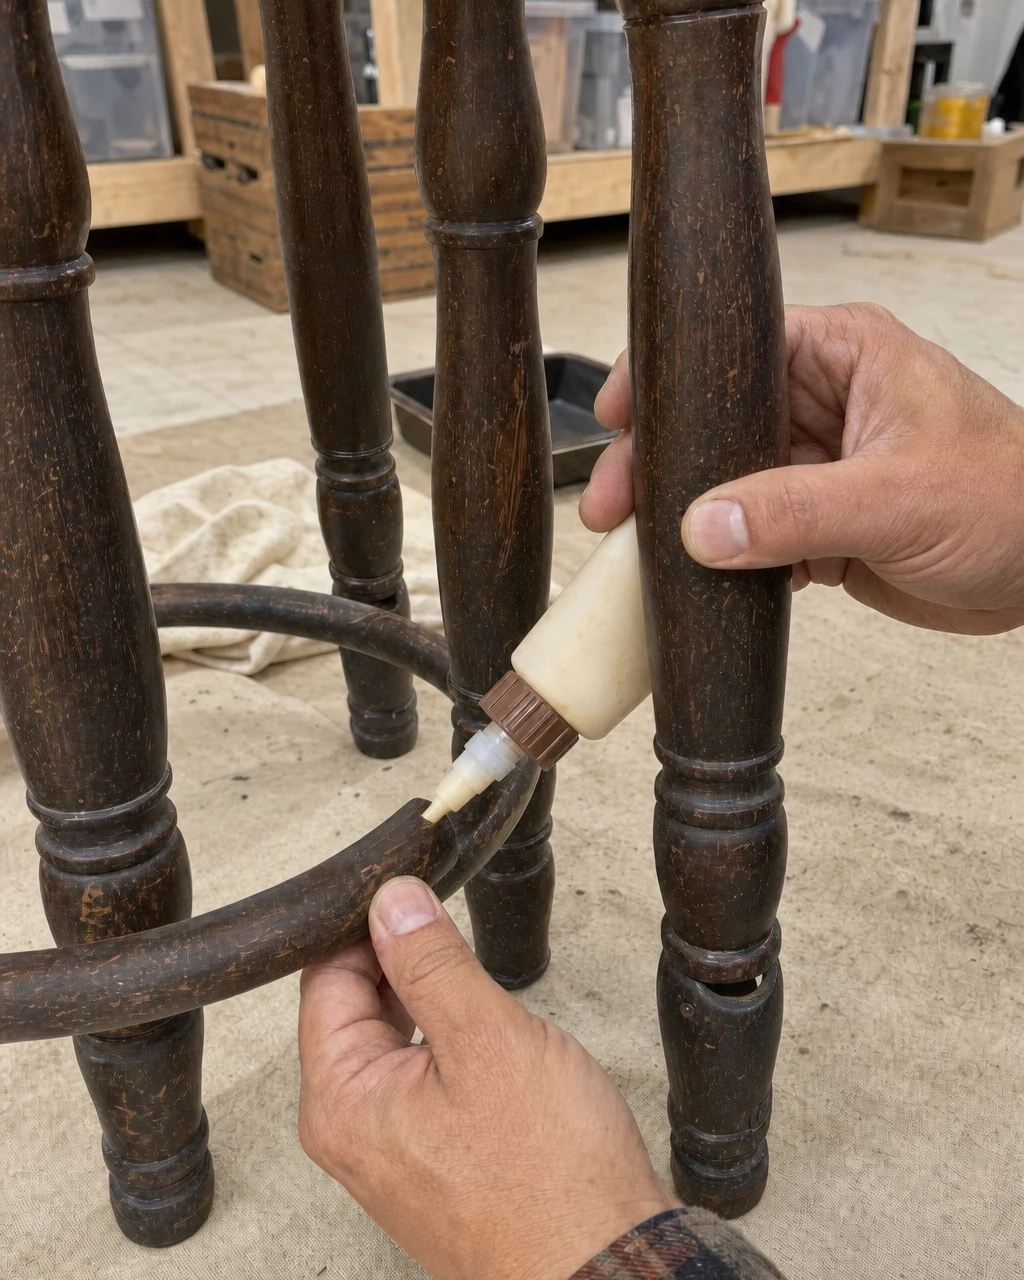
Force liquid wood glue deep into the open mortise and tenon joint using a glue syringe to ensure full coverage inside the gap. Wipe away the excess adhesive with a damp rag, and clamp the legs tightly overnight with bar clamps to cure. Always wear safety glasses in case the clamp slips under tension while securing the loose foot ring joints.
Step 3: Sand Seat Bare
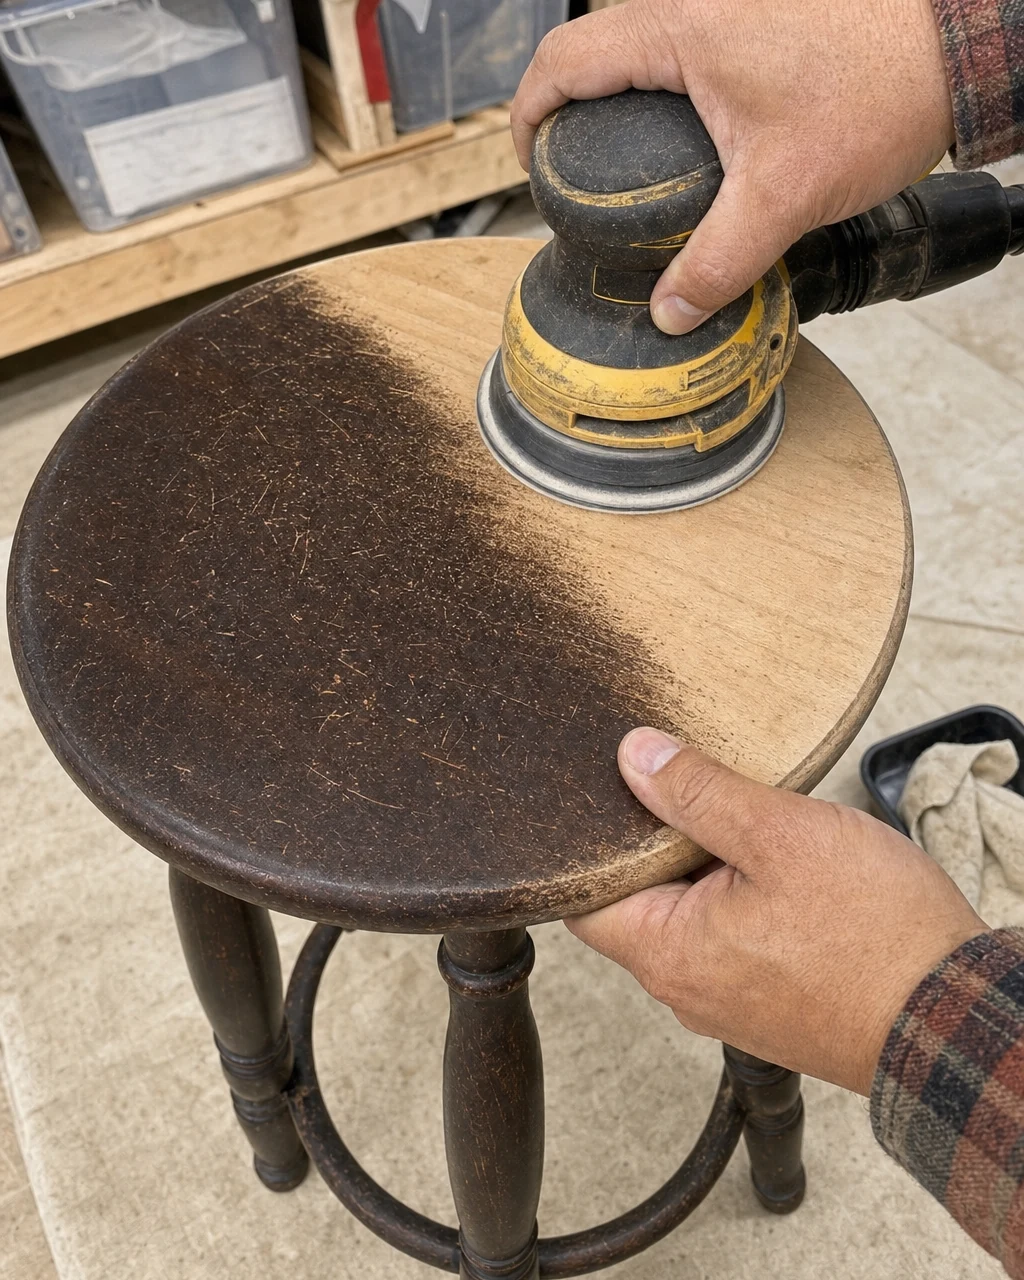
Use a random orbital sander to completely remove the dark brown varnish from the circular seat. Continue sanding evenly across the surface until the raw, light maple wood beneath is fully exposed and smooth to the touch. Wear a dust mask and work in a well-ventilated area when sanding old finishes to safely strip away the degraded surface and prepare the grain.
Step 4: Paint Stool Base
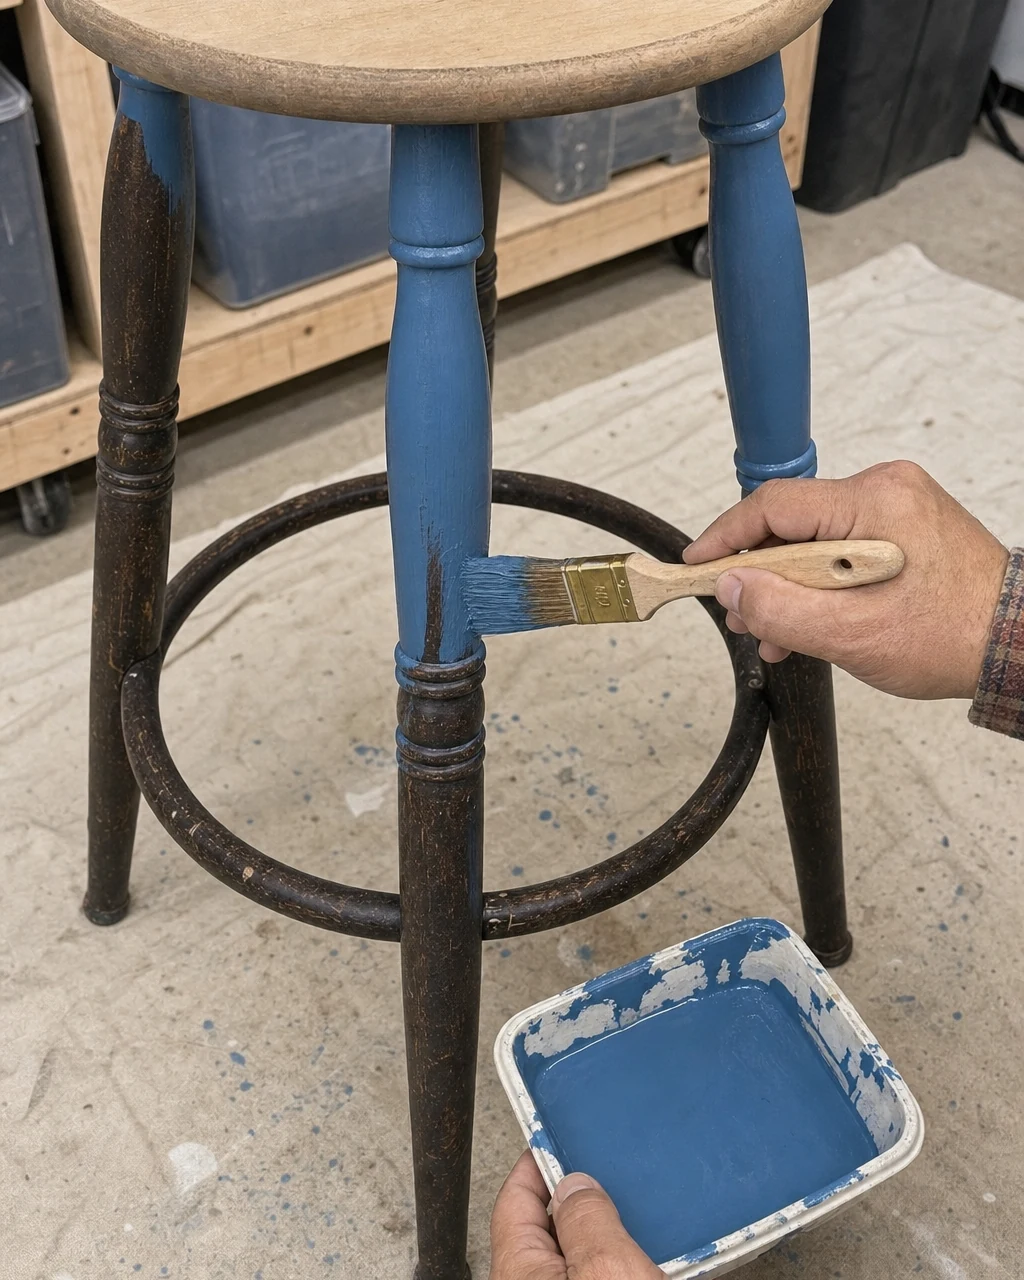
Mix the powdered milk paint with water and the bonding agent in a mixing jar to ensure proper adhesion over the old varnish. Apply an even coat to the turned legs and foot ring using a synthetic paintbrush, leaving the bare seat untouched. Protect the floor with a canvas drop cloth to catch drips while coloring the stool base.
Step 5: Seal Wood Surfaces
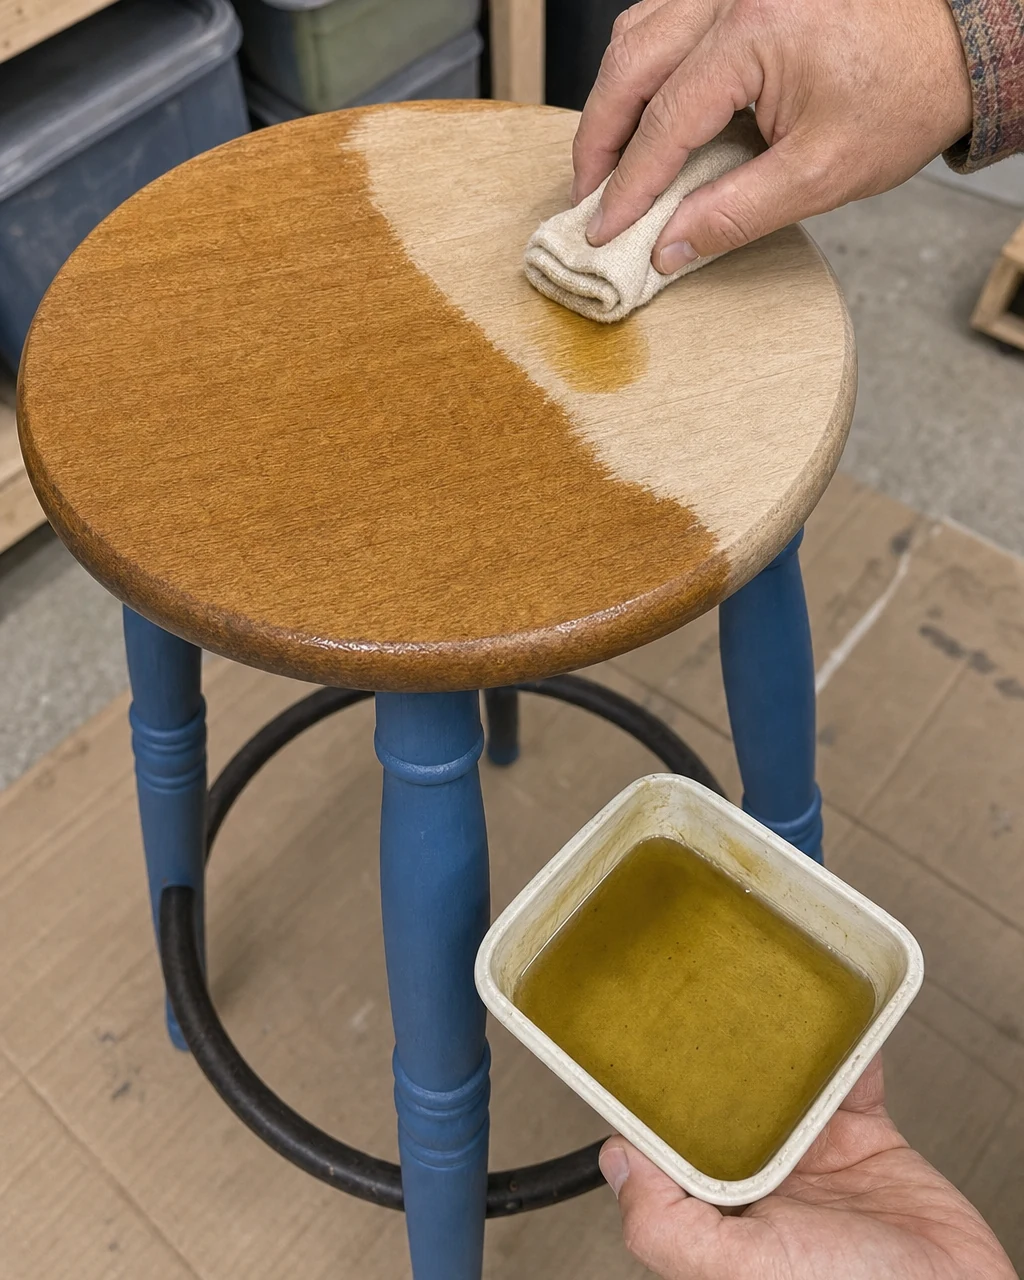
Apply natural hemp oil to both the raw wood seat and the painted base using lint-free cotton rags. Rub the oil in thoroughly to seal the porous milk paint and protect the exposed maple grain from daily wear. Dispose of oil-soaked rags properly by laying them flat to dry outside to prevent spontaneous combustion as the finish cures.
Step 6: Review Finished Stool
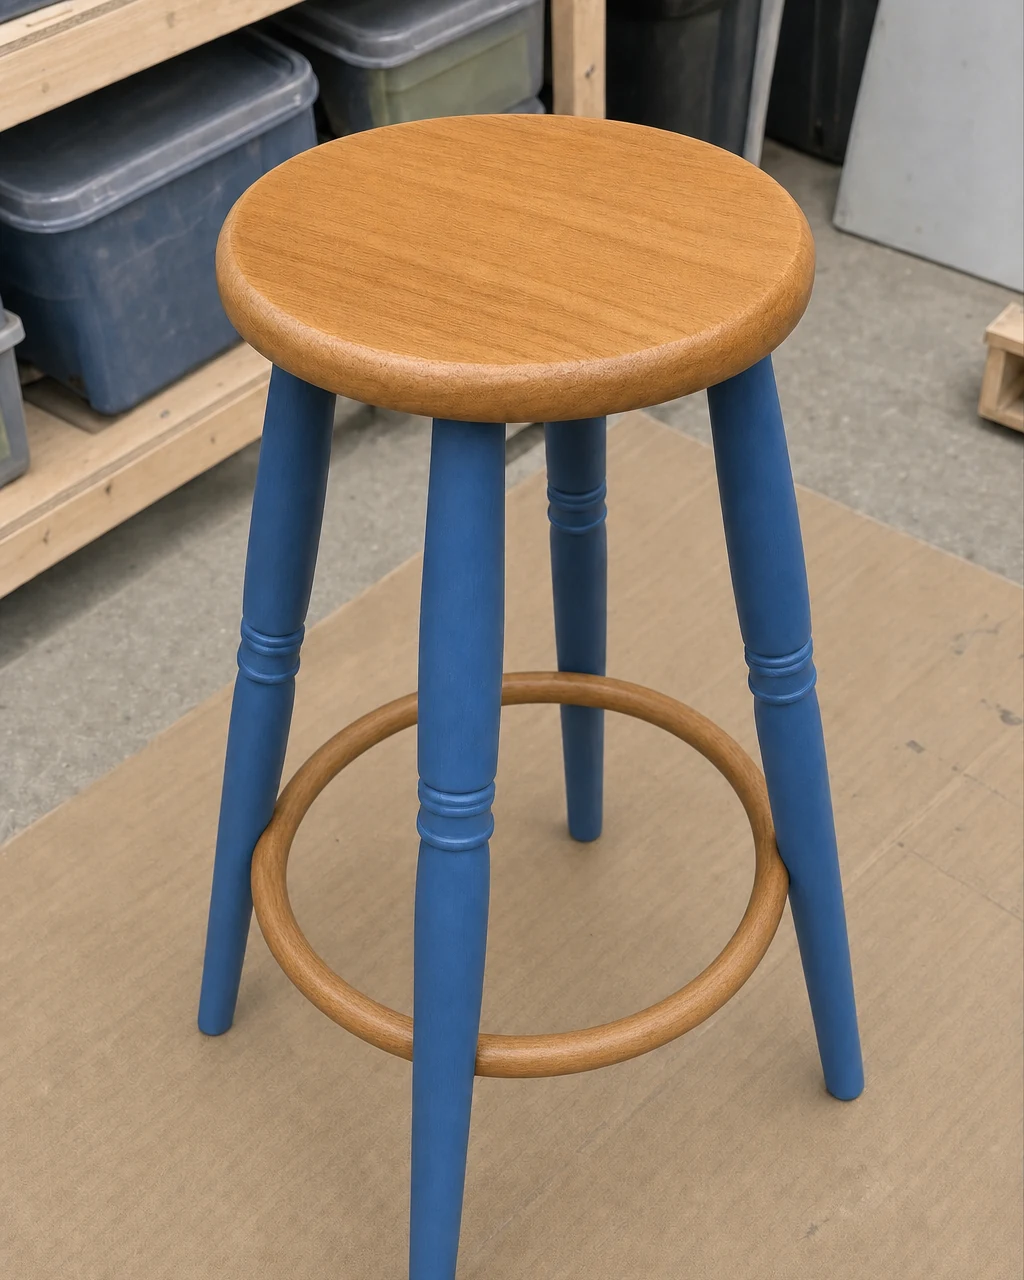
Inspect the completed two-tone stool in the workshop, using a basic hand tool to check tightness if necessary. Ensure the glued joints are solid and the oil finish is perfectly even across all turned components. Verify that no oil residue remains on the wood before moving the restored piece indoors for daily use as a sturdy kitchen staple.
Step 7: Place in Kitchen
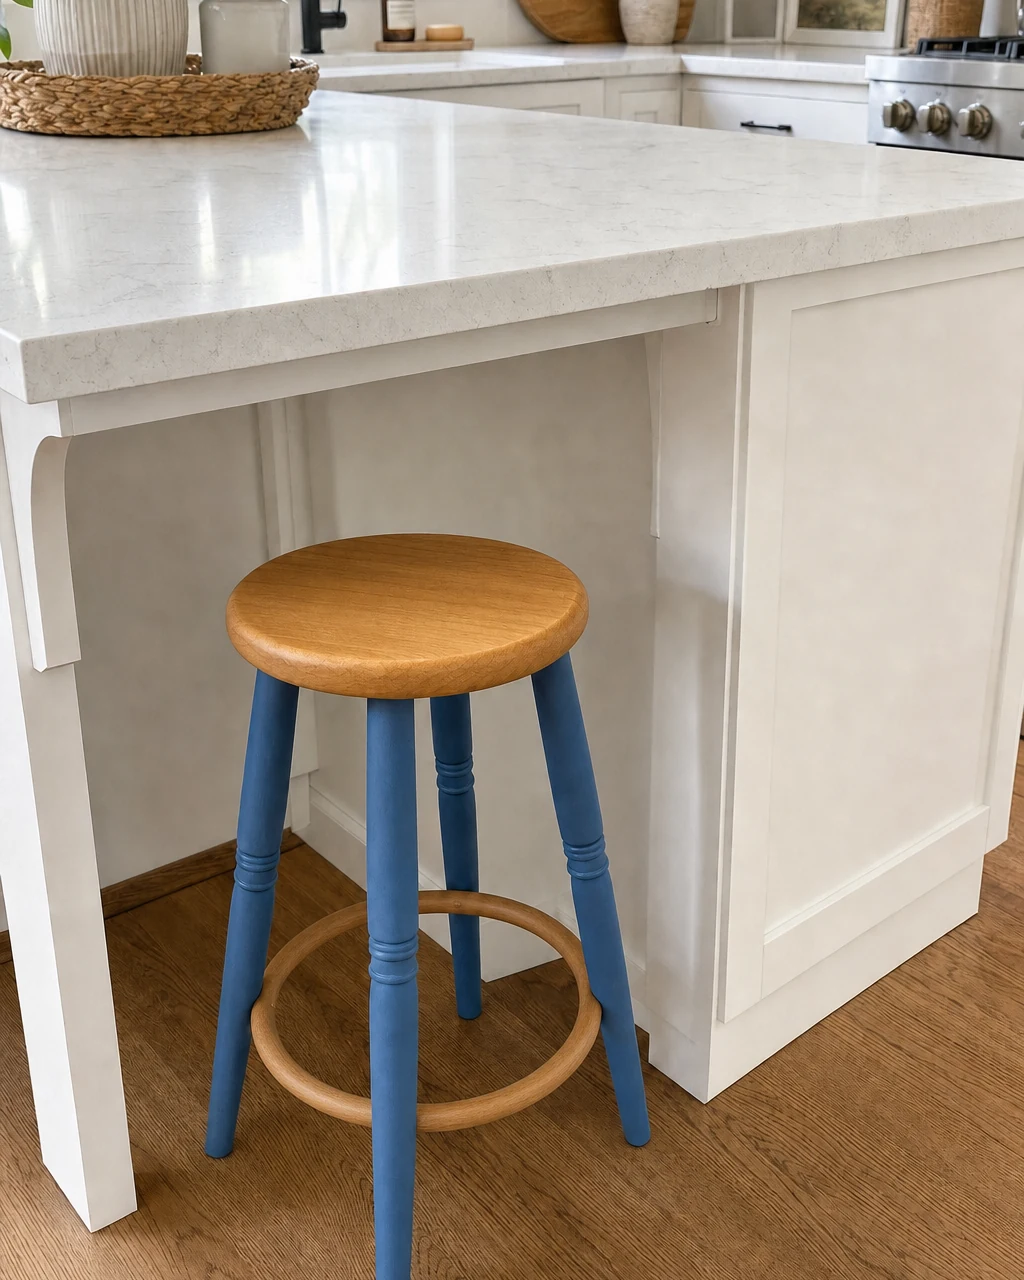
Move the stool into the kitchen, positioning it at the counter to demonstrate its restored function and updated style. Tuck the finished blue and natural wood stool under the white quartz island overhang to complement the bright, modern interior. Ensure the floor is clear of debris to prevent scratching the newly finished legs as you position the seating.